Affinity Photo tutorials, tips and ideas: 26 full photo-editing tutorials with videos
Affinity Photo is a professional photo-editing application that rivals Photoshop for features but it's subscription free!
The best camera deals, reviews, product advice, and unmissable photography news, direct to your inbox!
You are now subscribed
Your newsletter sign-up was successful
The tutorials
1. Affinity Photo vs Photoshop
2. RAW editing with Affinity Photo
3. Focus merge with Affinity Photo
4. Replace a sky in Affinity Photo
5. Moody mono in Affinity Photo
6. Six Affinity Photo landscape tips
7. Color correction in Affinity Photo
8. Live Filters in Affinity Photo
9. Create a classic wet plate look
10. Remove objects in Affinity Photo
11. Paint an abstract portrait
12. Enhance skintones in Affinity Photo
13. Create HDR in Affinity Photo
14. Replace a sky in Affinity Photo
15. Affinity Photo double exposures
16. Affinity Photo Denoise tool
17. Affinity Photo retouching
18. Restore old family portraits
19. Change clothes in Affinity Photo
20. Create super-charged sunsets
21. Fix faces with a flourish
22. Get creative with composites
23. Liquify faces with Affinity Photo
24. Make a tropical composite
25. Let it snow in Affinity Photo
26. Create an immaculate conception
Here's where you can find descriptions and links to all 26 of our special Affinity Photo tutorials. Affinity Photo is one of three Affinity applications for photographers, designers and publishers, but with a key difference compared to the Adobe alternatives – you do not pay a subscription, and get the sofware to keep to use on your Windows PC or Mac.
Instead, you pay a single one-off fee, just like the old days, and once you've paid for the license, it's yours. And at a cost of just $49.99, Affinity Photo is not only excellent value, but it is one of the best photo editing software available. Currently, however, it is being offered at half price - taking the cost down to an incredible $25 for a professional quality editing software.
To help you get started with this editing program, we have produced a series of Affinity Photo tutorials – 26 step-by-step lessons, that were originally published in N-Photo magazine. Follow them each in turn – of just dip into the lessons that you want to learn from…
1. Affinity Photo vs Photoshop
If you’re thinking about making the switch, there are a few similarities and differences between Photoshop and Affinity Photo worth bearing in mind. Here, we’ll look at some of the features, including some that can even outdo Photoshop…
2. RAW editing with Affinity Photo
The Raw editor in Affinity Photo is called the Develop Persona. When we open a Raw file it switches to this, but if you want to edit a JPEG, or any pixel layer in your document, you’re also able to open the Develop Persona and use the Raw tools within.
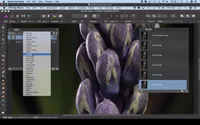
3. How to focus merge with Affinity Photo
When shooting close-up macro subjects, the depth of field will be very shallow and the plane of sharpness may only stretch a few millimeters across the subject – even when using narrower apertures. So it can be a struggle to record a sharp close-up image from front to back. This is when you focus stacking. This involves taking a series of shots at different focus distances, using a tripod-mounted camera, and merge them together in Affinity Photo.
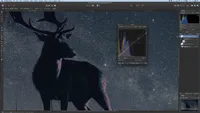
4. Sky replacement in Affinity Photo
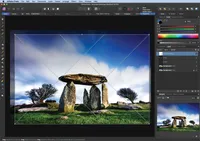
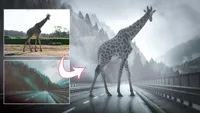
Like Photoshop, one of the biggest benefits of using Affinity Photo is the layers feature. Layers enable you to combine a range of images and effects to completely transform the look of your photos. We can even change day to night. In this tutorial we’ll look at how this is done with a simple combination of layer skills.
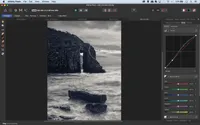
5. Get the moody monochrome look in Affinity Photo
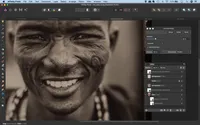
There are several ways to convert to monochrome in Affinity Photo, but the two most useful methods both offer crucial control over the brightness of different colours during the conversion. One of these is the Black & White adjustment layer, which is found within the Photo Persona. The other is the Black & White panel within the Develop Persona. Both offer a similar set of colour sliders that let you fine-tune the look of the black and white by, say, darkening a blue sky or lightening foliage.
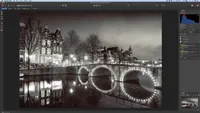
6. Six tips to enhance a landscape in Affinity Photo
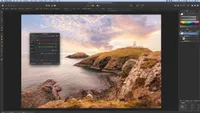
When it comes to editing landscapes, judgement is the most important tool in your image-editing arsenal. We should ask ourselves whether anything in particular needs addressing – is the exposure right? Does the scene need more or less contrast? Would a color boost benefit the image, or perhaps a black-and-white treatment? These judgement calls have more to do with answering these questions than expertise in any one specific editing tool, but it still pays to know the best tools for the job, and there are plenty to choose from in Affinity.
7. Reveal your true colors in Affinity Photo!
Affinity Photo offers an array of excellent color correcting tools. In this tutorial we’ll look at some of the best options, from simple white balance adjustments to powerful selective color tweaks. Along the way we’ll encounter many of the most useful color tools and settings in Affinity Photo. Whether you have a photo with a color cast, a portrait with unnatural skin tones, or a color temperature mismatch, the techniques described here are sure to help.
8. Master Live Filters in Affinity Photo
When it comes to applying filters in Affinity Photo you have two options – you can either add the effect directly to a pixel layer, or you can instead use the clever live filter feature. Rather than altering the pixels on a layer, this instead places the filter effect on a separate layer. It not only means the filter remains editable, but also affords you all the benefits of working with layers. So you can mask the effect to make it selective, alter the opacity to tone it down, or change the blending mode, if you decide to.
9. Get the wet plate look in Affinity Photo
Affinity Photo offers an array of powerful image blending features that allow us to add a custom-made border, then apply textures and toning effects to finish things off. In this tutorial we’ll explain how it’s done and we’ll create a vintage wet plate effect using a combination of pictures.
10. Clean up backgrounds in Affinity Photo
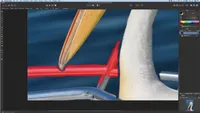
Sometimes a photo-worthy moment happens so quickly that it’s near impossible to compose the frame properly, like when a great white pelican suddenly appears next to your boat, so a messy, distracting backdrop is often hard to avoid. But we can remove distractions like this with simple retouching tools in Affinity Photo.
11. Paint an abstract portrait in Affinity Photo
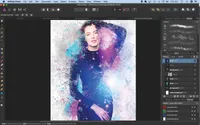
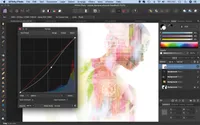
Brushes in Affinity Photo go far beyond the standard circular brush most of us are probably familiar with. In some ways they even surpass what can be done in Photoshop. Here, we use Brushes to create an amazing abstract effect.
12. Clean up skin the easy way in Affinity Photo
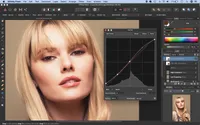
Affinity Photo offers a host of useful tools for portrait retouching. The healing and clone tools are ideal for removing marks and imperfections, while the tonal tools on offer make it easy to boost tones and add impact to the eyes of a subject.
13. Create vibrant HDR images in Affinity Photo
The HDR tools in Affinity Photo allow you to merge a set of three or more bracketed exposures to create an image with an expanded dynamic range – perfect for retaining detail in high-contrast scenes, like our costal landscape.
14. How to replace a lacklustre sky in Affinity Photo
Whether you want to drop in a new sky to improve a landscape or blend two shots, Affinity has excellent tools for compositing images. The first stage in any compositing project is to isolate part of an image, like our sky. This is a complicated shape, and selecting it freehand could take hours. But, thankfully, Affinity has a tool that does it in seconds.
15. How to create a double exposure effect in Affinity Photo
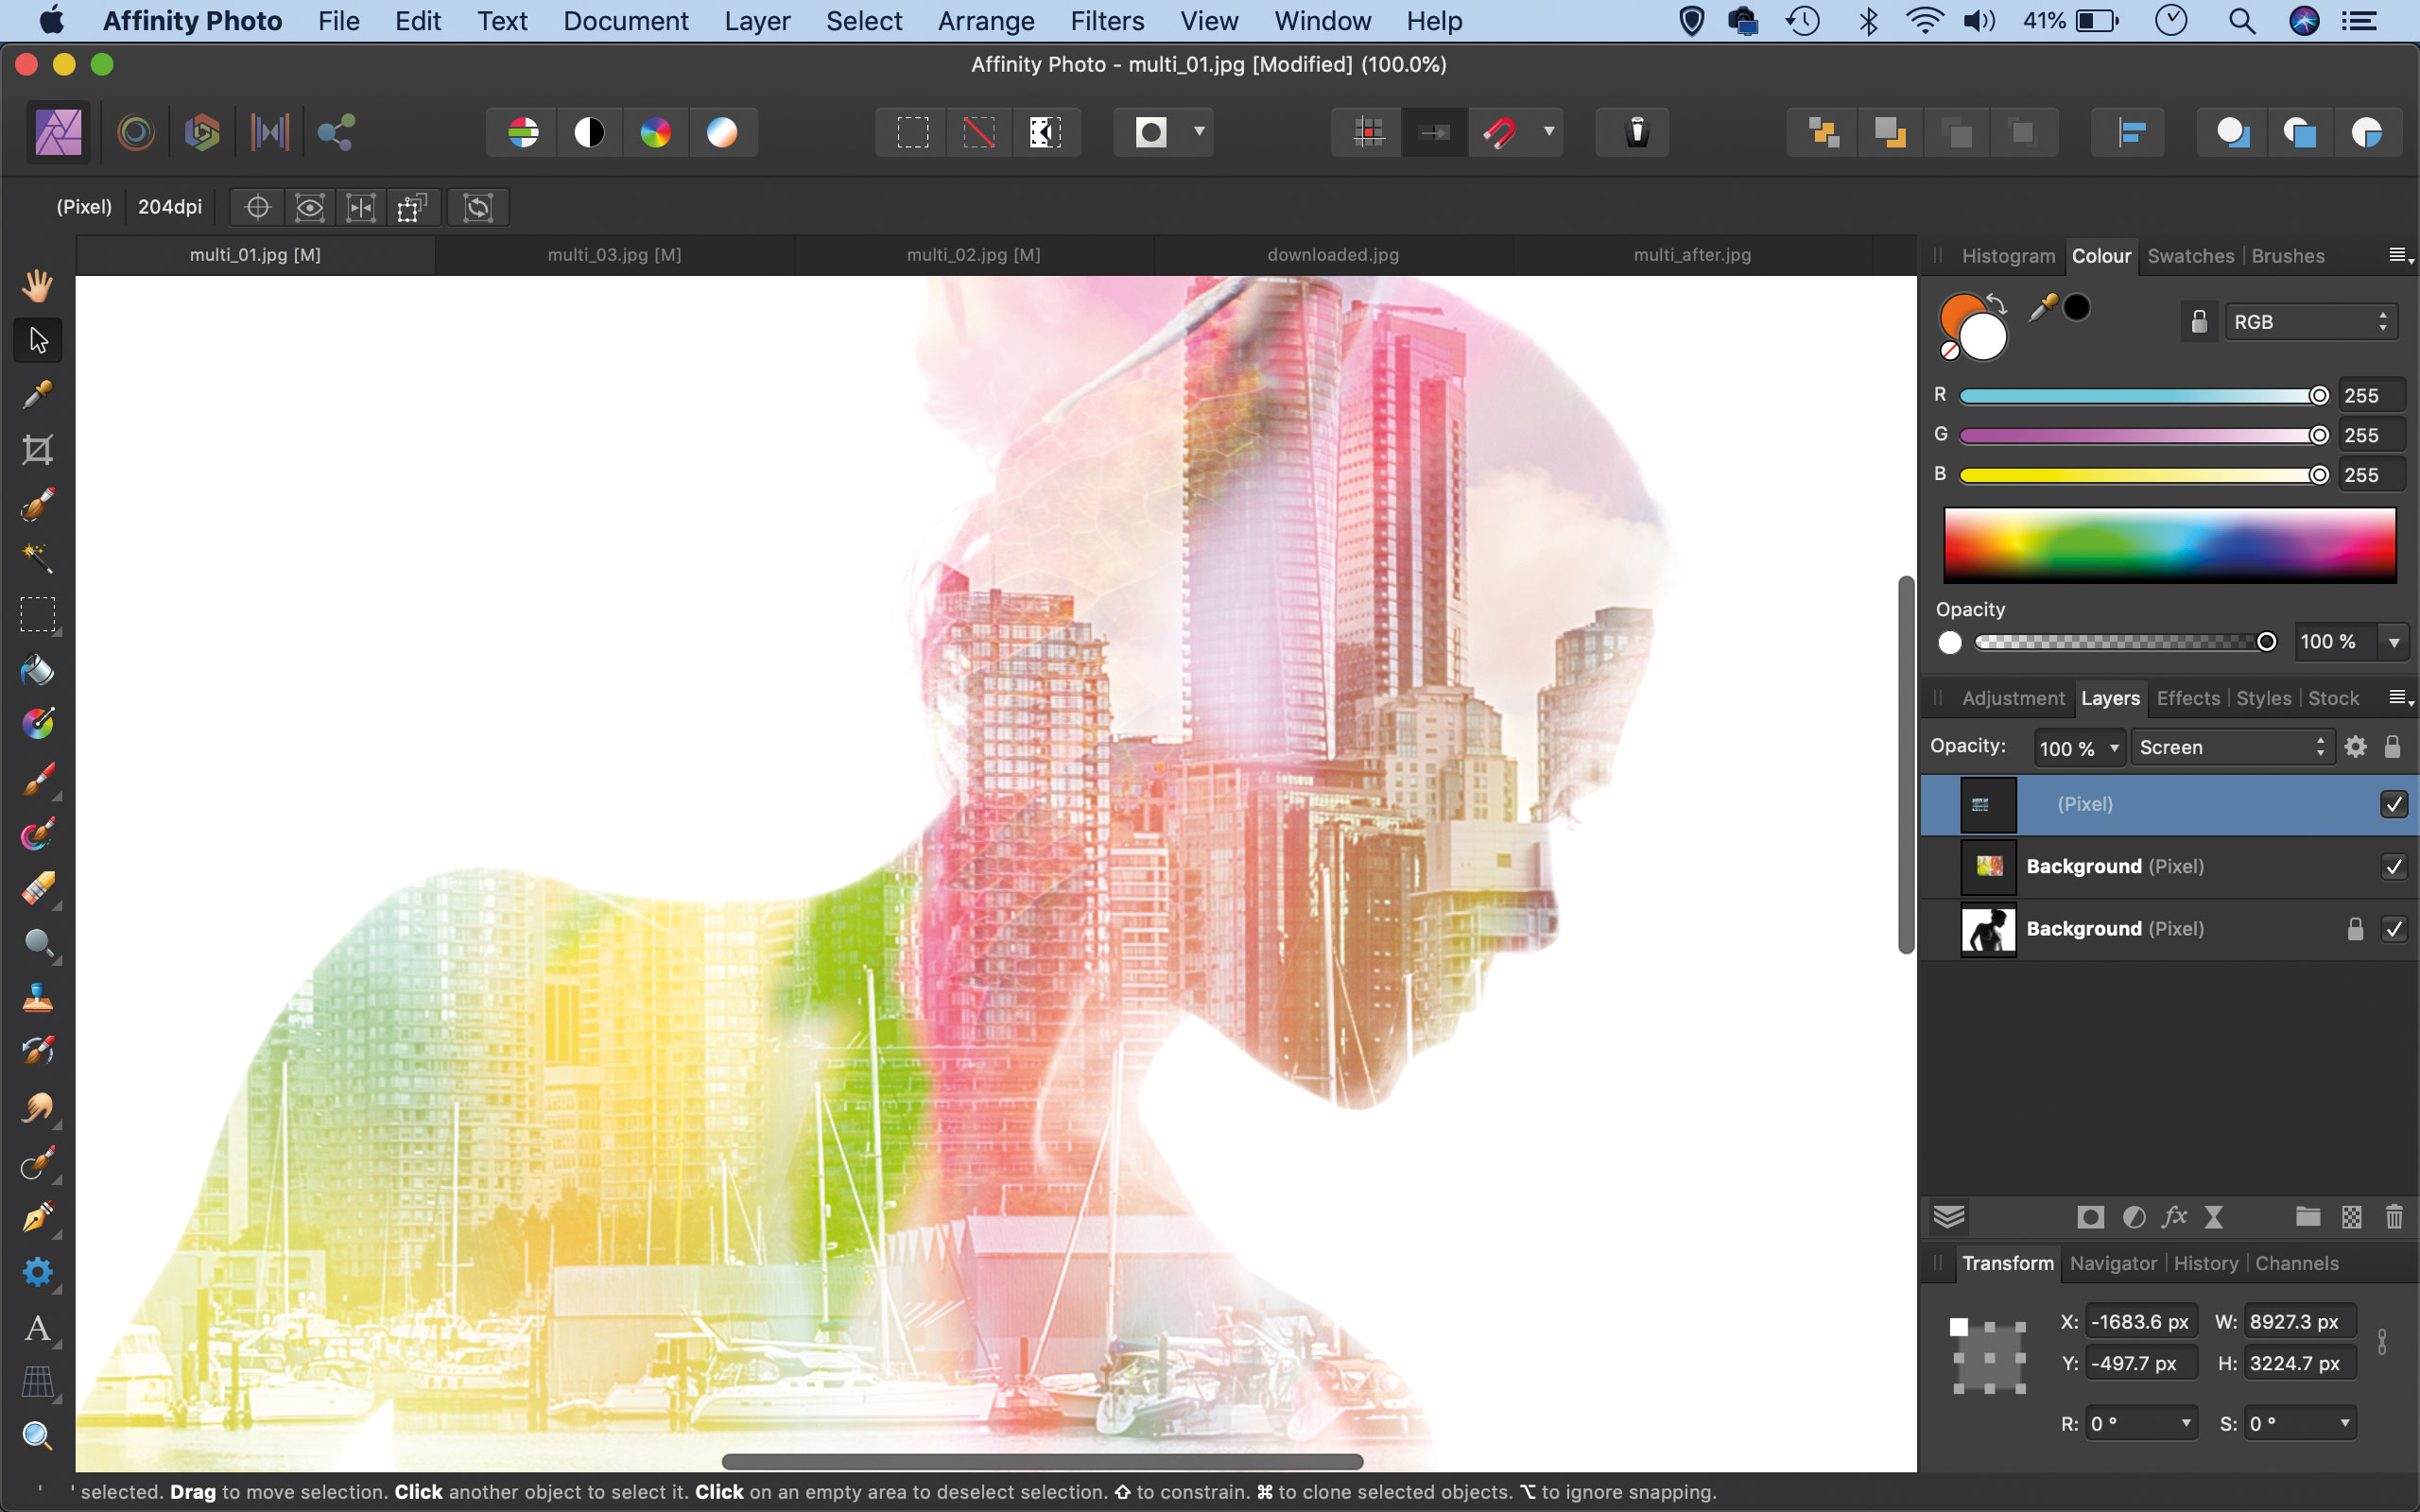
Layer blending modes are fun and very easy to get to grips with. They work by combining the pixels on one layer with those on the layers below. So by dropping one image on top of another, then changing the blending mode, we can begin to merge two or more images in all kinds of creative ways.
16. How to reduce noise in Affinity Photo
With simple controls and good results, Affinity’s Denoise command can improve even terribly noisy photos, like this low-light portrait, which was shot at ISO 22,800.
17. Essential retouching techniques in Affinity Photo
Remove blemishes, soften skin and enhance tones with Affinity Photo’s retouching tools
18. Restore old family portraits in Affinity Photo
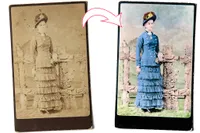
We show you how to repair, tidy and hand-color a faded vintage print in Affinity Photo
19. Change your clothes in Affinity Photo
Swap the colour of clothes and add patterns with selections and masks in Affinity Photo
20. Create super-charged sunsets in Affinity Photo
Give dull sunset colors a boost using Affinity Photo’s powerful Channel Mixer
21. Fix faces with a flourish in Affinity Photo
Transform a portrait into a series of swirls with simple masks and shadows in Affinity Photo with this abstract editing effect
22. Get creative with composites in Affinity Photo
Learn how to use key montaging skills and craft incredible composite images with ease with Affinity Photo
23. Liquify faces with Affinity Photo
How to use the Liquify Persona in Affinity Photo to transform a portrait into an exaggerated caricature
24. Make a tropical composite in Affinity Photo
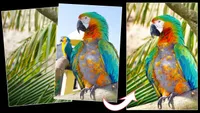
Remove a dull, distracting background and drop in a lush replacement using Affinity Photo
25. Let it snow in Affinity Photo
Create a snow brush in Affinity Photo and transform a photo into a winter wonderland
25. Create a surreal album cover in Affinity Photo
Recreate classic conceptual album art while demonstrating key compositing skills in Affinity Photo, based on the style of artist artist Storm Thorgerson
Read more:
• Photography tips and tutorial videos
• The best photo editing tools and accessories
• The best desktop computers for photo editing
• The best photo-editing laptops right now
• The best photo editing software today
About N-Photo magazine
This series of Affinity Photo tutorials originally appeared in N-Photo, the monthly newsstand magazine for Nikon photographers. Why not subscribe to a print edition, and have the magazine delivered direct to your door every month?
Alternatively, we have a number of different digital options available, including:
• Apple app (for iPad or iPhone)
• Zinio app (multi-platform app for desktop or smartphone)
• Google Play (for Android devices)
• Readly (all-you-can-eat digital magazine subscription service)
The best camera deals, reviews, product advice, and unmissable photography news, direct to your inbox!
If you wanted a printed version of any of our most recent issues we have a selection of back issues to choose from in our online store.

Rod is an independent photography journalist and editor, and a long-standing Digital Camera World contributor, having previously worked as DCW's Group Reviews editor. Before that he has been technique editor on N-Photo, Head of Testing for the photography division and Camera Channel editor on TechRadar, as well as contributing to many other publications. He has been writing about photography technique, photo editing and digital cameras since they first appeared, and before that began his career writing about film photography. He has used and reviewed practically every interchangeable lens camera launched in the past 20 years, from entry-level DSLRs to medium format cameras, together with lenses, tripods, gimbals, light meters, camera bags and more. Rod has his own camera gear blog at fotovolo.com but also writes about photo-editing applications and techniques at lifeafterphotoshop.com

