Digital Camera World Verdict
Affinity Photo offers professional-level image editing capabilities at a lower cost than even Photoshop Elements, which is Adobe’s only editing photo software with a perpetual licence. With the ability to perform all the editing tasks you could ever need to, as well as simplified processes for achieving advanced editing tasks such as HDR and frequency separation retouching, it’s definitely worth testing with the free trial.
Pros
- +
Cost-effective perpetual licence
- +
Non-destructive Live Filters
- +
As feature-packed as Photoshop
Cons
- -
Some features can be complicated
- -
Saving and exporting have quirks
- -
No image cataloguing
Why you can trust Digital Camera World
Affinity Photo has a sense of David and Goliath about it. On the one side, you have the industry standard and market leader Adobe Photoshop, and on the other there’s a handful of smaller companies providing alternative editing software that has the potential to unsettle Adobe’s dominance. Affinity Photo 1.8 is certainly one editing programme that has the potential to take on the Goliath that is Photoshop.
Affinity Photo is on our list of the best photo editing software right now. It is an image editor that allows you to process your raw files and then edit, merge and manipulate them as required. All the features and functions you’d expect in professional-level editing software are present such as Layers, Filters, Adjustment Layers, Layer Masks and much more. There are even Live Filters that allow you to apply Filters non-destructively from the Layers panel. Commercial software, even at a price this low, goes way beyond the best free photo editing software for features, performance and usability.
Read more:
• Affinity Photo vs Photoshop
• Affinity Photo tutorials & tips
• Affinity Photo 1.8 brings Nik Collection compatibility and more
The first significant difference you’ll notice between Affinity Photo and Photoshop is that the former has a low, fixed cost for a perpetual licence. So, once you’ve paid for the software you can enjoy many years of use without further cost. This will no doubt appeal to photographers who dislike the subscription model employed by Adobe. Affinity Photo is available for Mac, PC and iPad, and version 1.8 has just been released as a free update, so let’s take a look at what’s new in this most recent version and how well it performs overall…
Key new features
Since Affinity Photo is less than five years old, each update brings with it significant upgrades that speed up processes, bring new functionality and additional fixes. The upgrade to 1.8 may not be as significant as some of the previous updates, but the updates are too numerous to list here so we’ll focus on the most significant which, on the whole, deliver welcome improvements to tools and features, as well as improved compatibility with third party file formats and plug-ins, including compatibility with the new DxO Nik Collection 2.5 plug-in suite.
The Affinity Photo 1.7 update was another incremental set of improvements that brought with it end-to-end Metal compute acceleration that takes advantage of Mac’s discrete GPU as well as support for multiple GPUs. This resulted in faster operations and is an upgrade we should see in the future for the Windows version of the software, although the Windows version was claimed to have seen a boost in performance with this update. Affinity Photo version 1.8 includes bug fixes and optimisation but is much more geared towards compatibility and improved functionality in certain areas. Another important upgrade was HDR / EDR monitor support.
The best camera deals, reviews, product advice, and unmissable photography news, direct to your inbox!

For photographers, there have been improvements in lens corrections that now make it possible to apply corrections manually rather than having them applied automatically as was the case previously. This has the benefit of allowing the user to select a lens if the software doesn’t pick up the lens data from the EXIF for a number of reasons. There are now also frequently used and favorites lists to allow you to find frequently used lenses quickly. The overall list does need to be added to, though, as there are some gaps in the profiles available.
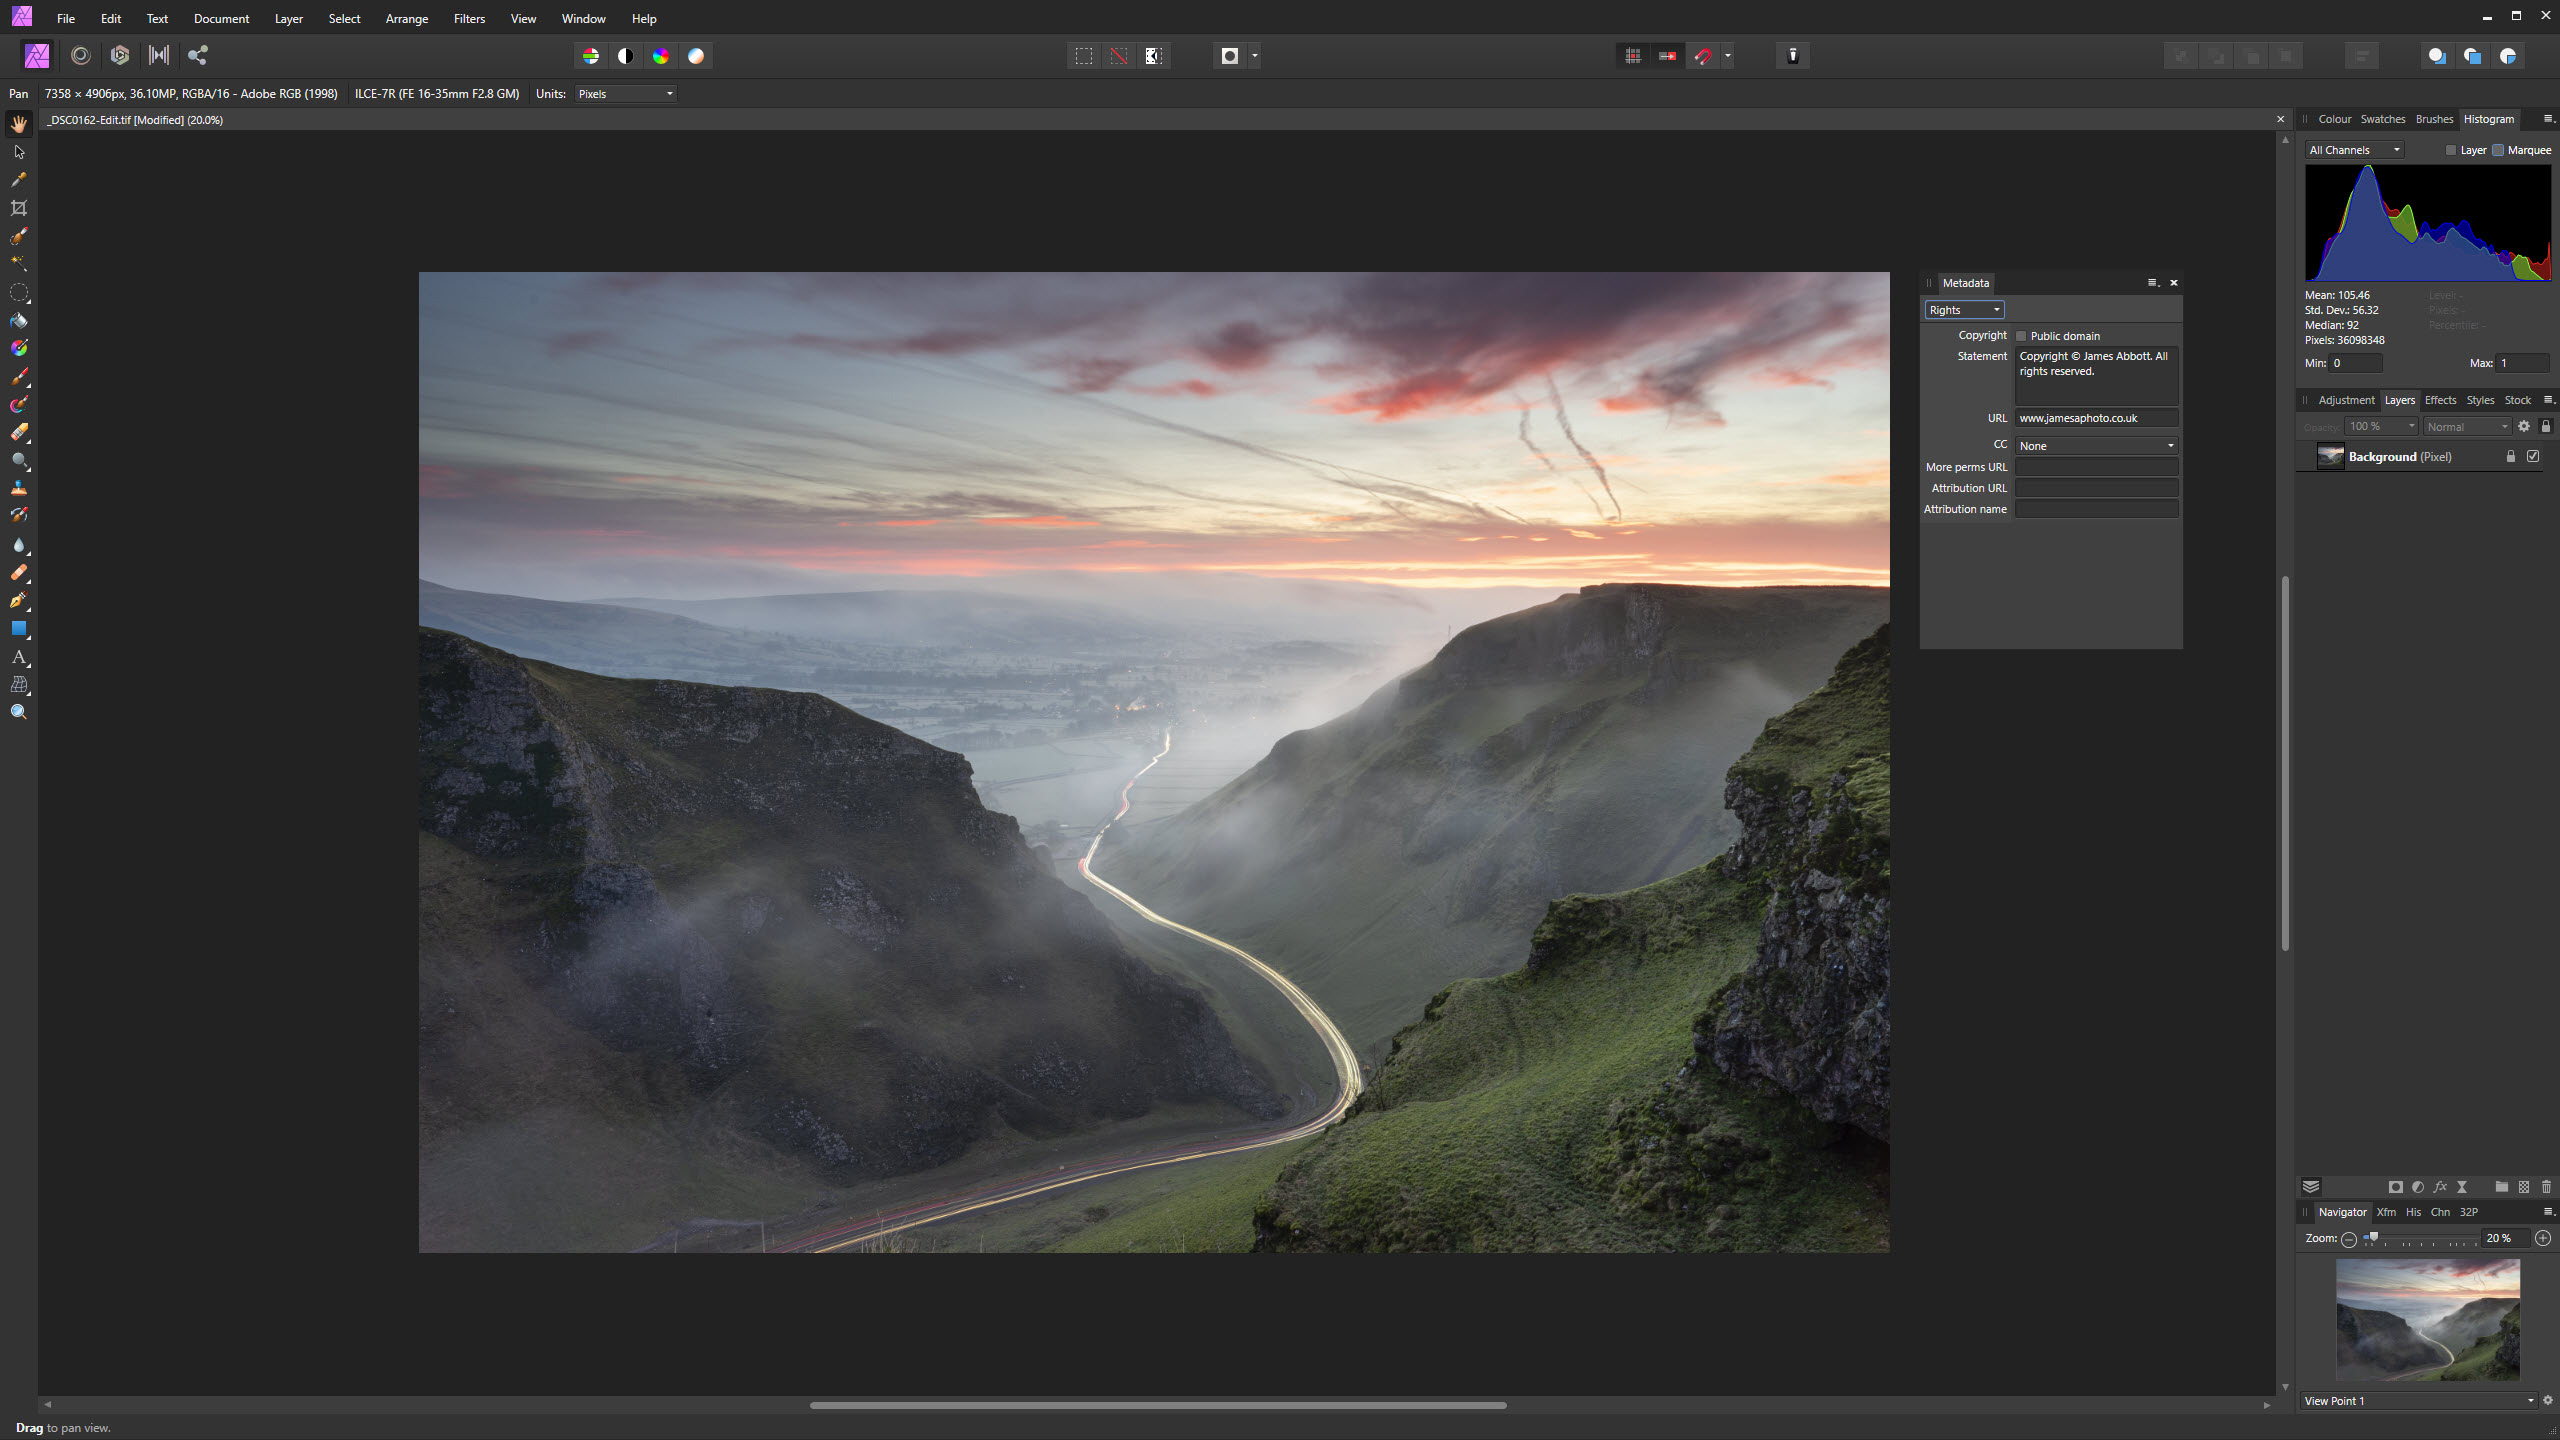
Another area offering improved manual control is metadata, where there are now editable fields for adding copyright information, tags and descriptions etc. This also allows for saving and loading of metadata files as well as batch processing of metadata to help speed up the process and overall user workflow. Furthermore, Affinity Photo now supports the Canon CR3 raw files produced by newer Canon cameras and which supersede the older CR2 Raw file type.
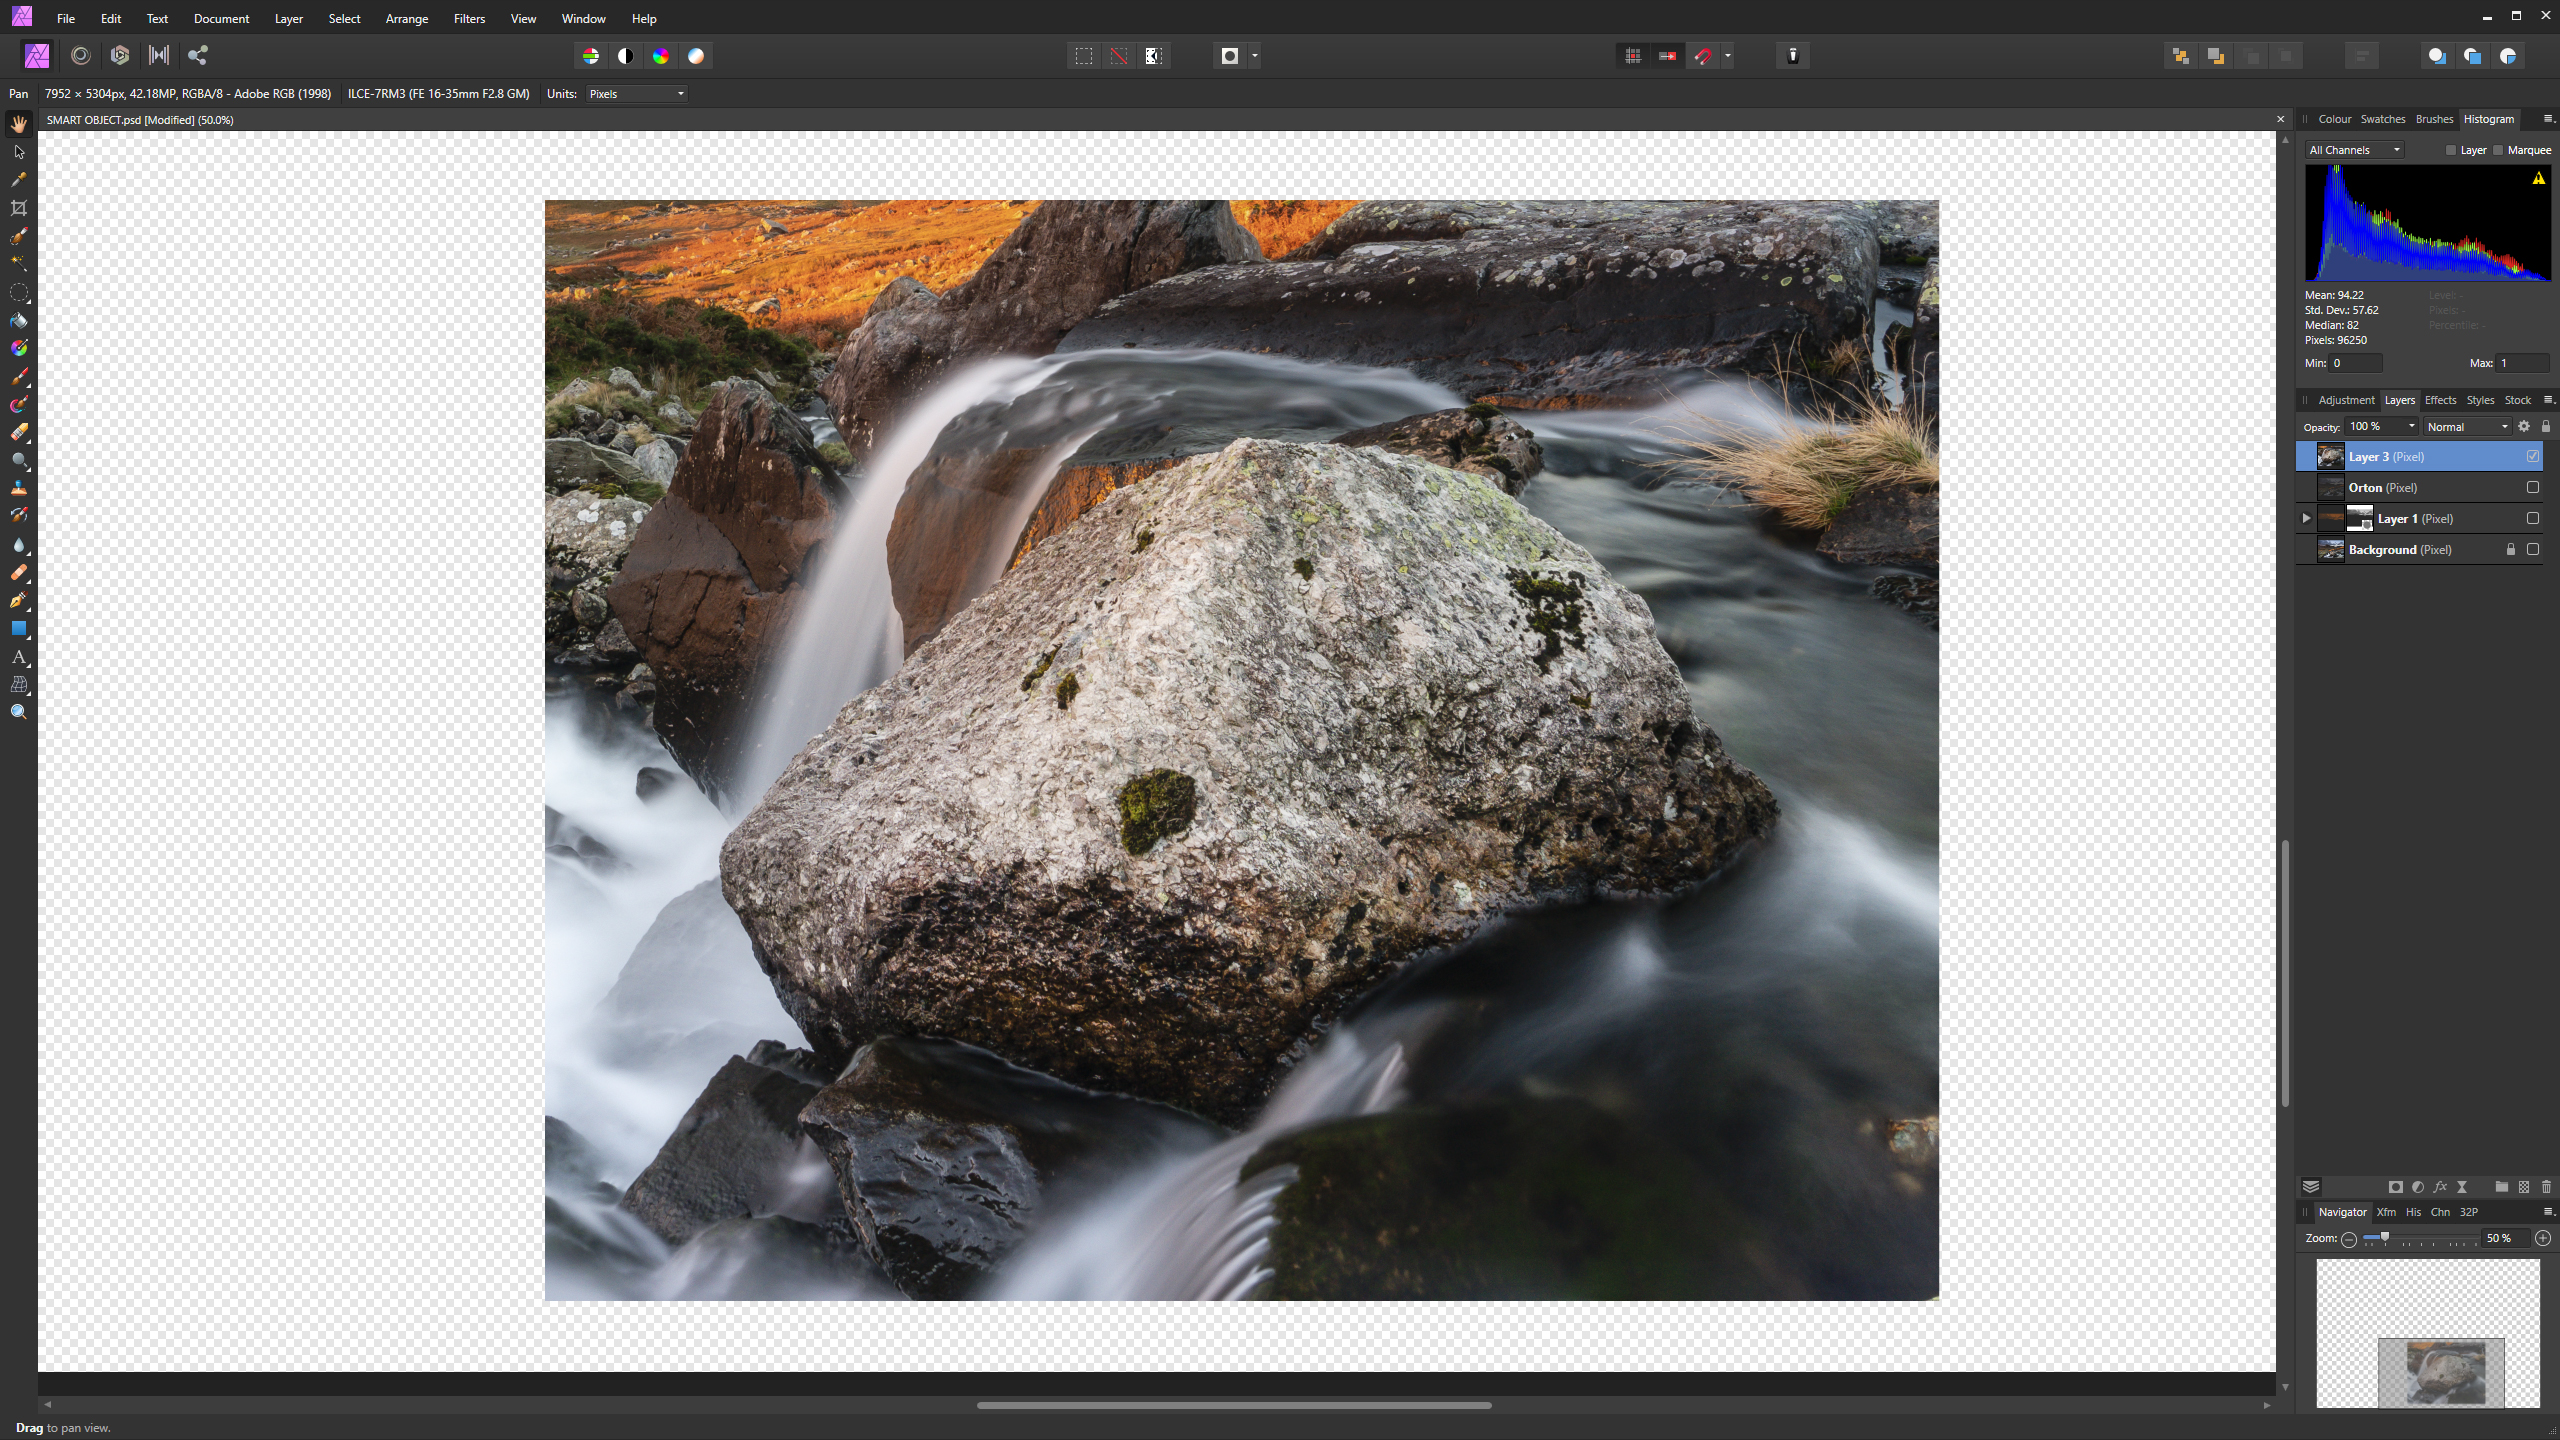
In a move that adds greater compatibility with file types and users of other editing software, PSDs (Photoshop Documents) with Smart Objects Layers can now be imported and edited. Affinity Photo itself doesn’t use Smart Objects because of its ability to resize Layers losslessly, but this will be a welcome improvement for those working with others using Adobe software. This capability is also present in the iPad version of the software – this features on our list of the best photo apps you can get right now.
Other notable features include a new document dialog that features a large number of presets with thumbnail previews and the ability to create your own. But unfortunately, when you take a screengrab, the dialog doesn’t offer a clipboard size document option to paste into. There has also been an update to the Selection Brush Tool in the form of antialiasing that reduces the need to refine selection edges in some cases.
Interface and usability
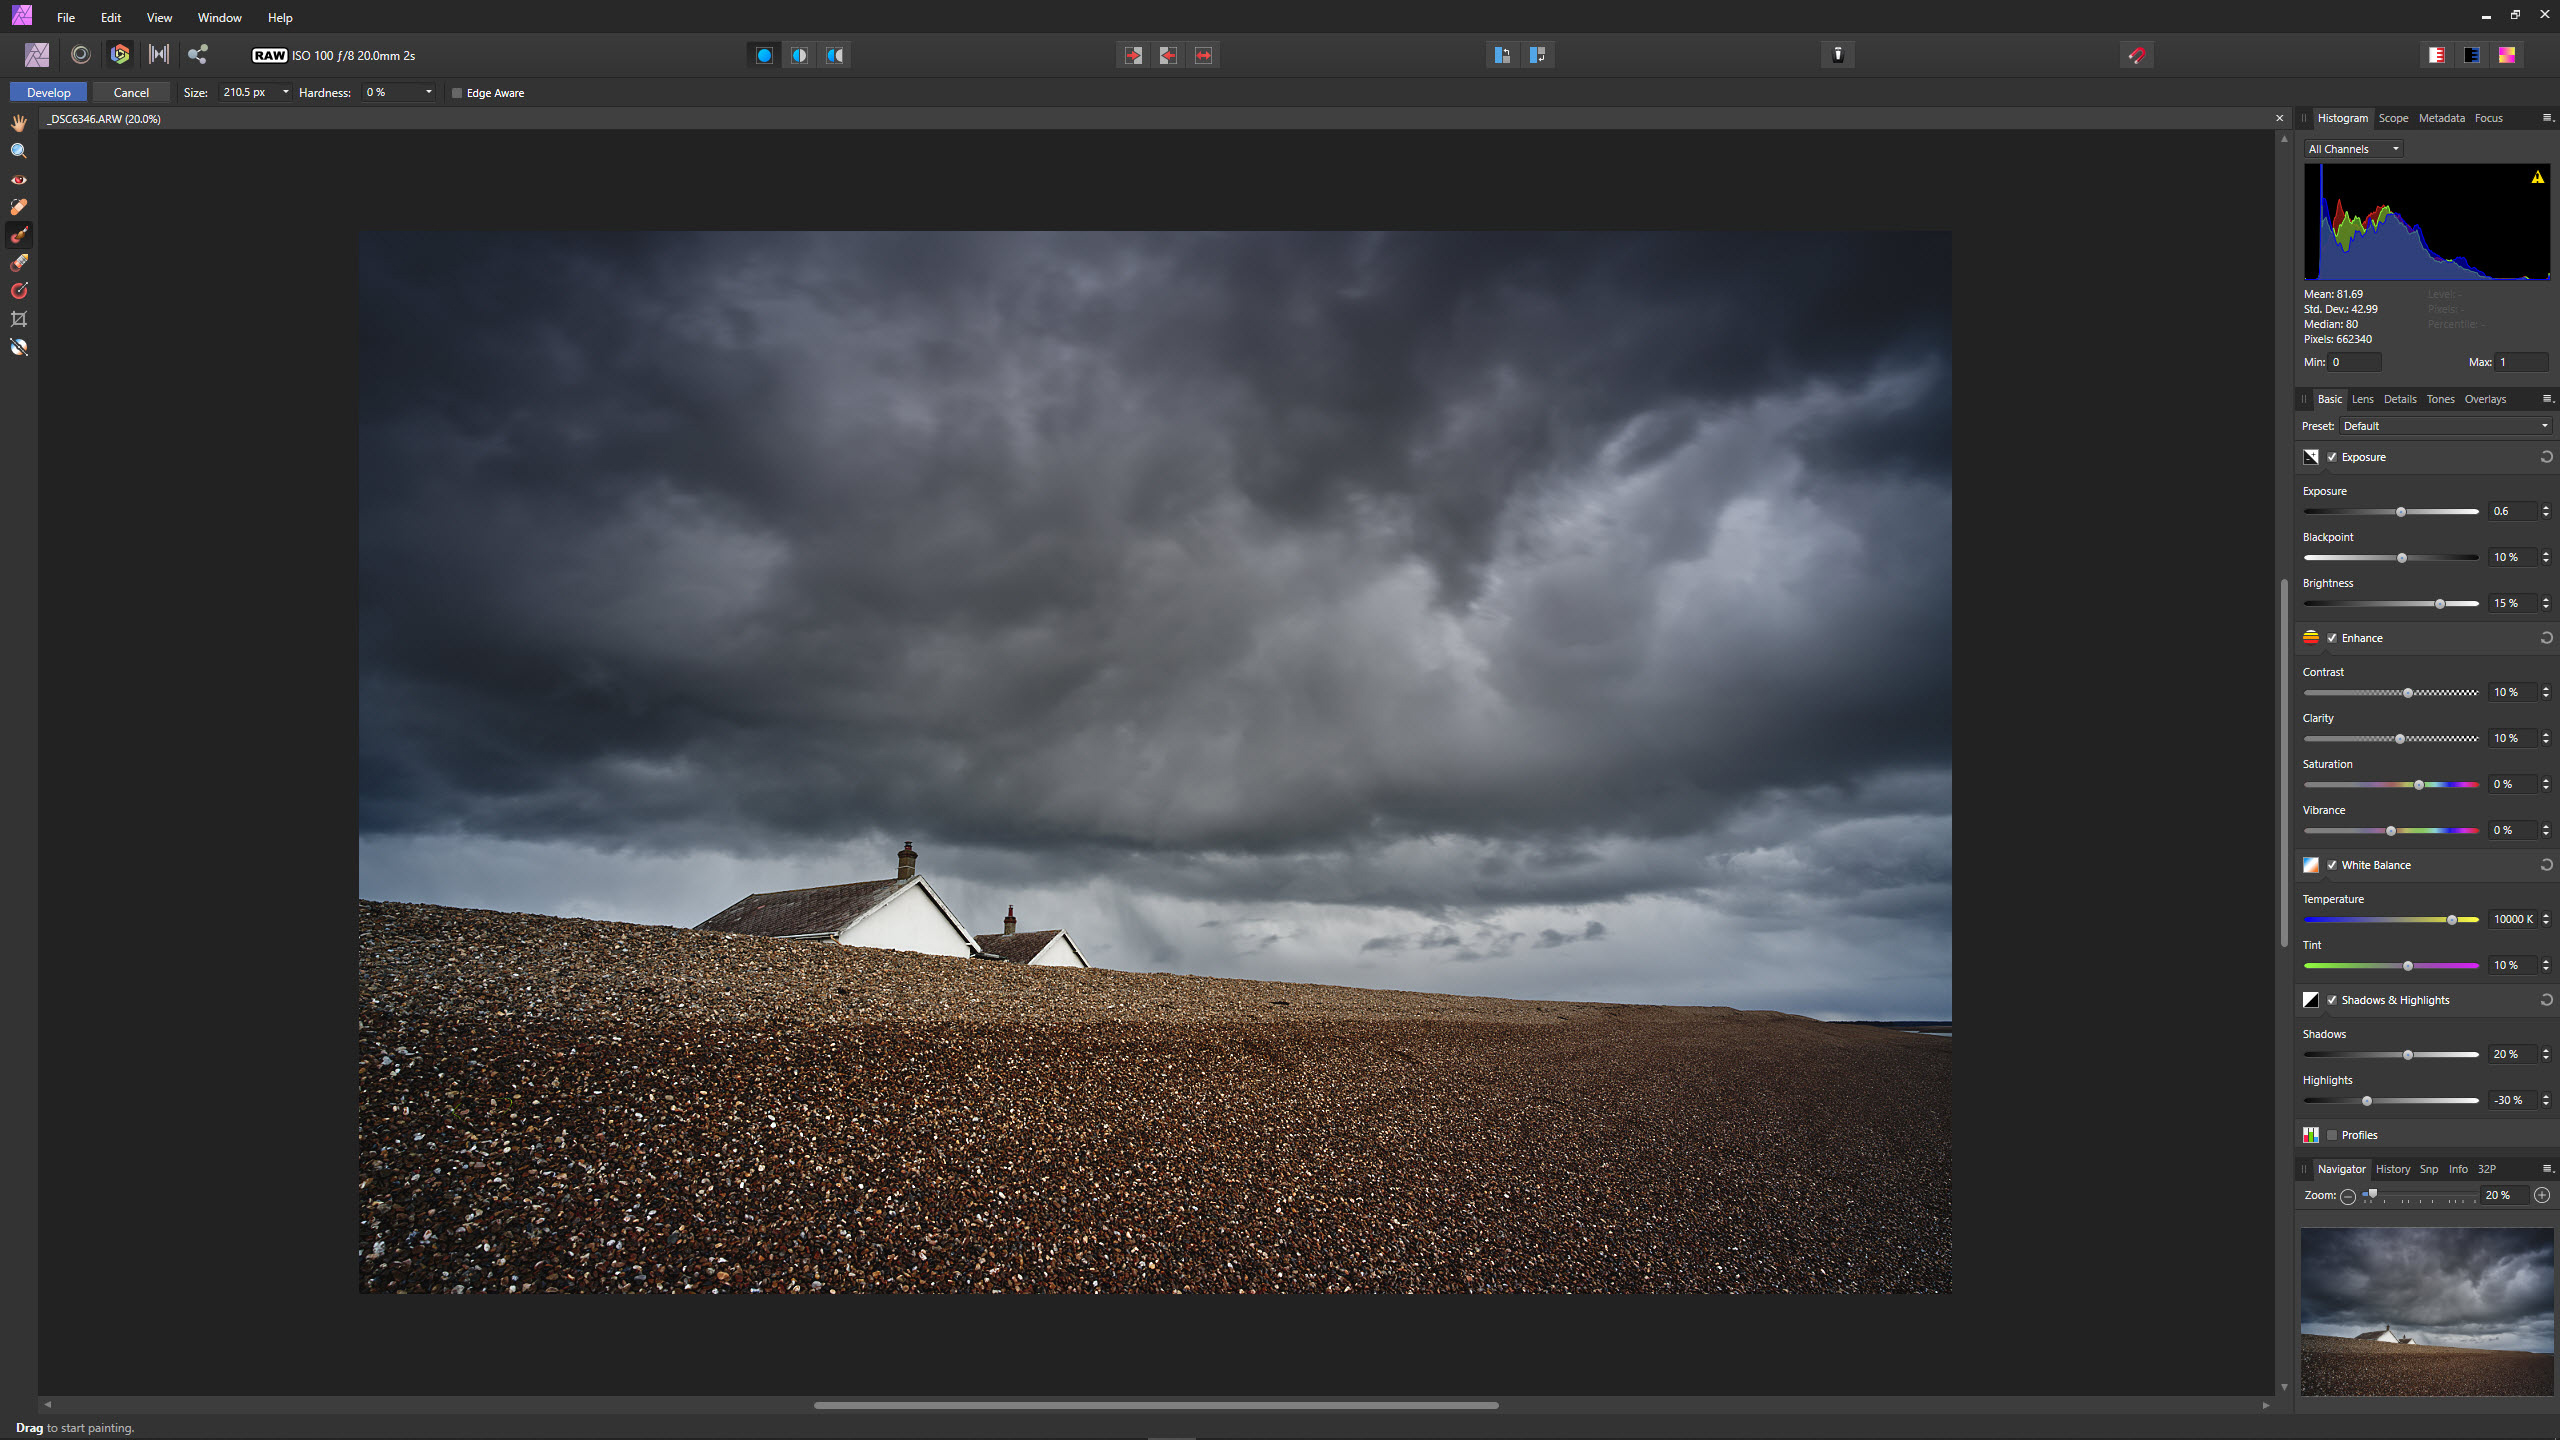
The interface is split into what Serif calls ‘Personas’, which are workspaces within the interface that allow you to perform specific tasks. The Personas are self-explanatory and include The Photo Persona for normal image editing, the Liquify Persona for manipulating pixels, the Develop Persona for Raw processing, the Tone Mapping Persona for HDR and the Export Persona for Exporting images. In many cases, the relevant Persona will be automatically selected when you initiate a specific task using the main menu or by opening a raw file, for instance.
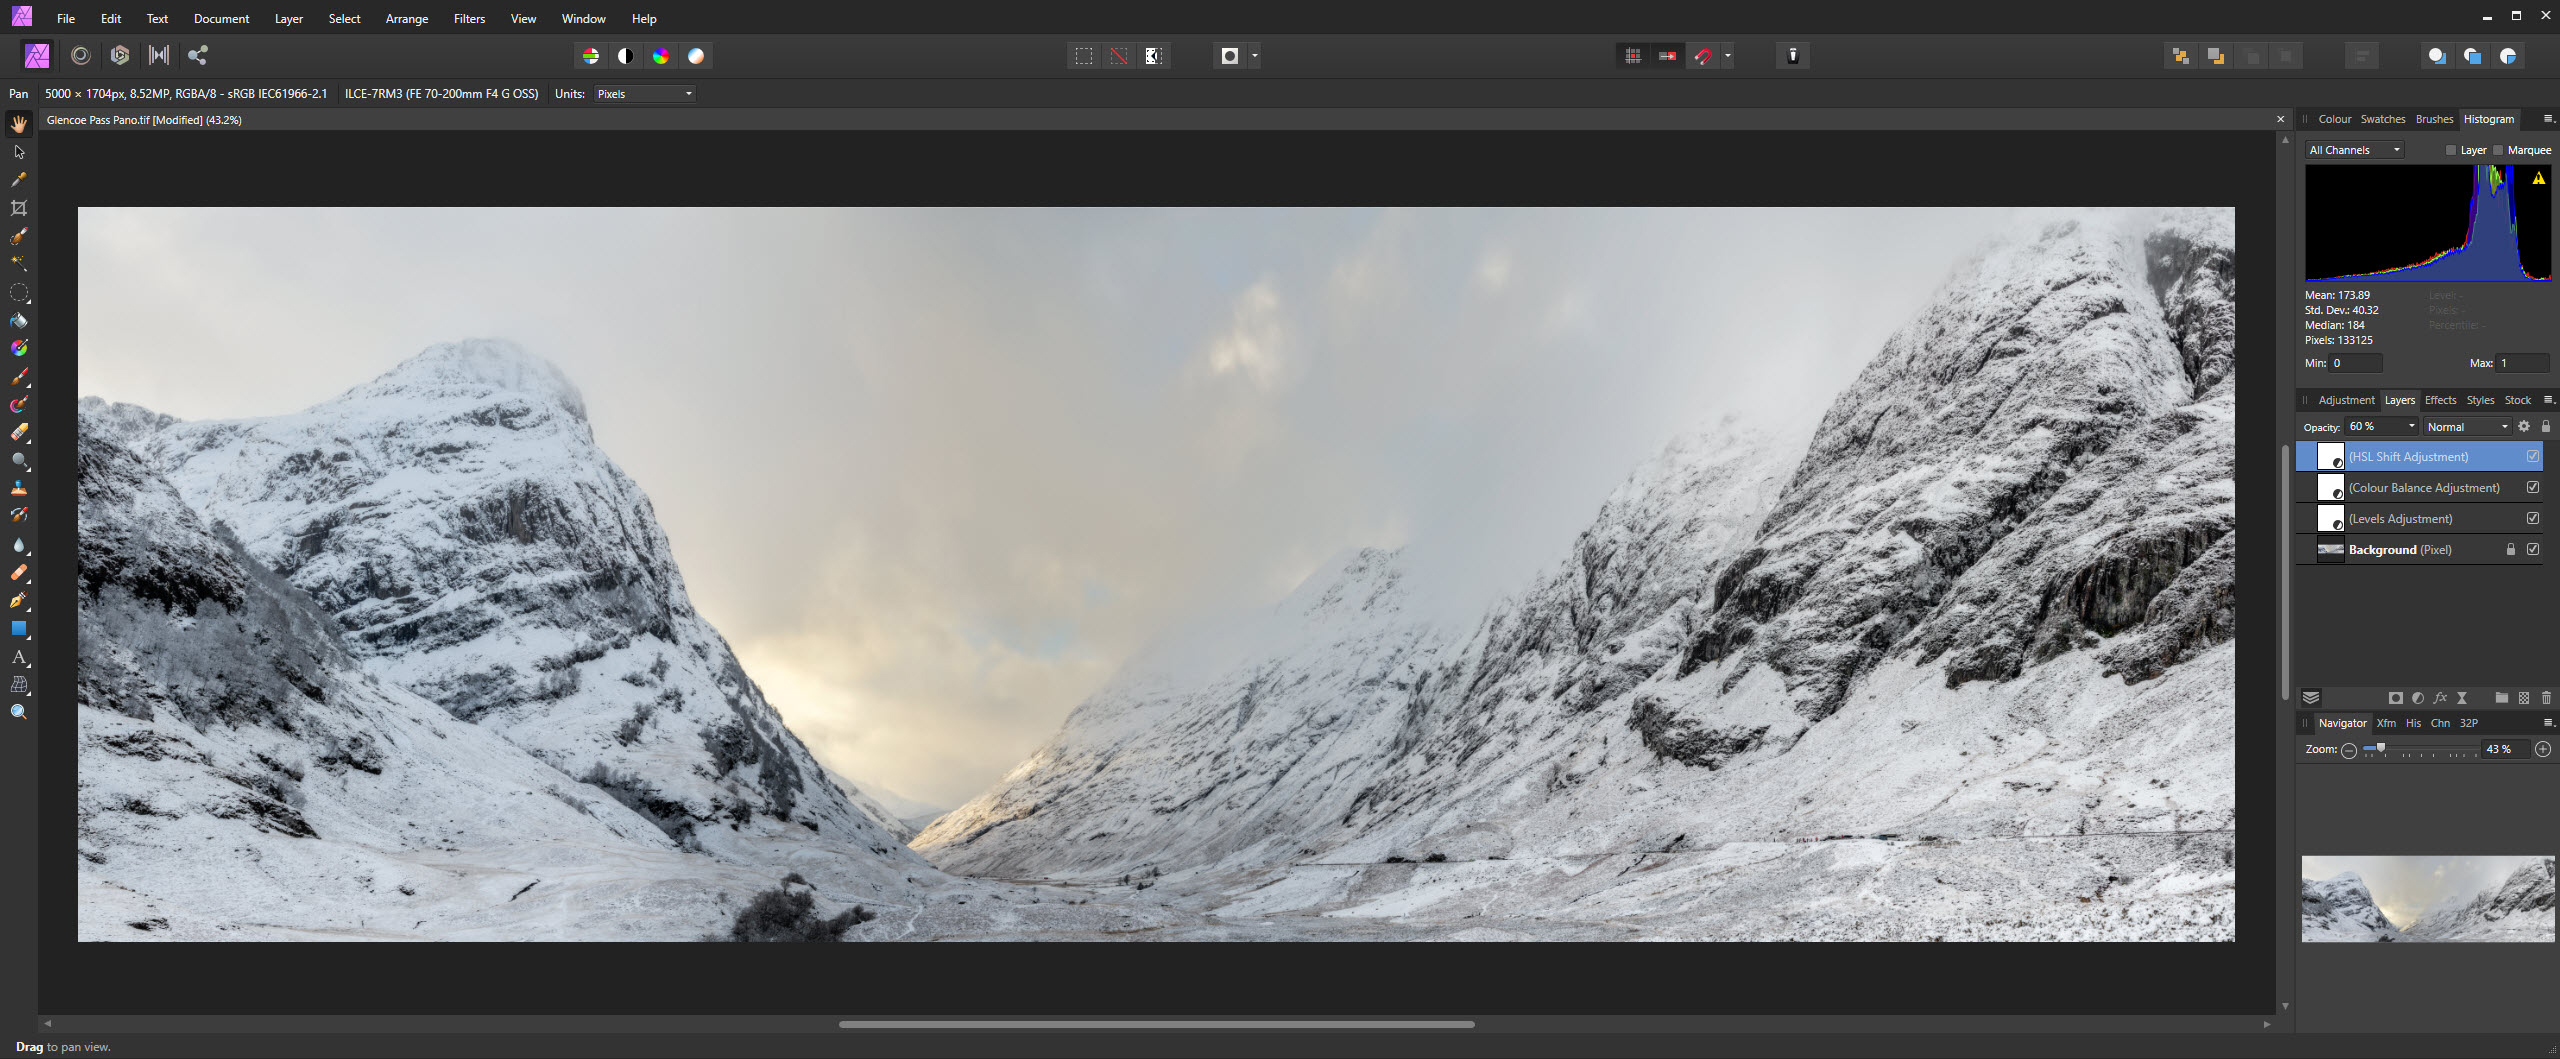
At first glance, the Affinity interface is well laid out with most controls located where you’d expect to find them; at a basic to intermediate level, if you’re familiar with other editing software it only takes 5-10 minutes to familiarise yourself with the layout and begin editing your images. The dark grey workspace is made up of the main menu along the top with Personas and a customisable toolbar below, a tool panel on the left and all the panel such as Layers, Histogram, History, Navigator and Channels etc. on the right.
When processing raw files, images open in the standard interface window within the Develop Persona, which is a dedicated area where all the editing controls are situated for raw image processing. And when opening multiple raw files, they open into tabs so you can quickly and easily switch between images. For instance, localised adjustments when processing raw files have to be applied to individual Overlays that are tucked away in a tab and have to be clicked on to make the relevant adjustment active, and this includes selecting the Master Overlay to regain control of global adjustments.
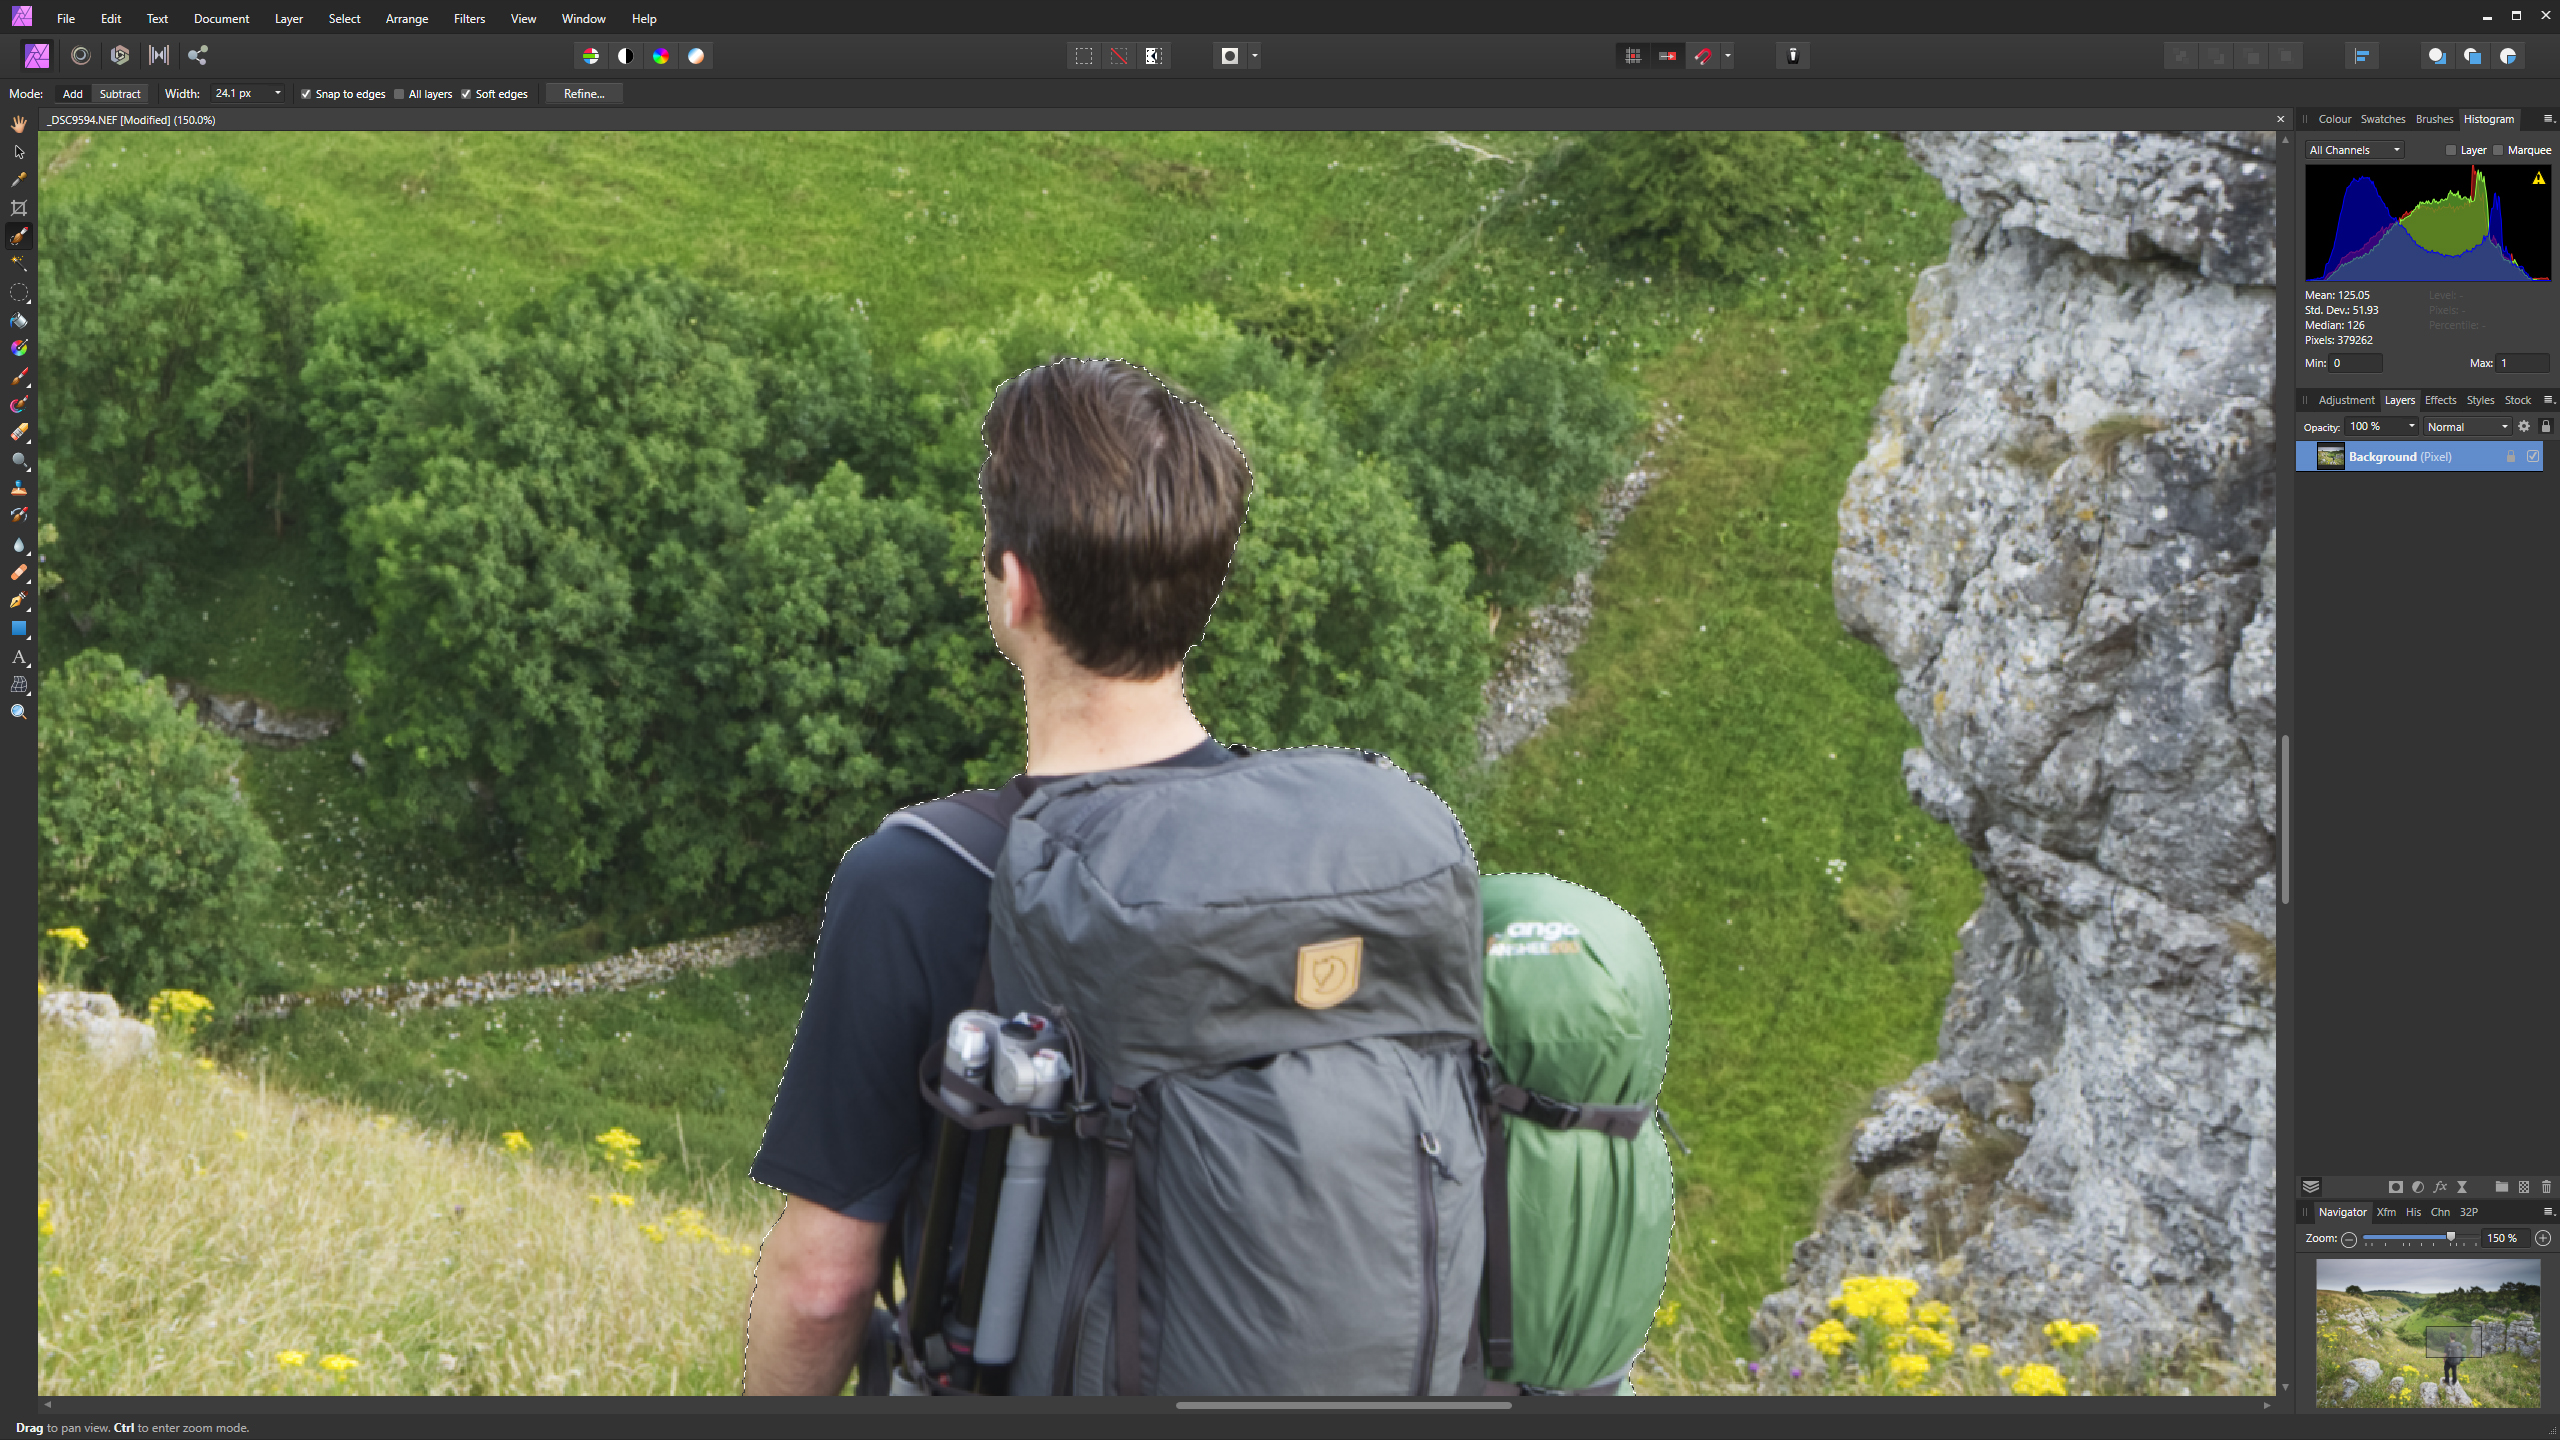
One quirk of the software comes in the form of saving and exporting images. If you simply save a layered file while you’re working on it, after processing the raw file, the only file type you can use is the native .afphoto option. If you’d prefer to save as a TIFF or PSD, for instance, you have to export the image close the current image down and then reopen the file you just saved so you can then work on it and save it as usual.
Another quirk in this area is that you can open layered TIFFs and PSDs created in Photoshop and have full access to the Layers, but in order to provide access to Layers to Photoshop users you can only save as a PSD, as TIFFs open in Photoshop as if they’re flattened image files, even if they do indeed have Layers. This is only of relevance if you send layered files to people using Photoshop, but an important point worth noting.
Quality of results
Images processed in raw can be sharpened but the result is much milder than in Adobe Camera Raw and Lightroom, so using Unsharp Mask is often necessary to reach the desired level of sharpness in images. That said, it’s only when you pixel peep that this reveals itself and viewing images at 75% or below look absolutely fine. Ultimately, ACR and Lightroom apply sharpening automatically with manual control available, whereas in Affinity Photo the process is entirely manual, which some people may prefer.


Beyond this, the image quality possible with this software remains high – we have no complaints here whatsoever – and both simple and advanced editing techniques can be employed. The HDR merge feature of Affinity Photo is easy to use, and while the results lean towards the obvious HDR look, it is possible to create more natural-looking images with raw files or processed bracketed shots saved in other file formats.

Verdict
In some ways, Affinity Photo is better than Photoshop and more intuitive, although in others it’s the complete opposite. Saying one is better than the other simply isn’t clear cut, but Photoshop arguably has slightly more finesse when it comes to the workspace and overall performance. However, the low cost of the perpetual licence means that Affinity Photo represents excellent value for money, especially if you paying a regular subscription for the Adobe Creative Cloud Photography Plan.
Many of the features, functionality, controls and even keyboard shortcuts are identical to Photoshop so those transitioning from one to the other will generally find themselves feeling quickly at home, although some features can take a little more digging to find.
Could Affinity replace Photoshop in your workflow? The simple answer is yes, it most certainly could, whether you’re a keen amateur or a professional photographer. It really comes down to what you prefer and how you like to pay for software, but with a free trial of Affinity Photo available there’s absolutely no reason not to give it a try to see how you get on.
Read more:
• This is the best photo editing software right now
• Short of cash? We pick the best free photo editing software
• These are the best photo-editing laptops today
James Abbott is a landscape and portrait photographer based in Cambridge. He’s also an experienced photography journalist specializing in camera skills and Photoshop techniques. He is also a CAA-approved drone pilot and professional aerial photographer.
