Capture One tips and tutorials: top 10 pro secrets for this high-end Lightroom rival
Pro photographer Paul Reiffer reveals his top 10 tips for Capture One's professional photo editing application
The best camera deals, reviews, product advice, and unmissable photography news, direct to your inbox!
You are now subscribed
Your newsletter sign-up was successful
We asked pro photographer and Capture One user Paul Reiffer to share his top 10 editing tips. He explains some of this software's most useful and least known features, and at the same time offers advice on subtle and effective photo editing. Click on the links below to read the full article.
Capture One is a professional photo organising and editing application that's a direct rival to Lightroom and pitched at pro users who need tethered shooting tools, a choice of workflows and best-in-class raw processing and image enhancement. Capture One is available either for a single one-off fee, or as a subscription. Capture One also sells Style packs (presets) and has recently introduced Capture One Live, a subscription services offering remote live client and co-worker collaboration via a regular web browser.
01. Clarity: give your images extra punch
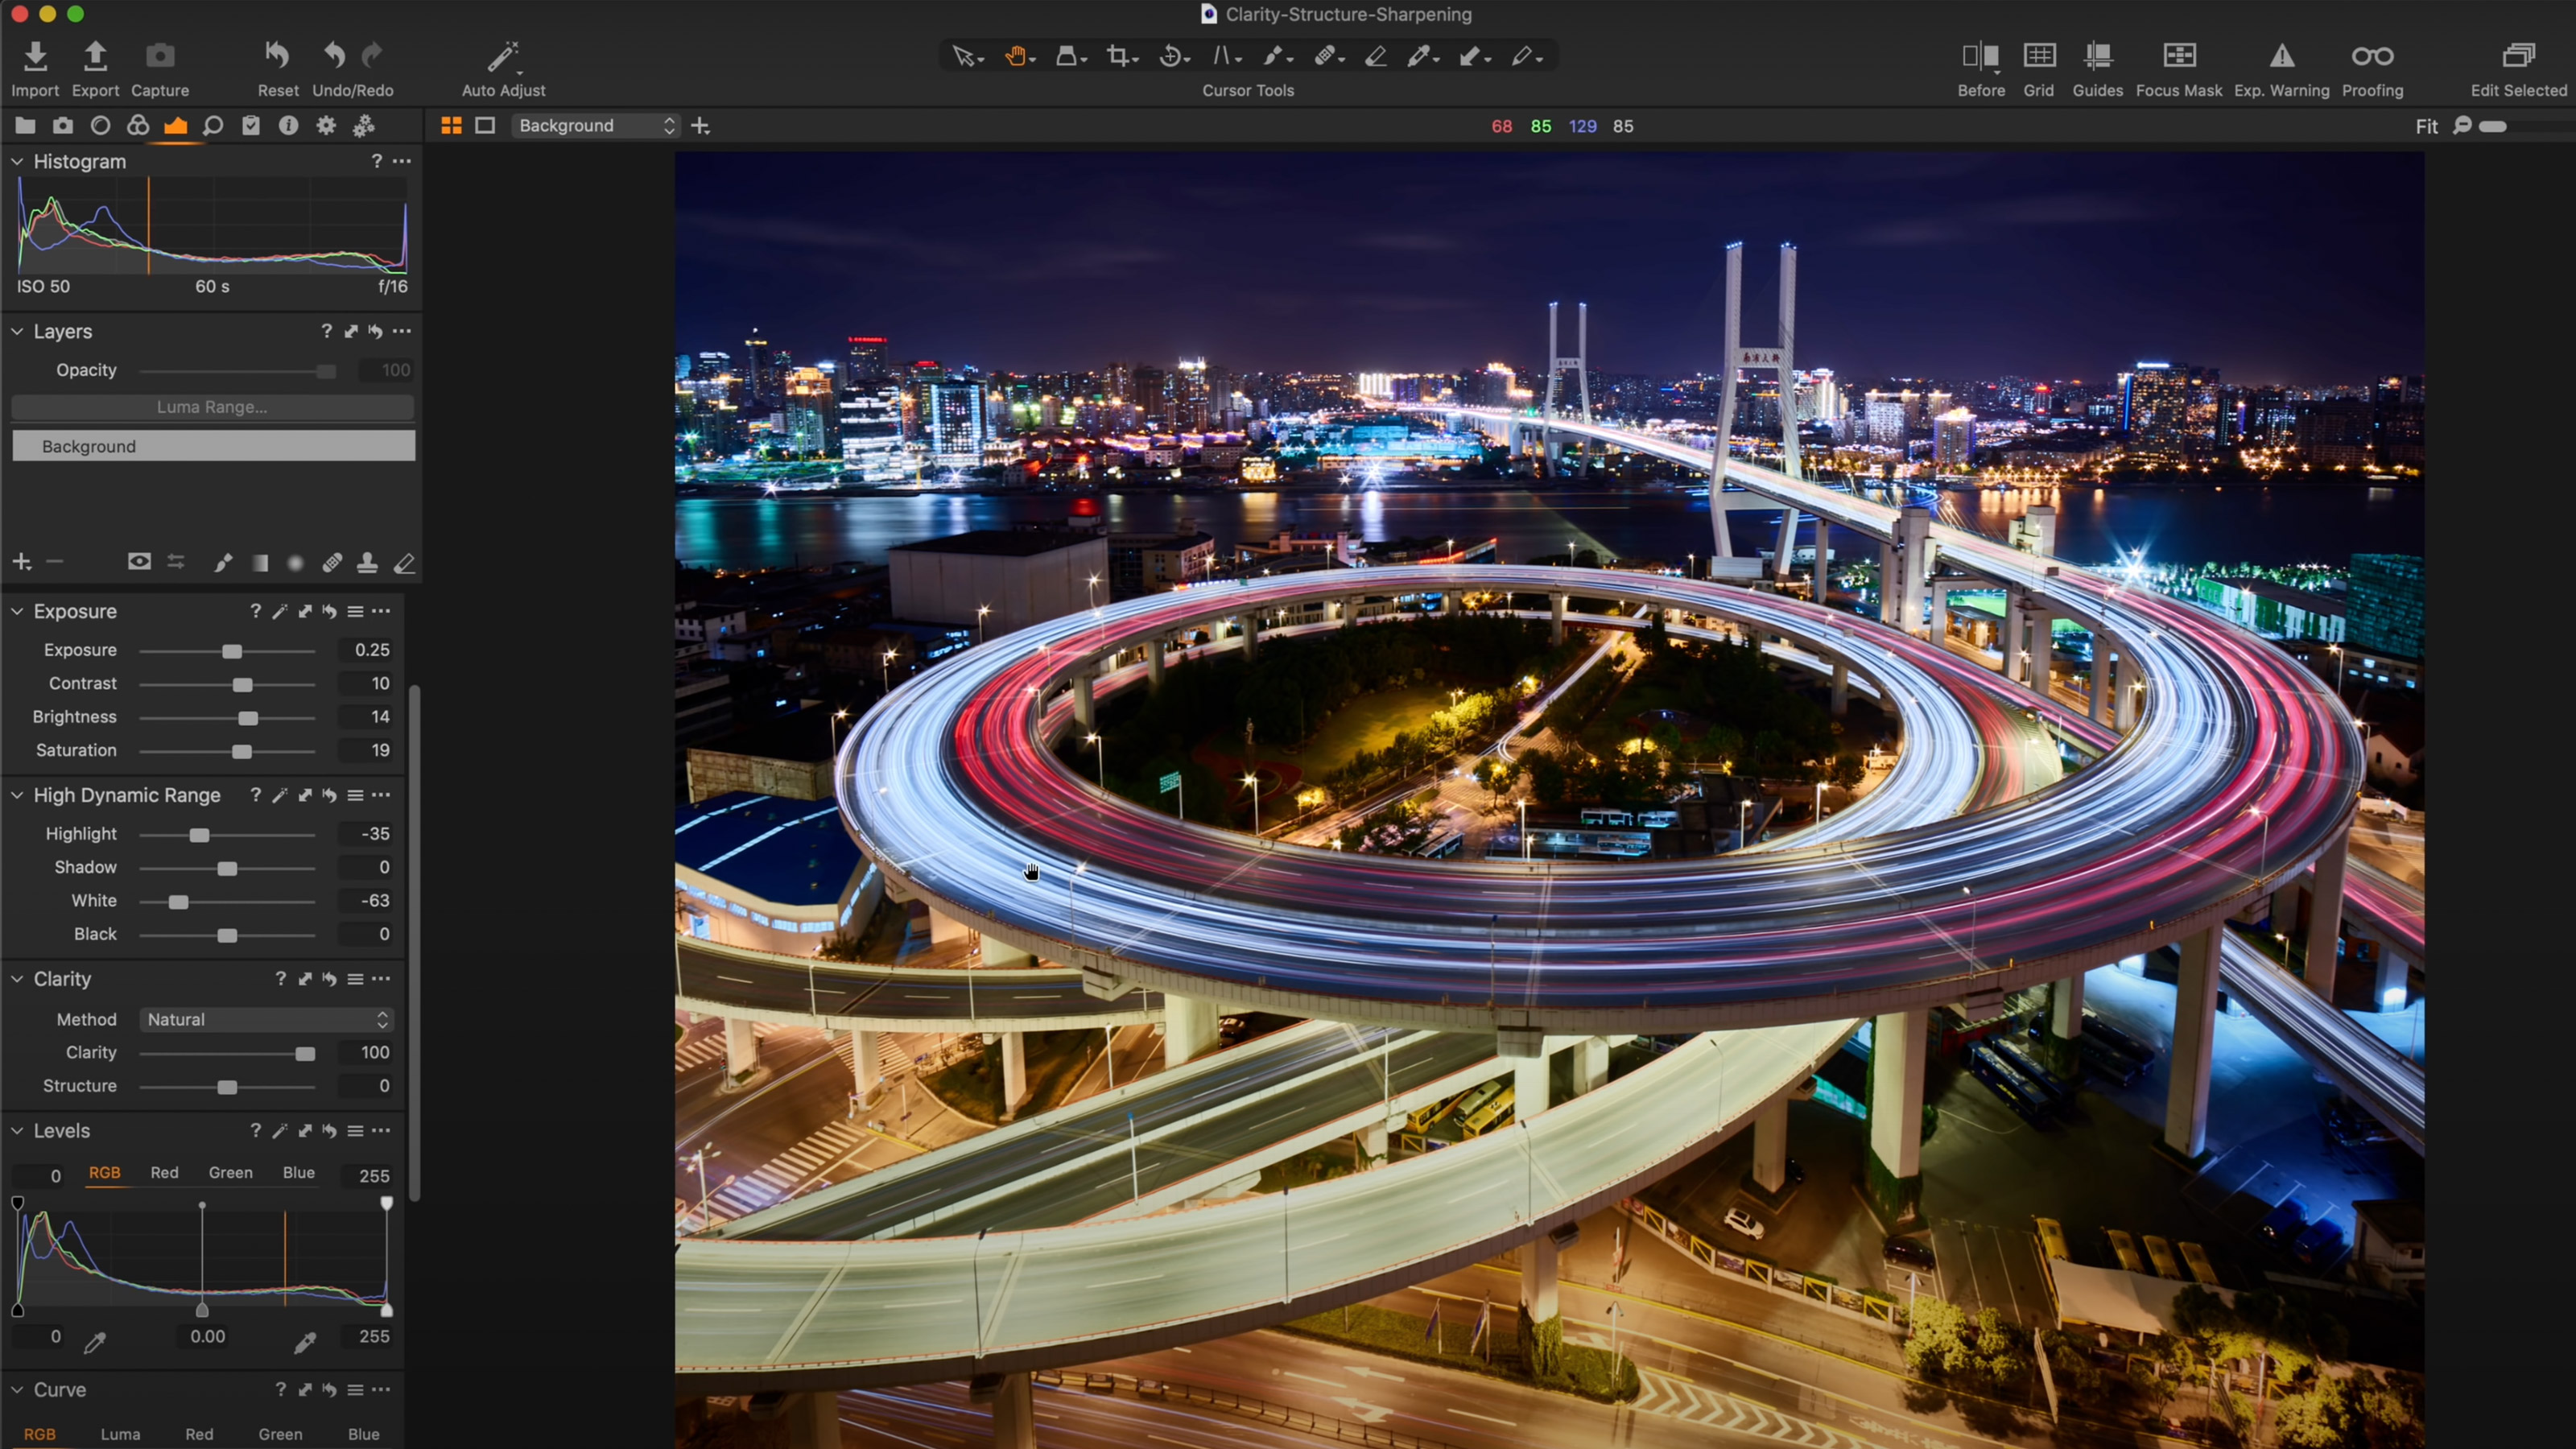
The Clarity tool is one of Capture One’s most powerful features for cityscape edits – adding a much-needed boost to mid-contrast elements in your shot. In a sense, it can be seen as a “mid-tone enhancer” for areas that need some extra definition, but there are four different modes of Clarity enhancement that are included in Capture One – with each offering something quite different to your edit. Read more: The Clarity tool in Capture One
Article continues below02. Skin Tone tool: it's for more than just skin tones!
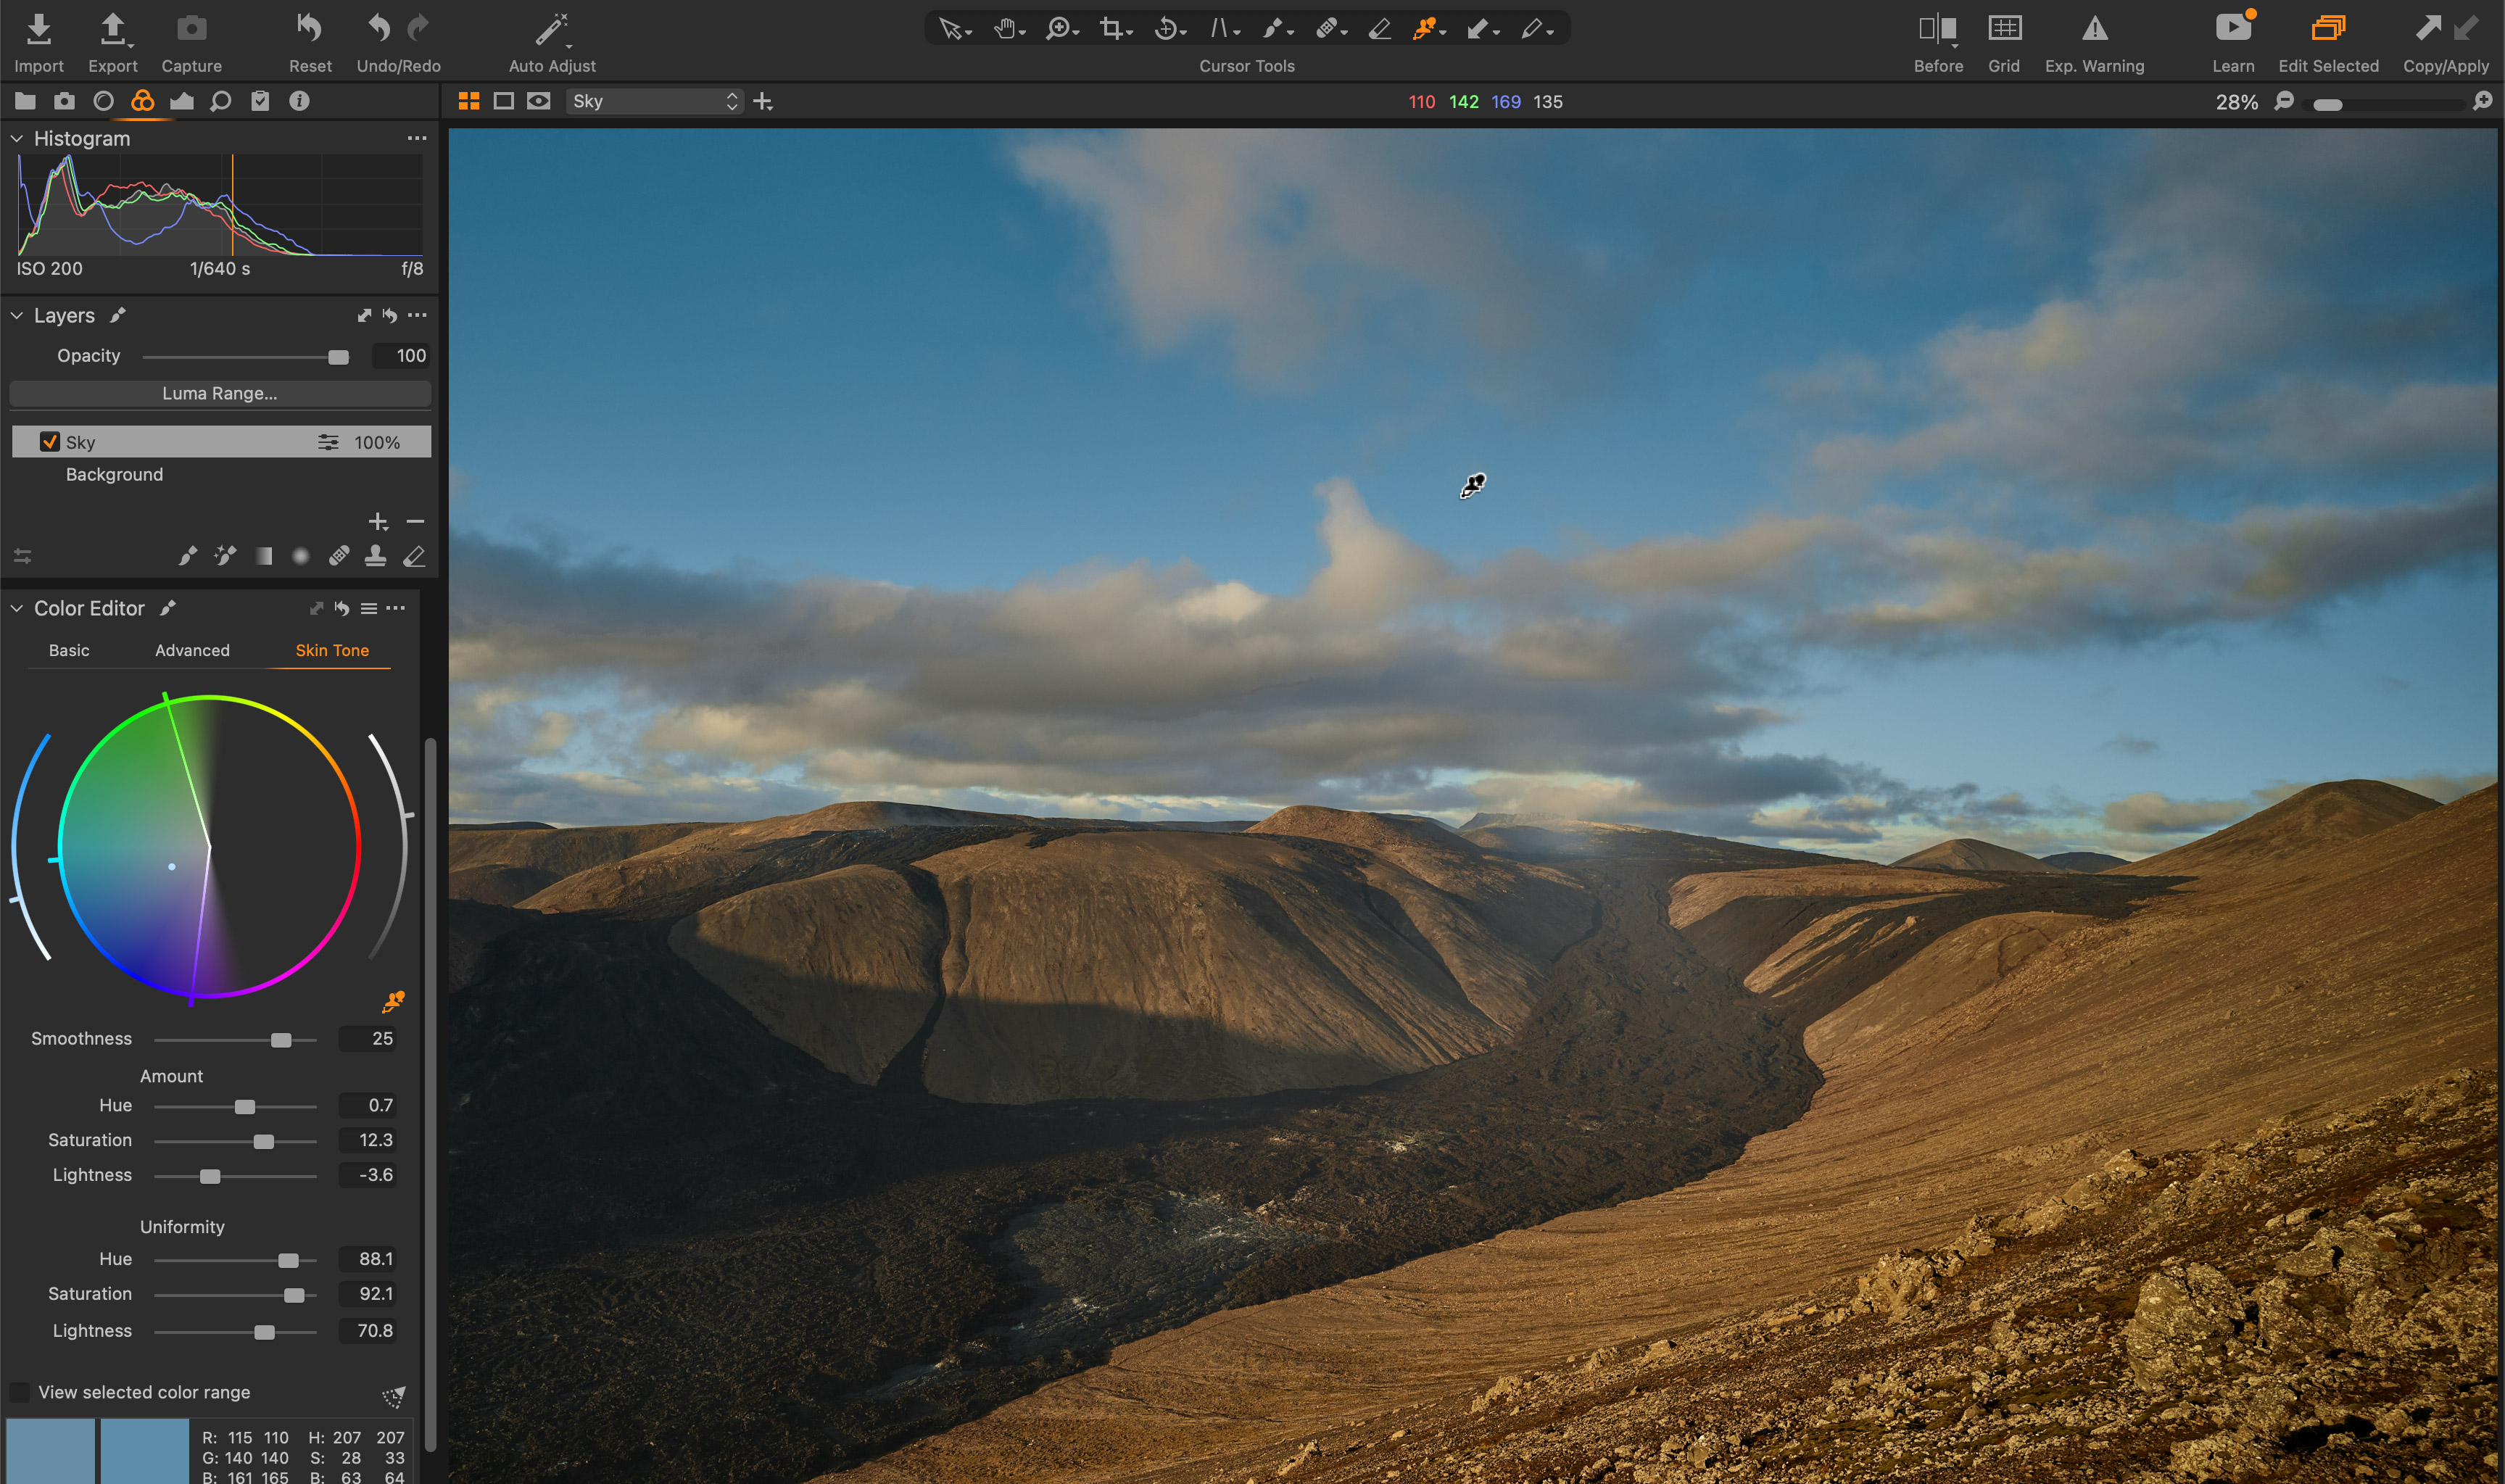
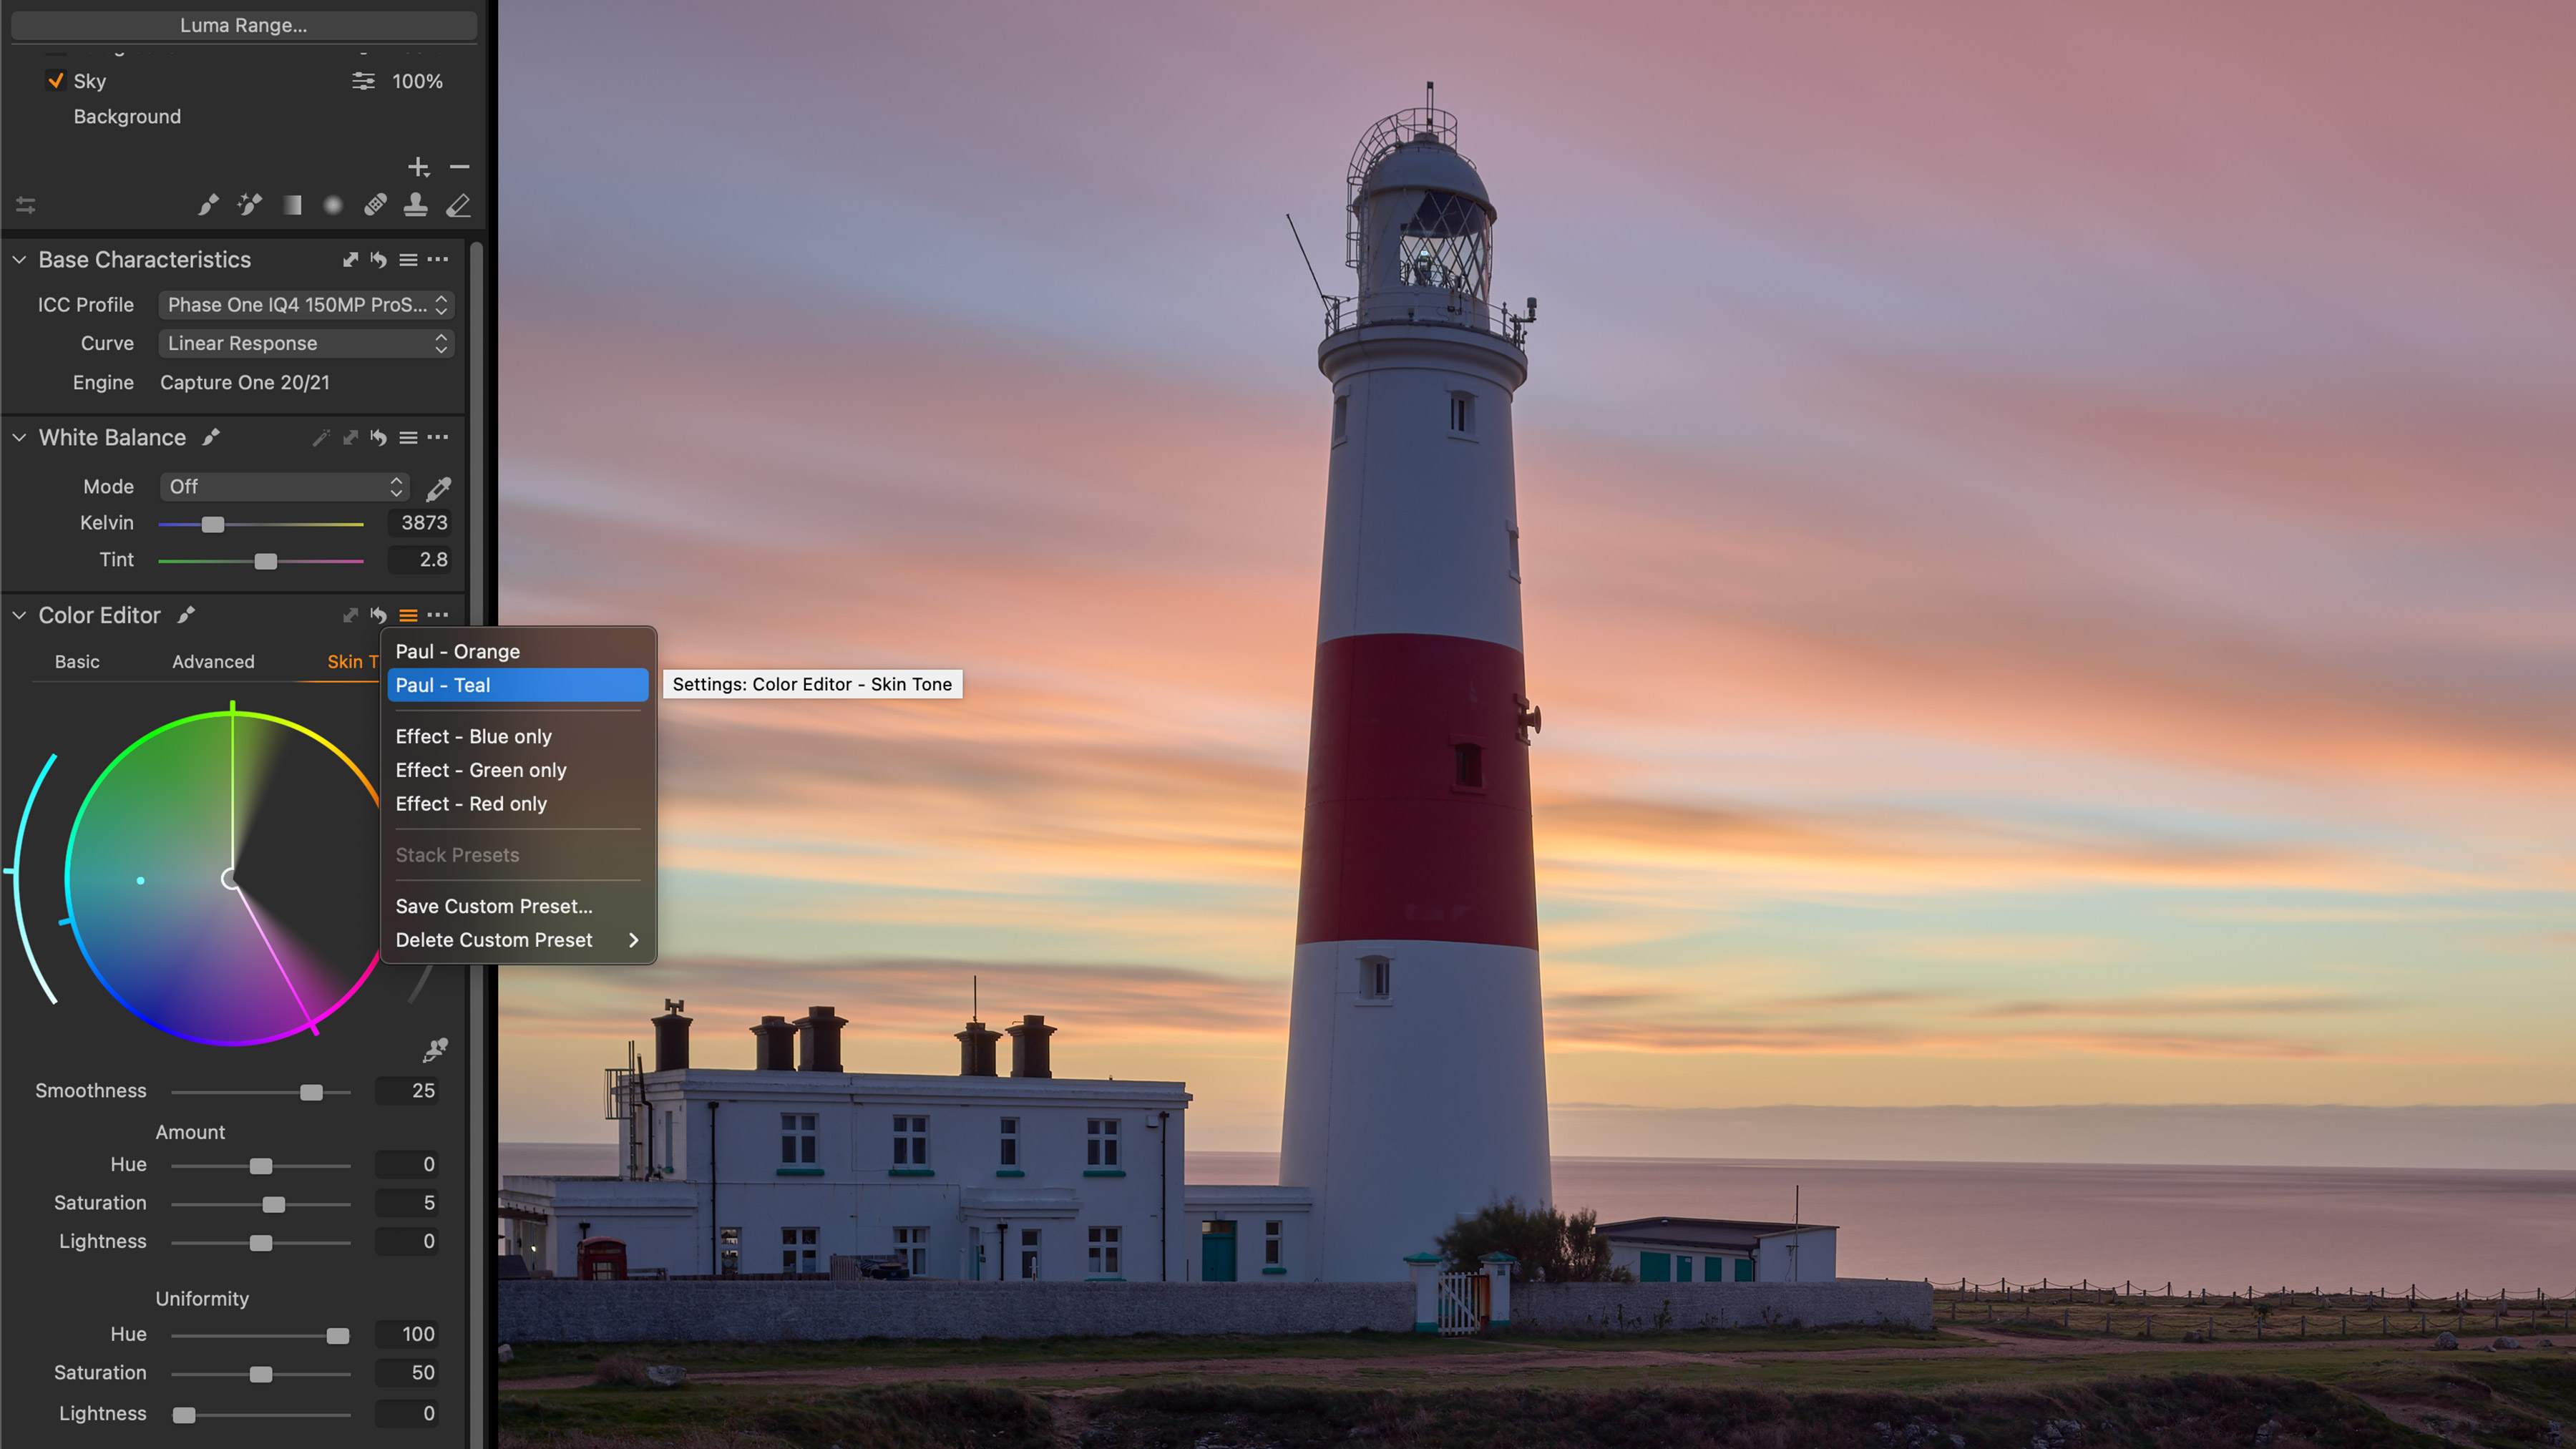
Landscape photographers will know that many factors can cause an uneven sky in your images – using a polariser on an ultra-wide lens, a filter placed in the wrong position, or even just the natural variation of color and brightness from the sun across the width of a scene. Read more: The Skin Tone tool in Capture One
03. Hot pixels: clean up your night time shots
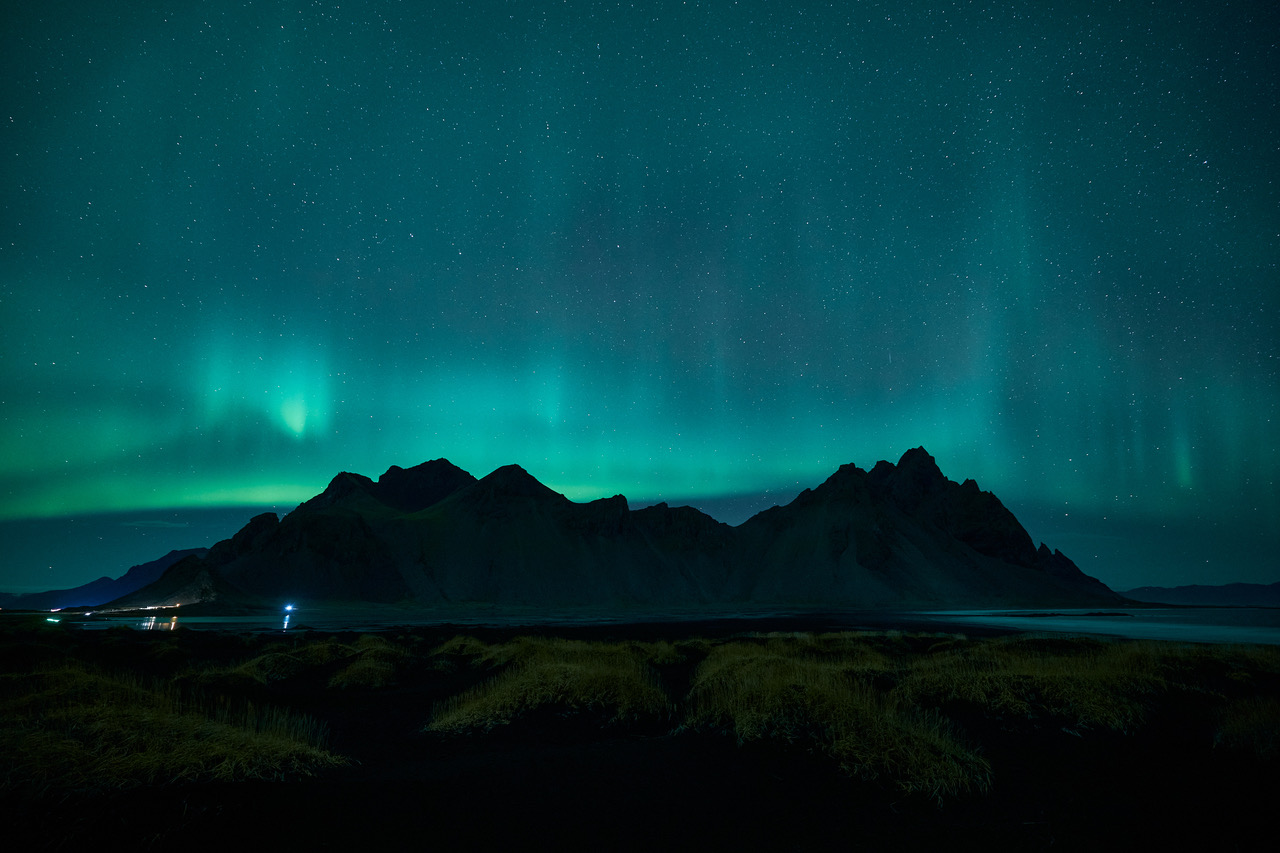
Sensors heat up when they are in continual use. And when sensors heat up, there is a chance that several pixels will become stuck, or “hot”, leading to a bright red, green or blue pixel that stands out from all others. It’s perfectly normal, and not considered a fault by the camera makers, it’s just a side-effect of long exposures, especially when capturing dark images. Read more: Fixing hot pixels in Capture One
04. Keystone correction: fix perspective issues
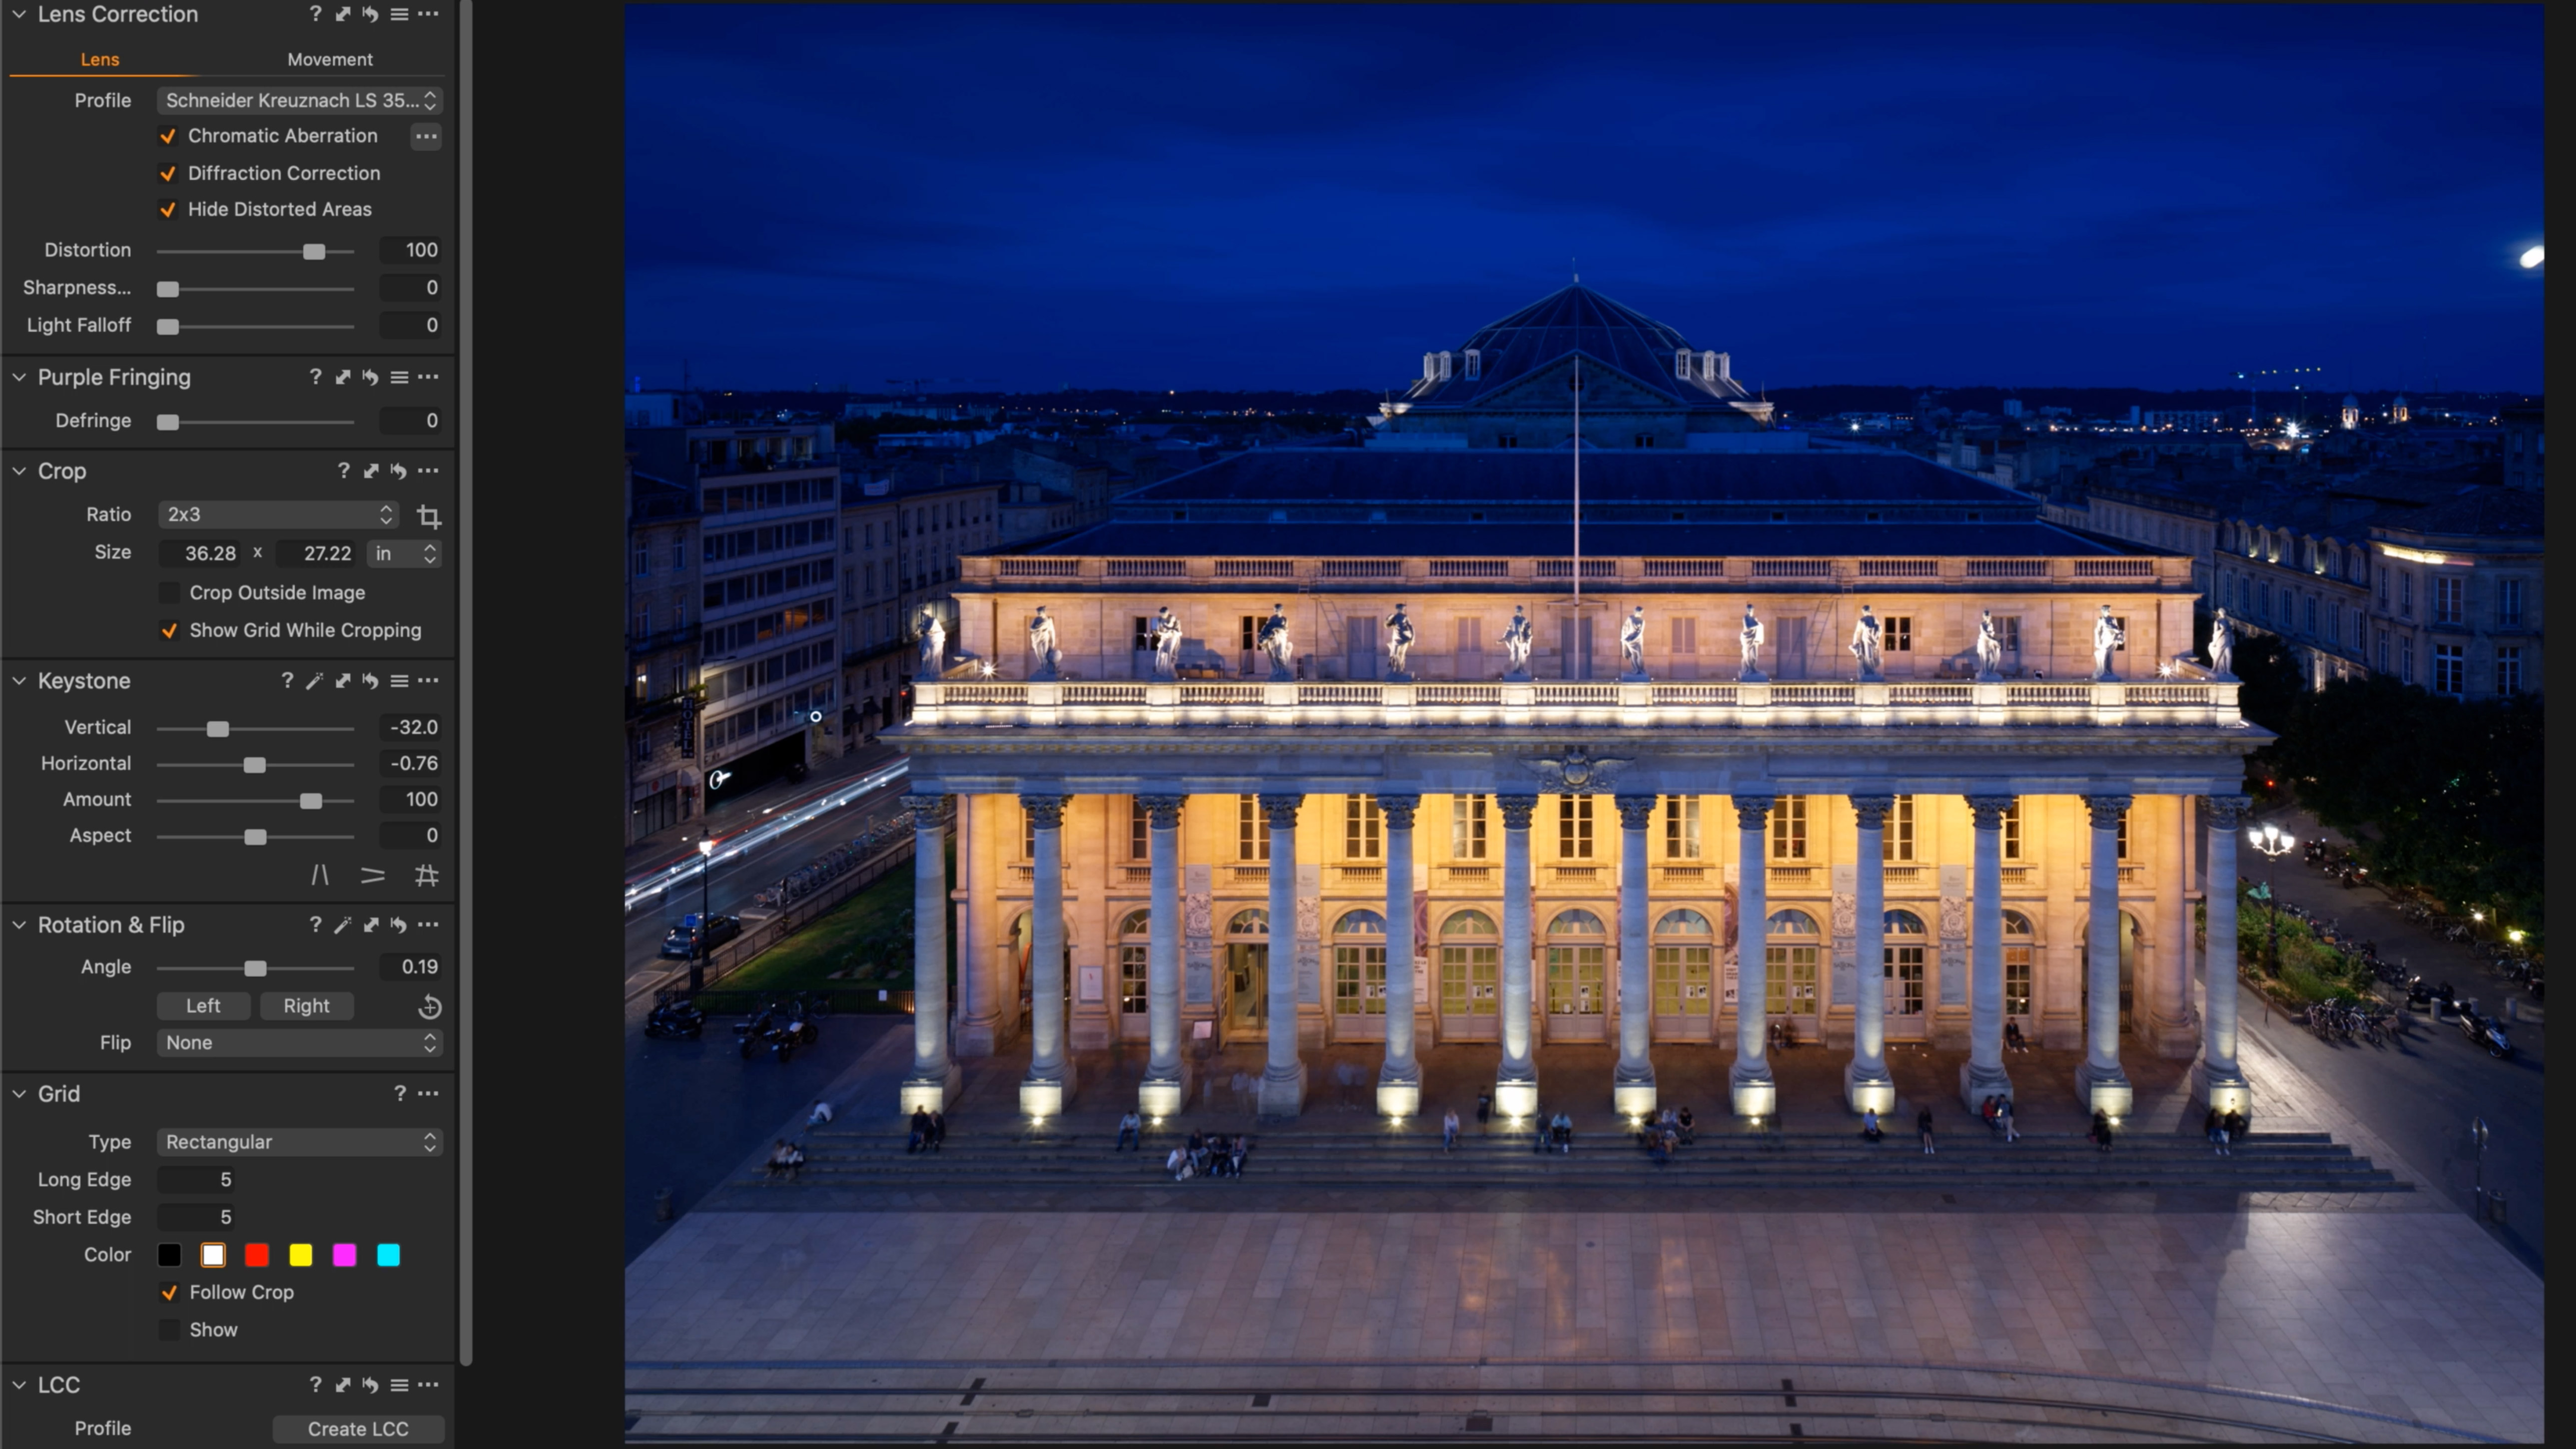
Whenever we shoot off-plane from an object, with standard lenses, we introduce perspective distortion. This is the effect where the part of the subject that is further away from us becomes smaller in the scene. Read more: Keystone correction in Capture One
05. Luma Range: selective masking based on tone
Capture One has an amazing array of helpful tools designed to select and adjust specific sections of your images – from Gradient Masks to the latest “Magic Brush”, Auto-Mask and, of course, the standard brush. But it’s sometimes easy to forget one of the most powerful tools available to us in terms of isolating areas of a challenging shot, that can be applied to each and every type of mask – The Luma Range. Read more: Luma Range masking in Capture One
The best camera deals, reviews, product advice, and unmissable photography news, direct to your inbox!
06. Presets, Styles and Style Brushes
Capture One’s styles, presets and style brushes have become a key creative ingredient in many peoples’ workflows – but many of us forget that we don’t need to stick with the stock versions that have been purchased or installed – we can create our own to reuse in future edits too. Read more: Presets, Styles and Style Brushes in Capture One
07. Lens corrections: why they matter
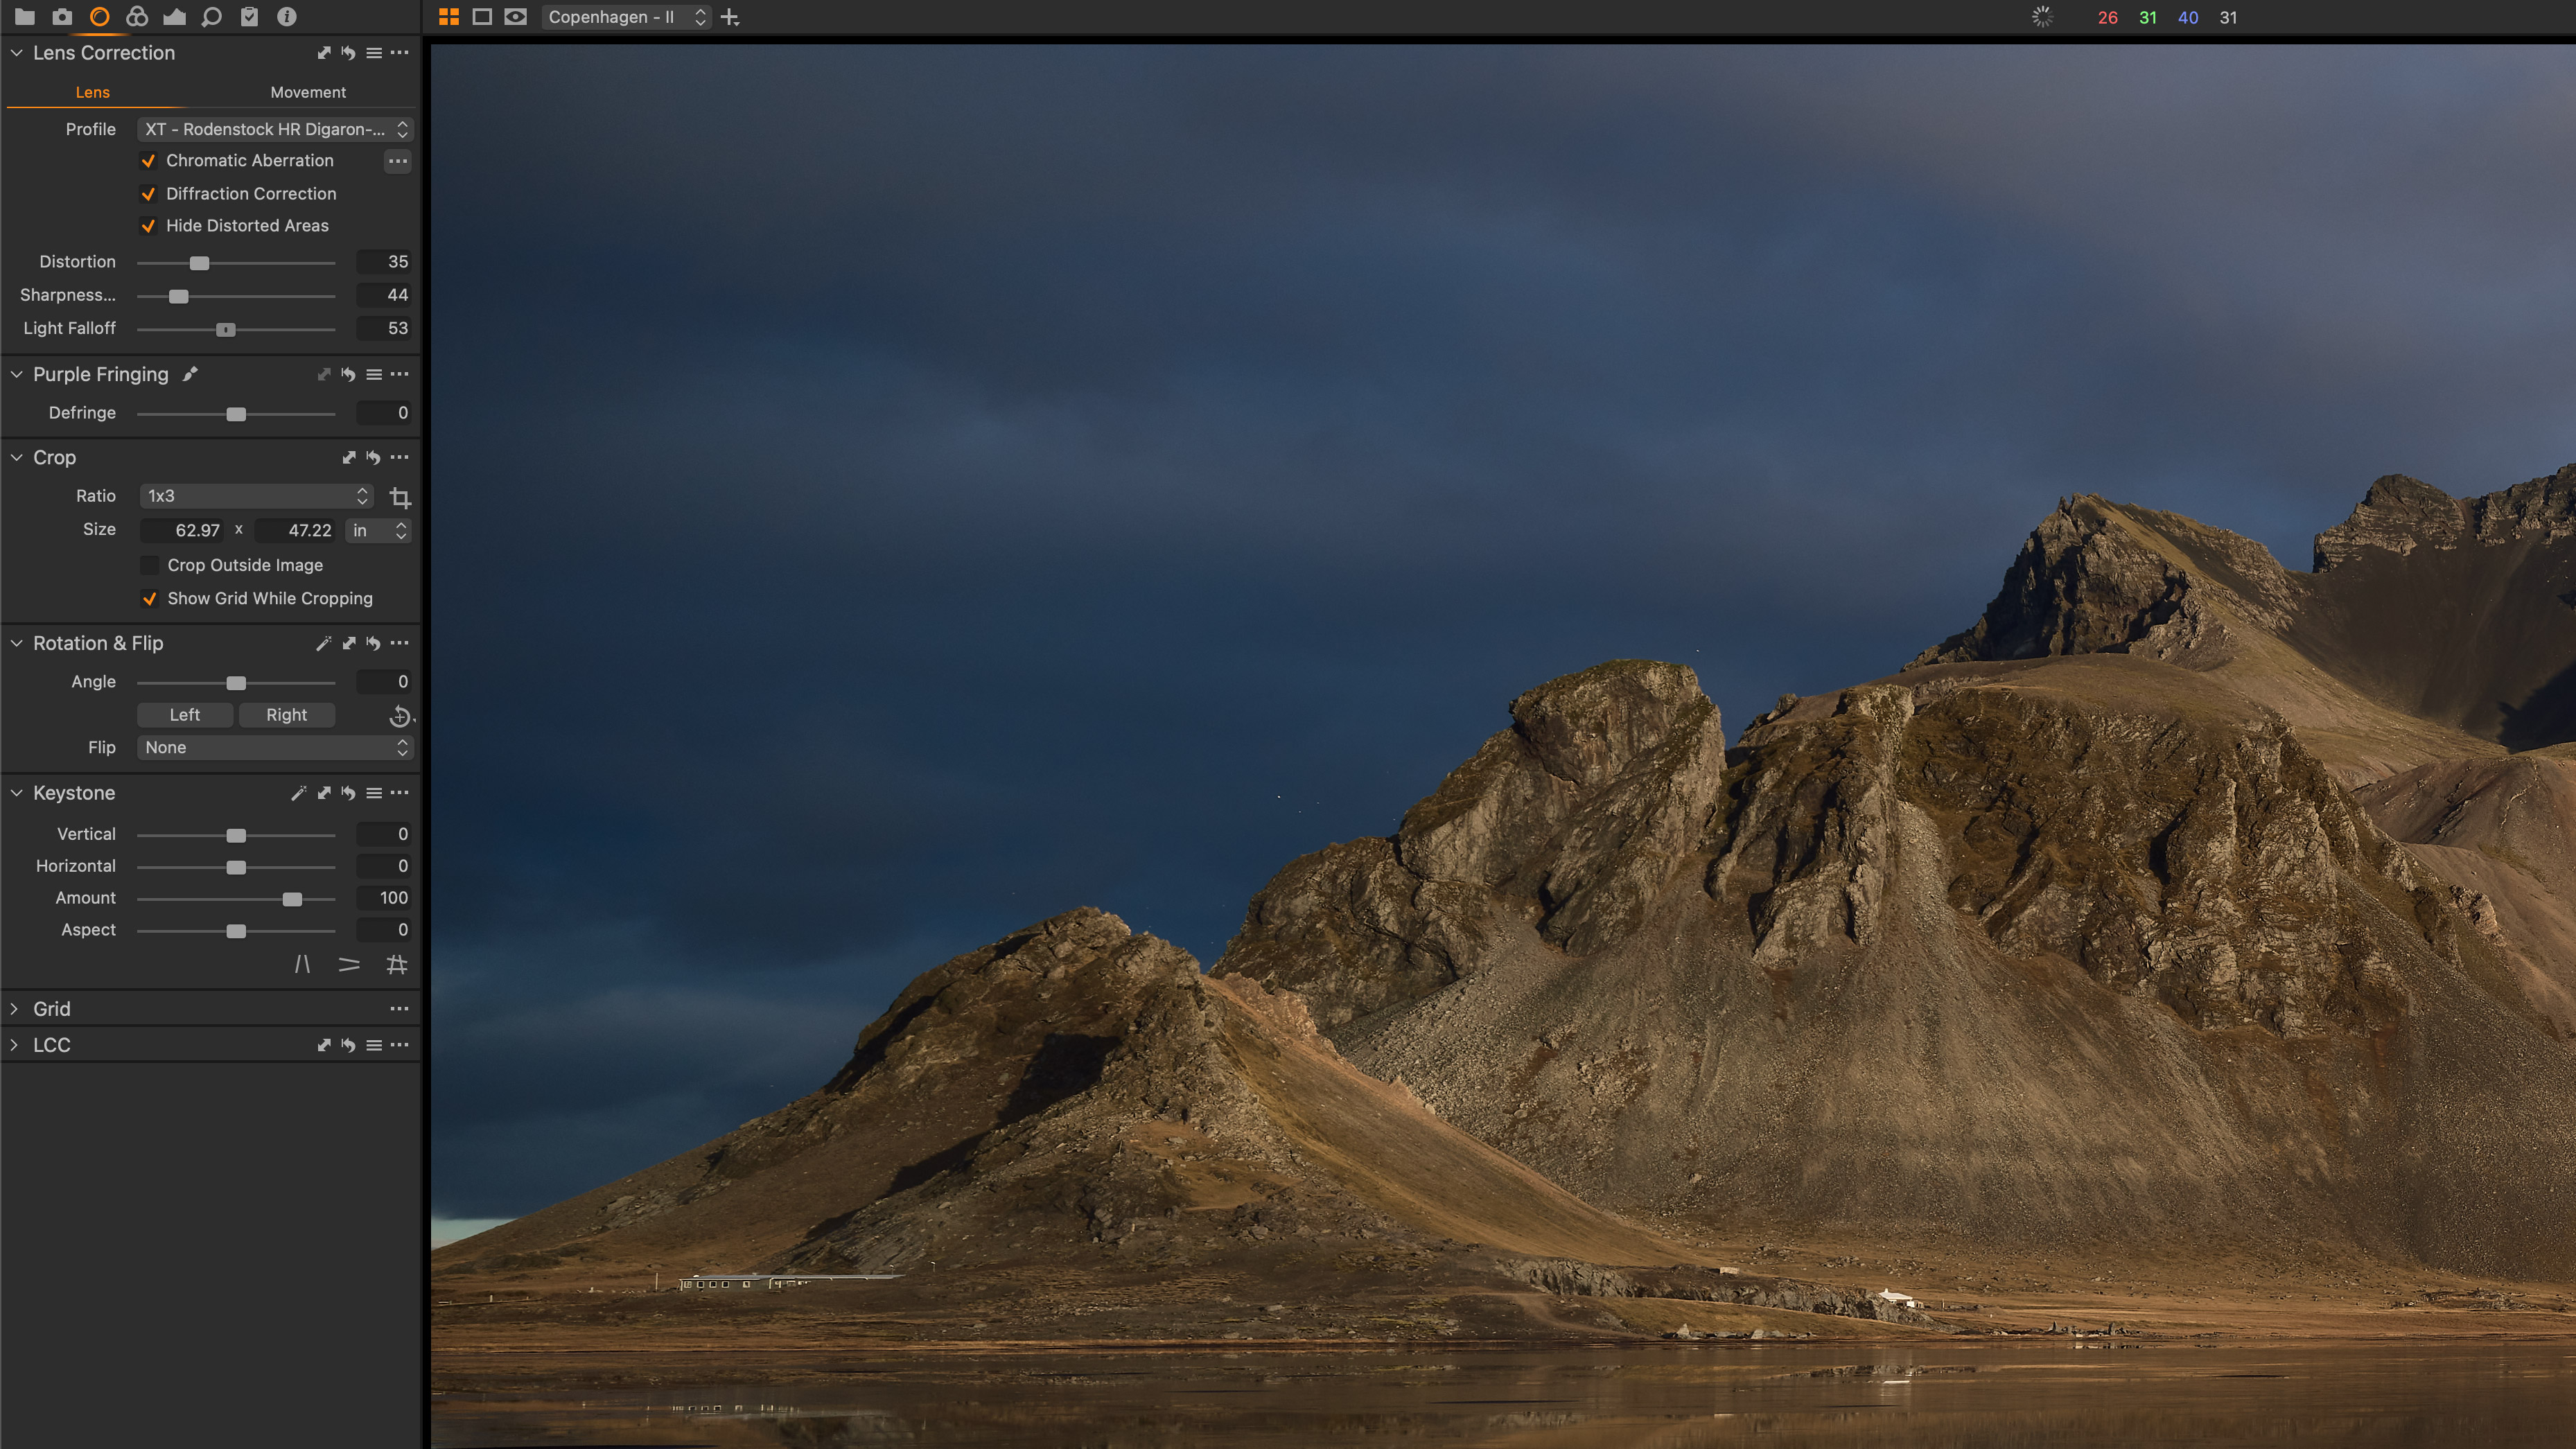
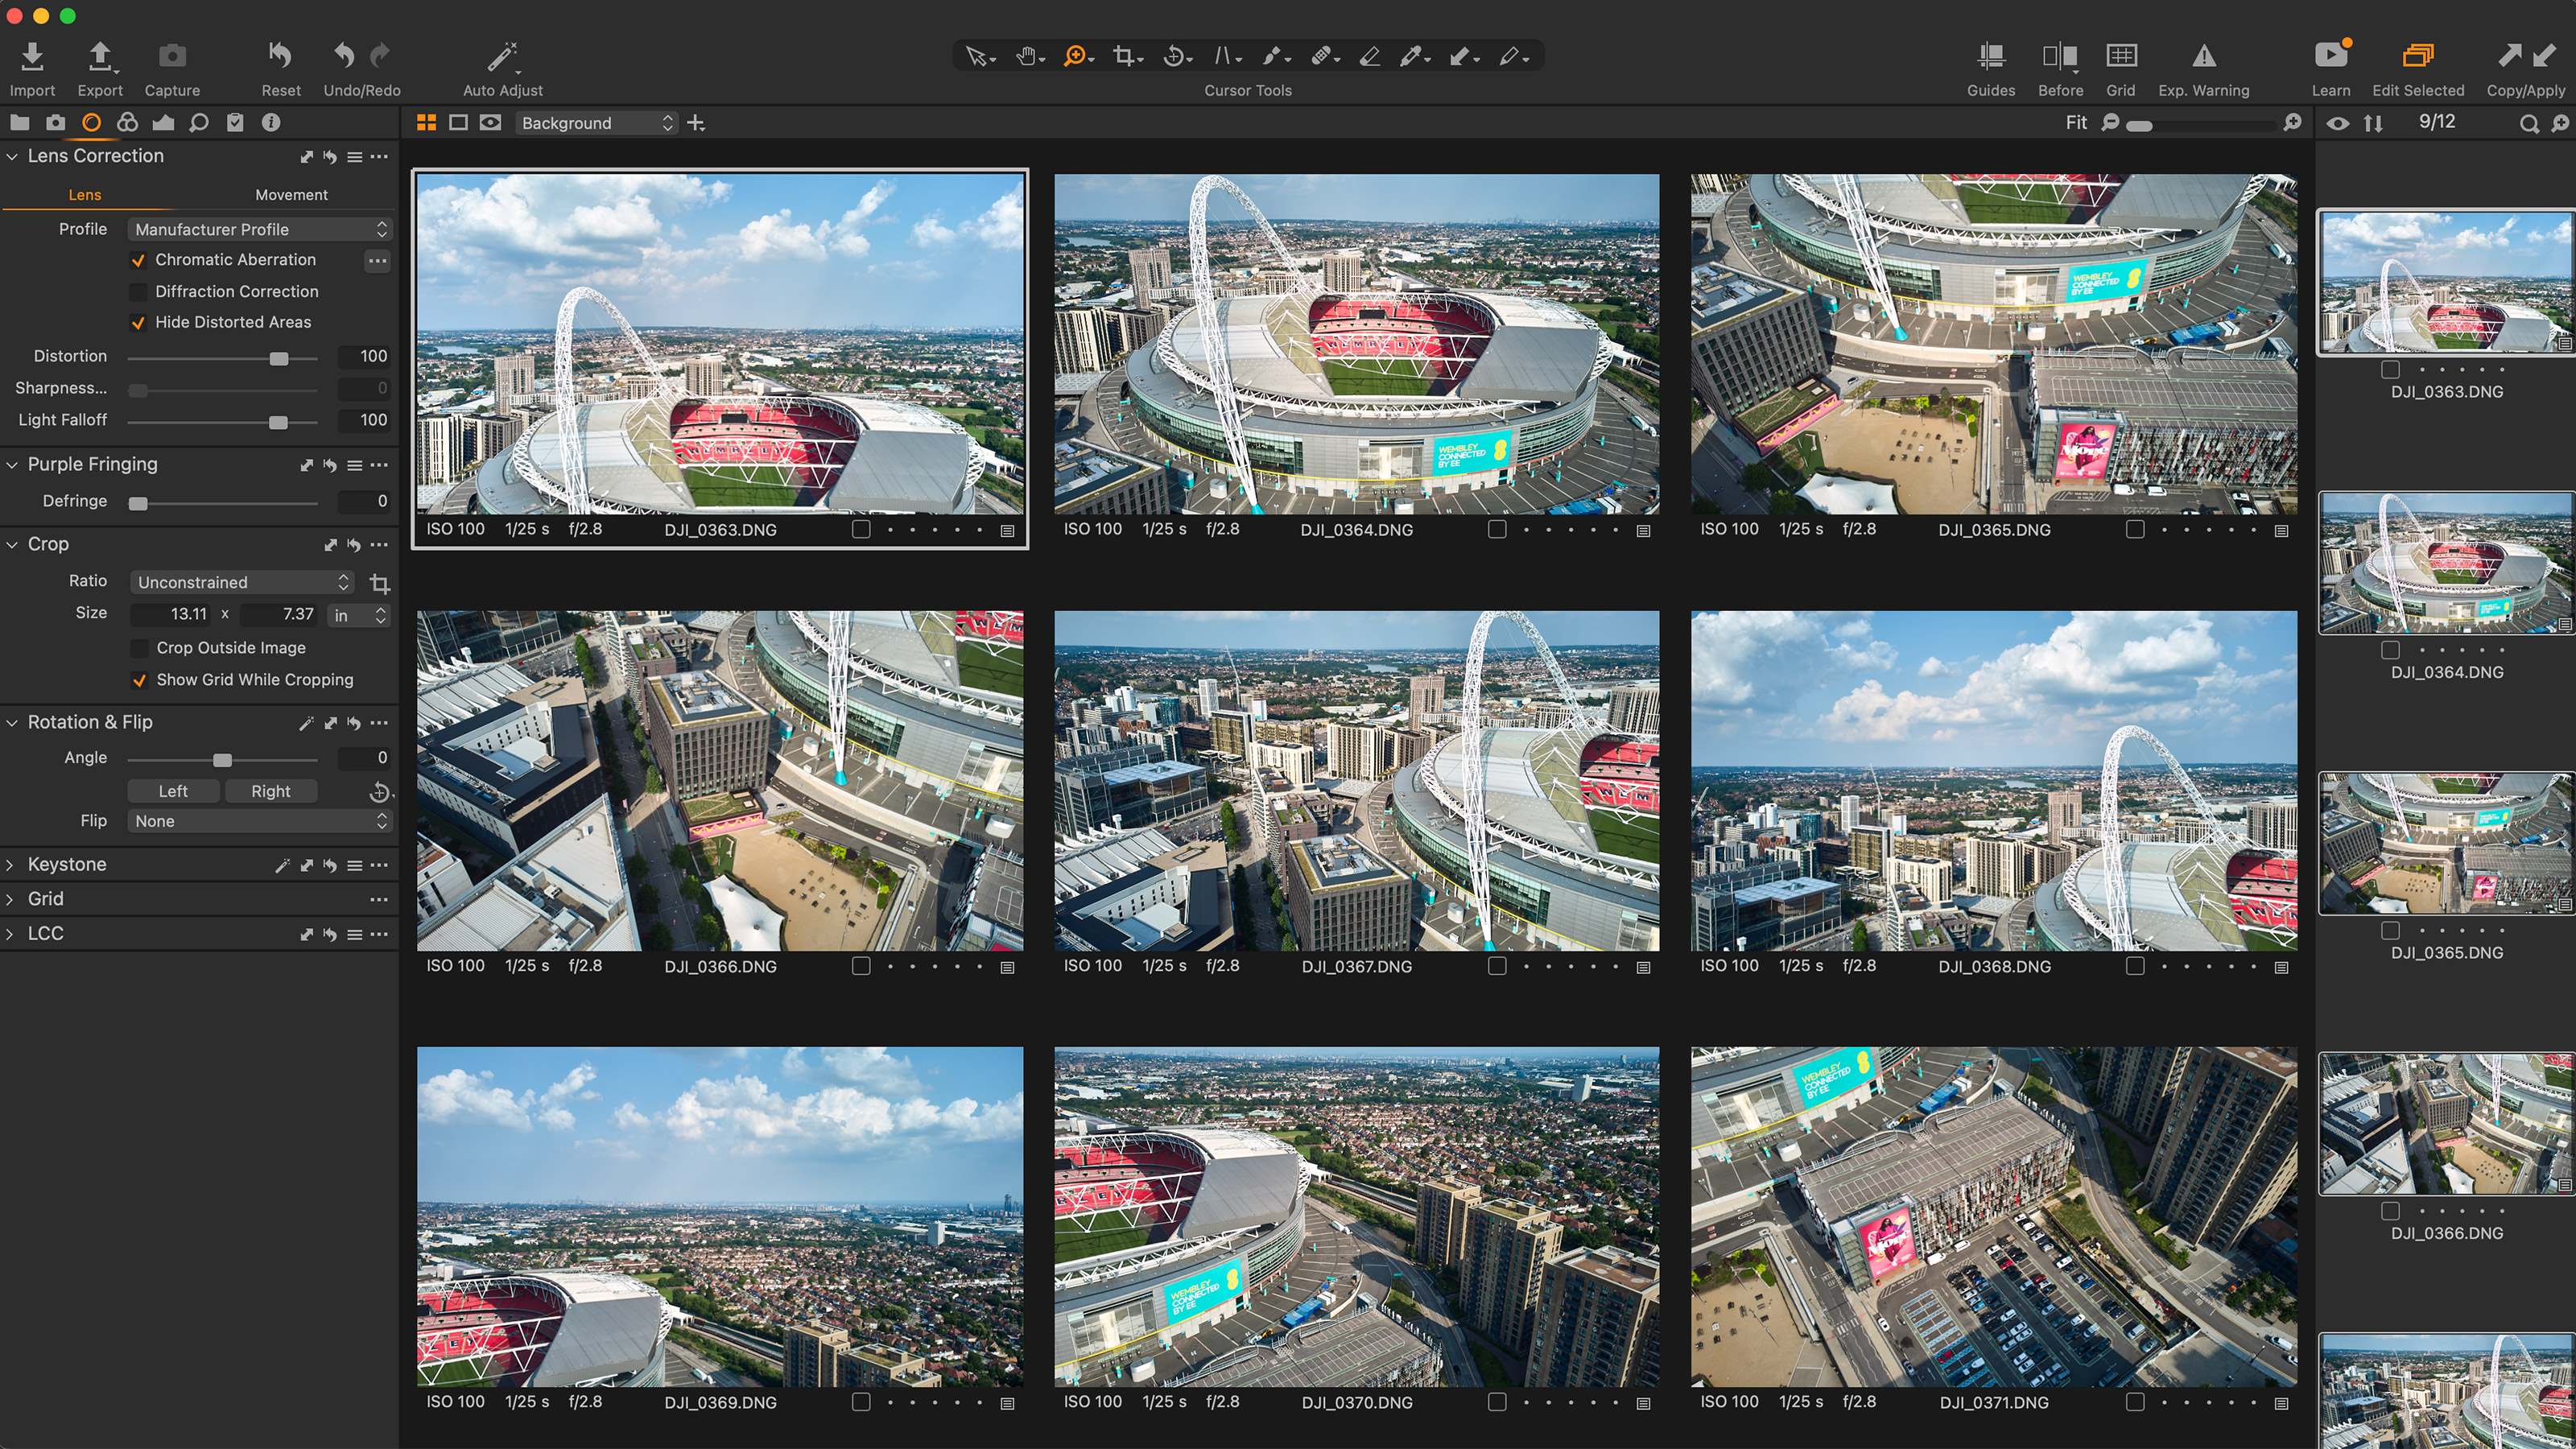
Each of our cameras, lenses, sensors and filters work together to deliver a different characteristic with each click of the shutter button. Sometimes those characteristics are wanted, other times they can be a distraction – and Capture One offers up a series of corrections to fix any undesirable aspects of a lens’ performance with just a few clicks. Read more: Lens corrections in Capture One
08. Base curves: what they do and why
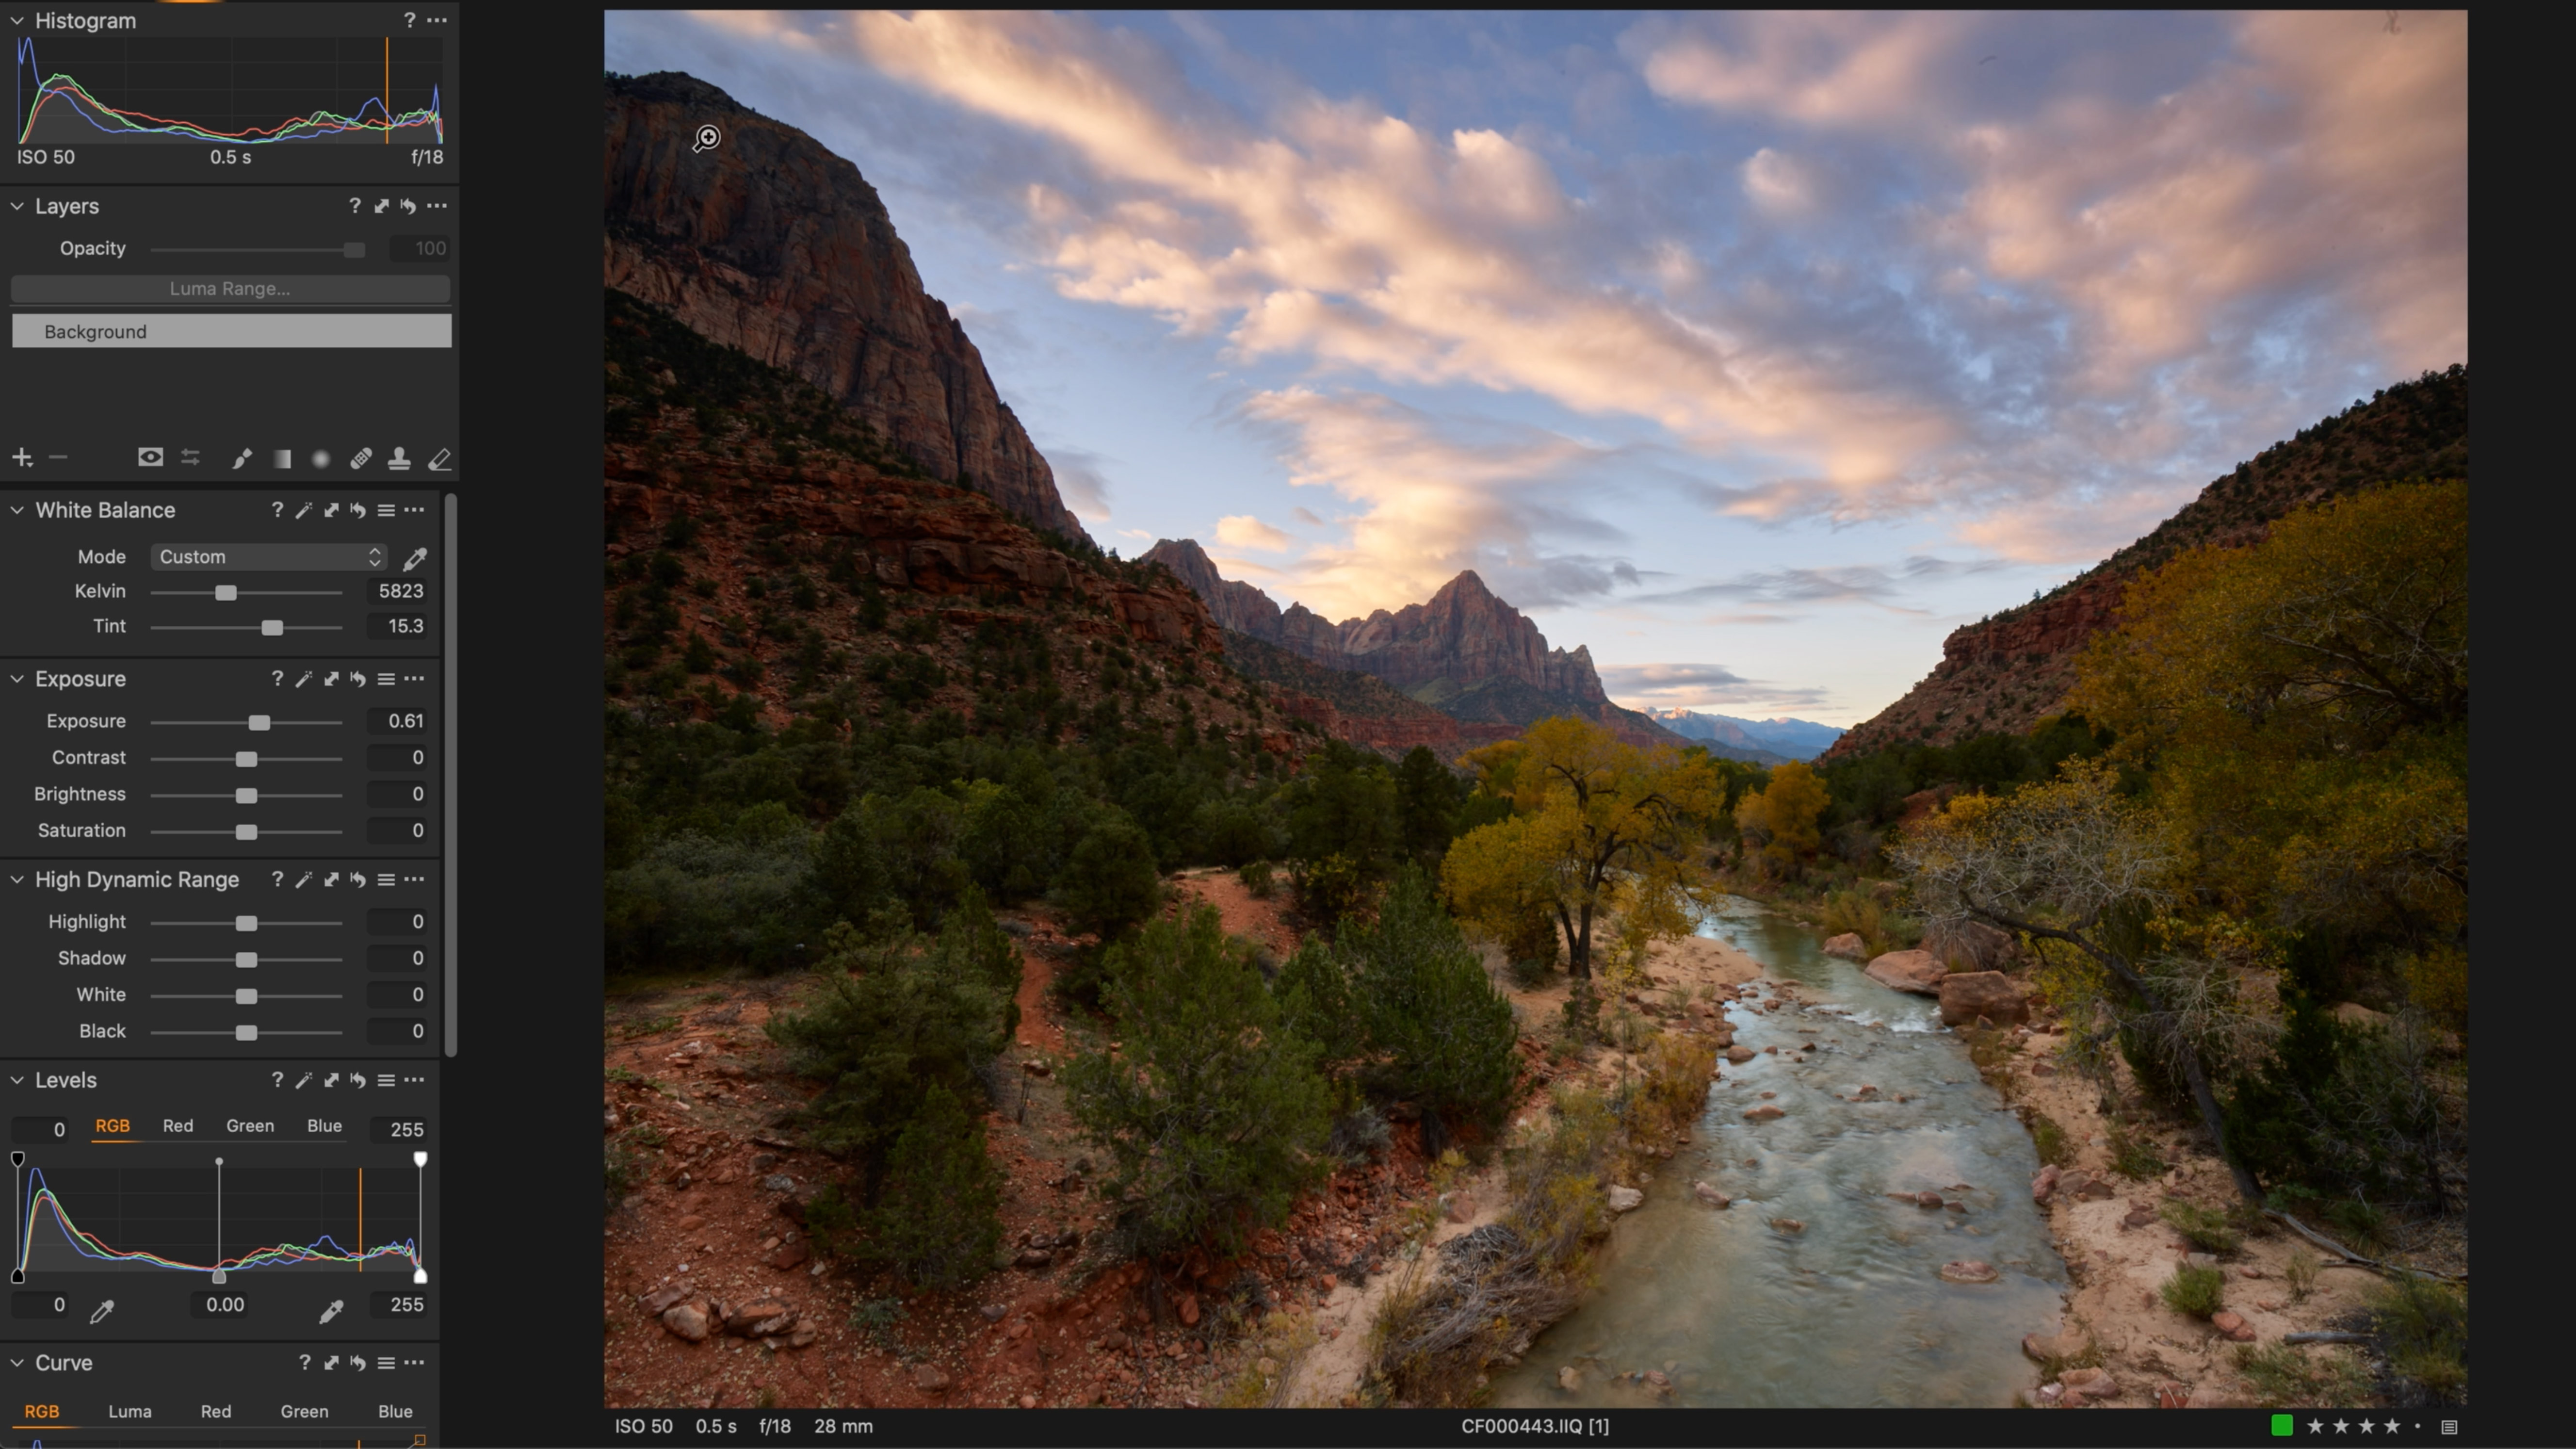
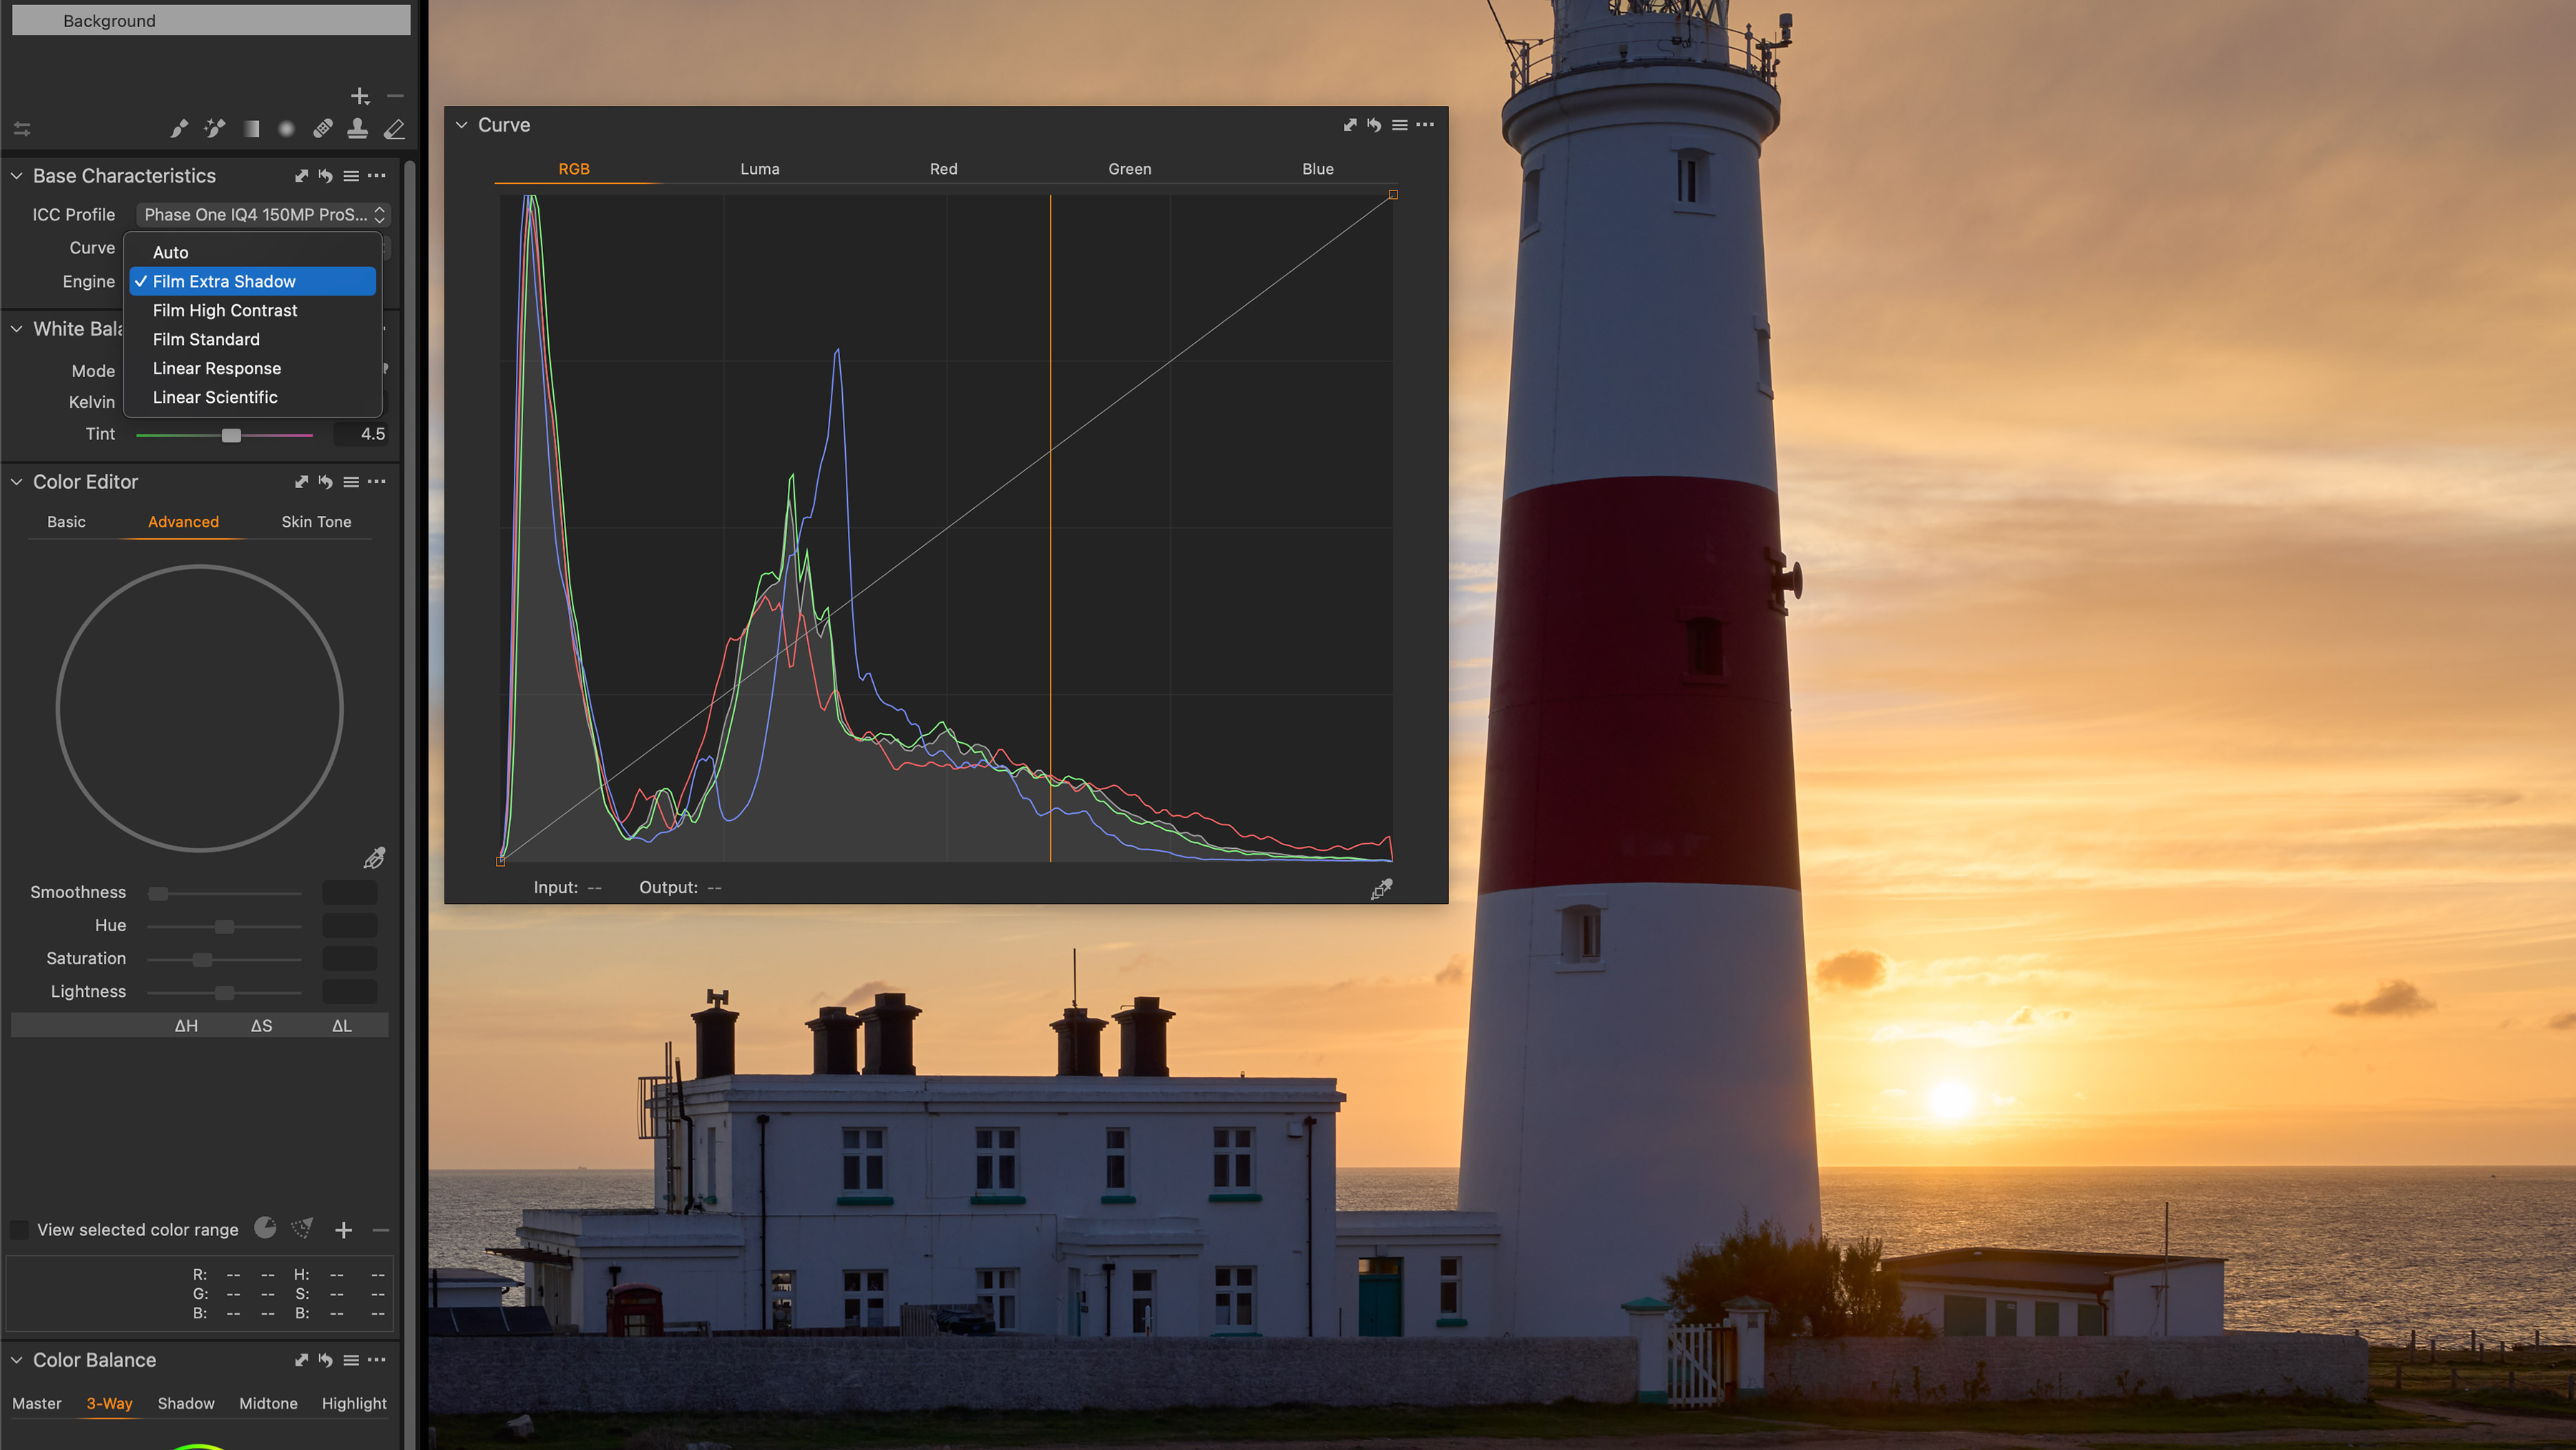
Out of the box, Capture One is designed to deliver images from your raw data that hold the right blend of contrast, colour fidelity and tonal range with very little effort. But what happens when the default characteristics don’t quite hit the mark, especially in a challenging high-contrast image? Well, that’s where adjusting the “Curve” value in the Base Characteristics panel can help. Read more: Base curves in Capture One
09. HDR merge: blending exposures seamlessly
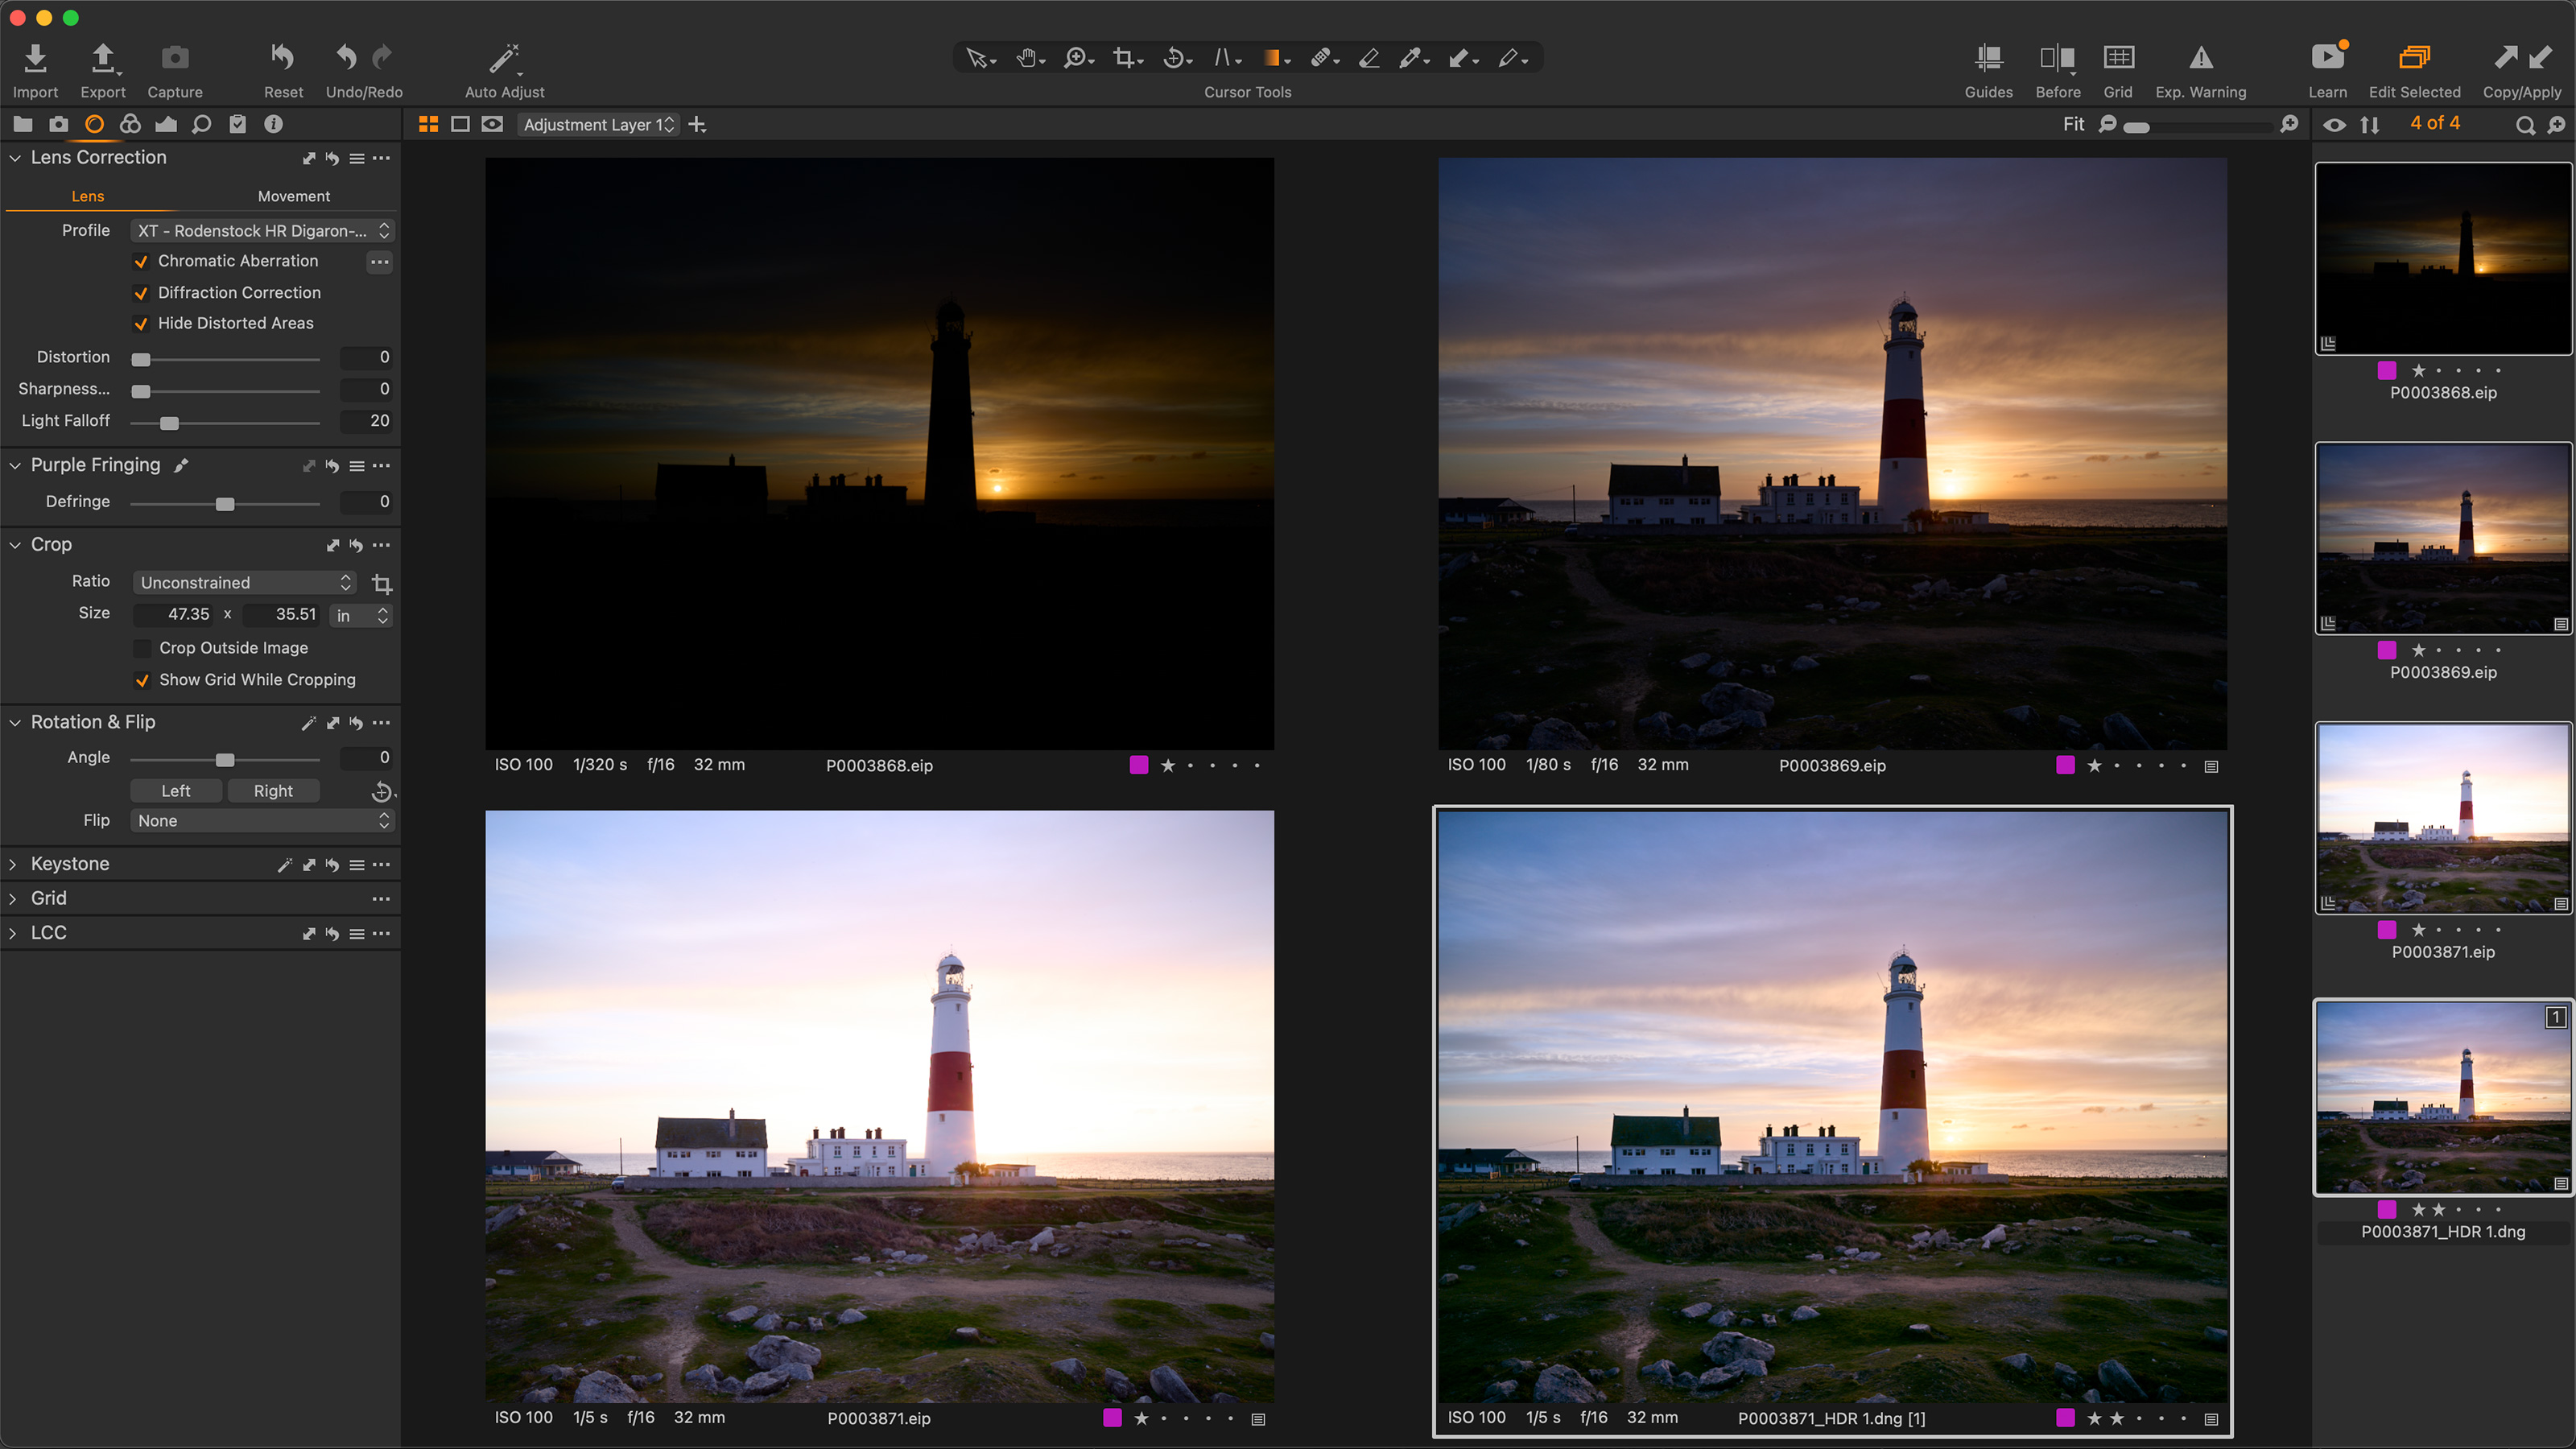
HDR techniques can be used to capture the detail in a landscape’s shadows and highlights for which there’s no “ideal filter” that can be used in front of the lens. Or we could find ourselves shooting an interior where the contrast between the view through a window and the dark room inside is too great. Whatever the reason, every now and then we’re faced with the challenge of needing to “blend” exposures to create a final image. Read more: HDR merge in Capture One
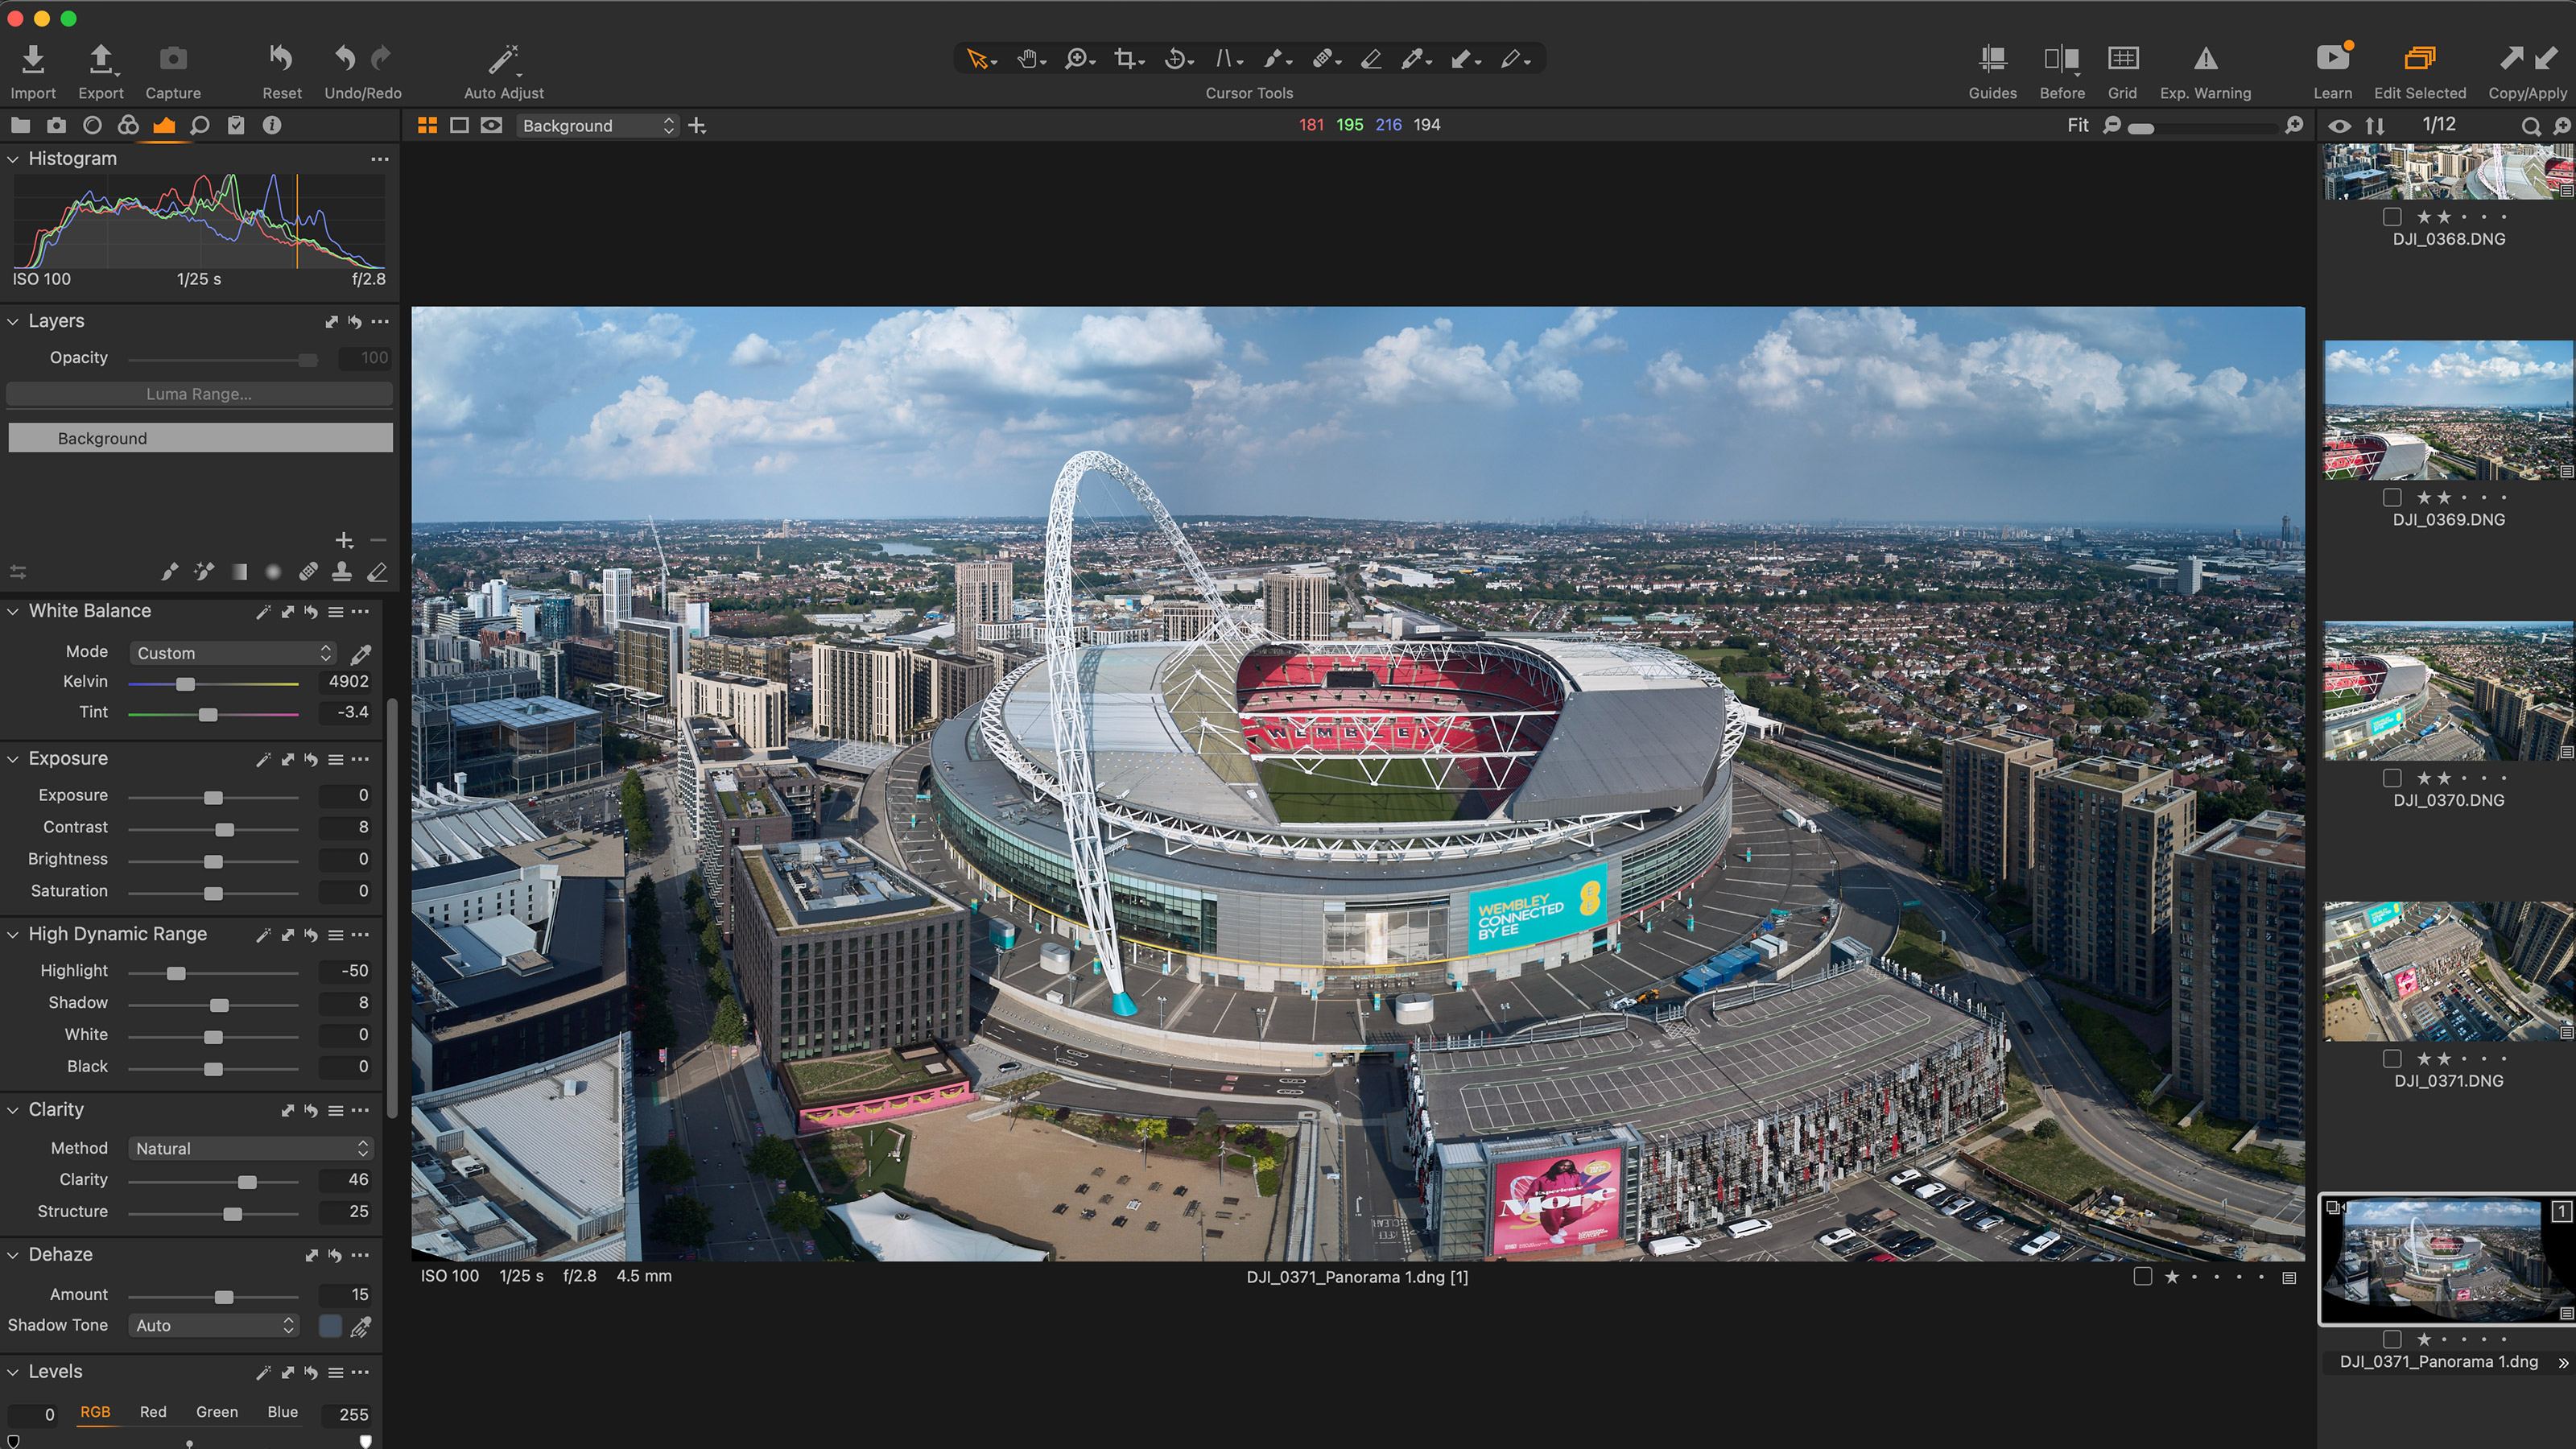
10. Panorama stitching: how it works
A frequent request over the years has been for the ability to “stitch” multiple images into one file, within Capture One. This is a particularly popular technique with landscape photographers. Why within the raw processor? While only having to use one tool instead of external plugins has its benefits, the bigger reason was that people wanted to be able to edit the output as a fully functioning raw file, not as a flat TIFF or JPEG. And with Capture One 22, that feature has now been added. Read more: Panorama stitching in Capture One
About Capture One
Capture One is an all-in-one non-destructive image cataloguing, raw processing and editing tool, and its closest rival is Adobe Lightroom Classic. As well as the regular 'all cameras' edition, there are cheaper Nikon, Sony and Fujifilm-specific editions. Capture One regularly features in our guide to the best photo editing software, thanks to its high-quality raw processing, in-depth color controls and layer and mask based editing.
Get Capture One Pro 22: $299 or $179/year
Capture One Pro is available either for a single one-off license fee on a paid-monthly subscription or an annual subscription which offers a big saving over the monthly option.
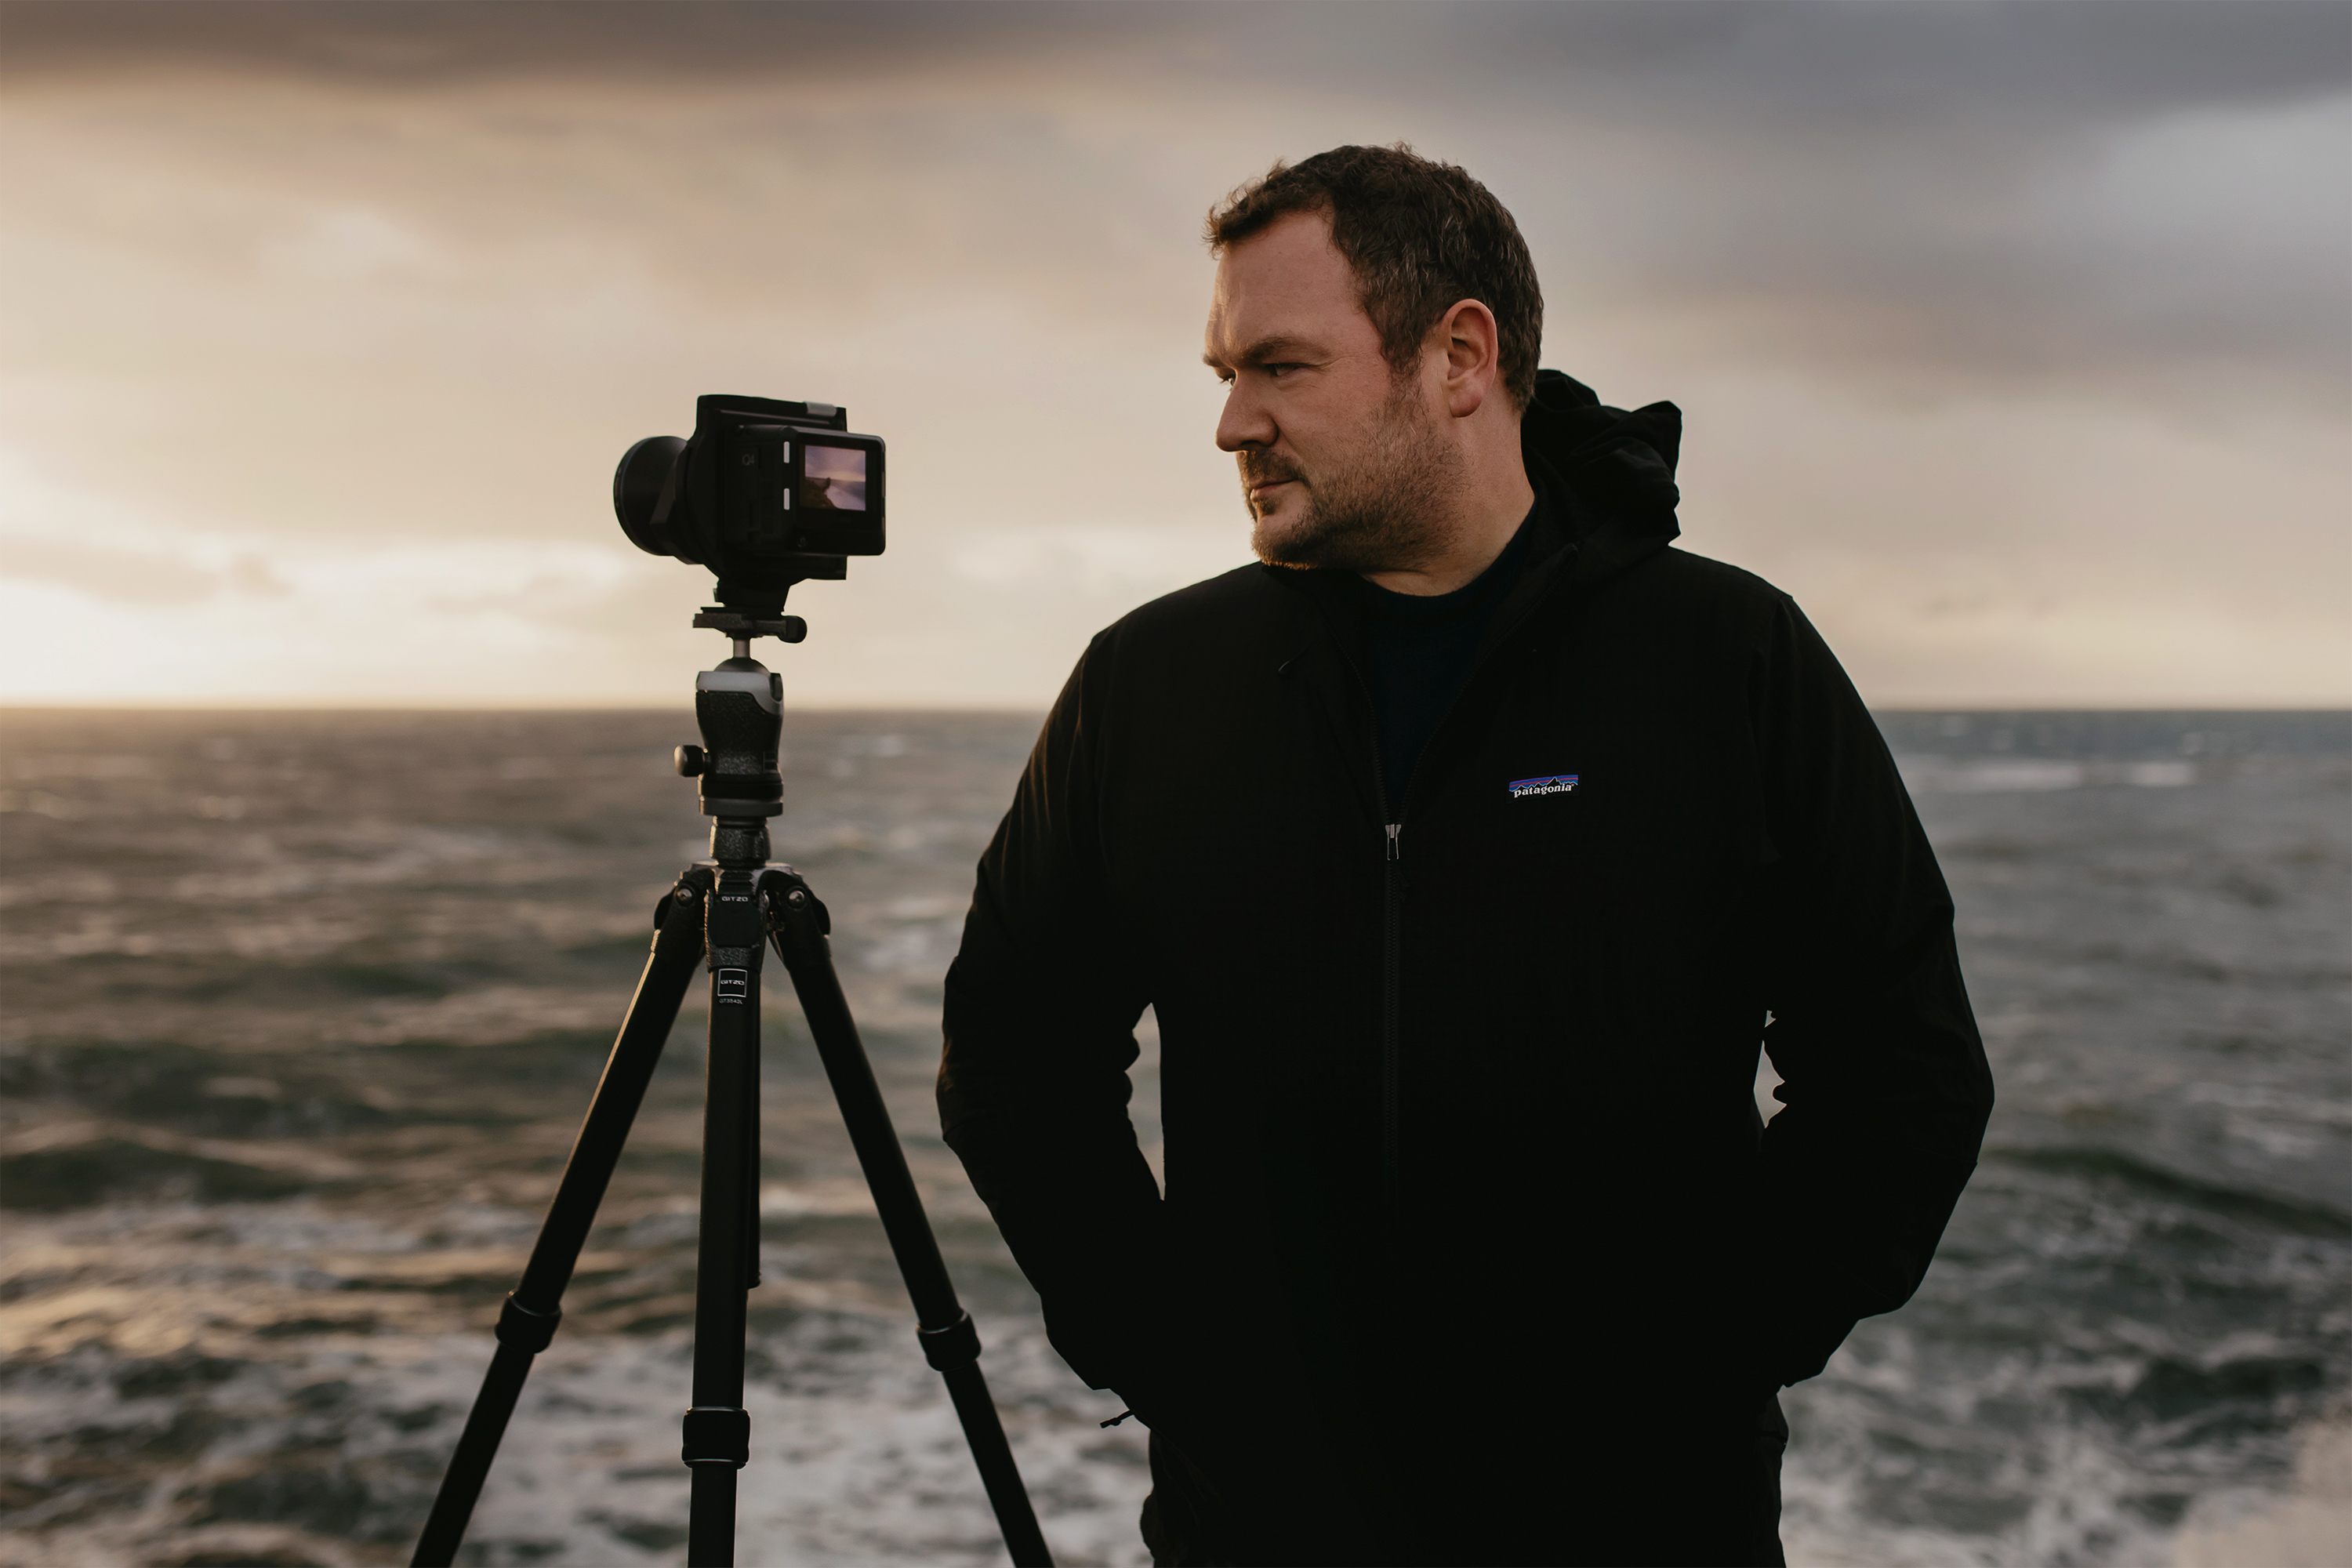
Paul Reiffer is an award-winning photographer and landscape artist. As a global ambassador for both Phase One and Capture One, he specialises in grand vistas, electrifying cityscapes and iconic views. His images have been published all around the world in well-known books, newspapers and magazines as well as supporting global travel and hospitality brands to reach and excite their audiences. His technical expertise is regularly called upon for industry insights, and through his luxury workshop programme as well as online channels, he’s carved out a unique style of teaching that is now appreciated by thousands worldwide. Shooting with ultra-high-resolution Phase One cameras, his work is used commercially by interior designers and clients ranging from National Geographic to British Airways, Marriott, Land Rover and many more.
