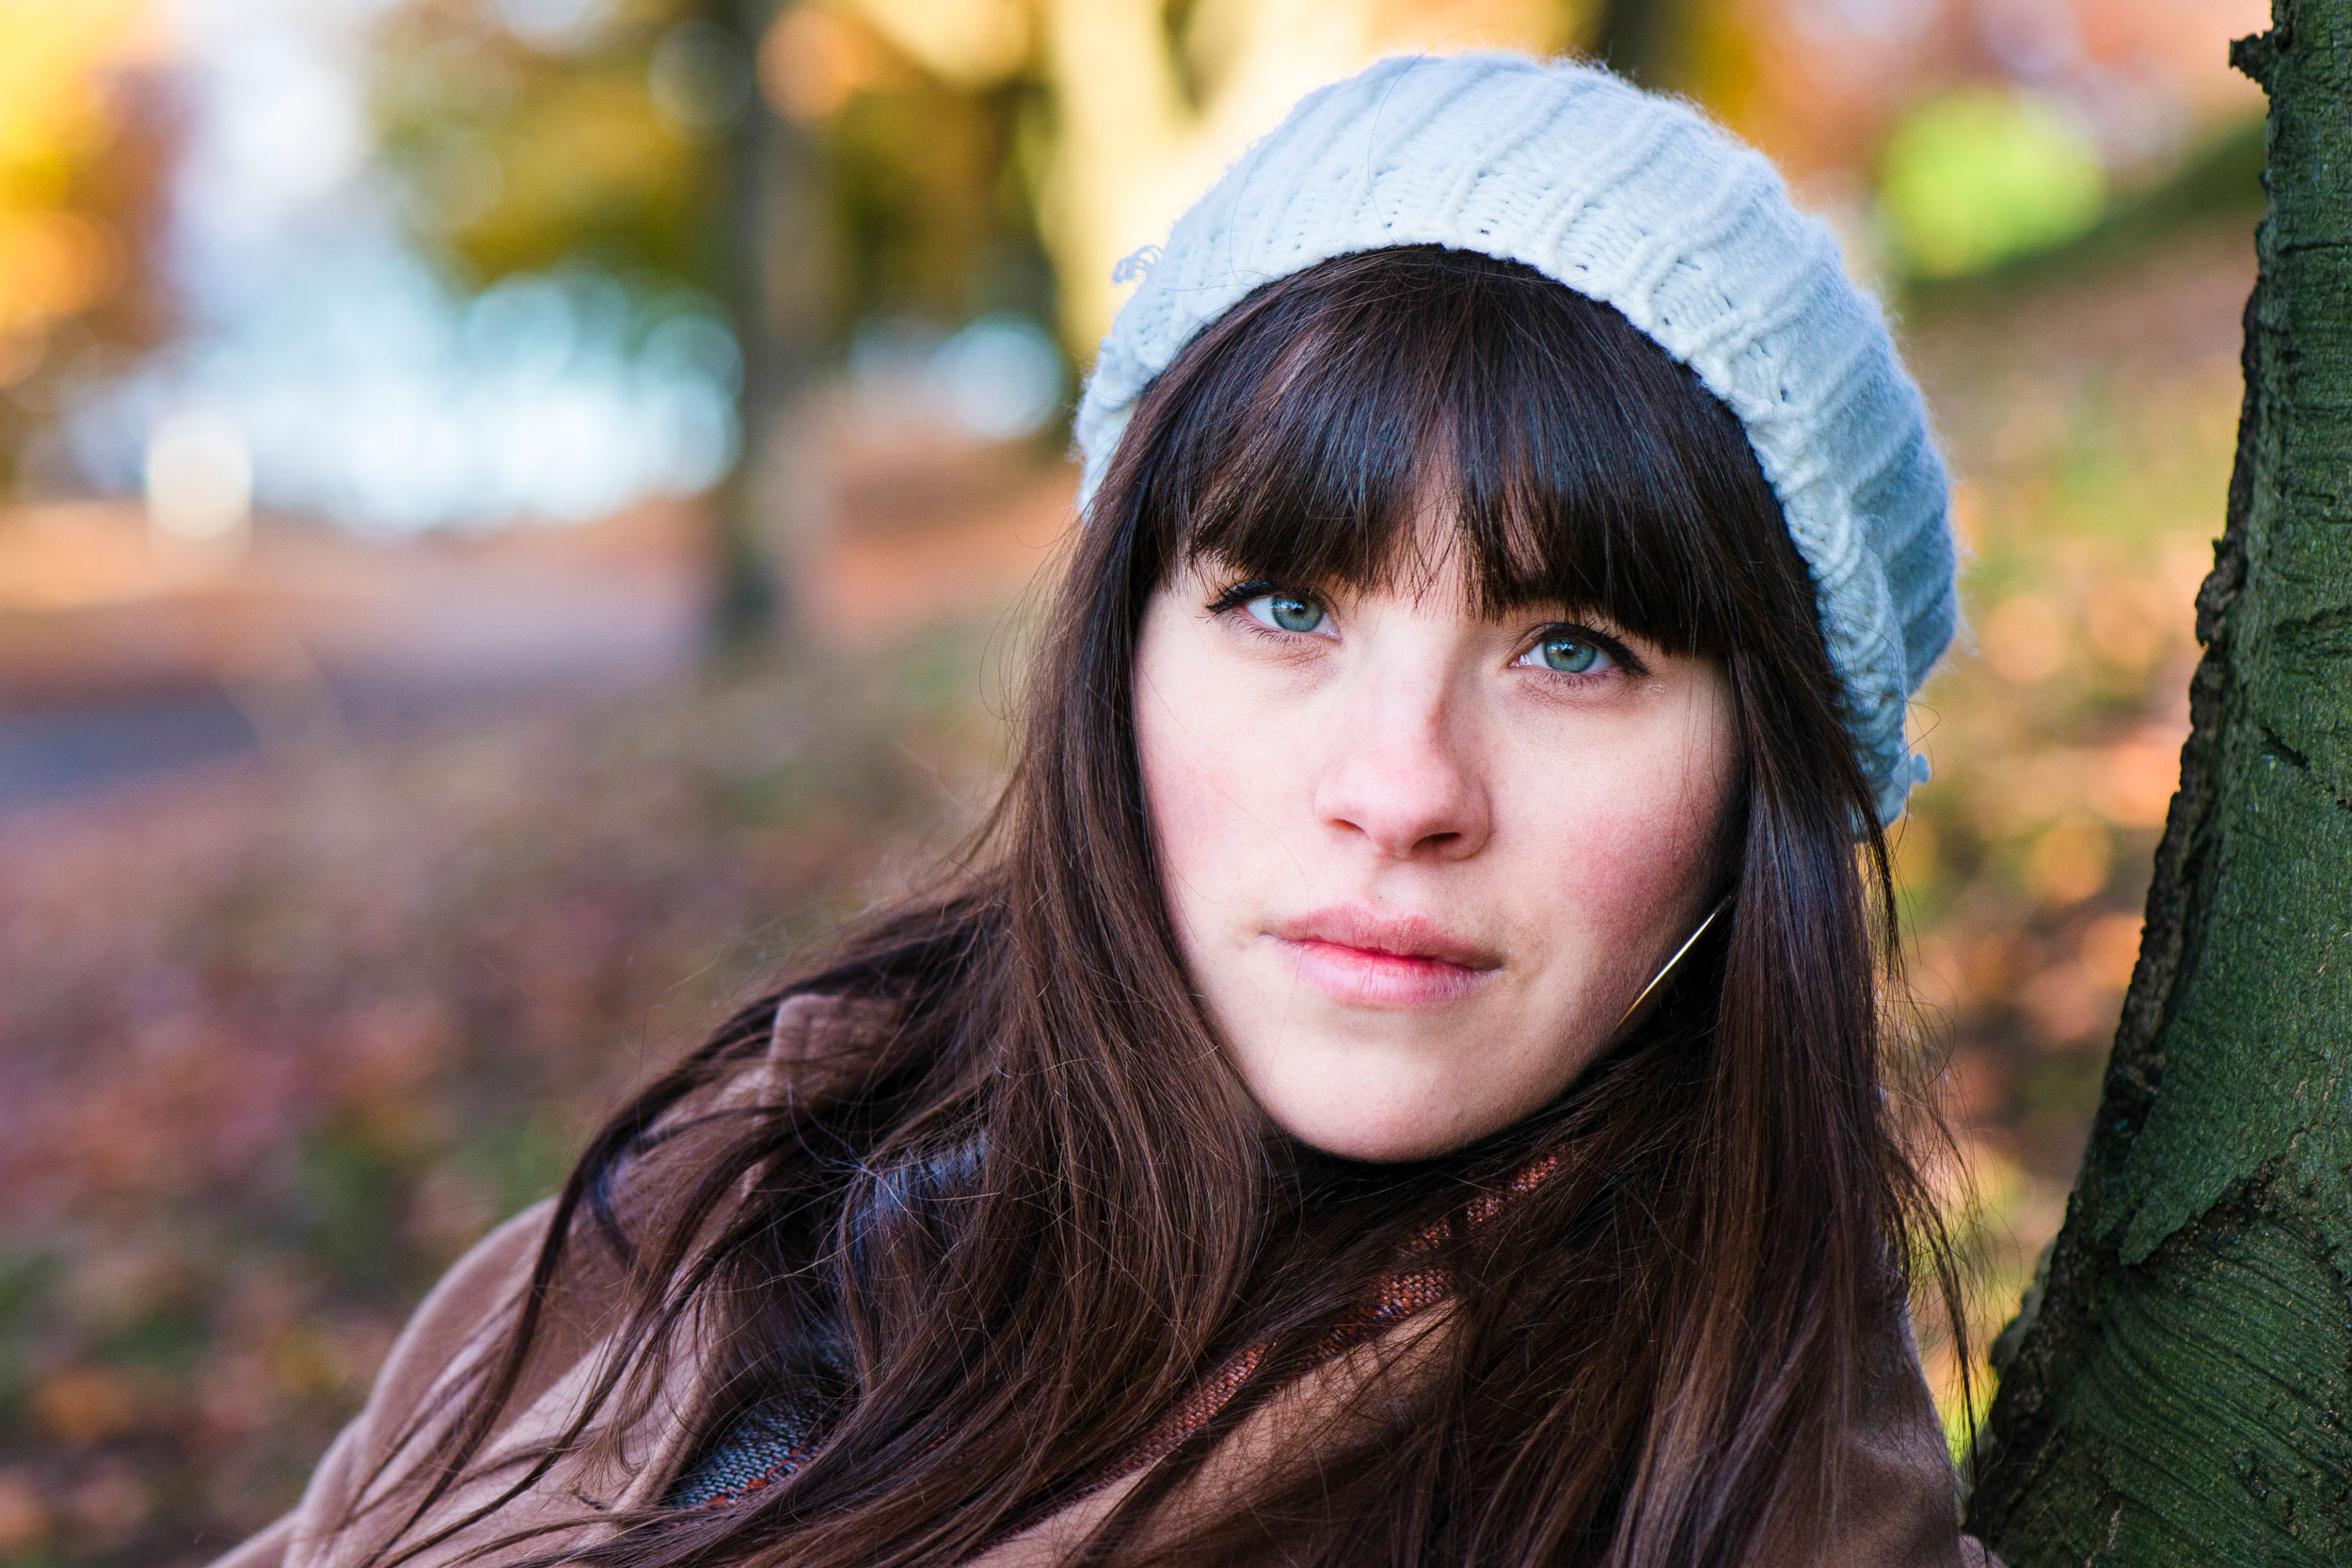
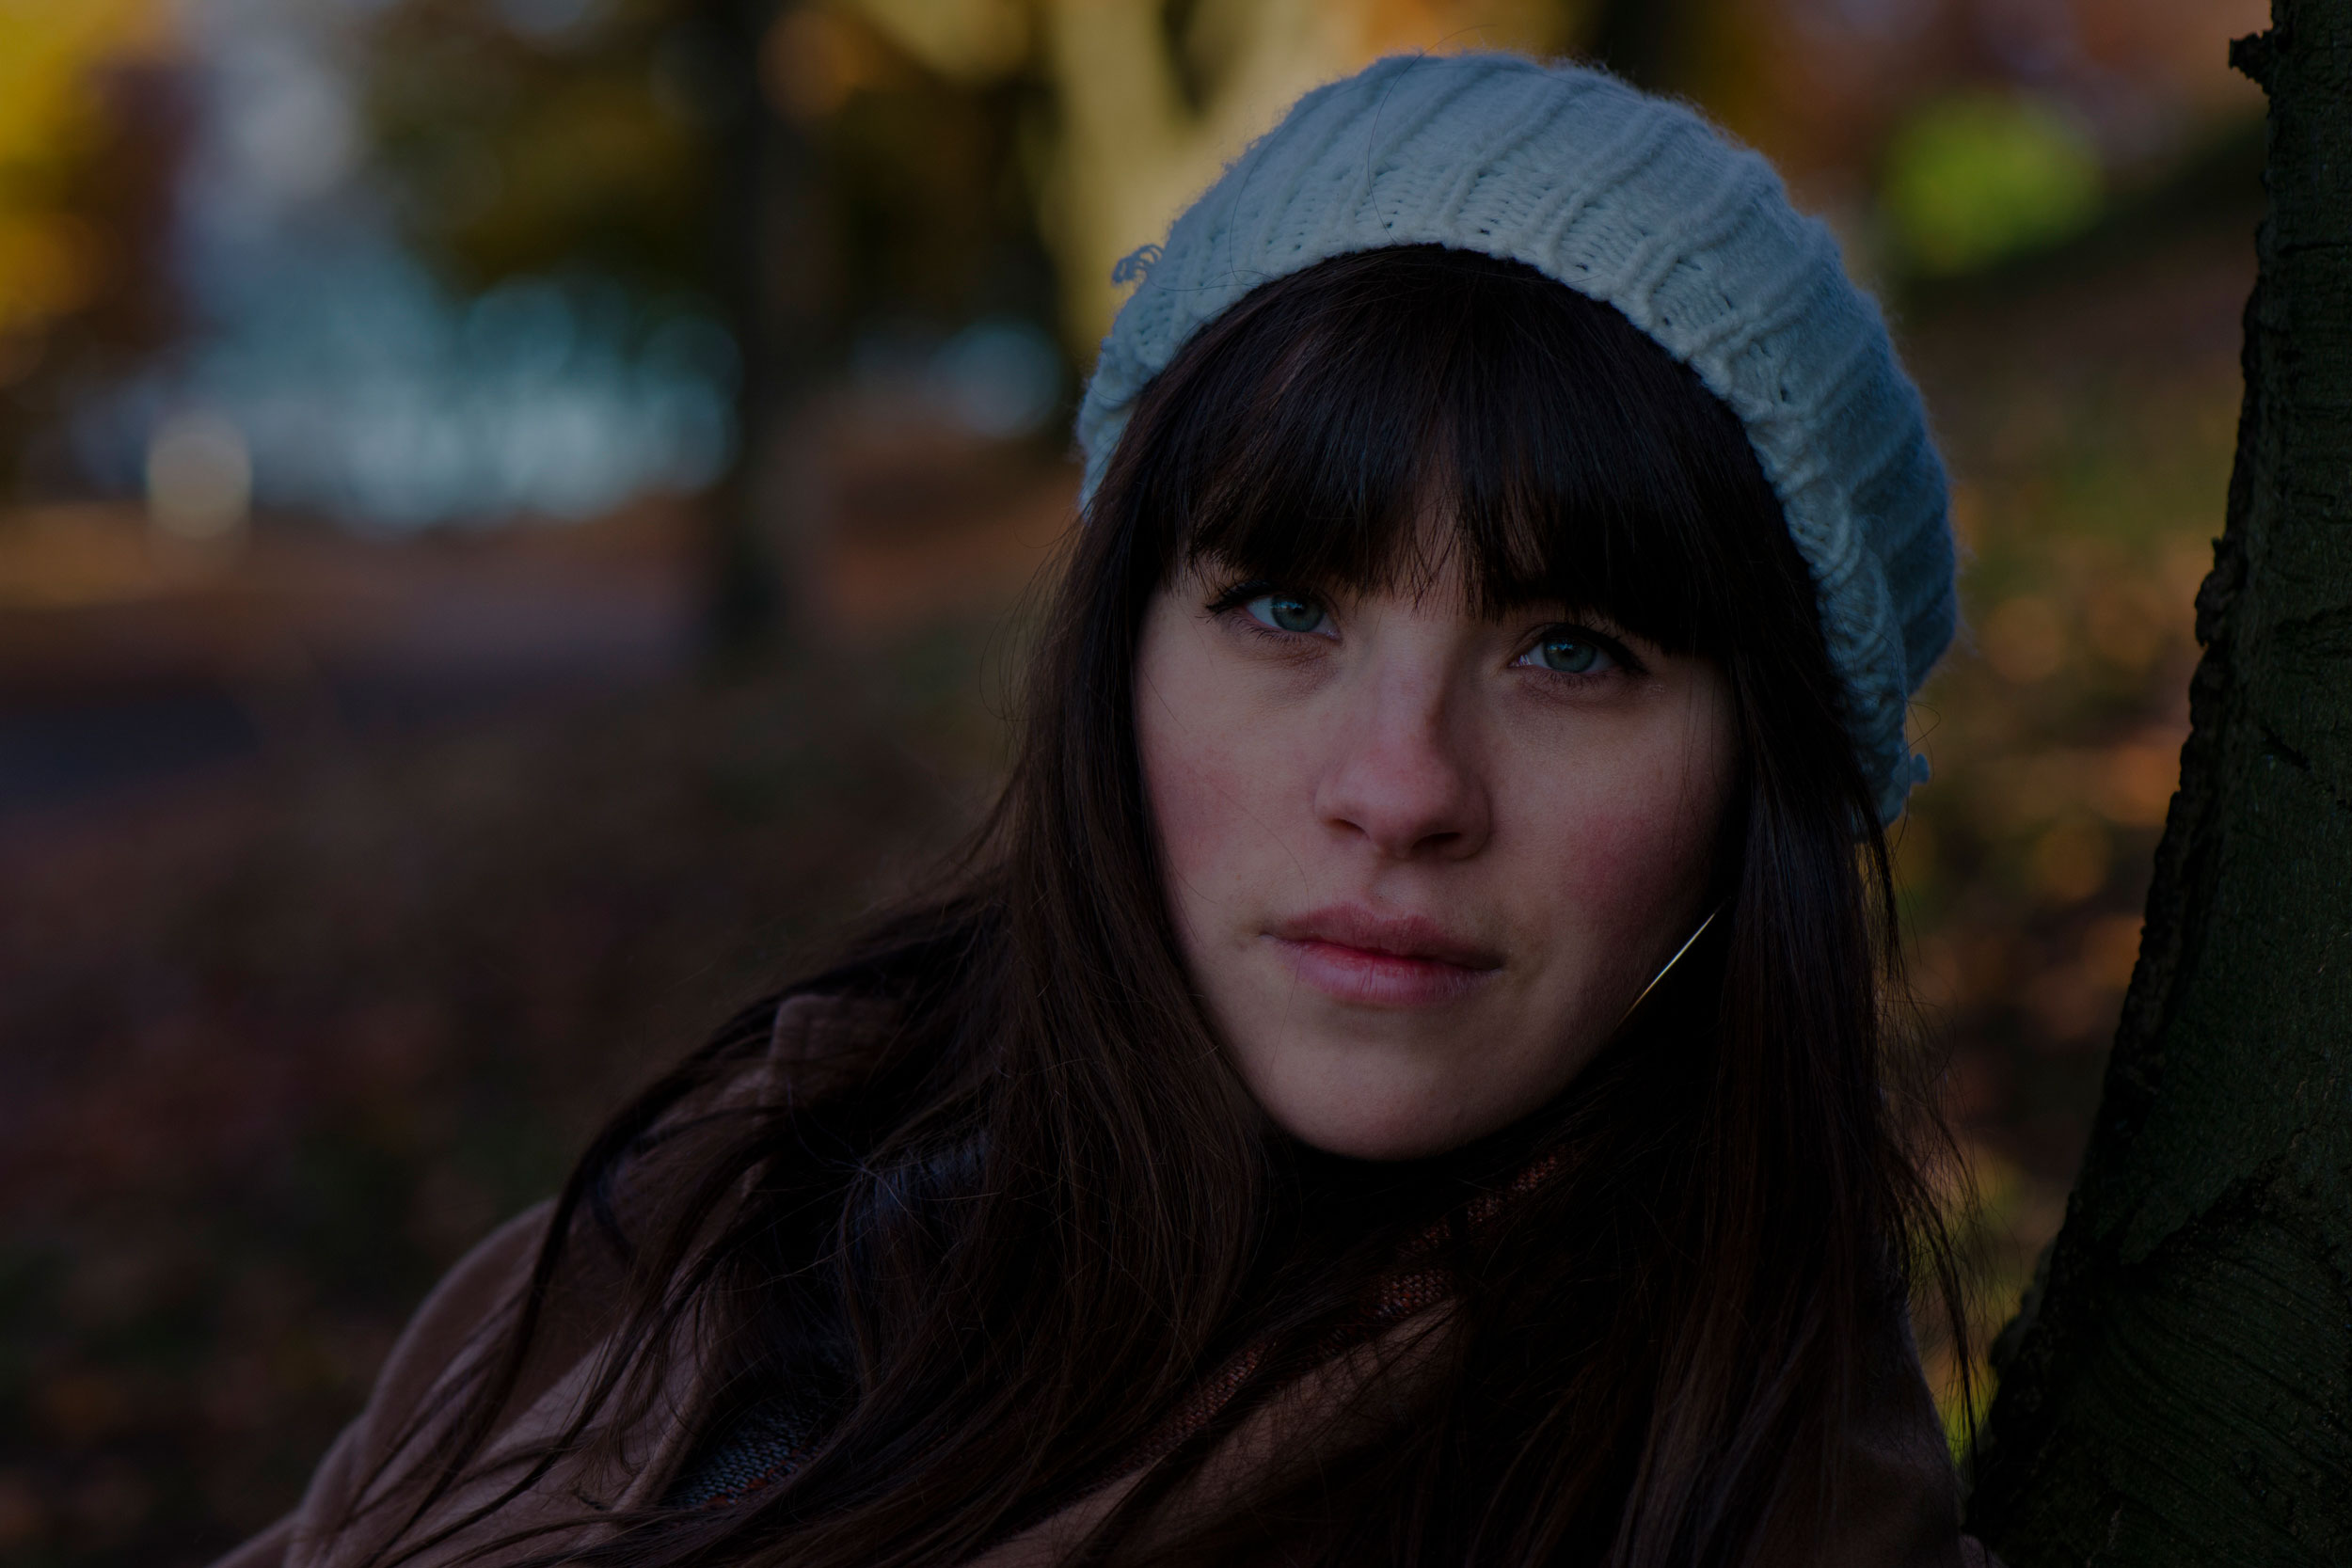
Common photo problems and how to fix them in Photoshop: #2 My photo is underexposed
No-one can get the exposure right 100% of the time. Here's what to do if your photo has come out too dark

Every shot you take will be perfectly exposed, right? Some hope! There are lots of reasons for shots to come out with the wrong exposure. Sometimes it's your fault for getting the settings wrong, sometimes it's the camera's fault for not 'understanding' the scene correctly. Either way, you can fix underexposure in Photoshop.
See all 15 instalments
• 15 common photo fixes
Adobe trial downloads
• Download Photoshop
• Download Lightroom
• Download Premiere Pro
Computers and photo editing
• Best photo-editing software
• Best laptops for photographers
• Best desktop computers for photo editing
Photo tips and ideas
• 11 home photo projects
• 44 tips cards to cut out and keep
• Photography tips for beginners
Welcome to the second in our a 15-part series on how to fix photo problems in Photoshop, Lightroom and Adobe Camera Raw.
We hope it’s going to be especially useful to photographers who have to work at home during the current COVID-19 crisis – if we're going to be stuck at home, then maybe now's the time to fix up all those photos that are too good to ditch but not good enough – yet – so share with the world!
Article continues belowIn this instalment we'll show you how to brighten up an underexposed shot quickly and simply and without negatively affecting the picture quality.
1 Adobe Camera Raw
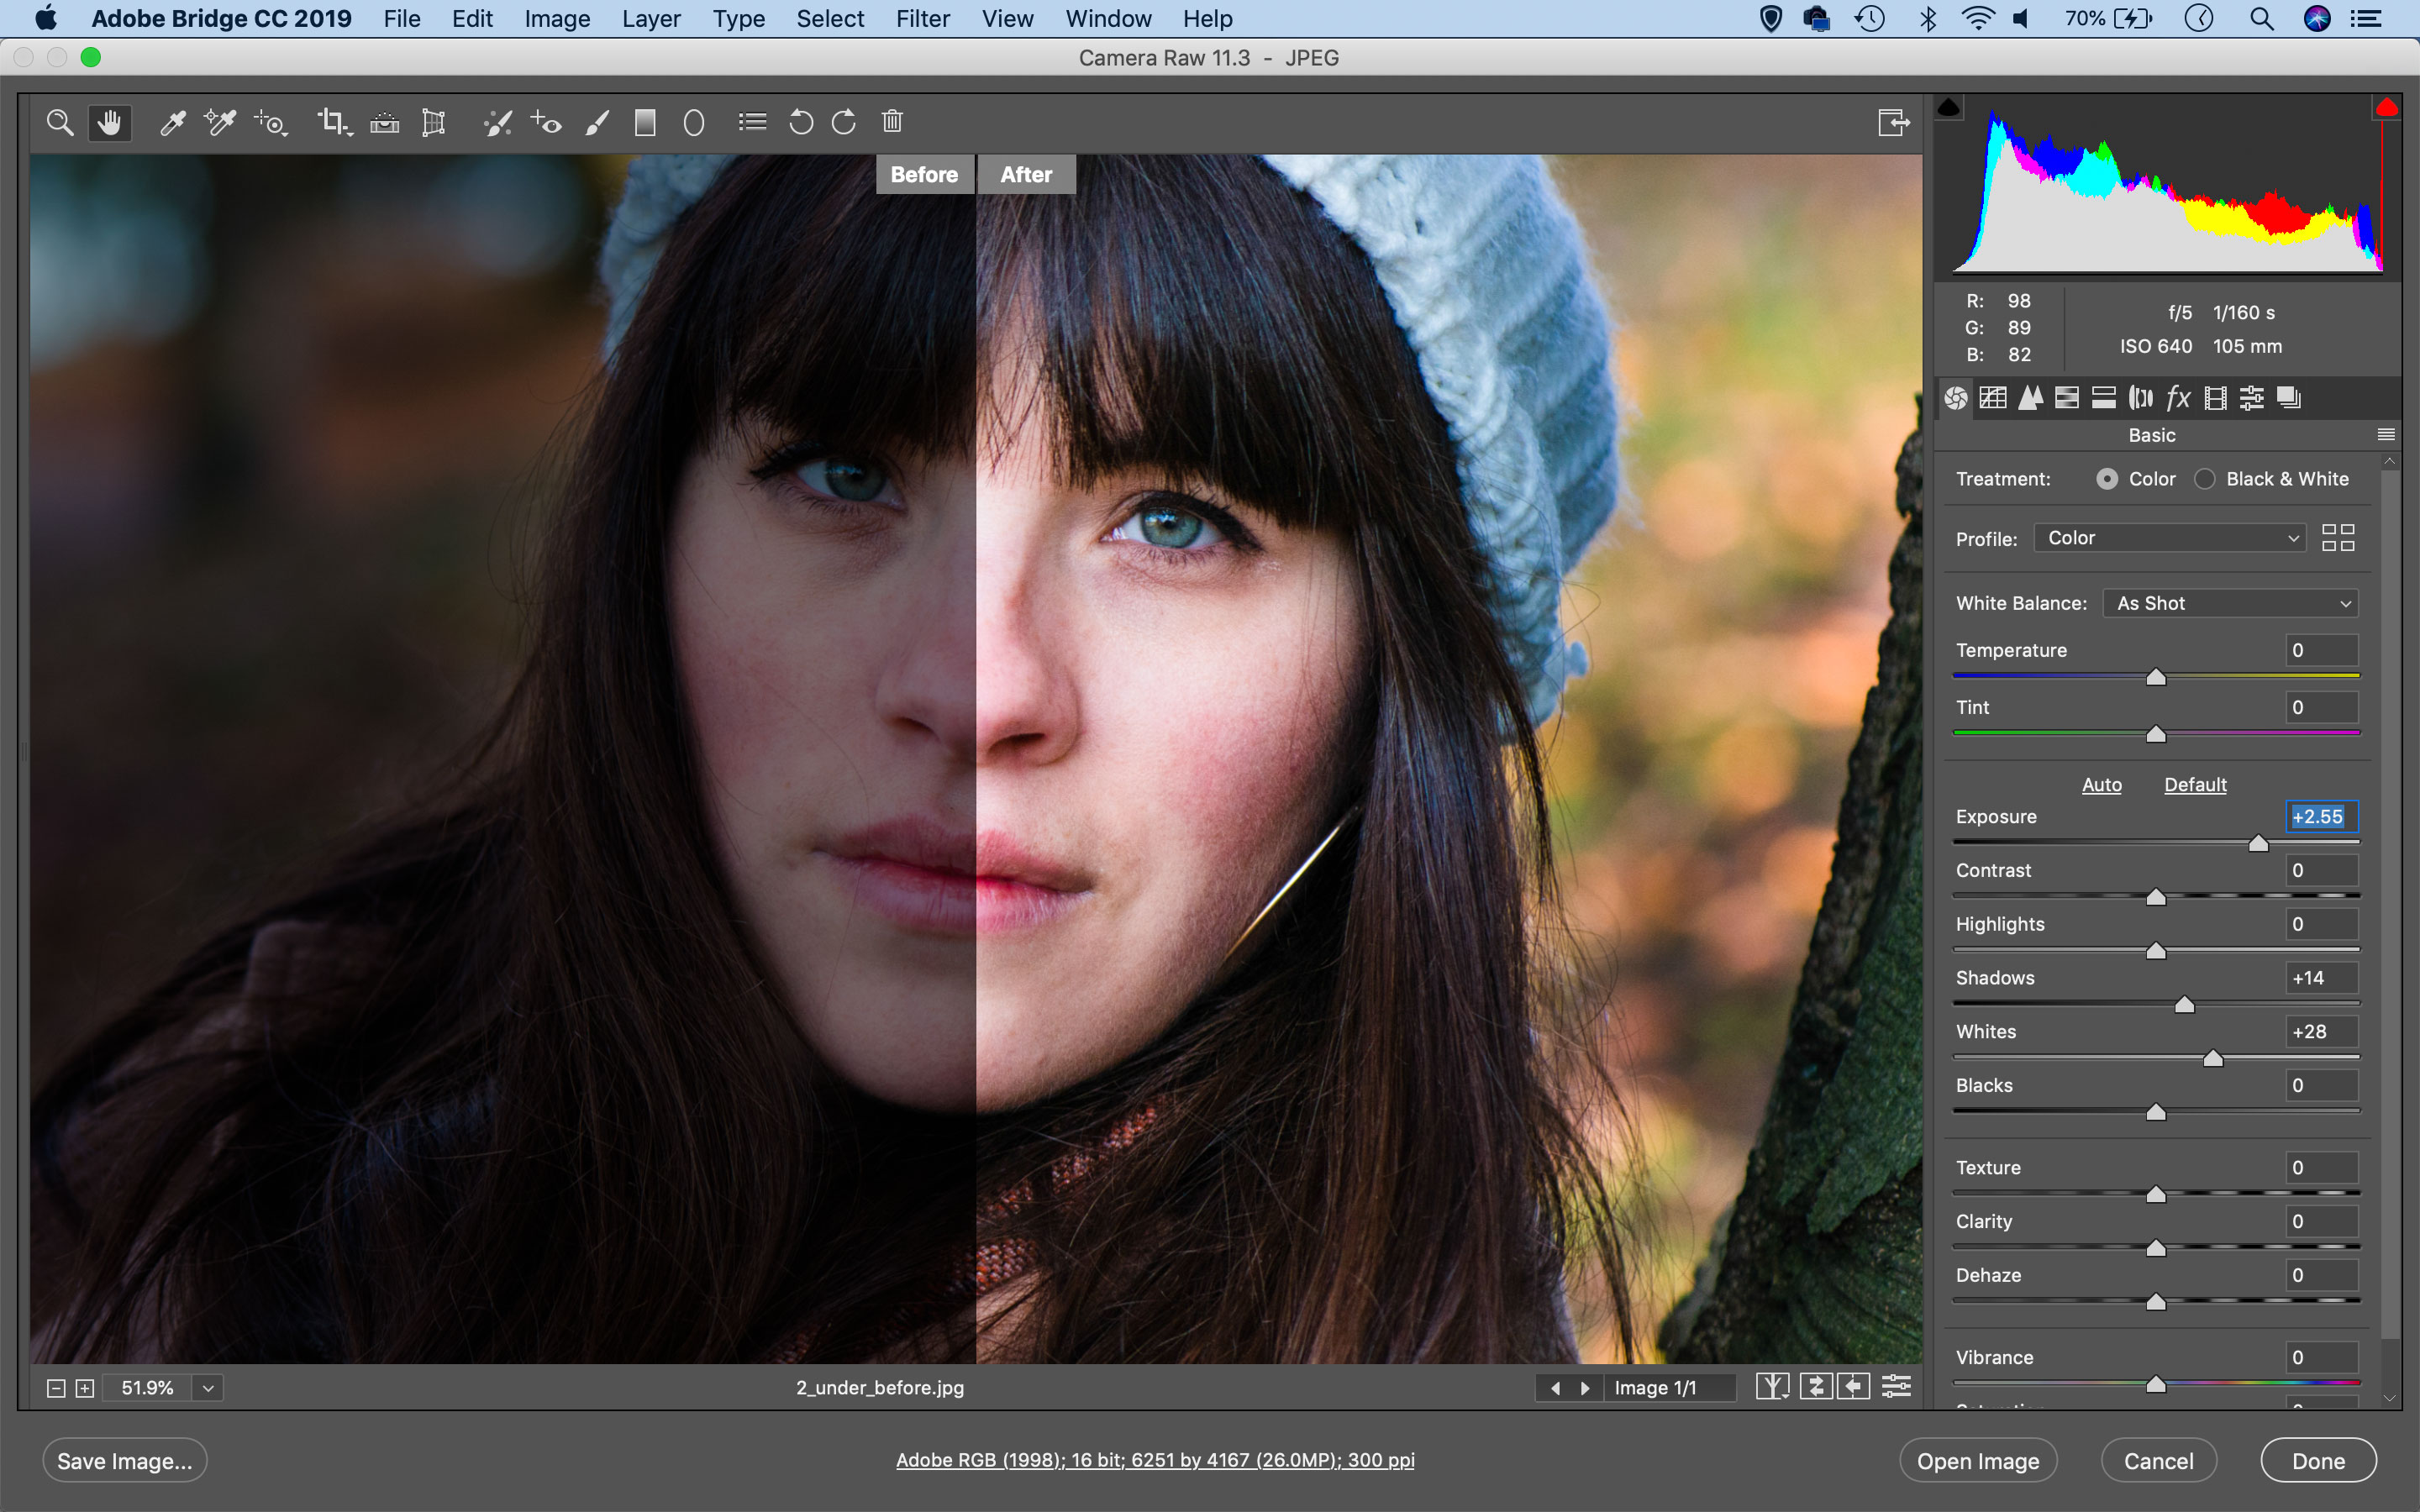
If your image looks too dark, head to the Basic Panel in Camera Raw/ Lightroom to lift the tones by increasing Exposure or Shadows. As long as the shadows aren’t clipped to pure black, you’ll be able to rescue a surprising amount of detail, especially if the image is a raw file. Keep in mind while rescuing underexposed photos that you’ll see increased image noise, so you might want to apply noise reduction too.
2 Levels and Curves
In Photoshop, the best tools for lifting dark photos are Levels and Curves. Go to the Layers Panel and add a Curves Adjustment Layer, then drag upwards on the curve to lighten the image. You can drag parts of the line up further to target parts of the tonal range.
Jargon buster
Exposure: This has two meanings. When applied to cameras, it's choosing the right settings to produce a picture that has just the right brightness level. In software, it's a slider that simulates the effect of changing the camera exposure digitally.
The best camera deals, reviews, product advice, and unmissable photography news, direct to your inbox!
Shadows: Photographers like to split the brightness levels in pictures into three broad areas. The 'shadows' (obviously) are the darkest tones. This is often where you want to try to recover a little extra image detail.
Raw file: This is an unprocessed image file that you can process yourself later on a computer using software like Lightroom or Adobe Camera Raw. It will have more tone and color information than a JPEG image captured by the camera.
Levels: A relatively simple exposure adjustment offered by just about all photo editing programs. It shows you the distribution of tones in the picture in a histogram and you can use Levels adjustments to maximise the tonal range in your pictures.
Histogram: This is a graphical representation of how the tones in your picture are distributed, from light to dark. It will show you the cause of common tonal or exposure issues and whether or not it will be possible to fix them.
Clipping: This is where the darker parts of the photo are rendered as a solid black, or the brightest parts are a featureless white. You know this has happened if the image histogram is 'clipped' at either end of the scale.
Curves: Curves adjustments are used to control the brightness and contrast within the picture. They are a bit more complex and subtle than Levels adjustments but can do things that Levels can't.
Adjustment layer: A special kind of layer first seen in Photoshop but now used widely in other programs. With an adjustment layer, you change only the appearance of the photo – you don't permanently change any of its pixels. Adjustment layers let you change your mind about editing settings later.
How to download Lightroom and try it for free for 7 days
How to download Photoshop and try it for free for 7 days
Next instalment: #3 My photo is overexposed
Previous instalment: #1 My photos are too noisy
The lead technique writer on Digital Camera Magazine, PhotoPlus: The Canon Magazine and N-Photo: The Nikon Magazine, James is a fantastic general practice photographer with an enviable array of skills across every genre of photography.
Whether it's flash photography techniques like stroboscopic portraits, astrophotography projects like photographing the Northern Lights, or turning sound into art by making paint dance on a set of speakers, James' tutorials and projects are as creative as they are enjoyable.
He's also a wizard at the dark arts of Photoshop, Lightroom and Affinity Photo, and is capable of some genuine black magic in the digital darkroom, making him one of the leading authorities on photo editing software and techniques.


