Common photo problems and how to fix them in Photoshop: #1 My photos are too noisy
If your high-ISO images are plagued by unsightly noise, there are two excellent features in Camera Raw and Photoshop that can clean things up…
The best camera deals, reviews, product advice, and unmissable photography news, direct to your inbox!
You are now subscribed
Your newsletter sign-up was successful
You’ve got to get things perfect in-camera, right? Wrong! Lots of common photo problems are easily fixed in Photoshop, so you can often rescue a photo that is seemingly bound for the trash can. Over the next 15 days, we’ll explain how to fix a whole host of photo headaches…
See all 15 instalments
• 15 common photo fixes
Adobe trial downloads
• Download Photoshop
• Download Lightroom
• Download Premiere Pro
Computers and photo editing
• Best photo-editing software
• Best laptops for photographers
• Best desktop computers for photo editing
Photo tips and ideas
• 11 home photo projects
• 44 tips cards to cut out and keep
• Photography tips for beginners
Welcome to the first of a 15-part series on how to fix photo problems in Photoshop, Lightroom and Adobe Camera Raw.
We hope it’s going to be especially useful to photographers who have to work at home during the current coronavirus crisis – this could be the first proper chance we all get to fix up some of those photos that are too good to abandon but not yet good enough to share!
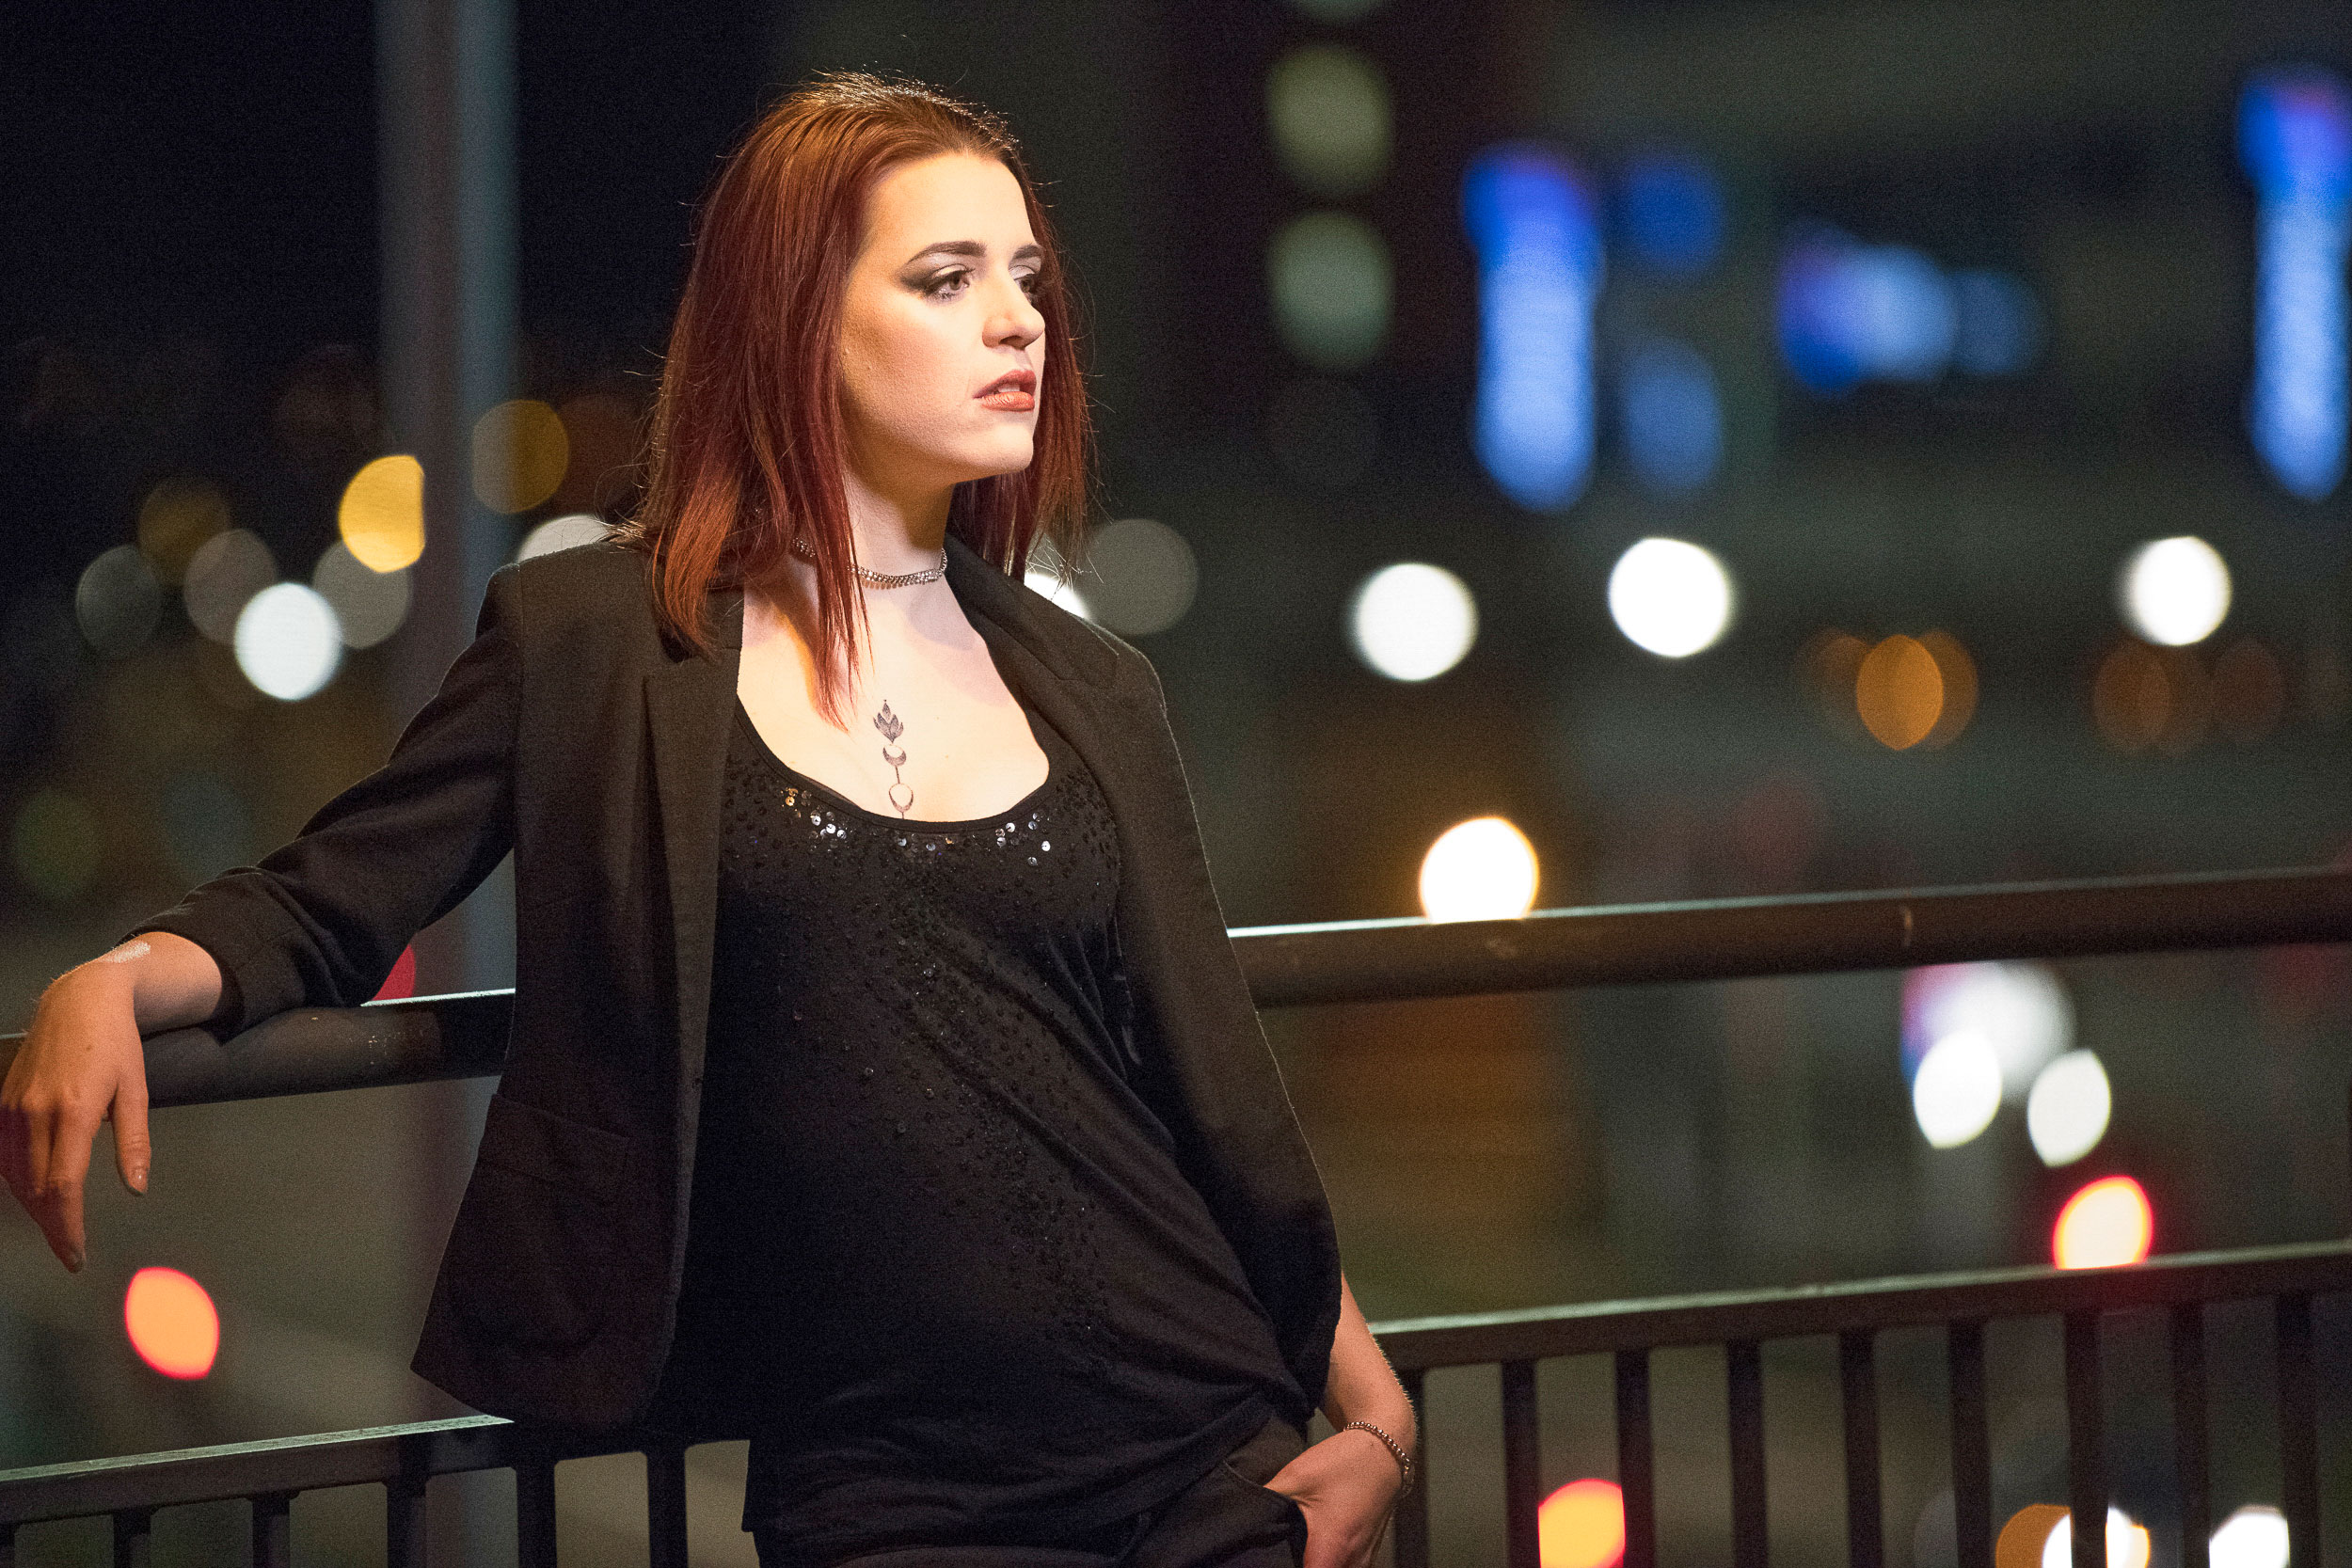
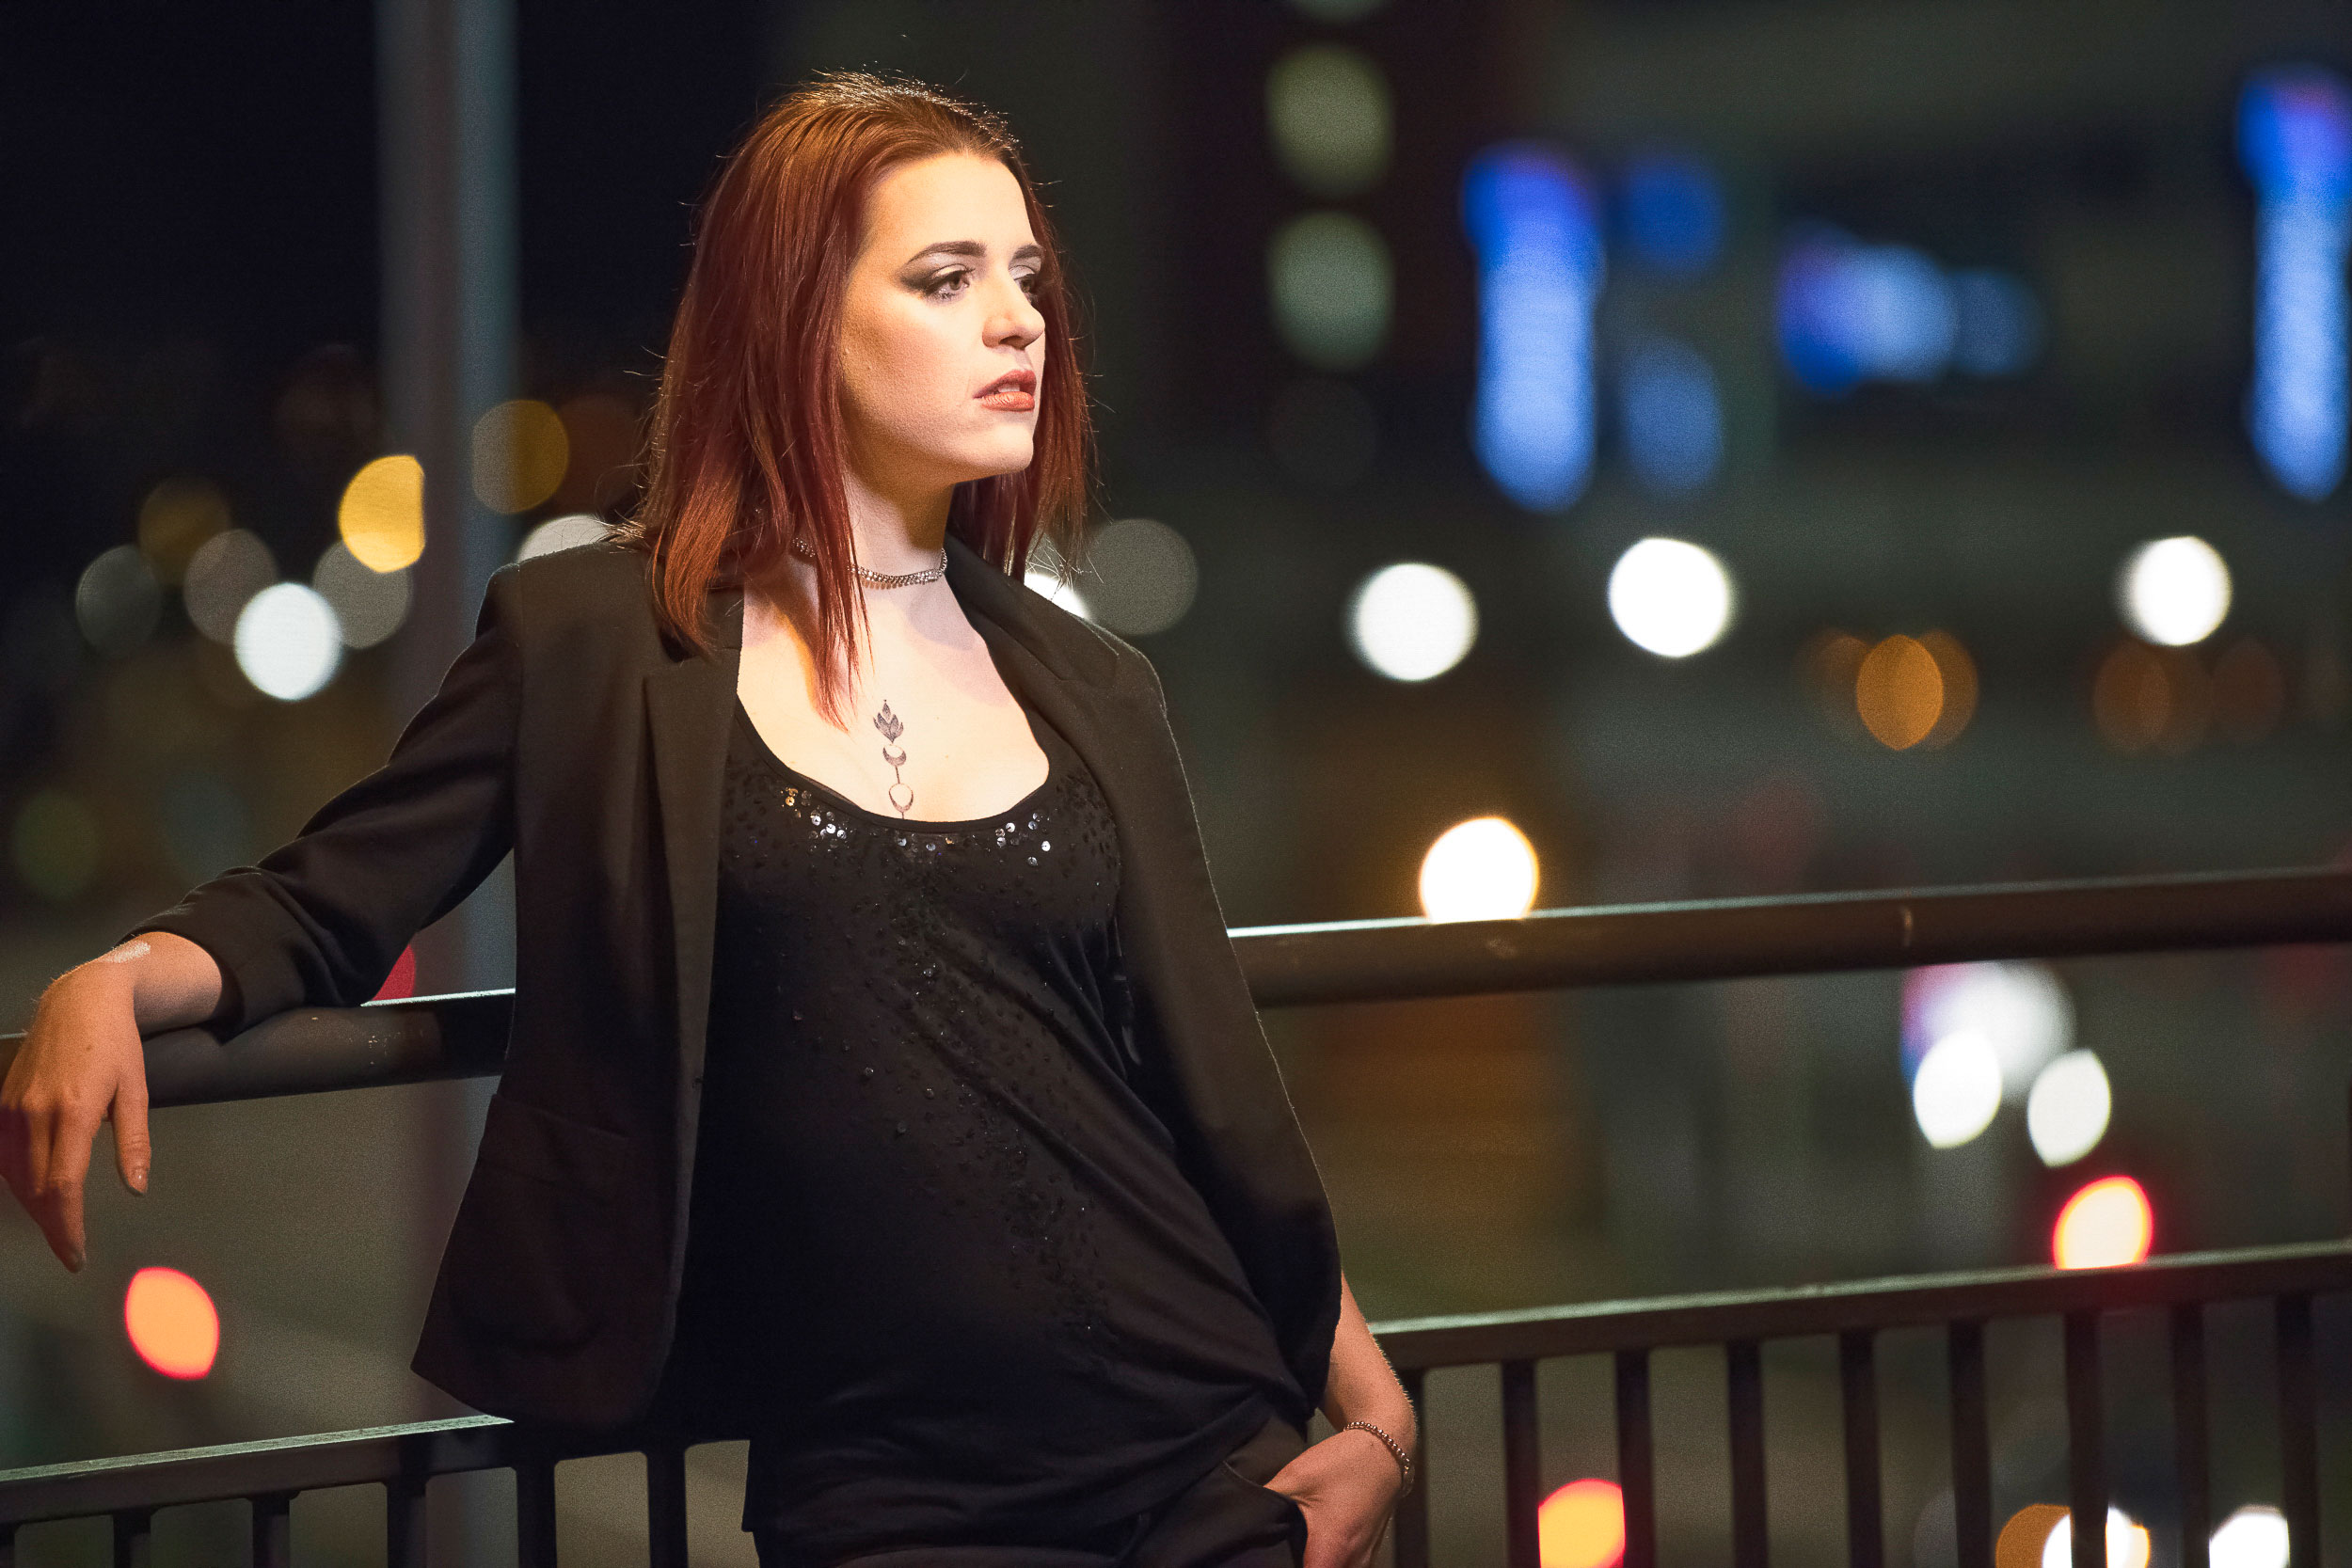
For this first instalment we’re going to tackle that perennial photo problem – noise. We’ve all got photos spoilt by that gritty, high-ISO ‘speckling’, so here are three ways to combat noise without turning your photos into a smudgy mess.
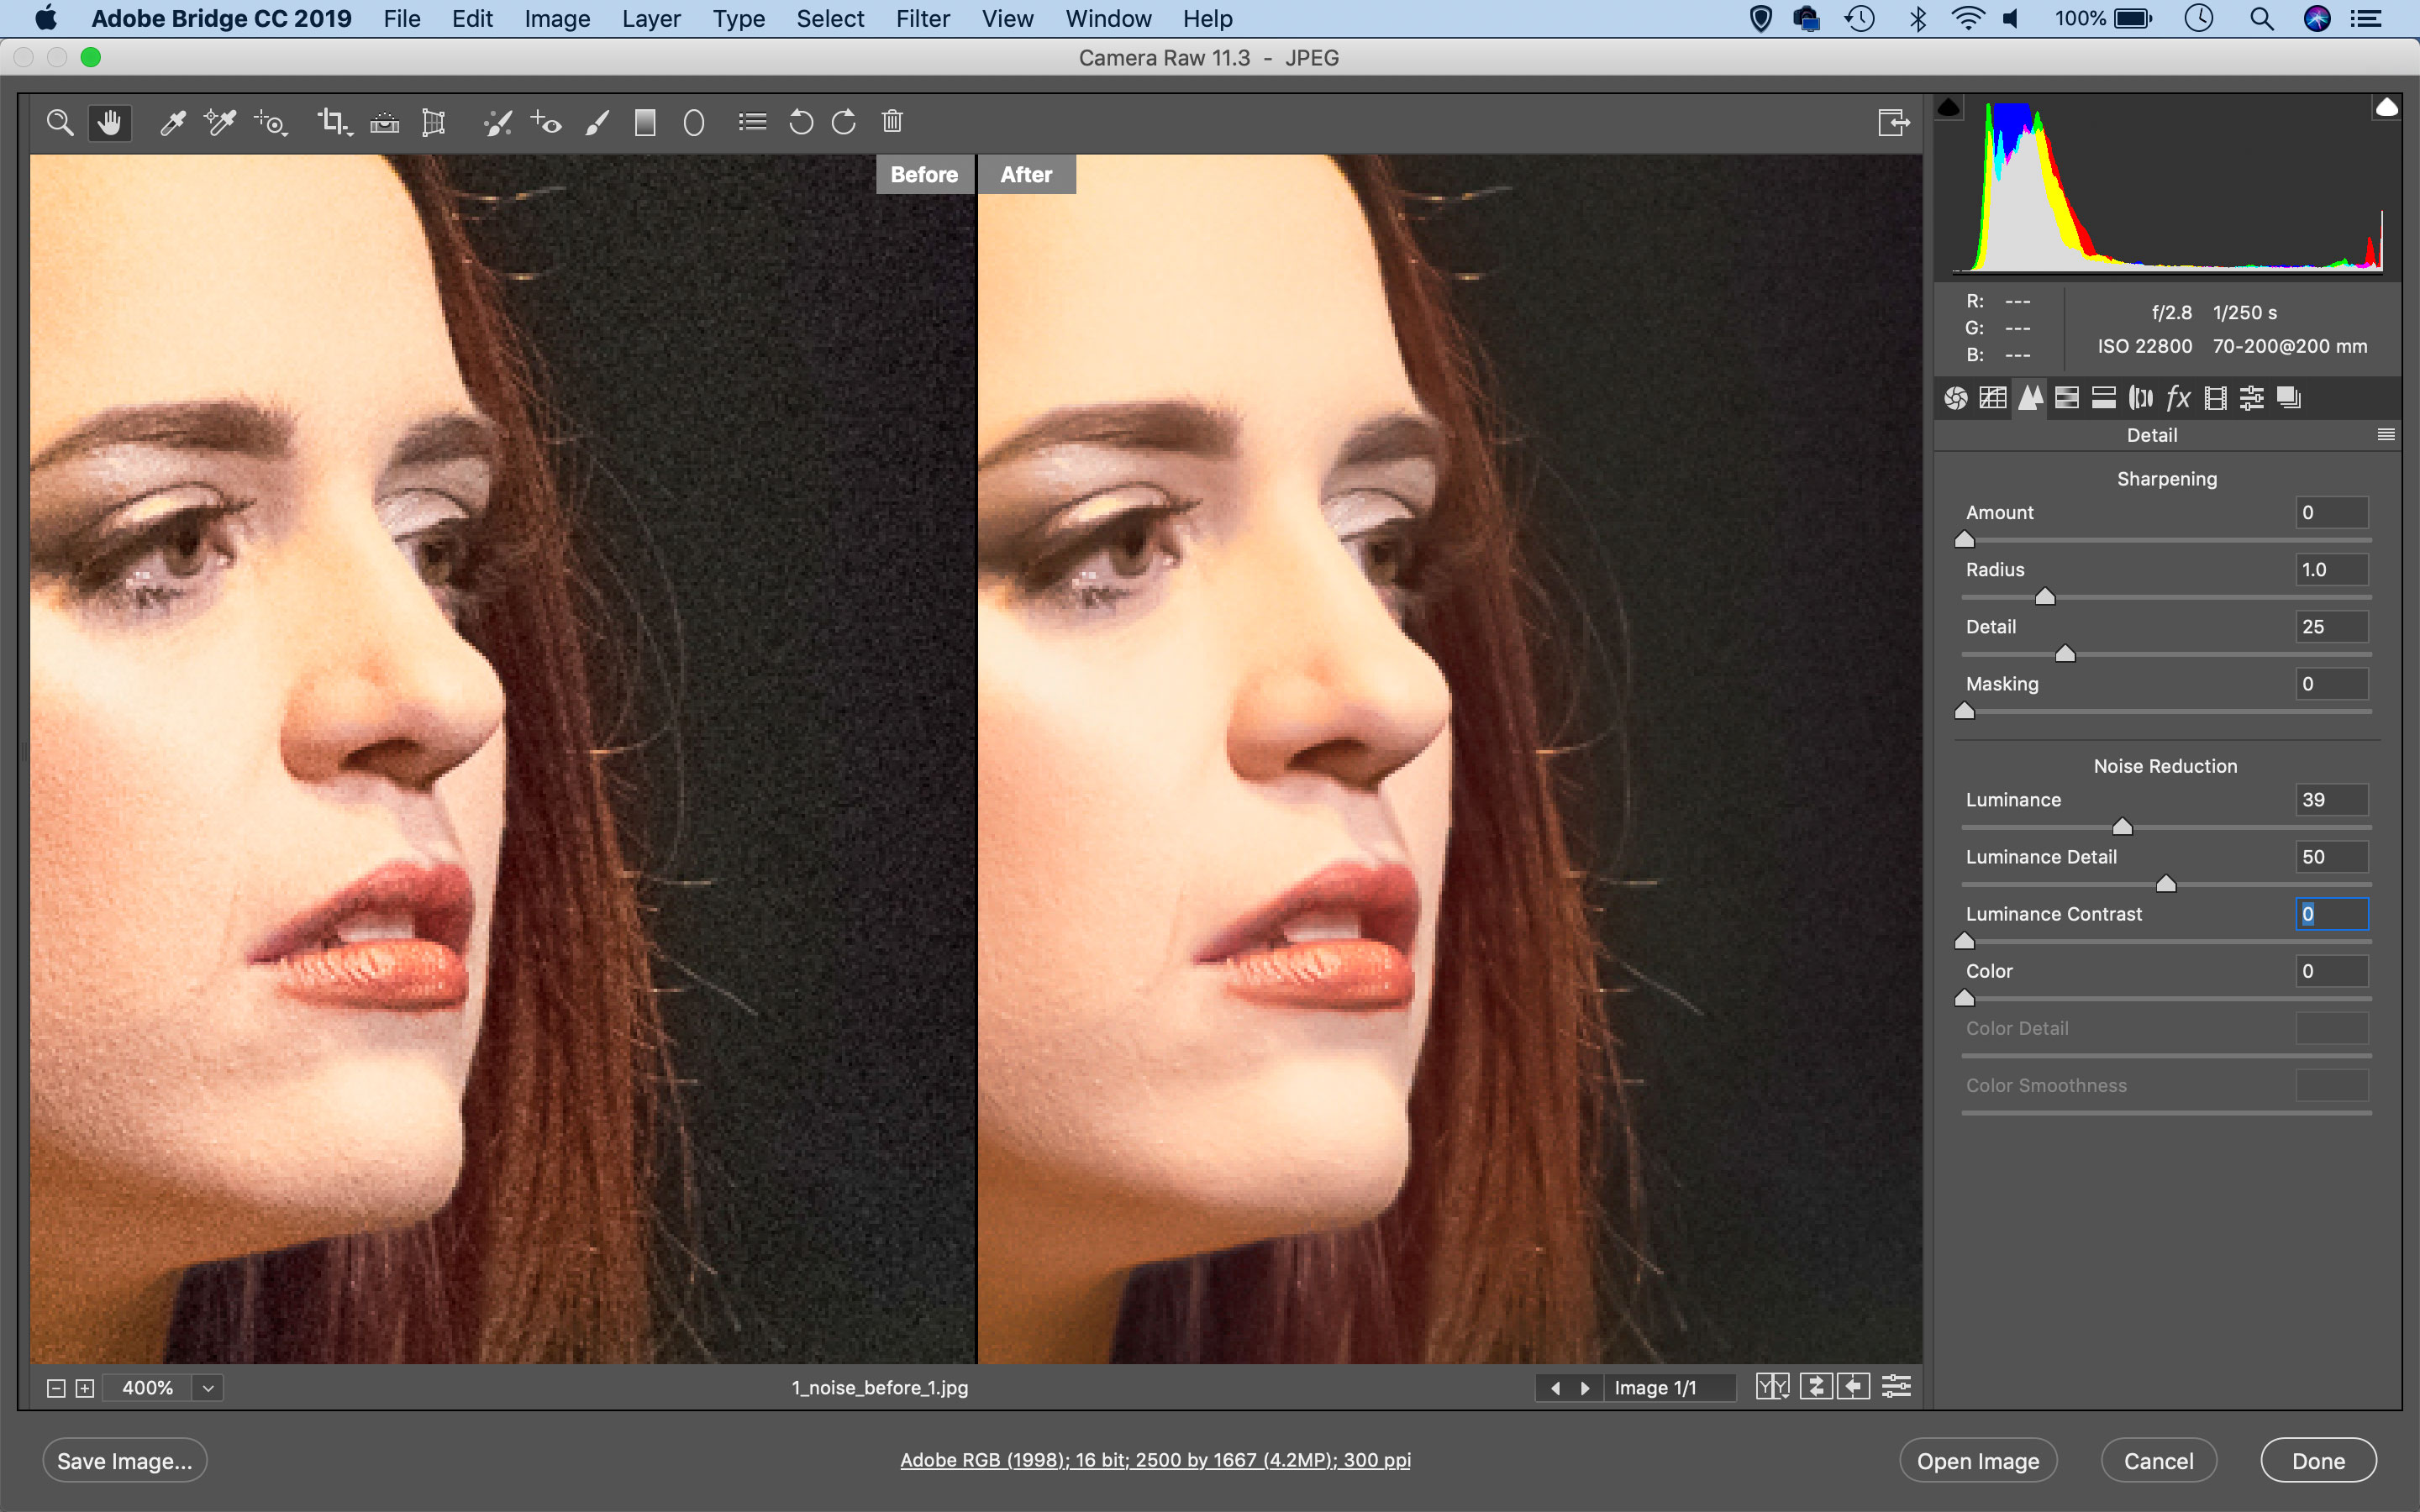
1 Detail panel
The Detail Panel in Camera Raw/Lightroom is the easiest tool Adobe offers for noise reduction. The Luminance slider tackles grainy image noise, so start here first. Increasing Luminance reduces the grain, but at the expense of image detail. So it’s always a balancing act between noise, detail and sharpness.
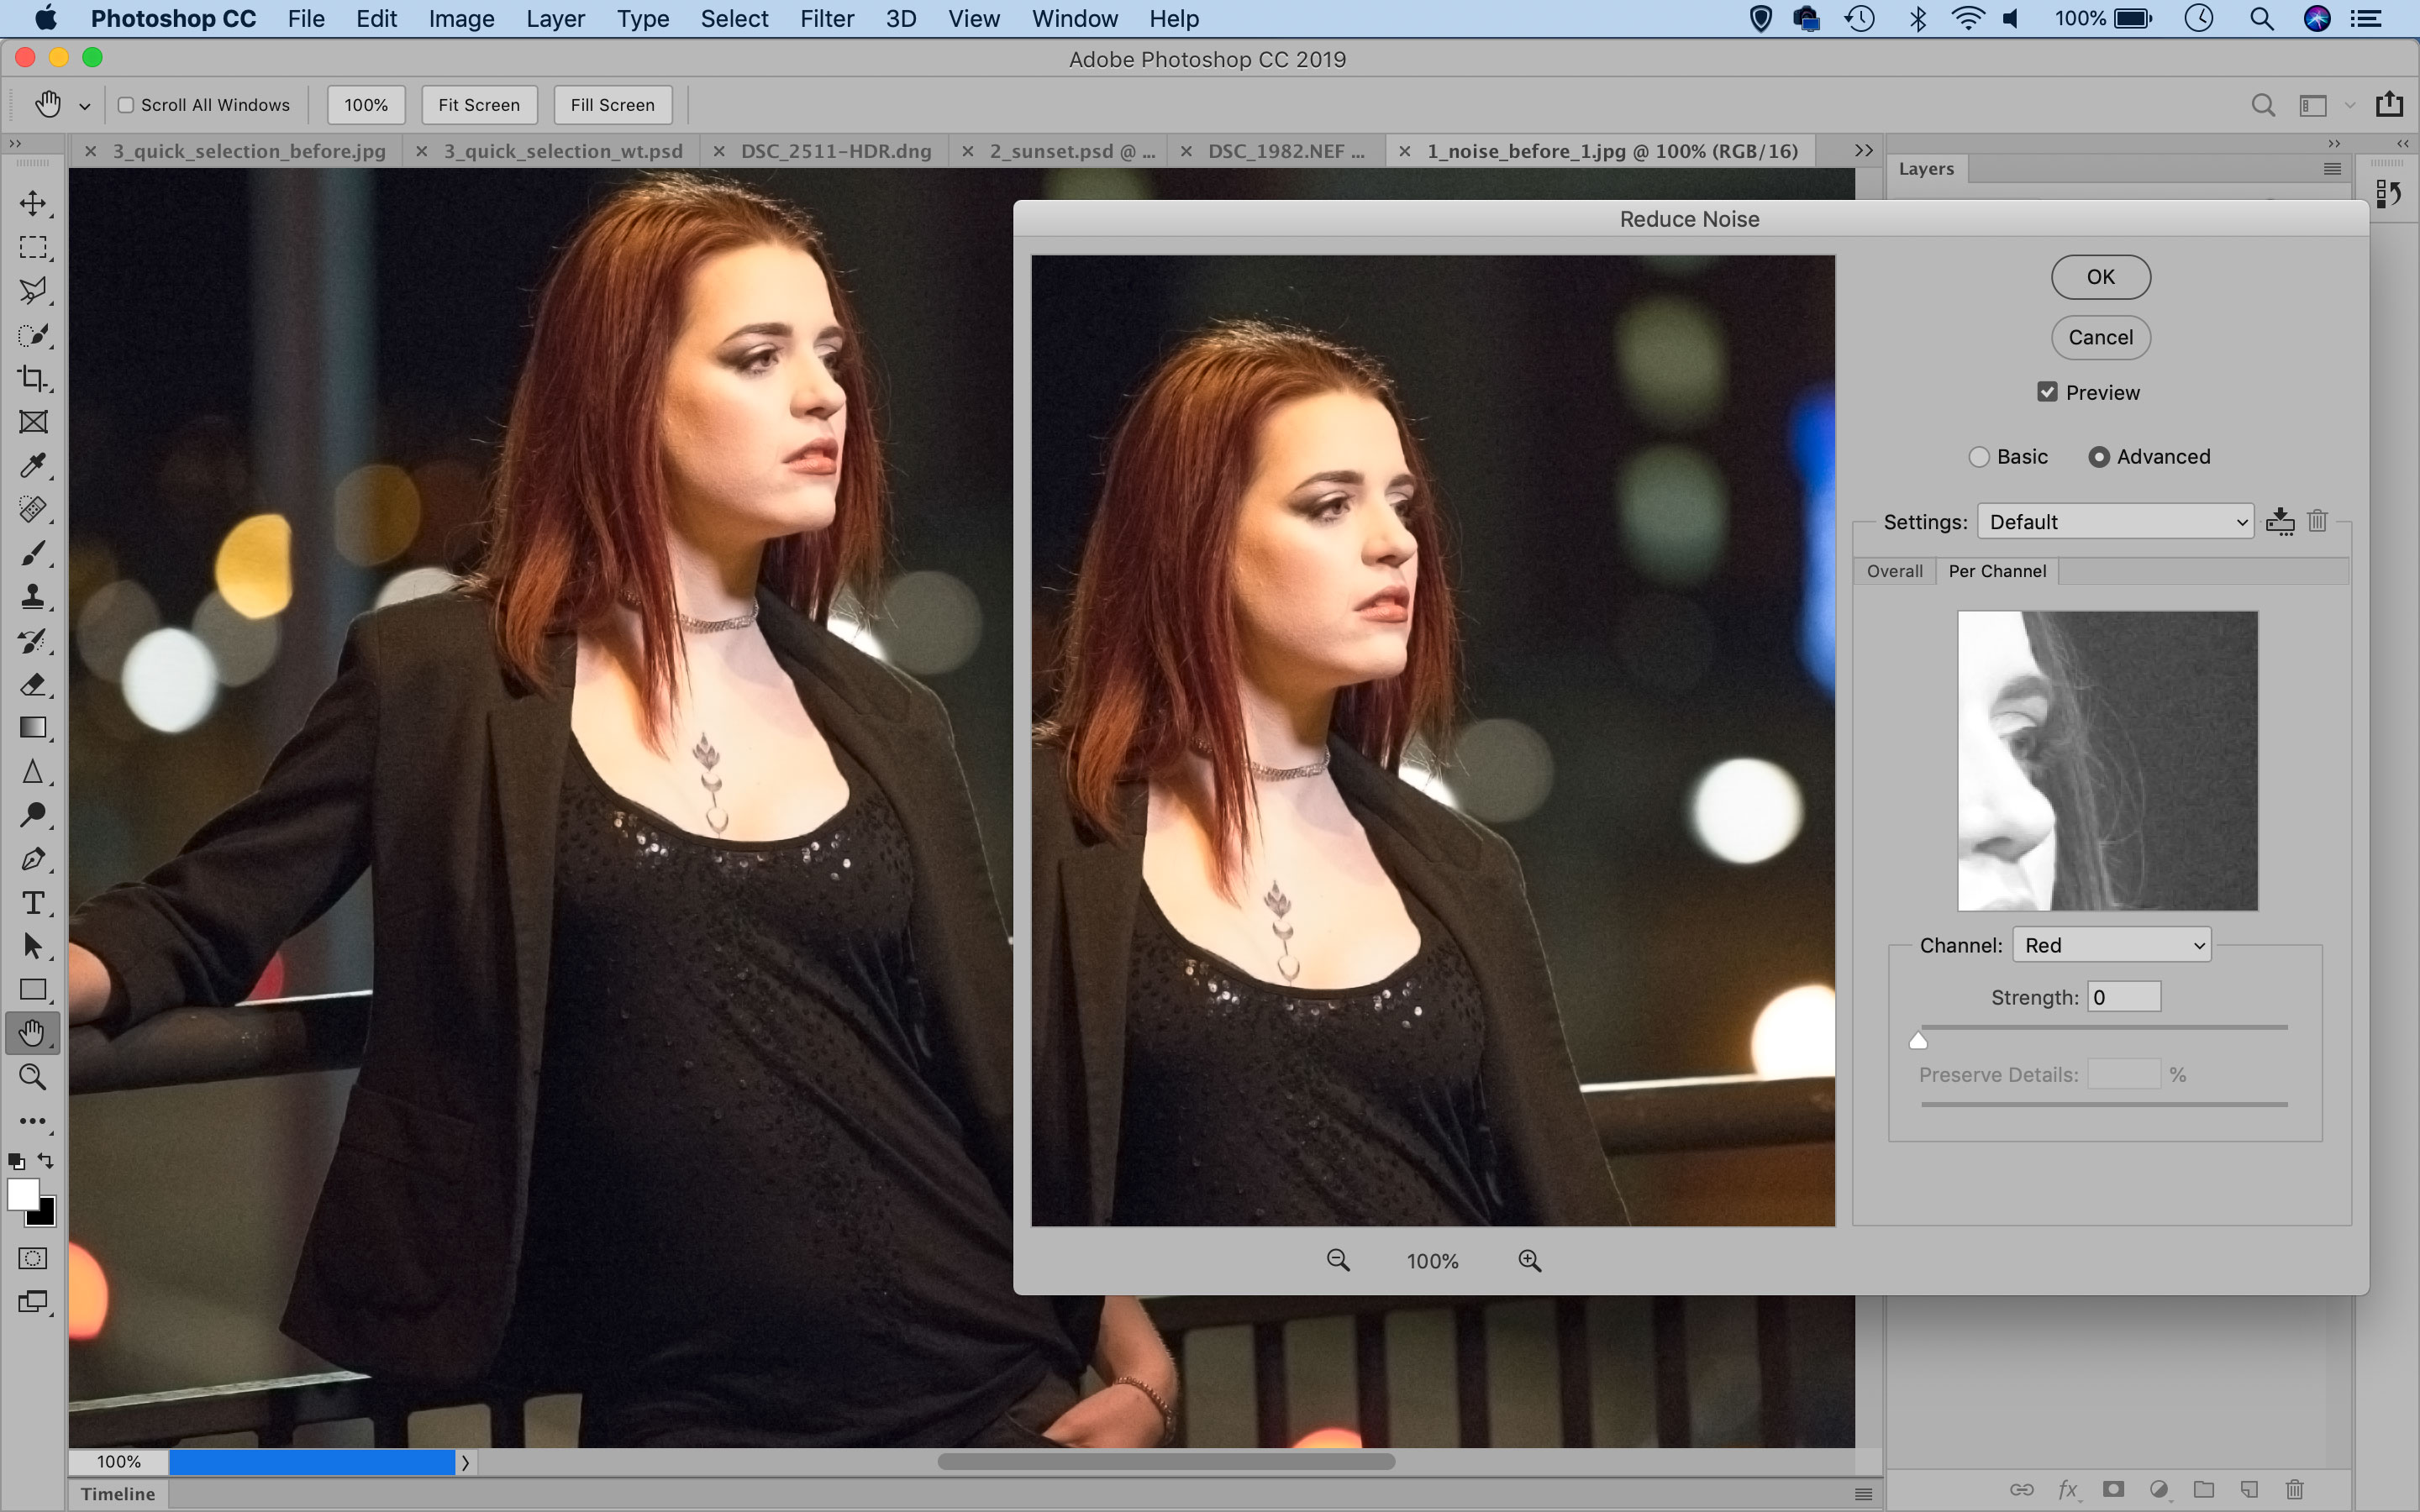
2 Reduce Noise filter
Found in Photoshop under Filter > Noise > Reduce Noise, this tool offers similar noise reduction controls to the Detail Panel, but with the added option (under Advanced) to apply noise reduction to individual color channels. So you can cycle through the red, green and blue channels (if you’re working in the RGB color space) and assess the amount of noise on each, then apply the noise reduction accordingly.
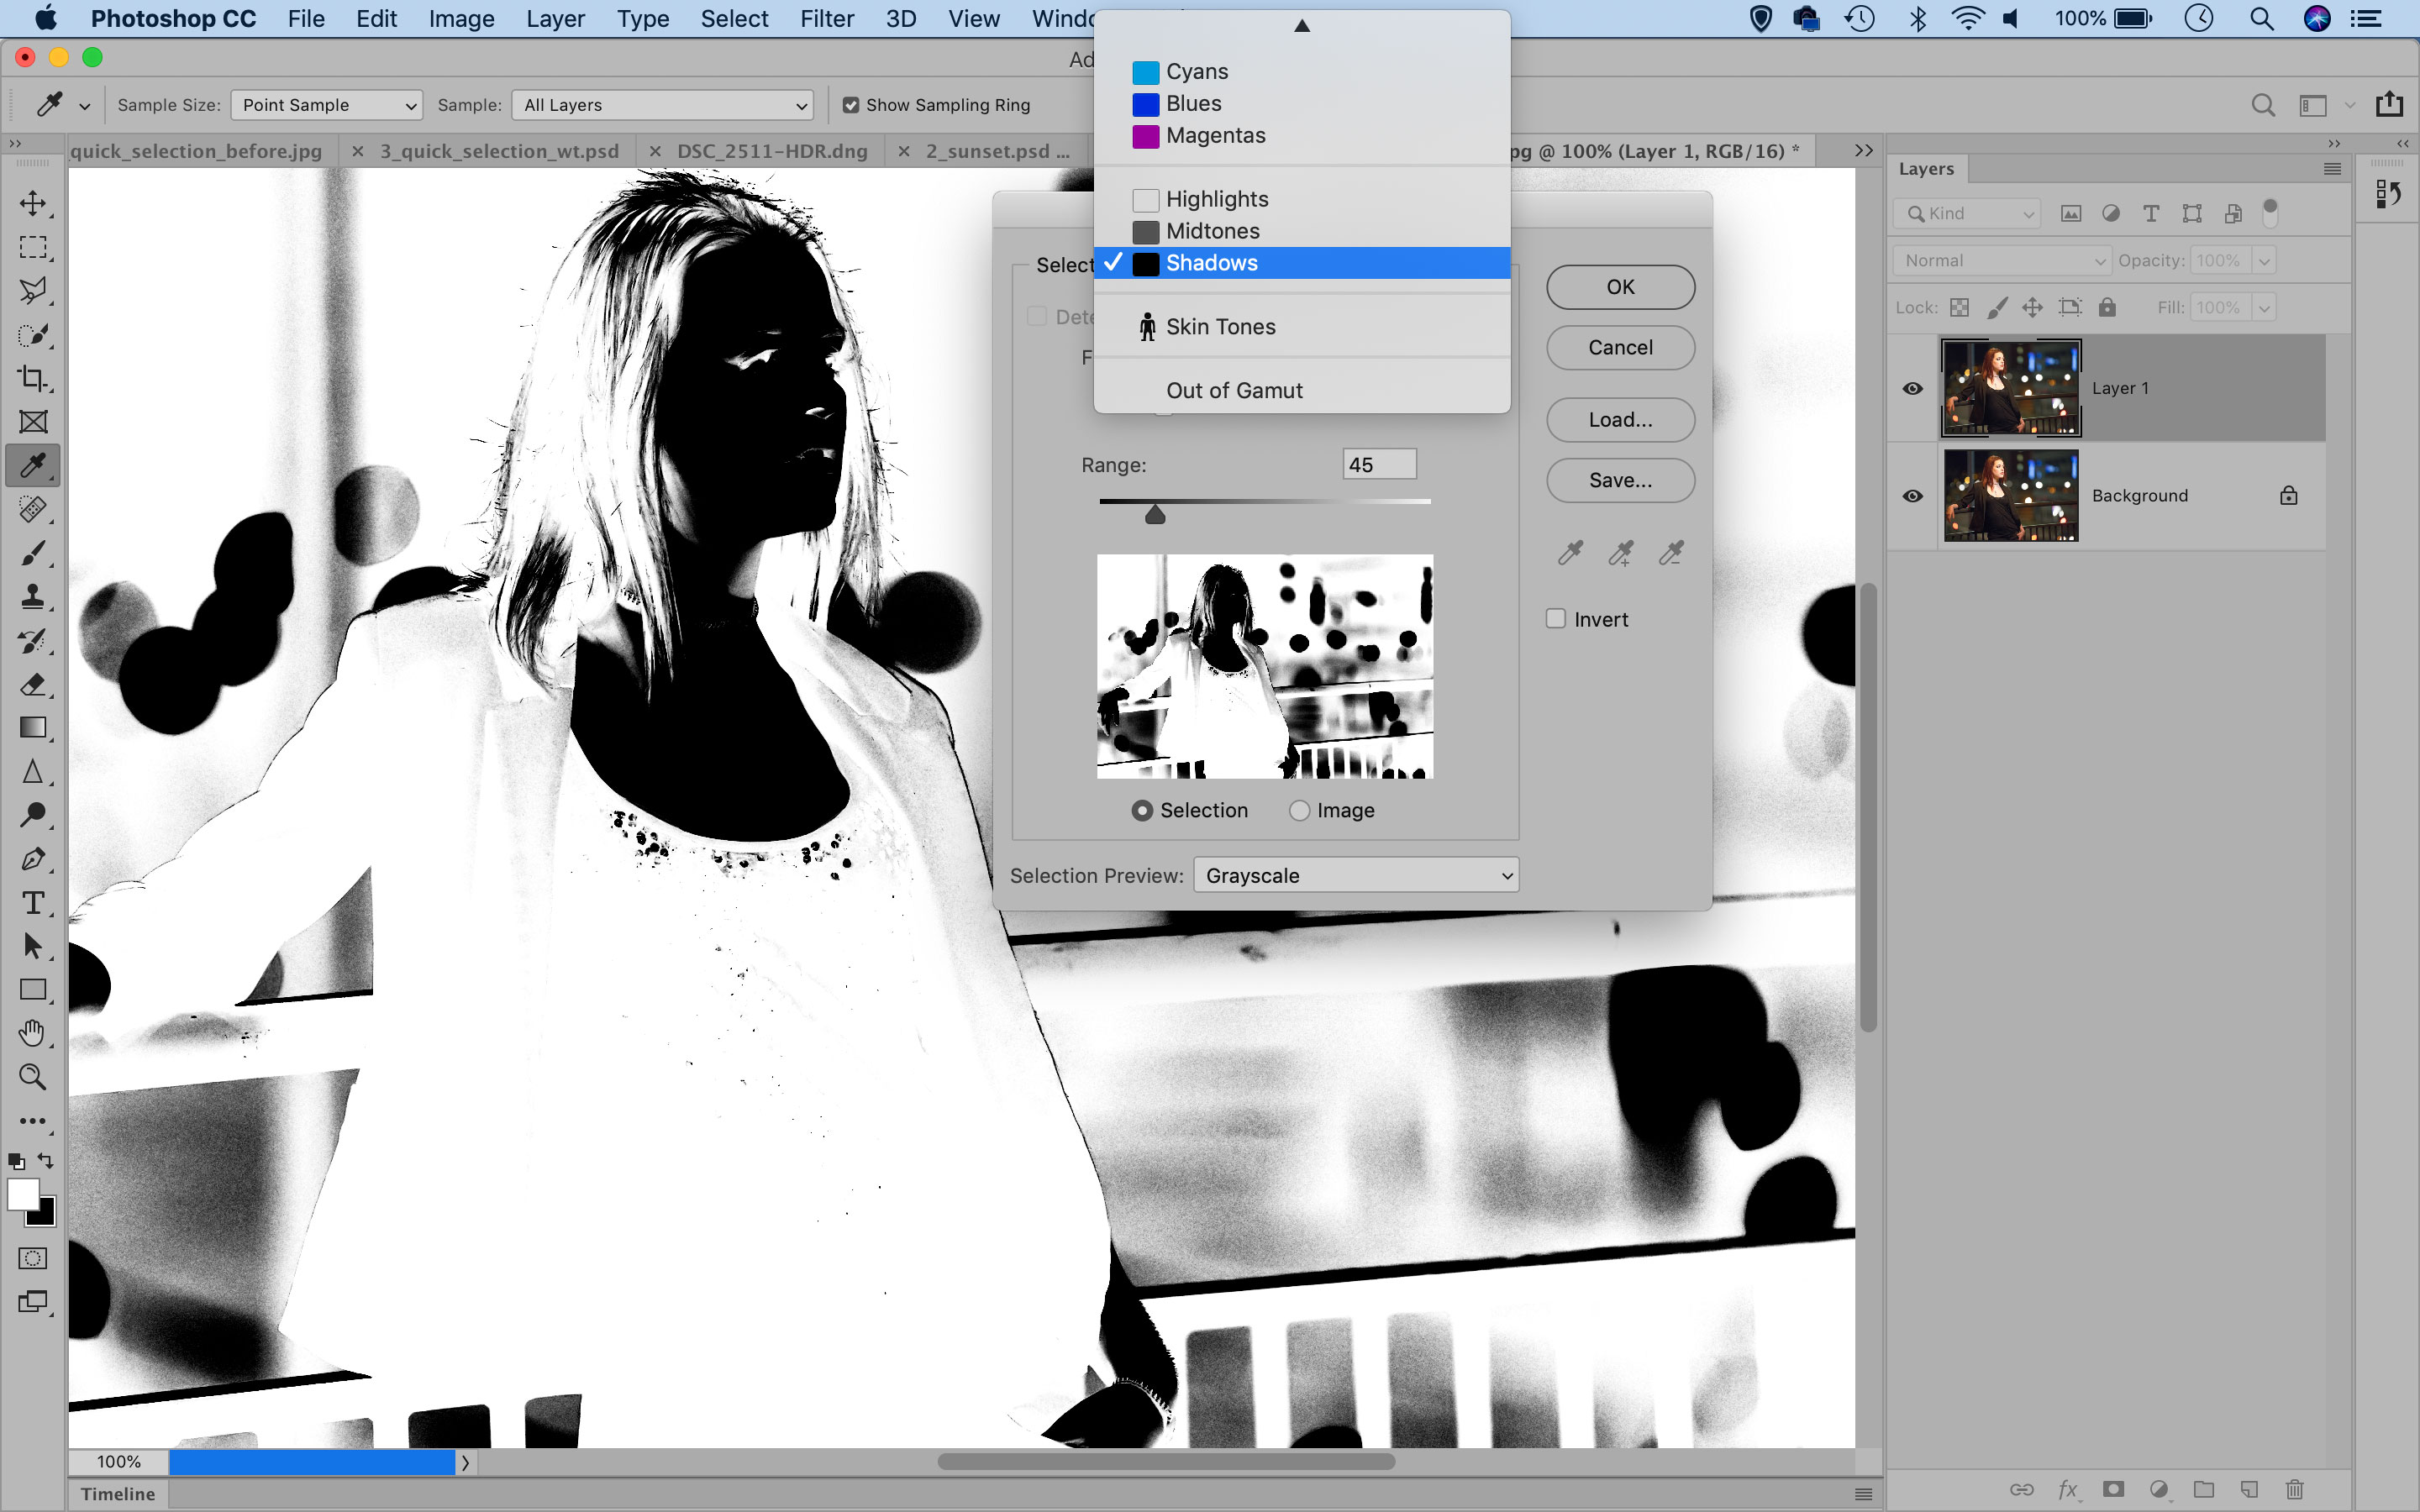
3 Luminosity masking
One of the most refined ways to fix noise in Photoshop is by using a noise reduction tool in combination with Luminosity Masks. This allows you to apply stronger noise reduction to shadow areas and preserve the details in the highlights.
The best camera deals, reviews, product advice, and unmissable photography news, direct to your inbox!
Open an image in Photoshop. Duplicate the layer twice. Highlight the top layer and go to Filter > Camera Raw Filter, then use Details to apply heavy noise reduction. Click OK, then go to Select > Color Range. Choose the Shadows preset from the dropdown, adjust the range and click OK, then click the Add Mask icon to mask out the highlights.
Jargon buster
Noise: This is the ‘speckling’ effect you sometimes see in images taken at high ISO settings. It happens because the camera is amplifying very weak signals (light values) so it’s also amplifying small, random variations that would normally go unnoticed. See also What is ISO?
Luminance noise: This is noise that causes random differences in brightness levels between pixels, and it’s the hardest to get rid of without also softening the fine detail in the picture.
Color channels: The colors in digital photos are made up of red, green and blue, and each of these has its own ‘color channel’ which you can see and edit in Photoshop if you need to.
RGB color: This is the standard color mode for digital photos, combining red, green and blue color ‘channels’ to create all the millions of different hues you see in photos.
Luminosity mask: This is a special technique which turns the brightness values in a photo into a selection or ‘mask’ which you can use to make selective adjustments based on brightness.
Camera Raw Filter: This is a special filter in Photoshop that offers many of the tools found in Adobe Camera Raw, and it’s a lot more useful than it might sound because there are things here you don’t find in Photoshop itself.
Next instalment: #2 My photo is underexposed
How to download Lightroom and try it for free for 7 days
How to download Photoshop and try it for free for 7 days
The lead technique writer on Digital Camera Magazine, PhotoPlus: The Canon Magazine and N-Photo: The Nikon Magazine, James is a fantastic general practice photographer with an enviable array of skills across every genre of photography.
Whether it's flash photography techniques like stroboscopic portraits, astrophotography projects like photographing the Northern Lights, or turning sound into art by making paint dance on a set of speakers, James' tutorials and projects are as creative as they are enjoyable.
He's also a wizard at the dark arts of Photoshop, Lightroom and Affinity Photo, and is capable of some genuine black magic in the digital darkroom, making him one of the leading authorities on photo editing software and techniques.
