Does your camera have a small sensor? Here's how to get the best quality with compacts or smartphones – even in low light
Try this technique to capture high-quality images even without a DSLR or mirrorless camera
In today's world, shooting with a camera phone or a compact camera is undeniably popular. For many people, the advantages of using pocket-sized technology surpass those of DSLRs or mirrorless cameras, as practicality, affordability and advancements in portable imaging set new standards.
The only 'problem' one might see is the smaller sensor size – but these days, having a small sensor doesn't mean that you have to compromise on the quality of your photographic work!
While smaller sensors can introduce certain practical challenges, advancing technology means that these devices are more than capable of working as a backup to an interchangeable-lens camera, or as a portable alternative.
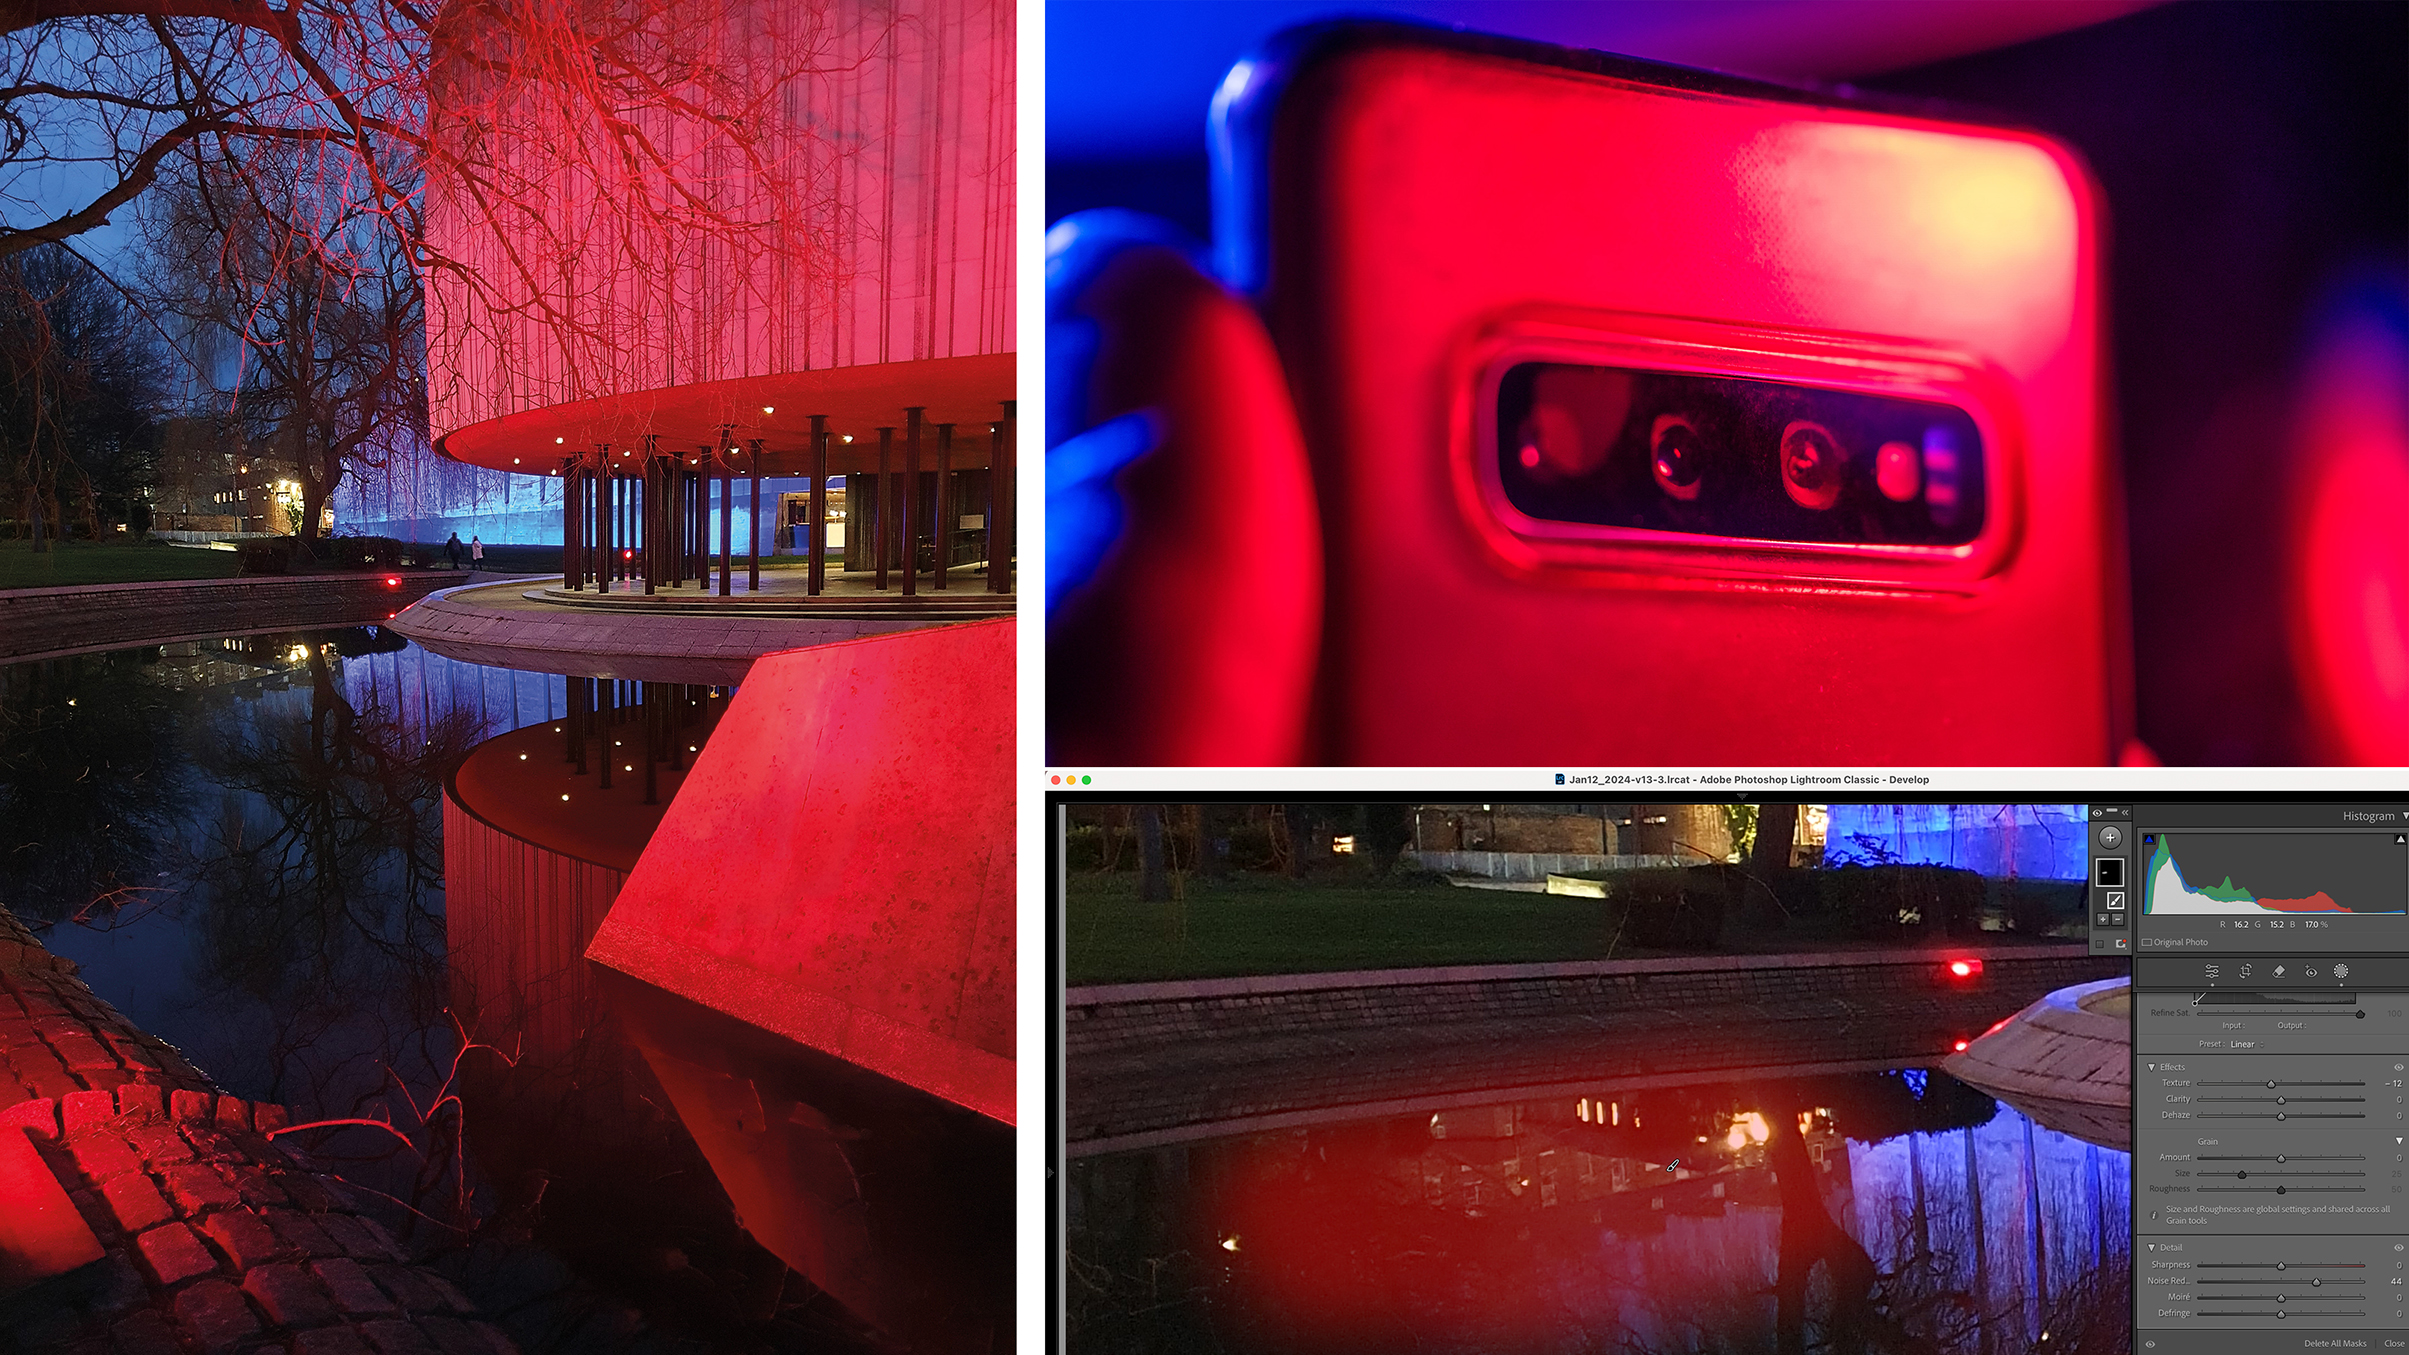
Article continues belowOf course, if there's a photographic situation that challenges any sensor – especially small ones – it's low light. To demonstrate what small sensors are capable of, we chose to shoot a scene with poor light intensity and a dominance of blue and red – the worst possible scenario for image signal-noise ratio.
Here's how we increased the image quality from a mobile device in super-challenging conditions. While these techniques are shown on a smartphone, the principles are the same if you're using a compact camera.
Shooting Tutorial
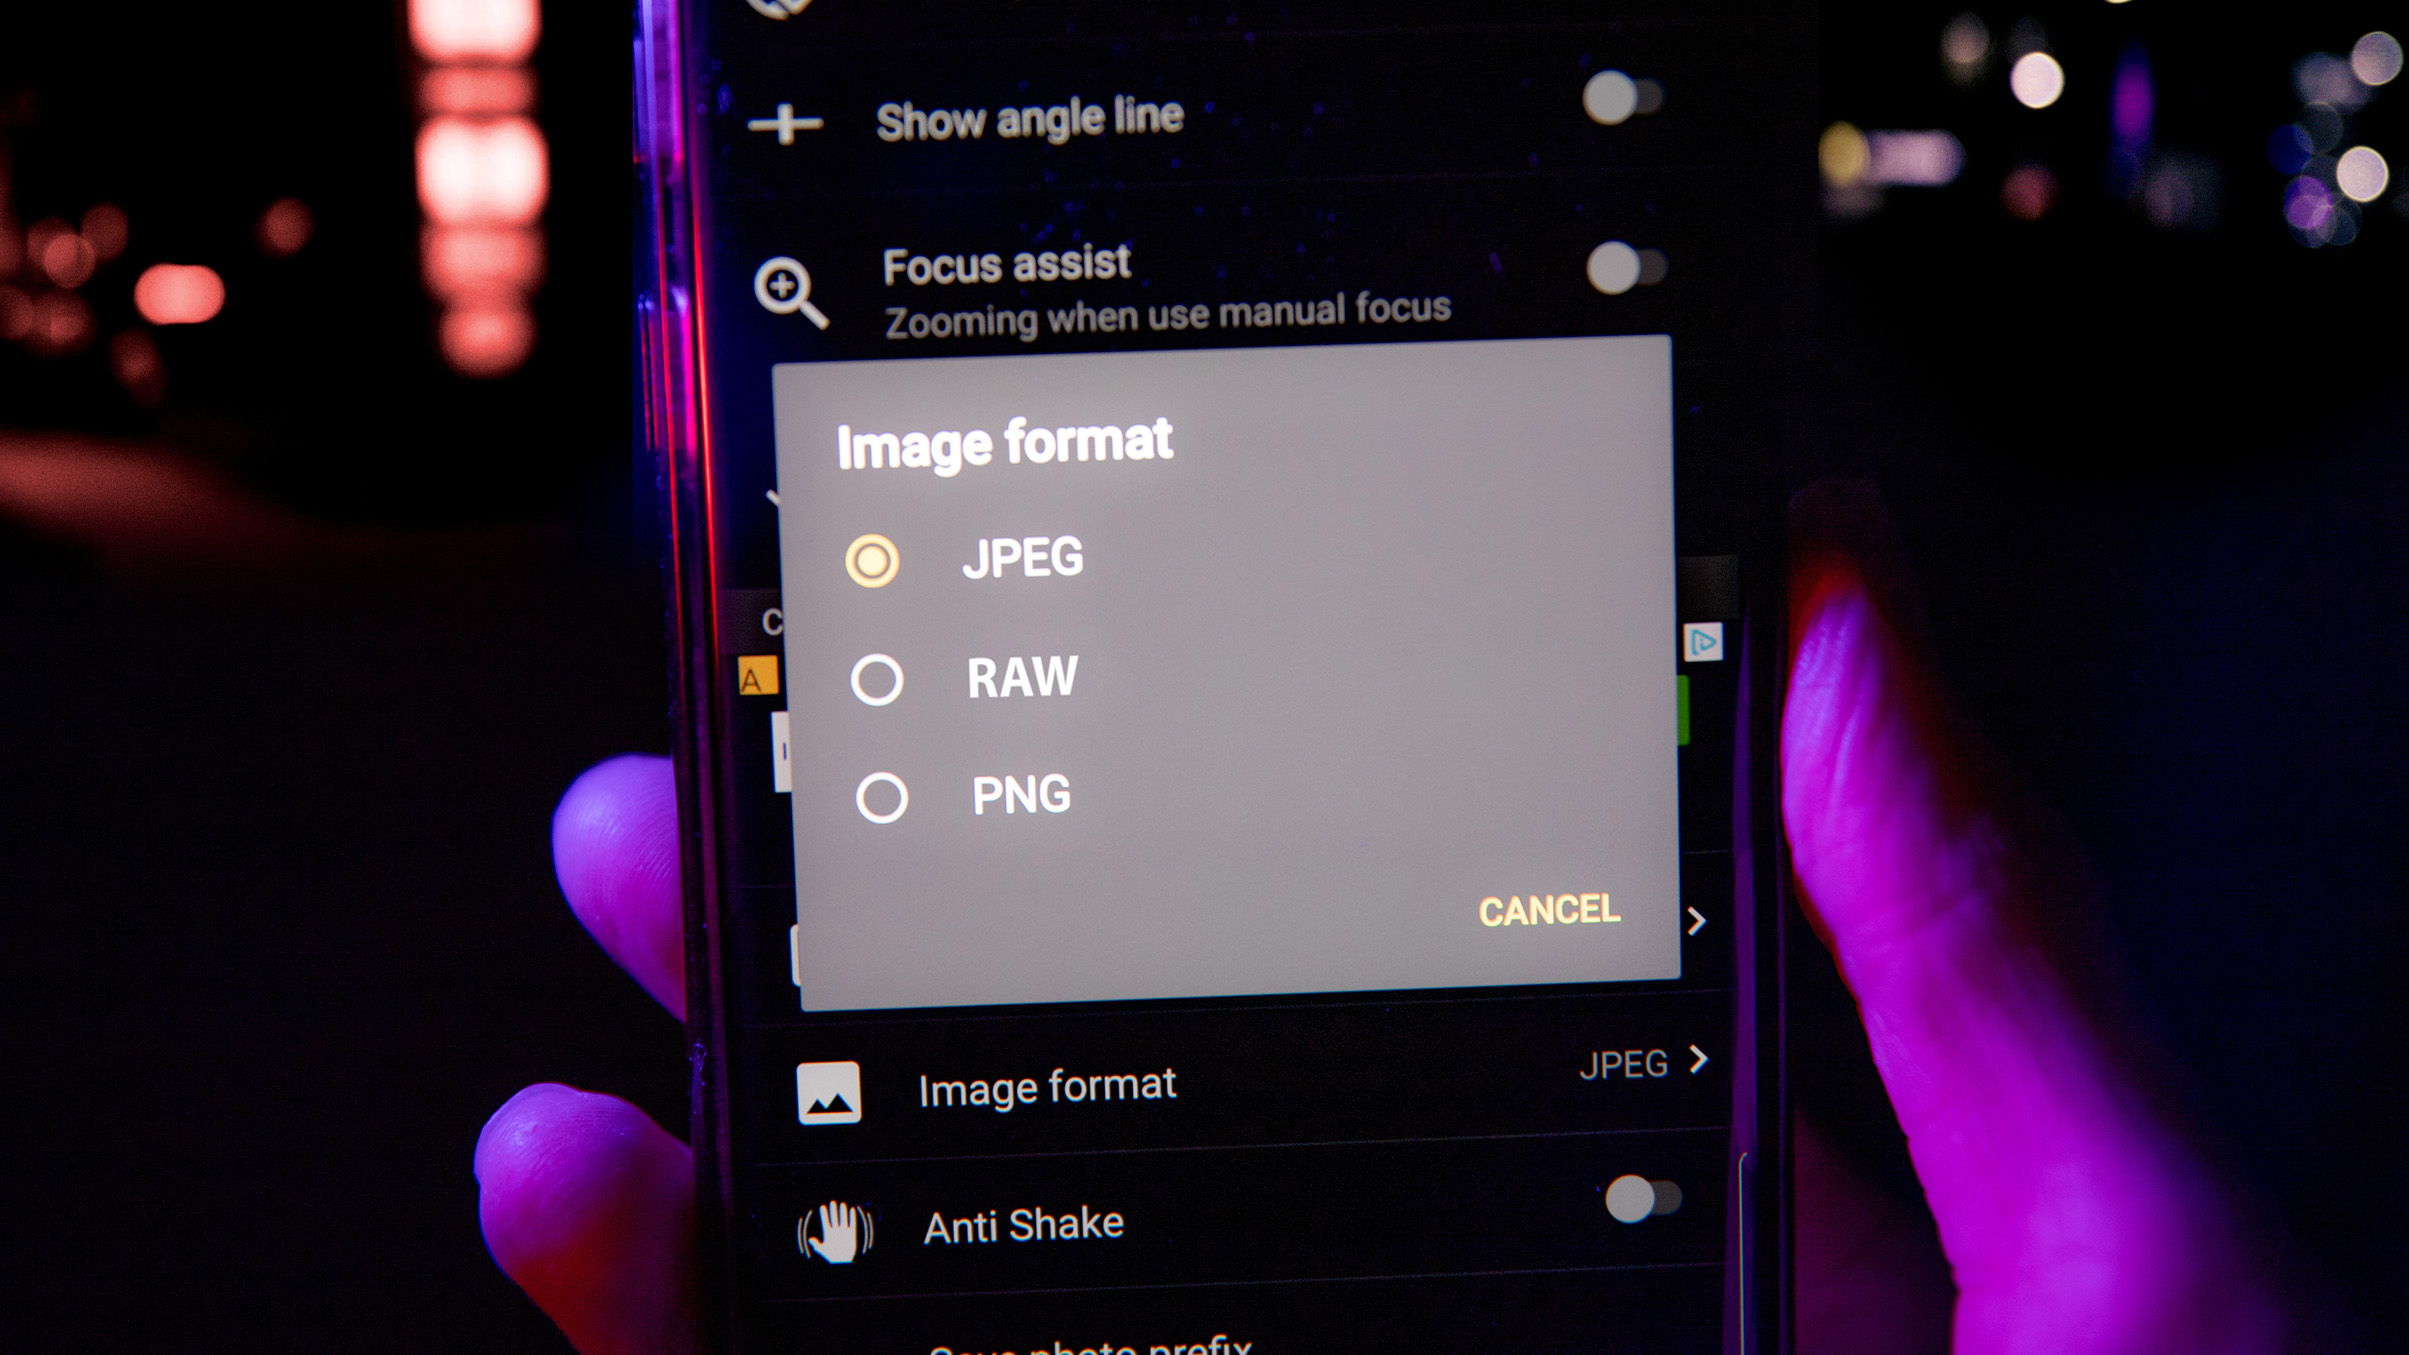
1. Select RAW mode
Most of the latest and best camera phone models enable you to shoot in RAW format. Just as in larger cameras, this opens up greater control at the editing stage – which is essential with images from a small sensor. Set the highest file quality so that you are using all the pixels available.
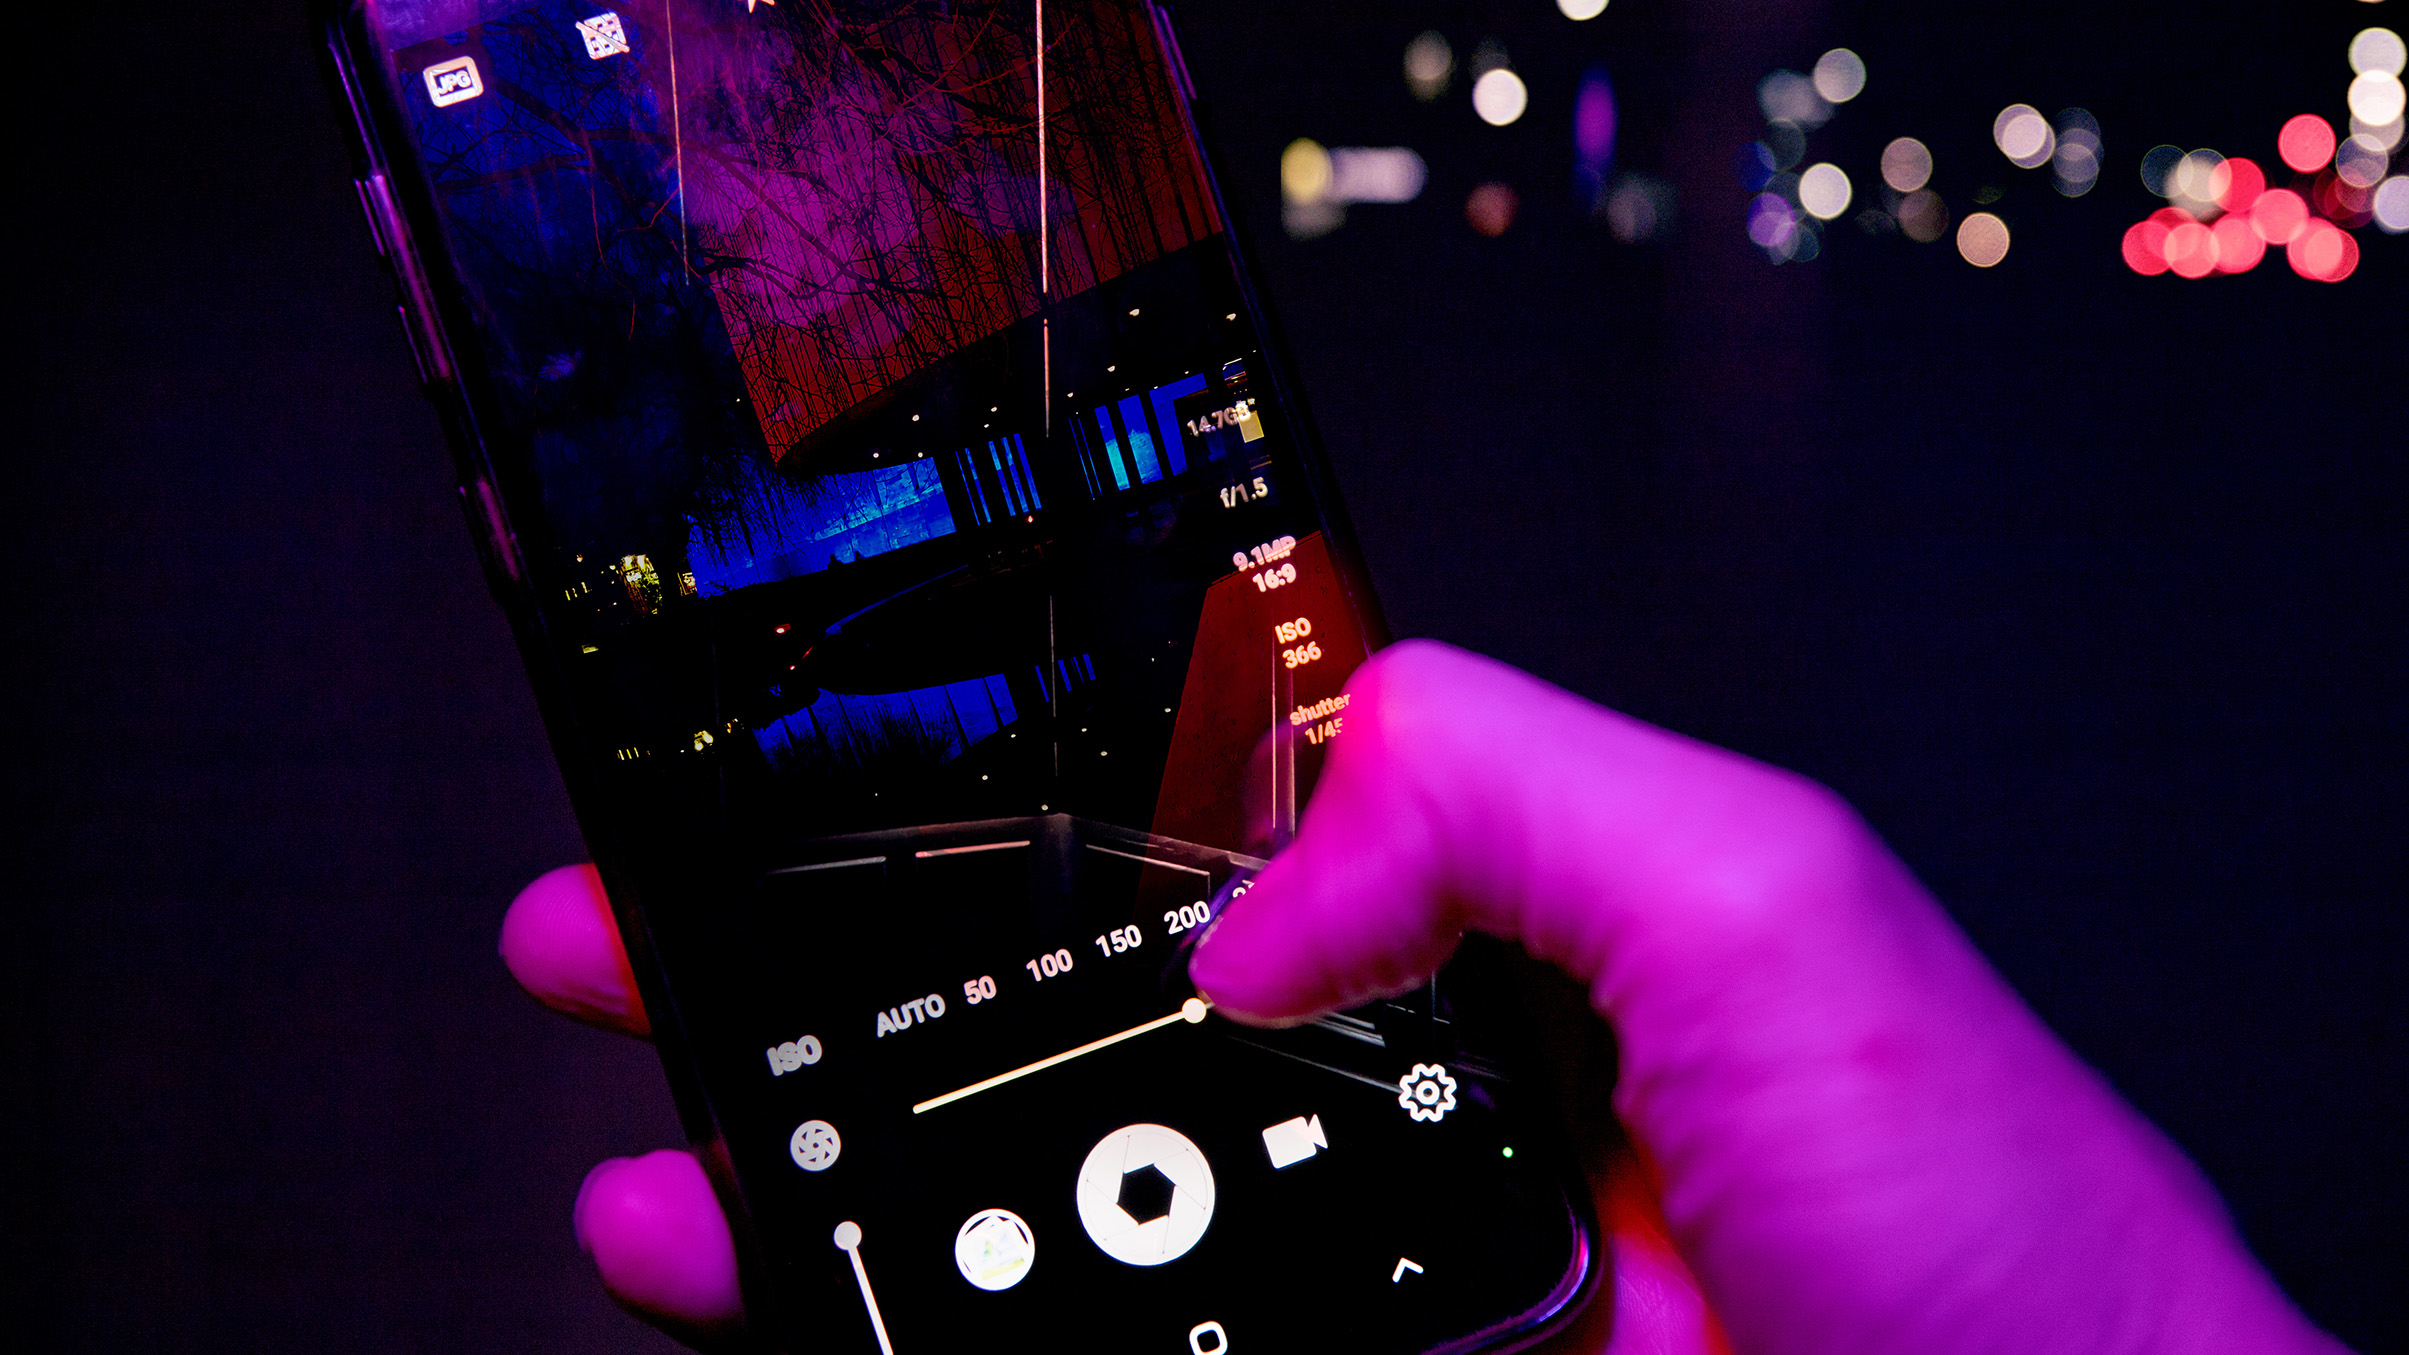
2. Use Pro mode
You need to take as much control over your camera settings as you can. Switch to Professional mode and avoid increasing the ISO beyond the native settings. Where possible, shoot at ISO100-200, but in the end it's still better to increase sensitivity rather than brighten the image in post-processing.
The best camera deals, reviews, product advice, and unmissable photography news, direct to your inbox!
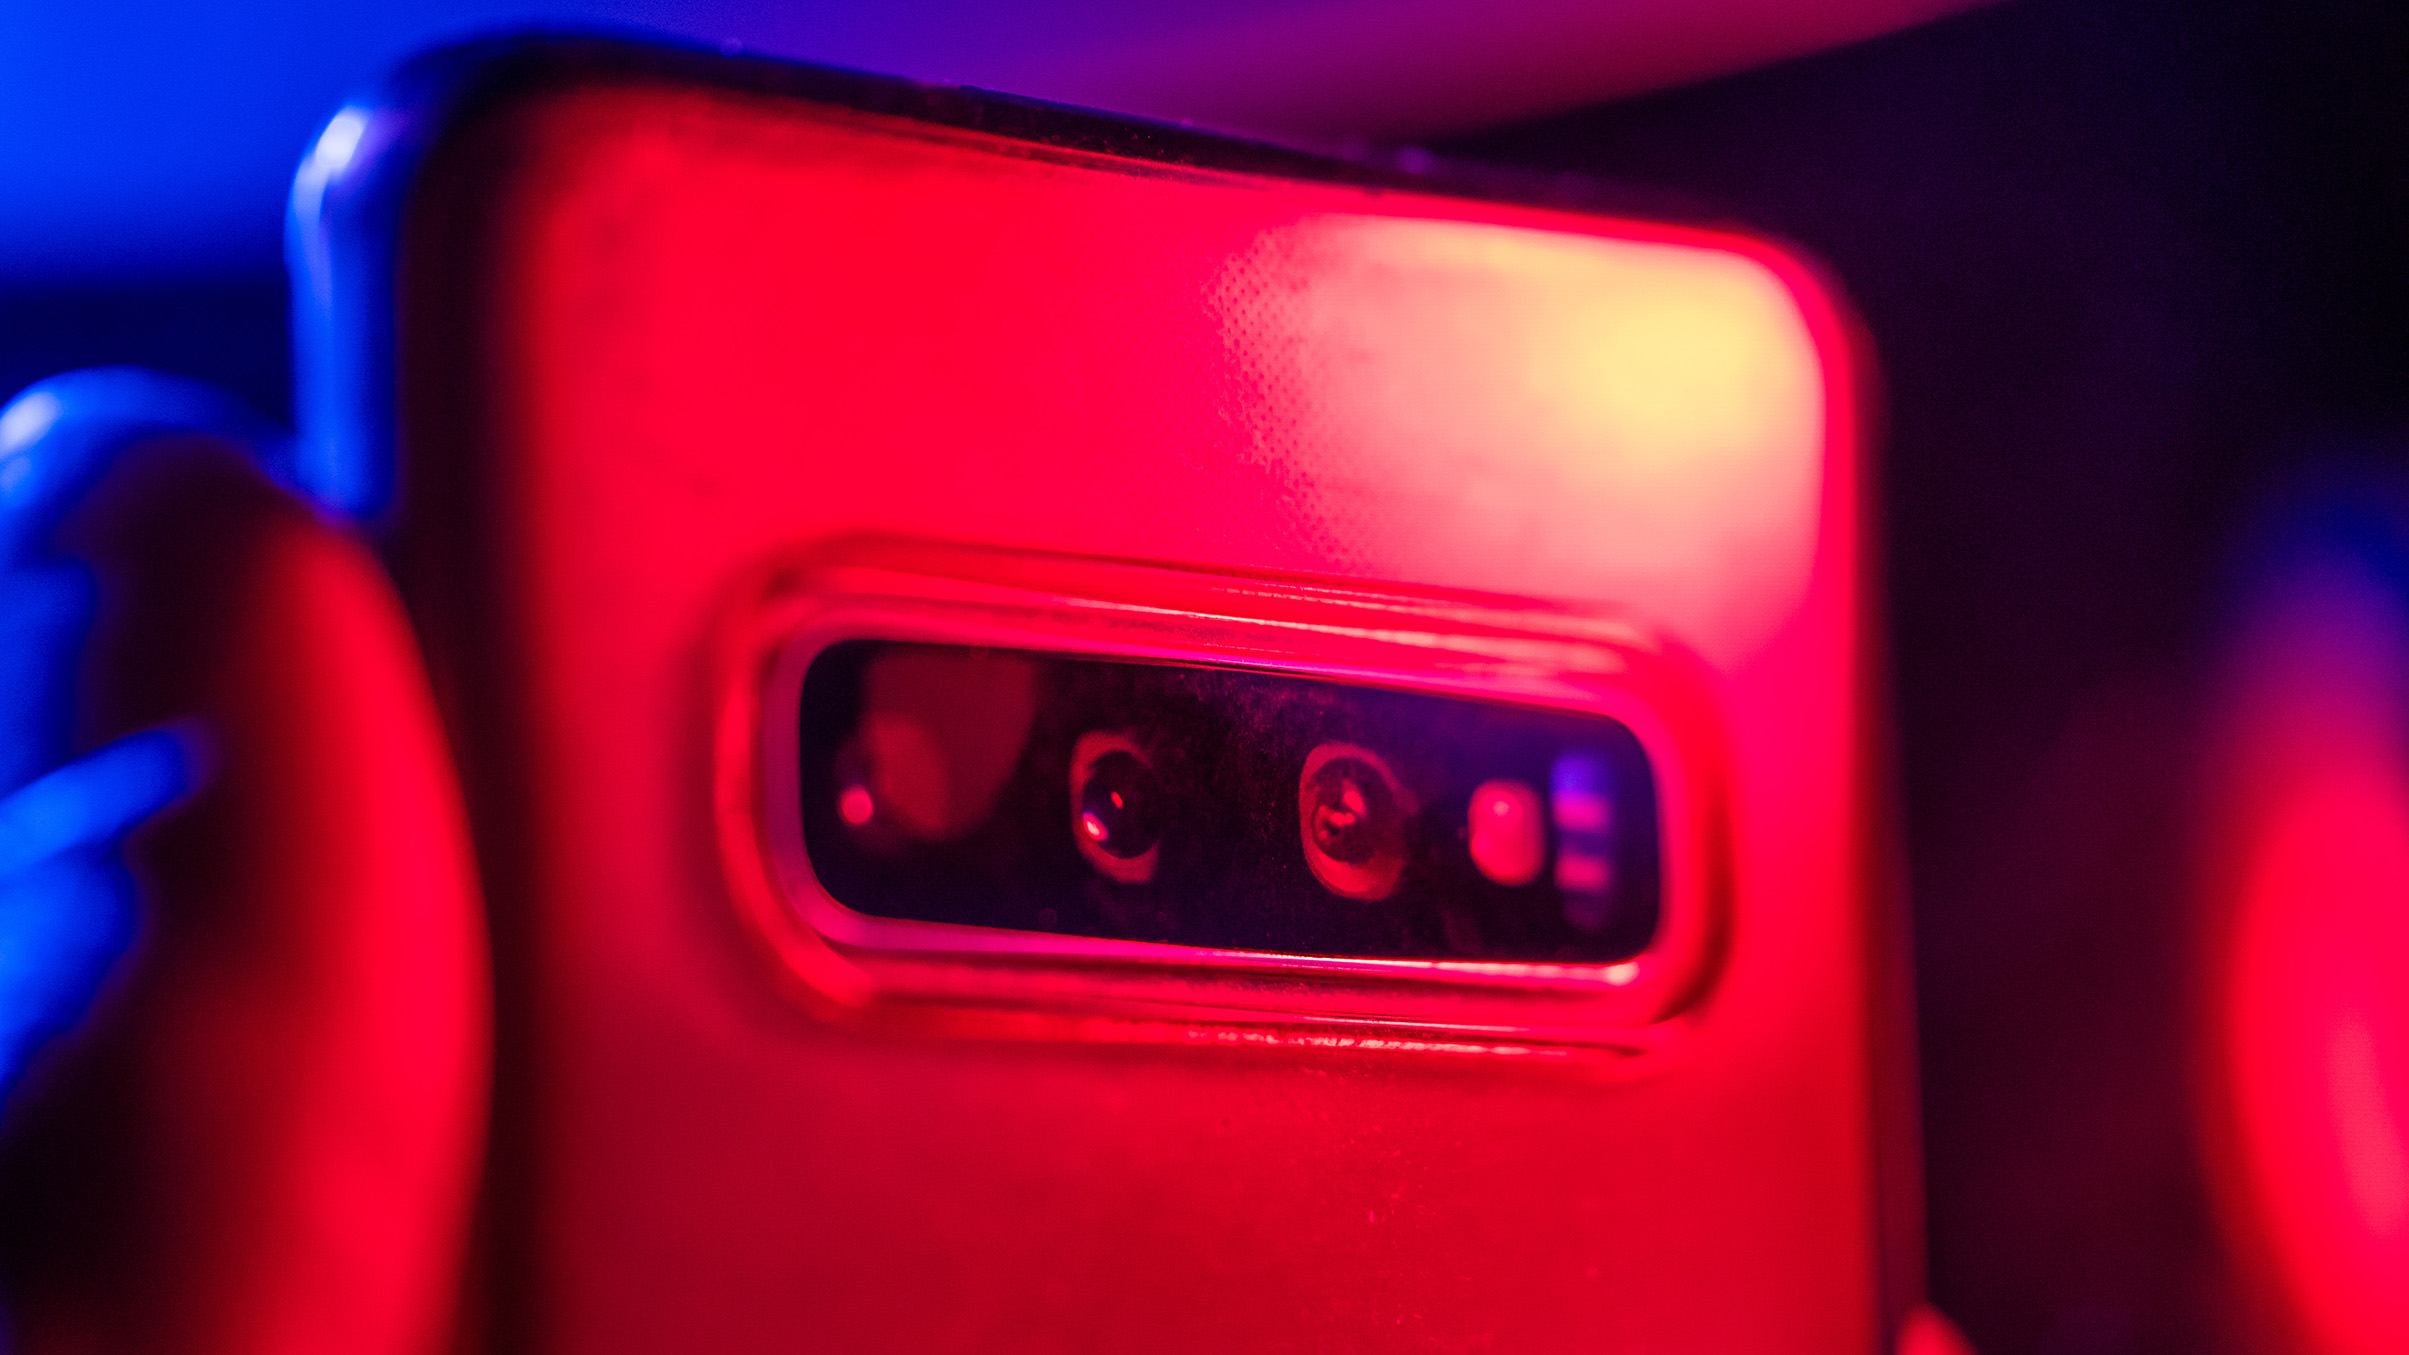
3. Choose your lens
Smartphones have several lenses that can be activated for different situations. However, not all of them have the maximum stated aperture rating. Select the optic that offers the widest possible f-stop – in our case, the medium zoom had an aperture of f/1.5.
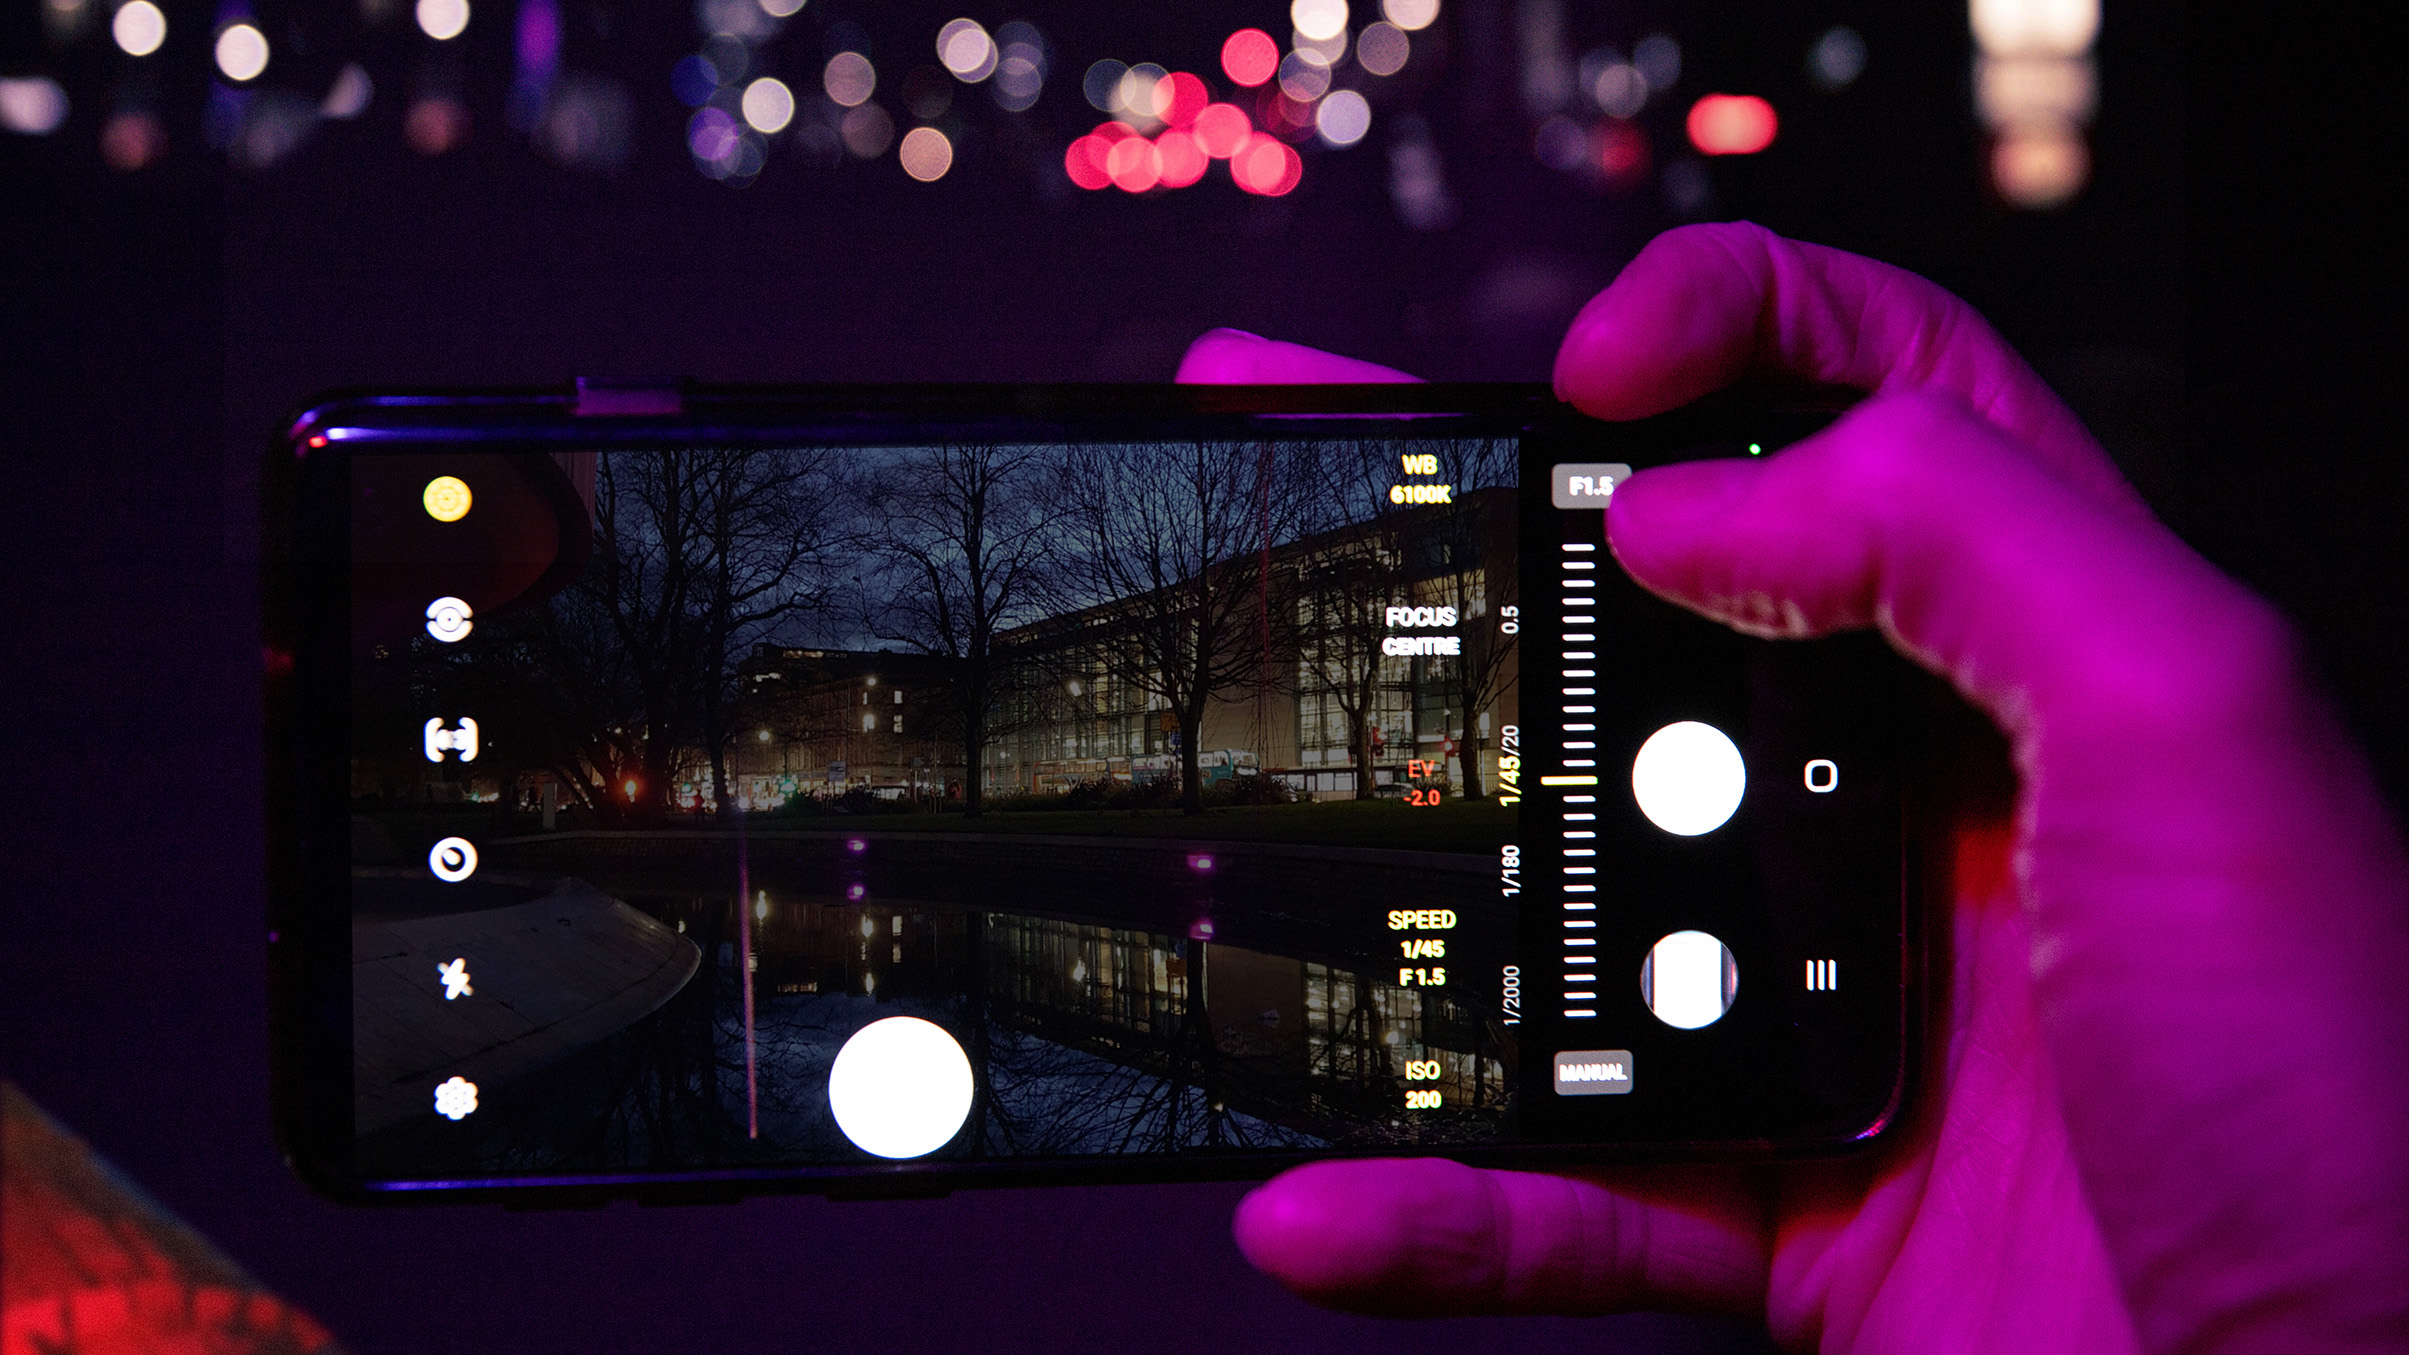
4. Shoot wide open
Select the widest aperture you can, to allow as much light into the sensor as possible. Don’t worry about depth of field: the smaller sensor area of a camera phone will produce much more depth than a Micro Four Thirds, APS-C or full-frame sensor. Check the preview for underexposure.
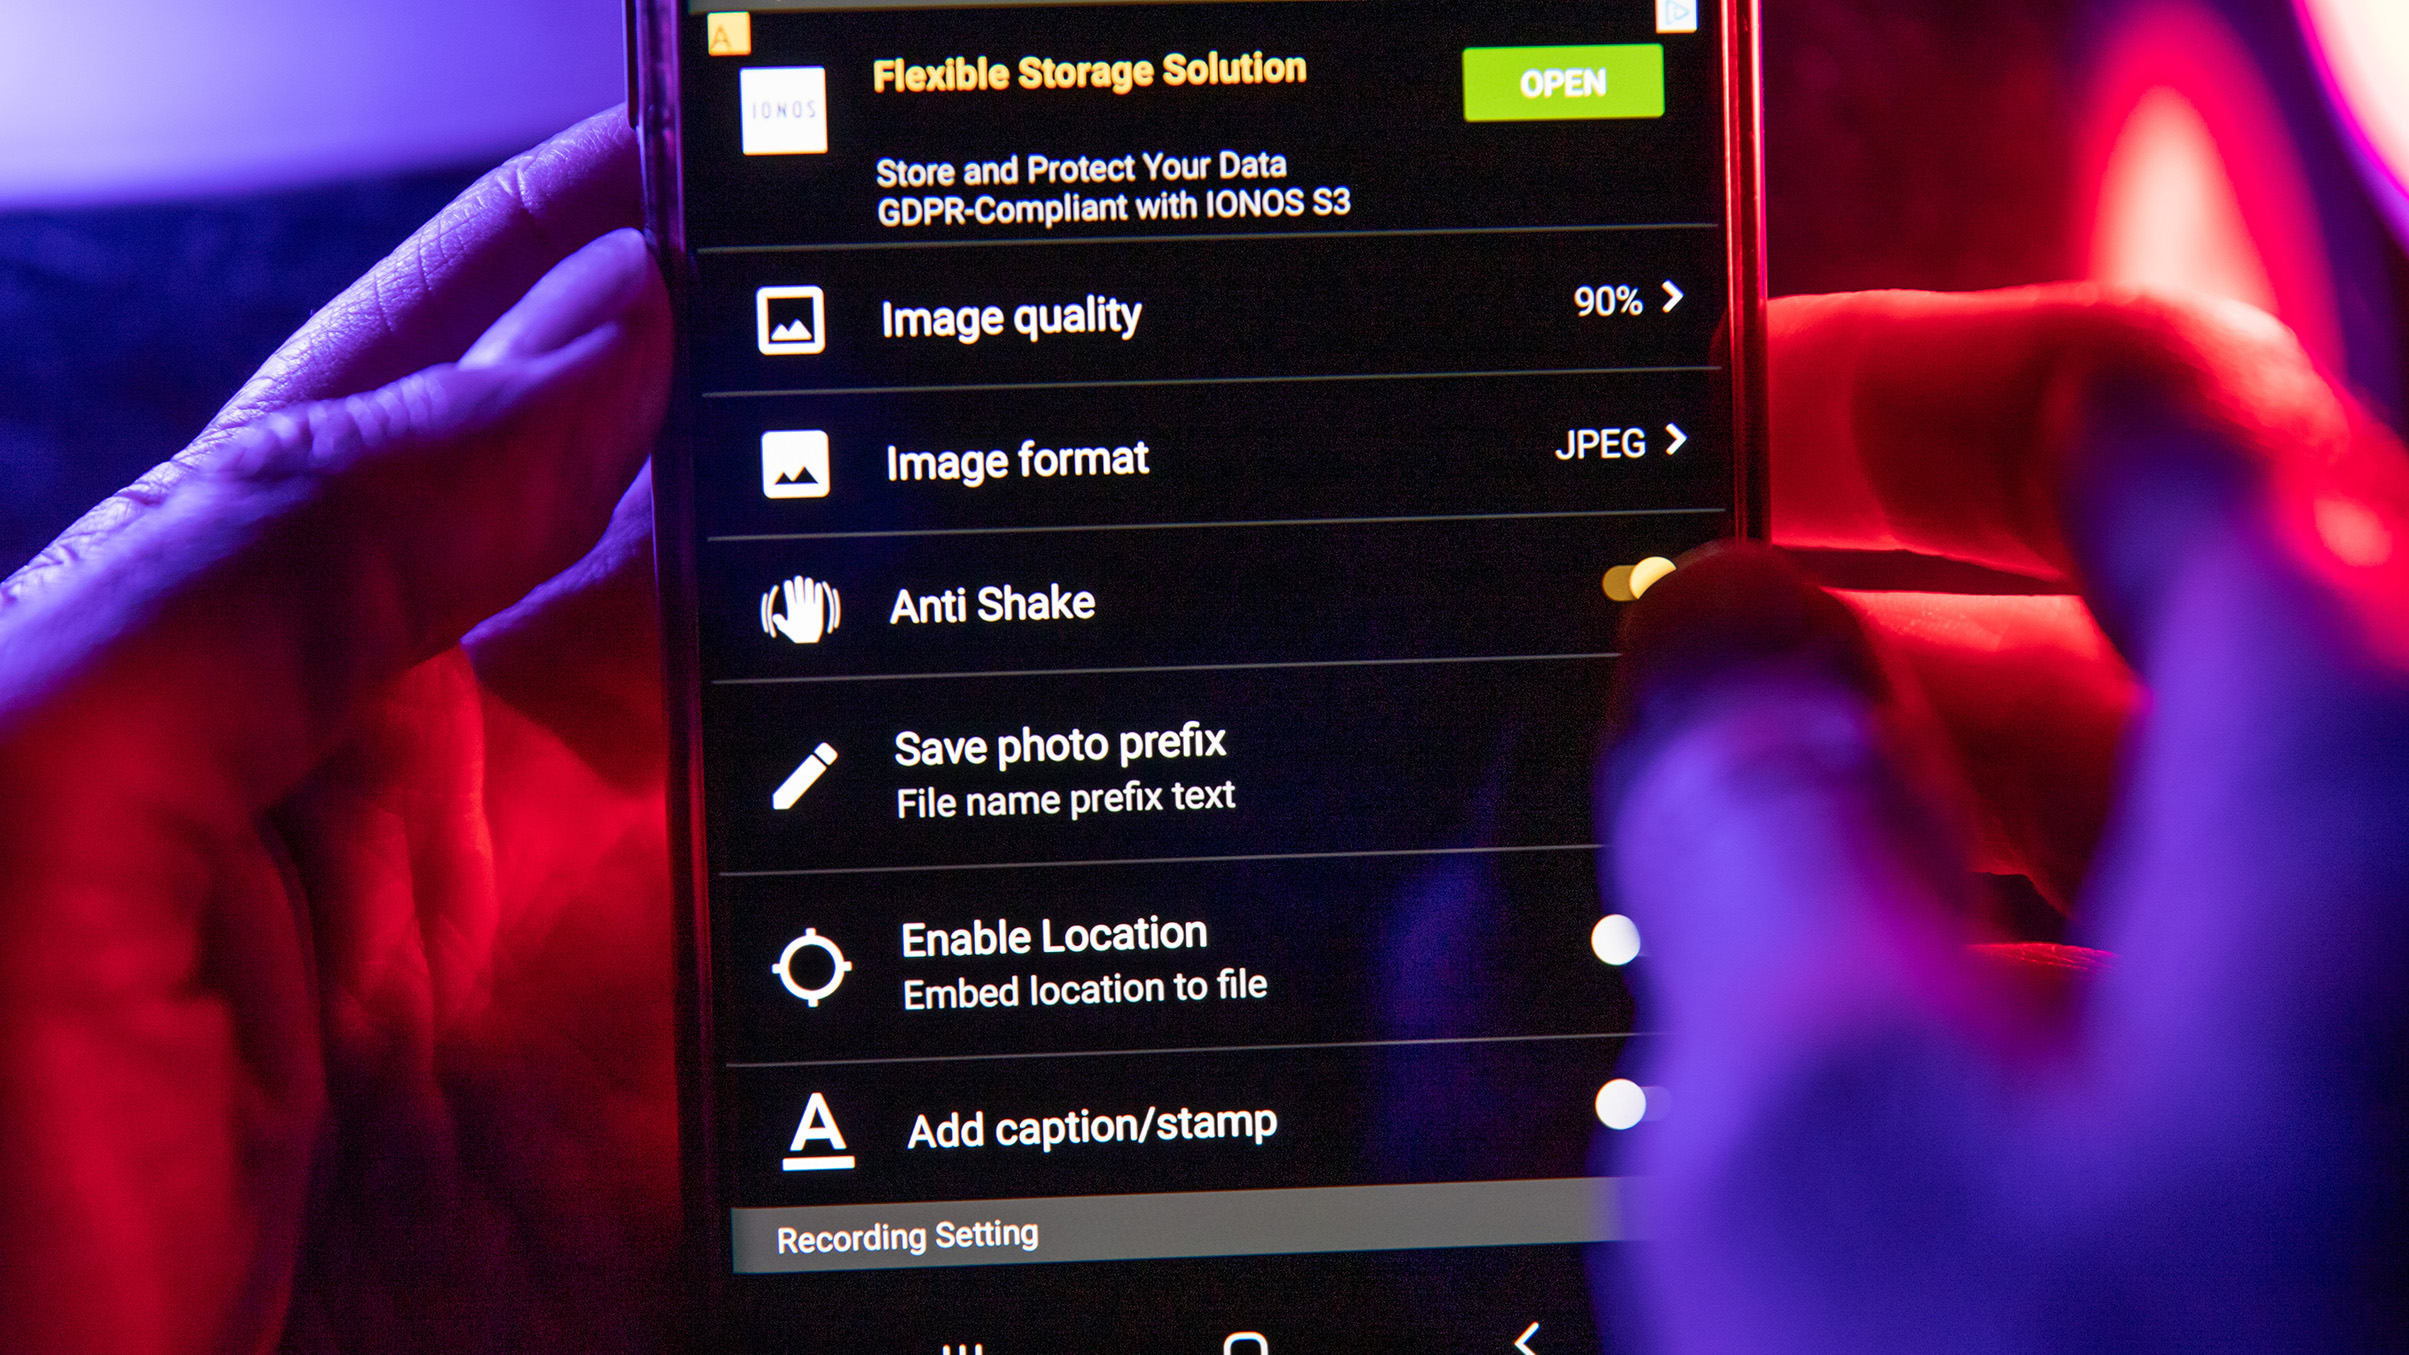
5. Activate anti-shake
Slow the shutter speed to correctly expose the image, avoiding a histogram that’s bunched up on the left side. To reduce camera shake, dive into the shooting menu and make sure image stabilization is turned on if you have it. This may not be activated as standard, especially if you’re using a third-party camera app.
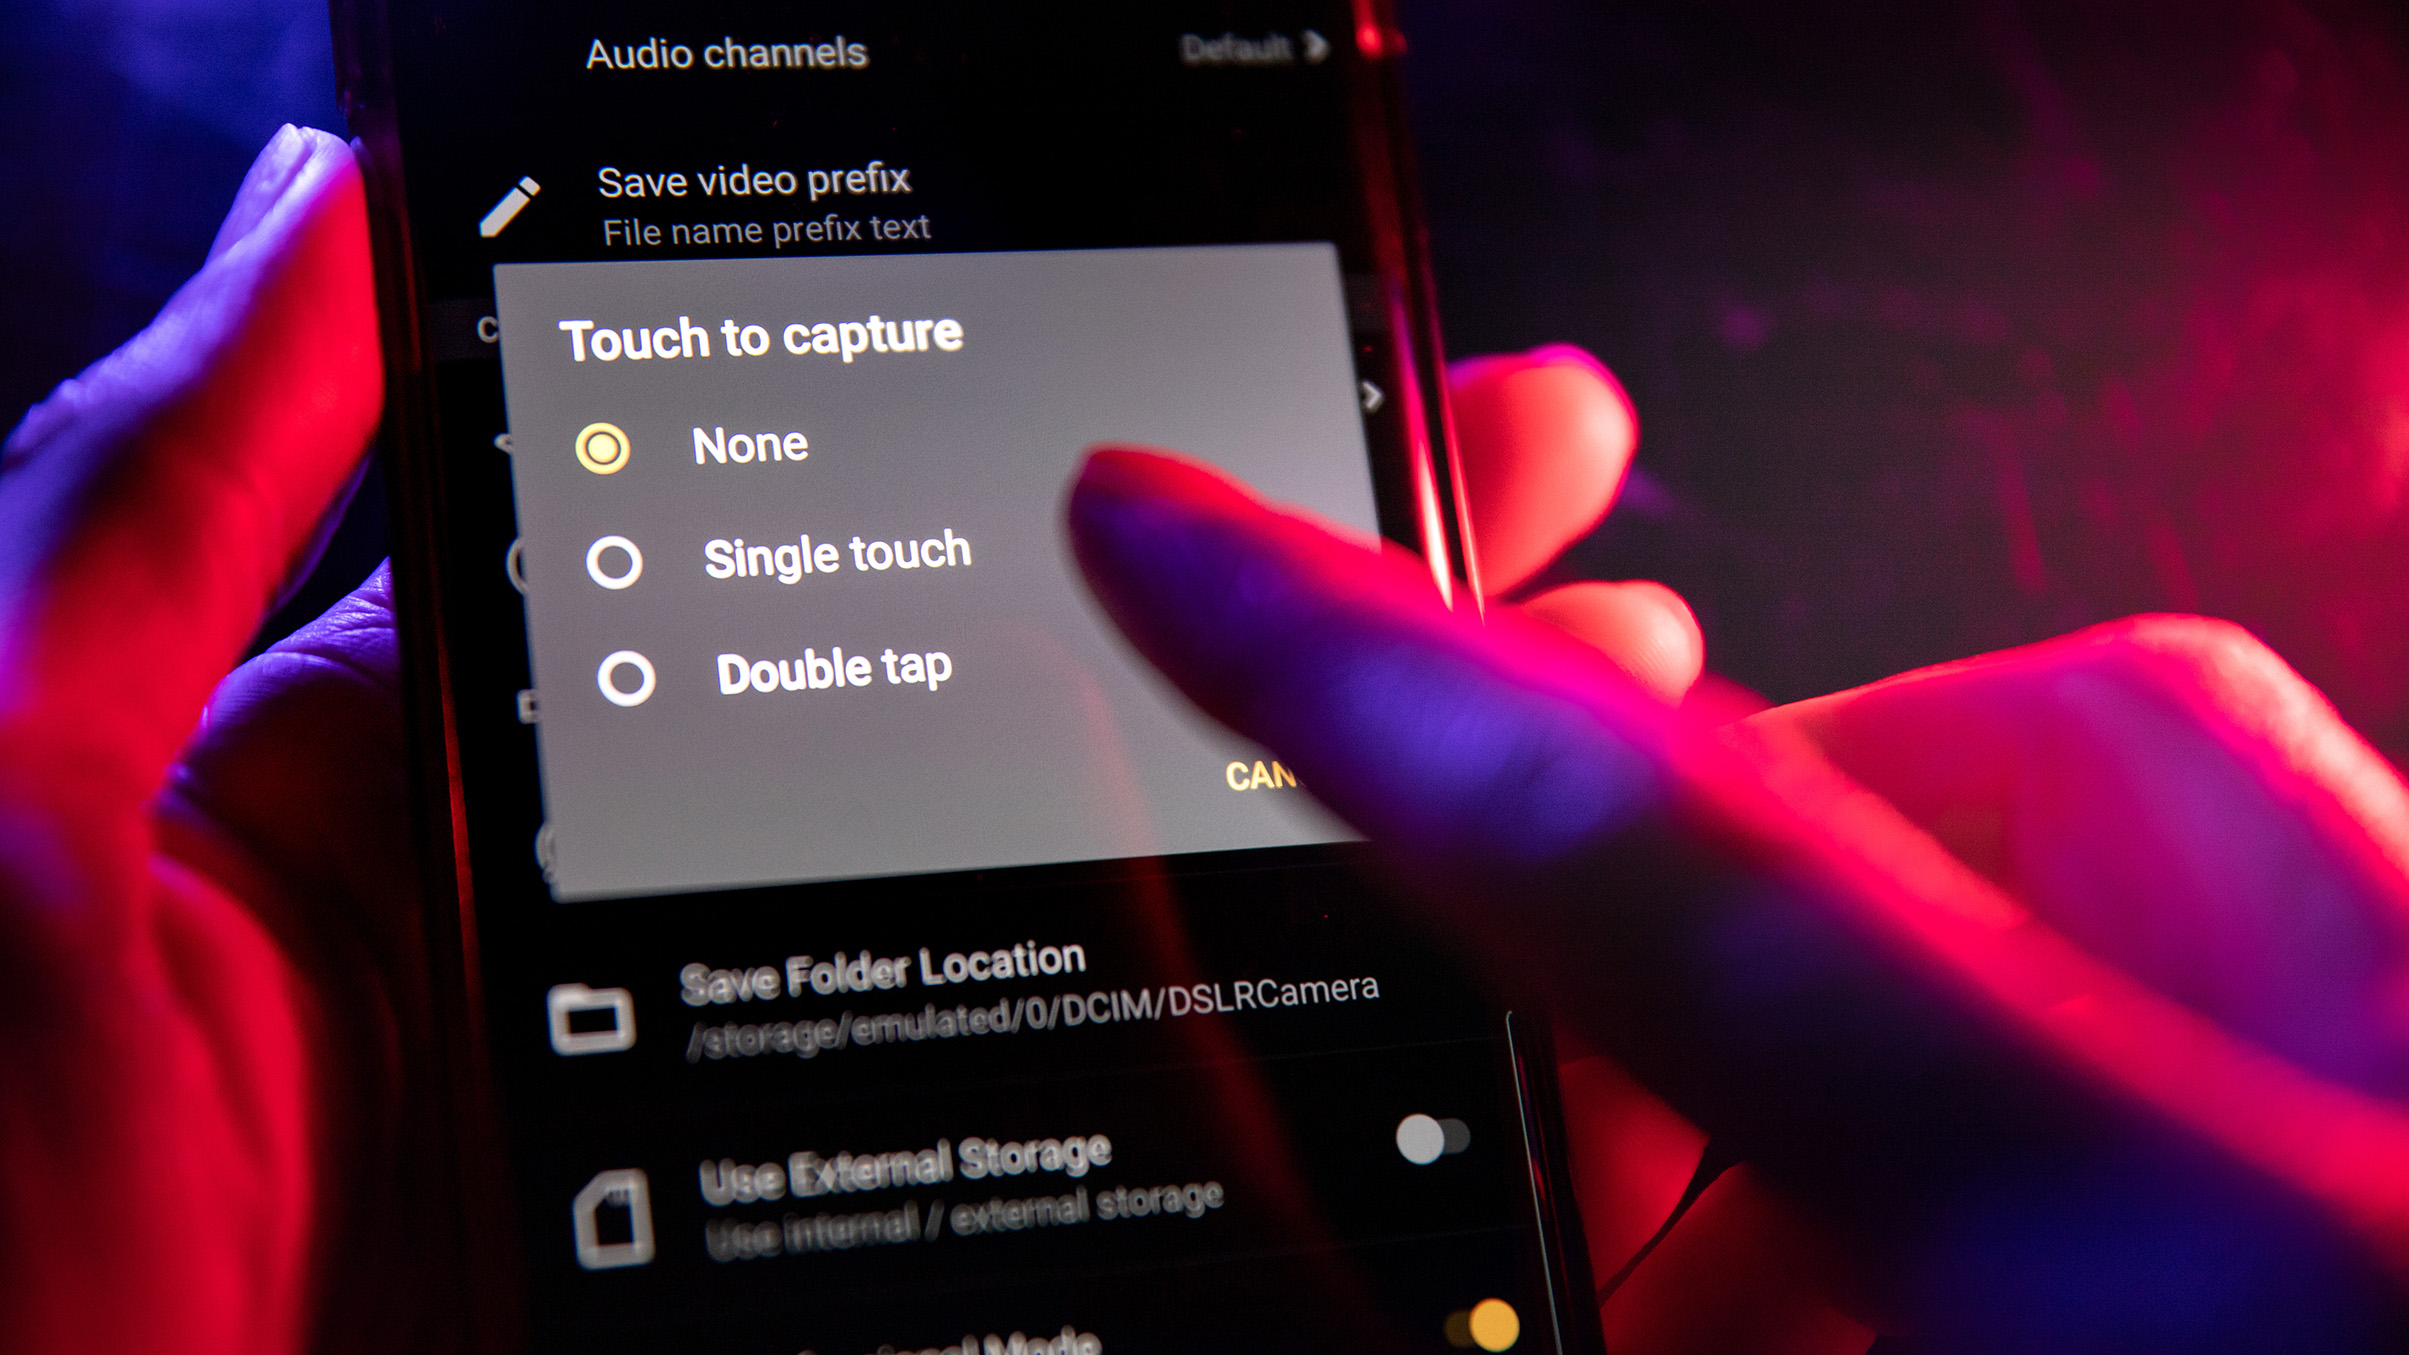
6. Adjust the shutter interface
Activate the self-timer so that you can concentrate on steadiness once the shutter is triggered. Activate the touch shutter so you can focus and shoot with a gentle touch and consider adding a second shutter button icon for a more comfortable, smoother hand movement to reduce vibration.
Pro Tip
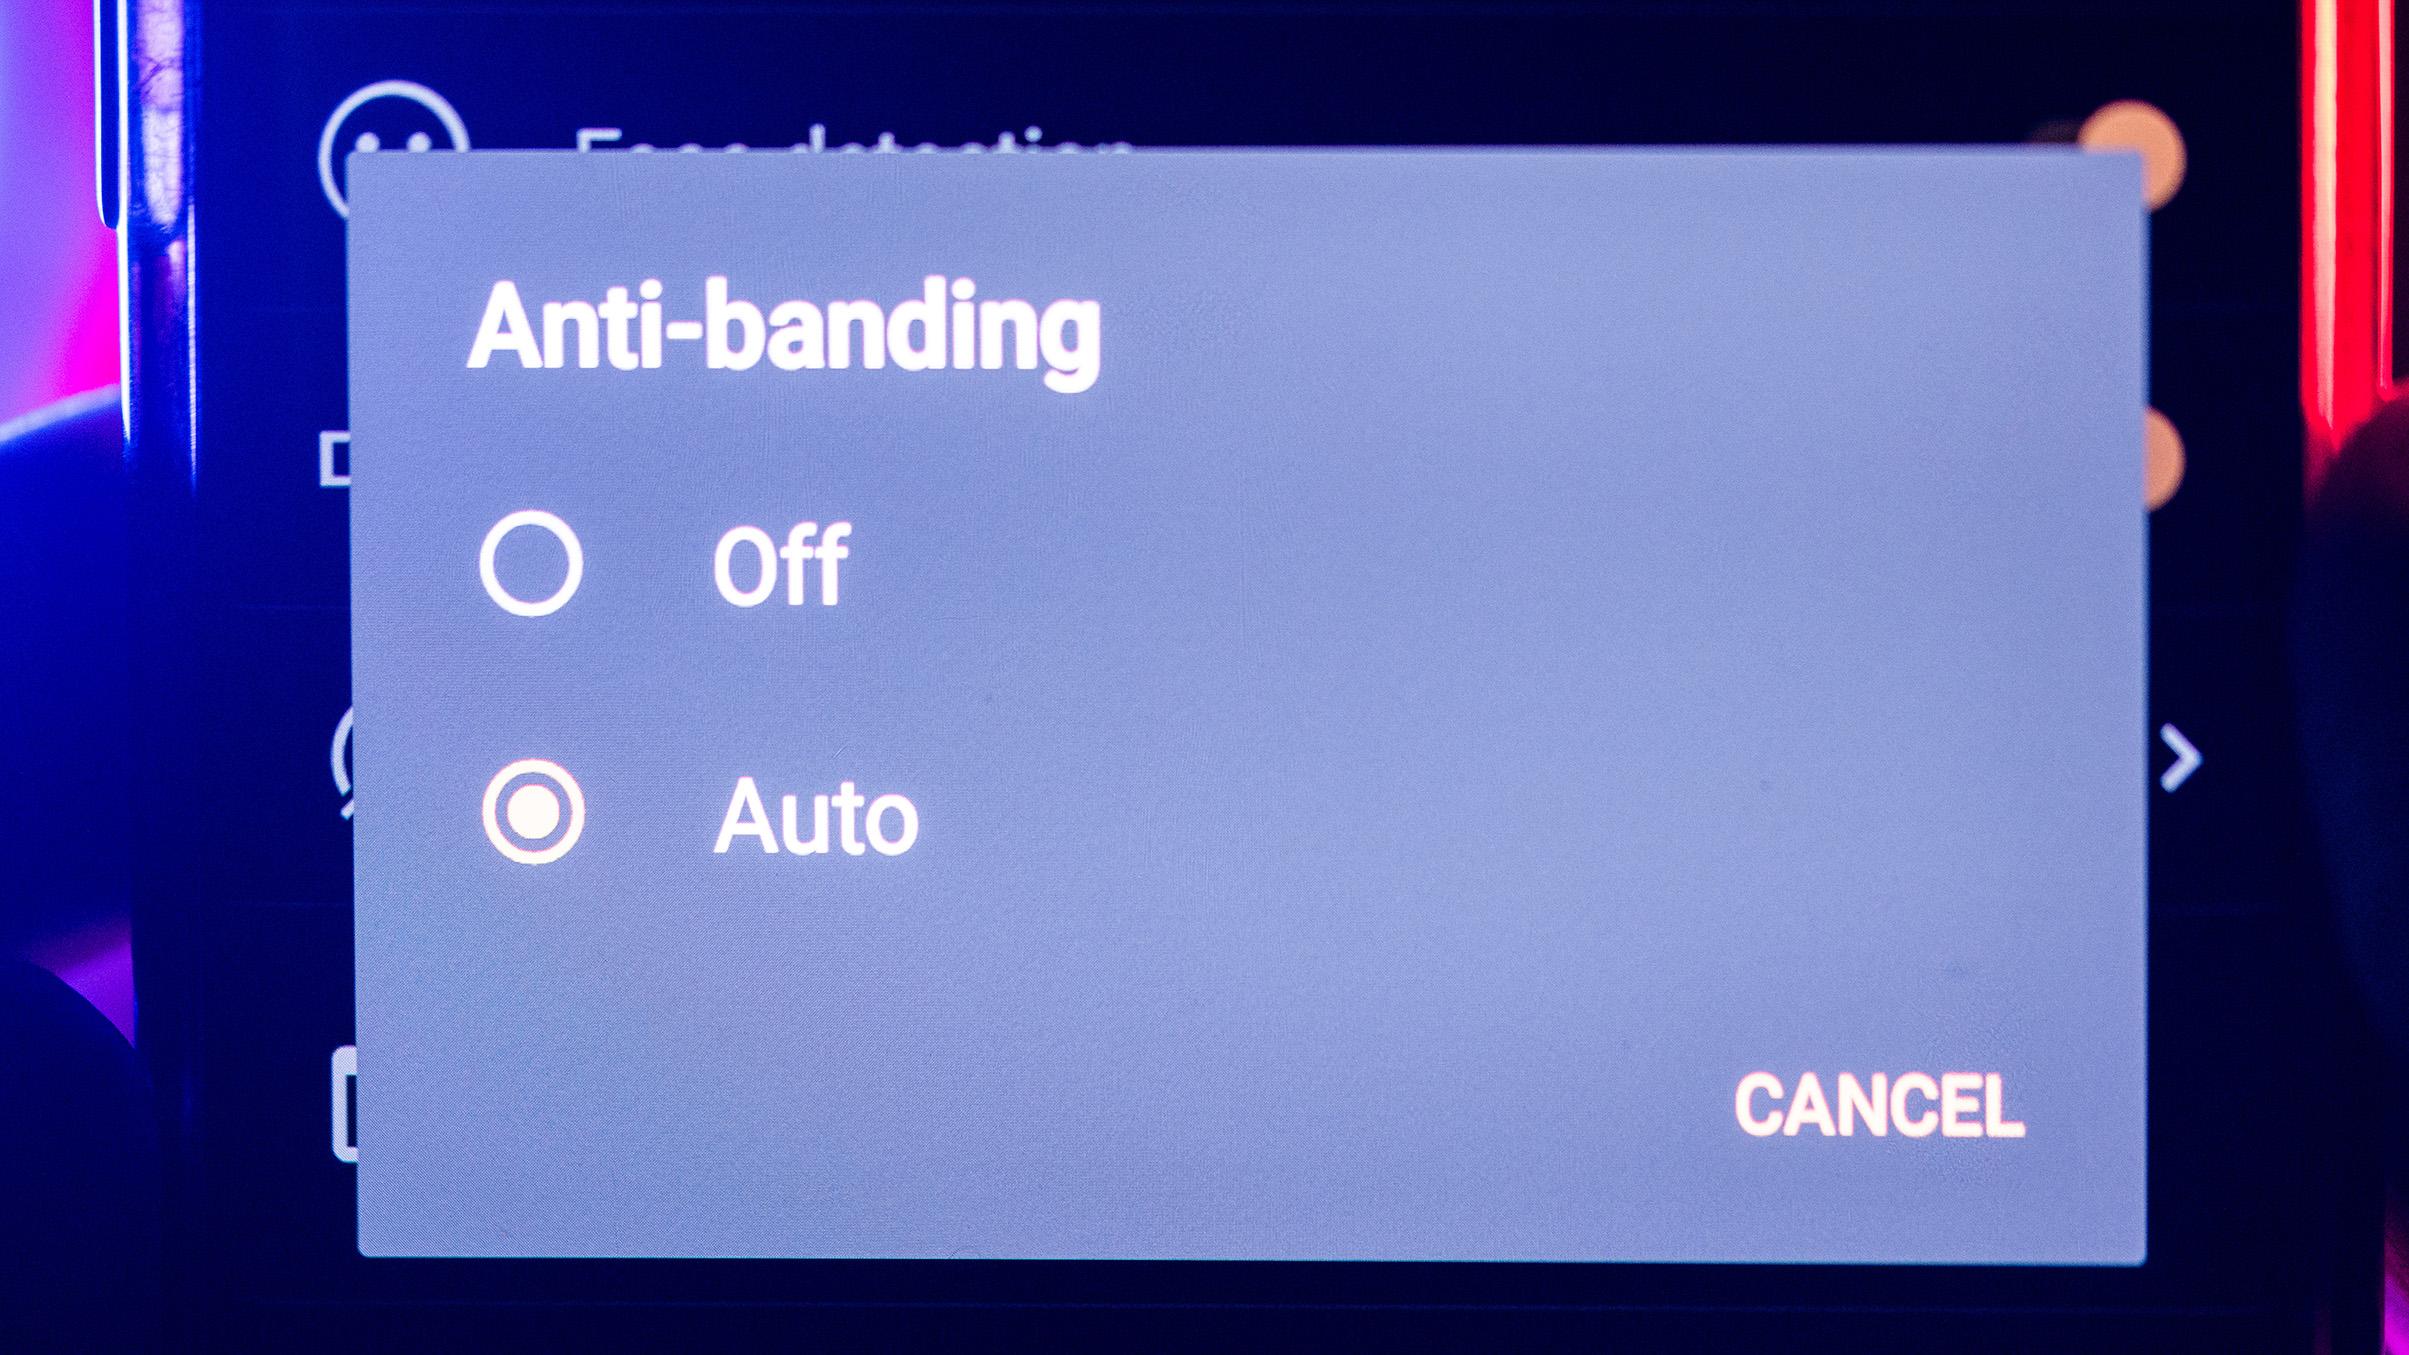
Deactivate auto processing
If you’ve gone to the effort of ensuring the maximum possible quality at the shooting stage, make sure this control is retained once you’ve triggered the shutter. Turn off any automatic noise reduction your camera app might have, and leave this for more precise treatment of the RAW files in an external image editor.
This doesn’t always apply to video, where anti-noise or banding processes can’t be easily applied in non-professional software apps. But for stills, check your settings in both the phone’s native camera app and additional third-party applications you have downloaded.
Editing Tutorial
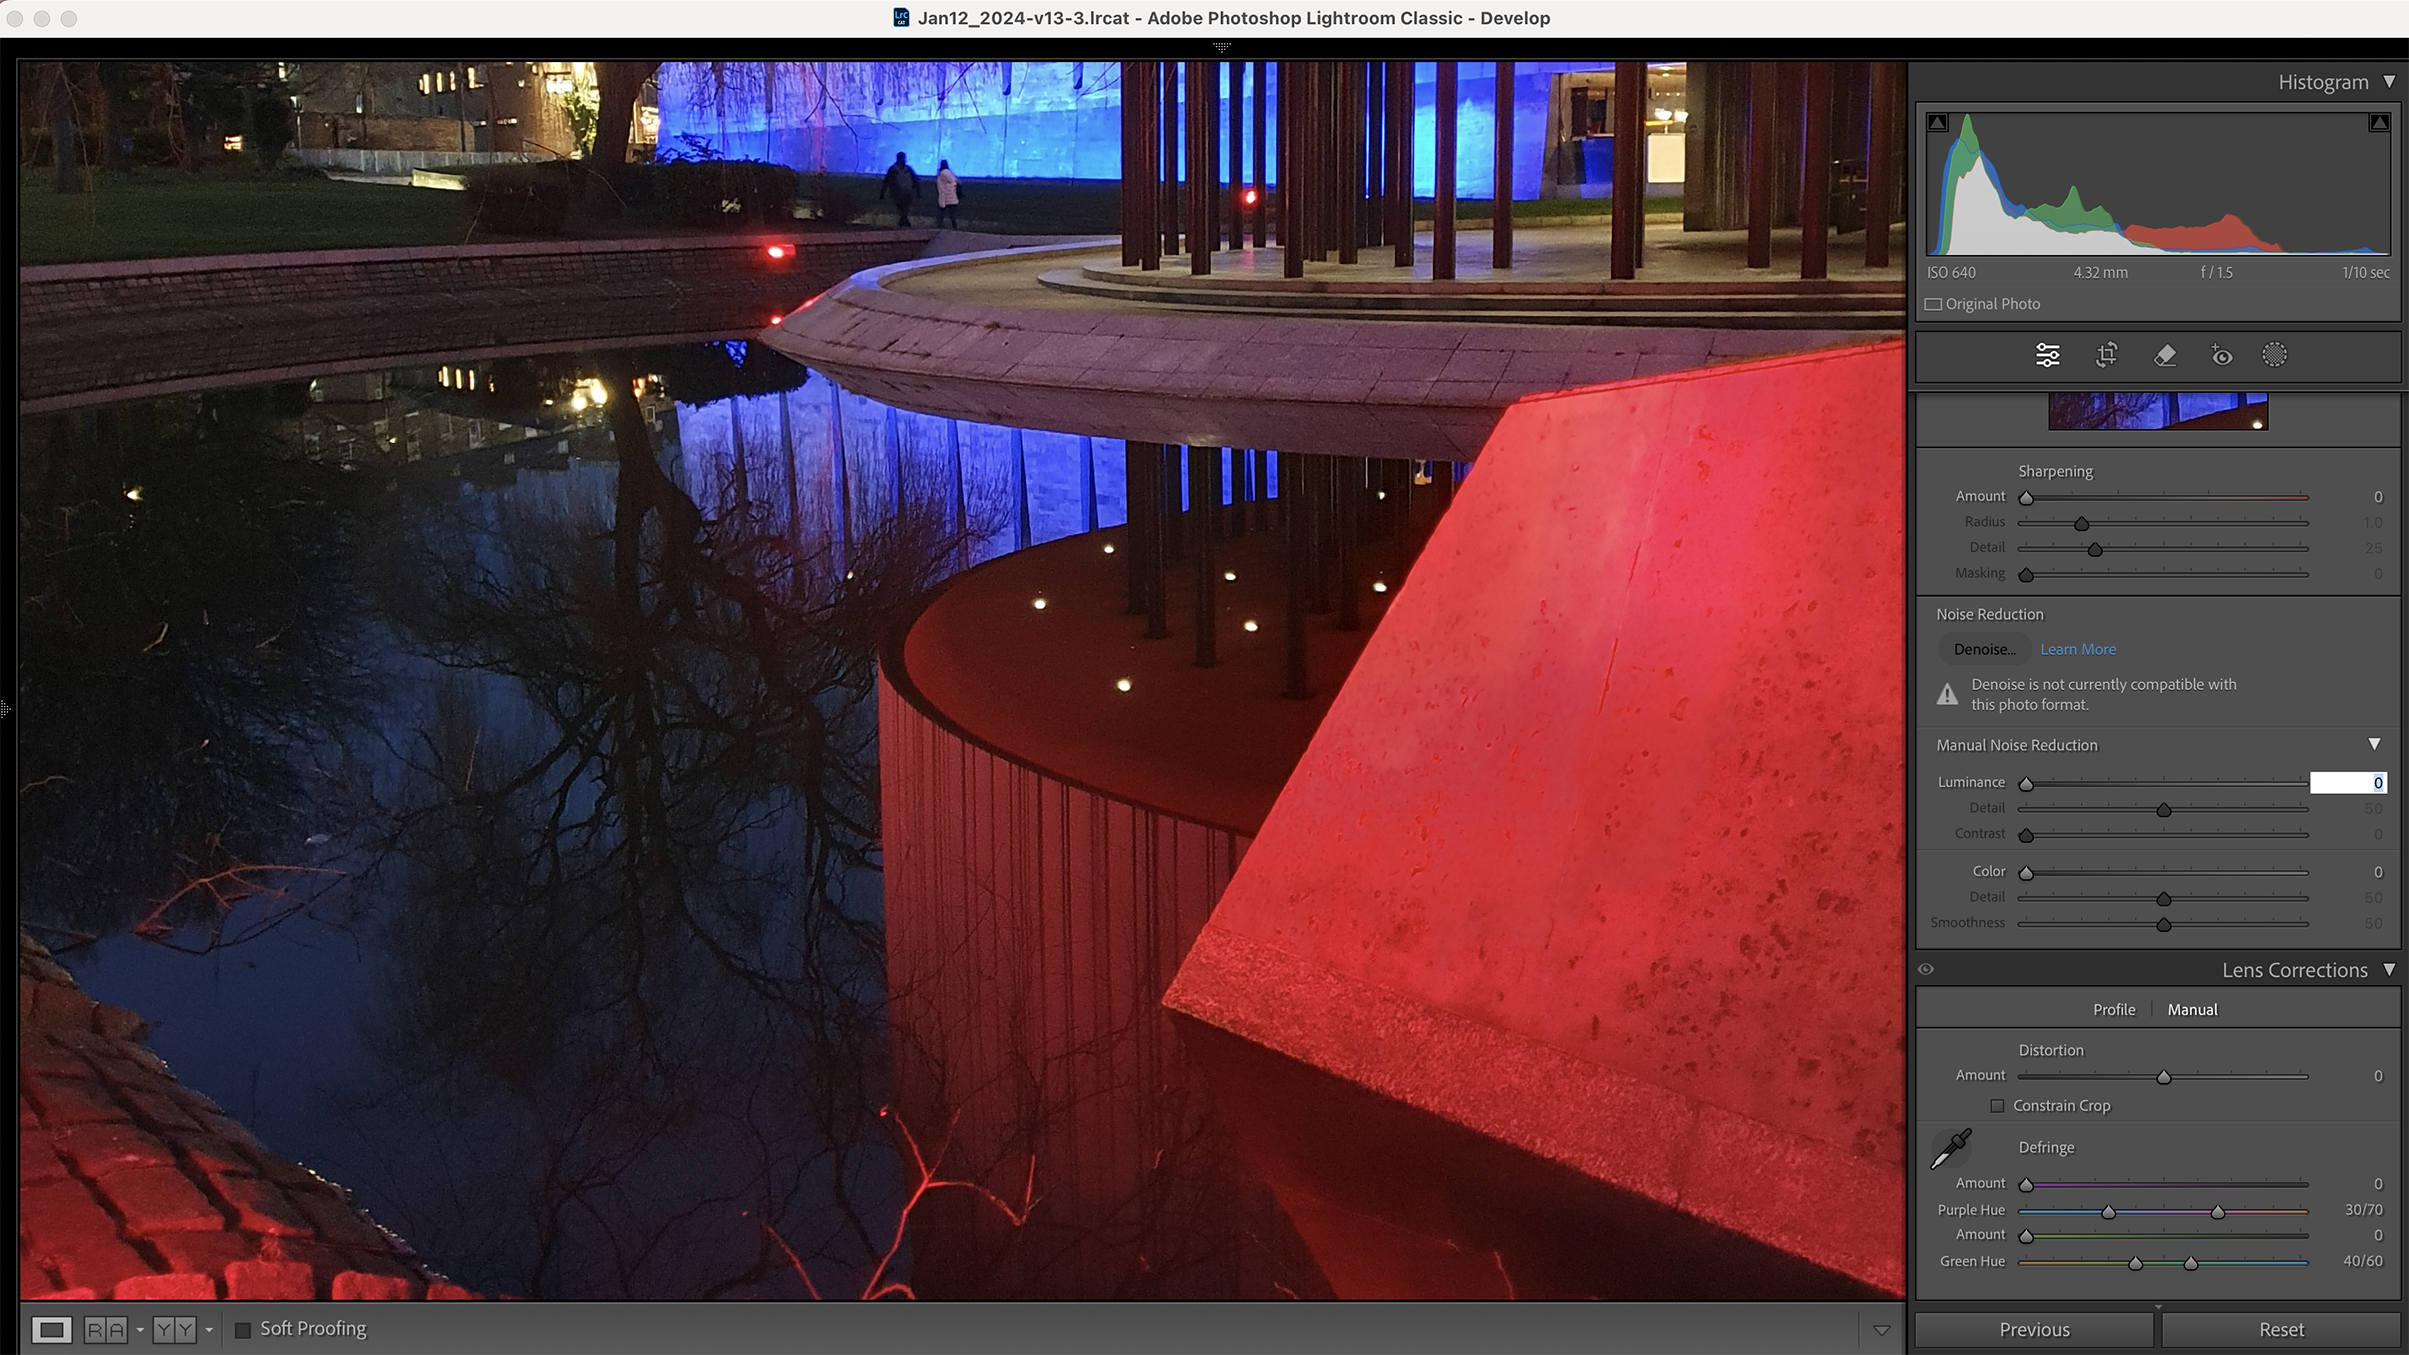
1. Reset noise sliders
Noise is always going to be more pronounced with a small sensor, but you can avoid loss of detail by preventing automatic noise reduction in your editing app. Start by moving the Luminance slider to zero to assess how much noise reduction is pleasing to your eye.
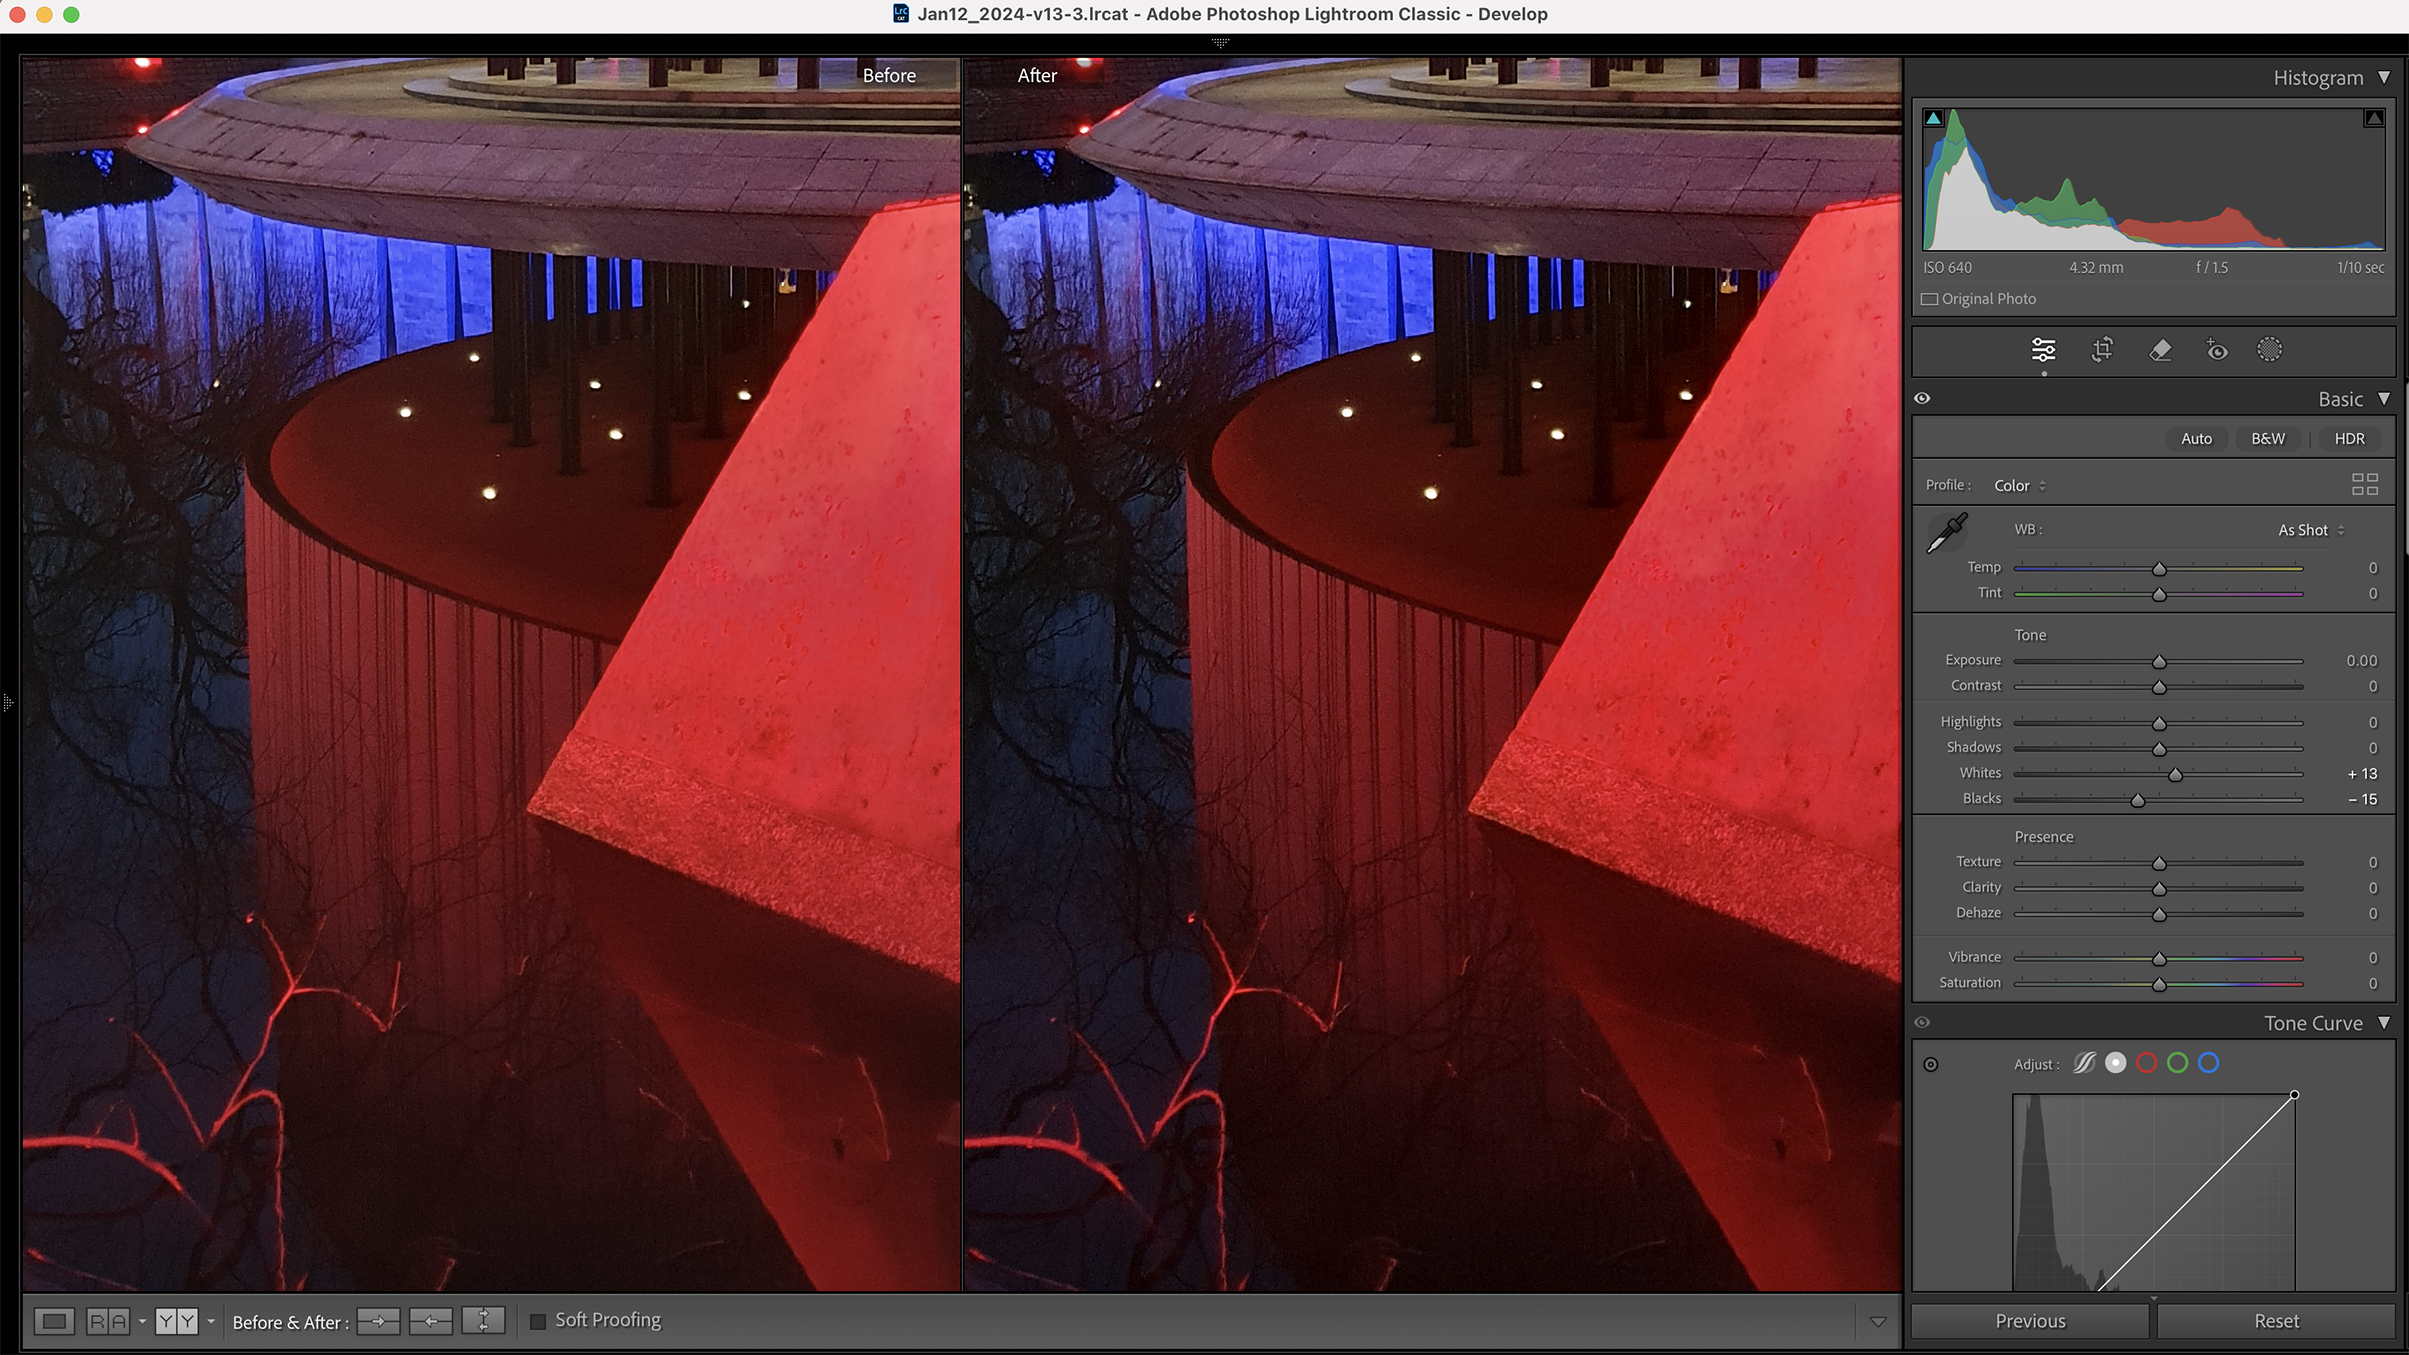
2. Set Blacks and Whites
With the noise reduction applied, you can add basic contrast adjustments while keeping an eye on noise visibility. In this high-contrast scene, set the Black and White points to prevent too much shadow and highlight loss but don’t worry too much about detail in the light sources.
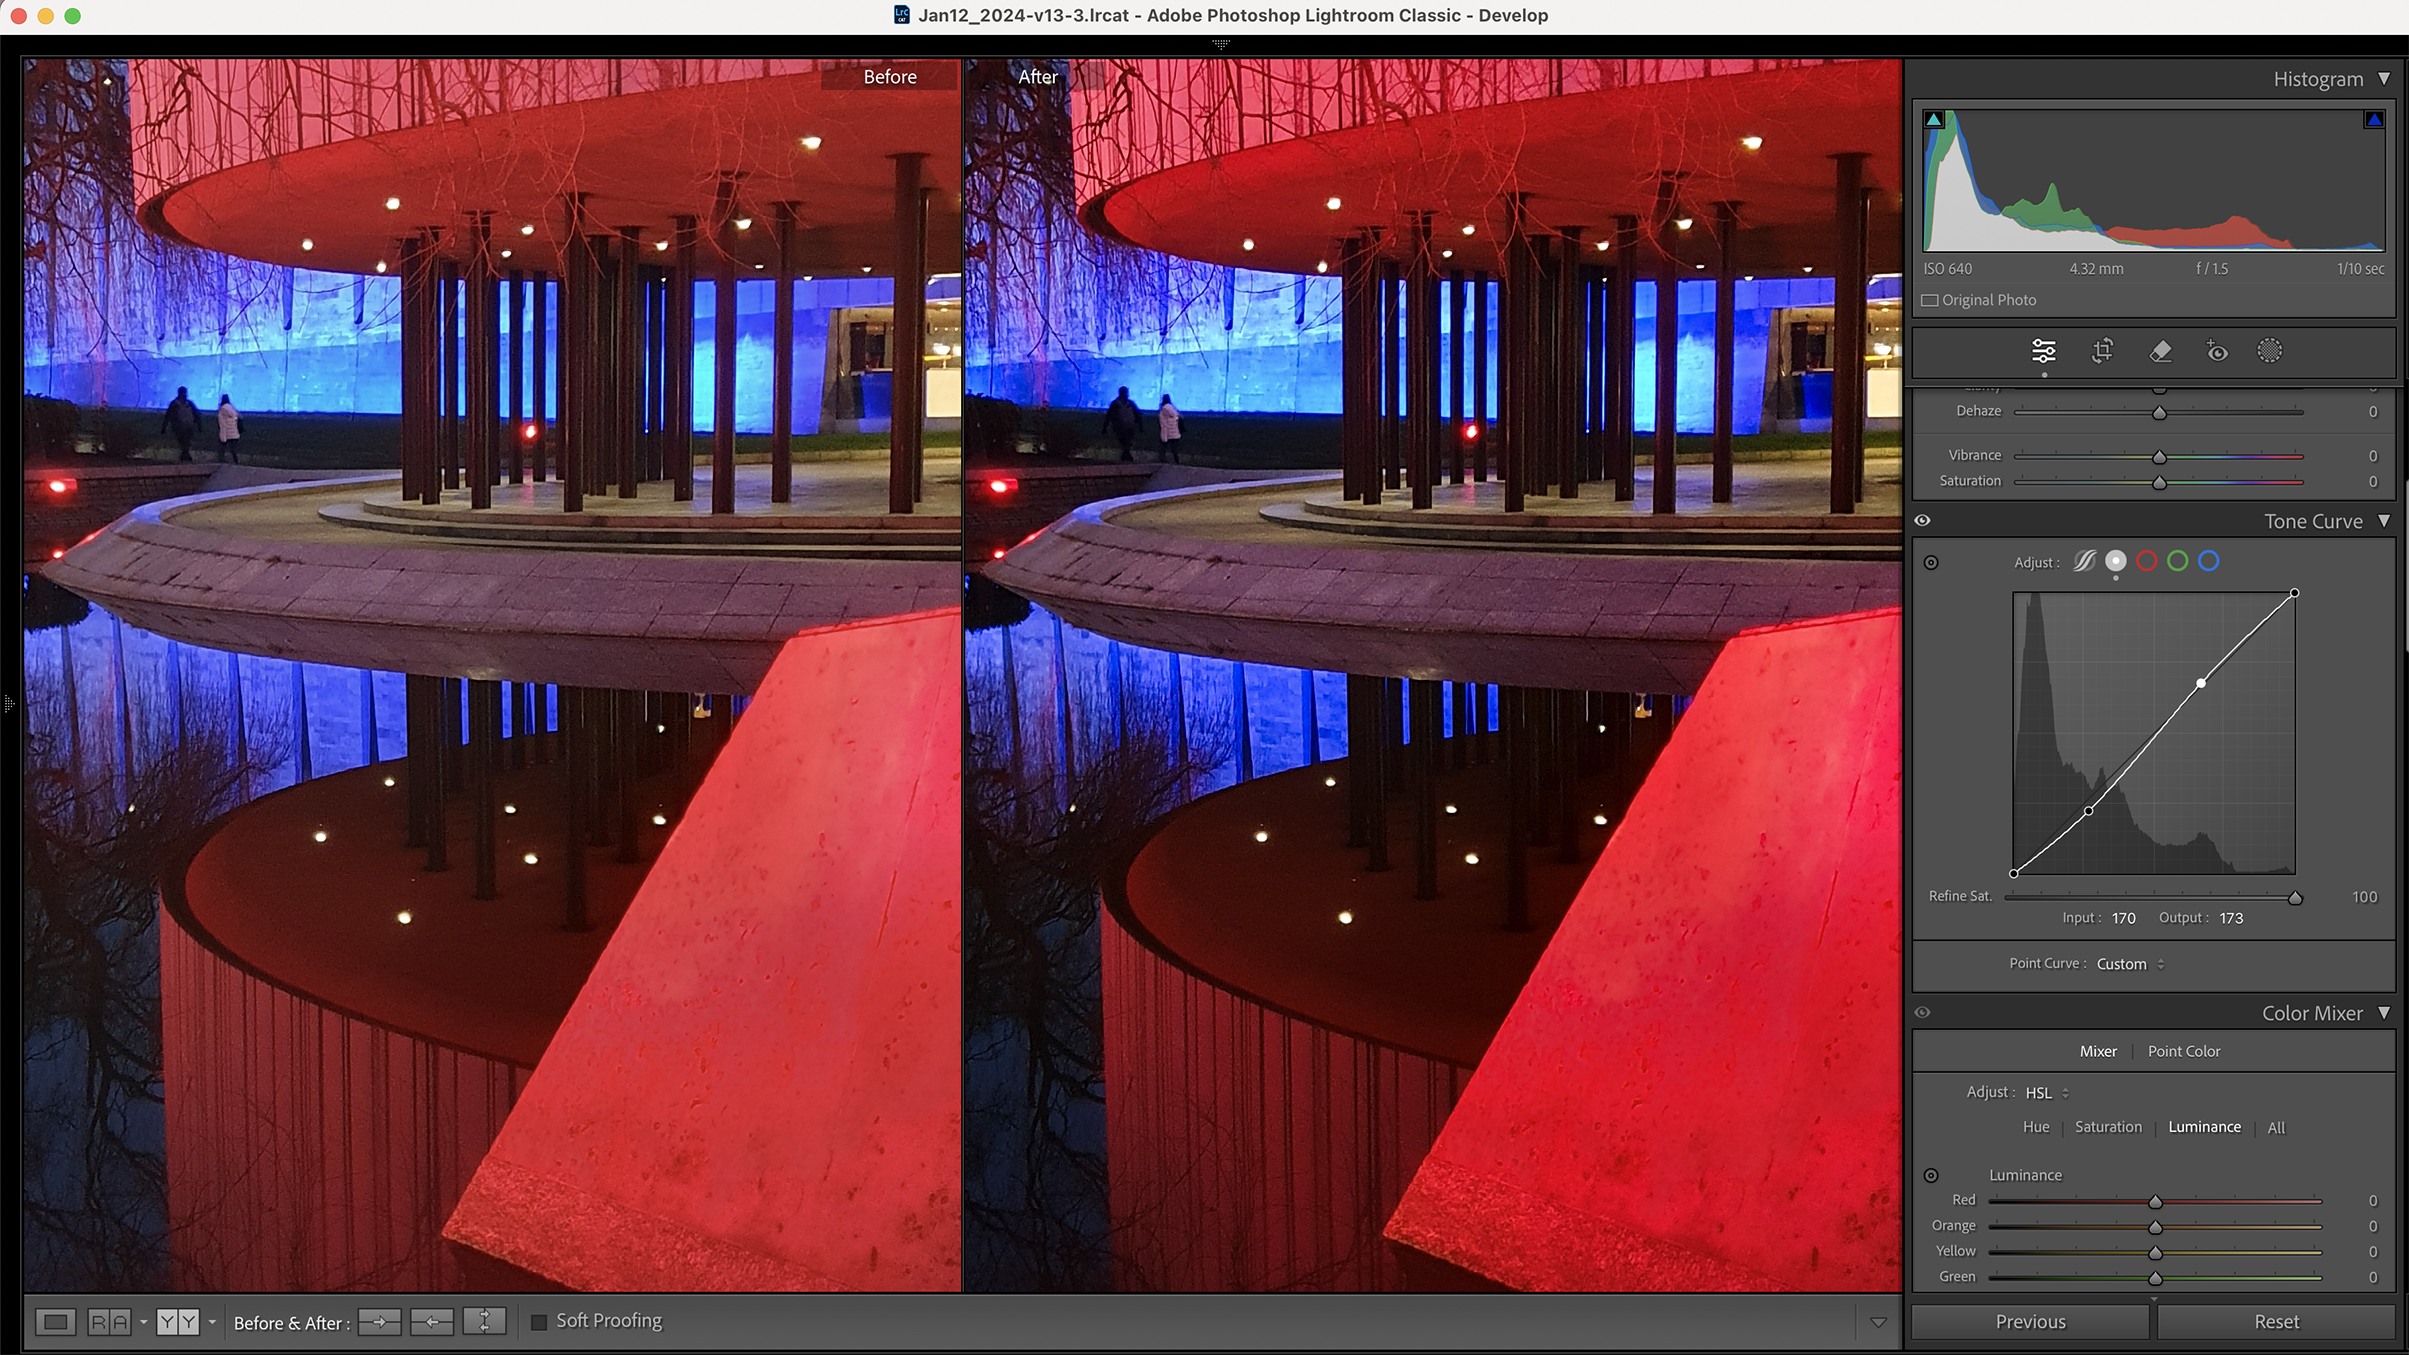
3. Adjust the contrast
To add some weight to the shadows, we applied a light S-curve using the Tone Curve tool in Lightroom. Look at the histogram regularly to ensure you are not clipping individual channels – in our shot, we had to be careful not to blow the detail in the reds in particular.
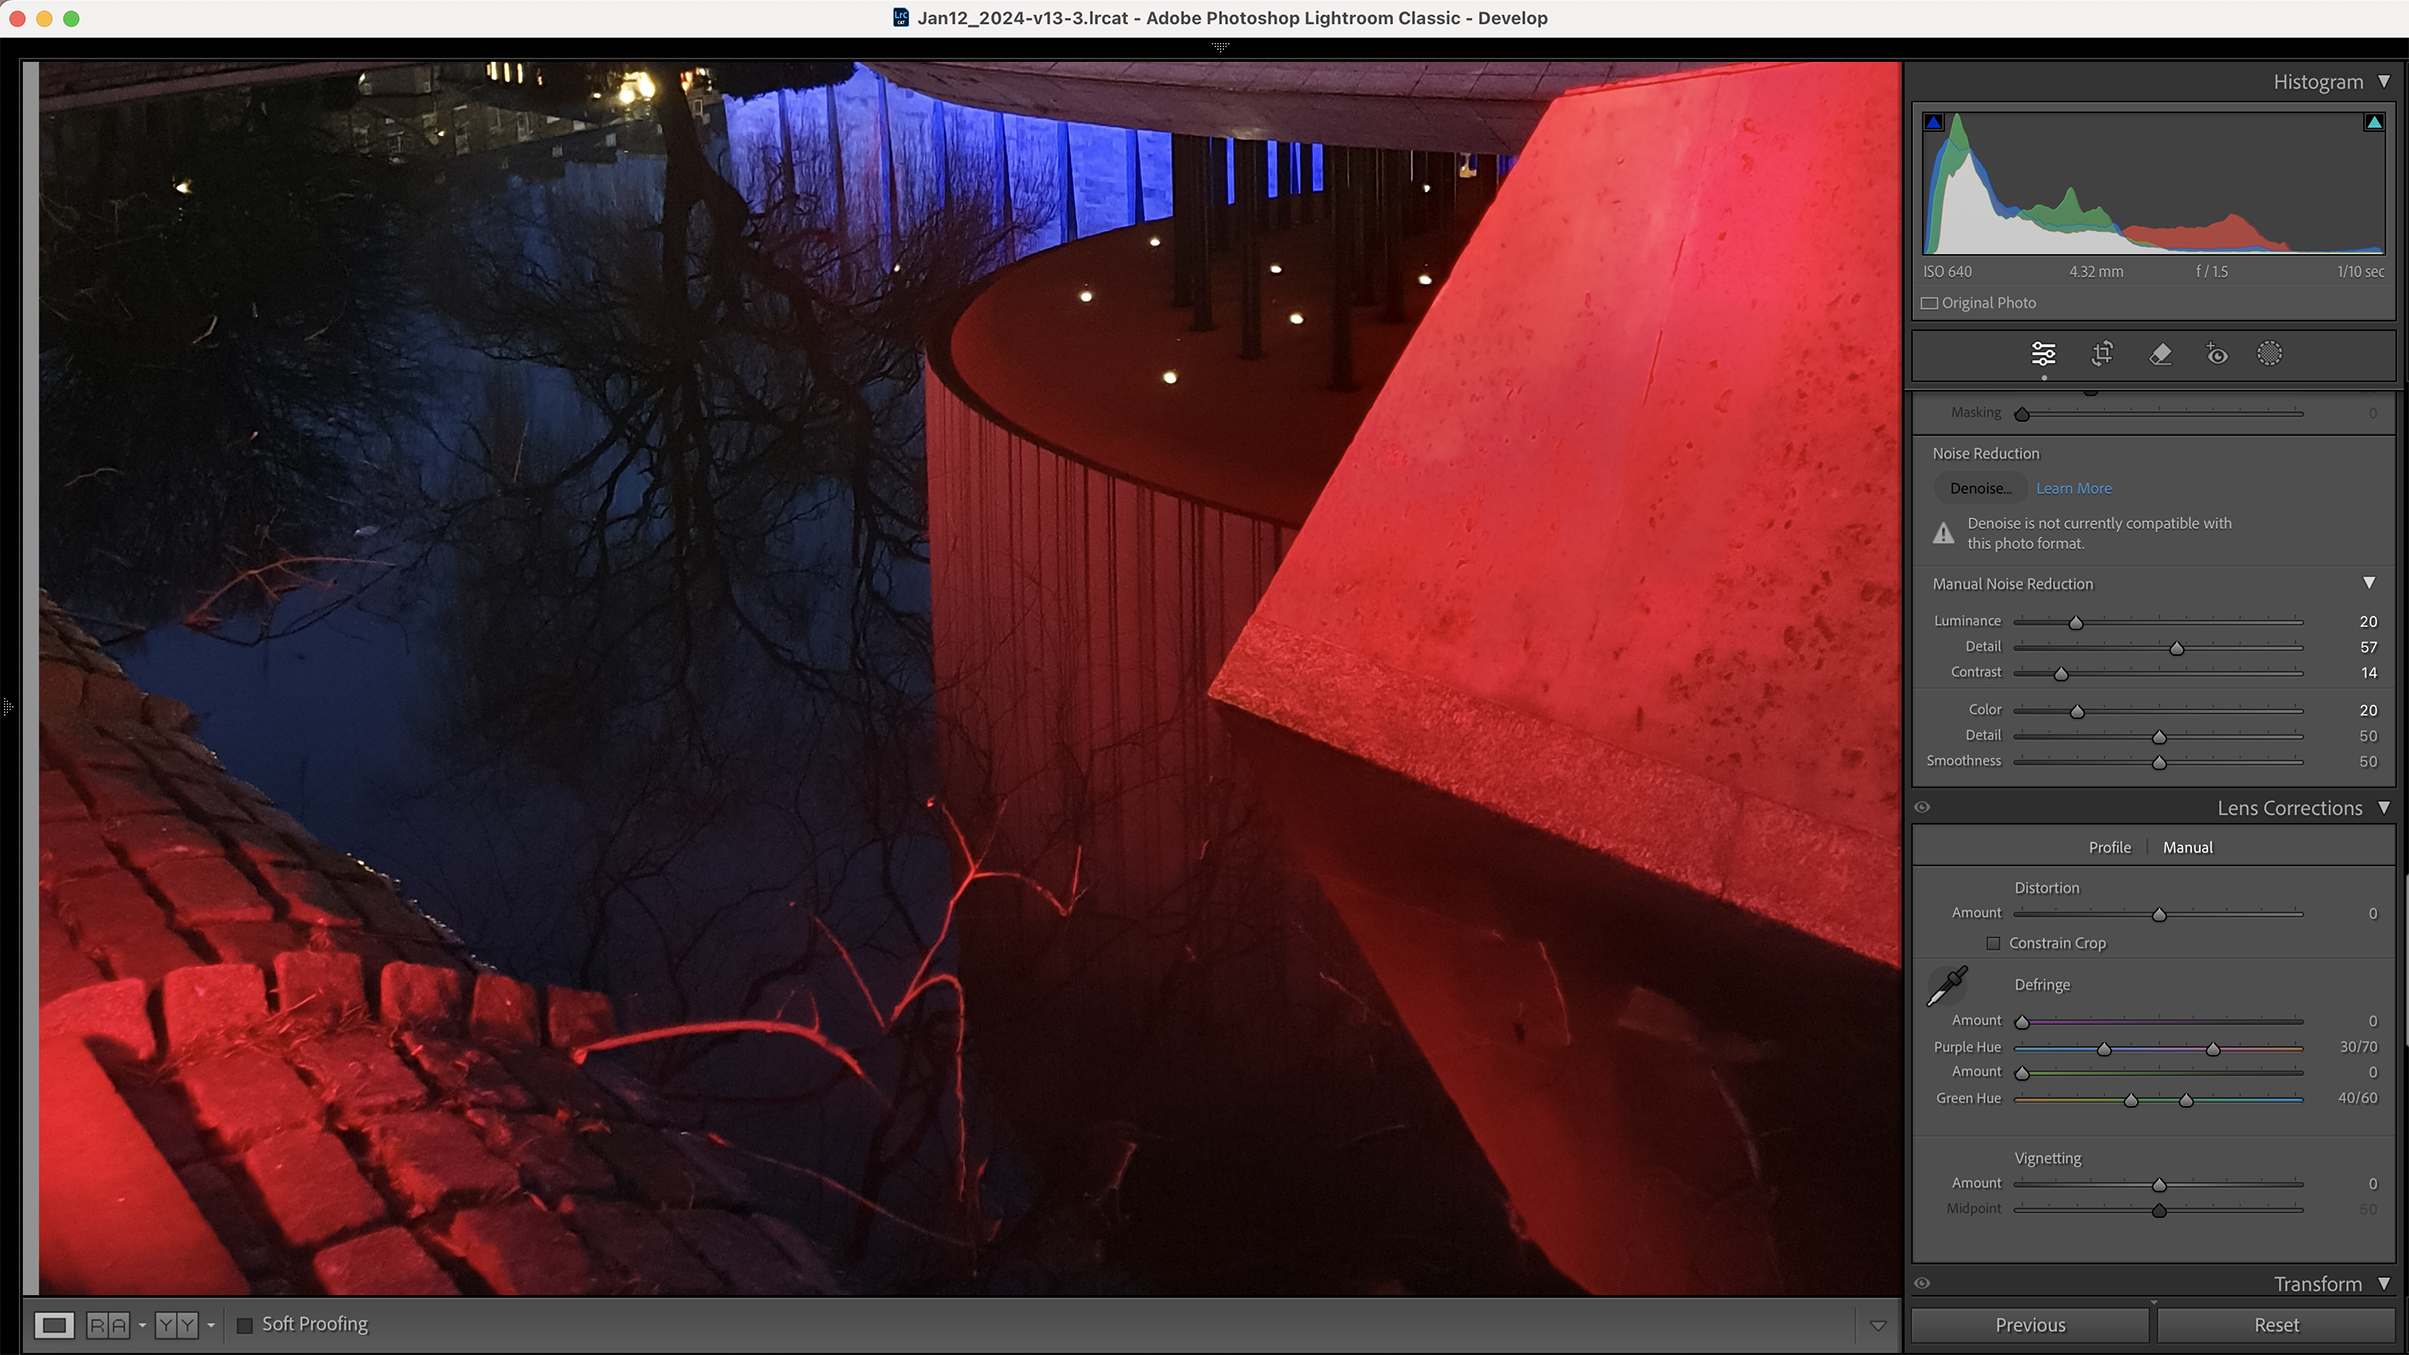
4. Apply custom Noise Reduction
With tonal adjustments applied, you’ll better understand the noise challenges present. Move the Luminance Noise slider in your software to the right in small increments to smooth out random noise patterns. Focus on the flatter tones, like the smooth concrete in our shot.
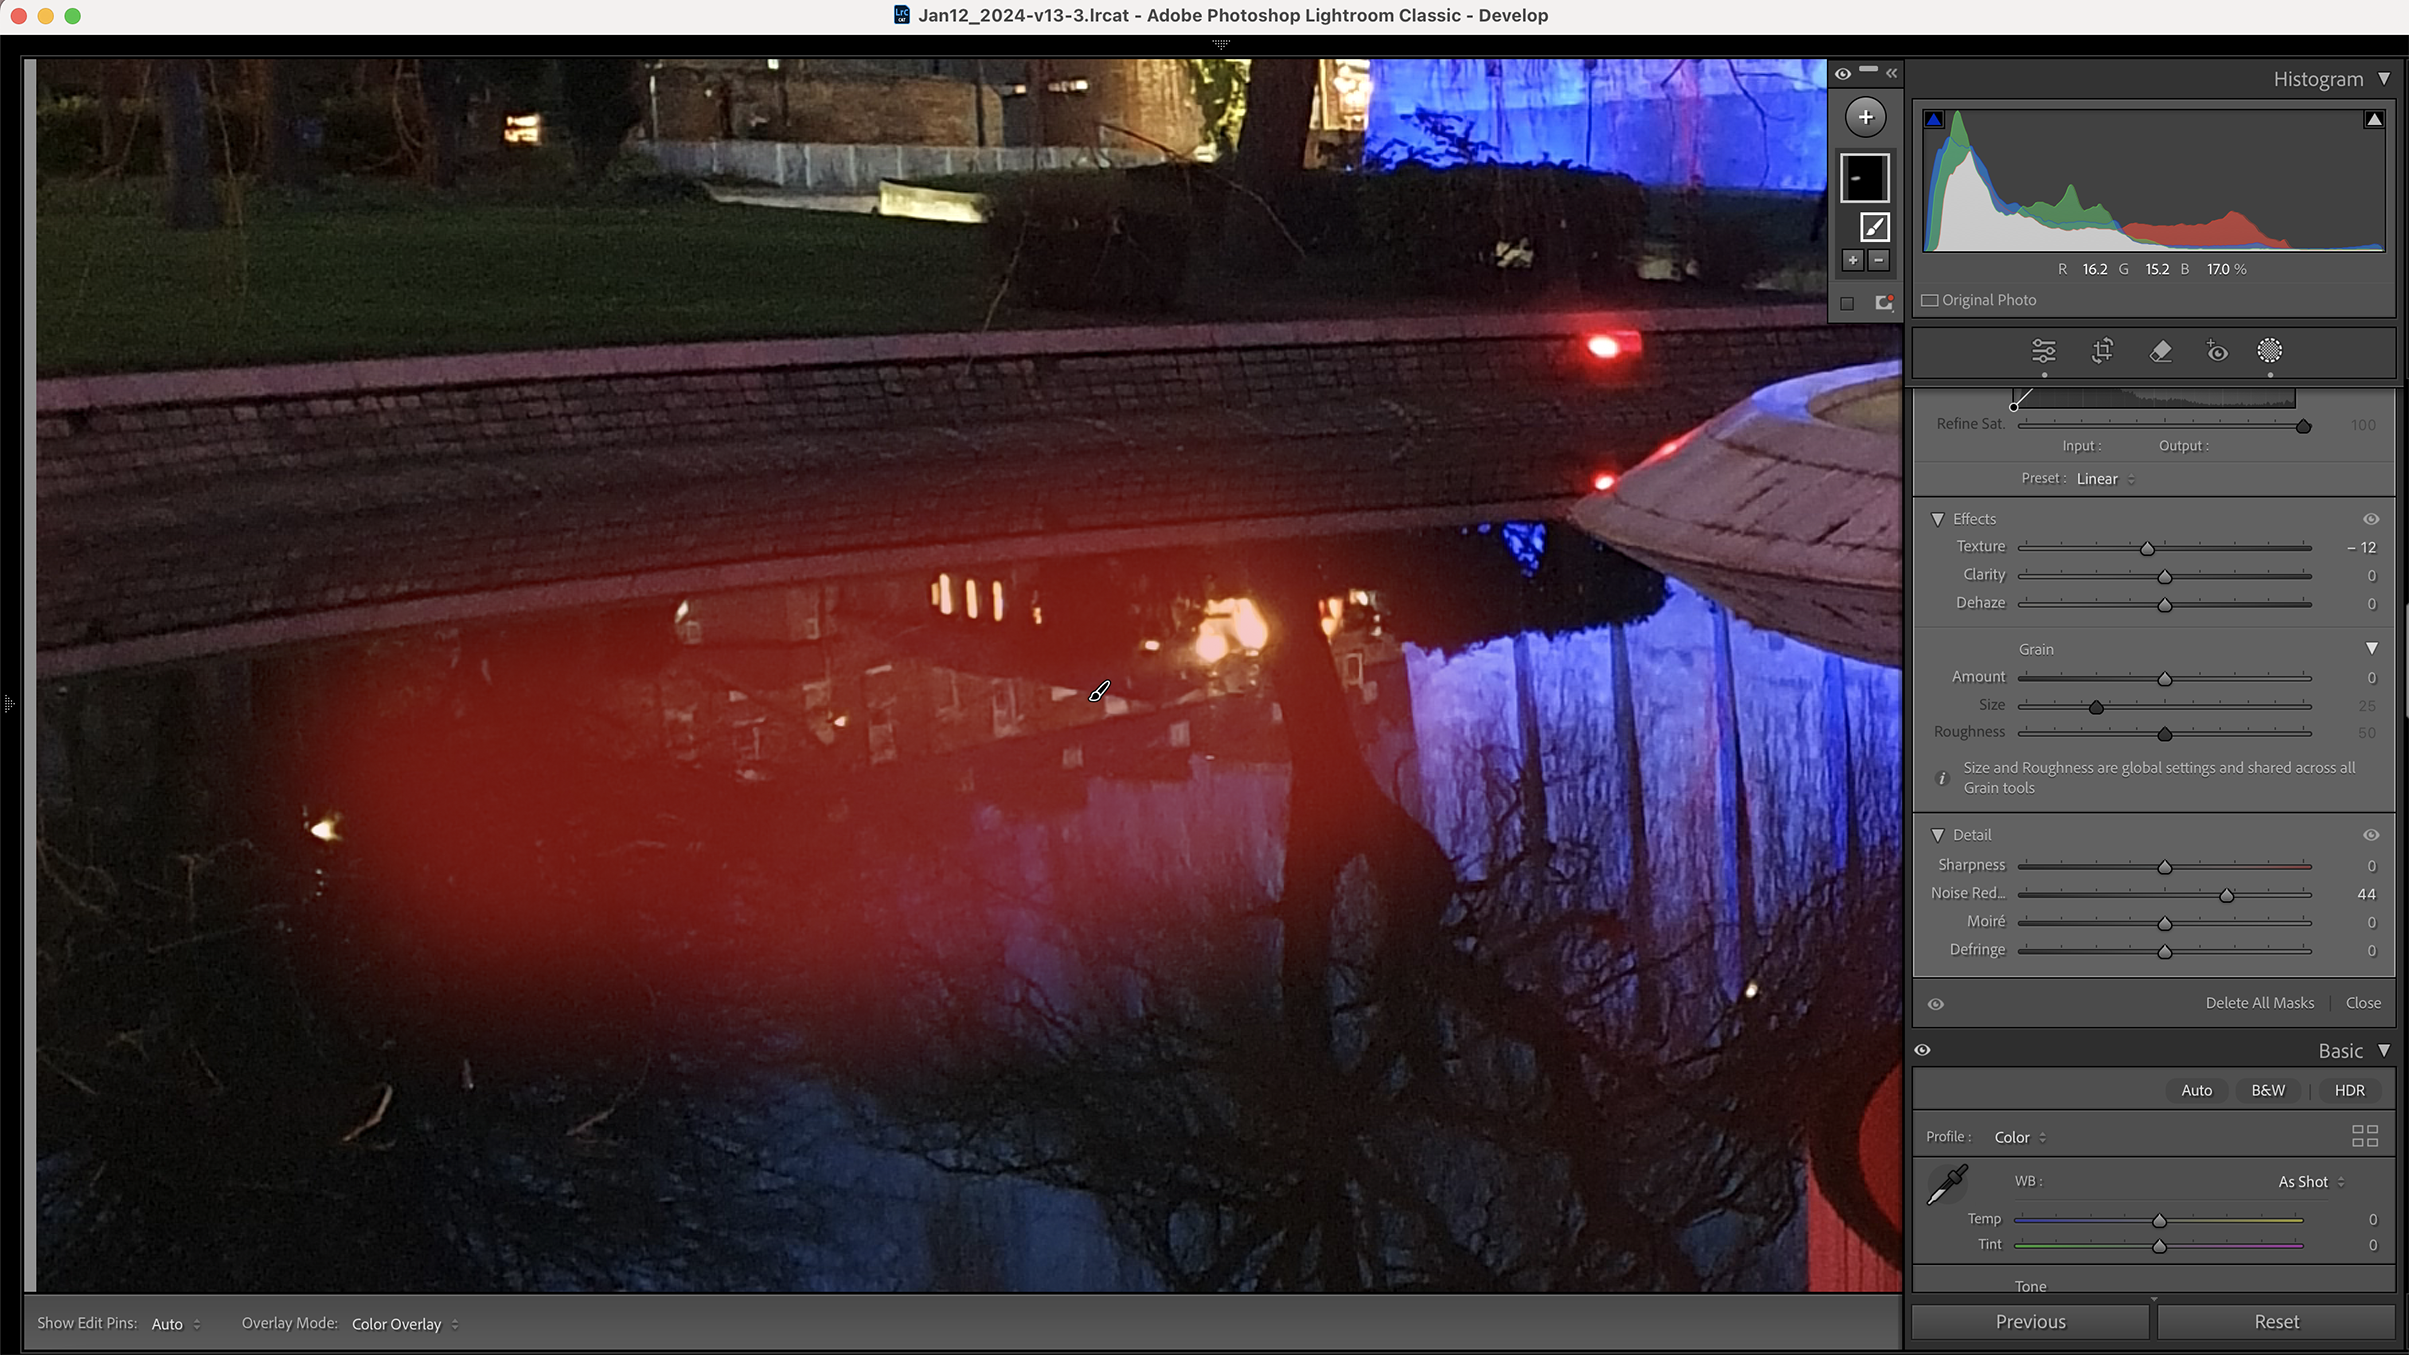
5. Apply noise treatment
Grain doesn’t have to be a problem, as it can add a sense of sharpness in moderation. However, in central areas of the subject, we need to minimize distracting noise patterns. Here, we used the Adjustment Brush (K) to reduce banding in local shadow areas.
6. Target sharpening
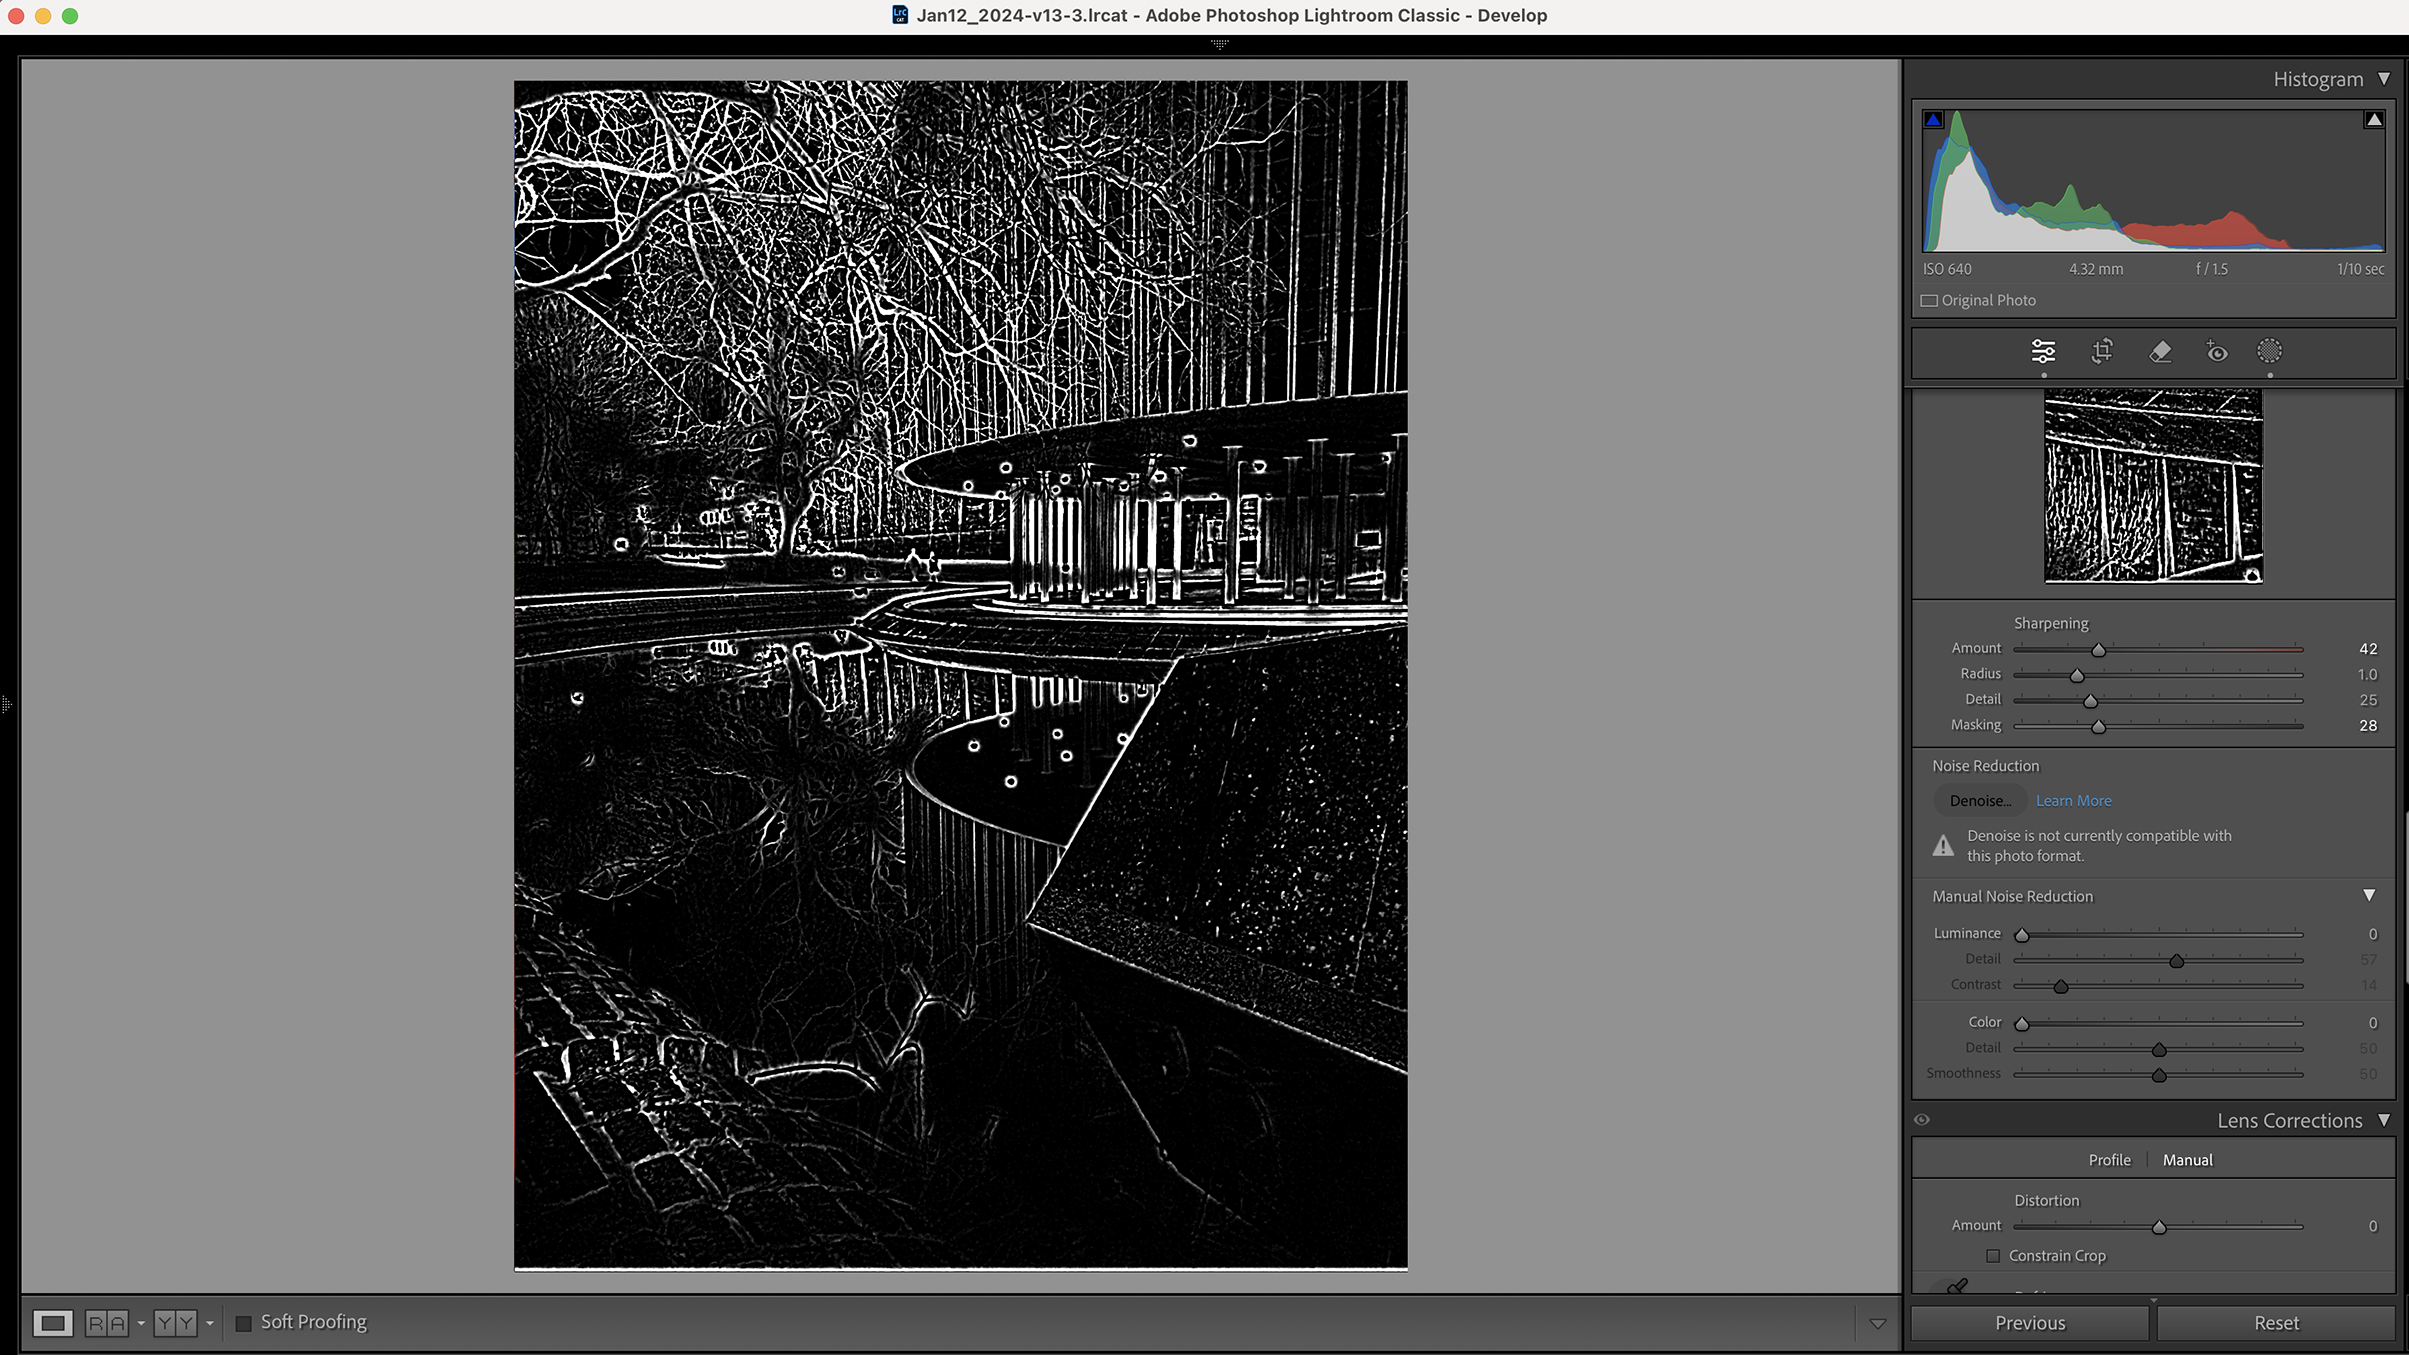
Keep your sharpening targeted to essential details by masking flat tones. In Lightroom, we dragged the Masking slider to the right to reduce sharpening to the flattest tones, where noise is most probable. We also applied a round of local sharpening using the Sharpen tool in Photoshop.
Before and After

Before

After
You might also like...
If you are into smartphone photography, read our 12 essential mobile photography tips, or check our guide about the best lenses for iPhone and Android camera phones.

Kim is a photographer, editor and writer with work published internationally. She holds a Master's degree in Photography and Media and was formerly Technique Editor at Digital Photographer, focusing on the art and science of photography. Kim covers everything from breaking industry news and camera gear to the stories shaping photography today. Blending technical expertise with visual insight, she explores photography's time-honored yet ever-evolving role in culture.
You must confirm your public display name before commenting
Please logout and then login again, you will then be prompted to enter your display name.
