Looking for creative photography ideas? Here’s how I made a cyanotype print at home
Turning a photo into a cyanotype is one of my favorite creative photography ideas. Best of all, you end up with a physical print you can display and keep!
When it comes to creative photography ideas, making a cyanotype print always makes me feel a little like I’m back at school – but in a good way. It’s practical, a bit messy, and you end up with something to take home. It’s also a great entry point into the world of printing and developing.
The cyanotype printing process dates back to the Victorian era where it was discovered by scientist and photography pioneer, Sir John Herschel.
It was adopted as a way to copy technical drawings – hence the term blueprint – but is perhaps most famous as botanist Anna Atkins’ medium of choice, for what would become the world’s first photo-illustrated book.
Today, it’s a simple and cost-effective way to try your hand at contact printing. And with the help of photo editing software, you can quickly convert and print a digital image as a negative on transparency film.
If you can’t print your own negatives at home, try using an online photo printing service or simply place objects (like flowers) onto the coated paper to form perfect silhouettes.
Cyanotypes are made using a UV-sensitive iron solution, and Fotospeed’s Cyanotype Process Kit contains everything you need to get started – including a ready-made bottle of sensitizer.
Make sure that you apply the solution in a dark room; you can use a red light source if you need to. Finally, make sure you wear adequate protective clothing, such as gloves and goggles.
The best camera deals, reviews, product advice, and unmissable photography news, direct to your inbox!
Creative photography ideas: Make a cyanotype print
1. Negative vibes
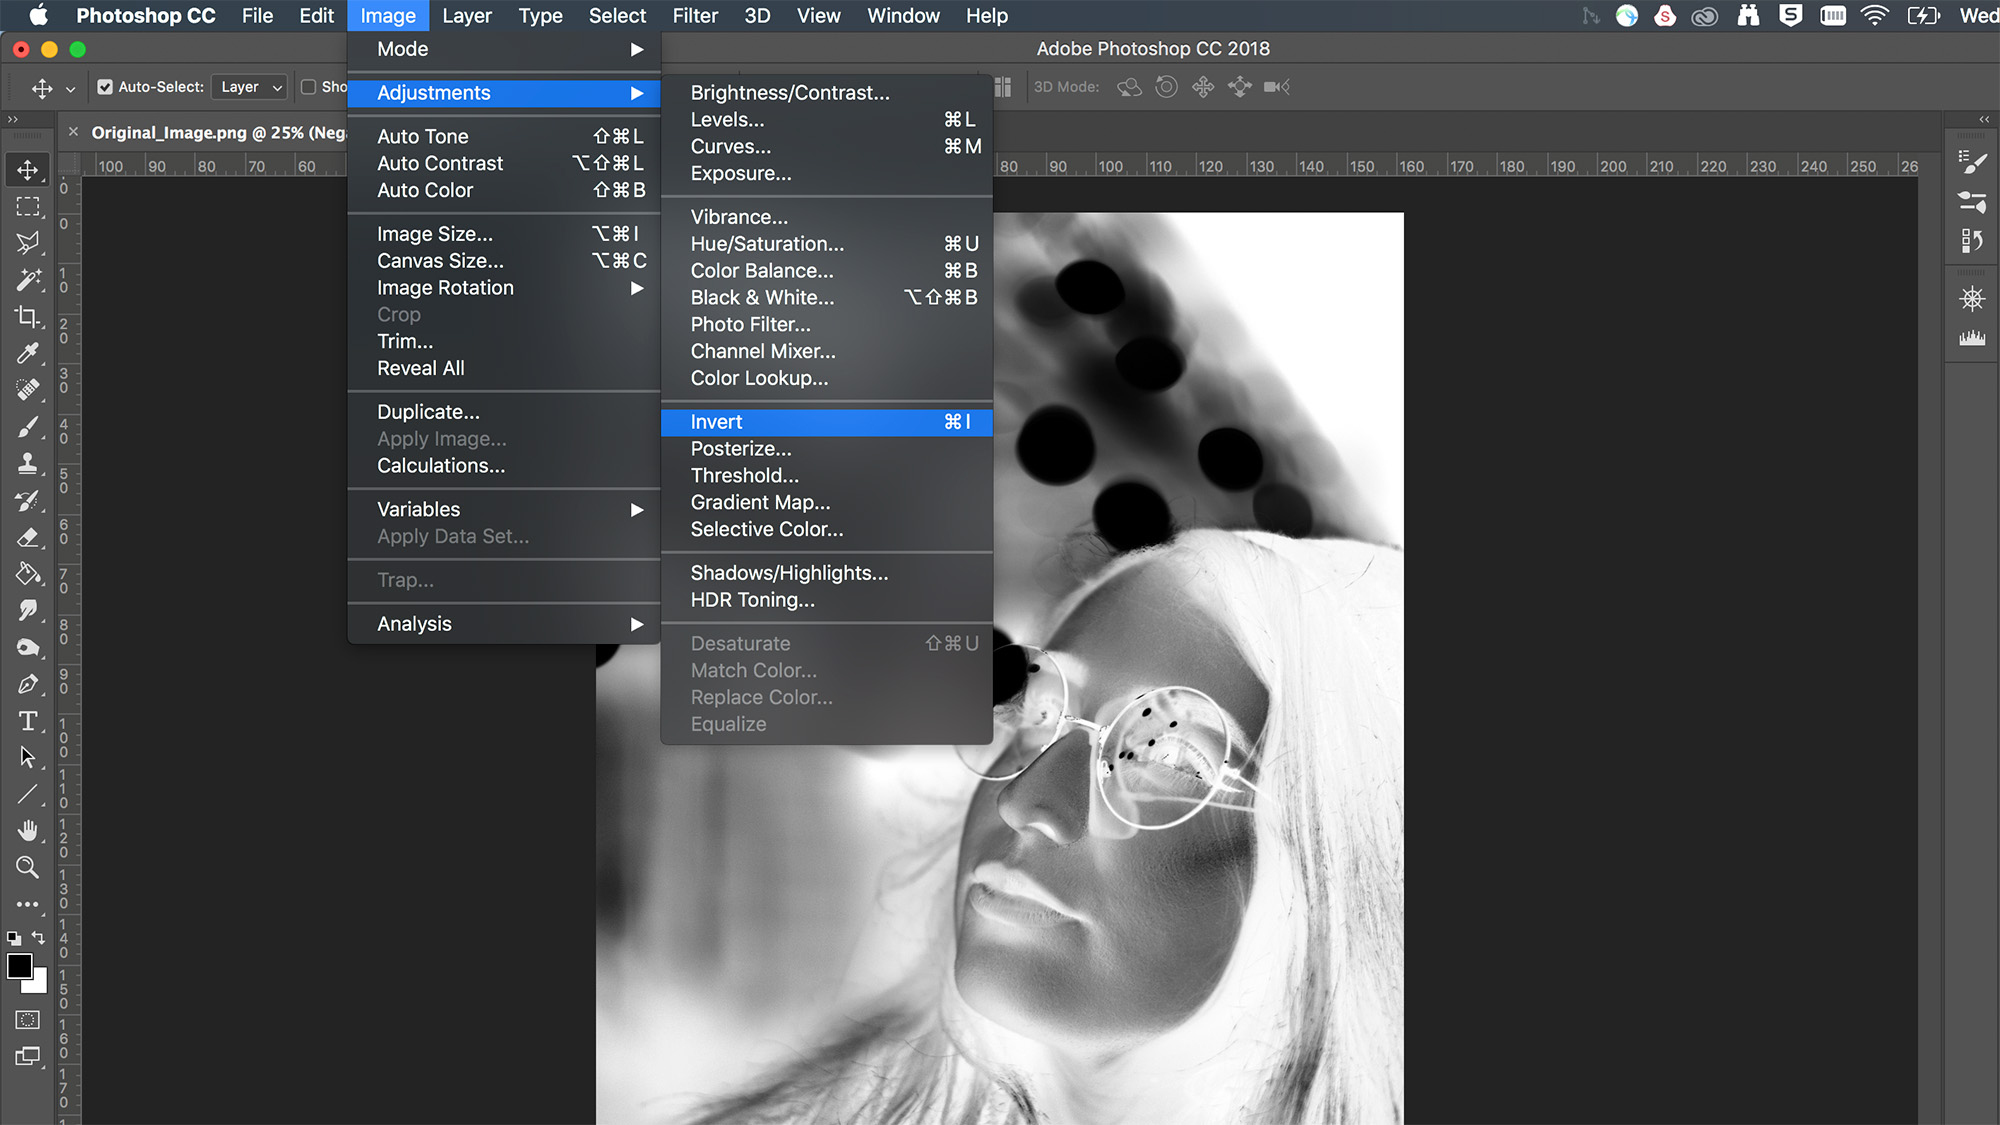
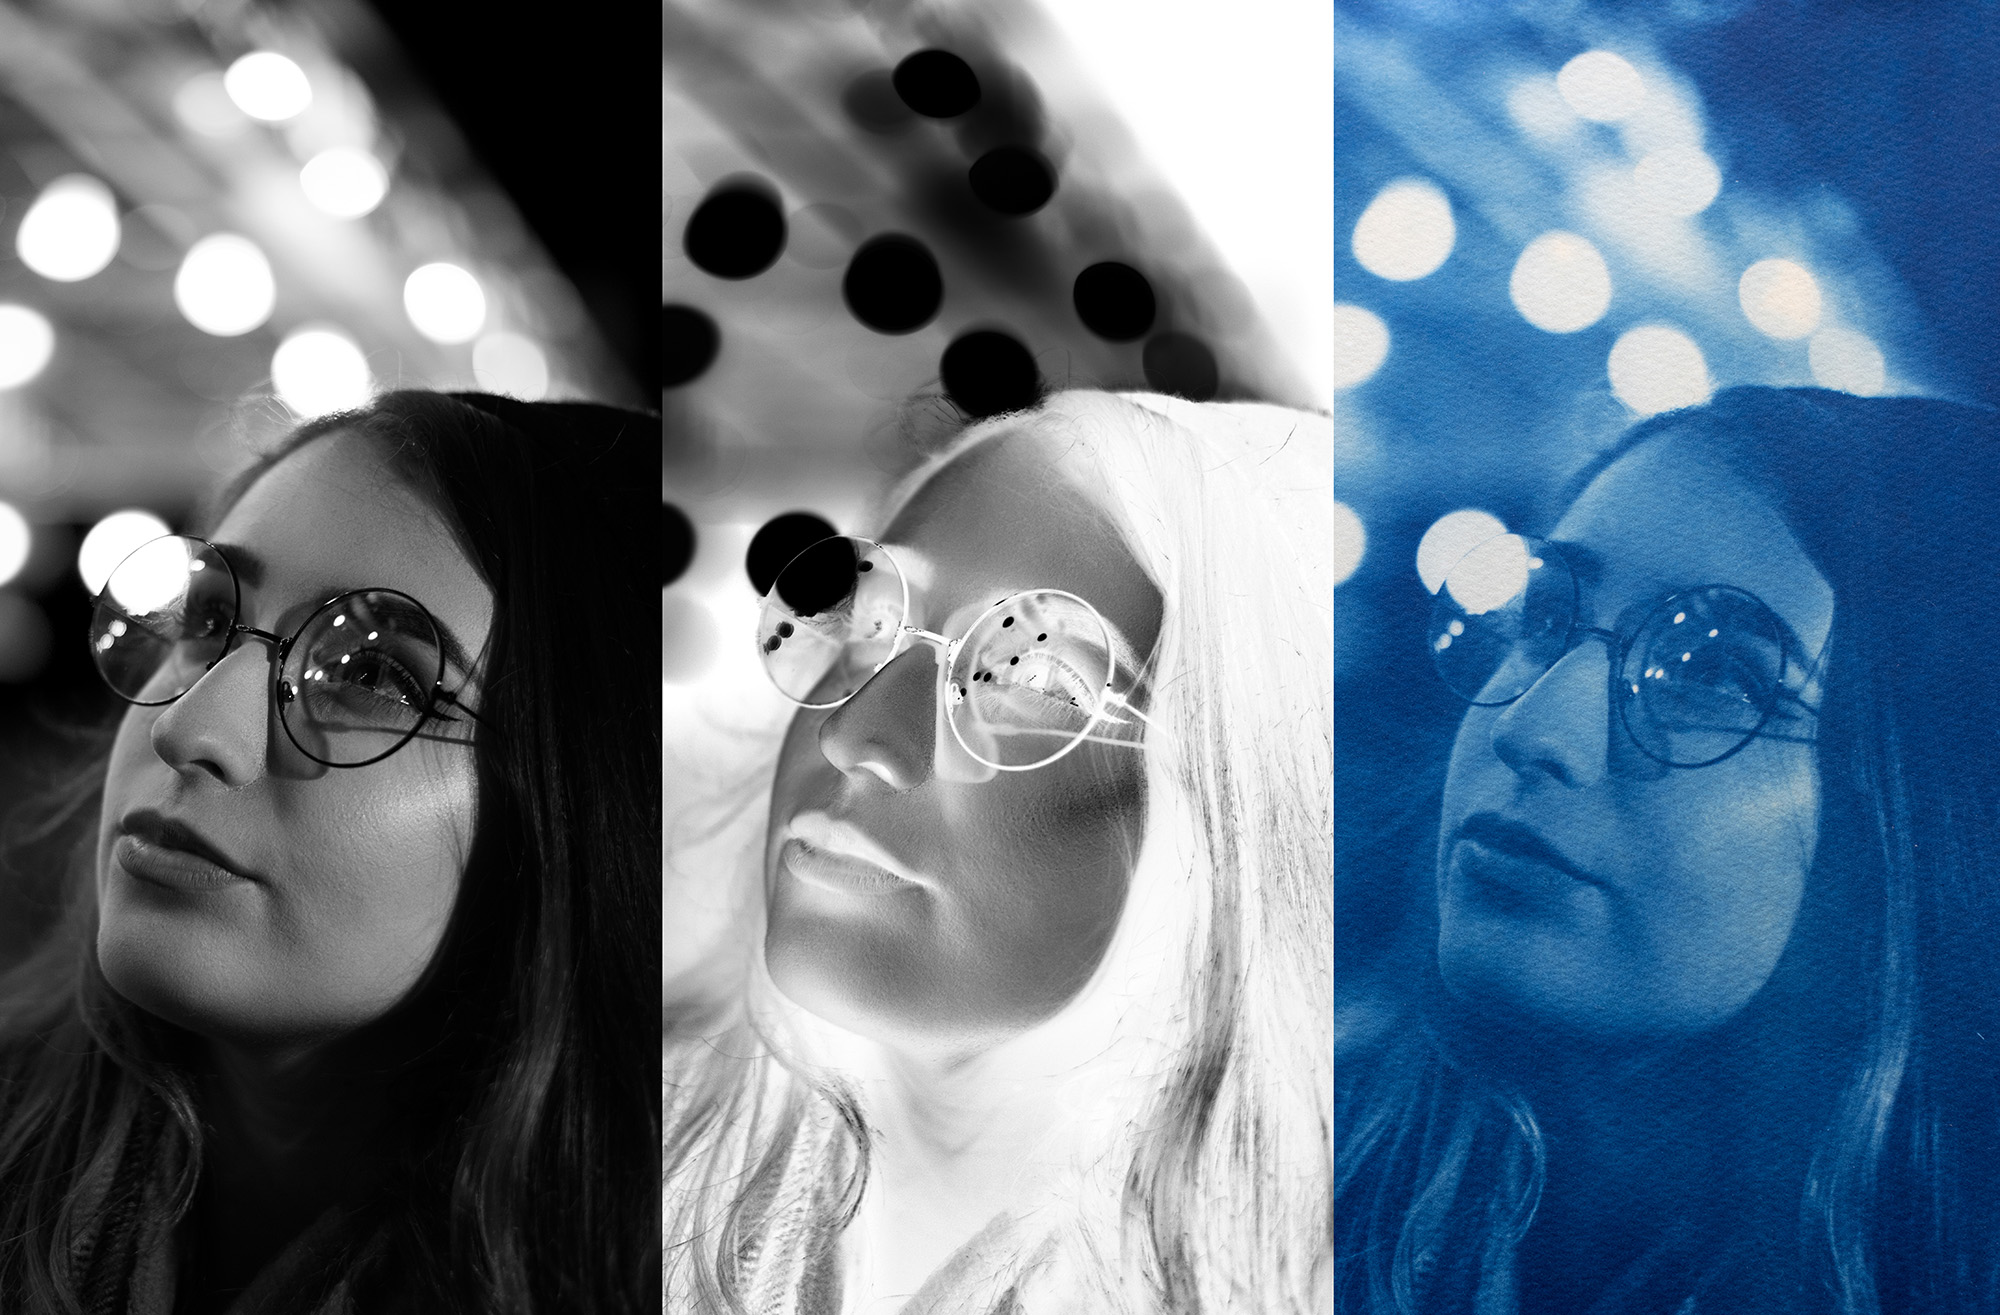
Whether you’re using an online printer or you’ve decided to print at home, the first step is to convert your digital image into a negative. We loaded our photograph into Photoshop and selected Image > Adjustments > Invert.
The Burn tool was used to darken a few areas to help increase the detail a little bit. Remember, with negatives, darker areas will appear lighter when exposed later on. Once you've made your digital negative, you can either print it onto a sheet of transparency film yourself or send it off to a printing company to do it for you
2. Coat the paper
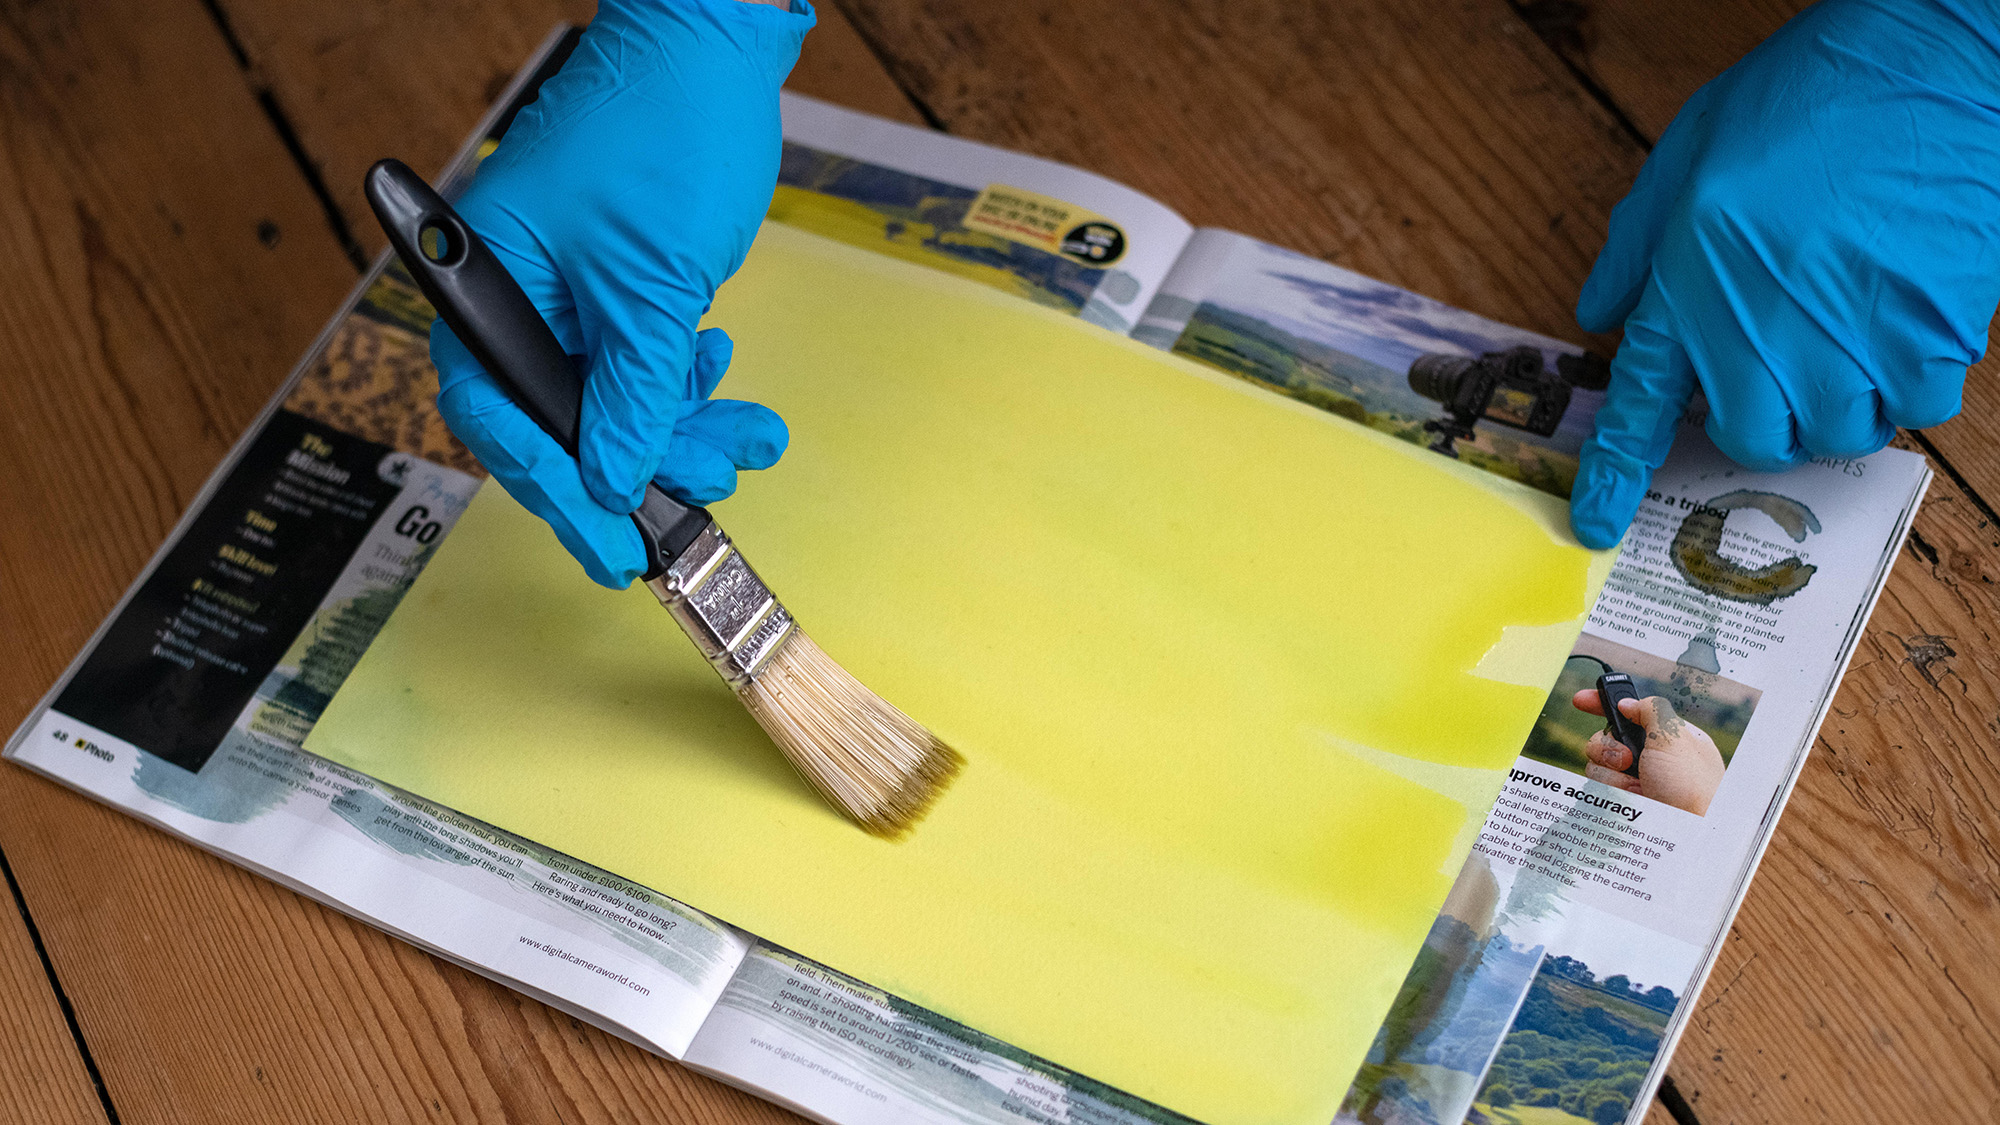
Set up in a dark room that’s free of UV light. Decant a little sensitizer into a container and use the supplied coating rods (or a paintbrush) to spread the solution over a sheet of Fabriano paper. Place this inside the Process Kit box to dry in the darkness. Repeat when applying the second coat.
3. A place in the sun
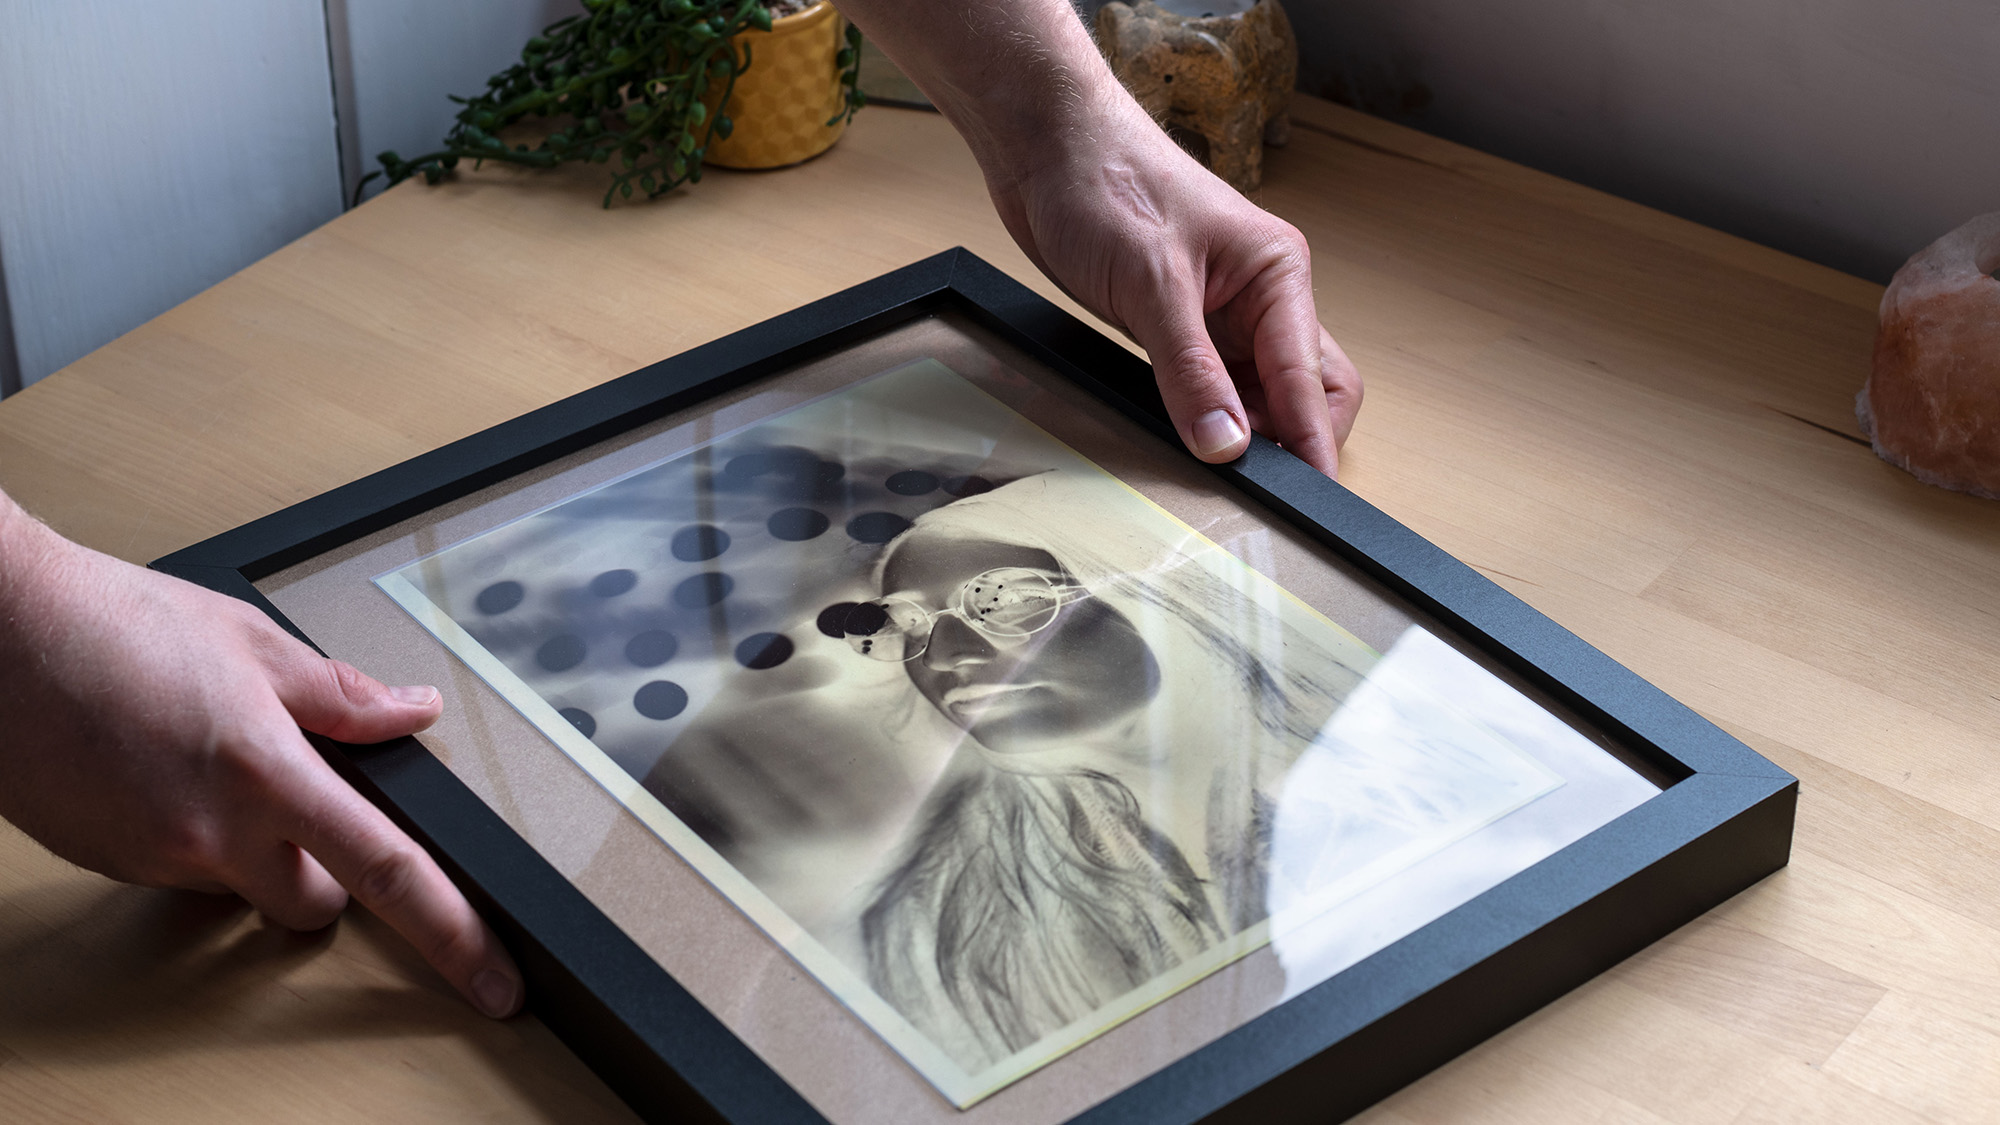
Place your negative over the dried Fabriano paper and expose it to natural light. Eight minutes is a good starting point in direct sunlight, but exposure times will vary depending on the intensity of the light. I placed my shot in a frame to ensure that the negative didn’t move, which could soften the image's edges.
4. Acidic solution
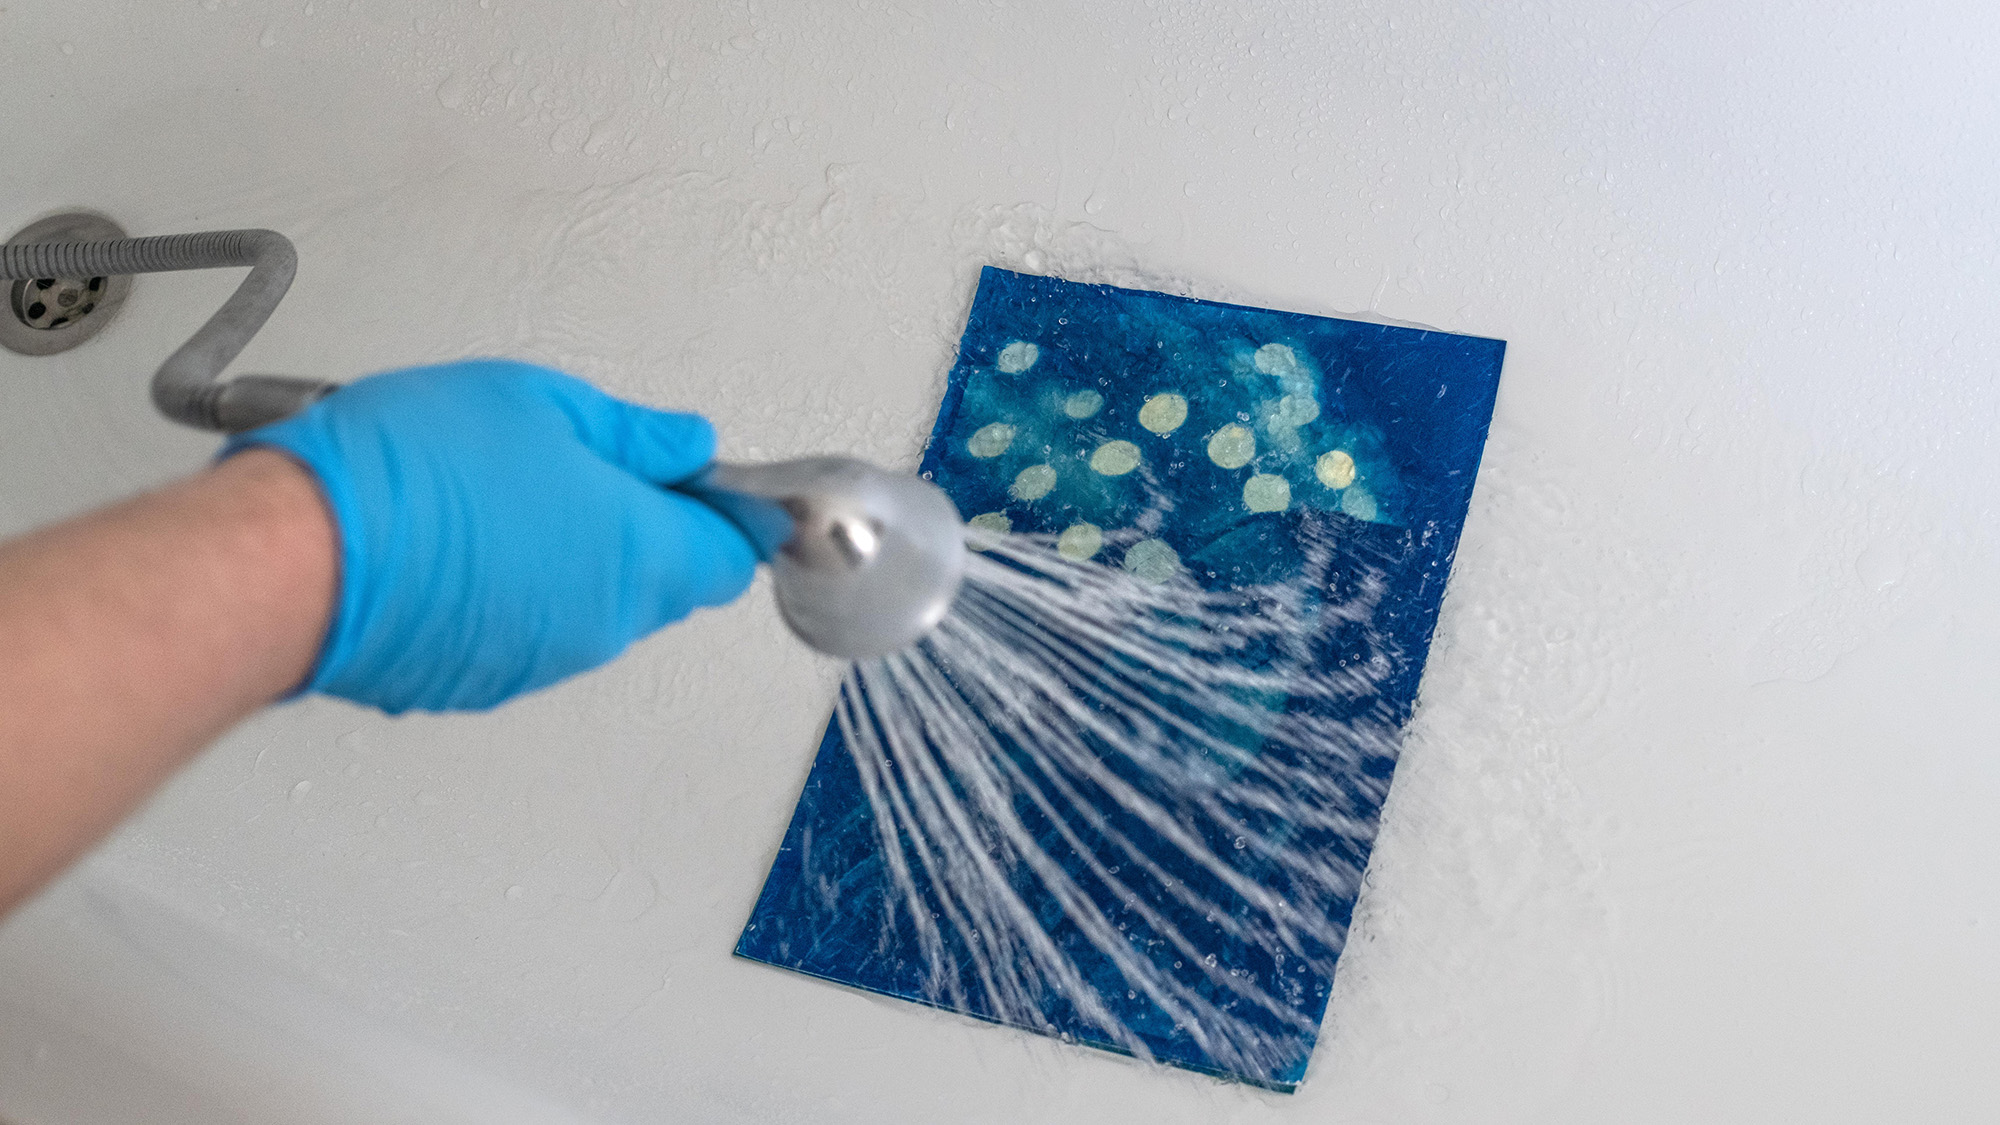
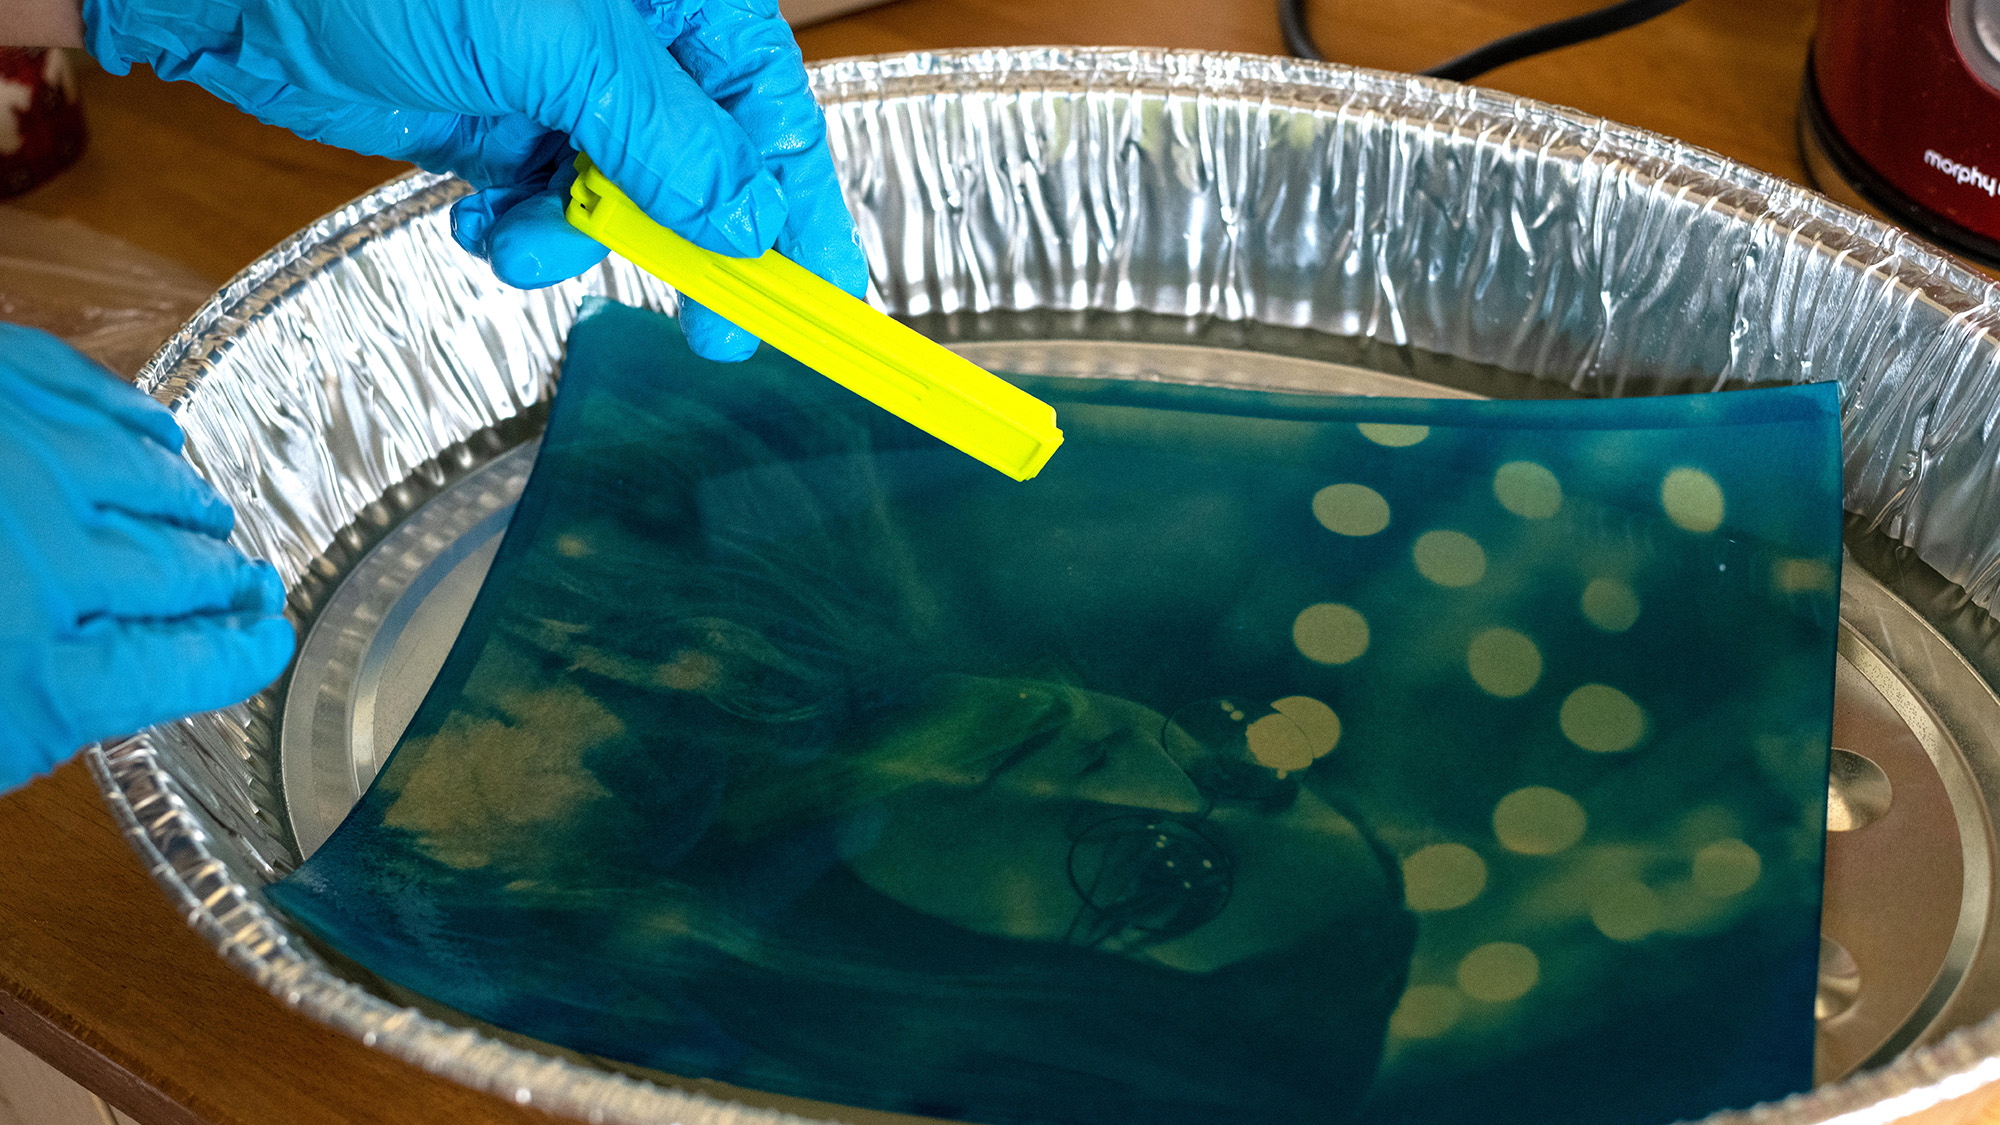
While your print sits in the sun, put on a pair of protective goggles and gloves then place 40g of citric acid crystals in a deep tray and cover them with a liter of water. Carefully mix the solution until the crystals have dissolved (this is for the next step). When your print is exposed, place it under running water for around three minutes to begin the development process.
5. Citric acid tray
It's now time to use the citric acid tray you prepared earlier. Gently place your print in the solution – it will need to stay here for about two minutes. We used a plastic implement to constantly disturb the print, ensuring that none of the liquid spilled over the sides of the tray. It’s imperative that you always wear gloves and goggles when working with harmful liquids.
6. Hang it out to dry
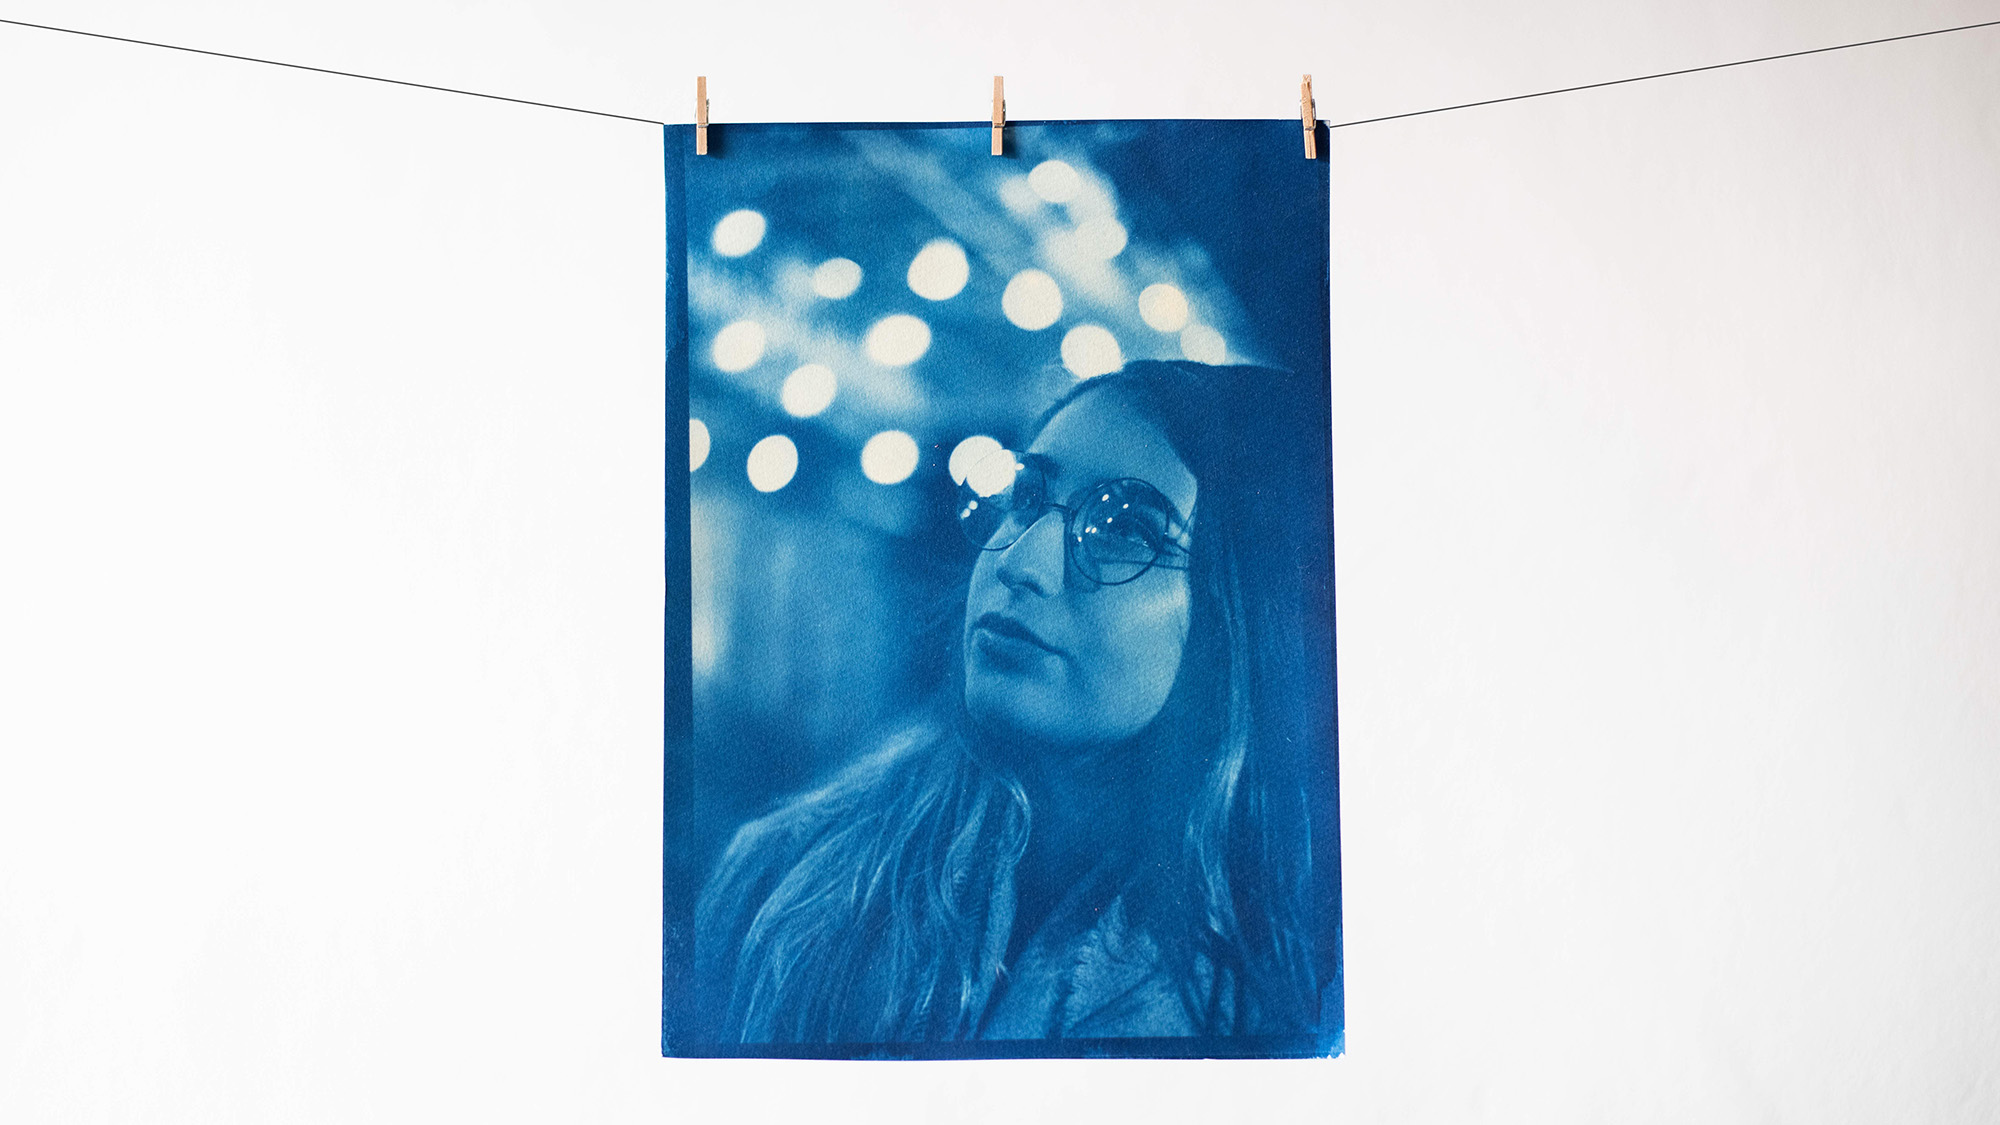
The final step is to place your print back under running water, but for six minutes this time. I’d then recommend hanging your print to dry for 24 hours, before placing it under a few heavy books to flatten out any crinkles that might have developed. The shadows and highlights will intensify during the drying process, leaving you with a rich, blue cyanotype print.
Quick tip!
If you’re unable to obtain or print a digital negative, why not take a leaf out of Anna Atkins’ book? The botanist – and arguably first female photographer – is famed for using cyanotypes to document plant life. By following the steps here, but placing a plant onto a coated piece of paper instead of a negative, you’ll make perfect cyanotype silhouettes.
You might also like...
If you're into creative photography ideas, big up background blur in your photo portraits using the Brenizer bokeh-rama effect. Also, here's how to get creative with your old photographs in Photoshop. And if you're looking for the best Photoshop alternatives, check out Affinity Photo 2.

Mike studied photography at college, honing his Adobe Photoshop skills and learning to work in the studio and darkroom. After a few years writing for various publications, he headed to the ‘Big Smoke’ to work on Wex Photo Video’s award-winning content team, before transitioning back to print as Technique Editor (later Deputy Editor) on N-Photo: The Nikon Magazine.
With bylines in Digital Camera, PhotoPlus: The Canon Magazine, Practical Photography, Digital Photographer, iMore, and TechRadar, he’s a fountain of photography and consumer tech knowledge, making him a top tutor for techniques on cameras, lenses, tripods, filters, and more. His expertise extends to everything from portraits and landscapes to abstracts and architecture to wildlife and, yes, fast things going around race tracks...
You must confirm your public display name before commenting
Please logout and then login again, you will then be prompted to enter your display name.
