The best camera deals, reviews, product advice, and unmissable photography news, direct to your inbox!
You are now subscribed
Your newsletter sign-up was successful
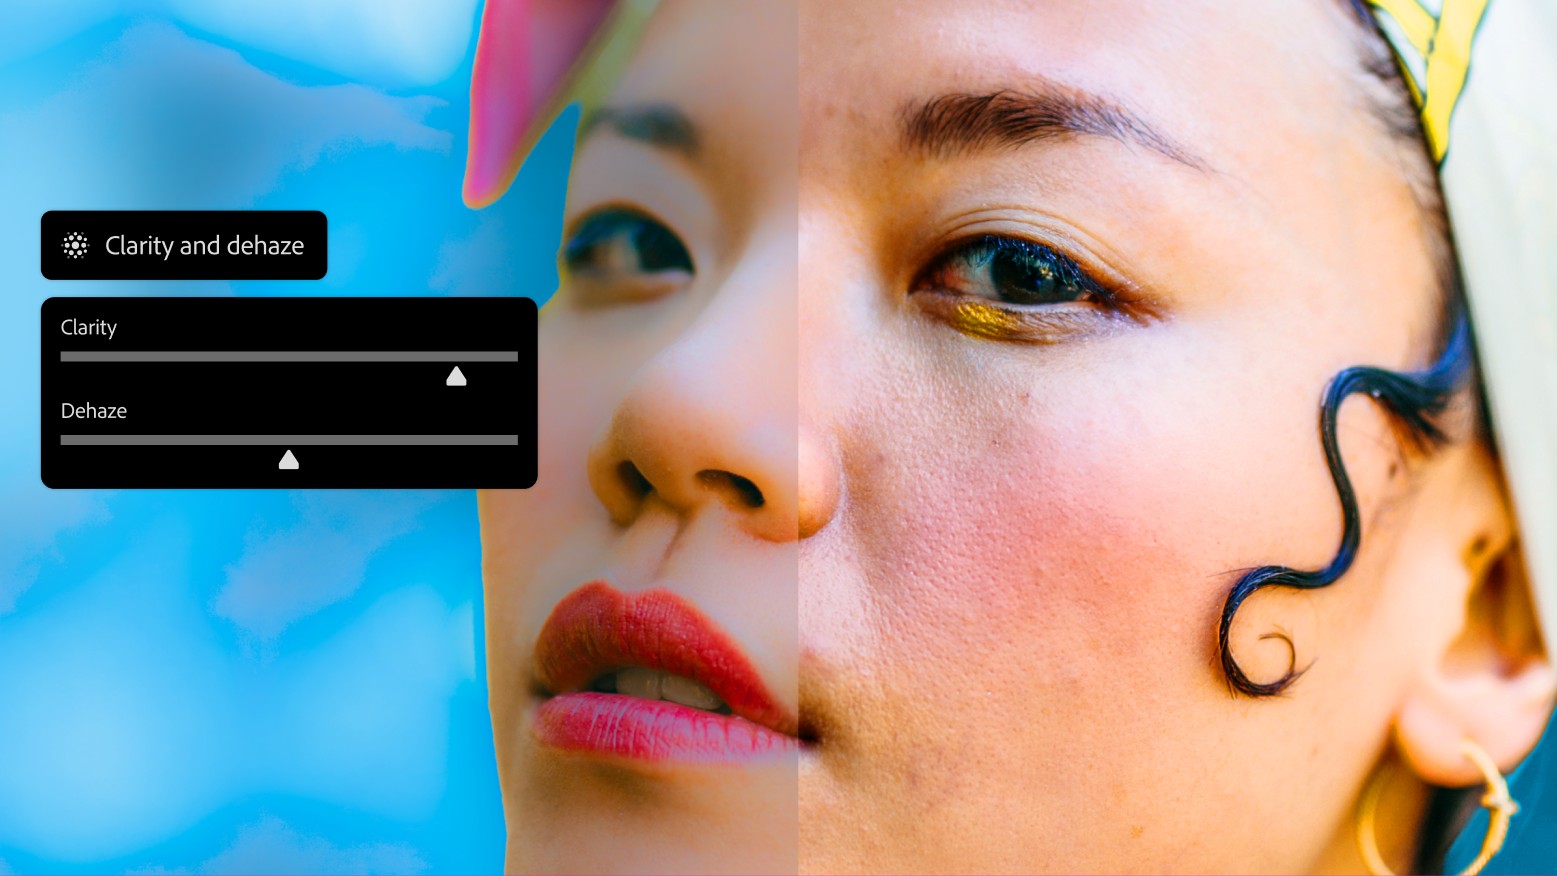
Adobe has announced that three popular image adjustments (Clarity, Dehaze and Grain) are now available as proper adjustment layers in Photoshop. It's a workflow improvement that photo editors have been requesting for years.
Until now, these tools only existed in Camera Raw, either when opening RAW files or via the Camera Raw Filter. That meant working within a modal dialog box: make your changes, click OK, done.
Want to tweak your Dehaze setting tomorrow? Hope you used a Smart Object. Want to apply different amounts to different parts of the image? Prepare for layer duplication and complex masking workflows.
Article continues belowAdjustment layers change that completely. They're stackable, maskable and endlessly editable. You can apply different amounts of Clarity to different parts of an image using masks. You can adjust opacity to blend effects subtly. You can come back days later and modify your settings without degrading image quality.
This is how professional Photoshop users prefer to work and now these three tools finally support that workflow.
For example, you might want strong Dehaze on a distant mountain range but none on the foreground. Previously, this required duplicating layers, applying the Camera Raw Filter separately and masking carefully. Now you just add a Dehaze adjustment layer and paint your mask. Want to try a different strength? Adjust the slider. Want to blend it differently? Change the opacity or try a different blend mode. The flexibility is enormous.
AI improvements

Of course, it wouldn't be a modern Photoshop update without mention of those AI features that Adobe keeps telling me everybody loves. If that includes you, there's here's the skinny.
The best camera deals, reviews, product advice, and unmissable photography news, direct to your inbox!
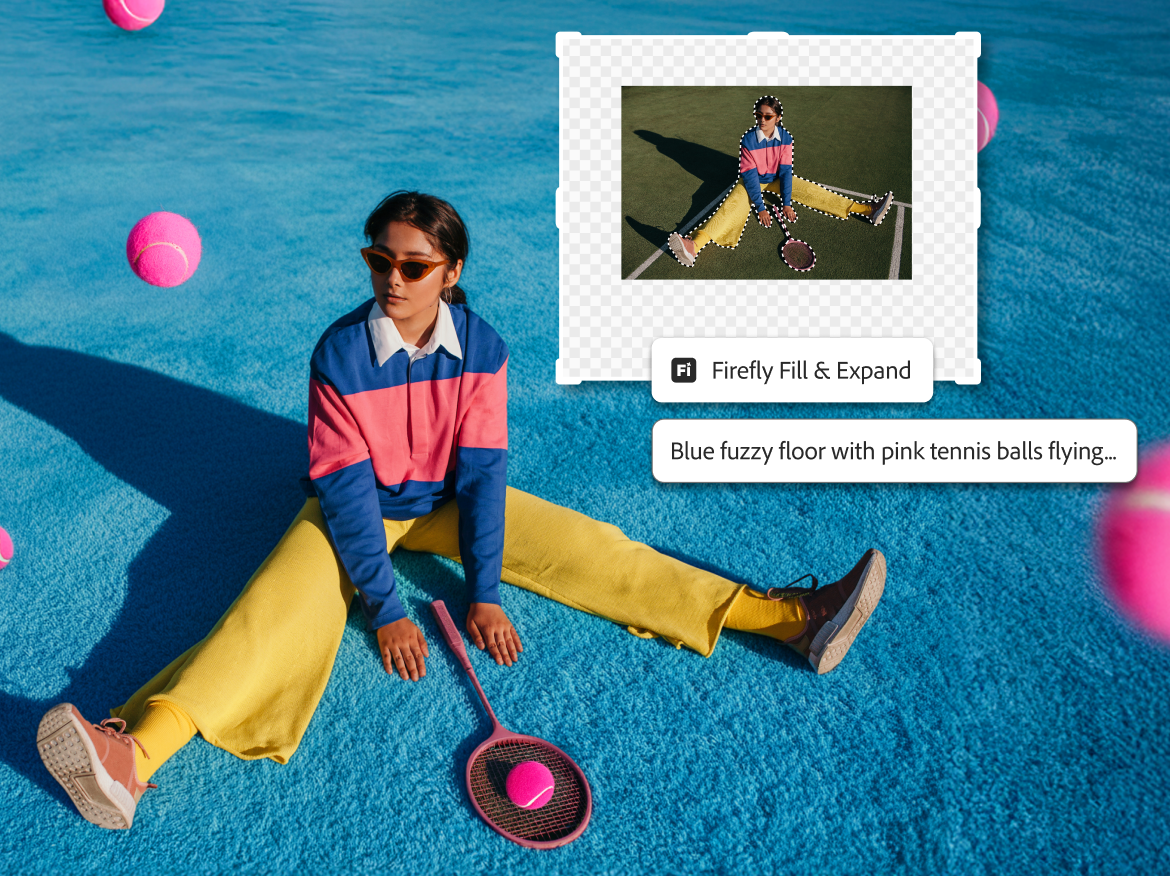
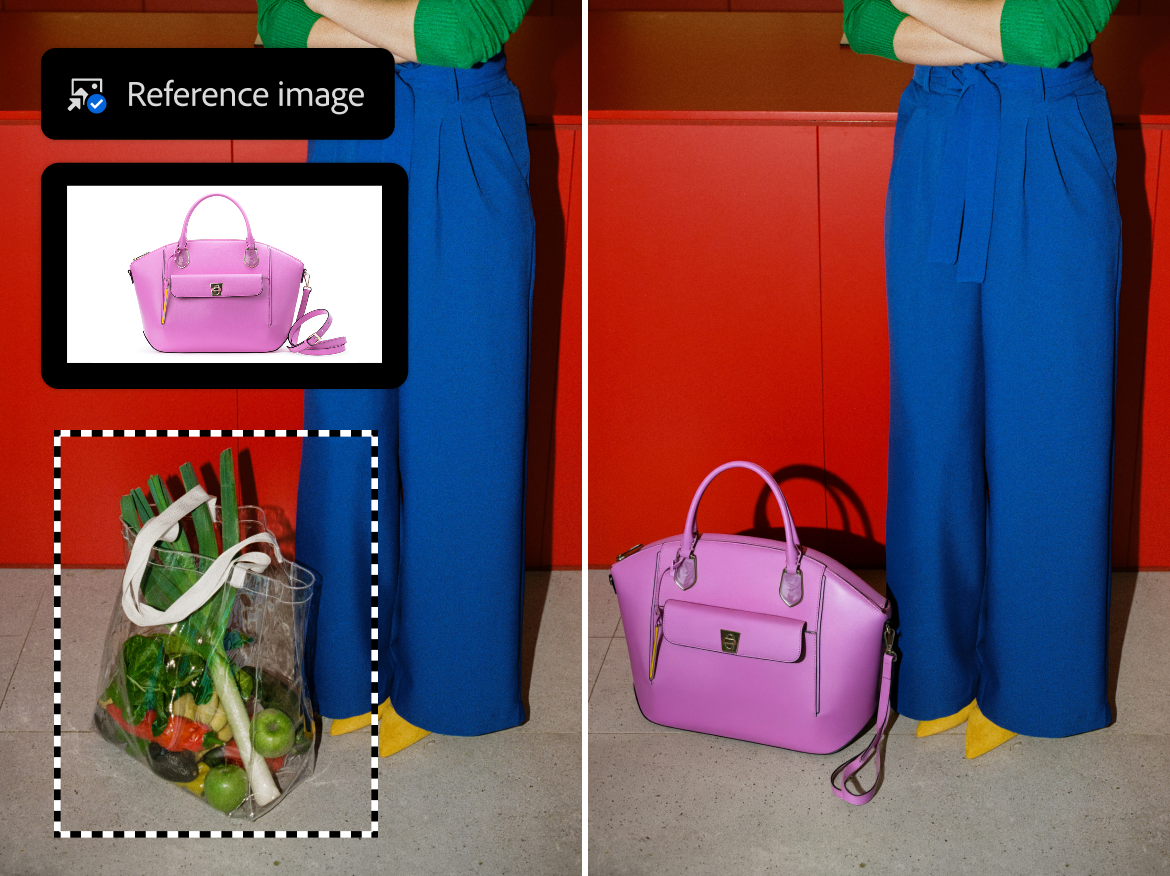
Generative Fill, Generative Expand and the Remove tool now output at 2K resolution with fewer artifacts and better prompt adherence. Reference Image with objects has been improved to better preserve object identity with geometry-aware adjustments for scale, rotation and perspective.
There's also Dynamic Text in beta, which wraps text along circular or arched paths with a click; ending the awkward workarounds required by traditional text-on-path tools.


For my money, though, it's the addition of these three adjustment layers that's most heartening. It feels like Adobe is actually listening to photographer feedback for a change, as opposed to content creators who just want quick content and aren't too bothered about the quality.
Sometimes the most valuable updates aren't the ones with the biggest marketing push, but those that remove friction from everyday work. These adjustment layers aren't flashy AI or cloud integrations; they're fundamental workflow improvements to tools photographers use daily. Here's what they can actually do:
Clarity enhances midtone contrast and structure, making images look crisper and more defined. It's particularly useful for bringing out texture in landscapes, architectural details, or any scene that needs more punch. The effect works by increasing contrast in the midtones without dramatically affecting highlights or shadows, which gives images that characteristic "pop" without looking overly processed. As an adjustment layer, you can now apply it selectively; adding clarity to eyes in a portrait while leaving skin smooth, for instance, or emphasizing texture in certain elements while keeping others soft.
Dehaze cuts through atmospheric haze and improves contrast in flat, washed-out scenes. It's invaluable for landscape photography but also works wonders on any image suffering from low contrast. Being able to mask it means you can target just the hazy areas without affecting the entire image.
Grain adds film-like texture to digital images. It's useful for black and white conversions, vintage effects, or simply making ultra-clean digital files feel more organic. The adjustment layer implementation means you can vary grain intensity across the image or blend it at reduced opacity.
The updates are available now in the main, desktop version of Photoshop, with AI improvements also coming to Photoshop on the web.
Tom May is a freelance writer and editor specializing in art, photography, design and travel. He has been editor of Professional Photography magazine, associate editor at Creative Bloq, and deputy editor at net magazine. He has also worked for a wide range of mainstream titles including The Sun, Radio Times, NME, T3, Heat, Company and Bella.
You must confirm your public display name before commenting
Please logout and then login again, you will then be prompted to enter your display name.

