Digital Camera World Verdict
I like that the HP FilmScan 5” Touch Screen Film Scanner turns the potentially arduous task of film scanning into a snap, with one-touch pushbutton scanning and touchscreen convenience. I also like that it has built-in image enhancement tools, so I don’t have to rely on transferring digital images to a computer for adjustments. It’s smart, fast, simple and effective, delivering good-quality results at a reasonable price.
Pros
- +
Fast and effective
- +
Pleasing image quality
- +
Intuitive touchscreen operation
- +
Works with different film sizes
Cons
- -
Scan sharpness could be better
- -
Not cheap to buy
- -
No rotation for portrait-orientation scans
Why you can trust Digital Camera World
Hot on the trail of this new film scanner, I’ve been watching HP’s promotional video on the company’s website. It majors on ‘turning family history into digital memories’ and there’s certainly nothing wrong with that. Setting out to be one of the best film scanners, the HP FilmScan 5” Touch Screen Film Scanner aims to send us off to rummage through old shoeboxes of negatives, transparencies and slides that have been packed away at the back of closets or in the attic for years or decades, and bring them into the digital era. Indeed, the video mostly features family photos from bygone times, and even a beehive hairdo makes an appearance. But again, while I’m all in favor bringing old memories back to life, I think there’s more to it than that.
There’s been something of a resurrection in film photography itself, with many people discovering the joys of analog for the first time, or reliving old-school delights with some of the best film cameras, loading up some of the best photographic film, or even just having fun with some of the best disposable cameras. But whichever way you look at it, sharing film-based photos can only get you so far. This new scanner that goes by the catchy model name of HPFS500 seeks to turn ancient or modern film into digital files that you can print on your desktop or share with the world.
HP FilmScan 5” Touch Screen: Specifications
Power source | USB-C |
Image sensor | 13MP CMOS |
File format | JPEG |
Resolution | 13MP (22MP interpolated) |
Film type | 135, 126, 110, 50mm slides |
Screen | 5-inch color touchscreen |
Interfaces | USB-C, SD card slot |
Dimensions (WDH) | 145x119x90mm / 5.7x4.7x3.5" |
Weight | 390g / 13.8oz |
HP FilmScan 5” Touch Screen: Price
Hang on a minute, I’ve seen something like this before. A couple of years ago I tested and reviewed the Kodak Slide N Scan Digital Film Scanner. It sets out to do the same job and looks very similar, albeit without a touchscreen. The Kodak is actually available in two sizes, with either a 5-inch or 7-inch screen, priced at $190 / £170 and $210 / £190 respectively. The 5-inch HP is more expensive at $230 (pricing in other regions TBA) but it’s newer, potentially slicker and boasts a touchscreen display. And hey, can you really put a price on ‘turning family history into digital memories’?
HP FilmScan 5” Touch Screen: Design & Handling
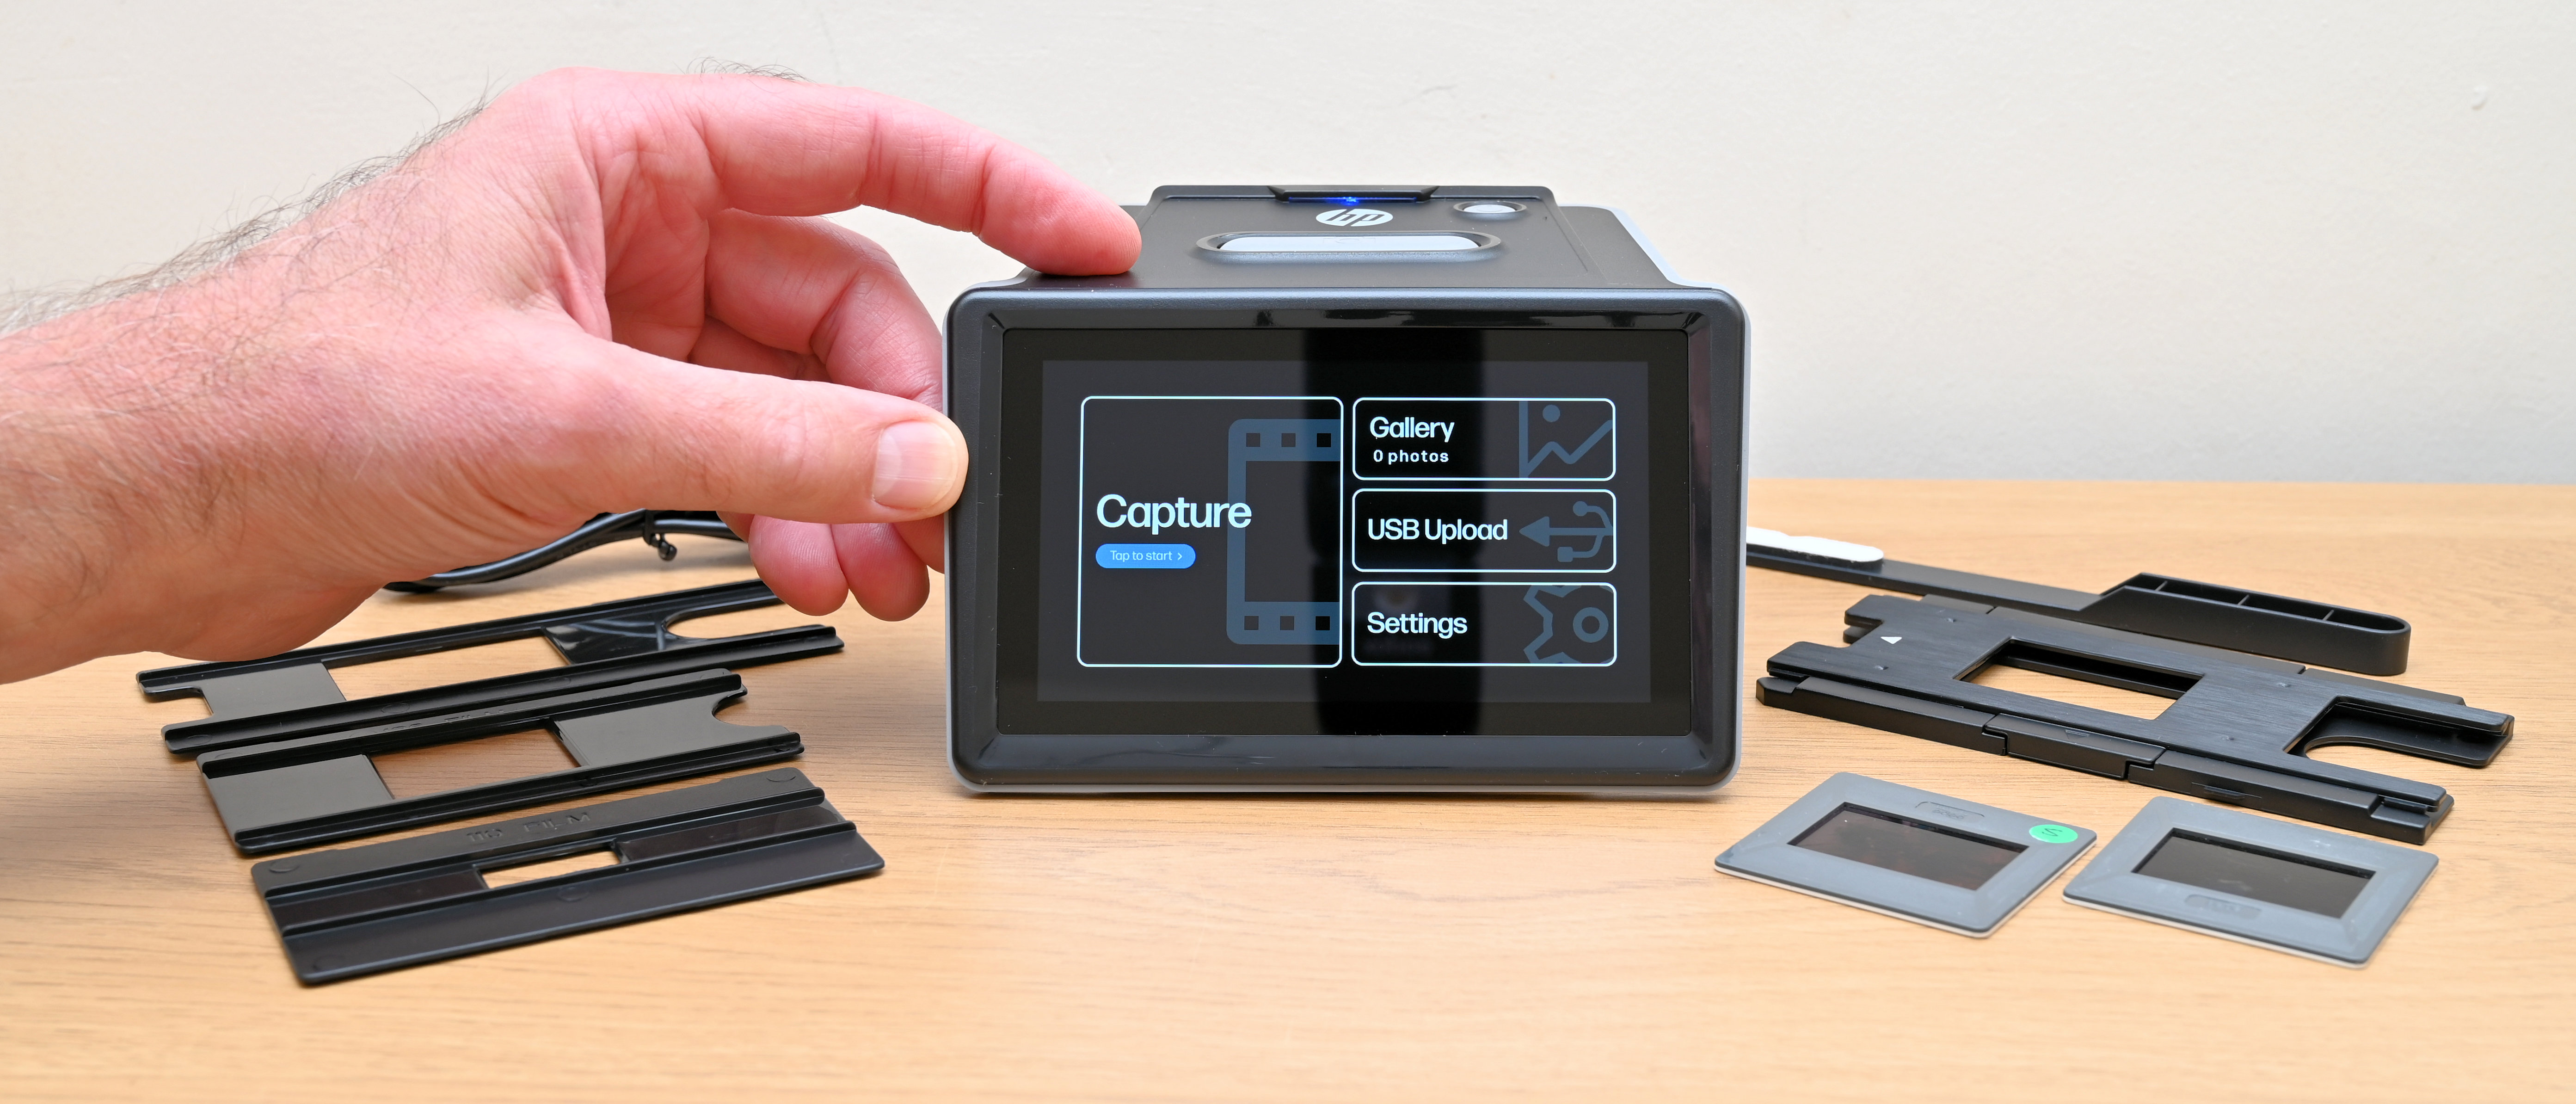
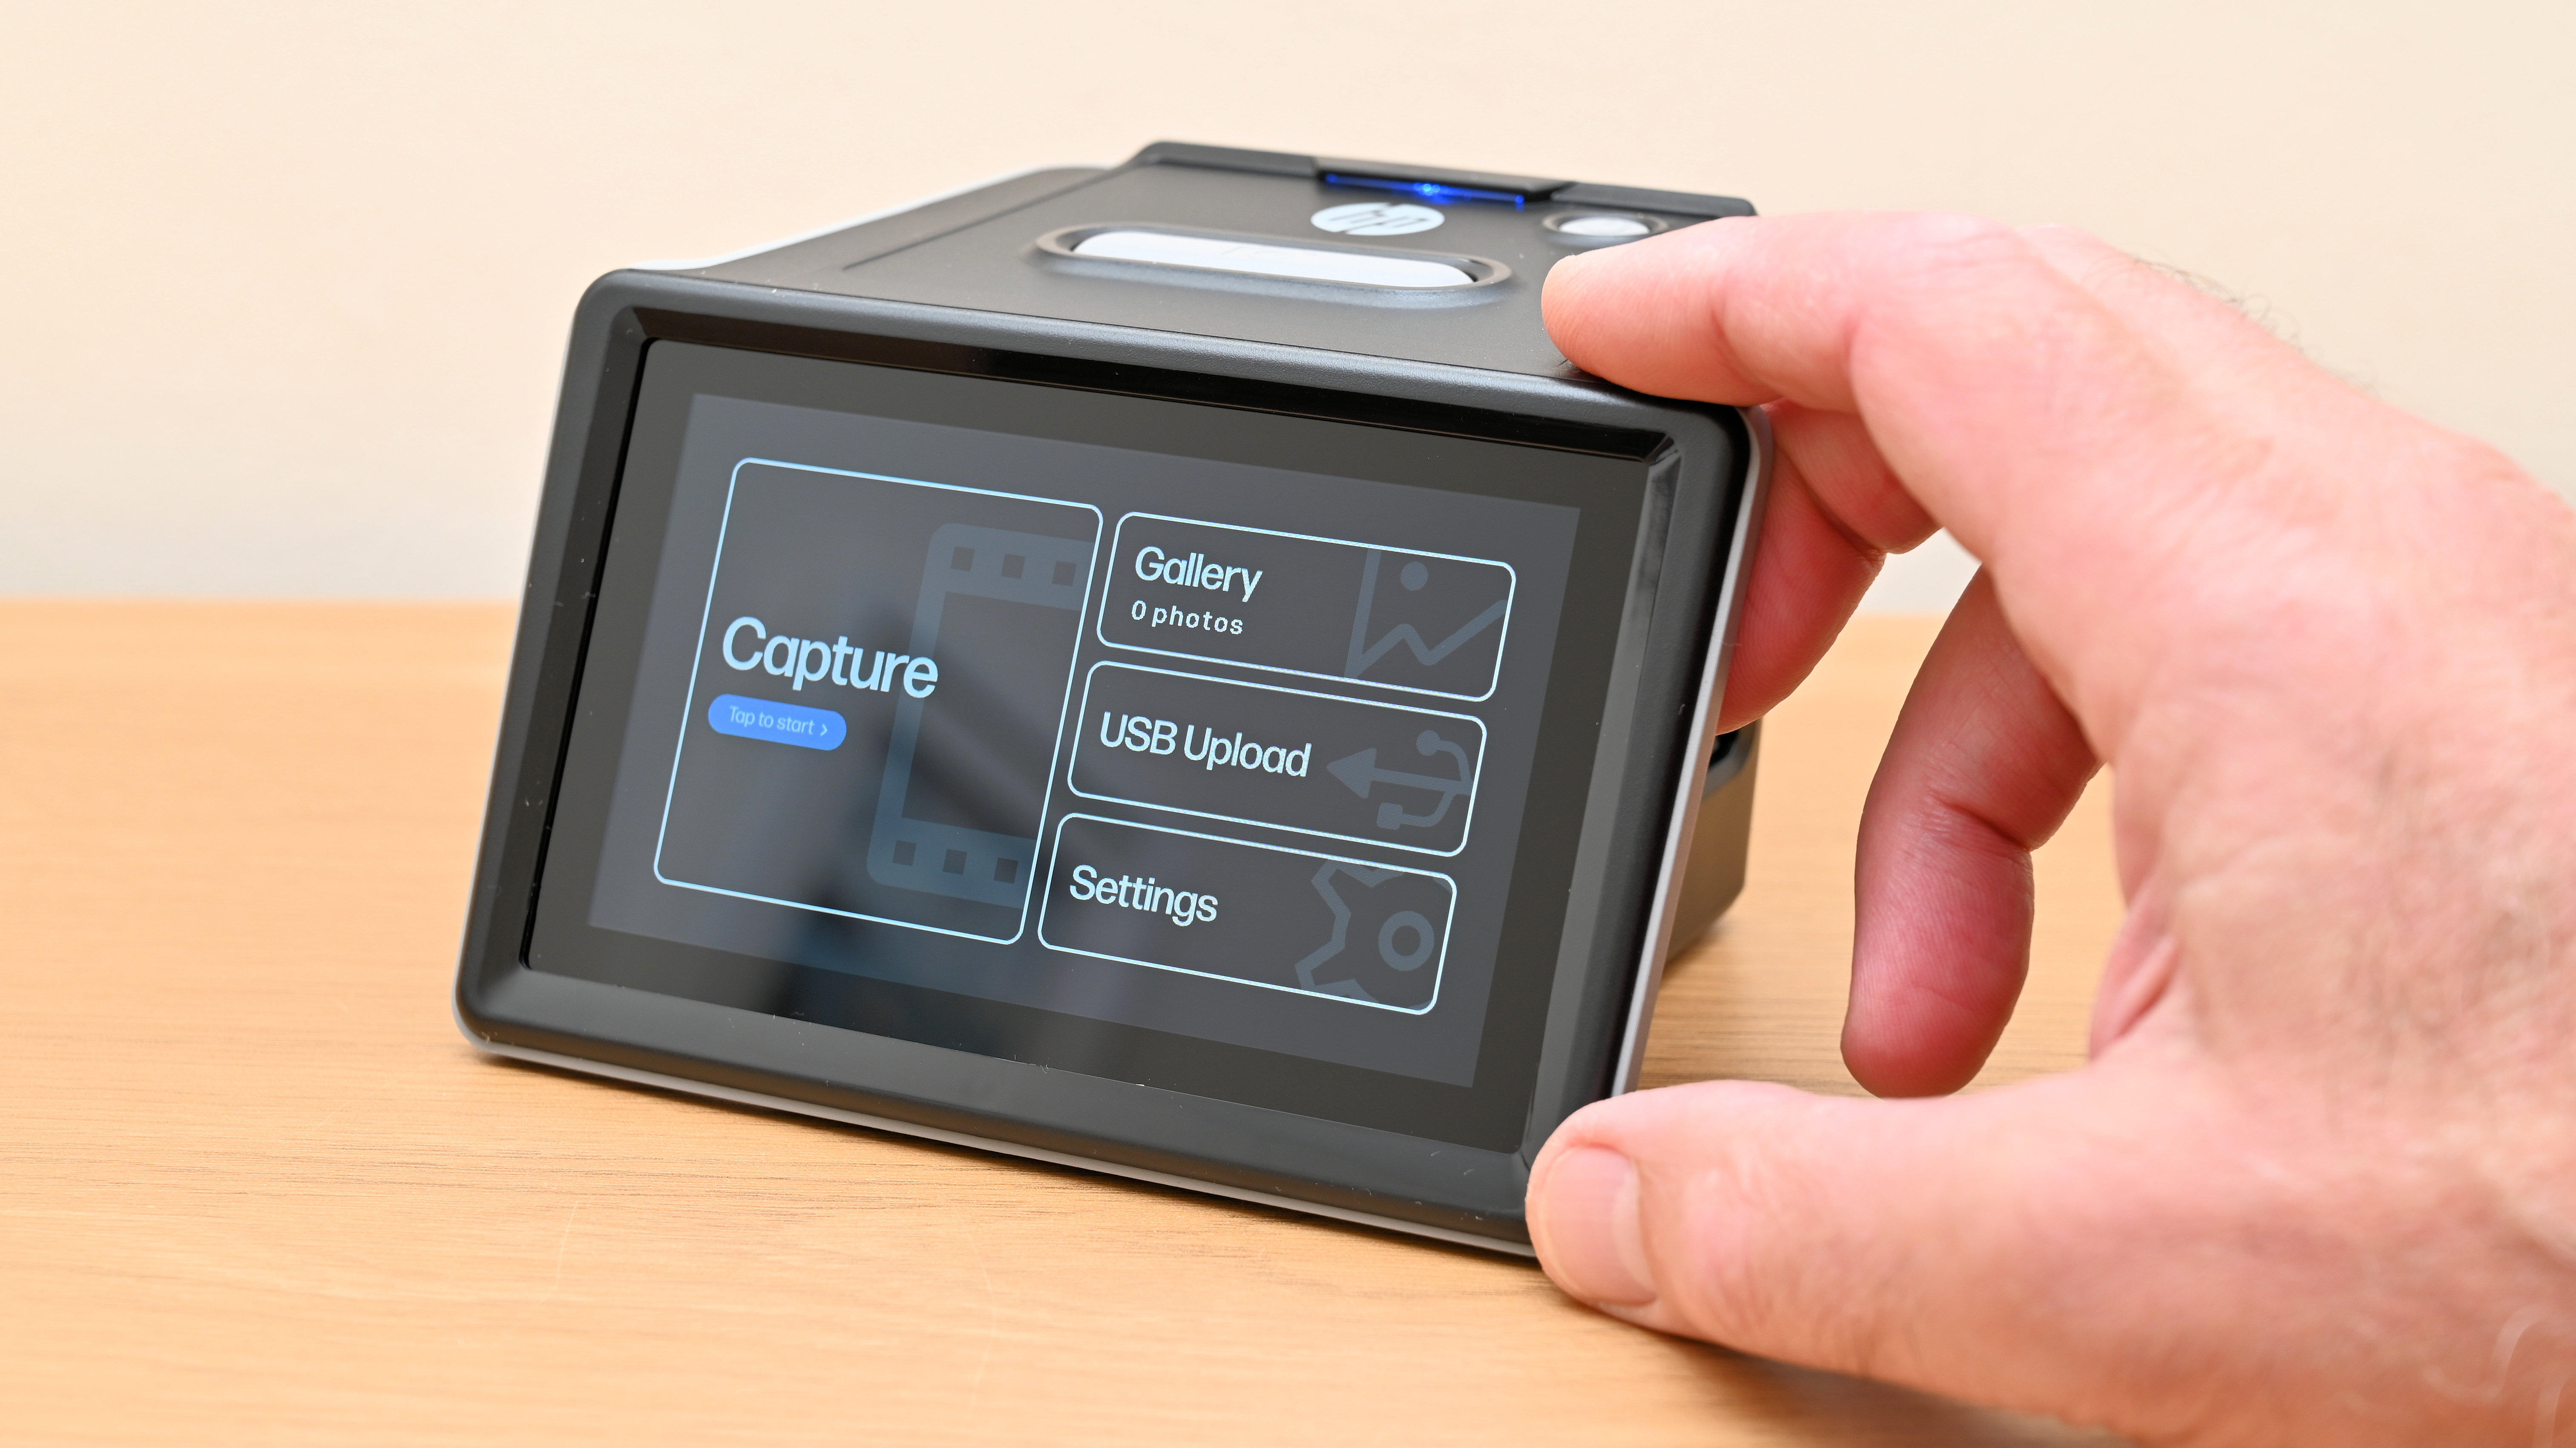
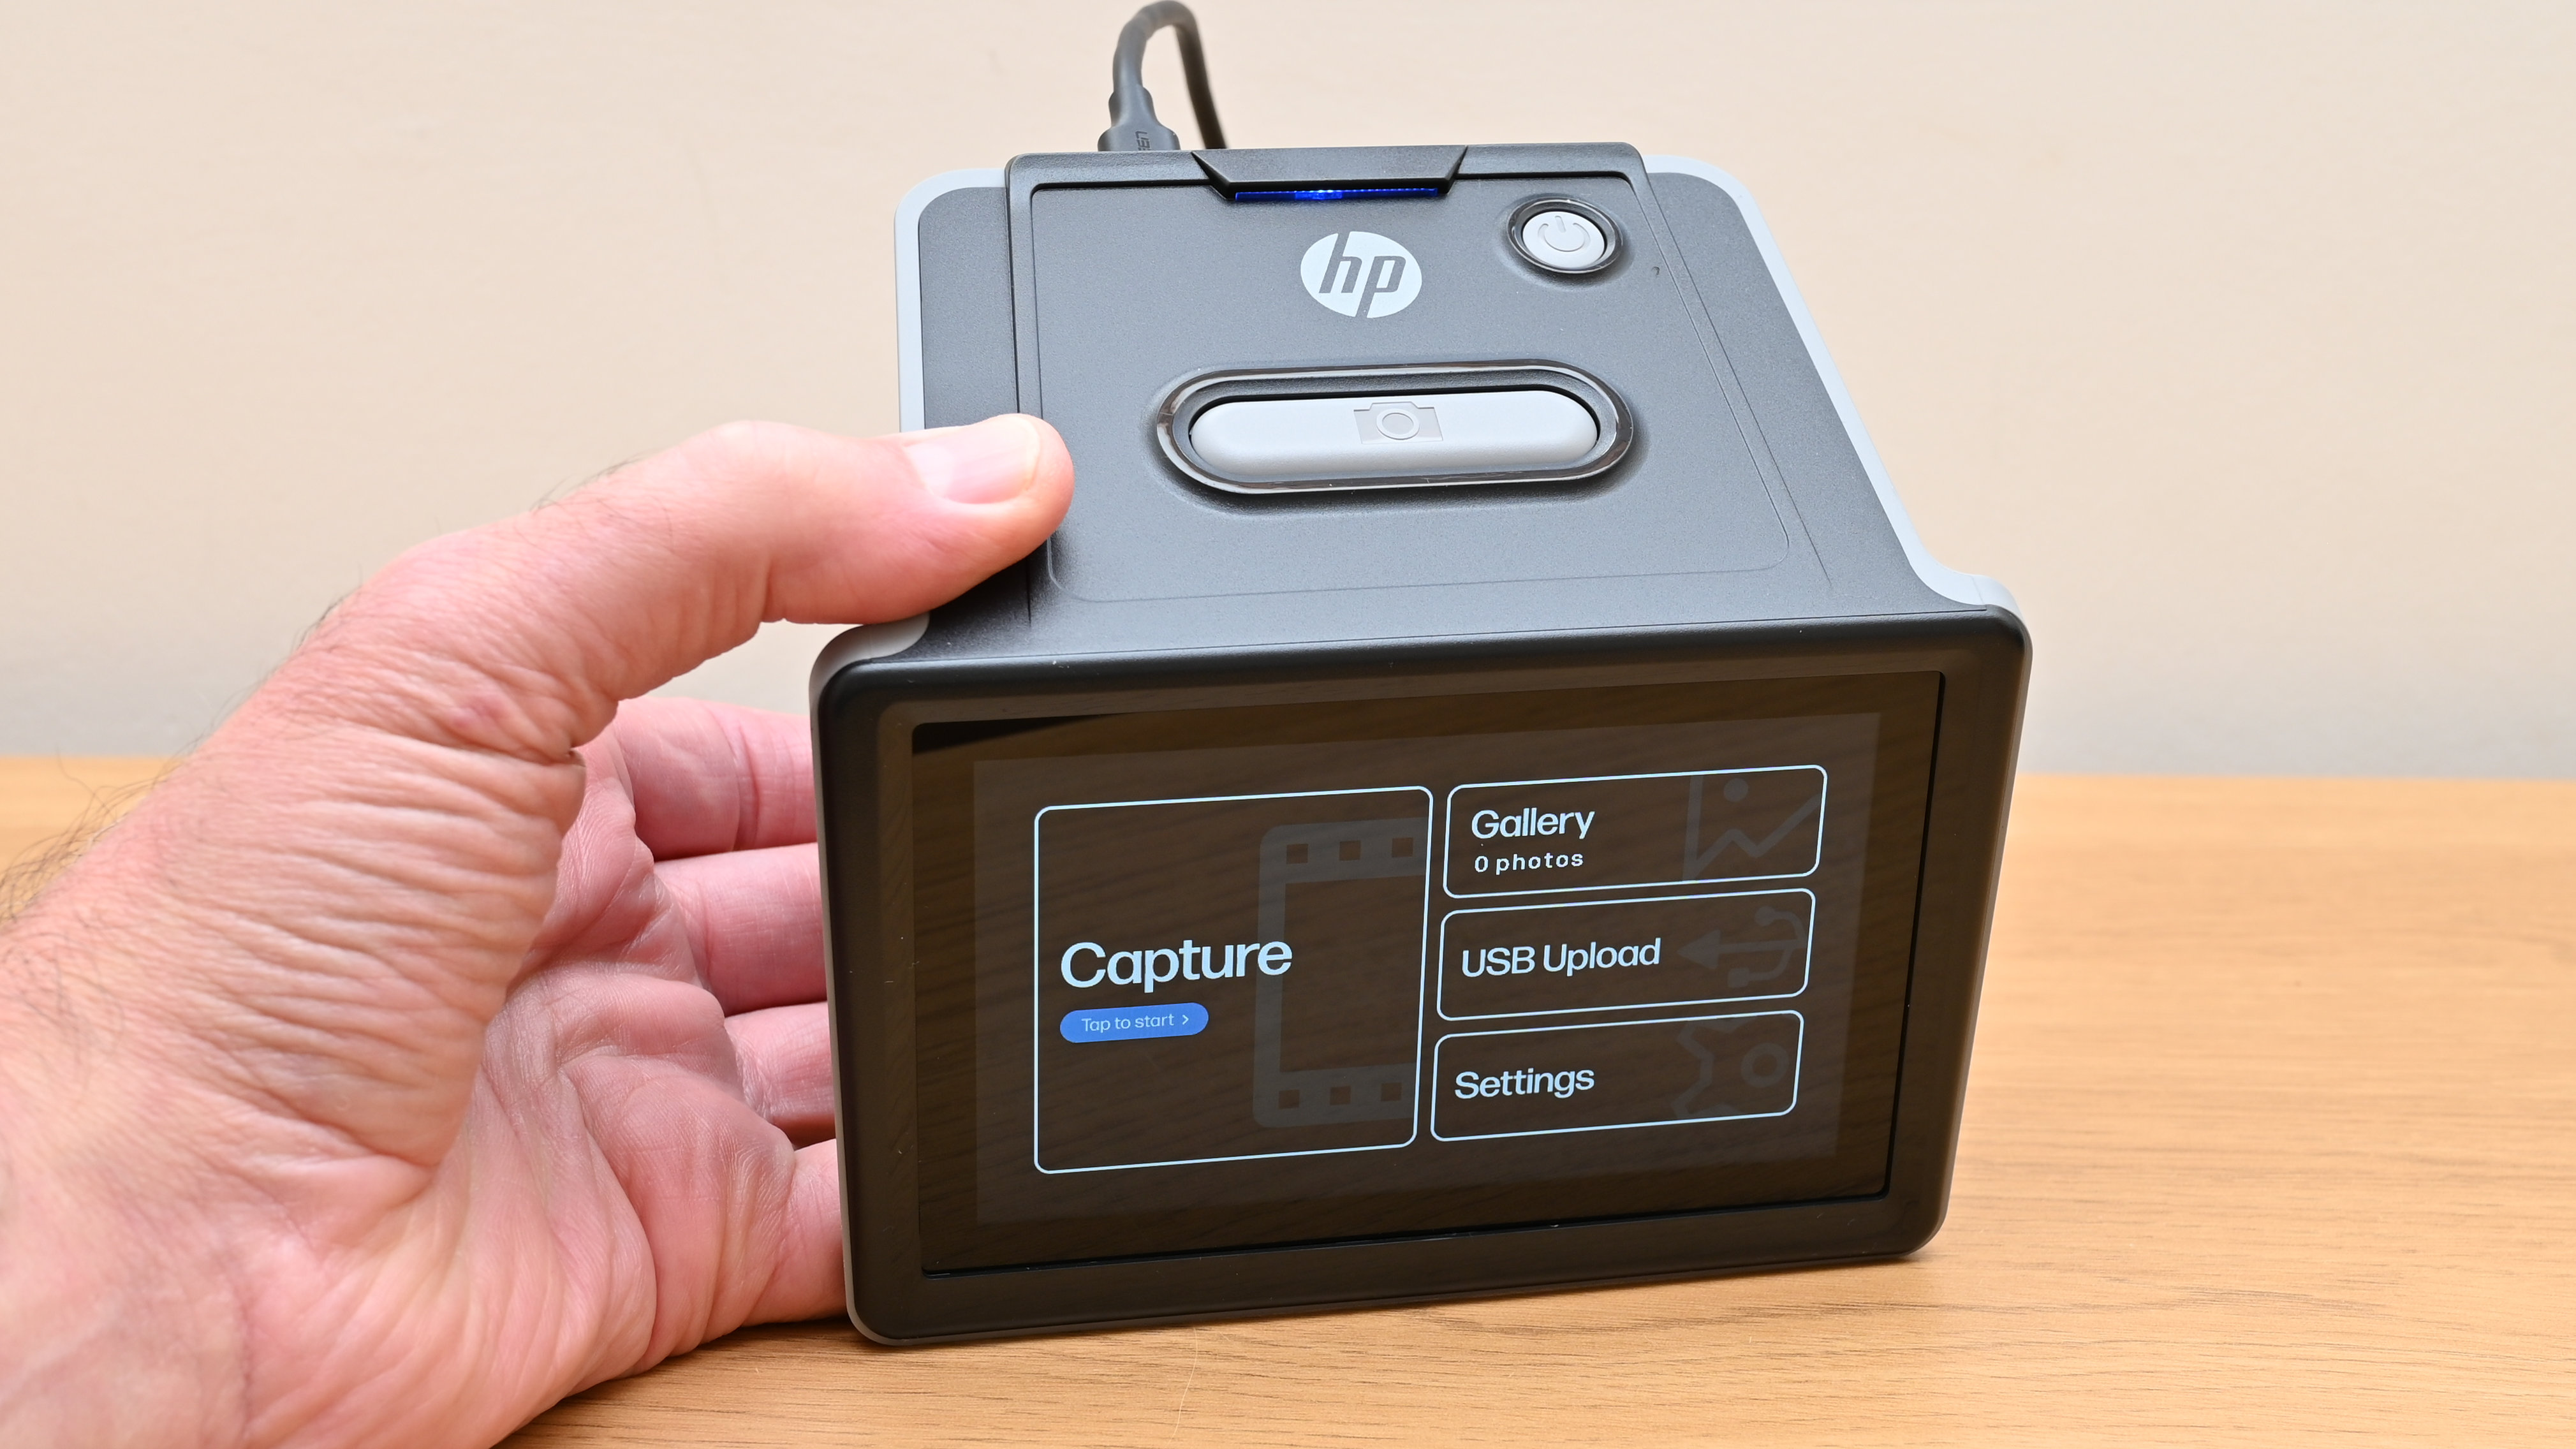
Remember when mobile phones had pushbuttons? It’s all touchscreens nowadays which is hardly surprising, considering that they can do so much more than just make phone-calls. The HP FilmScan can’t send messages, surf the web, run apps or play games but it nevertheless has a touchscreen rather than a couple of rows of pushbuttons. This makes it potentially easier and more intuitive to use, although I’m glad that pushbuttons are retained for the essentials of switching the device on and off and for initiating each scan.
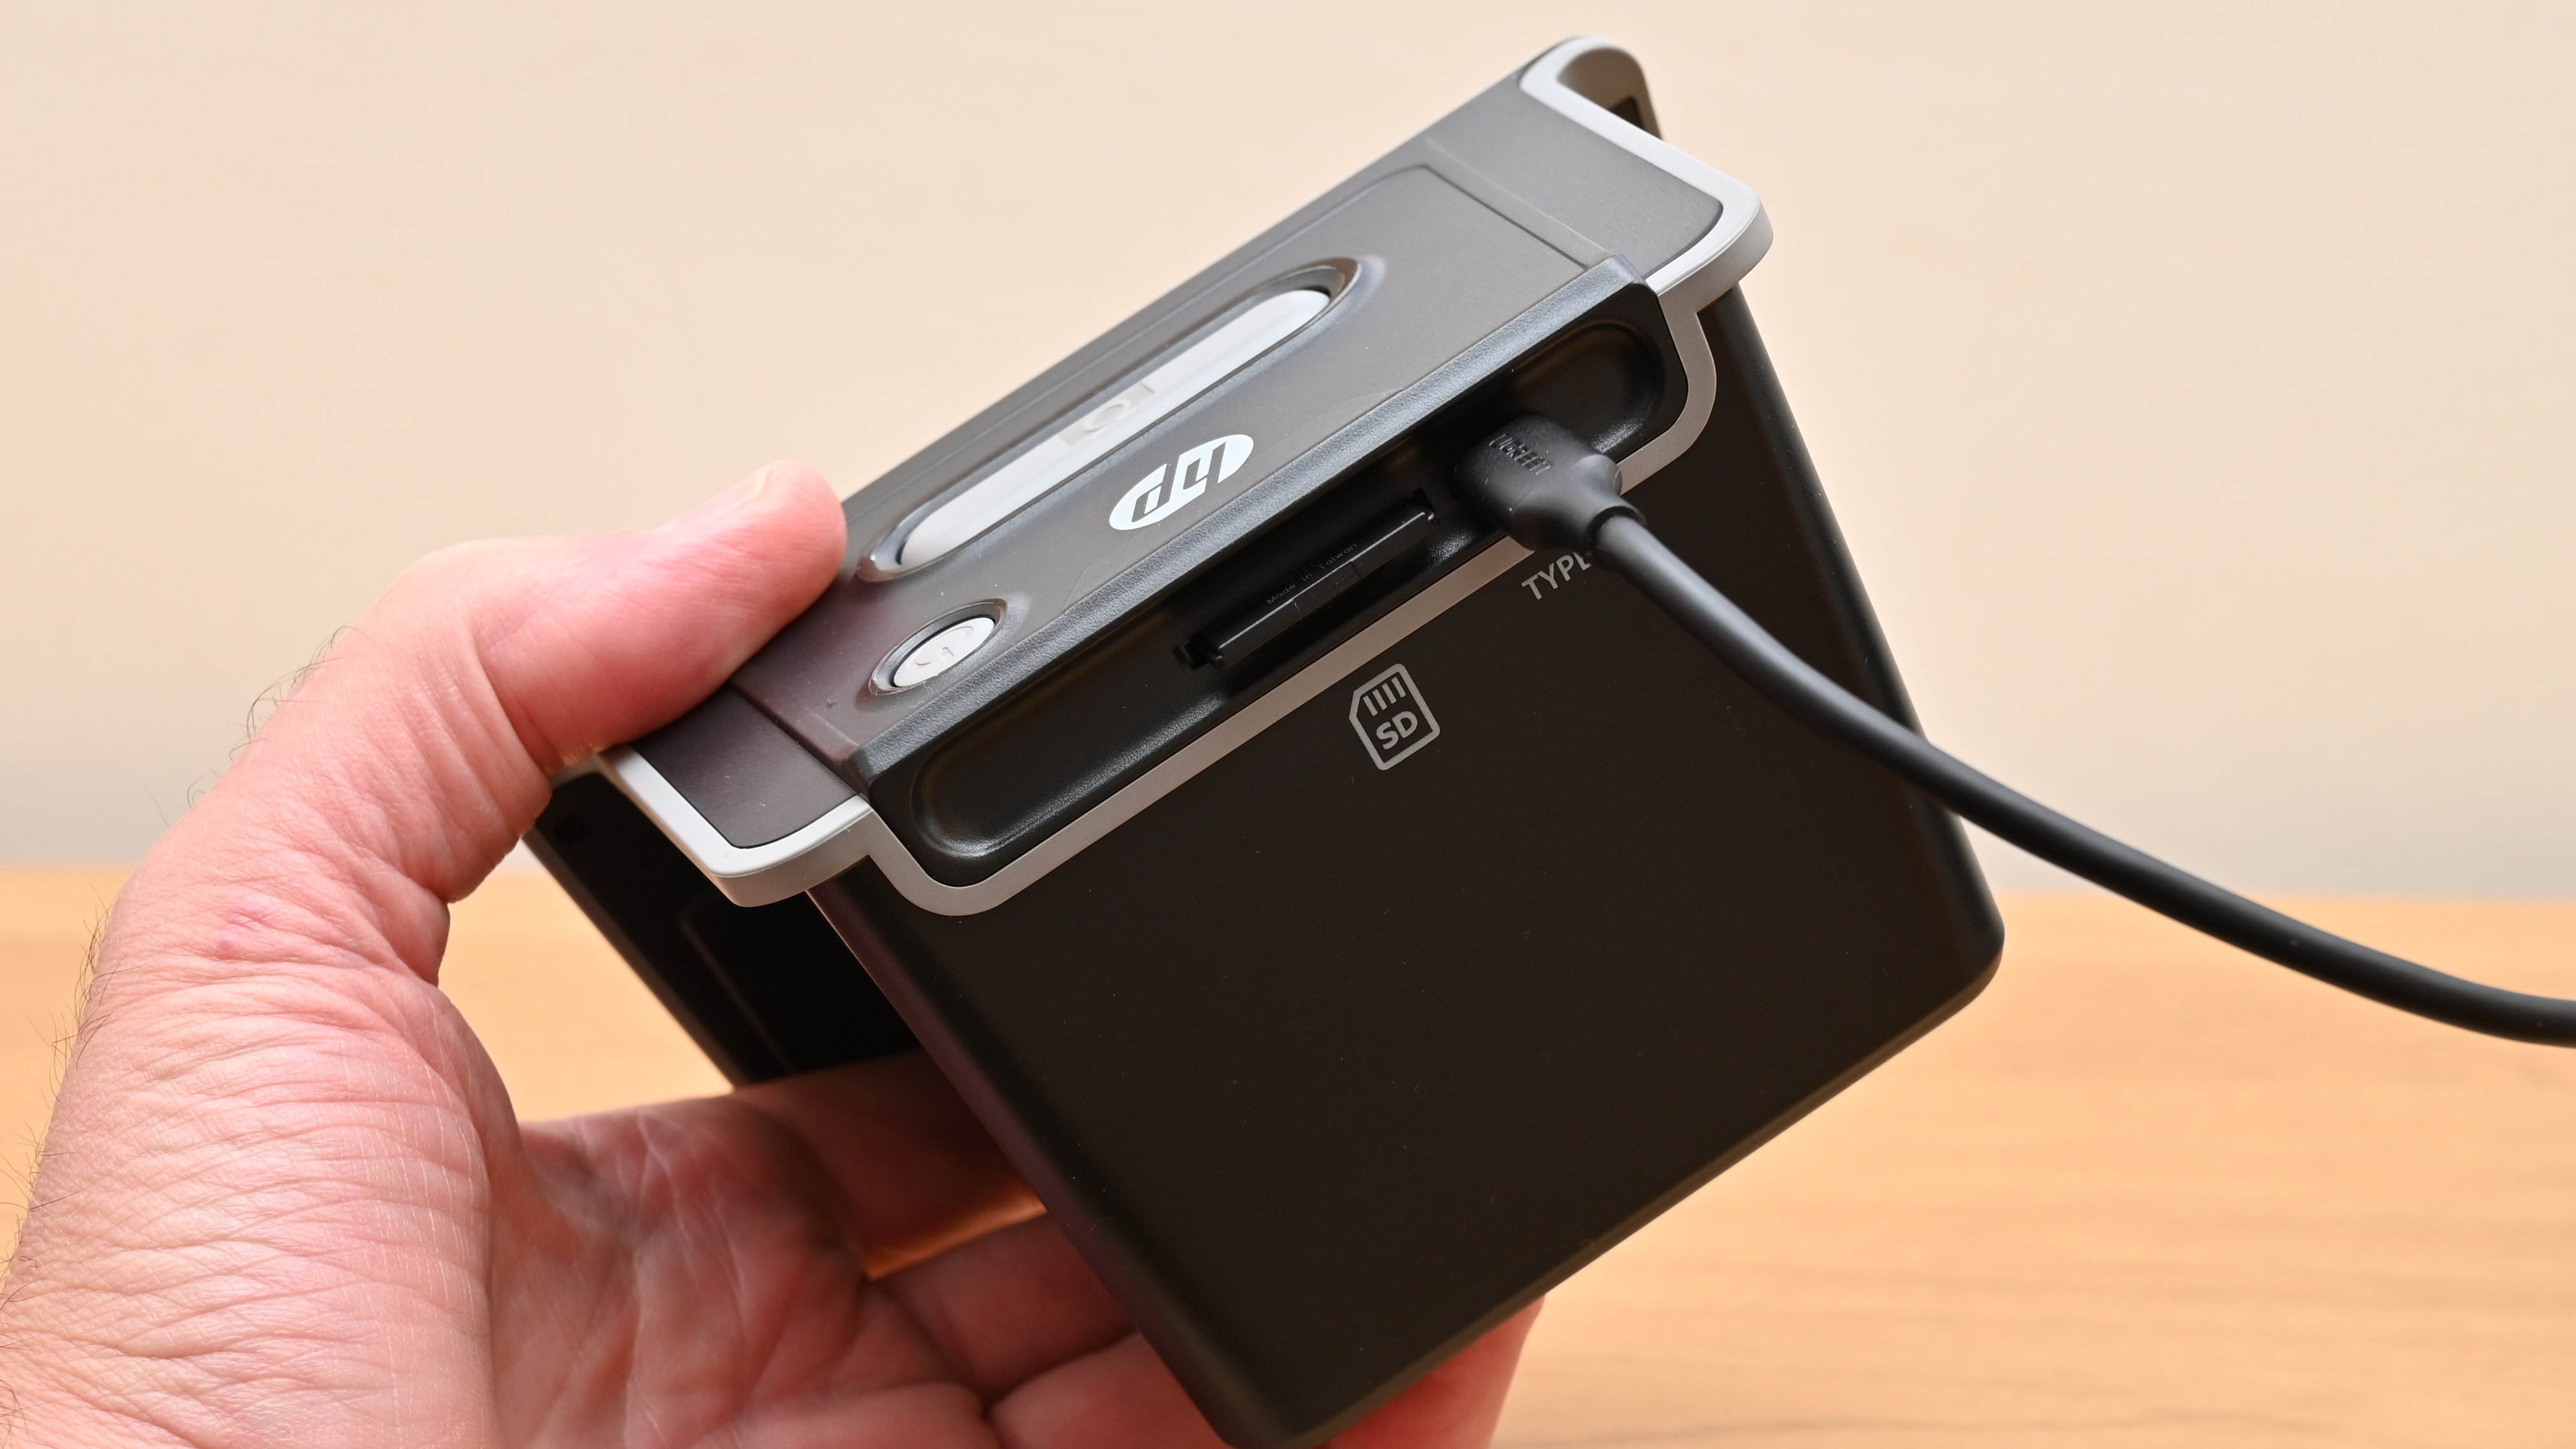
Connectivity is similarly simple. There’s no Wi-Fi, nor an HDMI cable for plugging the HP into your TV. Around the back, there’s just a USB-C socket and an SD memory card slot. I can definitely live with that. There’s minimal cable clutter and you can still use the USB-C cable for powering the scanner from you computer, laptop, other device or a USB mains charger. No batteries required (or allowed) but the scanner does come complete with a USB-A to USB-C cable. You can also use the USB port to upload scans to other devices or to view images on a compatible television set.
I’m calling it a scanner but the HP doesn’t really ‘scan’ film. As such, it doesn’t have a sensor that traverses a sheet of film, digitizing what it finds line-by-line along the way. Instead, it has a built-in white LED panel that’s sufficiently large to illuminate the whole sheet of film at once. That works in tandem with a 13-megapixel image sensor, so the scanner is basically taking a photograph of a photograph, or rather capturing an image of a sheet of film, all in one snapshot.
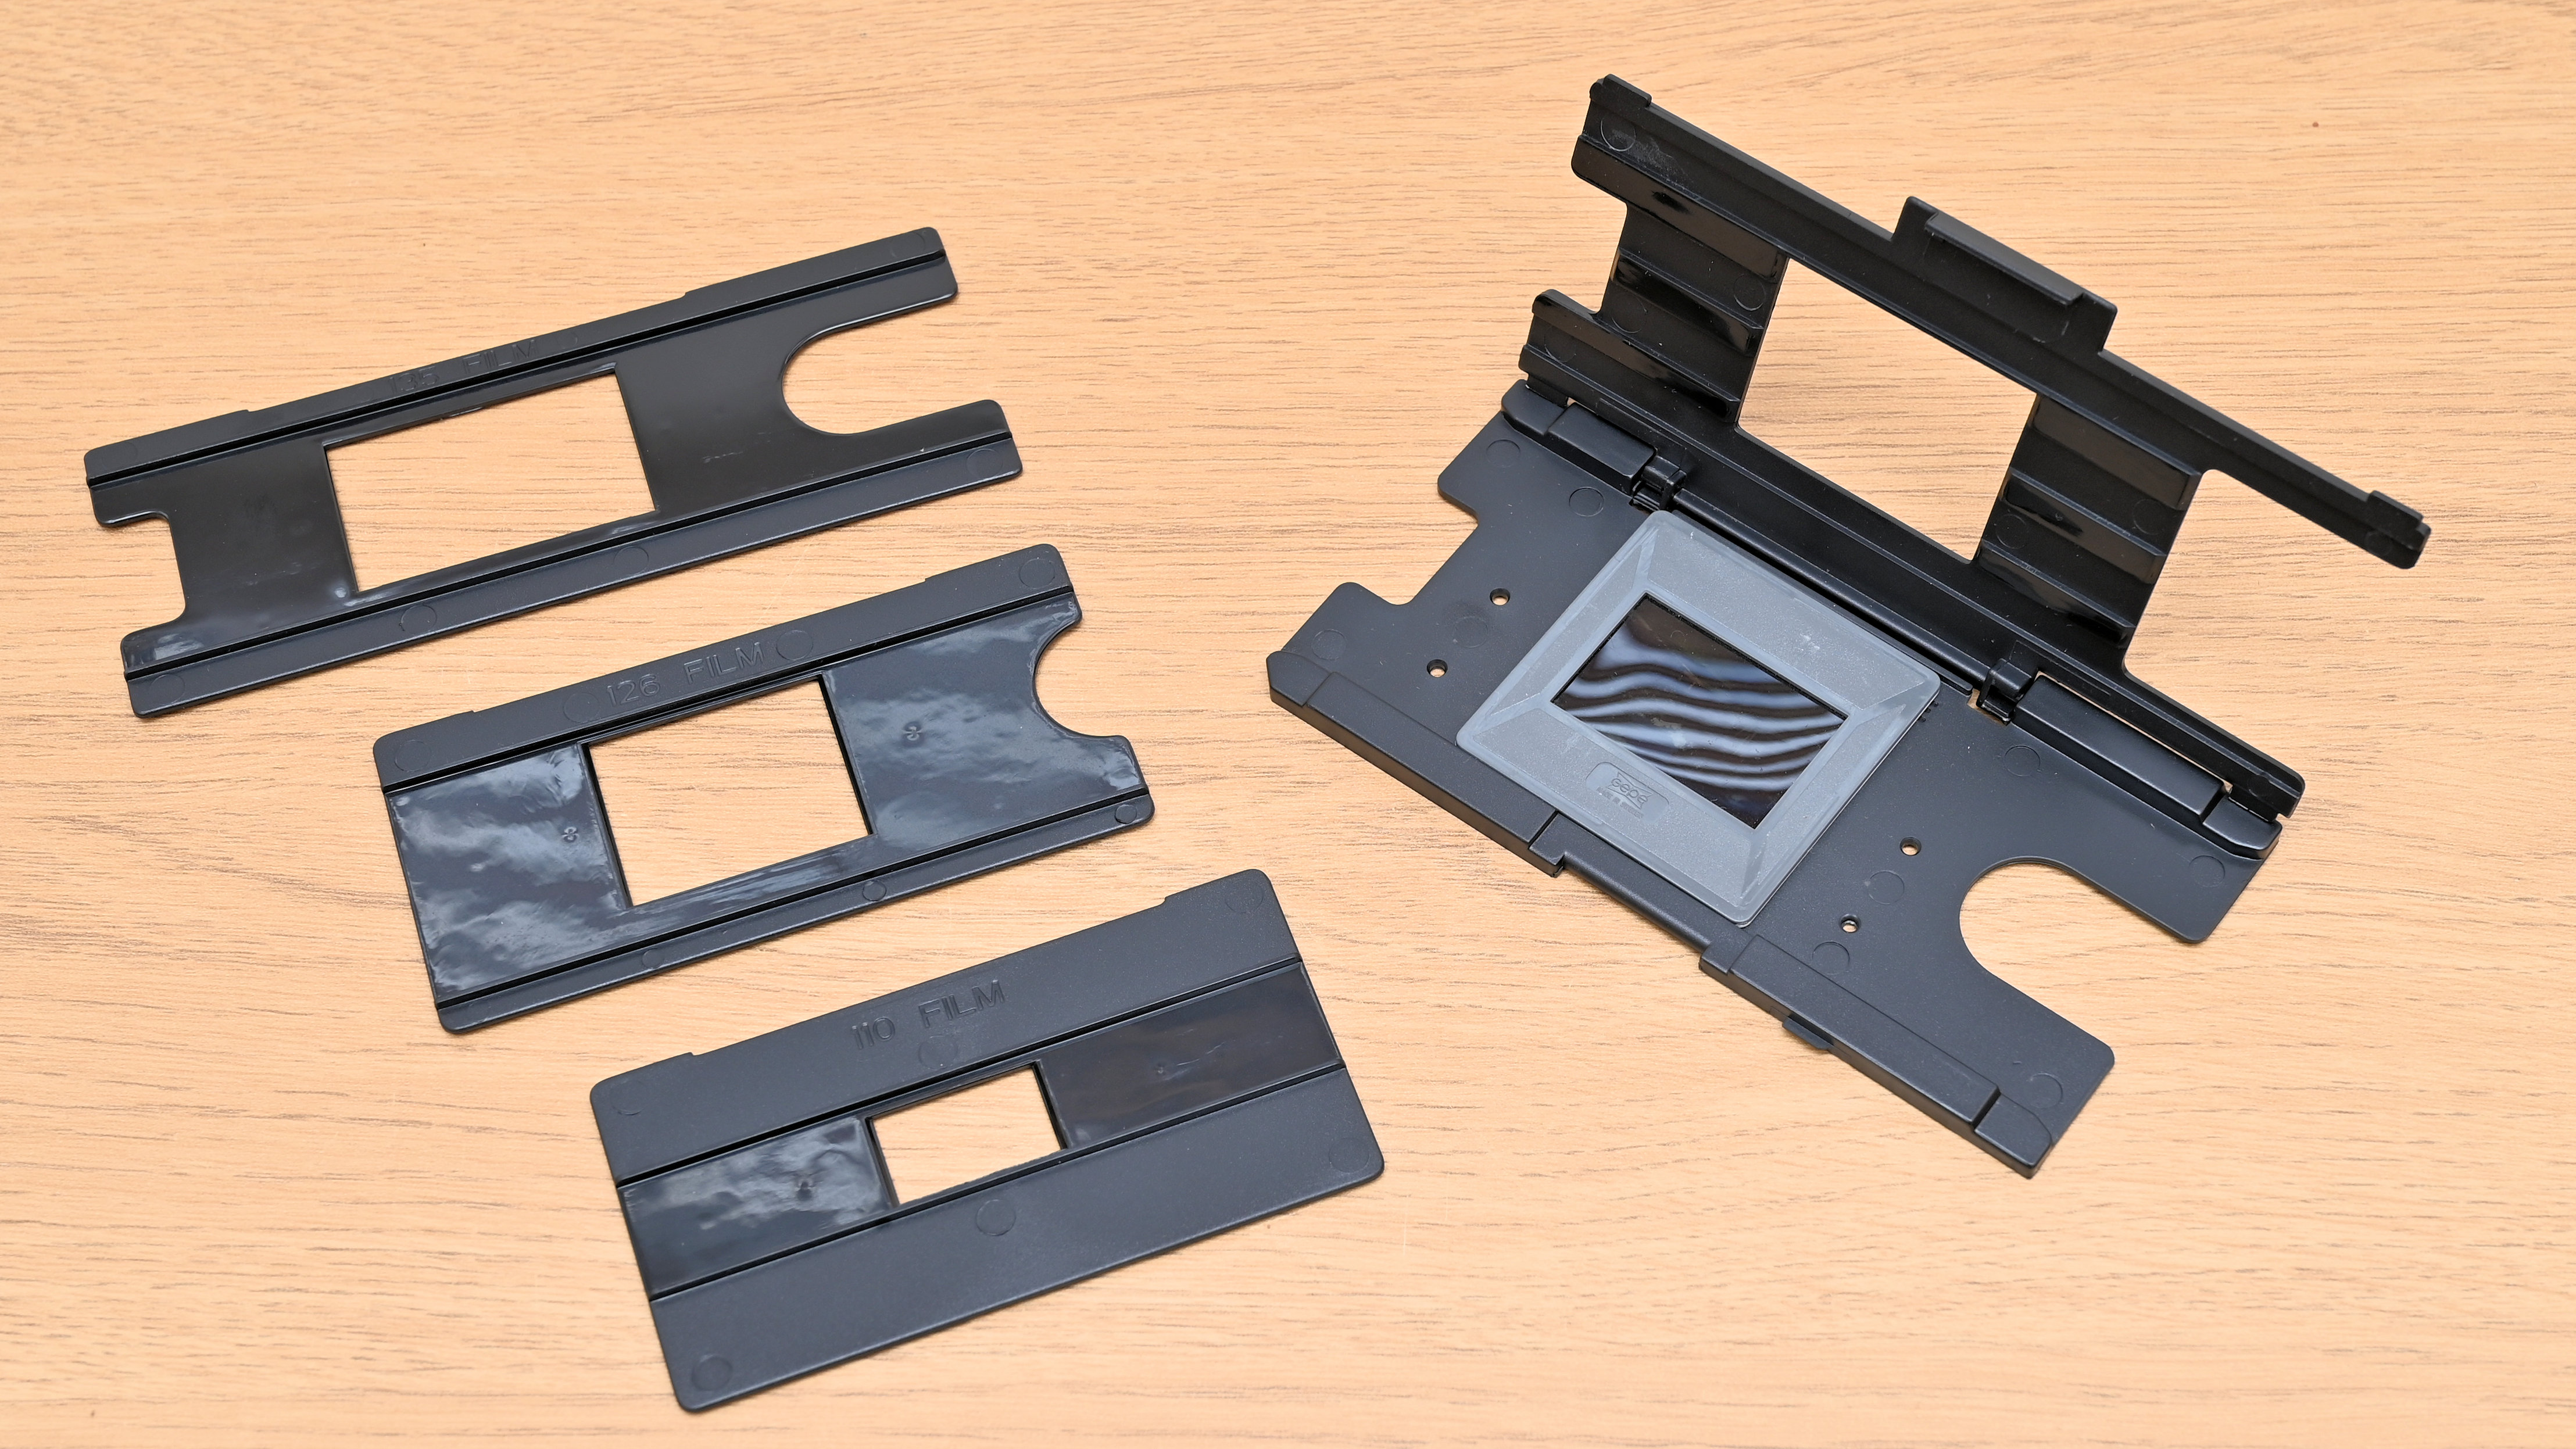
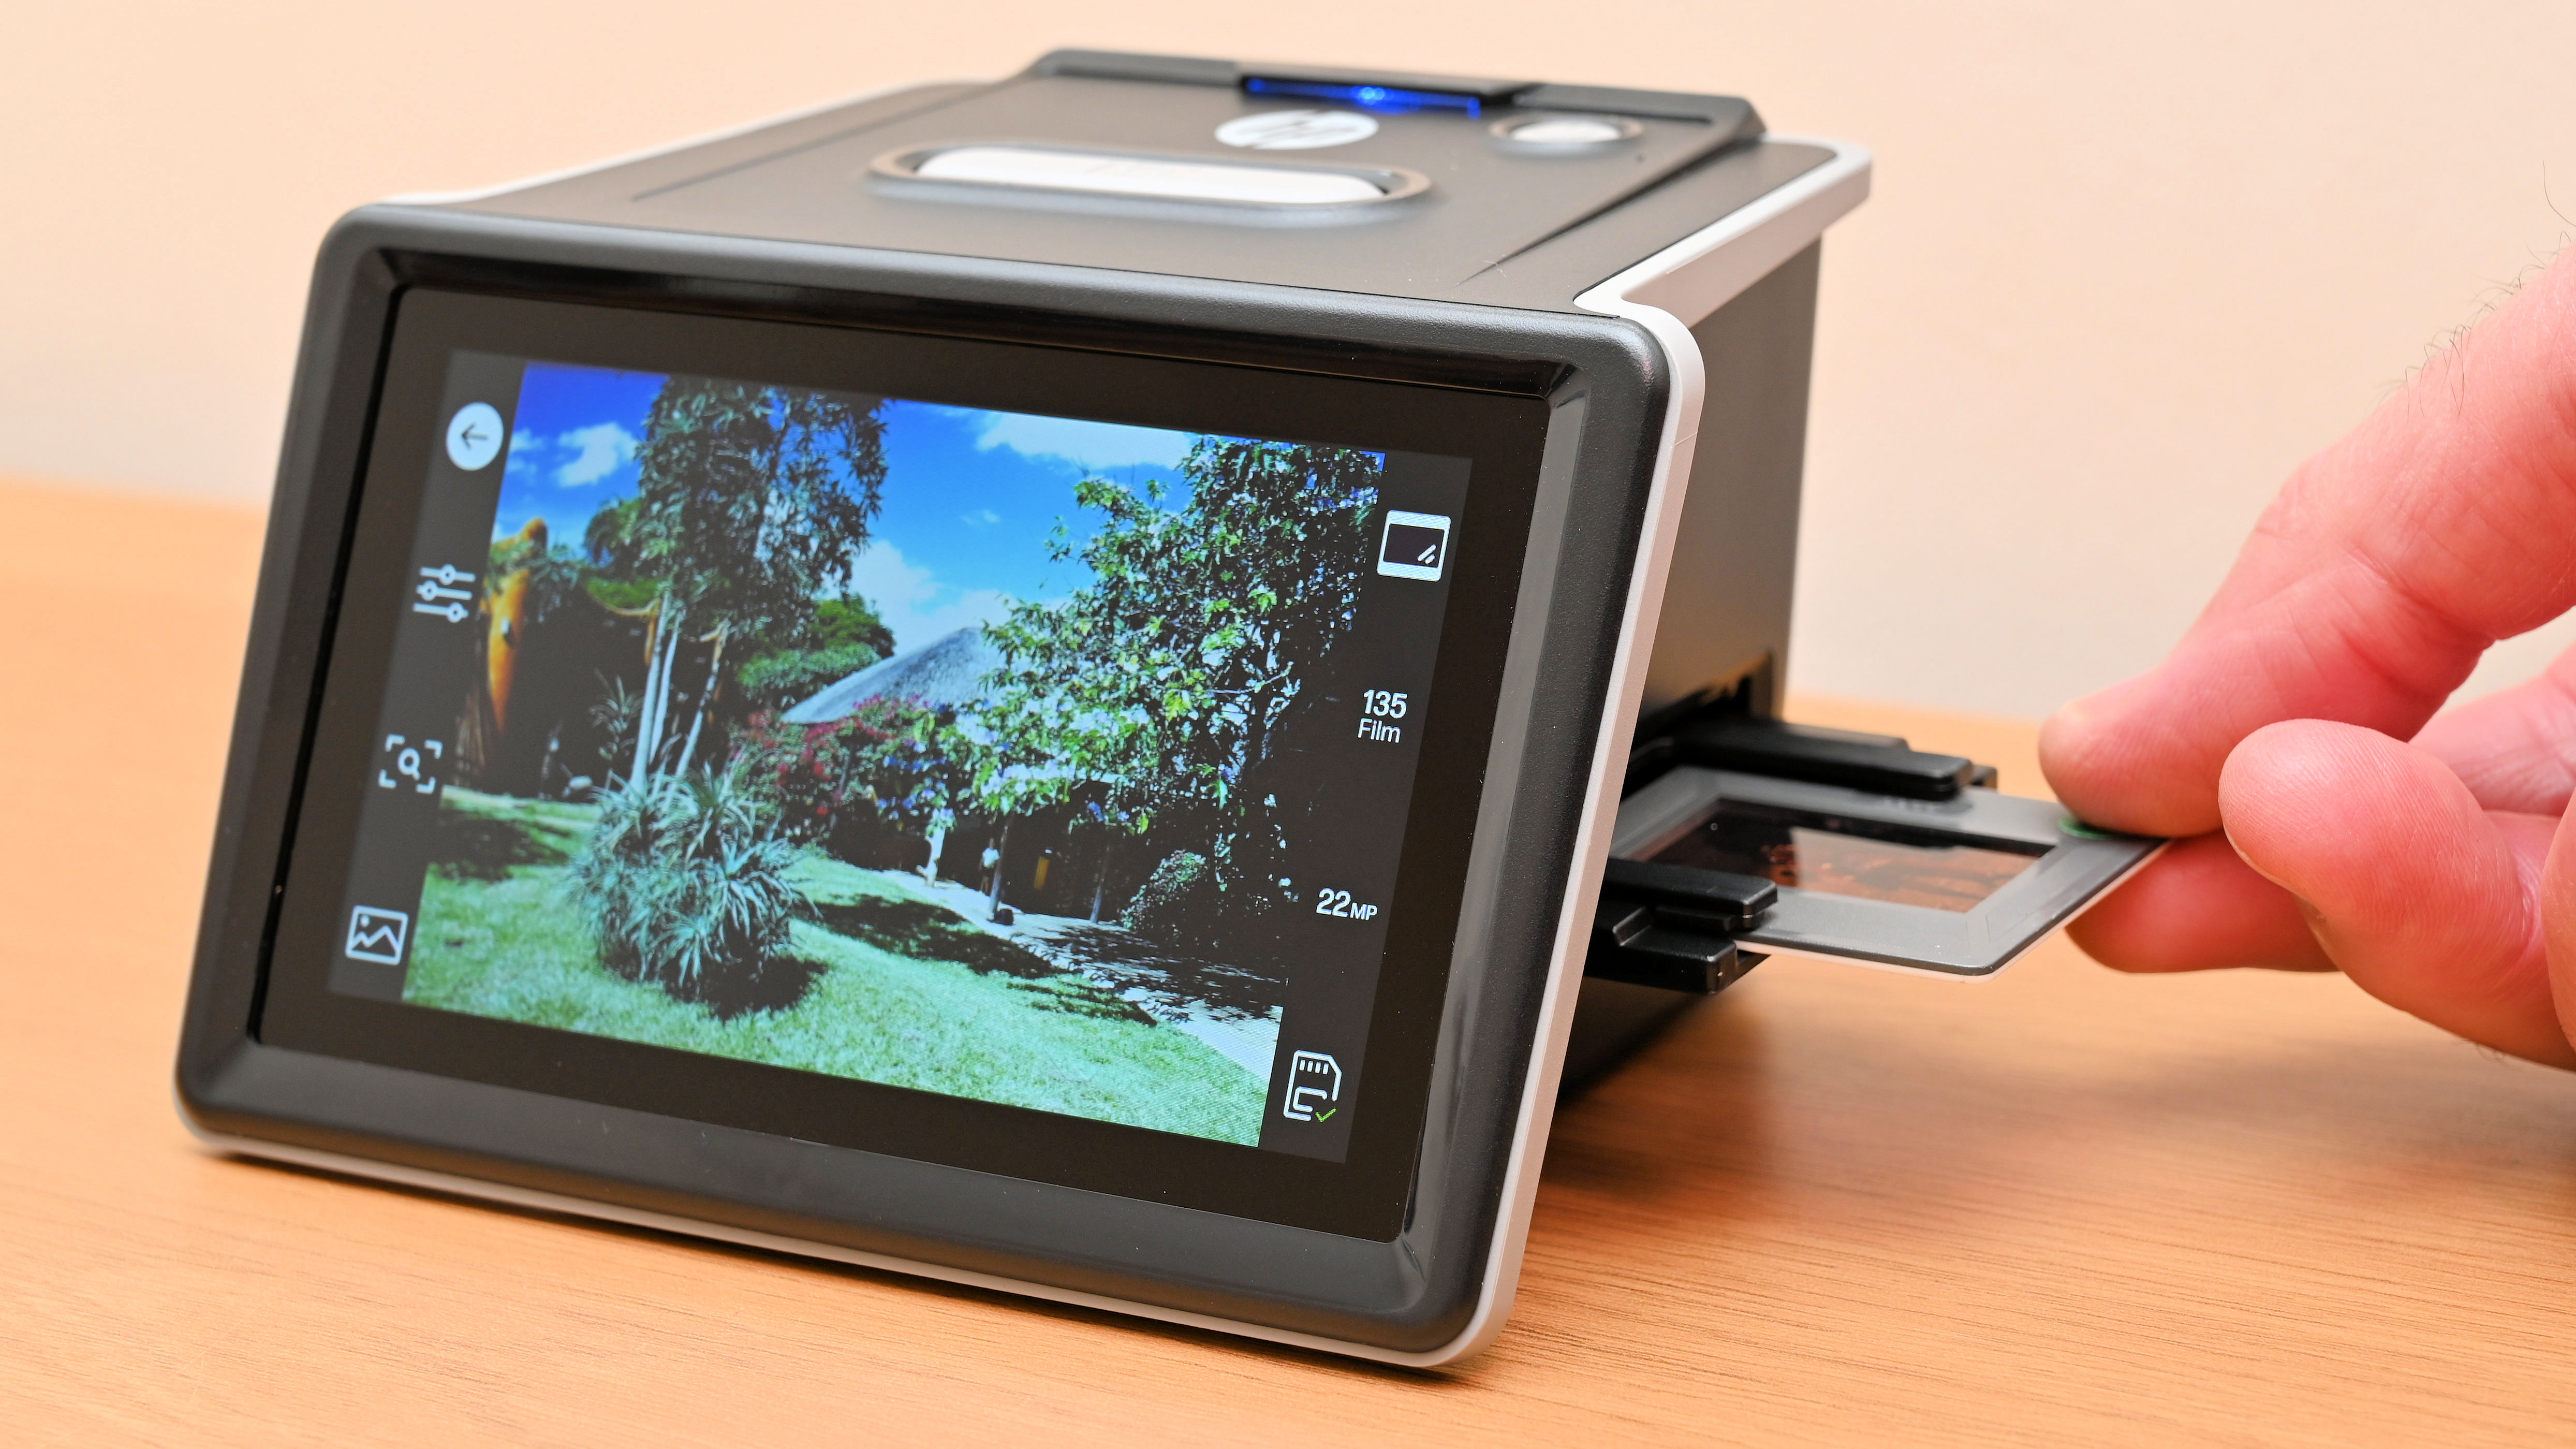
When it comes to film itself, the scanner can accommodate 50mm mounted slides and strips or individual frames of 135, 126 and 110 format film. The hinged slide holder is used for all formats, and the scanner comes with three different adapters for each type of film, which fit into the slide holder as required. Each of the adapters is easy to fit and mounts securely in the hinged holder. The process of scanning slides is a simple matter of inserting the first one, scanning it, then inserting the next slide which pushes the previous one out through the exit door. For strips of film, you can push and pull them through the adapters to scan each and every frame that takes your fancy. Once you positioned a slide or frame of film, you simply tap the Scan button on top to initiate each scan.
The best camera deals, reviews, product advice, and unmissable photography news, direct to your inbox!
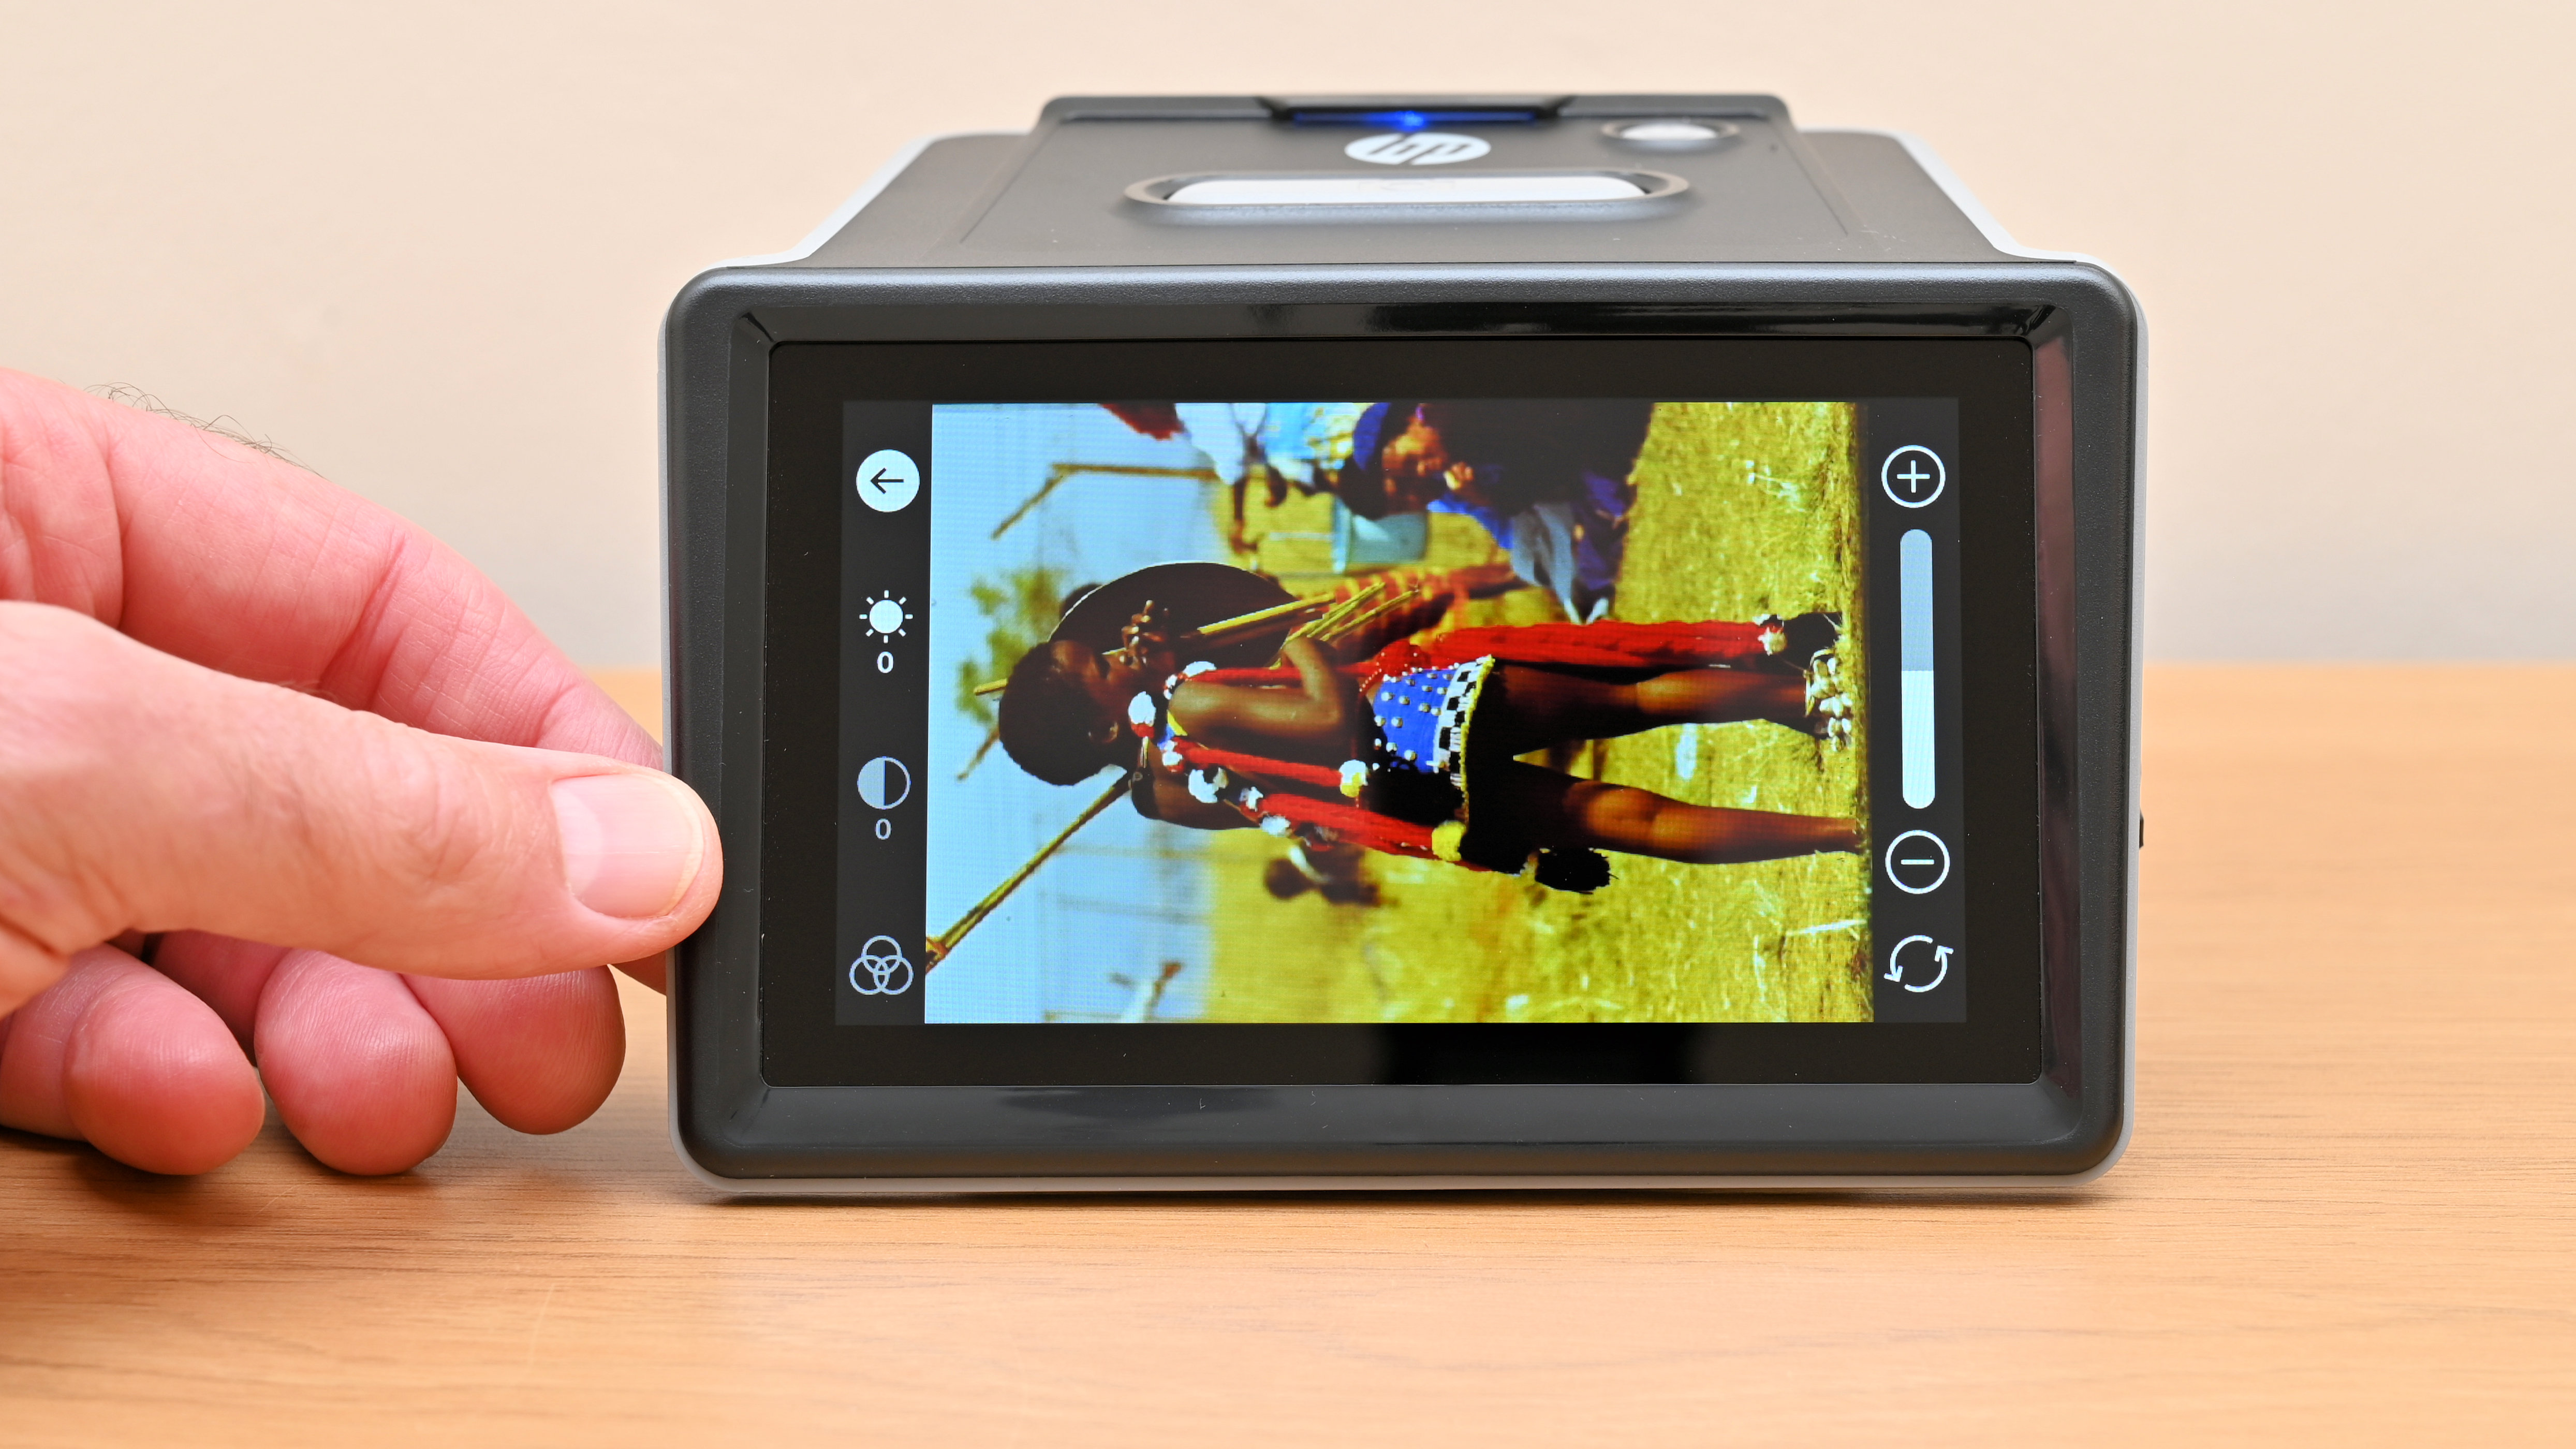
Once each scan is completed, the digital file is automatically stored on the SD memory card that you will have already inserted into the back of the scanner. But let’s not get ahead of ourselves. To set up each scan, the touchscreen gives options for choosing the film type (transparency, negative, black & white), film size and image resolution. You can also check the status of the memory card. Over on the left hand side of the touchscreen, there’s access to editing controls for brightness, contrast and color, which can come in really handy for correcting exposure and color balance problems in the original film. Similarly, you can creatively crop the scanning area for best effect.
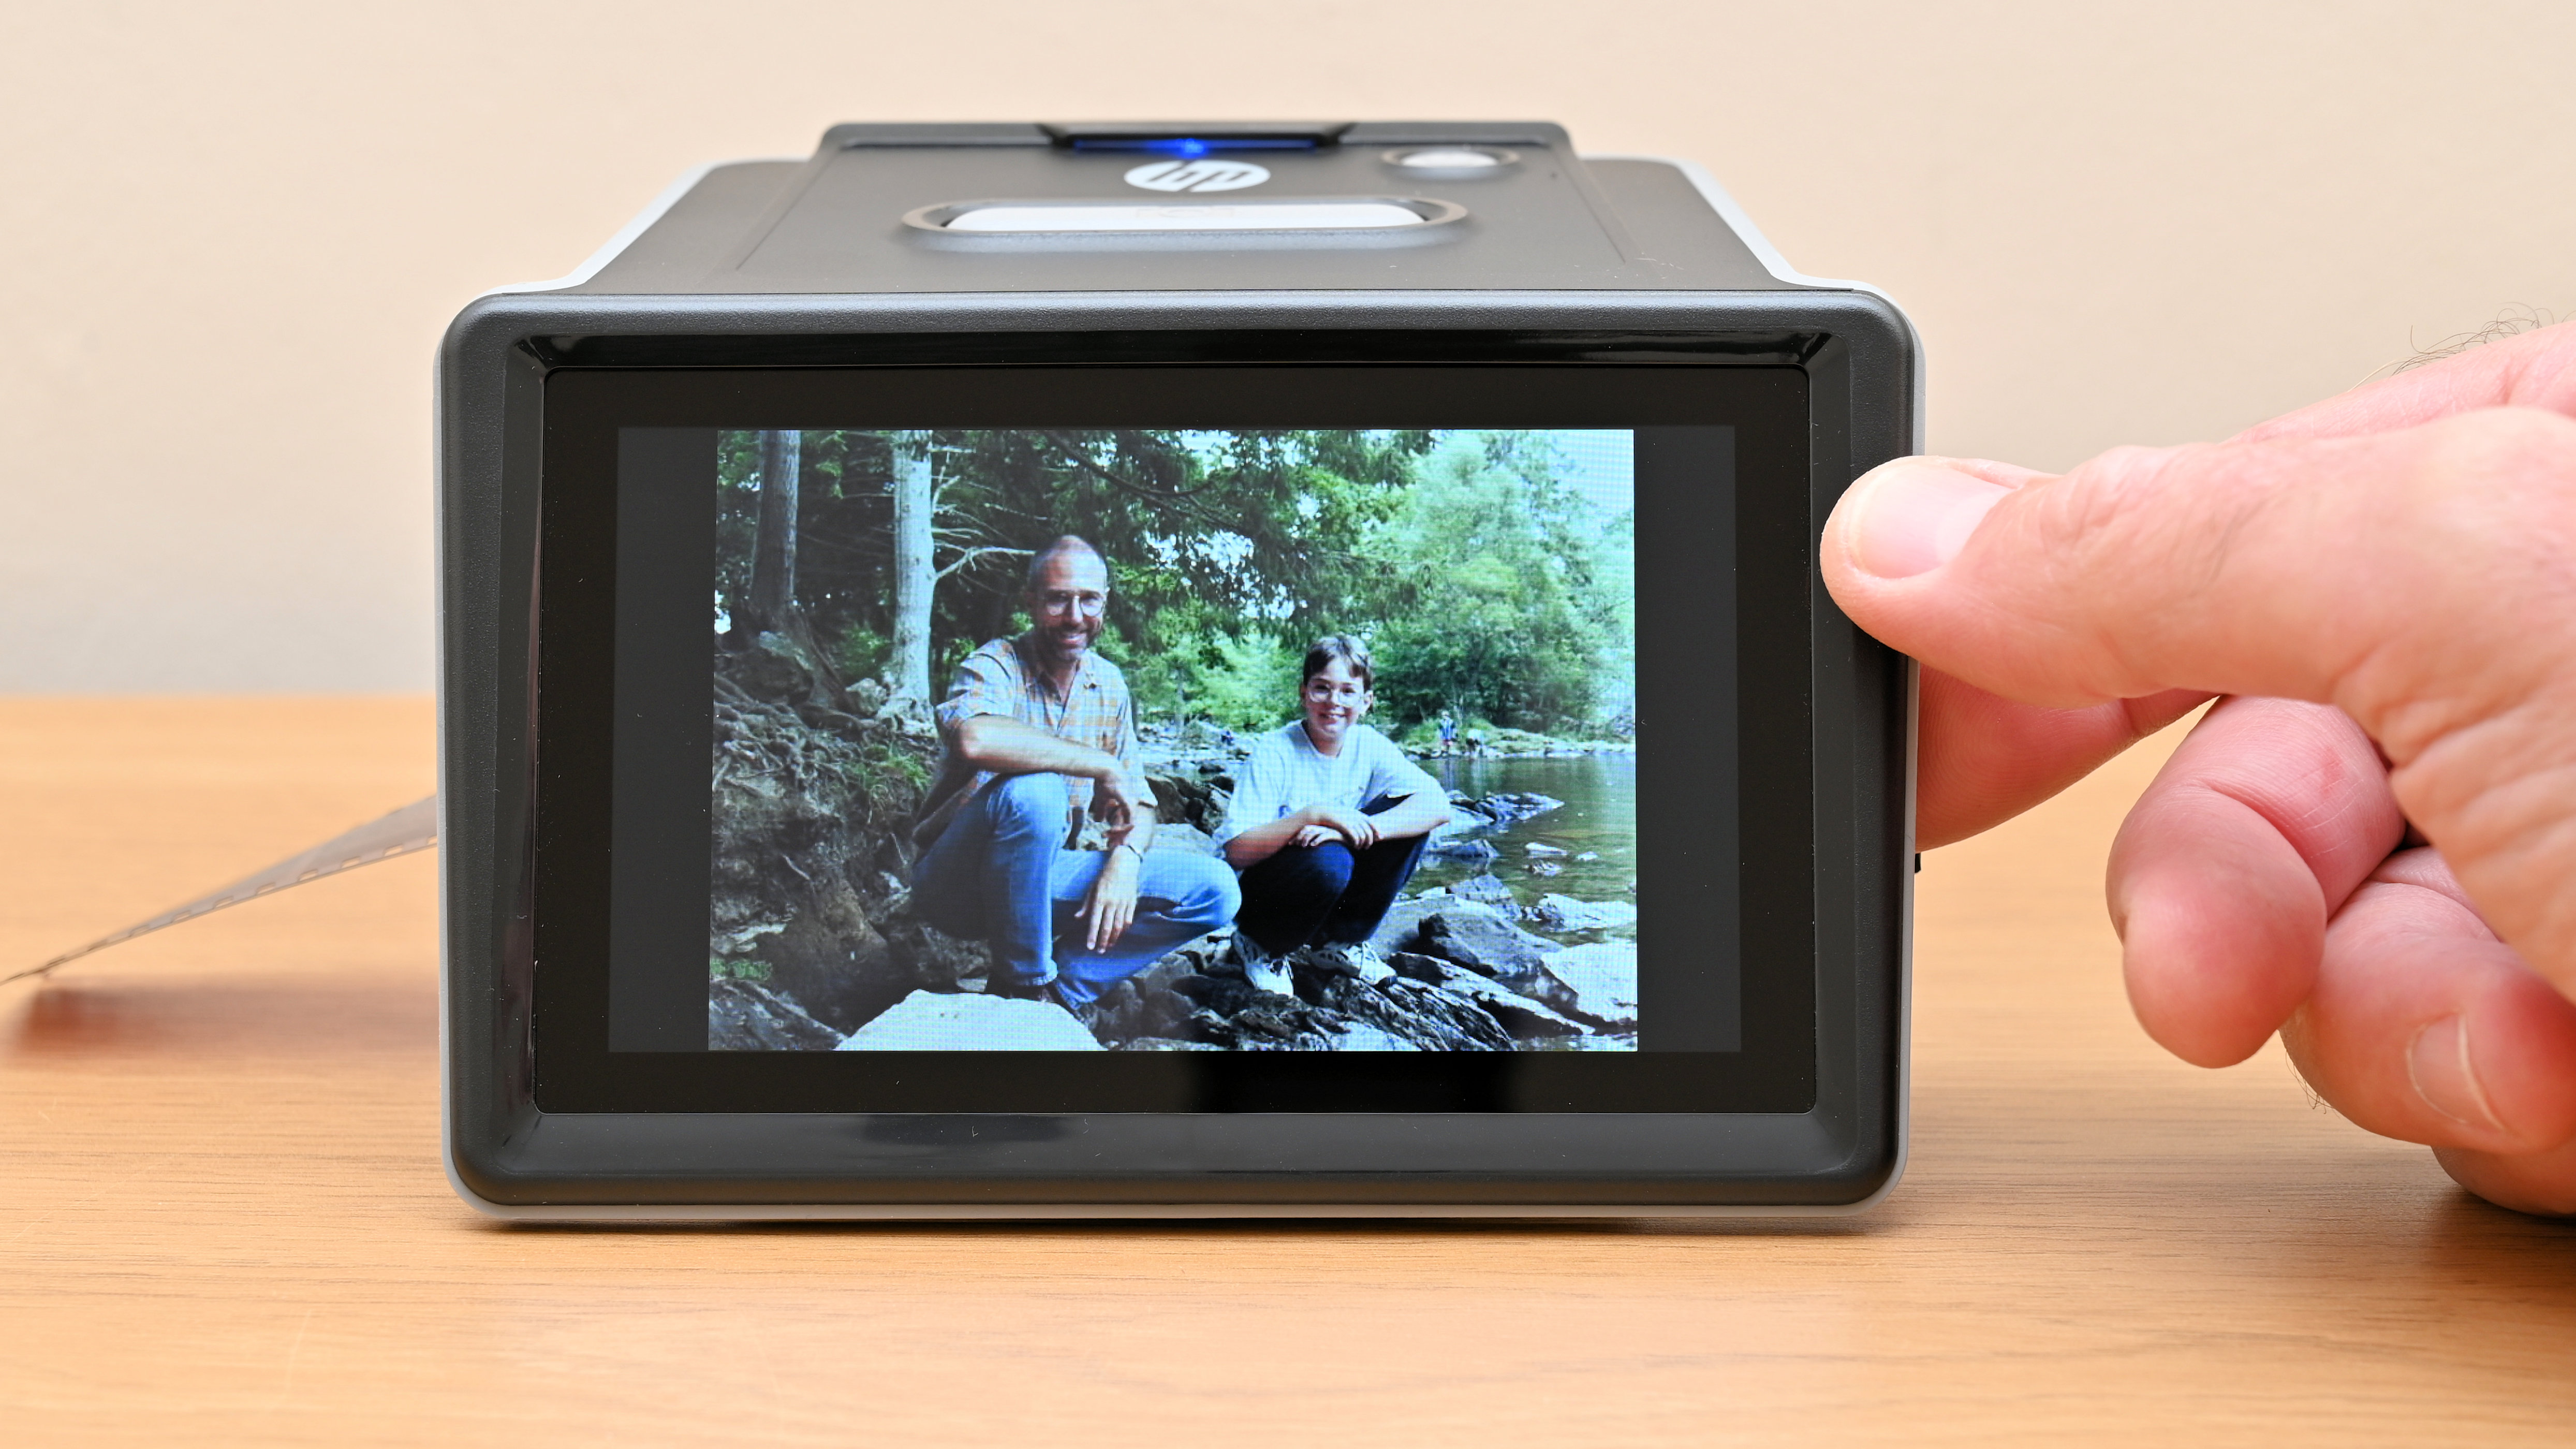
Not just for scanning film, the HP works equally well as a viewer for browsing the resulting digital images. A Gallery option is featured on the touchscreen for this. After selecting an initial photo for viewing, you can tap right or left on either side of the touchscreen to navigate forwards or backwards, which keeps viewing life simple. There’s also a slideshow option so you can just sit back, relax and watch the show. And if you see something you don’t like the look of, there’s a Delete icon.
With the best will in the world, keeping images on the scanner and viewing them on the touchscreen is only marginally better than keeping negatives (and their typically associated postcard prints) in a shoebox. To spread the love, you can connect the HP to your computer or laptop using the USB cable, if you weren’t already using your computer to power the scanner, and then transfer your images. From there, you can share them anywhere and everywhere you want to, as well as creating prints on a desktop printer. For an alternative upload method, you can eject the SD memory card from the scanner and transfer images using a card reader.
HP FilmScan 5” Touch Screen: Performance
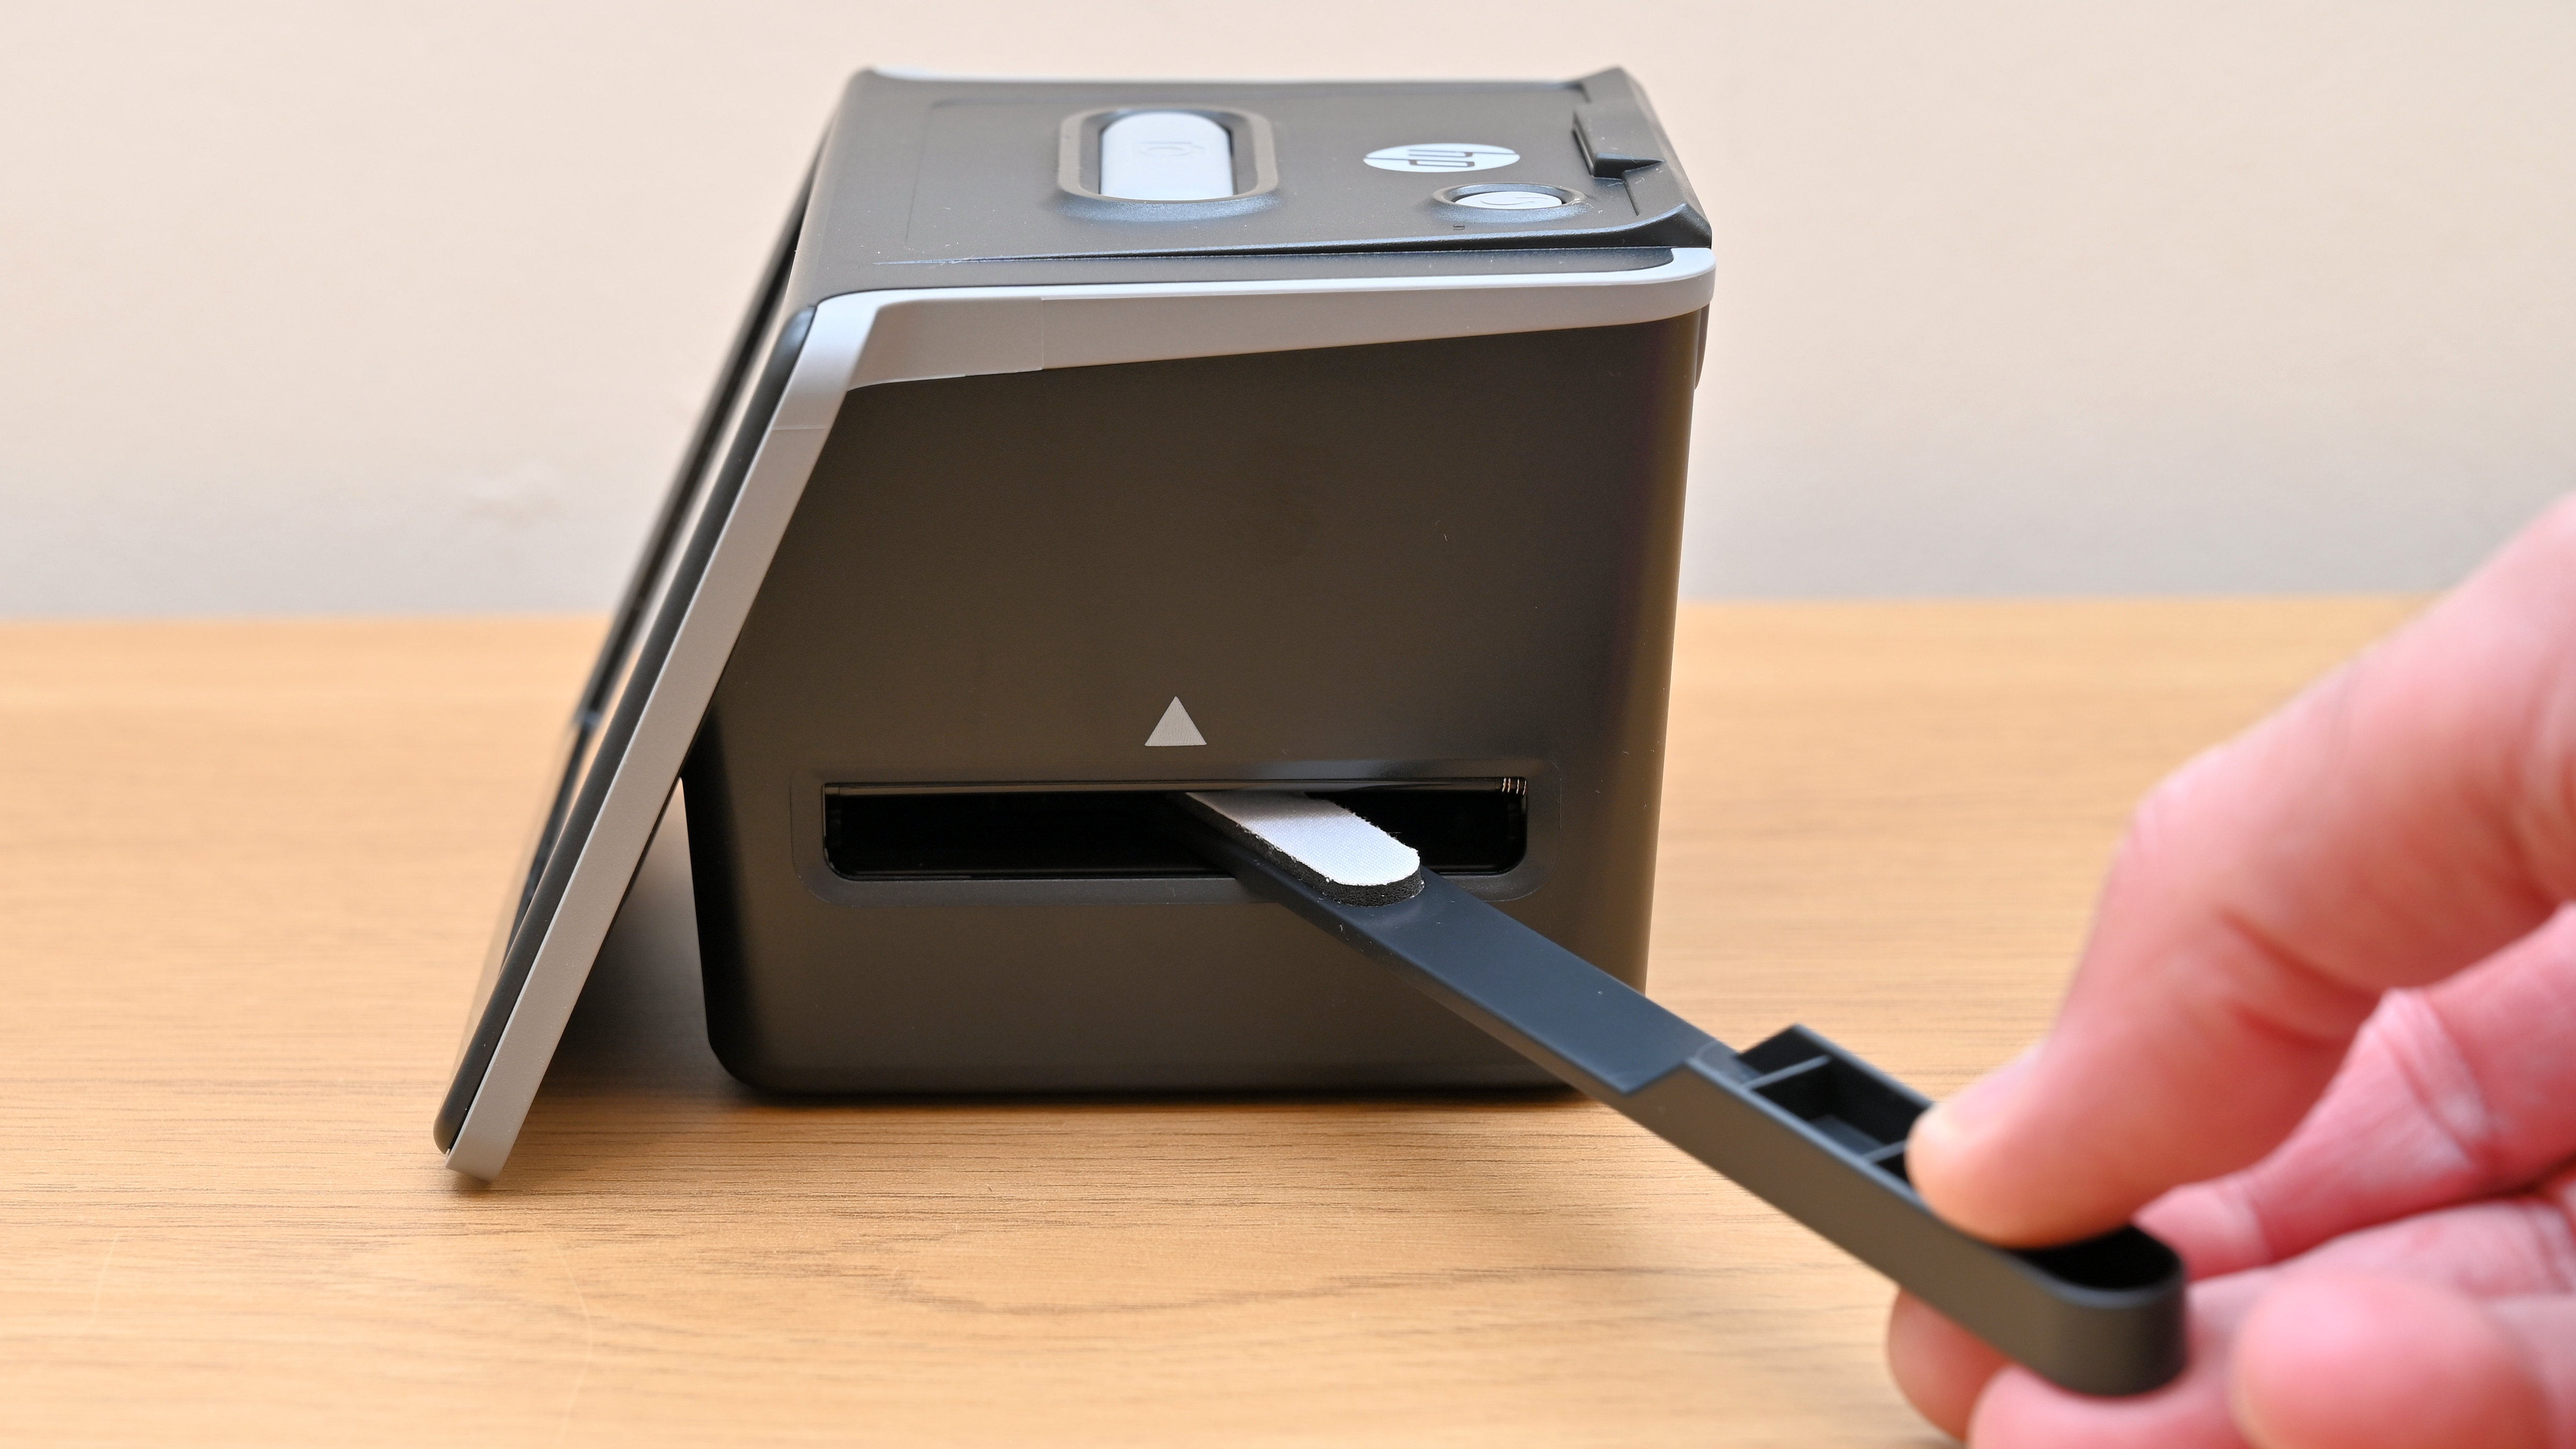
Key factors in scanning performance include the uniformity and quality of the light source, the CMOS image sensor, and the lens that captures the image – in this case an f/3.5 lens with seven optical elements. As the saying goes, ‘cleanliness is next to godliness’ and that holds true for film scanning, with dust being a perennial problem. It can pay to wipe any stray dust from film or slides with a brush or microfiber cloth but what if dust is lodged inside the scanner? To help keep the scanning elements clean, a cleaning wand is supplied in the kit of parts.
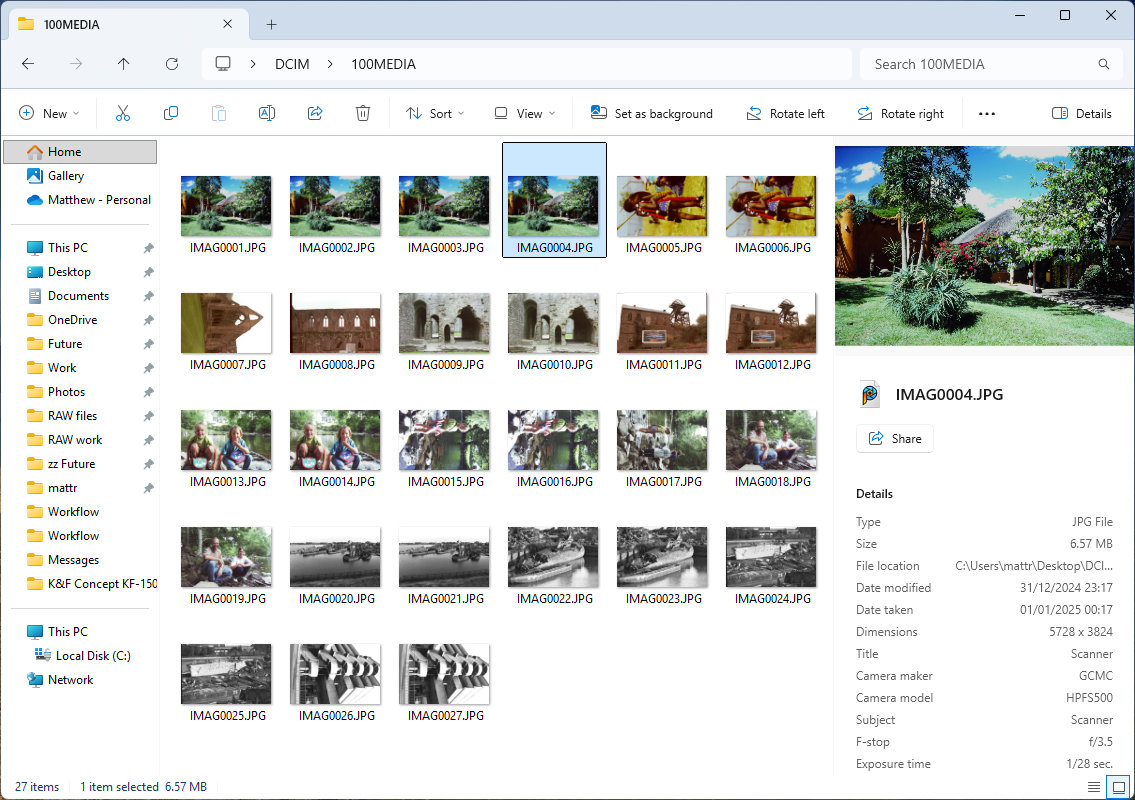
I started off my performance testing with a couple of 35mm slides, originally taken with Kodak Kodachrome 64 film. I was impressed that the punch and color rendition for which I love this film was recreated quite faithfully in the HP’s scan. By way of a direct comparison, I found the color quality, brightness, contrast and dynamic range noticeably better than from the Kodak Slide N Scan Digital Film Scanner, when scanning the same originals. The following gallery contains scans of Kodachrome 64 slides, captured at 13 and 22 megapixel settings.


From there, I moved on to scanning some color negative film strips, this time using Fujifilm Superia 400 and even older Kodacolor VR100, shot back in the 1990s and 1980s respectively. Again, I was impressed with the color quality and tonal range of the results, again noticeably beating those of the Kodak scanner. The next gallery includes scans of Fujifilm Superia 400 and Kodacolor VR100 color negative film, captured at 13 and 22 megapixel settings.


Finally, I tried a few frames of black & white Ilford XP1 400 film, that used to take some shots of decaying ships and submarines in Portsmouth Docks, back in 1987. Whereas the scans from the Kodak looked very muddy and lacking in definition, the HP’s scans were much better in terms of clarity and dynamic range. My final gallery contains scans of Ilford XP1 black & white negative film, captured at 13 and 22 megapixel settings.


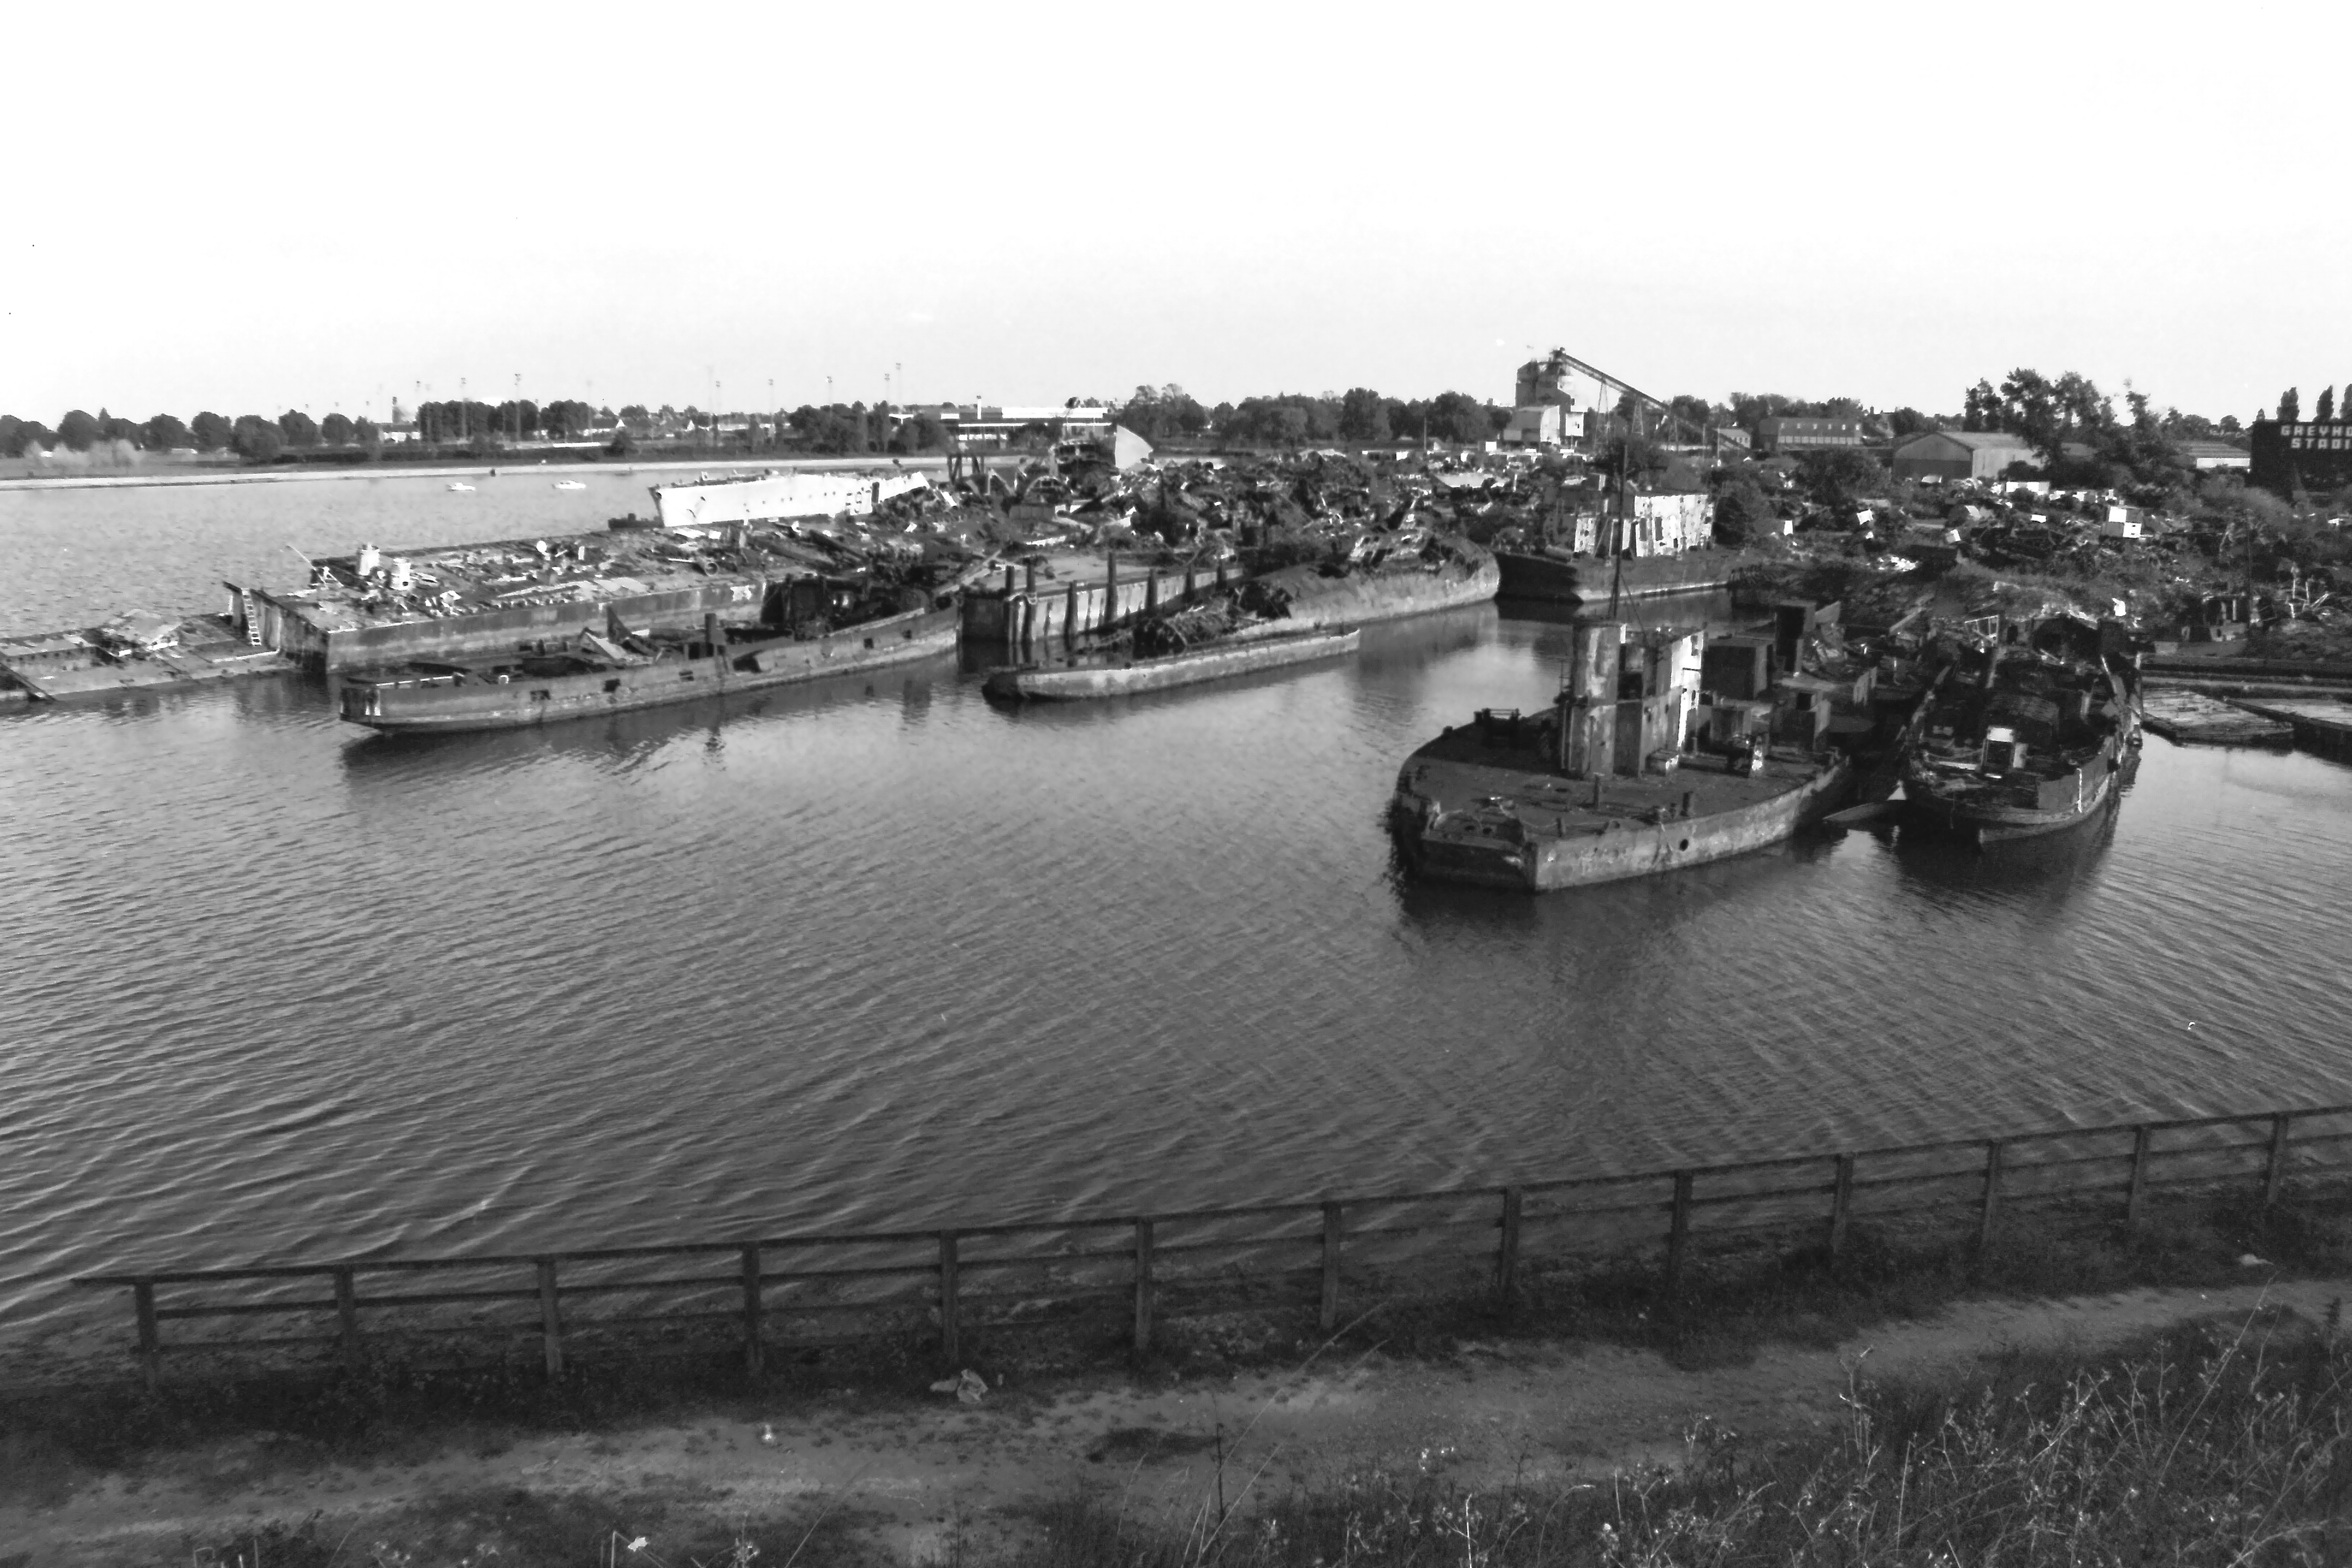
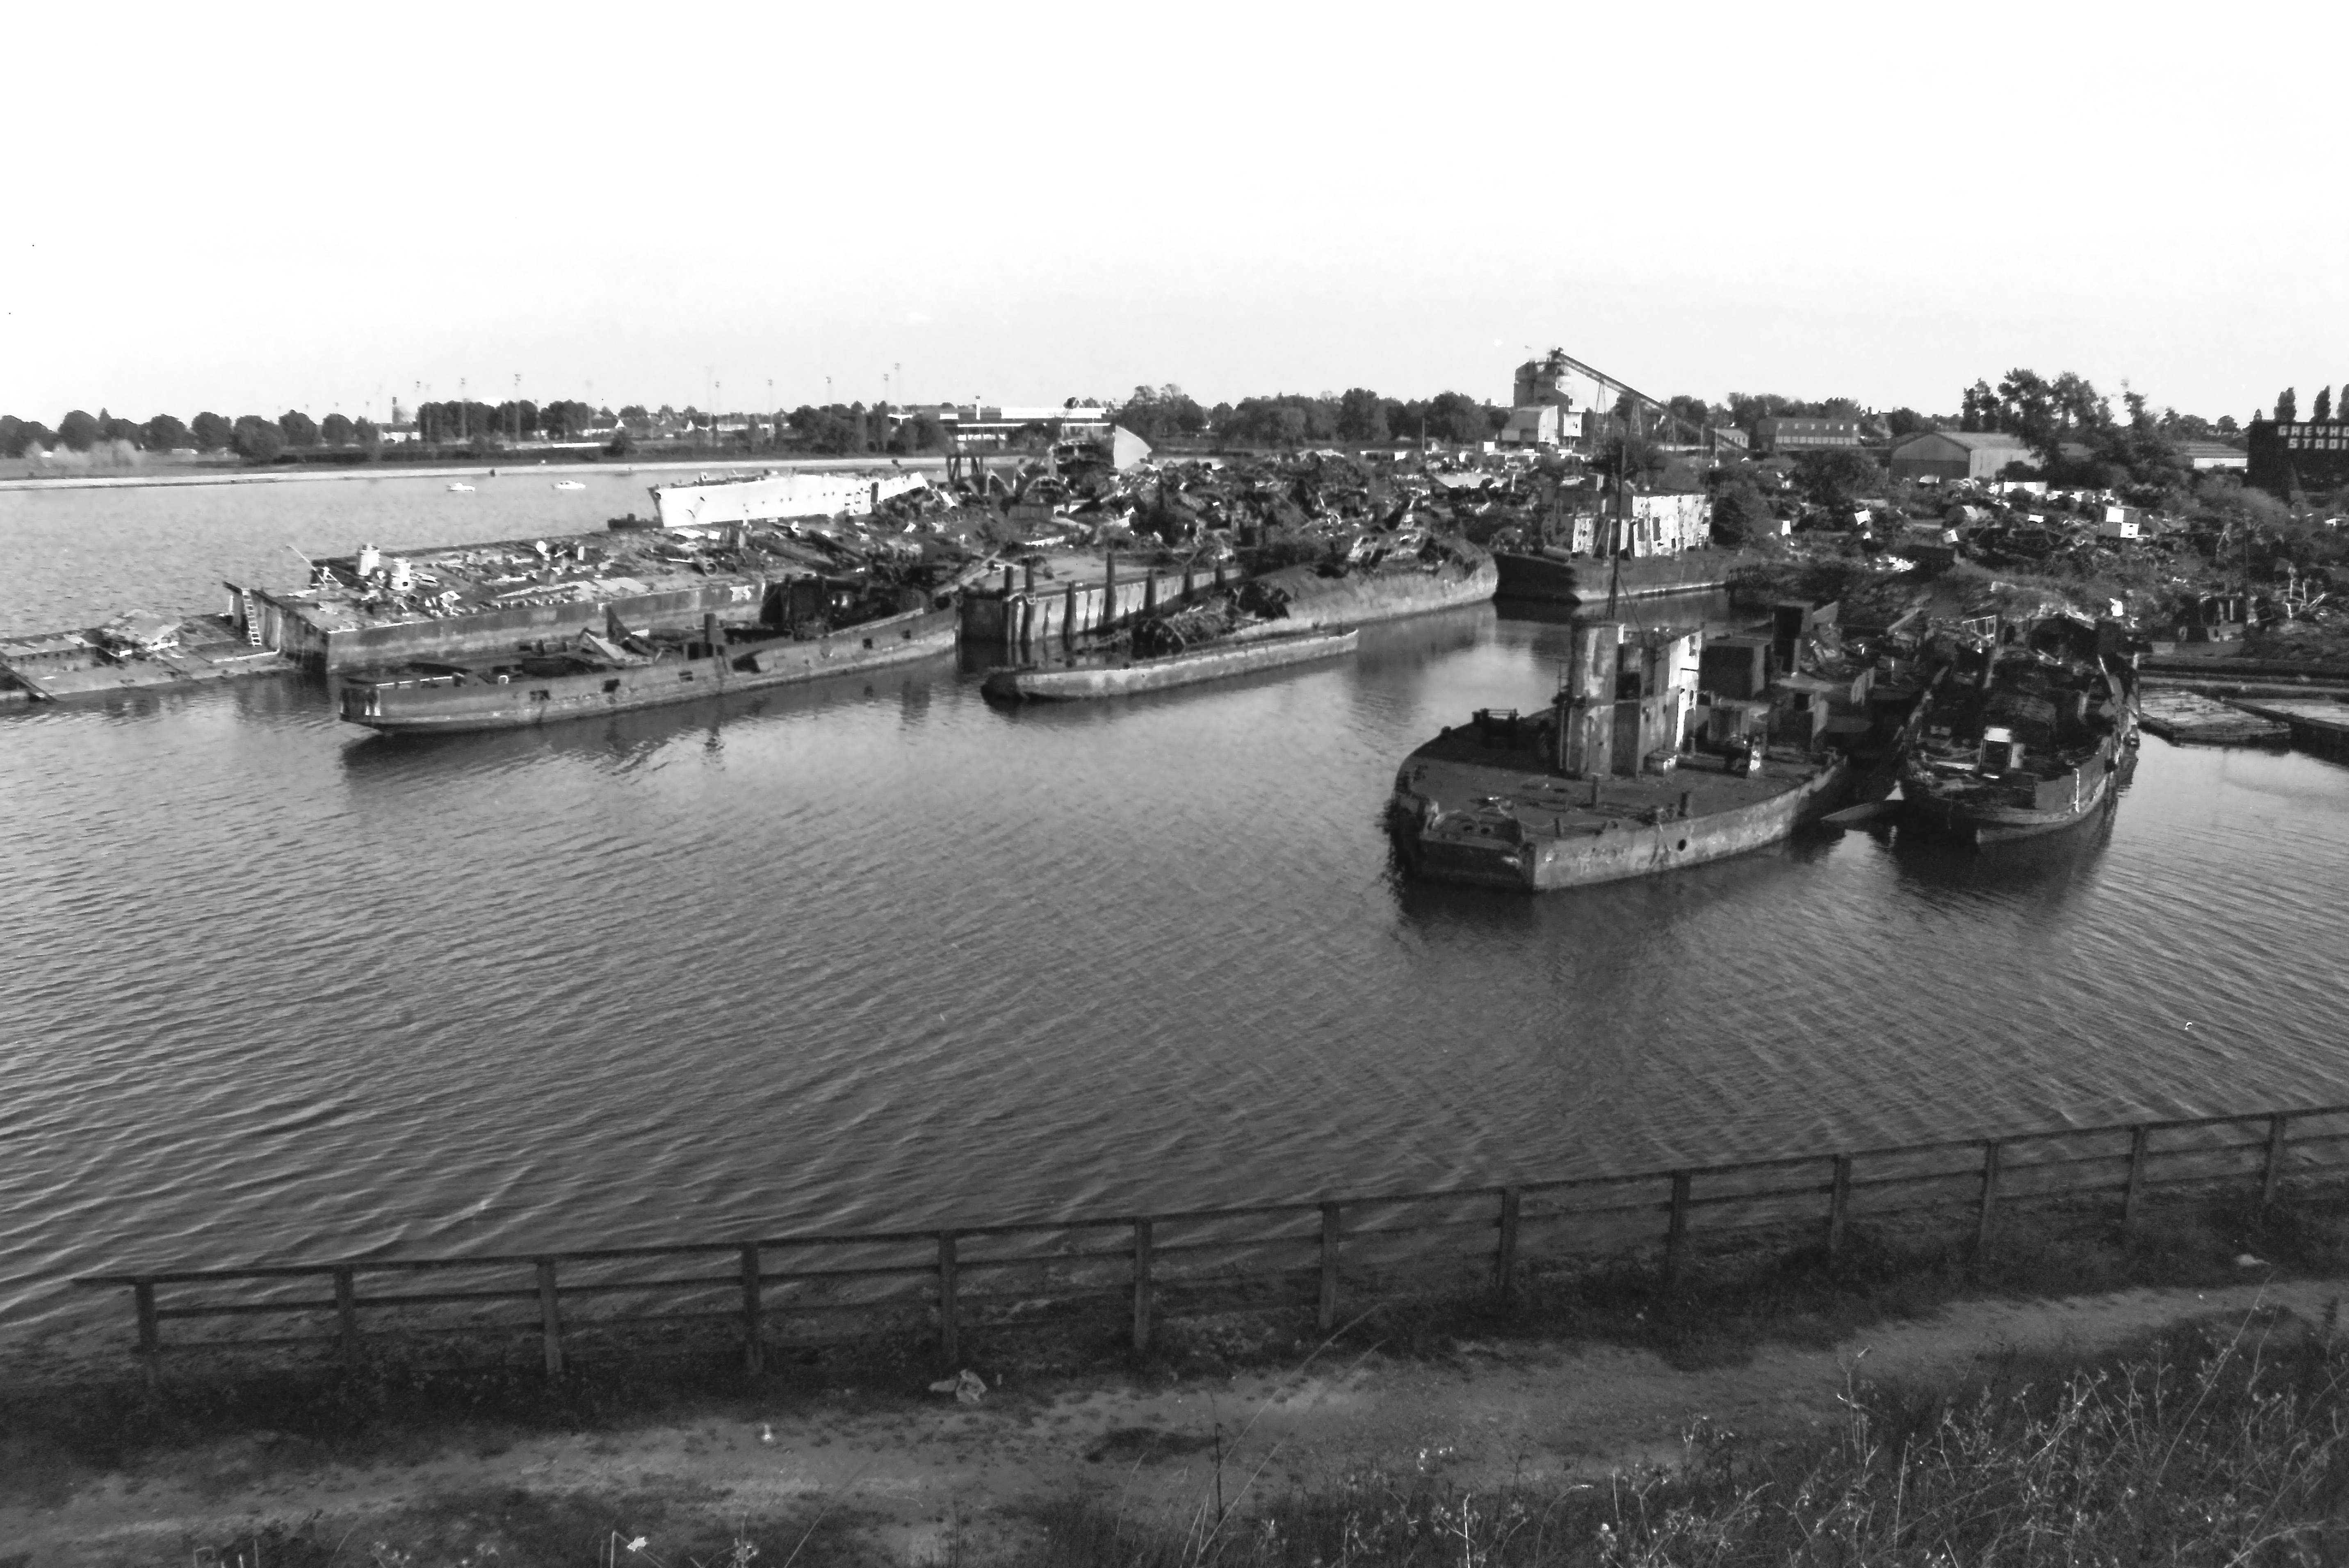


In all cases, with color slides and negative film, as well as with black & white film, the results were sharper than from the Kodak. They’re still not as sharp as I’d really like, lagging behind a more ‘professional’ film scanner in this respect, but they look pretty good at 13 megapixels. The HP scans also hold up better if you upscale them, using the 22 megapixel scanning option. Pixelation and jagged diagonals are less noticeable and areas of bokeh don’t look so blotchy.
In terms of speed, each scan took about 2.2 seconds in my tests, so the HP is no slouch. I was initially a bit upset that I couldn’t rotate portrait-orientation images for natural viewing on the touchscreen. But after further thought, it would have reduced the viewing size considerably and it’s very easy to turn the HP on its side for full-sized viewing of ‘upright’ images, much like you would when holding a physical photo print in your hand.
HP FilmScan 5” Touch Screen: Verdict
I’ve not used a scanner like the HP FilmScan 5” Touch Screen Film Scanner for a couple of years, since I tested the Kodak Slide N Scan Digital Film Scanner. I thought the Kodak scanner was ok but would I go out and buy one? No I wouldn’t. I’ve got boxes of slides and negatives ripe for scanning, but I wasn’t sufficiently happy with the Kodak’s image quality. Picture quality from the HP isn’t perfect and is a little lacking in sharpness, but the HP does a much better job of recreating the color rendition, brightness, contrast and dynamic range that I remember from the original film. I don’t see any point in upscaling to the 22 megapixel option but, ultimately, the results are sufficiently satisfying for me to want to invest in this scanner. It's a keeper as far as I’m concerned.
Features ★★★★★ | Useful features include a slide holder plus adapters for various formats of film, a 5-inch touchscreen and straightforward controls. |
Design ★★★★★ | I’m not a fan of touchscreens just for the sake of them, but the one around which this scanner is designed makes for quick, easy and intuitive operation. |
Performance ★★★★☆ | The HP is certainly fast, taking about 2.2 seconds per scan. Image quality is pleasing overall but could be a little sharper. |
Value ★★★★☆ | It’s more expensive than some other standalone film scanners but the touchscreen and performance make it good value. |
Alternatives
The Kodak Slide N Scan Digital Film Scanner matches the HP in being a self-contained film scanner with options for mounted slides and adapters for 135, 126 and 110 format film. It lacks a touchscreen but is available with either a 5-inch or 7-inch conventional color screen.
The Kodak Scanza Digital Film Scanner is another standalone film scanner with a wider remit of scanning frames of 135, 126, 110, 8mm or Super 8 film. Again, it’s a standalone device but film handling is a little tricky and image quality is a little disappointing.
Matthew Richards is a photographer and journalist who has spent years using and reviewing all manner of photo gear. He is Digital Camera World's principal lens reviewer – and has tested more primes and zooms than most people have had hot dinners!
His expertise with equipment doesn’t end there, though. He is also an encyclopedia when it comes to all manner of cameras, camera holsters and bags, flashguns, tripods and heads, printers, papers and inks, and just about anything imaging-related.
In an earlier life he was a broadcast engineer at the BBC, as well as a former editor of PC Guide.
You must confirm your public display name before commenting
Please logout and then login again, you will then be prompted to enter your display name.
