Huawei has been making waves as the number one choice for the best camera phone you can buy. And while the Huawei Mate 20 Pro, may not be as new or powerful as the Huawei P30 Pro, it's still a fantastic smartphone for photography.
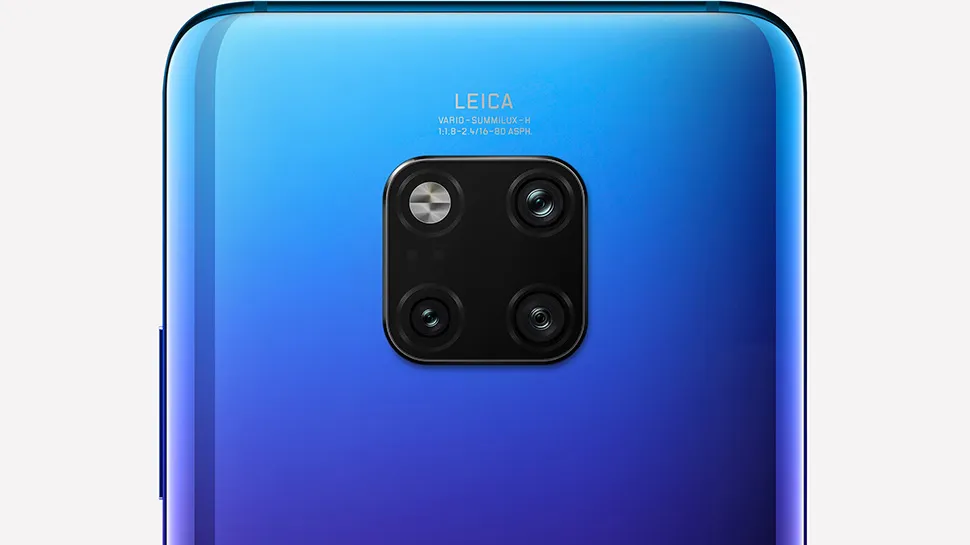
The crowning specification of the Mate 20 Pro has to be its triple Leica lens set up. Not only have they been co-engineered with the famous and hugely well-respected manufacturer, but they give you three different focal lengths to choose from.
On top of that, you’ve also got up to 40 megapixel resolution at your disposal (with the main 27mm equivalent camera/lens combination), plus manual control and raw format shooting.
Article continues belowAs we’ve seen before, the native camera app of the phone is also extremely well-featured. It’s so versatile that it’s worth spending some time getting to know how it works – hopefully these tips and tricks will help you do just that.
1. Turn off Master AI


One of the many impressive things about the Mate 20 Pro is its ability to recognise exactly what you’re shooting – whether that be a dog, a person, some autumn leaves or even a waterfall.
This is all thanks to the super smart Master AI. Sometimes however, it can go a little bit overboard, offering up super saturated blues and greens which leave things looking just a tad unrealistic.
Switching it off from the camera menu is a sure-fire way to ensure your landscape shots (in particular) are a little bit more true-to-life.
2. Explore Pro mode

If you’re enthusiastic about your photography, Pro mode is where you should set your sights.
In this mode, you’ve got the option to alter ISO, shutter speed, exposure compensation, AF mode, white balance and metering.
Another nifty feature of Pro mode is the Horizontal level, which can be displayed at all times to help make sure you keep your shots as straight as possible – ideal for landscape photography, especially when using that wide angle lens.
3. Shoot raw

Most pros will tell you that being able to shoot in raw format is the best choice for ultimate flexibility in post-production.
With the Mate 20 Pro, you can even shoot raw format on your phone.
You can only access raw when shooting in Pro mode – switch it on from the cog menu. For this phone, raw format is DNG, which can be opened with lots of different programs, including Photoshop.
4. Choose your bokeh

Portrait modes are starting to become increasingly familiar, with most high-end smartphones offering a way to create a shallow depth of field effect, with blurred backgrounds.
The Mate 20 Pro goes one further with a range of different shaped “bokehs” to choose from.
Bokeh is the word to describe the shape of out of focus areas – so you’ll see if you switch this on, instead of the classic circles of light you could opt for hearts, a swirl, or discs. Gimmicky, sure, but kinda fun, too.
5. Night mode

This is a feature we first saw in the P20 Pro, and continues to impress here.
When light is low, head to Night mode, and the phone will merge together a series of short exposures together to bring out the most amount of light possible.
It’s great for shooting at night, but it’s also ideal for other locations where light might be on the low side, regardless of the time of day.
A hidden trick appears if the phone detects that it’s being held on a tripod – exposure time will jump from around 4-5 seconds, up to a much longer length of time – I’ve seen it reach 51 seconds before, for even more light-gathering capabilities.
6. Mono shooting

While the P20 Pro had a dedicated Mono sensor, the Mate 20 Pro has removed that to make way for the wide-angle lens.
But the Mono mode still exists for you take advantage of – head to “More” from the main display and choose “Monochrome”.
As well as being able to take standard black and white shots, you’ll also be able to mix it with Aperture mode (for shallow depth of field effects), Portrait (for similar effects, but with humans), and even Pro mode.
7. Shoot wide

The added flexibility of a wide-angle lens is great for lots of different shooting scenarios, including landscapes and interiors shots.
To get to the wide-angle lens, you can tap the 1x icon on the main screen – where you’ll cycle through 1x, 3x, 5x (which is the hybrid zoom option) before eventually landing at 0.6x.
For a quicker route to the wide angle lens, simply pinch inwards on the screen and you’ll get there straightaway.
8. Make the most out of the sensor

With the Mate 20 Pro’s main camera sensor you can shoot at 40 megapixels, which can be useful if you want super-high detail.
This resolution is not the default option, however, so you’ll need to switch it on from the camera’s menu. You can use 40 megapixel in either the standard Photo mode, or the more advanced Pro mode.
It’s worth noting that if you select 40 megapixel shooting, you’ll no longer be able to access either the wide-angle or the telephoto lens – so remember to switch it off again when you want to zoom in (or out).
9. HDR shooting


Another mode which is somewhat hidden away, is HDR. You’ll find it in the “More” setting again.
You might want to use it sparingly since the look is a little overkill, but in some situations it can really help to create an interesting look.
It’s easy to switch it off again when you’re done, simply tap the “X” next to HDR to go back to normal shooting.
10. Aperture mode

Aperture mode is great when you want to create shallow depth of field effects, and you can use it with whatever subject you like.
Unlike Portrait mode it doesn’t offer different bokeh shapes, but it’s got another useful and interesting trick, instead.
With this mode, you can change the amount of blur, and indeed the focus point, after you’ve taken the shot – no matter how long you wait until you come back to it.
To choose a different point, tap the Aperture icon when viewing your image in playback. You’ll now see that you can choose between an aperture effect of f/0.95, all the way up to f/16, as well as tapping around the scene to select a different focus point entirely.
- The Mate 20 Pro has a great camera and has only been beaten out of our best camera phone guide, by its successor, the Huawei P30 Pro.

