Sponsored by

Want to shoot video but don’t know where to start? Here’s how to get great footage every time

Only a few years ago, video was an afterthought on most cameras – and to most camera owners. Today, though, video has never been more important, but it still remains a mystery to many shooters.
It’s not like the good old days, where all you had to do was press the little red record button and point the camera at your subject; capturing good video is every bit as involved as taking a good photograph. And if all you’re doing is pressing the little red button, you’re almost certainly going to be dissatisfied with the results.
As with all things when it comes to cameras, knowing what to do is only half the equation; you also need the right kit with which to do it. But that doesn’t have to break the bank – by picking up a preloved camera from a used gear specialist like MPB.com, you can arm yourself with the equipment you need at a fraction of the price of buying new.
So here’s a quick rundown of some starting settings, best practise and camera must-haves to get you capturing great video…
Gearing up
Okay, what exactly is the right kit when it comes to recording video? As with taking photos, the answer very much depends on what you want to shoot. Do you want to record Reels for social media? Are you starting a YouTube channel? Perhaps you’re shooting documentary or film?
In truth, most cameras can stretch to do any of these things – but just as a beginner DSLR can be used for taking wildlife photos, it wouldn’t necessarily be your first choice!
If you’re shooting for social media, you don’t need to record in the most advanced settings – in fact, you probably don’t even need to shoot in 4K. This means you can save yourself a lot of money by looking at cameras that shoot video in FullHD, also known as 1080p because it has a resolution of 1920 x 1080 pixels.
Cameras like the Canon EOS M50 and M50 Mark II were the darlings of the content creator scene for years – they shoot great FullHD video (and 4K, but with a few caveats) and are compatible with Canon’s EF range of DSLR lenses, giving you hundreds and hundreds of lenses to choose from.
For YouTube, FullHD is still very common but you’ll definitely want a camera that captures in 4K. However, not all 4K is created equal! Some cameras shoot 10-bit, while others are limited to 8-bit. As you might imagine, 10-bit gives the best image quality and will make your footage look that much better.
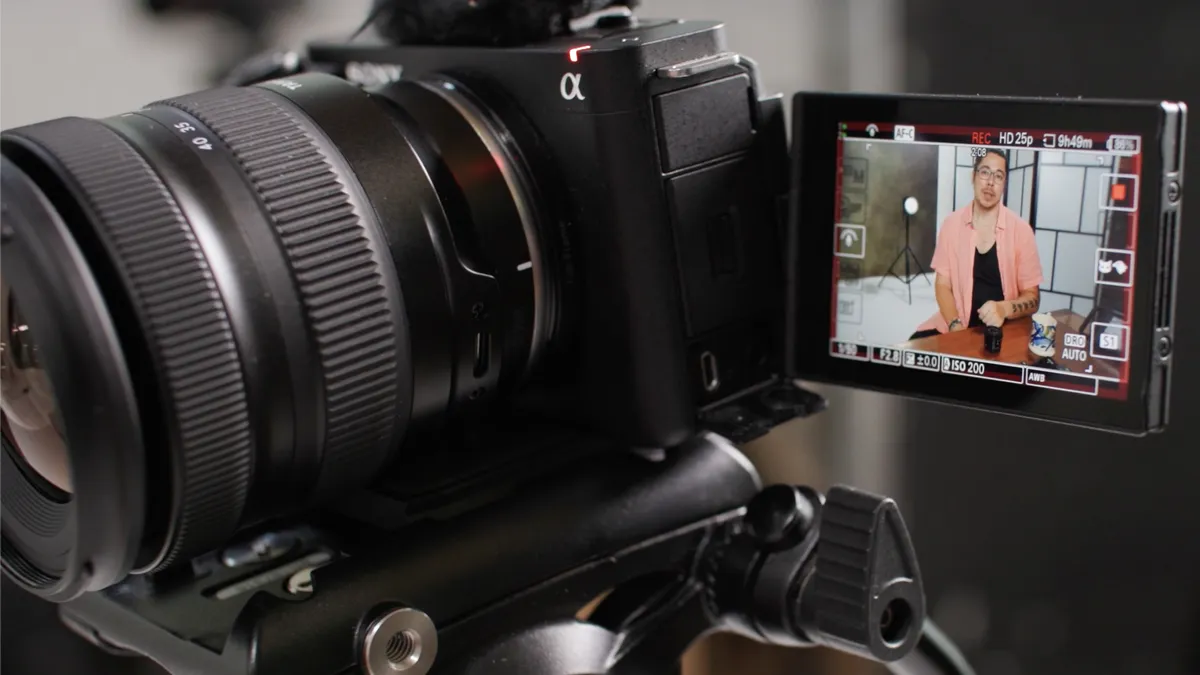
Sony has a great range of creator cameras, the ZV series, that are designed with vlogging and video in mind. Cameras like the Sony ZV-E1 shoots 10-bit 4K and has fantastic features like Auto Framing, which acts as a digital cameraman to follow you around the frame – making your video much more dynamic and interesting.
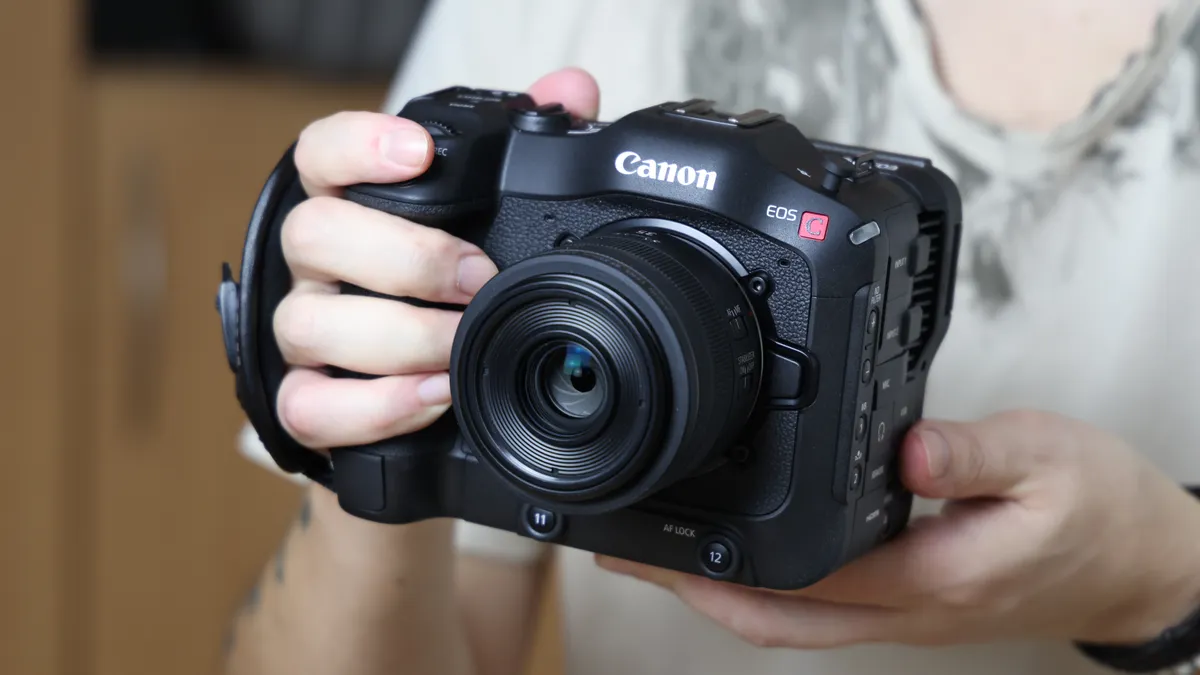
If you’re looking at documentary and filmmaking, you probably already have a good idea what you need – and that may well be a cinema camera that has features like shutter angle and waveform monitoring.
Rather than spending tens or hundreds of thousands buying one new, MPB.com has a great range of used cine cams from brands like Canon, Red, Arri and Sony.
Ready, settings, go

Video settings can look very alien if you come from a stills background, but there are a few key ones that would be good to get the hang of from the get-go. Video isn’t as easy to rescue in post-production if you get the fundamentals wrong!
The first thing to consider is your framerate. This is typically offered in a few flavors, usually 24p, 30p, 60p and 120p. (Your camera may well have options for 25p, 50p and 100p, depending on whether it is set to record for PAL (the British television standard) or NTSC (the American), which have different framerates).
This is the number of frames per second that your camera captures; the more frames, the smoother the footage. In addition, if you have more frames, you can also slow down your footage for slow-motion effects.
A lot of people like to shoot in 24p, which is the standard for cinema and gives a more filmic quality. However, the standard framerate is 30p (or 25p for PAL) for a slightly more natural look – and this should be your default unless you know you need to shoot higher, as more frames will gobble up more memory.

Recording in 60p gives you more frames, making it a good choice for sports or action as you will get smoother results. You can also slow down your footage by 50% (60p being double the standard 30p) for dramatic effect – and 120p enables you to slow down your footage to 25%, but this gobbles a lot of card space and generates a lot of heat!
This is another thing to consider: the higher your settings, the more heat your camera will generate – and after a while, it will get too hot and shut down. Some cameras offer unlimited recording, such as the Panasonic Lumix S5IIX, other will give you a warning after as little as 20 minutes. You won’t be able to resume shooting until the camera has cooled down.
On the subject of framerates, there is a rule in videography: make sure your shutter speed is double your framerate. This is known as the 180° rule and comes from the old days where the shutter used to be a spinning disc, which enabled you to control the shutter angle – a feature that is offered, digitally, on cameras like the S5IIX.
By marrying your framerate and shutter speed, the 180° rule ensures that your footage doesn’t look too choppy or too blurry. So if you’re shooting at 30p, set your shutter to 1/60 sec; for 60p, set it to 1/120 sec and so on.

As mentioned earlier, more advanced cameras offer features such as 10-bit video. This captures more data than 8-bit video and is definitely worth choosing if you have the option. Another common choice is 4:2:2 or 4:2:0 subsampling. Explaining these is an article in itself, but again the gist is that 4:2:2 captures more data – so you will get superior results this way.
The last one is an absolute must if you intend to post-produce your video: shooting in log. This is in the equivalent of shooting RAW in photography; while JPEG files give you a certain amount of latitude for editing, you get so much more leeway to post-produce (or rescue!) your files in RAW.
Log is the same for video. The standard video file can be tweaked to a certain degree, but if you really want to push and pull the shadows and highlights, adjust temperature and color grade your footage, make sure to shoot in log mode if your camera offers it. This will produce a very flat, washed-out, grey-looking file – but don’t panic, it’s supposed to look that way!
This gives you a file with the most data and dynamic range, so you can dial in color and contrast or even apply LUTs (lookup tables, with color grading information) to your taste.
Tips and techniques
1) Lens choice
The key here is that you probably want to go wider than you think! Photography is often about isolating a single subject or object, but in video it’s more important to capture environmental context – or, if you’re vlogging or presenting to camera, to fit yourself in frame! This is especially true when working indoors, where a wide-angle lens will be your best friend.
2) Don’t overdo the bokeh
Again, a lot of photographers’ first instinct when shooting video is to film everything wide open – because we’ve all been told that blurry background are “cinematic”. This is true to an extent, but you don’t want everything to look like it was filmed in iPhone Portait mode! Showing your scene and environment is important, so stop down a bit.
3) Make a shot list
It can’t be stressed enough how important this is! Shooting video is a lot like assembling Lego: if you just grab random pieces and try to put them together, you’re going to realize you’re missing a lot of important parts. It doesn’t matter whether you’re shooting a makeup tutorial for YouTube or filming a short movie: make a list of all the shots you need and tick them off as you film them.
4) Don’t try crazy camera moves
Unless you’re shooting an elaborate action movie, there’s no need for ridiculous camera moves. Gentle pans and pushes or pulls are okay, but lots of newcomers get overexcited and start whipping and zooming all over the place – which is ultimately just disorienting for the viewer and unpleasant to watch. And if you are going to introduce camera moves, you should invest in a gimbal to ensure smooth, motion sickness-free movement.
5) Sound is critical
It might be last on this list, but sound is actually more important than the video itself! Think about it: how many times have you sat through a video that sounds good even if the image was bad; now think how many videos you’ve cut off because the audio was awful, even if the image was good! The key is not to shoot using the internal microphone on your camera (which is only good for “scratch” reference audio) and to make sure you’re using a dedicated external microphone.
To see the full range of video products, from cameras and lenses to lighting and sound, head over to MPB.com to get the gear you need – and don’t forget that you can trade in your old or unused equipment to make things even more affordable.

