
There’s no better date on the calendar than new camera day, but getting to grips with a new device can be a bit of an awkward experience. I’m always using different cameras, and I can tell you from experience that it’s easy to get frustrated – especially if you’re grappling with a new menu system and/or control layout.
New camera owners are usually faced with one of four scenarios: they’re staying within the same system, they’re switching systems, they’re moving from a DSLR to a mirrorless camera, or they’re purchasing their first fully manual camera.
The first scenario is the easiest, because you’ll already be used to the menu system and control layout. The differences in menu system and control layout between two Canon EOS cameras, for example, will be minimal.
Switching systems is much harder because not only will you have to grapple with a new menu system and control scheme, you’ll be fighting against the muscle memory you've carefully honed when using your previous system.
Switching from a DSLR to a mirrorless camera isn’t overly strenuous if you’re sticking with the same manufacturer (although there are some specific considerations) and, if you’re not, revert to my last point.
And finally, if you’re a complete beginner, you’re sailing into uncharted waters. The good news is that you don’t have to undo any muscle memory or relearn things, because everything is new to you, so you have a chance to start everything off on the right foot. Let’s get into it…
1. Set your camera up

Before you’re tempted to head out and about with your pride and joy, hold your horses and take the time to set it up properly. The first thing I do when I get a new camera is to set it to RAW. Most cameras will be set to JPEG by default, so if you’re a RAW shooter, this is a very important step.
I then take the time to go through the menu system bit by bit, making sure that everything is set up to my liking. I’ll have the manual to hand, too, so if I find a setting I’m not familiar with, I can look it up.
Finally, I’ll make sure that I map out any custom function buttons. If you’ve never done this before, buying a new camera is a great excuse to start – because you’ll have to get used to the new control system anyway, so you might as well make your life easier by mapping custom buttons and building up the muscle memory for everything at the same time.
2. Set up your video settings

Videographers and hybrid creatives will head straight for this option by default – but if you only shoot video occasionally or hardly ever, you might not think to set up your camera’s video preferences.
However, just in case inspiration strikes, it’s always a good idea to set up your video settings from the outset. That way, if you suddenly find yourself wanting to capture some footage, you can simply switch to video mode and start shooting.
3. Set up your EVF accordingly

If you’re picking up a mirrorless camera for the first time, it’ll likely have an auto EVF (electronic viewfinder) setting where the rear LCD screen switches off when you bring the EVF up to your eye. This can present something of a problem if you’re shooting video or framing photos using the rear LCD.
This is because something like a gimbal or even your torso, if you’re shooting from the hip, can trigger the sensor and switch off the rear LCD. As such, make sure you find your camera’s EVF settings and set this function to your preference.
4. Use your camera at home

I’m not saying you shouldn't get outside with your camera on Christmas Day – who wouldn’t want to? – but don’t be afraid to pick up your camera and play with it at home.
Just handling it, fiddling with a few settings, and taking a few pictures of the cat all go towards building that crucial muscle memory that will eventually have you wielding your camera like it’s an extension of your arms.
5. Keep your camera with you

The more time you spend with your camera, the quicker you’re going to become one with it, so it’s crucial at this early stage that you keep it with you as much as possible.
Walking the dog, heading to the shops, visiting the in-laws… make sure your camera is always by your side so that you’re encouraged to use it.
6. Know that mirrorless cameras can drain batteries faster
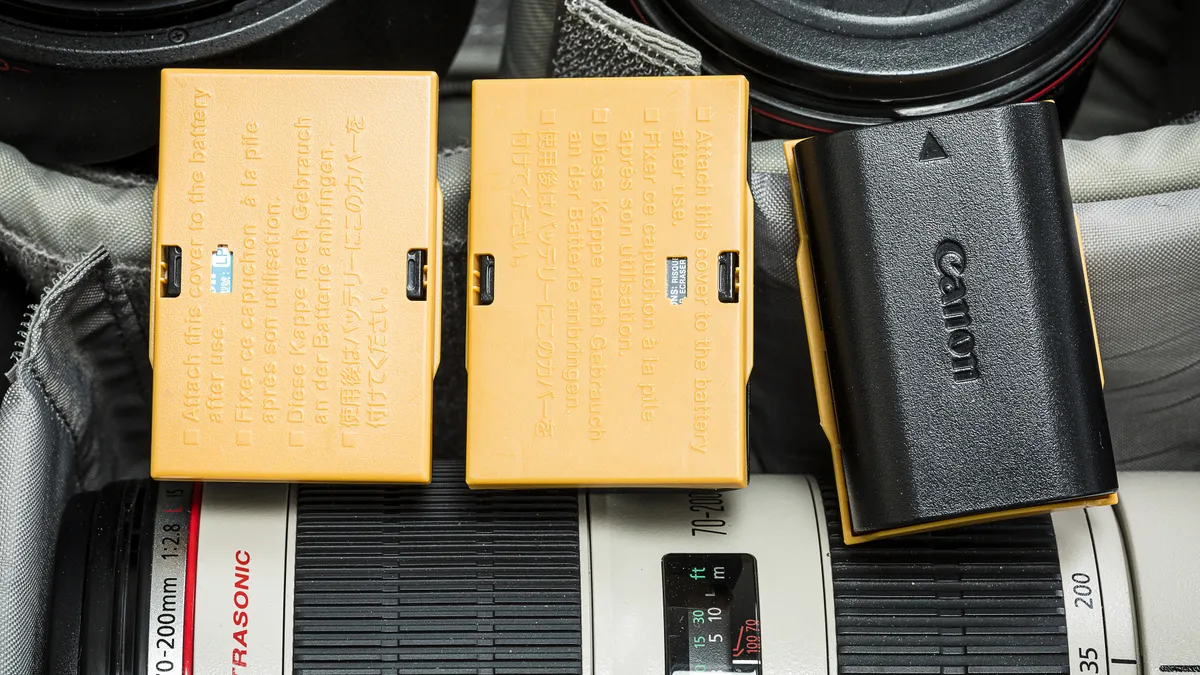
This one’s for anyone moving from DSLR to mirrorless. Depending on which mirrorless camera you have, you’ll probably find that the battery drains much quicker than your old DSLR’s battery. This is because either the EVF or the rear LCD, along with the sensor and possibly the stabilization system, are constantly working while the camera is switched on.
As such, you’ll need to get into the habit of switching your camera off when you’re not actively using it, ensuring that your batteries are fully charged on every shoot, and keeping an eye on your battery indicator.
The battery life of mirrorless cameras has definitely improved over time, and some higher-end models do boast very good battery life, but if you’ve been a DSLR stalwart all this time, this is something that can catch you out.
7. Avoid important shoots
Whether you’re a jobbing photographer or a keen enthusiast, you might want to think twice before taking out your new pride and joy on an important shoot if you haven’t spent the time getting to know the camera first.
Granted, this only works if you still have your old camera – but if you have the choice, I’d recommend sticking with your old kit until you’re comfortable using your new kit.
After all, you don’t want to be wasting valuable time trying to find out your new camera’s flash sync speed, finding yourself completely bamboozled by all the new AF settings, or inadvertently shooting JPEG for the entire shoot because you forgot to employ tip number one.
8. Learn to use the viewfinder

If you’ve only ever used camera phones or compact cameras with no viewfinder, I think it’s extremely important that you get used to shooting through the viewfinder.
I’ve written about this in the past and am in no way saying that composing through the viewfinder is better than composing via the rear LCD. Plenty of incredible photographers – especially in this modern age of camera phones – do so.
However, if you’re starting your photography journey, I think it’s worth learning both ways. Why? Because if you start to use longer lenses, you may find yourself struggling to steady the camera effectively if you insist on shooting via the rear screen.
And if you find yourself shooting in bright sunlight, you might not be able to even see the image on the rear LCD due to glare. I say, get it out of the way now and learn to use both.
9. Put on a camera strap

I’m guilty of not using my camera with a strap. Then again, I do a lot of product and landscape photography where it’s secured on a tripod, and sports photography where the camera and lens combination is simply too heavy (for a neck strap at least).
However, if you’ve bought a camera that can be comfortably worn around your neck or over your shoulder, it’s worth attaching a strap. Not only will this avoid unwanted drops, but it’ll keep your camera always available to you, meaning you’ll use it more and are less likely to miss the moment.
10. Know your exposure settings

If you’re using a fully manual camera for the first time, it can be a very daunting experience. So much so that plenty of beginner photographers buy manual cameras, switch them to auto mode and never get the best out of them.
I therefore wholeheartedly recommend that you take the time to learn the exposure triangle and the settings on your camera so you can begin to wield it like a pro. However, you needn’t take the training wheels off in one go.
A great starting point is aperture priority. This setting enables you to control your aperture and thus your depth of field, while the camera automatically sets the shutter speed. You can then choose to set your ISO manually or set it to auto ISO, so you only have to worry about your aperture.
This is the first step into the world of manual photography and is a great way to get started without relying on auto mode.
You might also like...
Want something more interactive? Check out my photography general knowledge quiz. If you're looking for your first camera, here are the best cameras for beginners. If you're looking to upgrade, here are the best mirrorless cameras.

