Digital Camera World Verdict
Why bother investing in a 360° camera when you can just use your smartphone? By adding more stability and accuracy, this tracking device improves on 3D capture apps to produce complex 3D walk-throughs of buildings, homes and gardens in minutes.
Pros
- +
Easy to use
- +
Accurate and detailed
- +
Instant shareable results
- +
Comes with a small tripod
Cons
- -
Flimsy tripod
- -
Some fiddly components
- -
Bulky carry case
- -
Requires Matterport Cloud Account
Why you can trust Digital Camera World
The Matterport Axis takes the mystery out of creating 3D walk-through tours. Of course, if you want to create immersive professional-looking 3D 360º tours of an entire property – be it a hotel, office, space or Airbnb rental – you've got a few options already.
The easiest and by far the most expensive it's a buy a 360° camera, but if you have no plans to use it beyond 3-D tours that's a seriously big outlay. Meanwhile, 3-D capture apps for smartphones are common, but lack accuracy. Largely because you have to physically move and hold a smartphone as it takes photo after photo and stitches that together.
Cue the Matterport Axis, a motorised mount for any size of Android or iPhone smartphone that also ships with a small tripod that quickly produces results like this gym, home, boxing club and studio space.
The 3D digital twin process, however, does require a Matterport cloud account. There is a free plan with a single active model, a $9.99/£7.99 Starter plan with 5 active models and further plans beyond that – so it's not expensive as a business proposition, particularly if you just want to try it out.
Here's how we got on creating an immersive ‘digital twin’ of a property.
Specifications
Compatibility: Android and iOS
Bluetooth: Yes
Battery: not quoted
Tripod thread size: 3/8-inch (1/4-inch via adaptor)
Extras: Bluetooth remote and carry case
Key features
The Matterport Axis is designed to work with the hugely impressive AI-powered Matterport 3D media platform. No surprise there. You can already produce 3D 360° walk-through tours just using the Matterport Capture app. That remains an integral part of this product. In effect what the Matterport Axis – which is little more than a motorised amount – does is improve the accuracy of the app.
The best camera deals, reviews, product advice, and unmissable photography news, direct to your inbox!
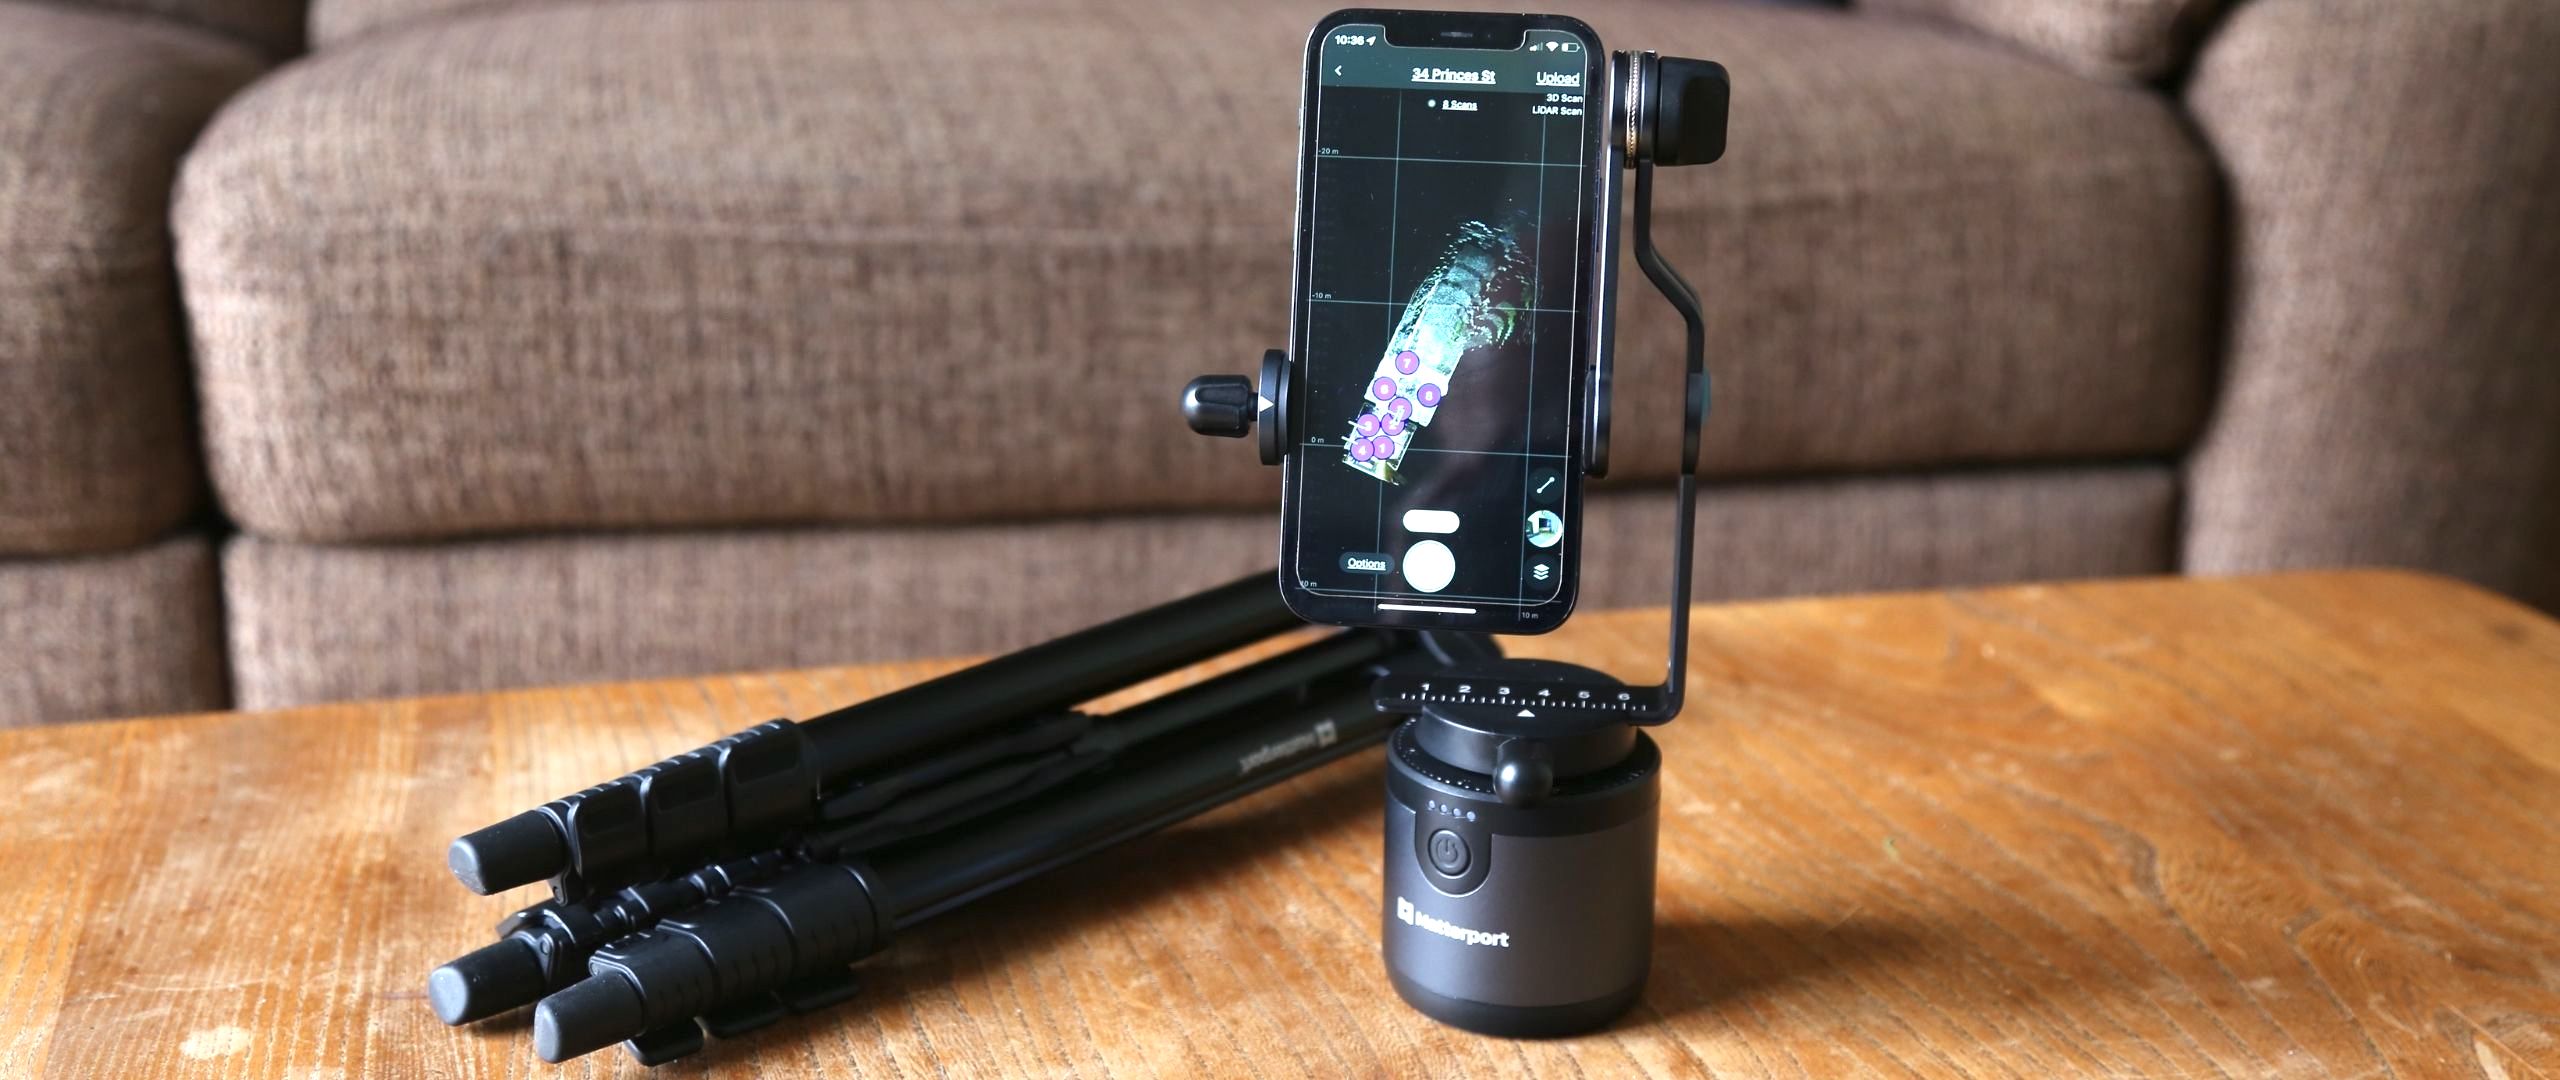
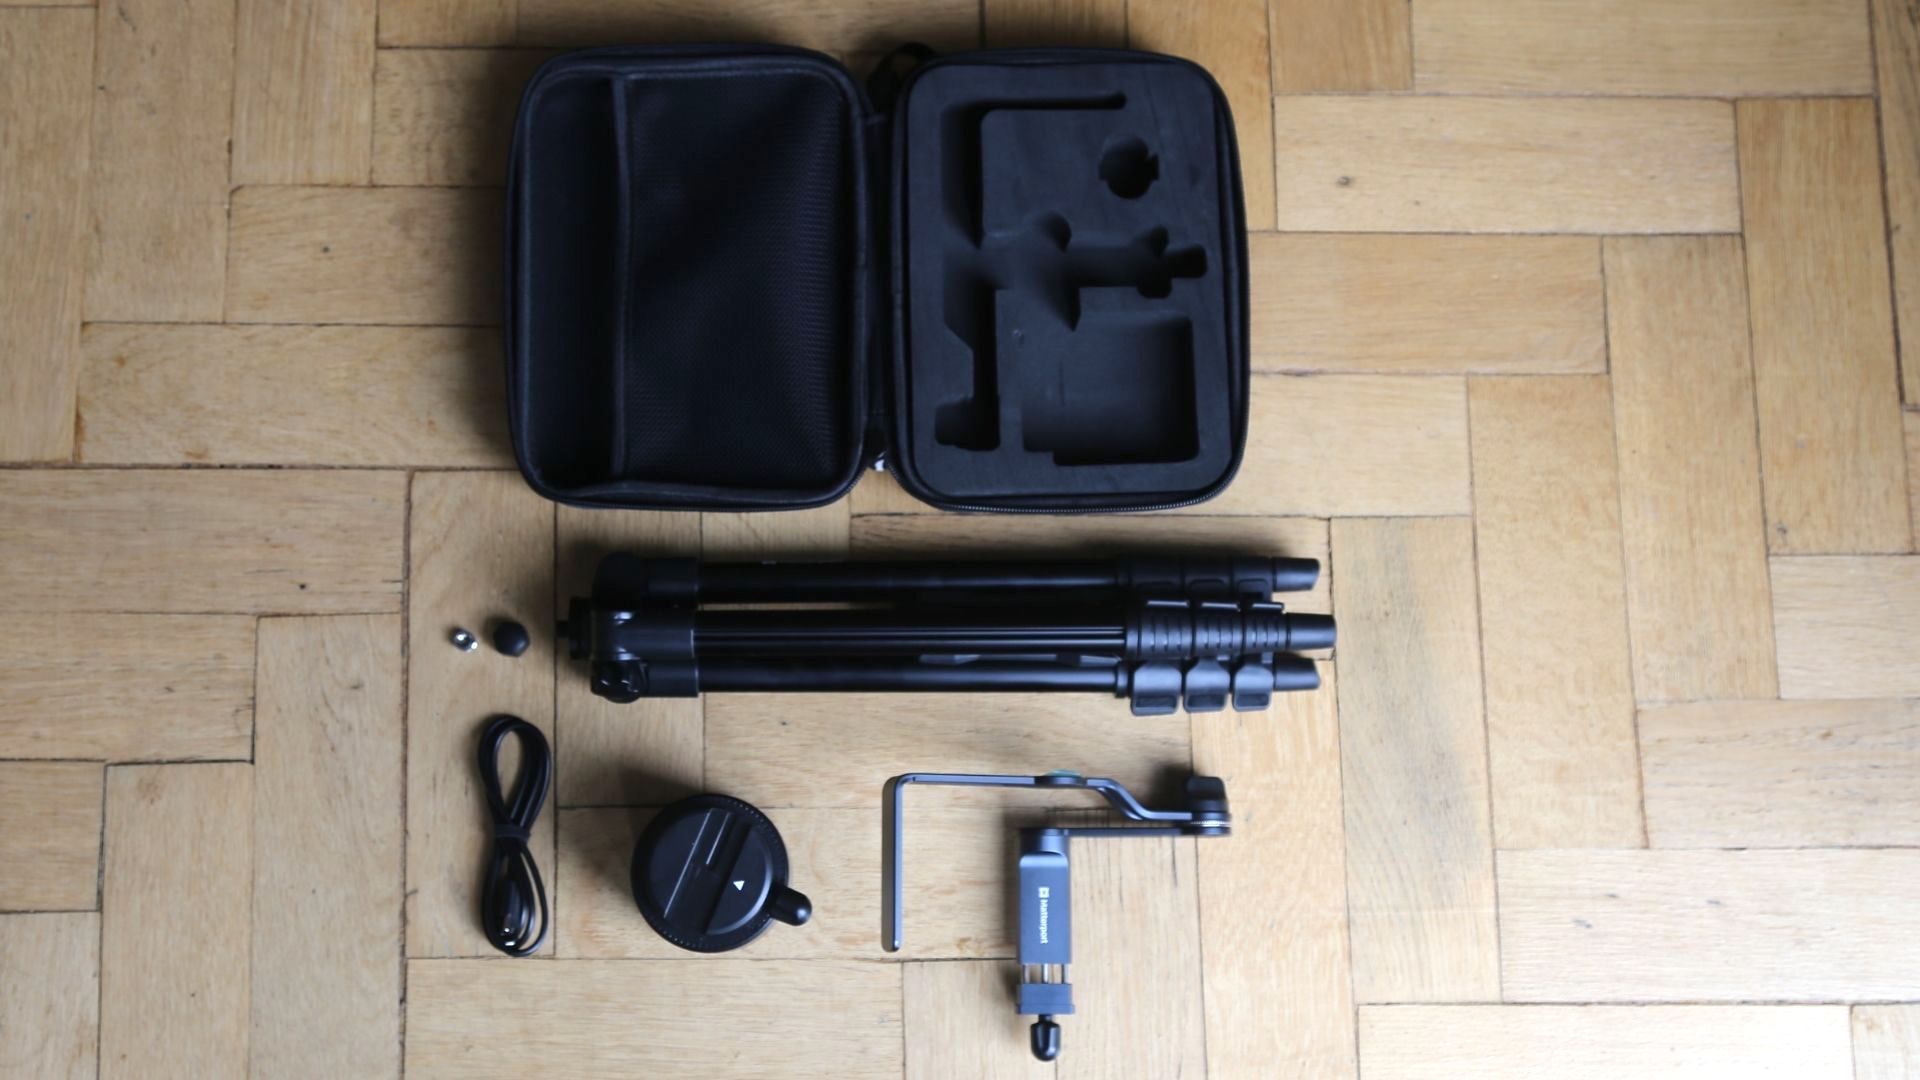
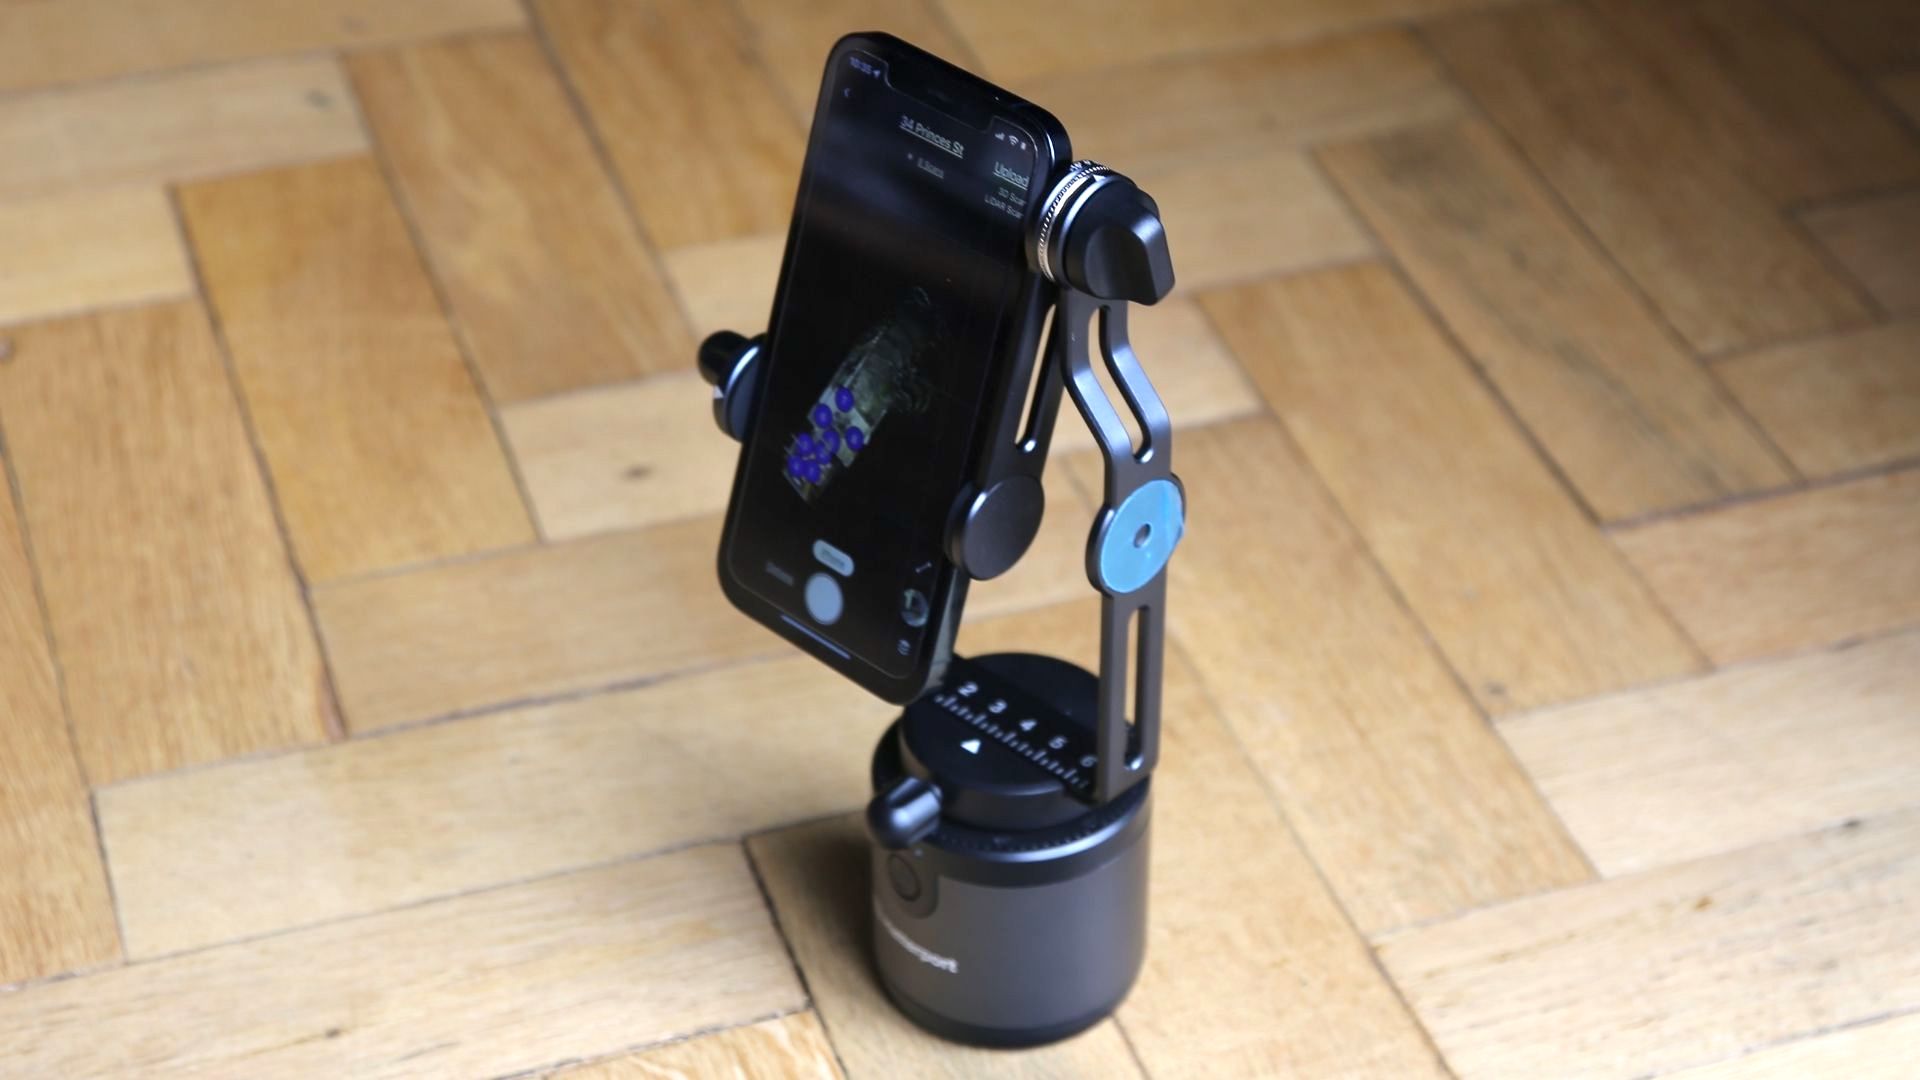
The device comes in four parts; a motorised mount, smartphone clamp, a small puck-style Bluetooth remote and a tripod. The mount weighs 258g, with the main circular part about half the size of a coffee cup. It recharges using USB-C. Attaching to the motor is a small gimbal-like clamp weighing 150g, though it does little more than grip a smartphone – of any size, thankfully – and position it in portrait orientation at any angle depending on the room. The Bluetooth remote is tiny and, thankfully, magnetic so can be left attached to the clamp when not being used. It’s a strong bond.
The tripod weighs just 484g and folds-up to 35.5 cm/14” for decent portability. You can then extend it to a maximum height of 100 cm/39” and then unfurl the centre column to a further 22cm/ 8.5”. However, there are reasons why you may not want to do that. It’s fixed with a standard 1.4-inch tripod thread, but also comes with a 3/8-inch adaptor.
Once you’ve set everything up the Matterport Capture app uses infrared to calculate distances (and LiDAR outside, if your phone has that) to create a depth map, with each additional image you take of a room helping it to create a 3D map.
Build and handling
The main problem with using a tripod for producing this kind of content is that you have to keep on repositioning it in different parts of the property, which naturally will include tight spaces and stairs that only advanced tripods can cope with. So the rather basic tripod on offer here is the least impressive part of the package simply because it's rather flimsy. Although it’s perfectly usable 95% of the time we found that the tripod wobbled a bit in a windy garden despite using it as low as possible; it might be wise to use a sturdier tripod outside.
The motorised mount and clamp ship in a protective case complete with foam inserts, so nothing is ever going to get damaged. It weighs 330g and is pretty bulky. Arguably, it's overkill and it also badly needs a zipped area to store the 3/8-inch tripod adaptor, rubber cover for the mount’s tripod thread and the USB-C cable for recharging.
Our only other issue with the hardware was the knob used to reposition a smartphone, which is rather stiff.
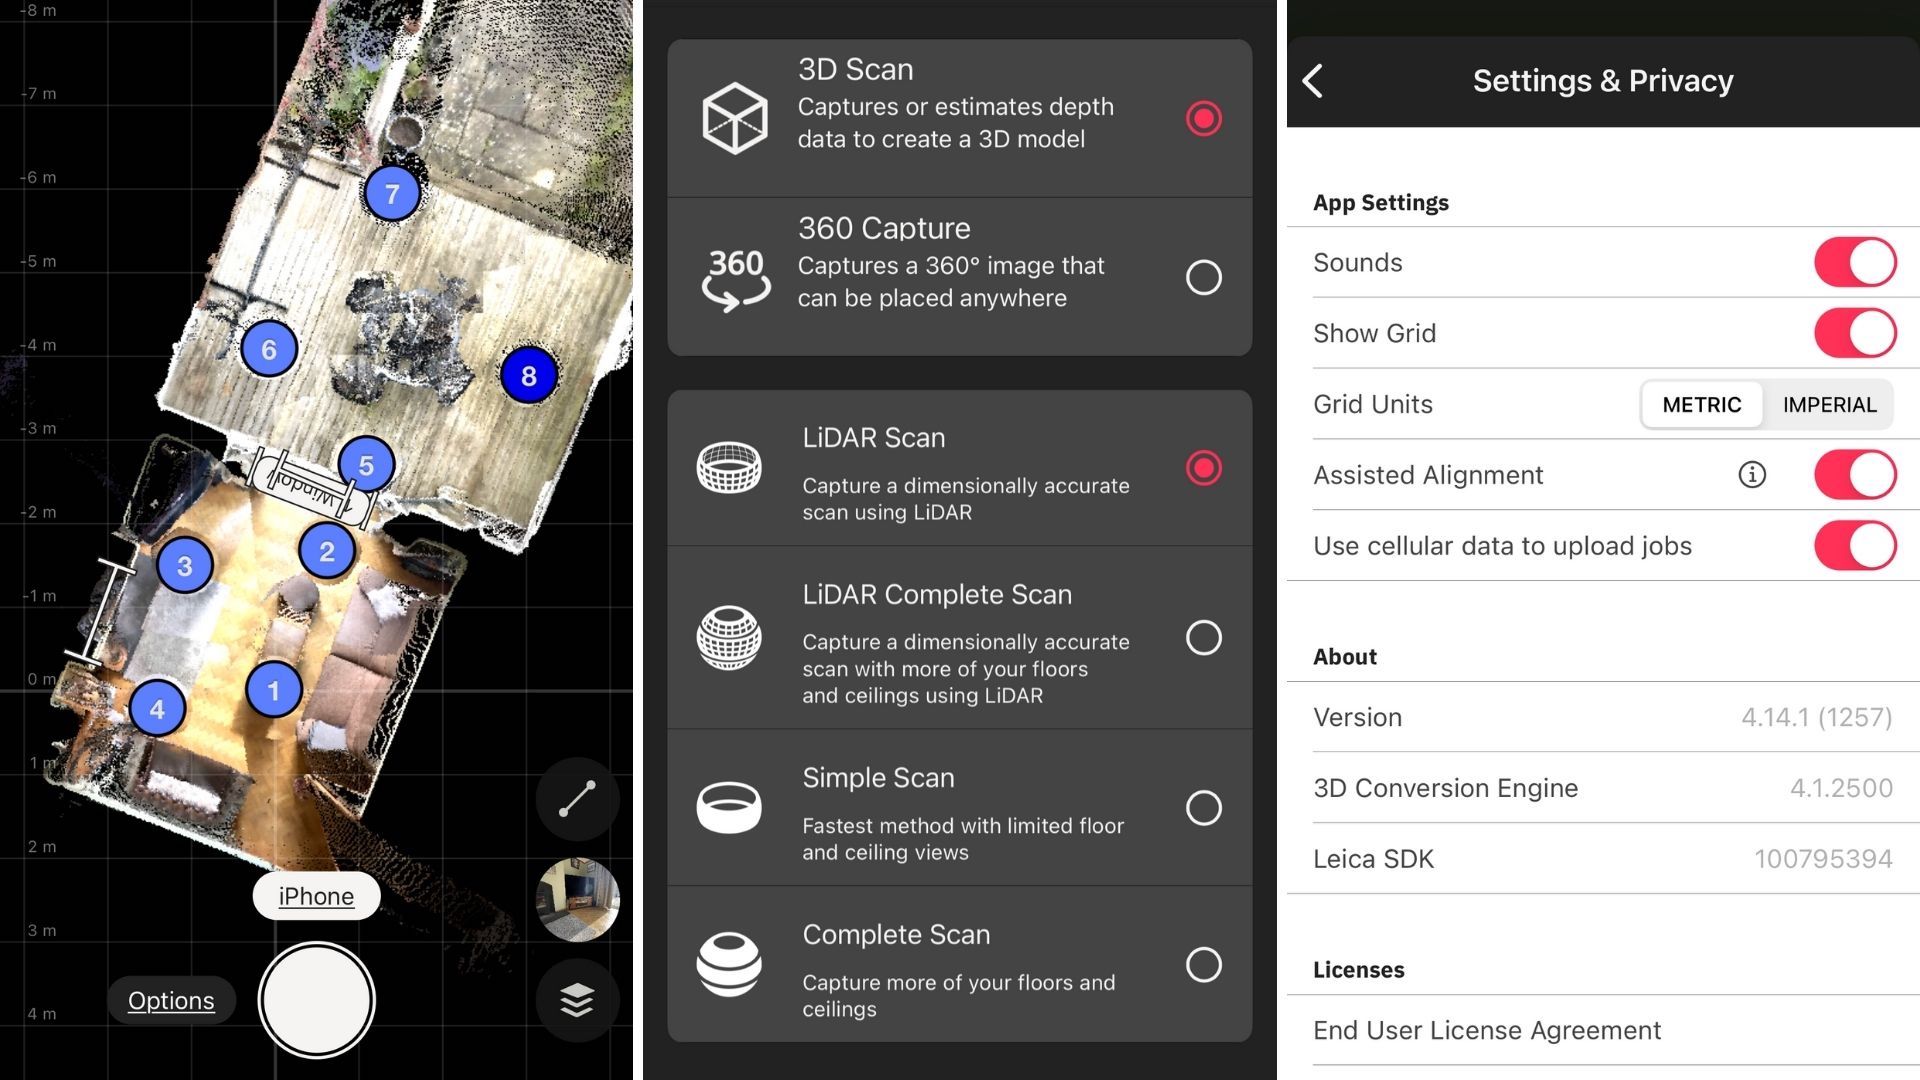
Once the simple rig is set-up you can take 3D scans, 360º photos, and choose from a LiDAR scan, a LiDAR complete scan (which scans more or floors and ceilings), and between a simple (fast) and complete (slower) scan.
Battery life is reasonable; we got half-way through the battery during our test during which we mapped the ground floor of a property that included five rooms and a garden. SO it might be wise to pack a portable battery to recharge it if you have a big project.
Performance
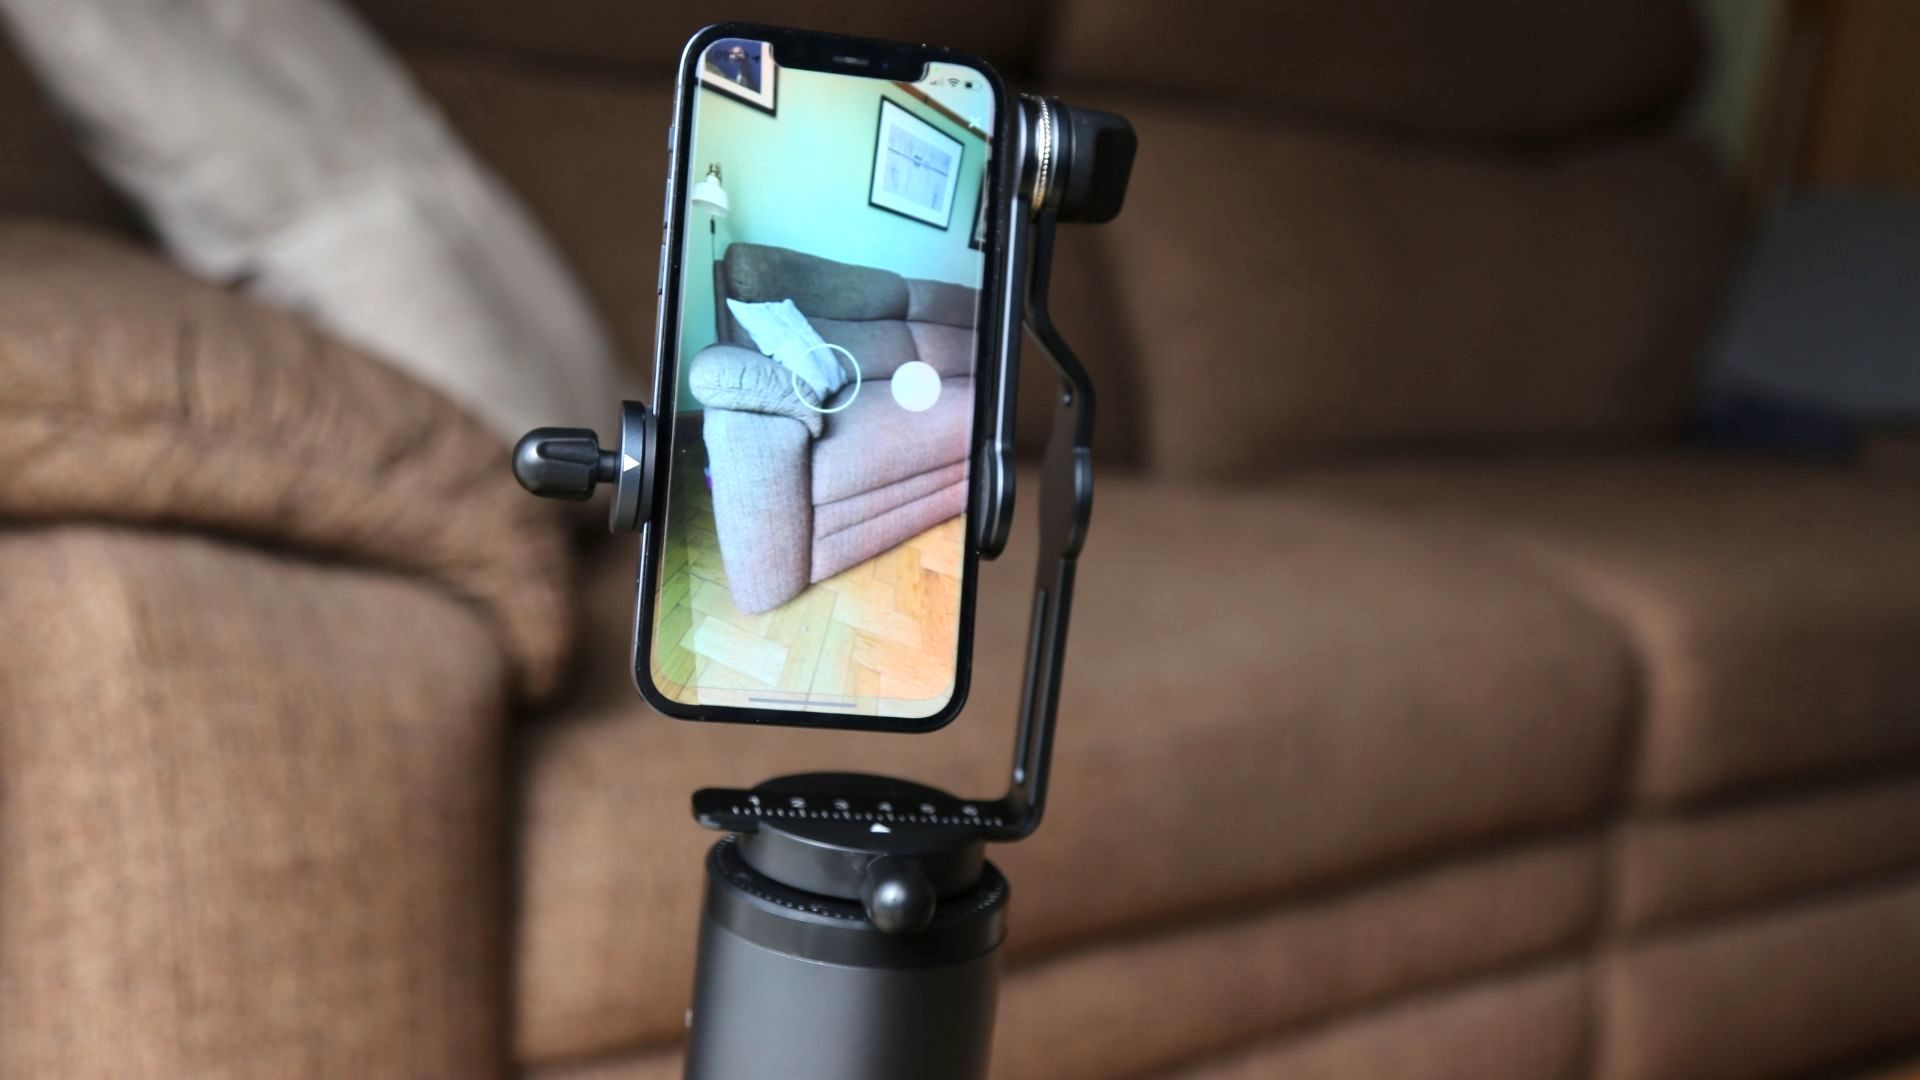
The Matterport Axis is super-easy to use. First, there’s a rudimentary process of lining up the wide-angle lens of a phone’s camera with part of the mount and then aligning it with the centre of the tripod – both done by eye – then tilting it to align with a circle and dot on the app.
After beginning a new project on the app – which can then geo-tag you with the address you’re standing in – you just press ‘go’. You can either use the Bluetooth remote supplied to start the process as you exit the room and hide for about a minute, or you can simply stay screen-side out of shot and follow the device as it does its thing.
Once it’s completed its scan you simply move the entire rig about five feet away and repeat the process. In a small room you're going to be doing this about four or five times, but in a large space perhaps as many as 20. Either way, what you get immediately after taking the first scan is a 3D depth map of the space you're in. Each additional scan simply refines the detail and dimensions, and gives extra positions for viewers to click on as they walk-though your property Google Street View-style.
Before you upload the completed scan of the room to your Matterport account on the cloud, it's advisable to manually add windows and mirrors, something that’s easy to do and which helps the app more easily figure out light levels and stitching. It also helps the app figure out where the transitions are between rooms so it can create a seamless 3D walk-through by linking up all of the rooms.
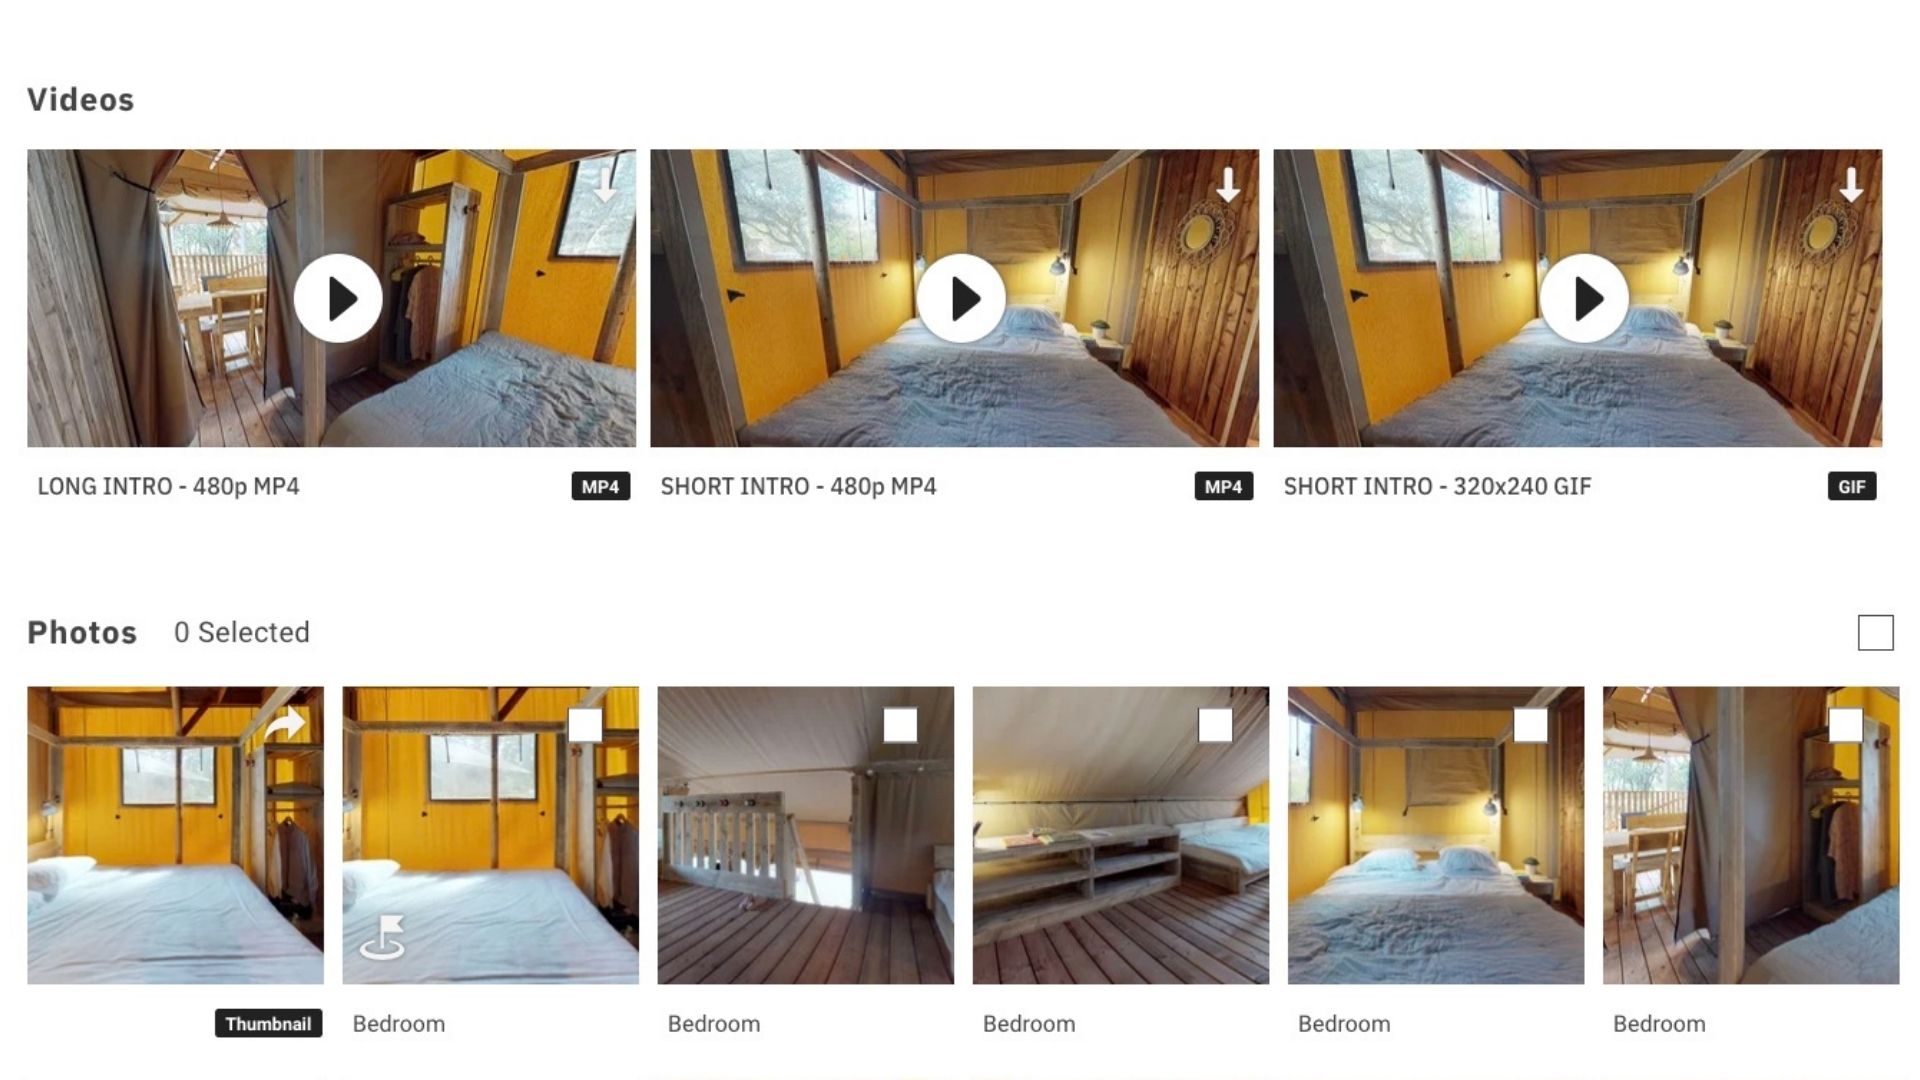
The scans we did – in a relatively bright room – were pin-sharp and superbly stitched, with zero visible errors. The magic then happens when you upload your project to the cloud, where your raw data is instantly turned into a series of videos and photos – and even a lo-res gif – that can be easily shared and downloaded. The videos include 3D walk-throughs and ‘dolls house’ views of the entire room or property. It’s a huge time-saver.
Our only real criticism of this process is that annotating a 3D scan on a smartphone while it's in a cradle on a tripod isn't the easiest thing in the world. There's also a consideration that you may want to use your smartphone for other things during the scanning process, in which case it may be sensible to use a separate smartphone for use with the Matterport Axis.
Verdict
We enjoyed using the Matterport Axis and not only because it's more affordable than a 360° camera. As well as being expensive, the latter can often produce rather low resolution and slightly warped images that include stitching errors.
Capable of a lot more detail and precision, the Matterport Axis makes the entire process hands-free and produces accurate, superbly stitched and thoroughly professional-looking 3D scans. We also love the Matterport AI platform that instantly creates 3D walk-throughs, videos and photos that are easy to download and share.
Read more:
• Best 360 cameras
• Best camera phones
• Best iPhone tripods
• Best camera gimbals

Jamie has been writing about photography, astronomy, astro-tourism and astrophotography for over 15 years, producing content for Forbes, Space.com, Live Science, Techradar, T3, BBC Wildlife, Science Focus, Sky & Telescope, BBC Sky At Night, South China Morning Post, The Guardian, The Telegraph and Travel+Leisure.
As the editor for When Is The Next Eclipse, he has a wealth of experience, expertise and enthusiasm for astrophotography, from capturing the moon and meteor showers to solar and lunar eclipses.
He also brings a great deal of knowledge on action cameras, 360 cameras, AI cameras, camera backpacks, telescopes, gimbals, tripods and all manner of photography equipment.
