I just discovered this new tool for removing dust from my photos – and it's magic!
How Retouch4me's Dust plug-in kills two birds with one stone
The best camera deals, reviews, product advice, and unmissable photography news, direct to your inbox!
You are now subscribed
Your newsletter sign-up was successful
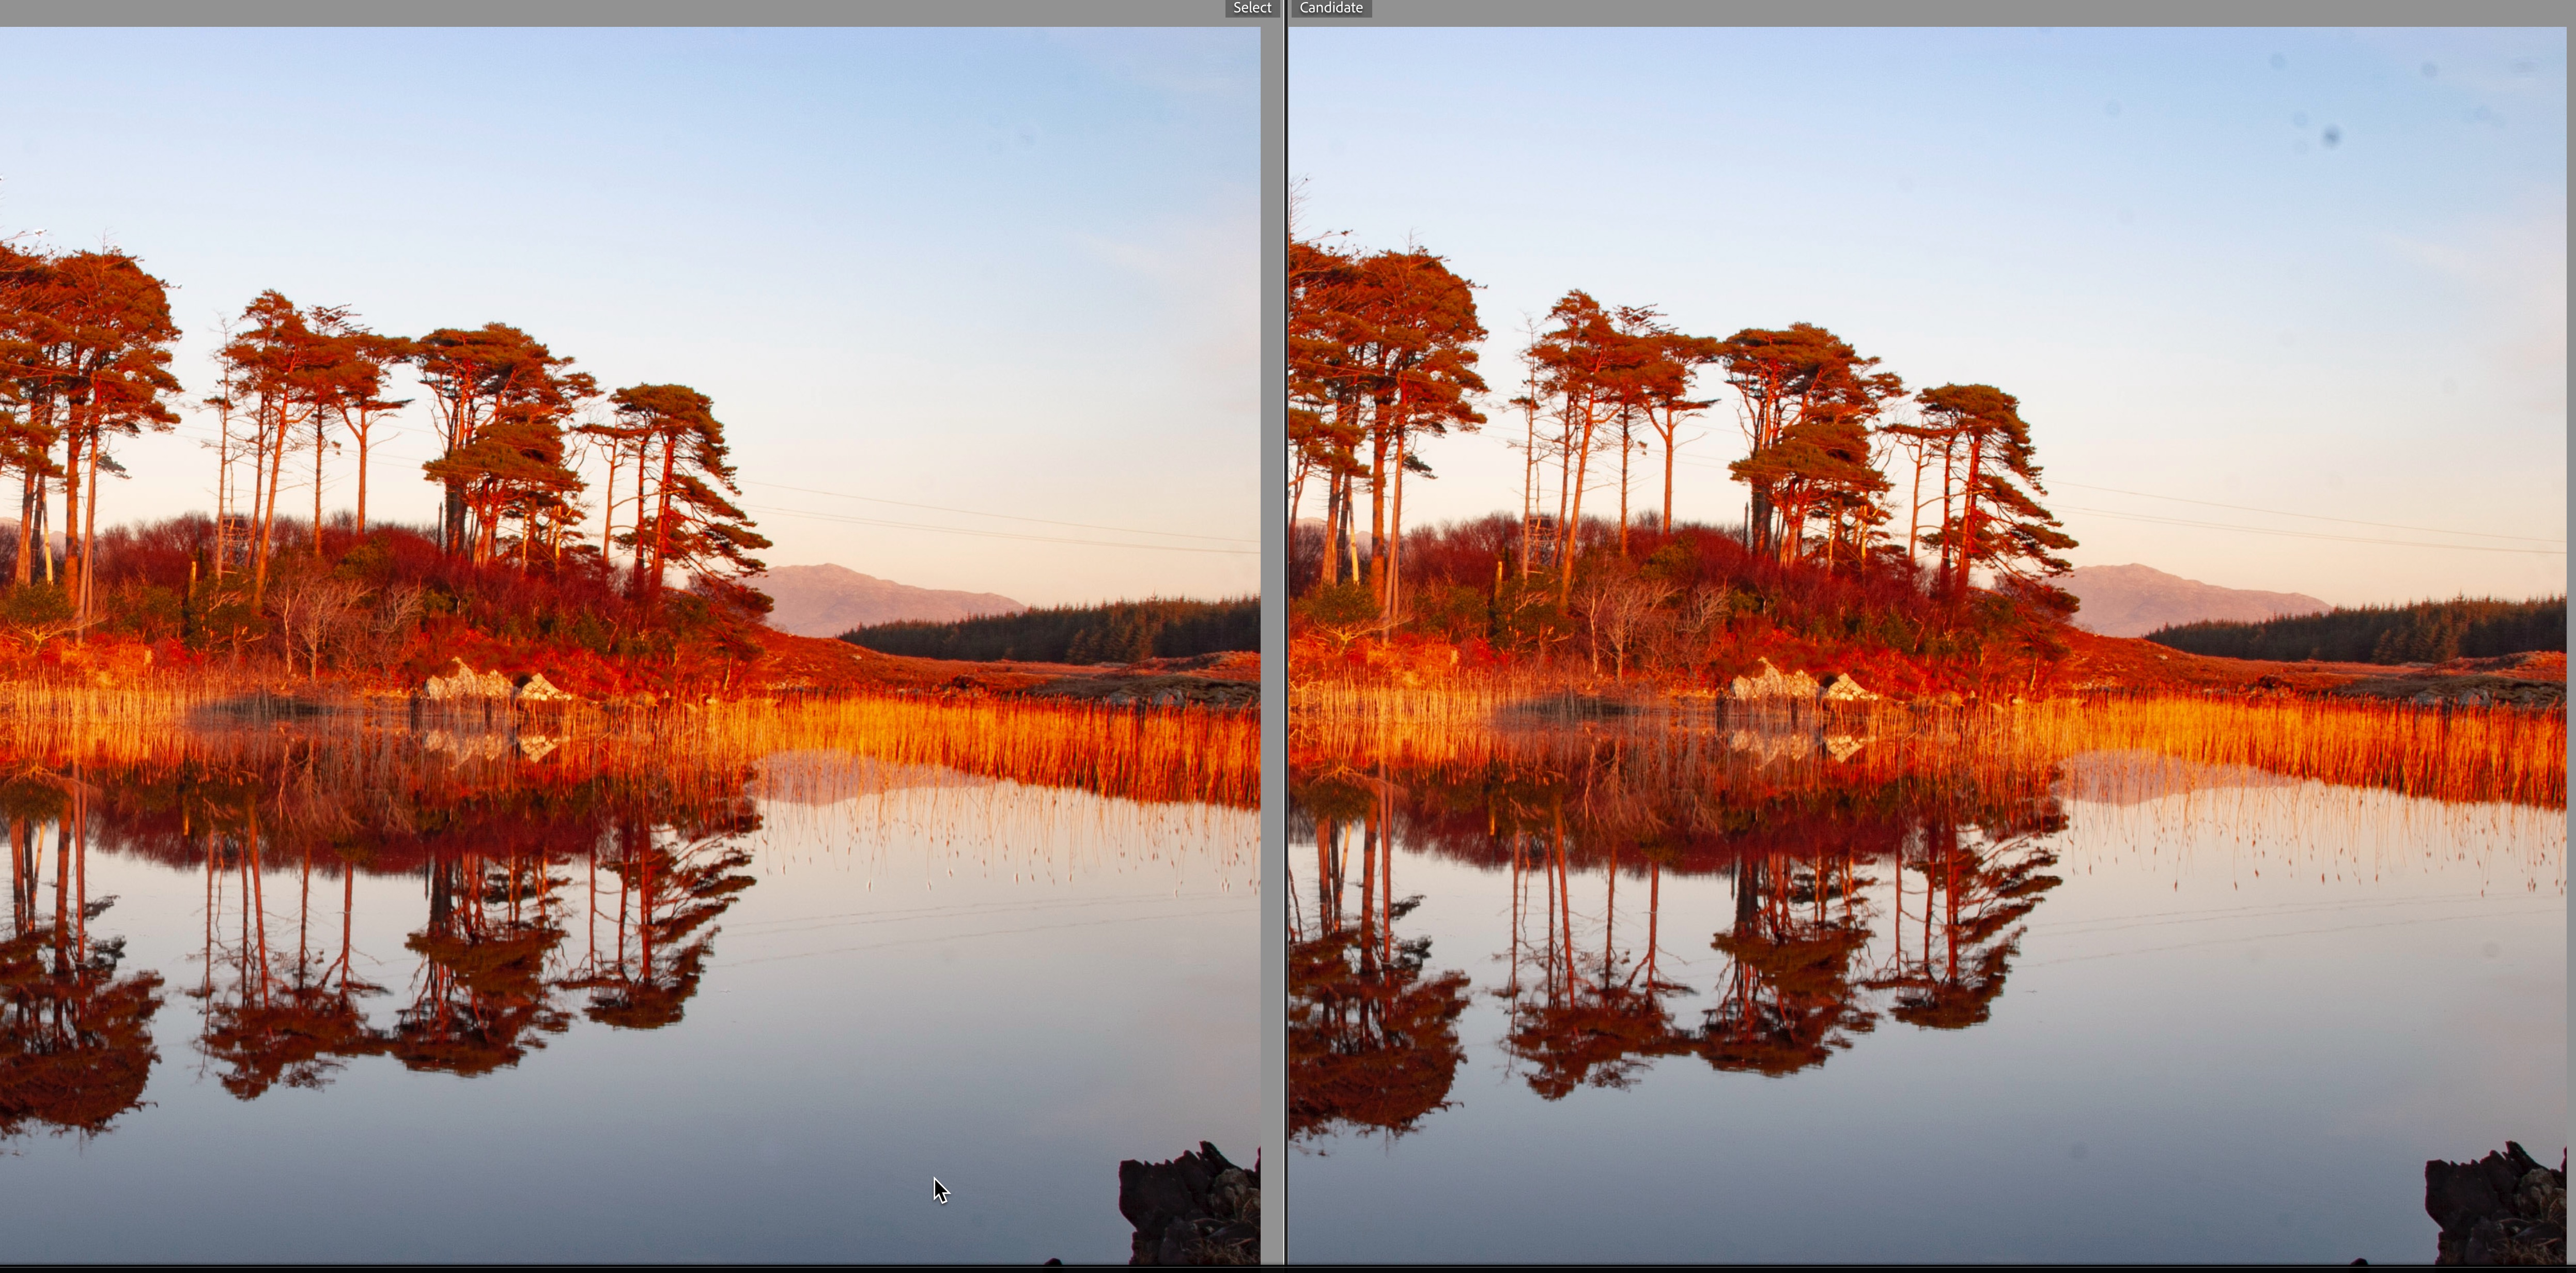
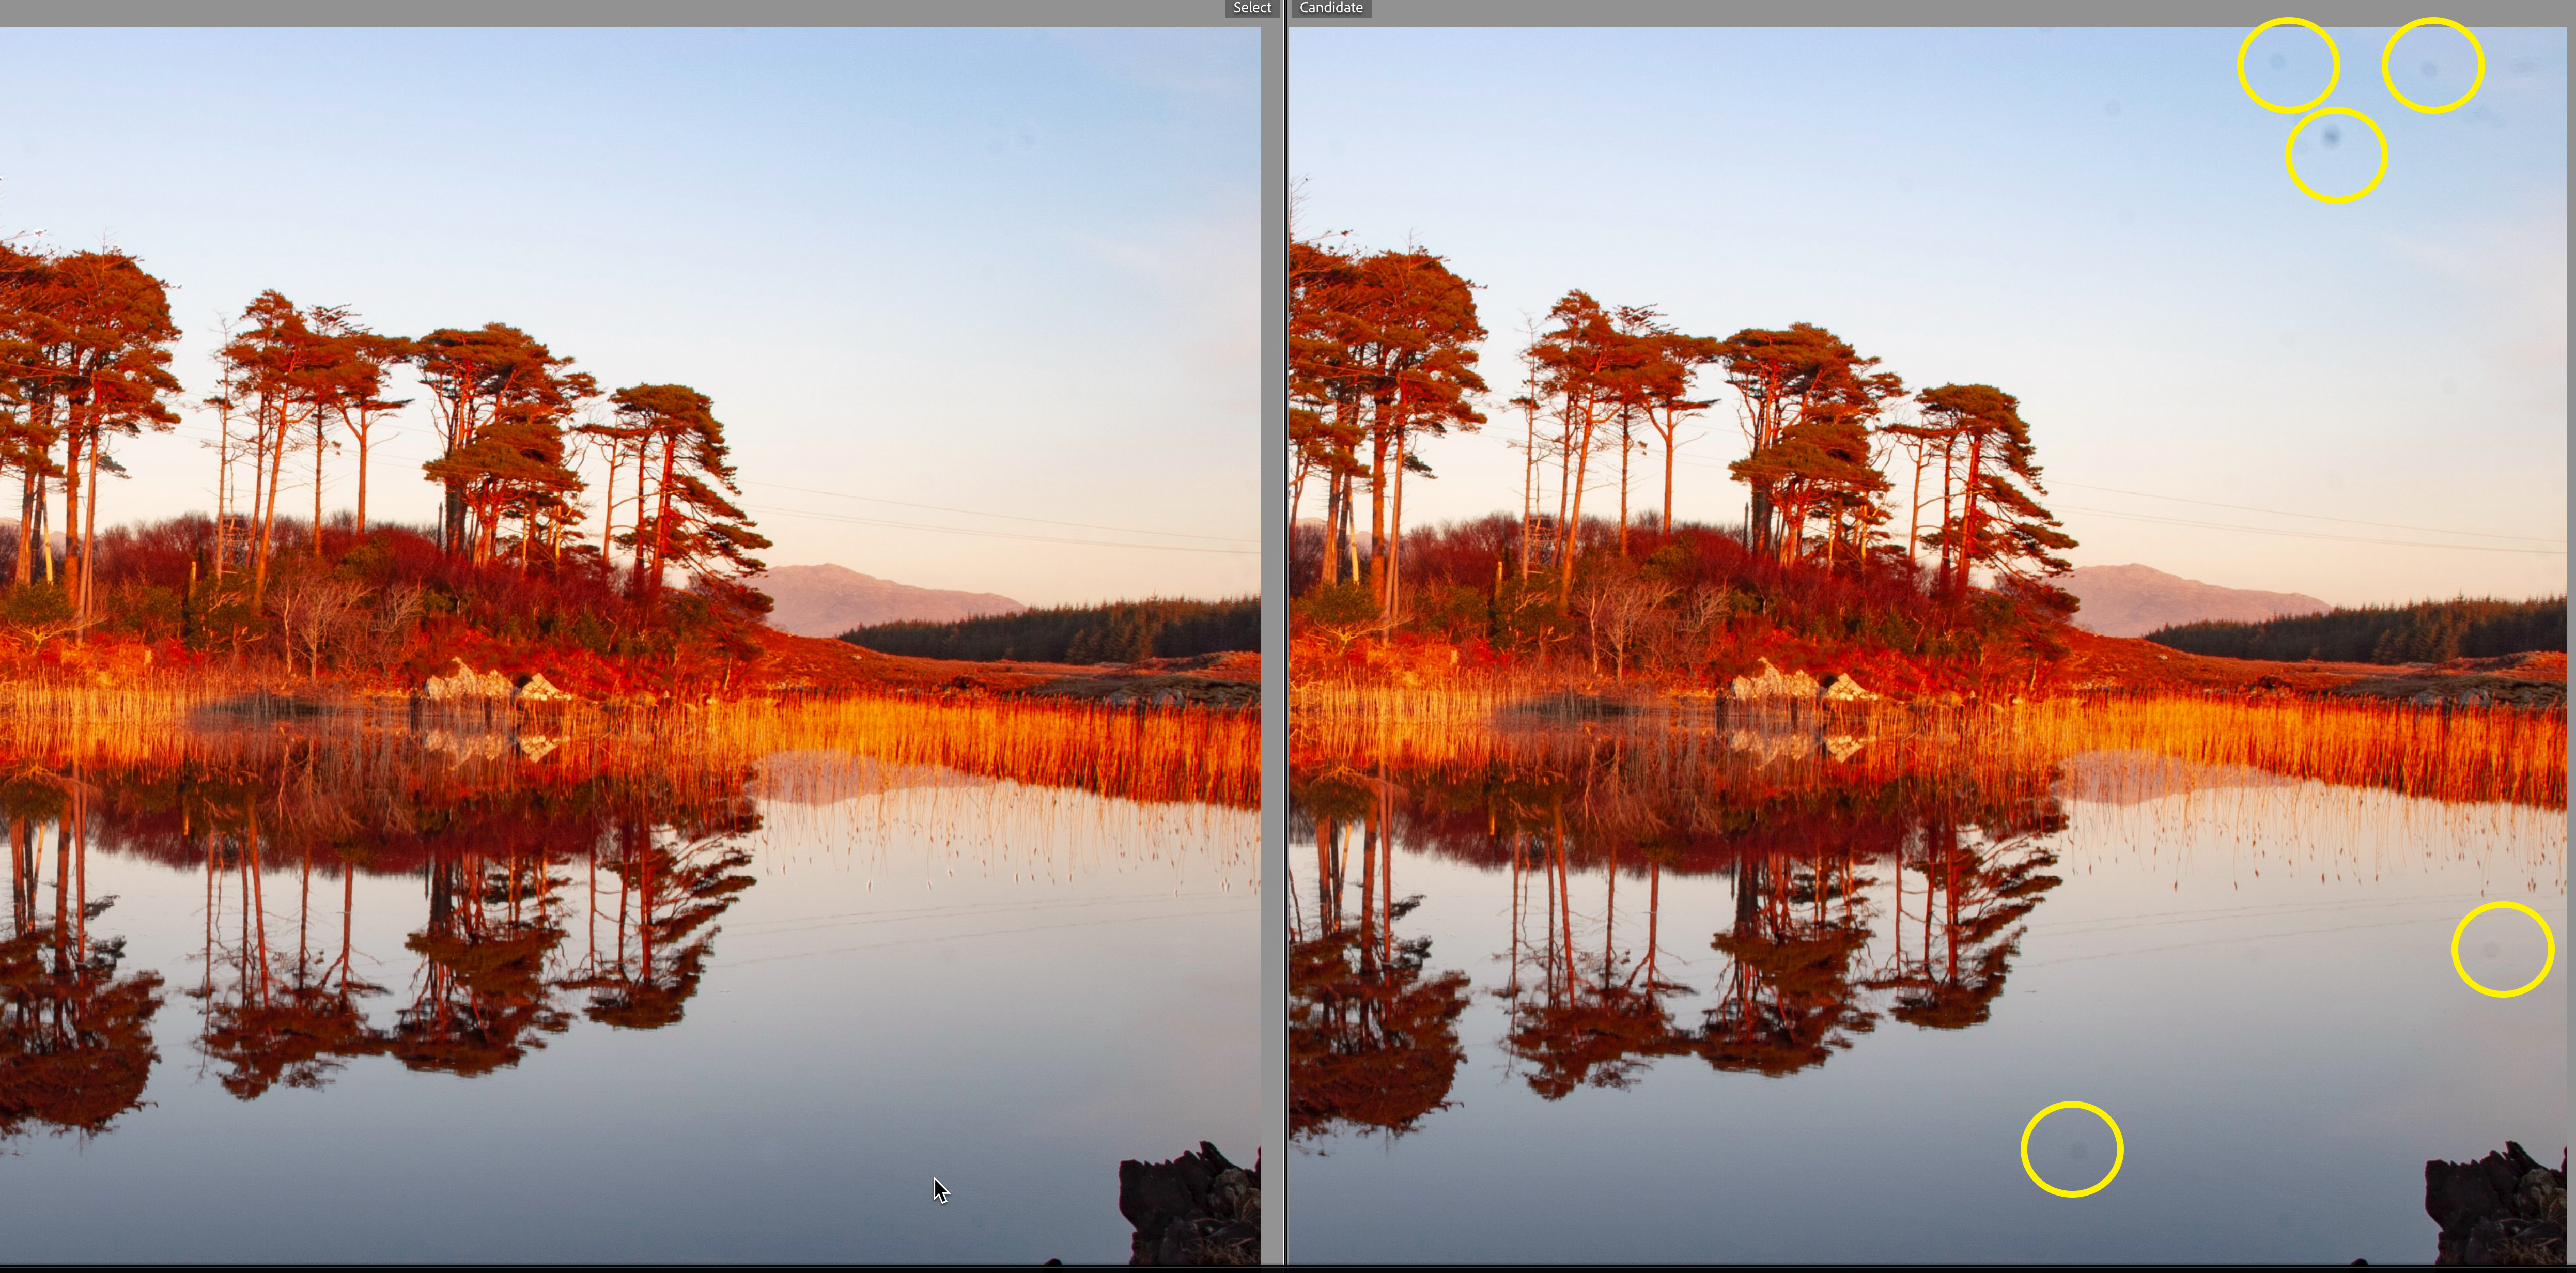
Every photographer knows the pain. You're editing what you thought was the perfect shot when you spot them: those annoying little dark spots, scattered across your image like unwanted confetti. Sensor dust. The eternal enemy of clean, pristine photography.
Sensor dust is inevitable. Fortunately, sensor cleaning is straightforward, especially with mirrorless cameras – but sometimes you don't notice those dust bunnies until you're already in the field.
It’s not just dust; the issue extends beyond the sensor. As product photographers know, dust and hairs appear on backgrounds, surfaces and products during shoots, regardless of how clean your sensor is or how often you squeeze your Rocket Blower. White gloves and a clean environment help, but it’s still right there.
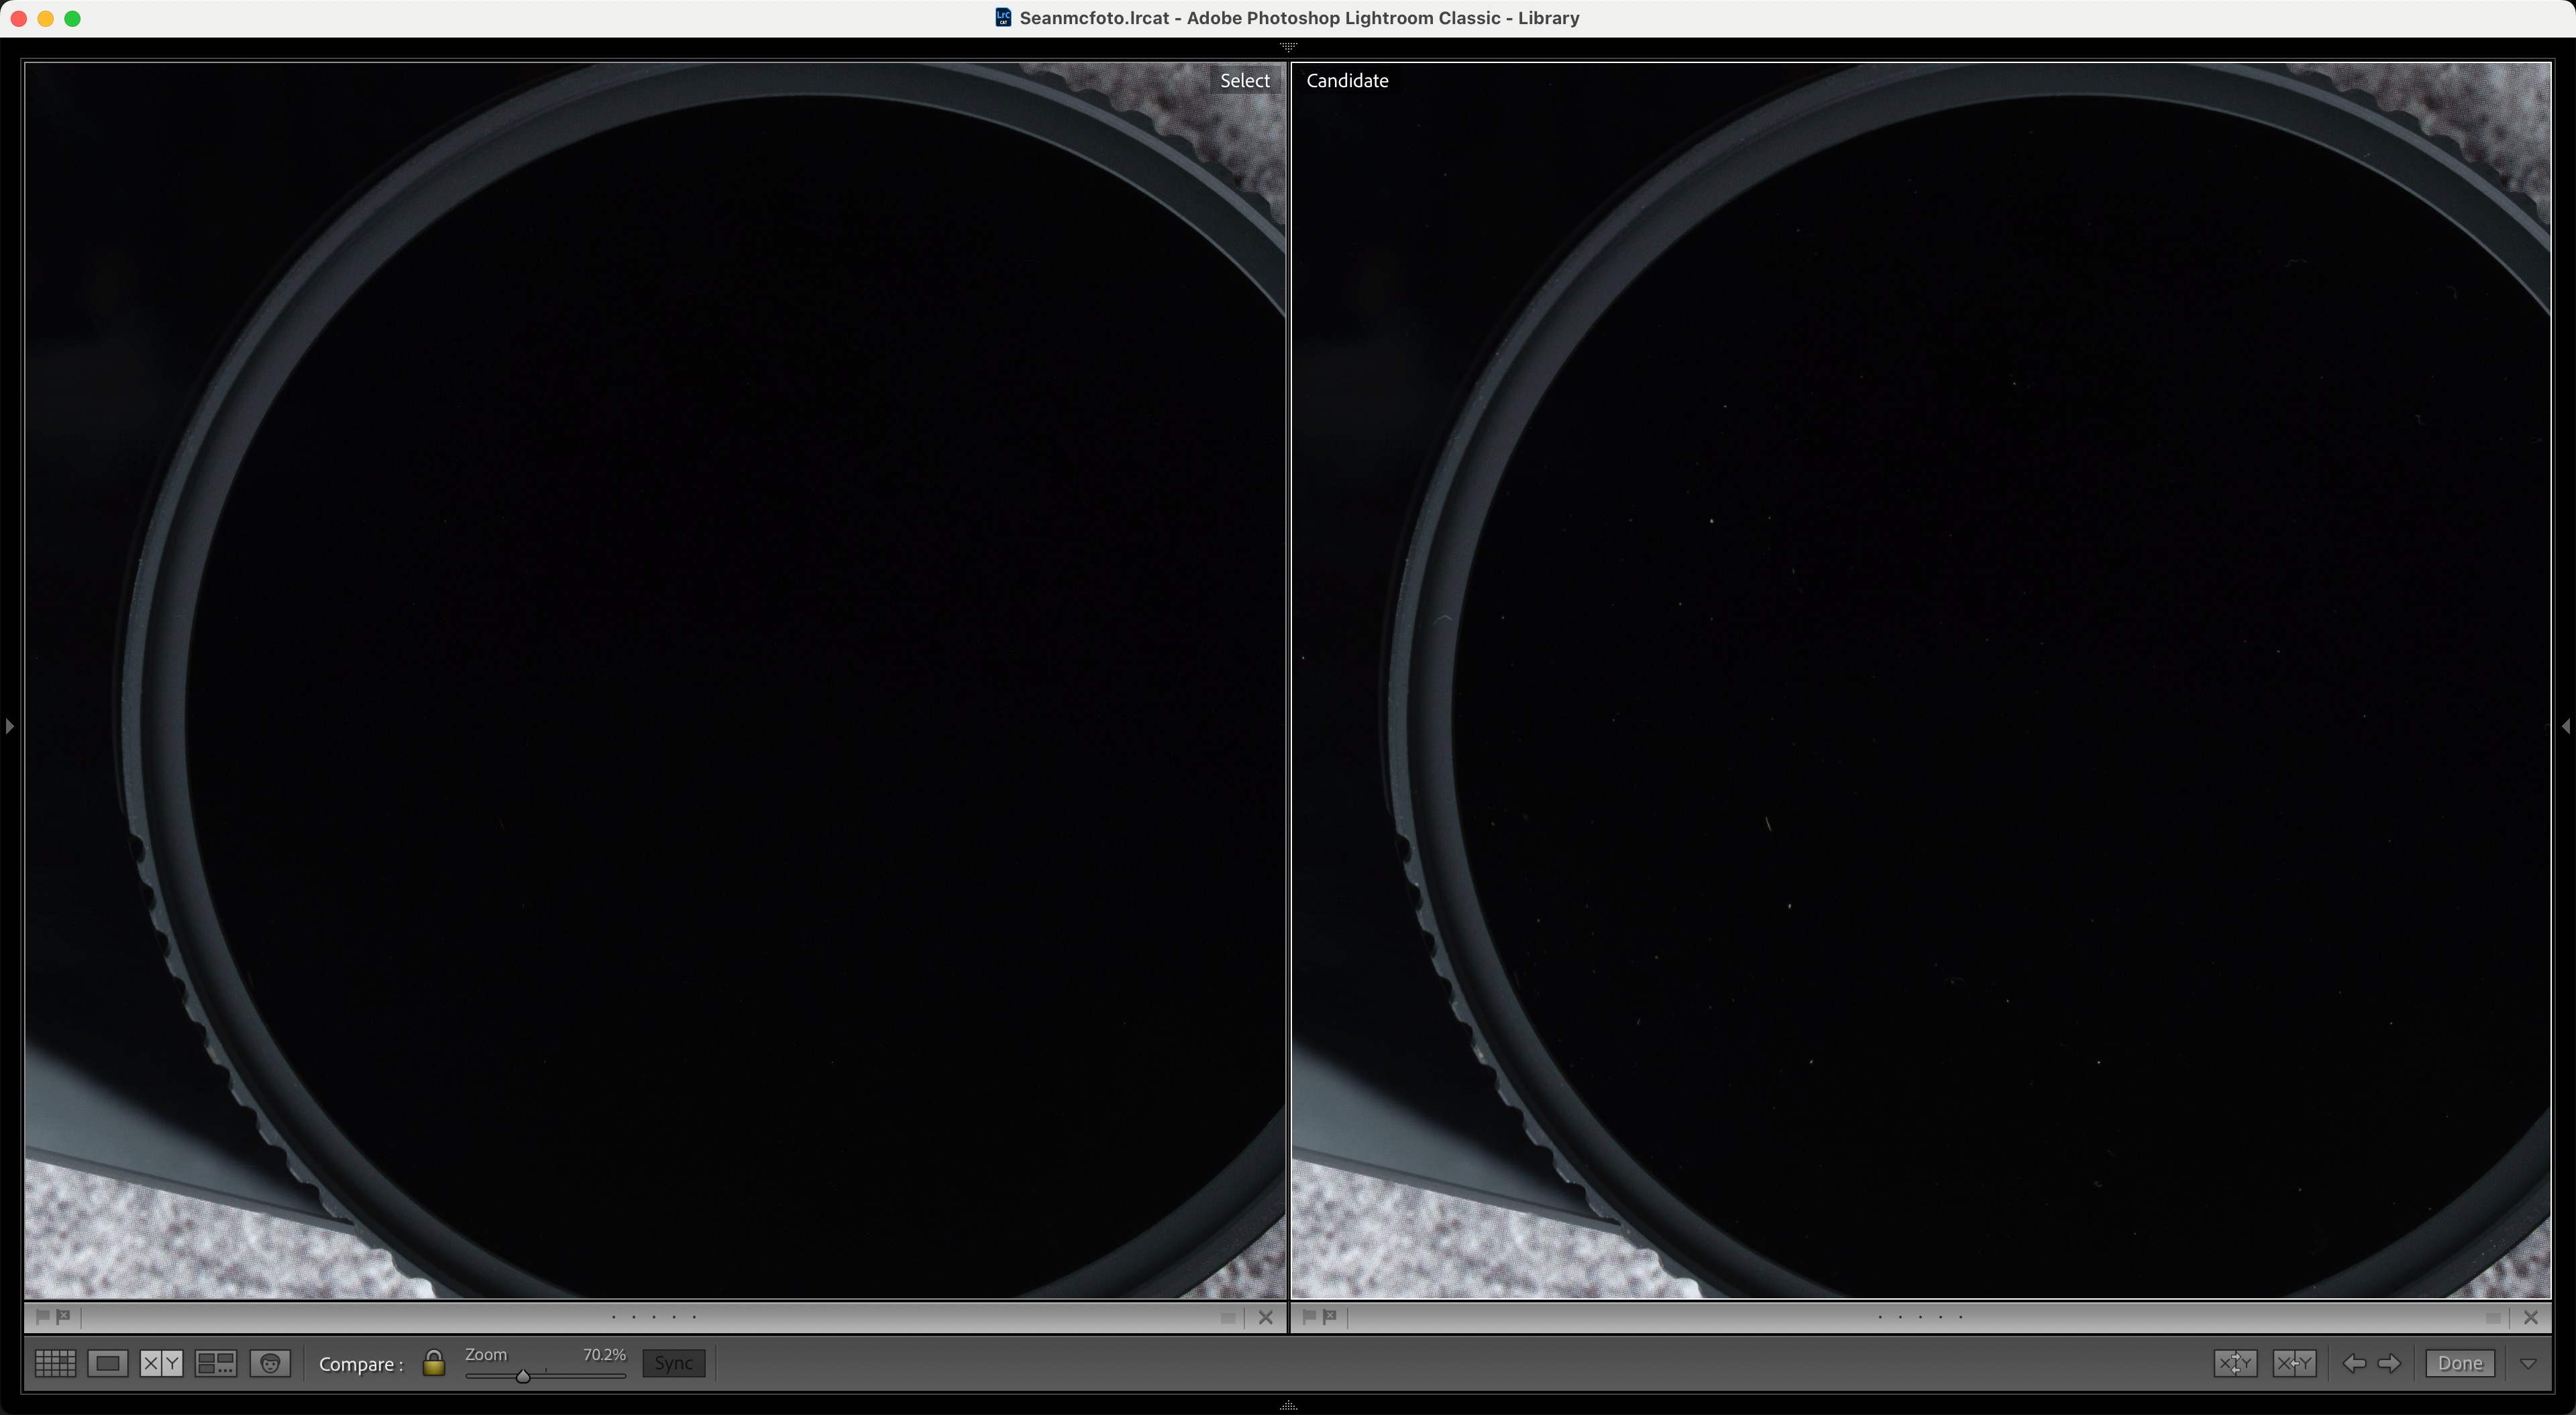
Studio lighting reveals every speck on backgrounds, products and surfaces. What should be a quick edit becomes a tedious spot-removal marathon. A short shoot that can lead to an evening of crying while removing dust and sensor spots.
This is where Dust by Retouch4me comes in. It turns that long, tedious process into a few button clicks.
What makes Dust different?
Retouch4me has built a reputation for creating single-task AI plug-ins that do one thing exceptionally well. Dust follows this philosophy perfectly.
Where Lightroom's spot removal tool requires you to manually identify and click every dust spot, Dust automatically detects and removes them across the entire image. I’m sure sensor dust will get added to Lightroom’s Distraction Removal, but for now it’s all manual.
The best camera deals, reviews, product advice, and unmissable photography news, direct to your inbox!
Retouch4me’s AI has been trained specifically to identify dust, sensor spots and similar artifacts while leaving genuine image details untouched. It's the difference between spending 20 minutes clicking spots and watching the plug-in work its magic in under a minute.
In Practice: where Dust shines
Sensor dust removal is the obvious use case, but I've found Dust invaluable for product photography cleanup. Those pristine white backgrounds that looked perfect during the shoot often reveal dust, lint, and mysterious particles under closer inspection.
Instead of painstakingly removing each speck manually, Dust handles them all in one go. Basically removing things that shouldn’t be there. It ties in well with the Fabric and Clean Backdrop plug-ins as useful but not necessarily glamorous tools..
The Interface: Familiar territory
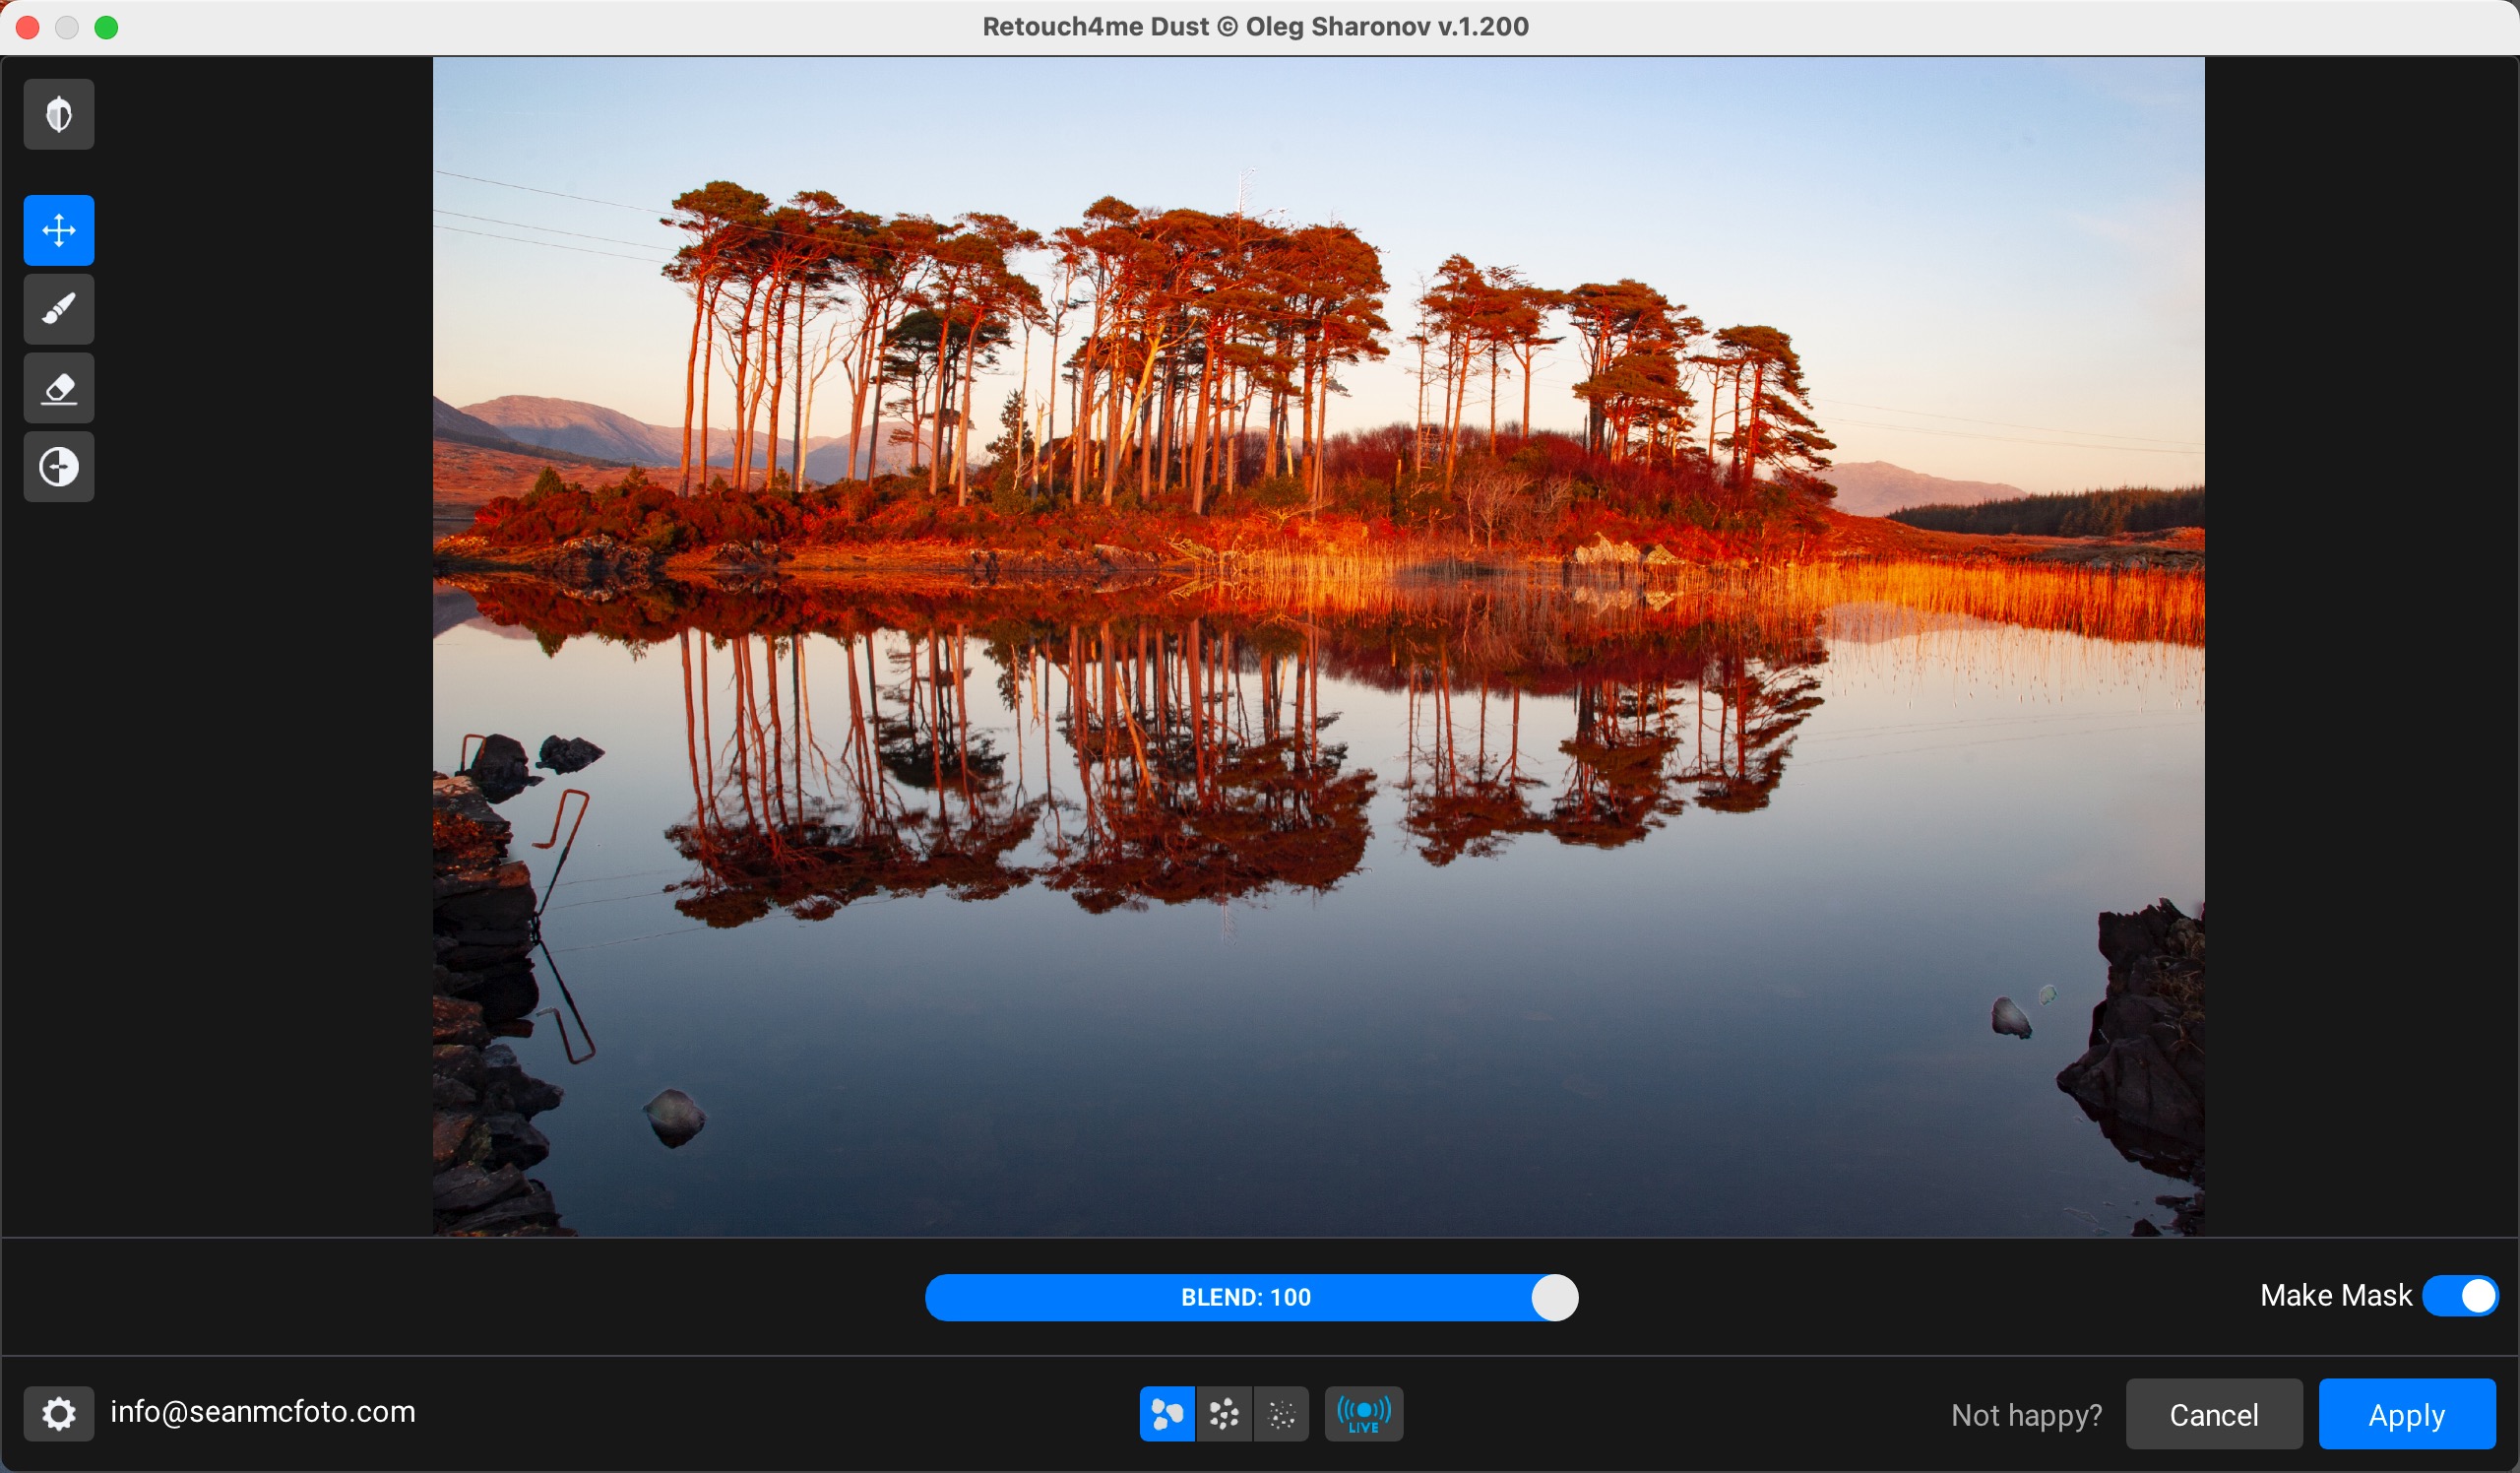
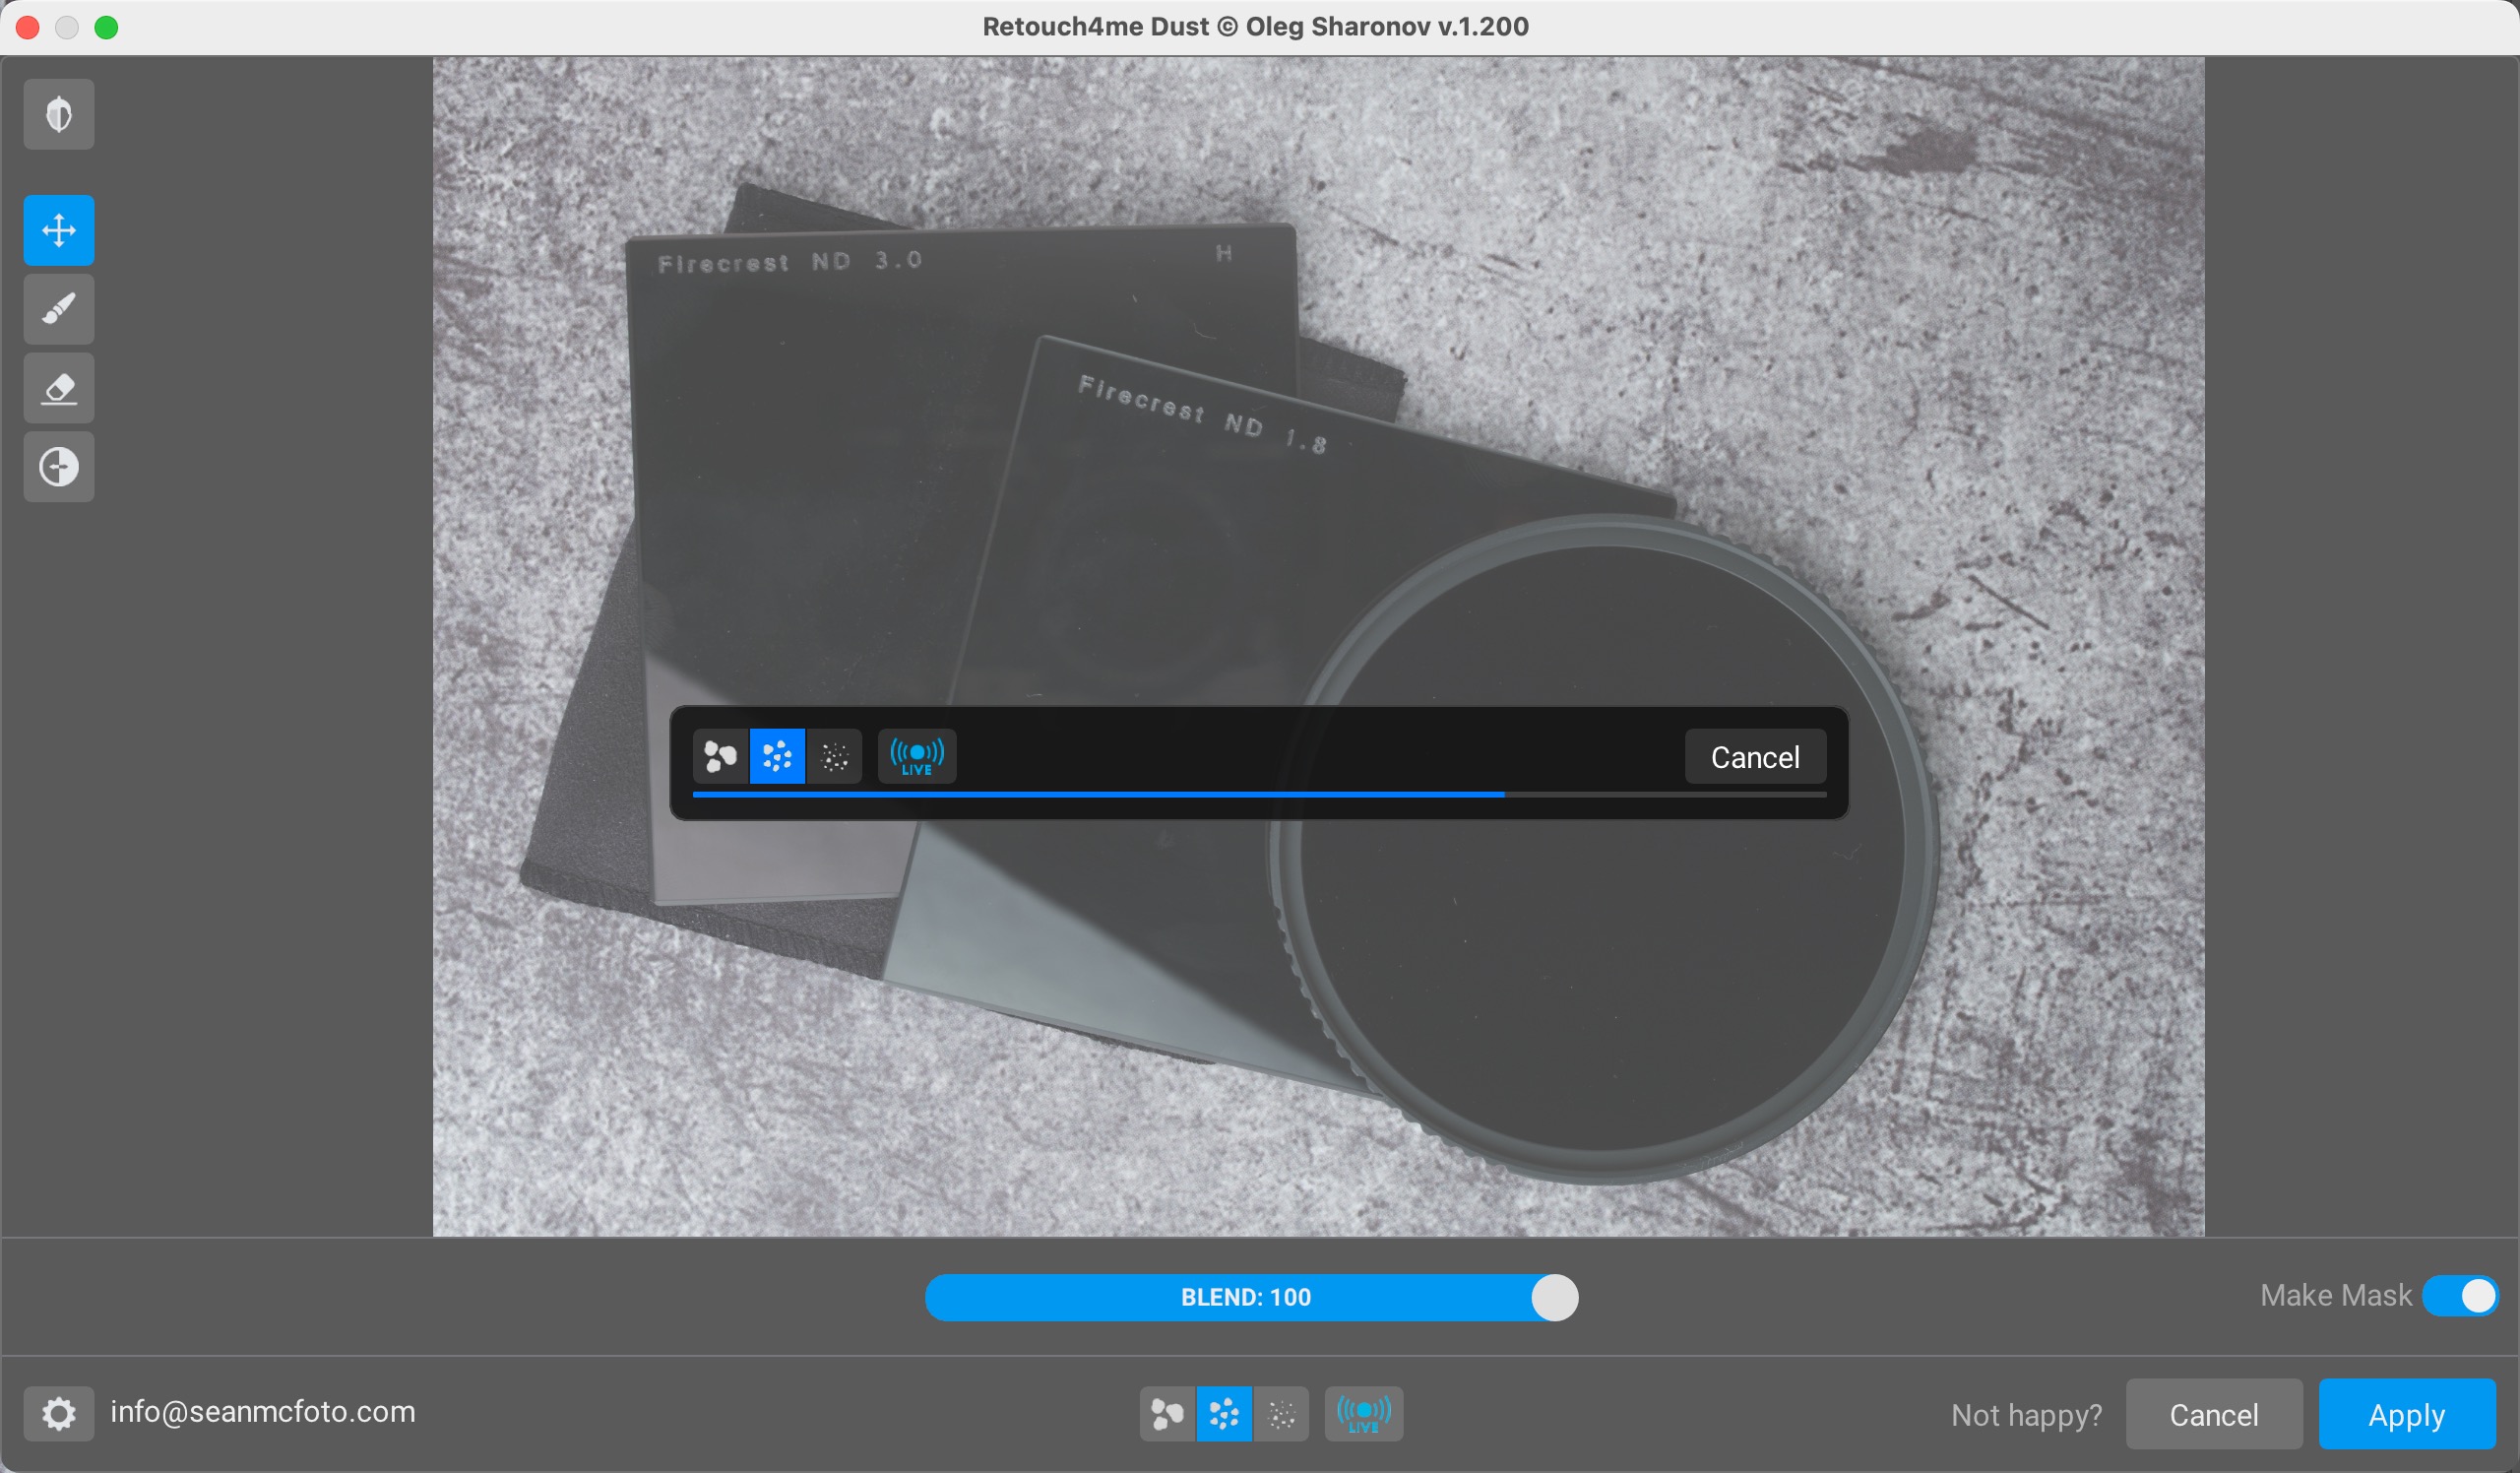
If you've used other Retouch4me plug-ins, the interface will feel immediately familiar. There's the Preview / Original toggle at the top-left, the Blend slider in the center and the Make Mask option that I can't recommend highly enough. I usually leave Blend at 100 and have Make Mask on.
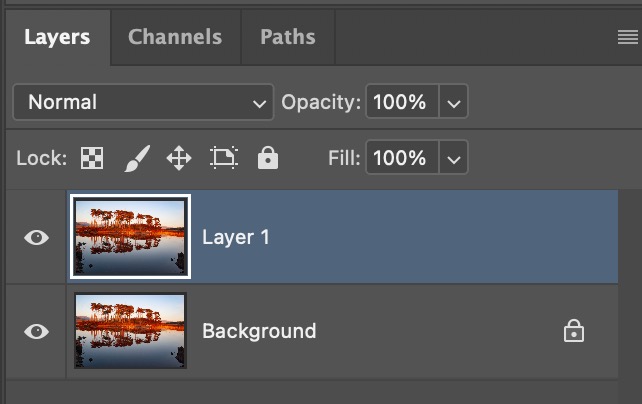
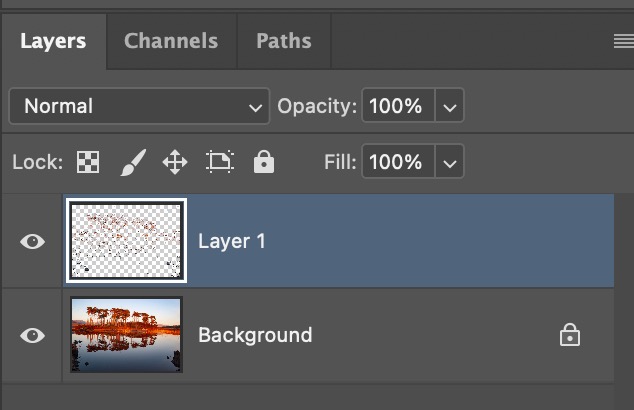
The Make Mask feature returns only the cleaned areas as a separate layer in Photoshop, giving you complete control over the final result. While you can paint out any over-corrections with the plug-in’s eraser, I find this is better done in Photoshop.
Real-world workflow
The bottom line
Retouch4me Dust might seem like a niche tool but, if you've ever spent more than five minutes clicking spots in Lightroom, you understand the problem it solves.
It's particularly valuable for photographers who shoot regularly and deal with consistent dust issues – whether from sensors or shooting environments. It isn’t perfect, but it’s really good and has a track record of maintaining plug-ins.
Like all Retouch4me plug-ins, Dust isn't cheap – costing $124 (around £92 / AU$190) for a perpetual license. But it follows the developer's proven formula: identify a specific, time-consuming problem that every photographer faces, then solve it better than anyone else.
For photographers dealing with regular dust cleanup, the time savings alone justify the investment. Sometimes the best tools are the ones that make annoying problems simply disappear. Dust does exactly that.
Readers can save 20% on Dust and other Retouch4me plug-ins with code DCW20
You might also like…
Check out our guide to the best camera sensor cleaners and, if you prefer to do everything manually, take a look at the best photo editing software.
Sean McCormack is a commercial, and editorial photographer, book author, and regular contributor to Digital Camera magazine based in Galway, Ireland. He has extensive experience with Lightroom, dating back to its original beta version, and has tried out just about every plugin and preset available. His latest book is Essential Development 3: 25 Tips for Lightroom Classic’s Develop Module.
You must confirm your public display name before commenting
Please logout and then login again, you will then be prompted to enter your display name.
