Low light photography: shoot seasonal portraits and holiday headshots
Don't be deterred by the dark! Get great portraits in the winter weather with these low light photography tips
The best camera deals, reviews, product advice, and unmissable photography news, direct to your inbox!
You are now subscribed
Your newsletter sign-up was successful
Watch video: Low light photography portraits
Winter weather is great for capturing low light and nocturnal portraits, but if you've only ever shot with natural light it can be quite a challenge! So we joined Nikon School UK for its course on low-light portraiture to pick up some tips (which, of course, apply to any camera brand, not just Nikon!).
The first thing to consider are the four distinct aspects of light: quality, quantity, direction and color. Even within Nikon School’s London studio in the Centre of Excellence, we saw that there were several different light sources in the room – overhead spotlights, fluorescent lights, even daylight coming through the windows – giving a mix of color temperatures.
• Get more photoshoot ideas
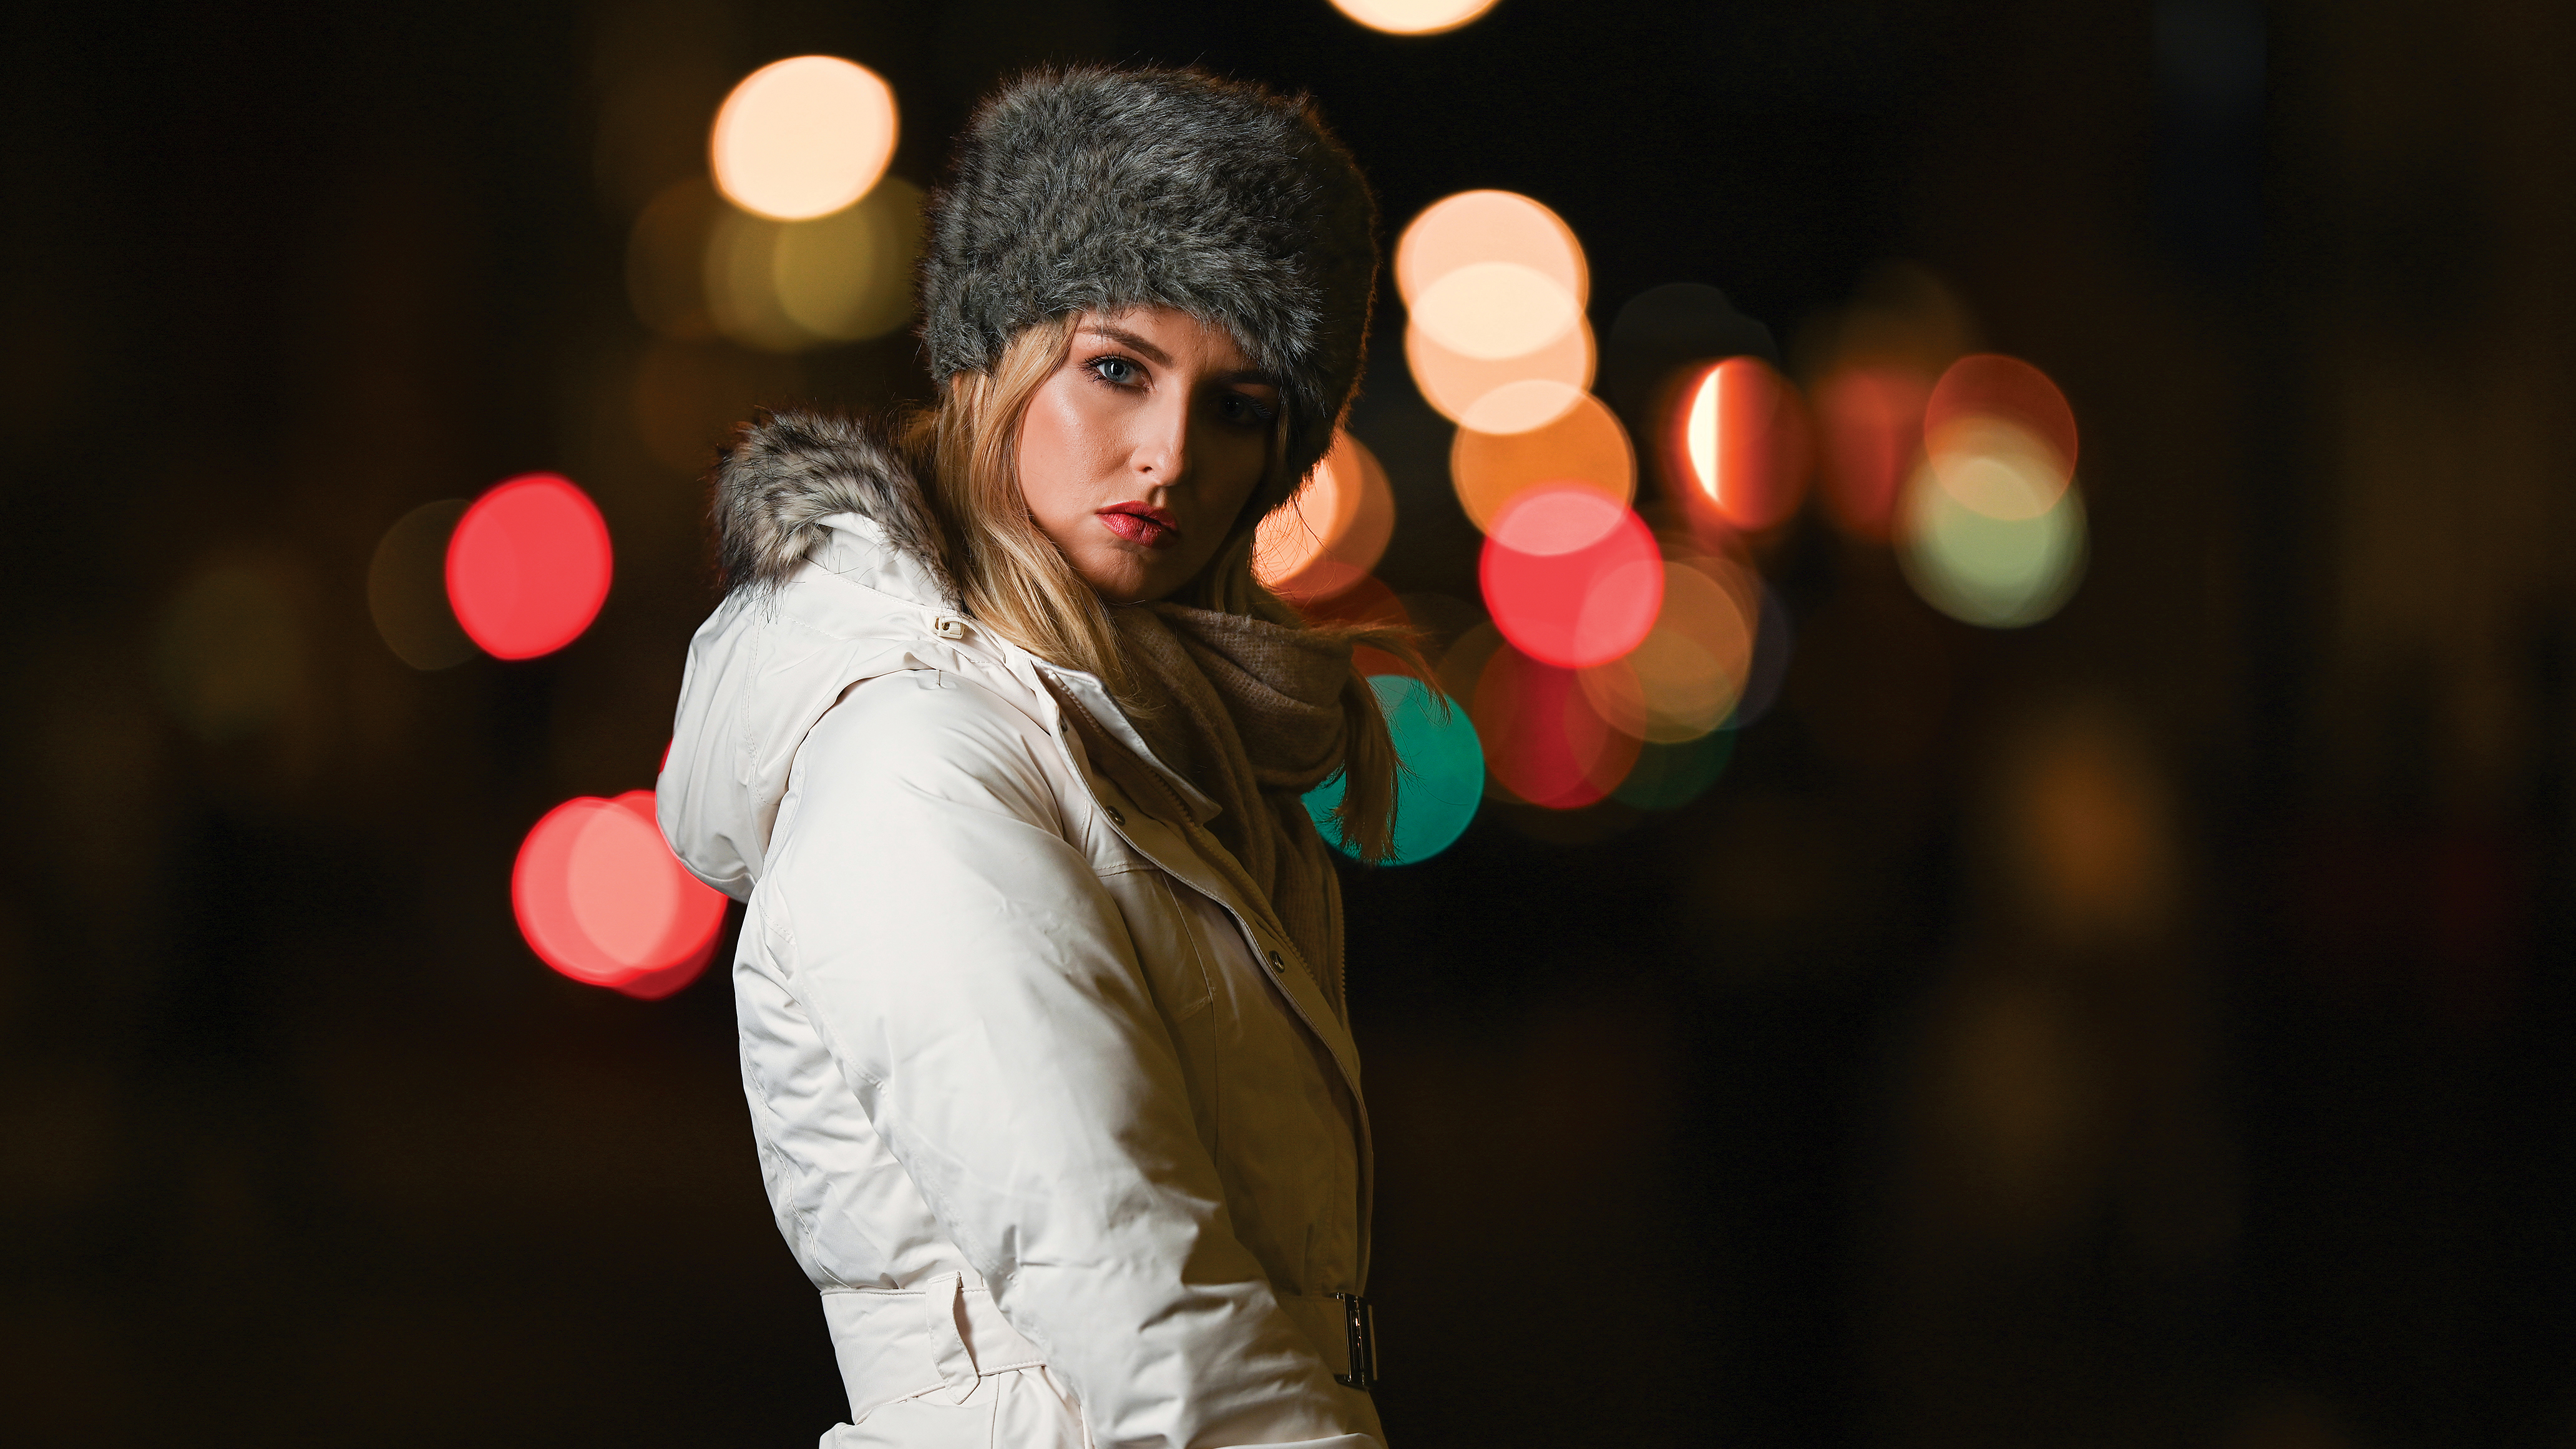
The most flattering kind of light for portraiture is soft light, and that means we need to diffuse the light to create a wider spread. We used the Lastolite Ezybox Pro Strip softbox for this, which has a pair of white baffles inside to soften the light. The amount of flash light we need depends on our camera settings.
In order to remove the extraneous mixed light, whether shooting indoors or out, we changed our exposure settings to give us a dark frame. By doing this we're able to avoid the combination of white balances that come with having conflicting light sources, whether that's inside with bulbs and strip lights or outside with street lamps and storefront illumination.
The direction of the flash is also crucial. Flash aimed straight-on at our subject eliminates shadows, but power is important because those shadows give us visual cues about our subject. Let’s take a look at how we constructed our final image…
The best camera deals, reviews, product advice, and unmissable photography news, direct to your inbox!
01 Get set up
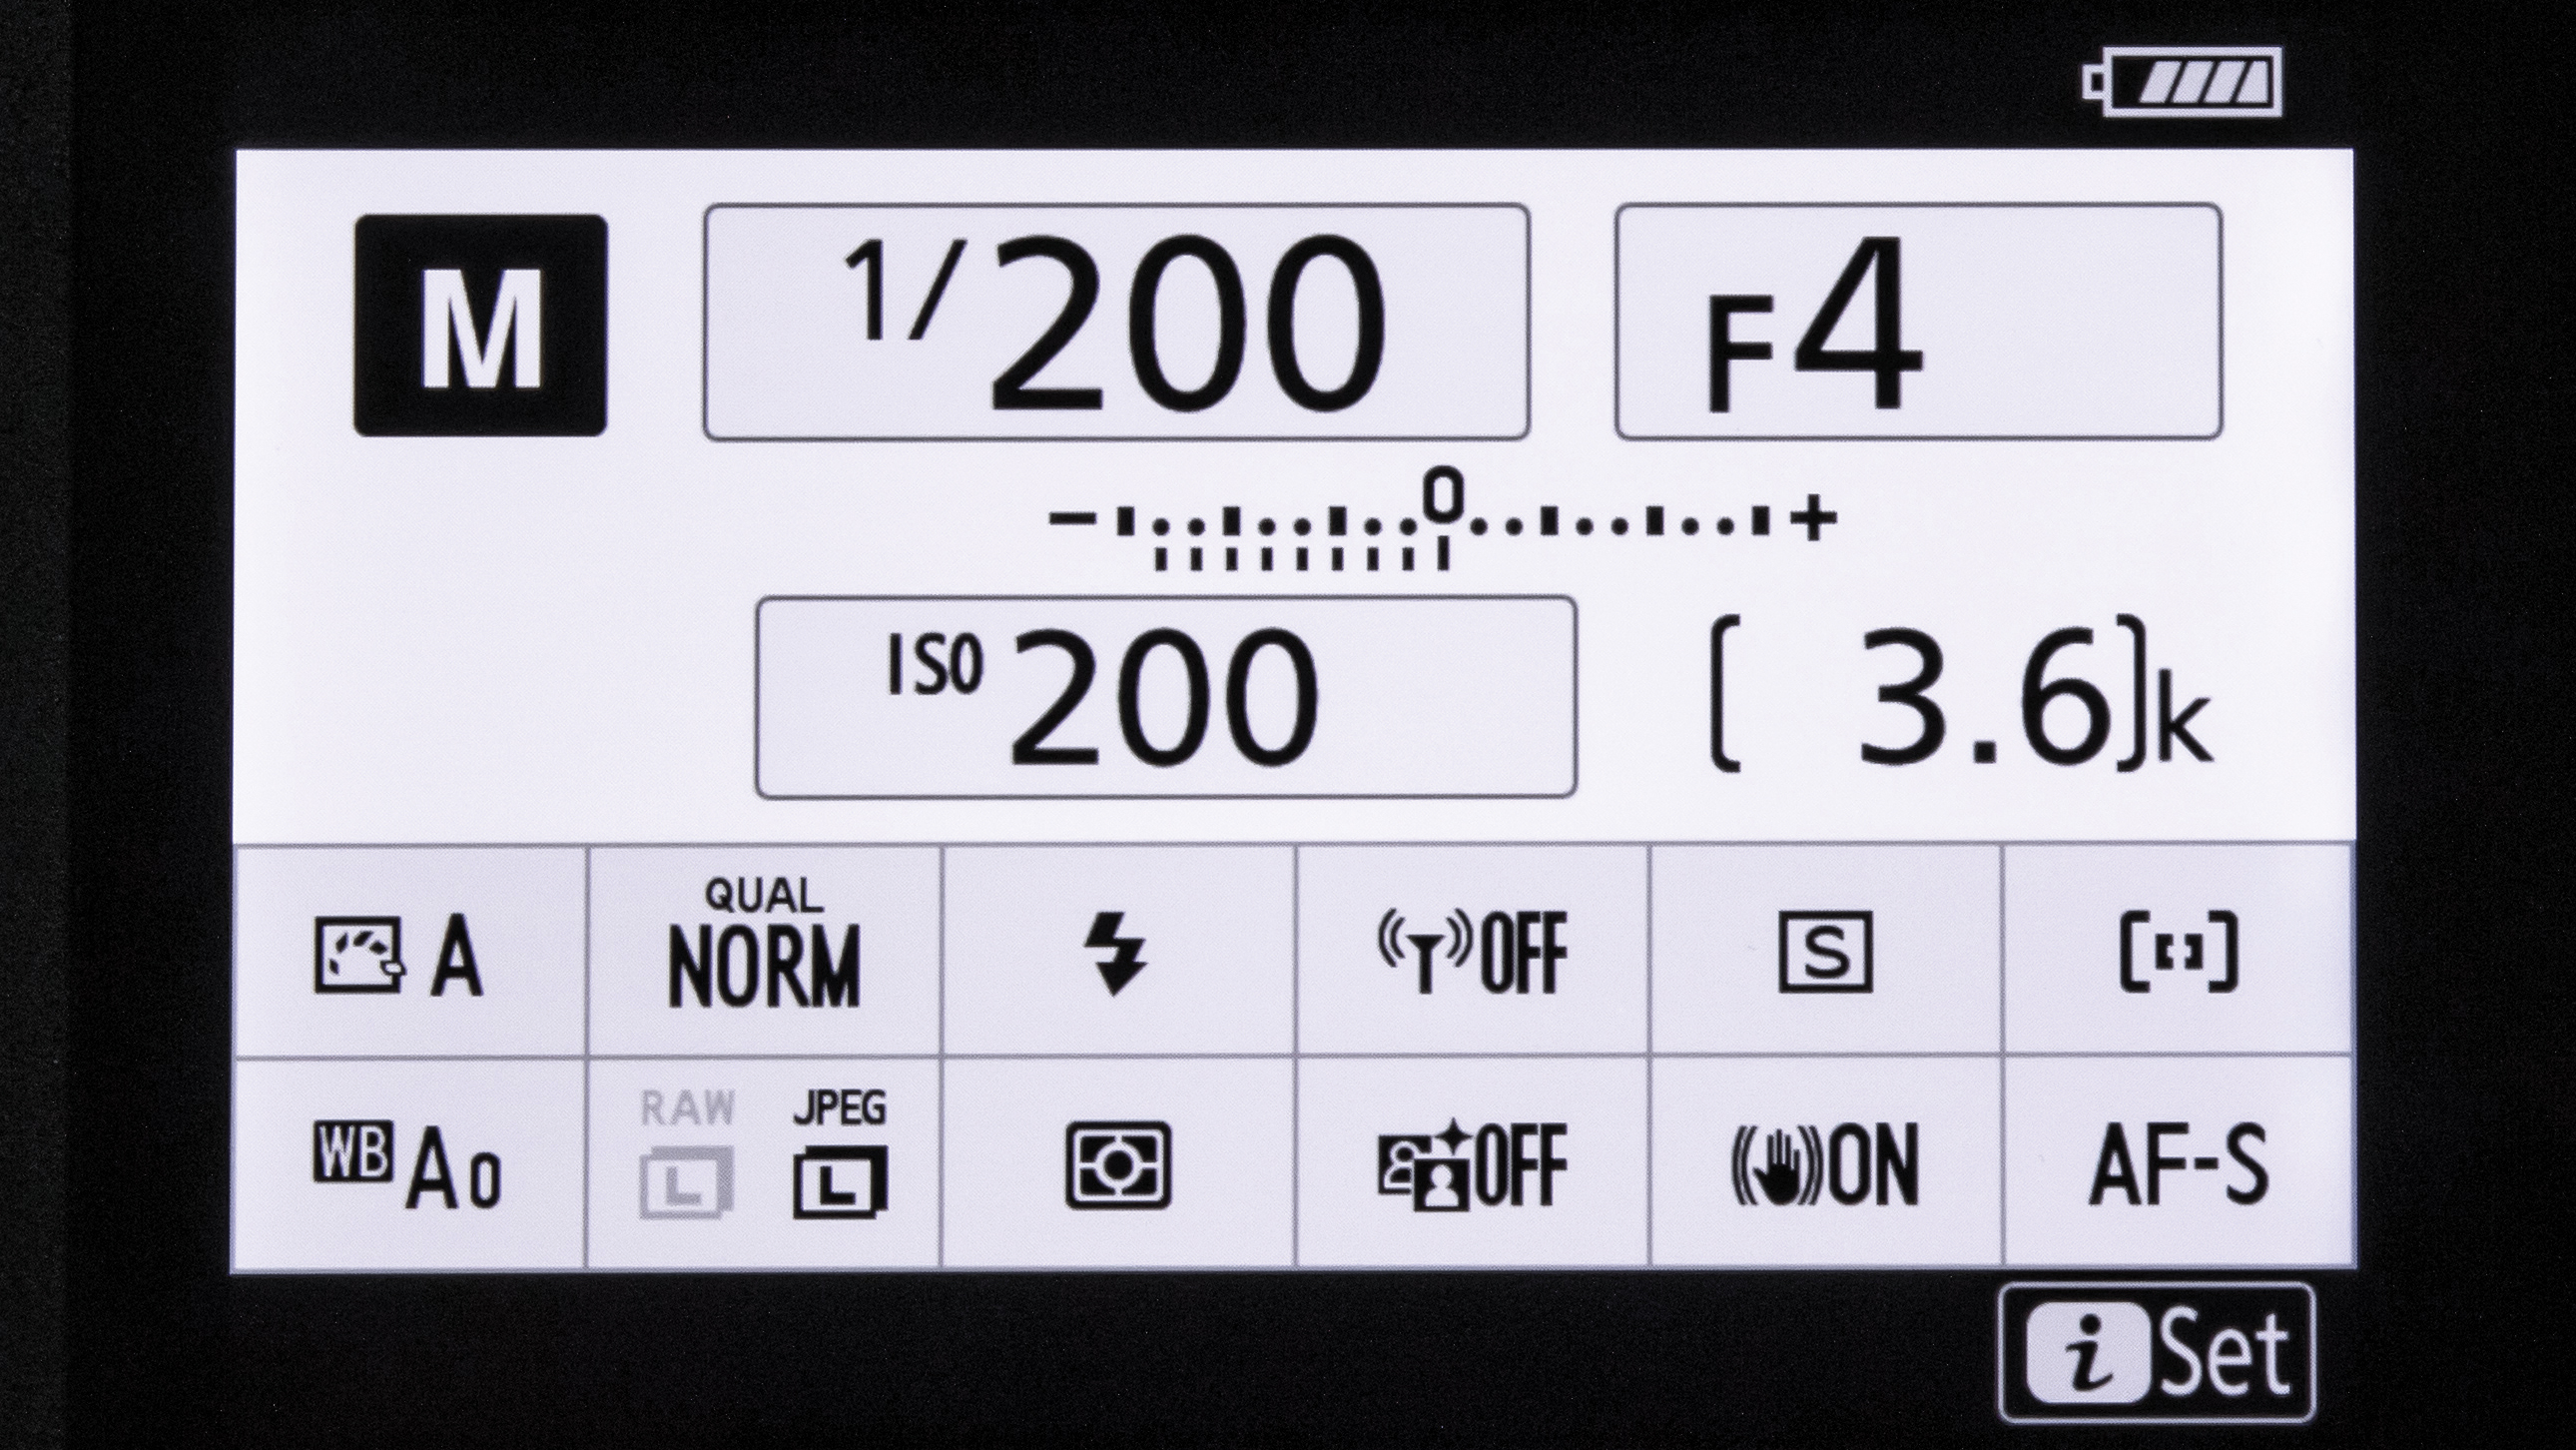
First, we eliminated all other light sources by dialing in settings of 1/200 sec, f/4 and ISO200. Because we’re shooting in low light, and using a fast shutter speed, our image is severely underexposed – giving us the black canvas we can build on to achieve the lighting we want.
02 Trigger the light
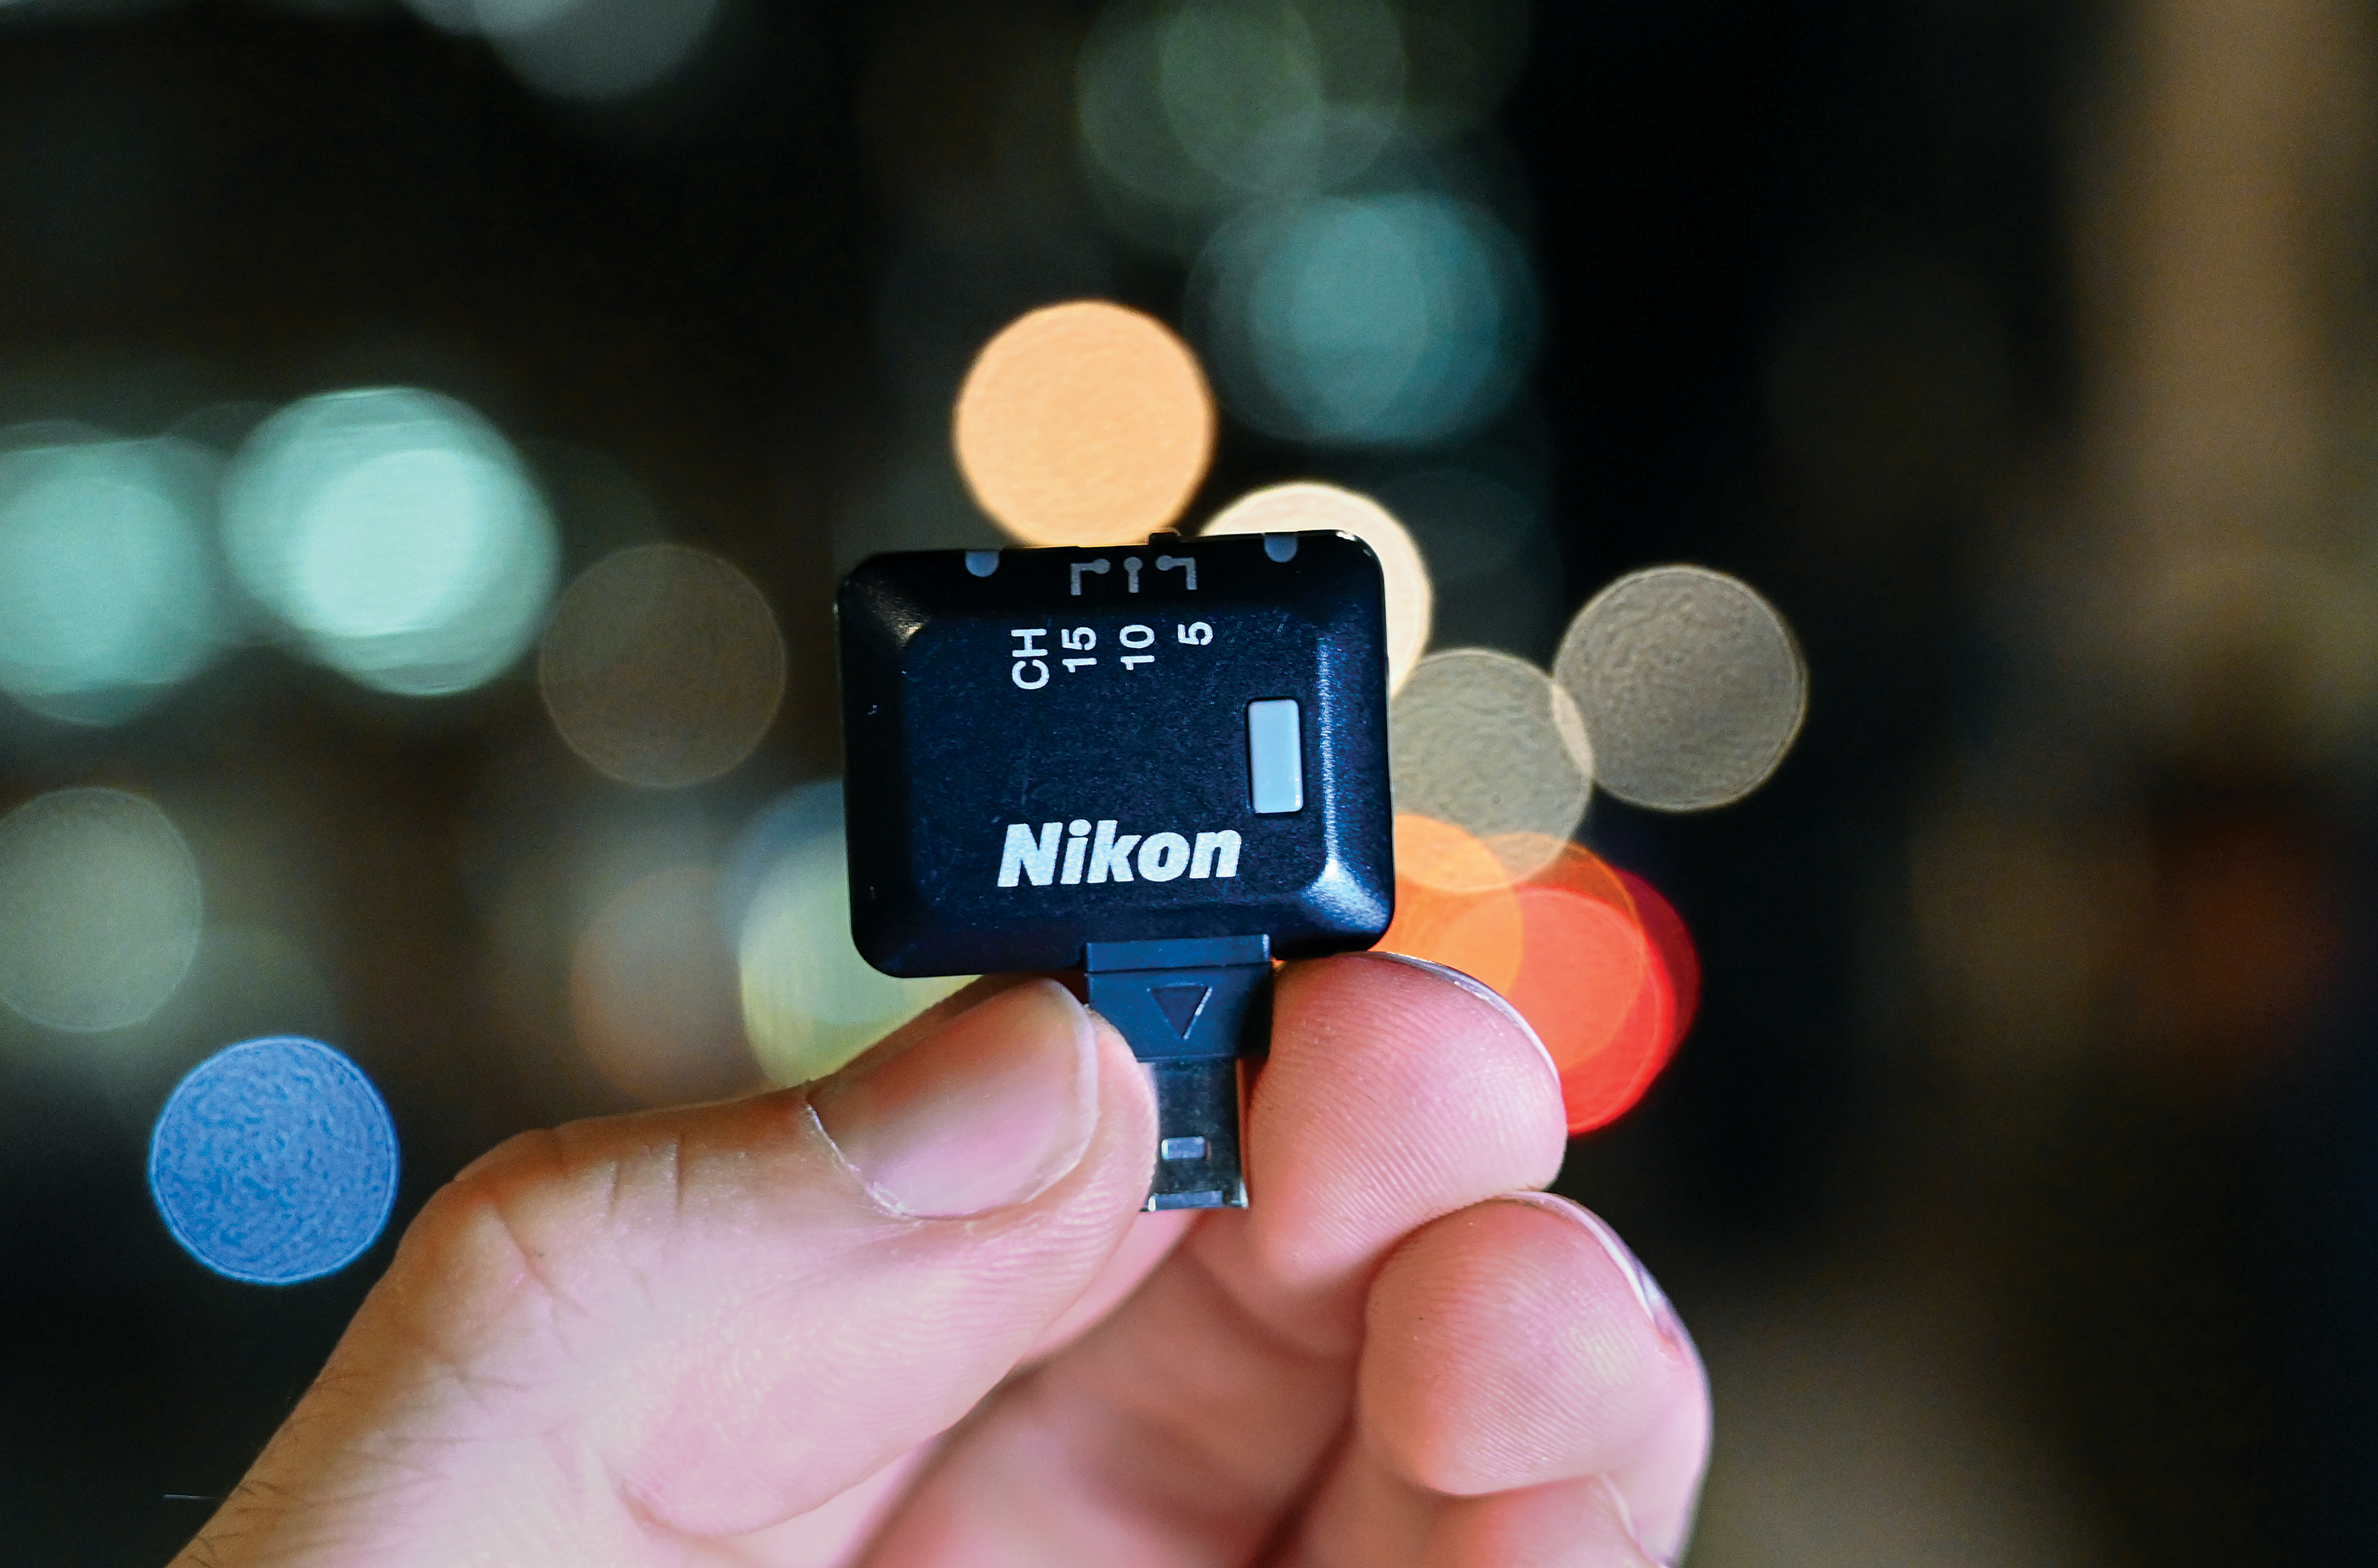
On the night we had two methods of synchronizing the flash with wireless triggers: the SU-800 infrared flash controller that sits in the hotshoe, and a WR-R10 radio trigger that slots into either the MC-DC2 port or, using an adapter, the 10-pin remote terminal.
03 Sync with your flash
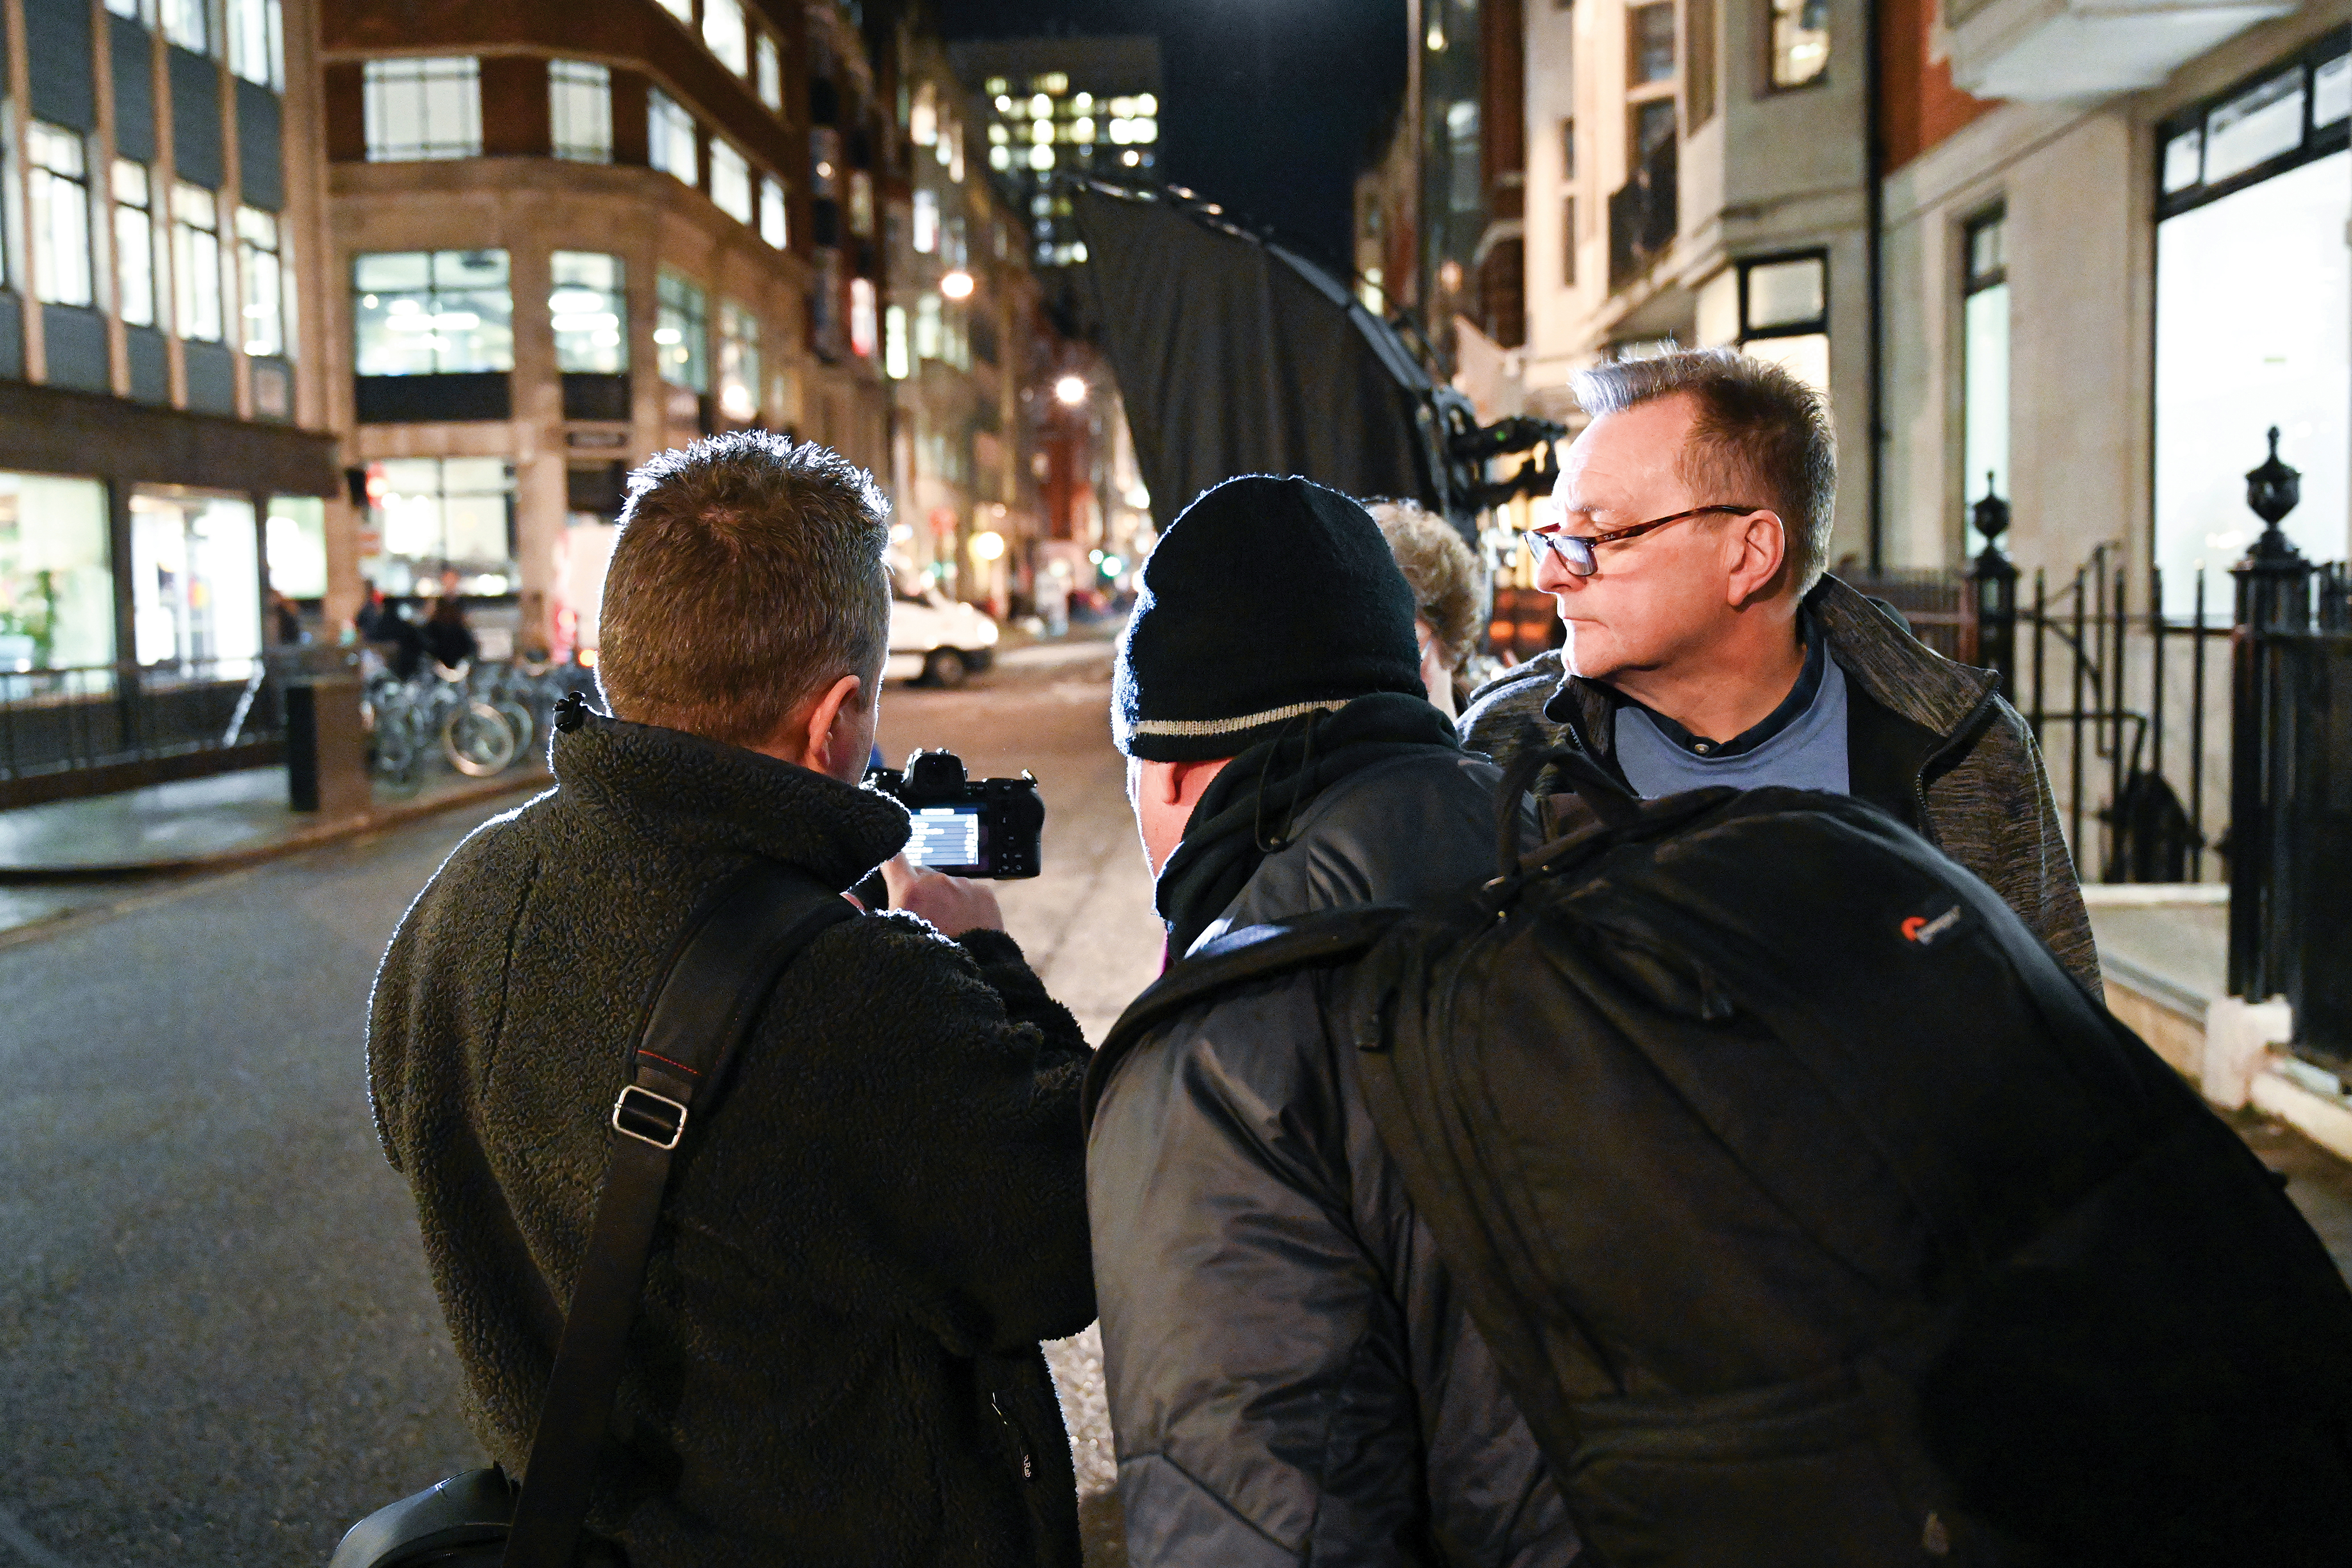
We used manual flash and manipulated the power output via the Photo Shooting menu under the option 'Flash Control'. We set it to Group A, Channel 1 at 1/16 power. Shooting with manual flash ensured that our power output was consistent throughout the shoot.
04 Modify the light
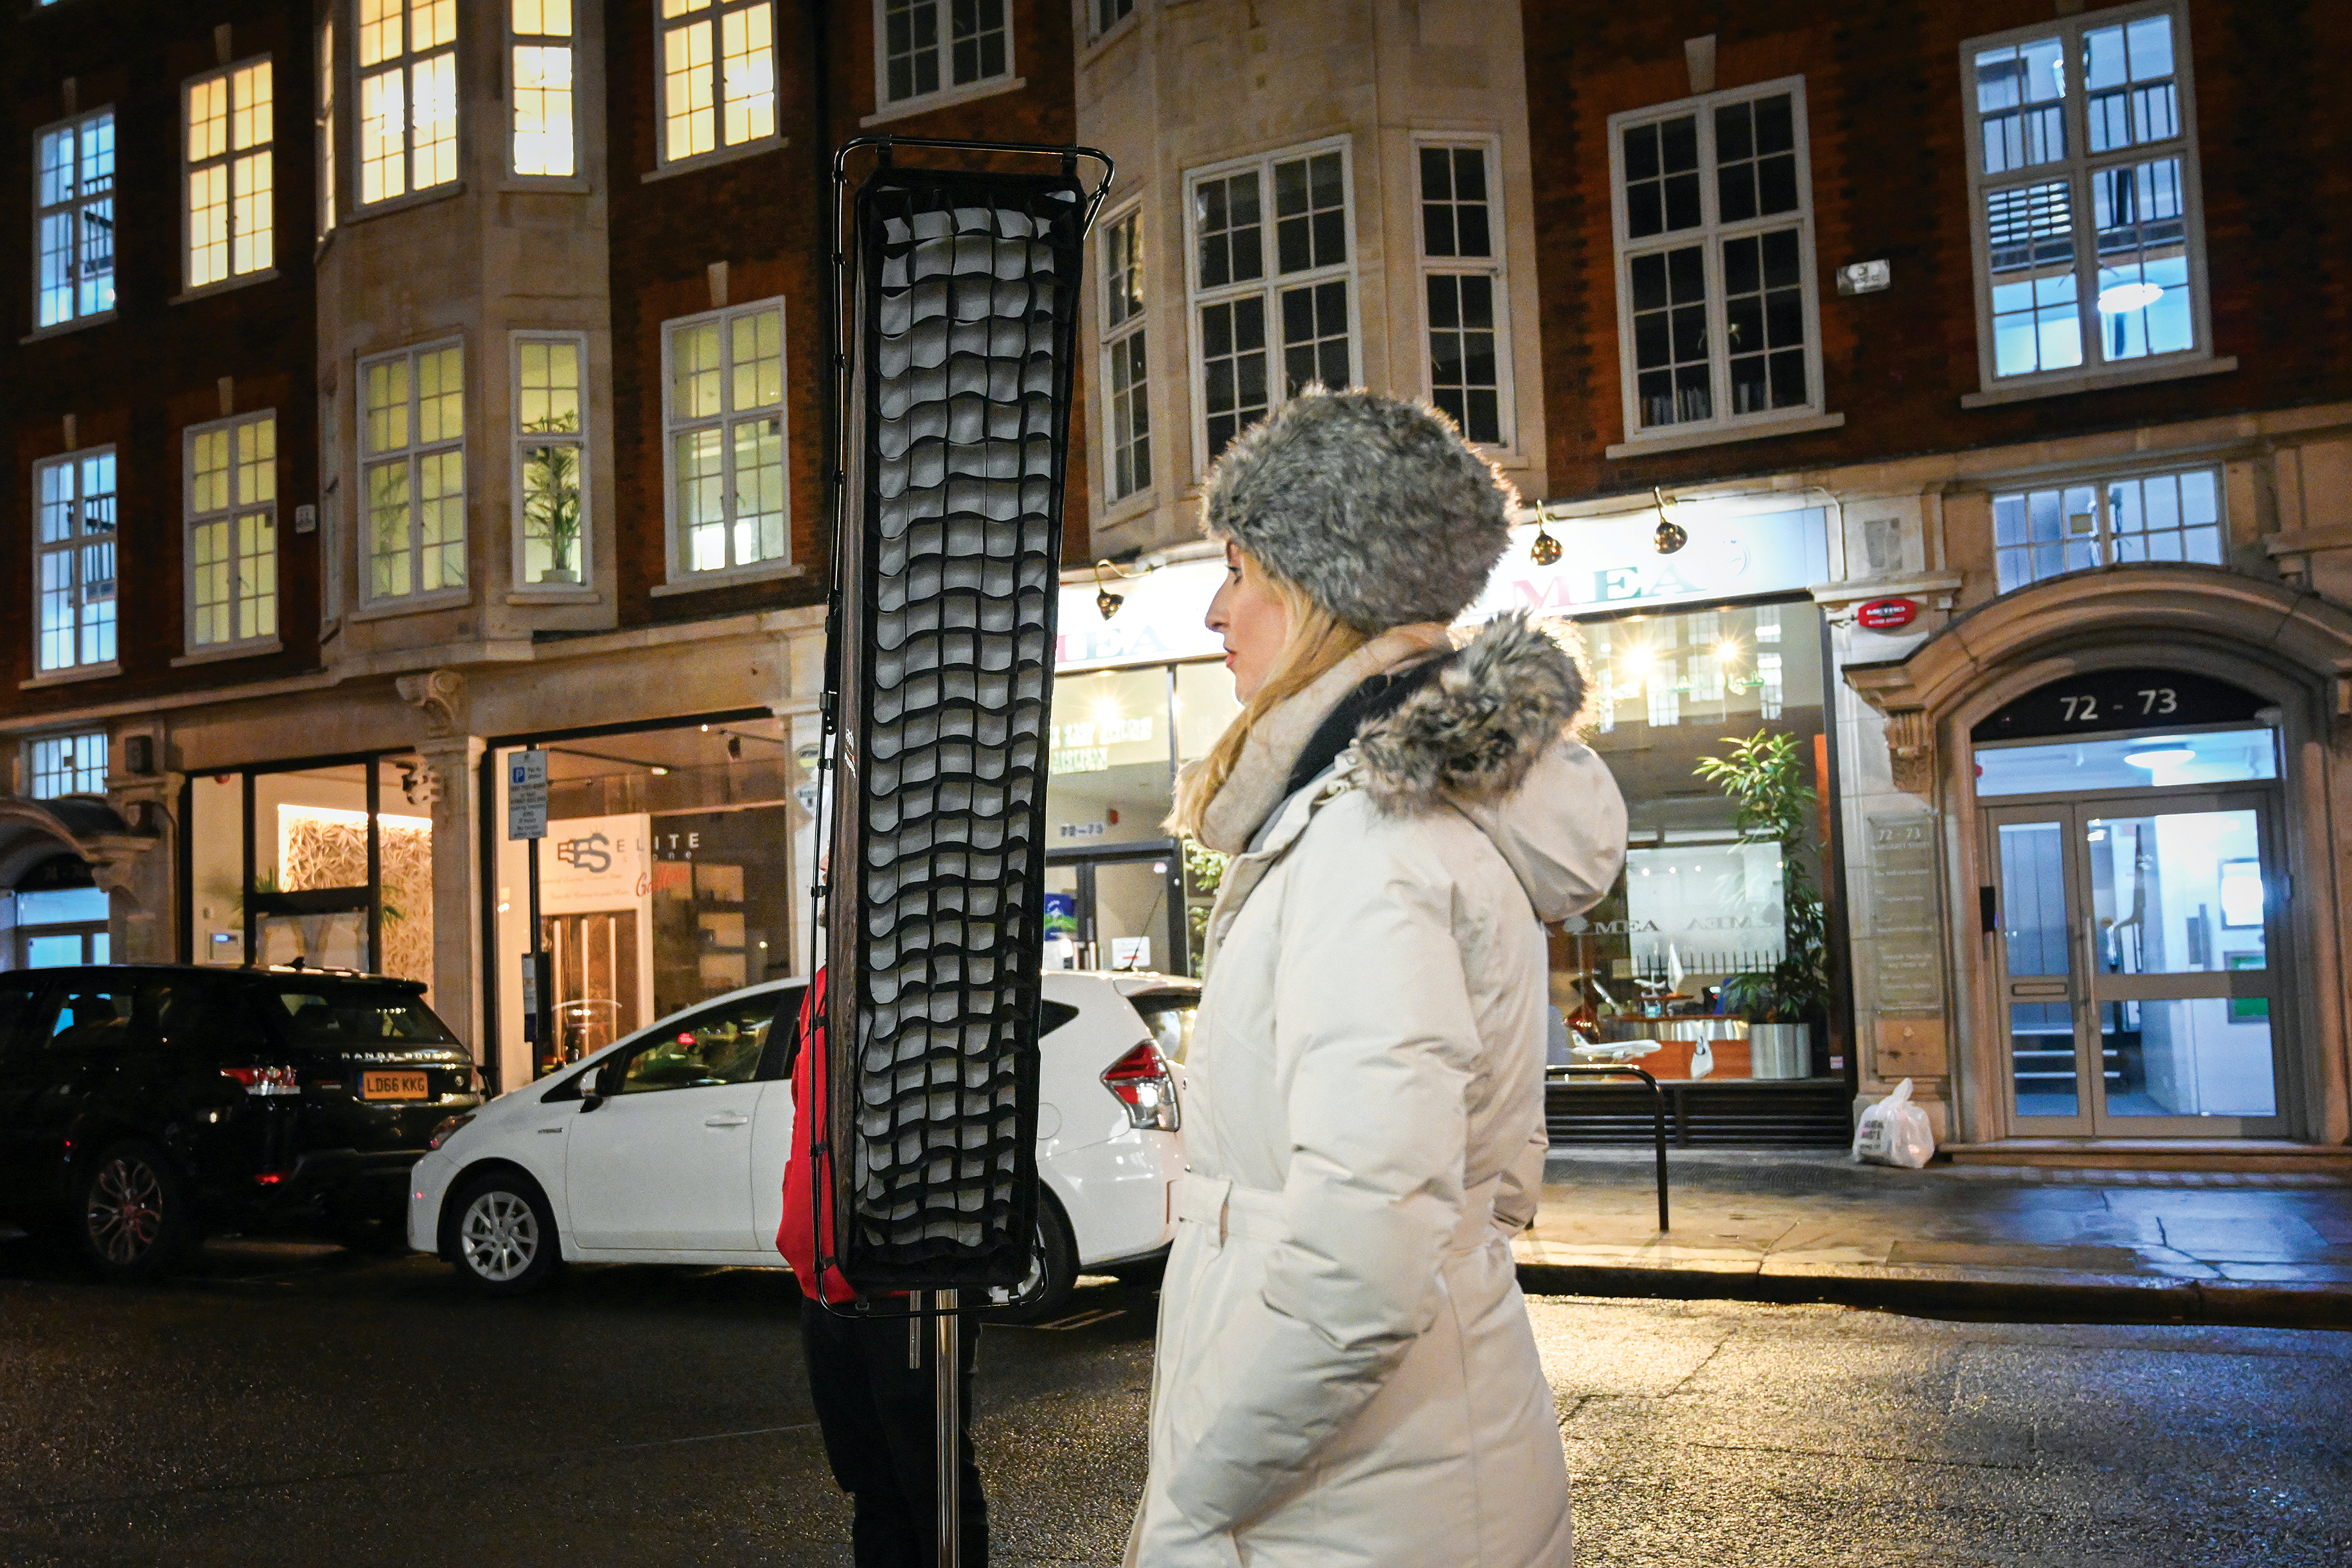
Putting the Speedlight into a Lastolite Ezybox Pro Strip softbox produced much softer light than the bare flash alone. A honeycomb grid was placed on the front of the softbox to focus the light and reduce spill onto unwanted areas, preventing glare from nearby windows.
05 Reposition your light
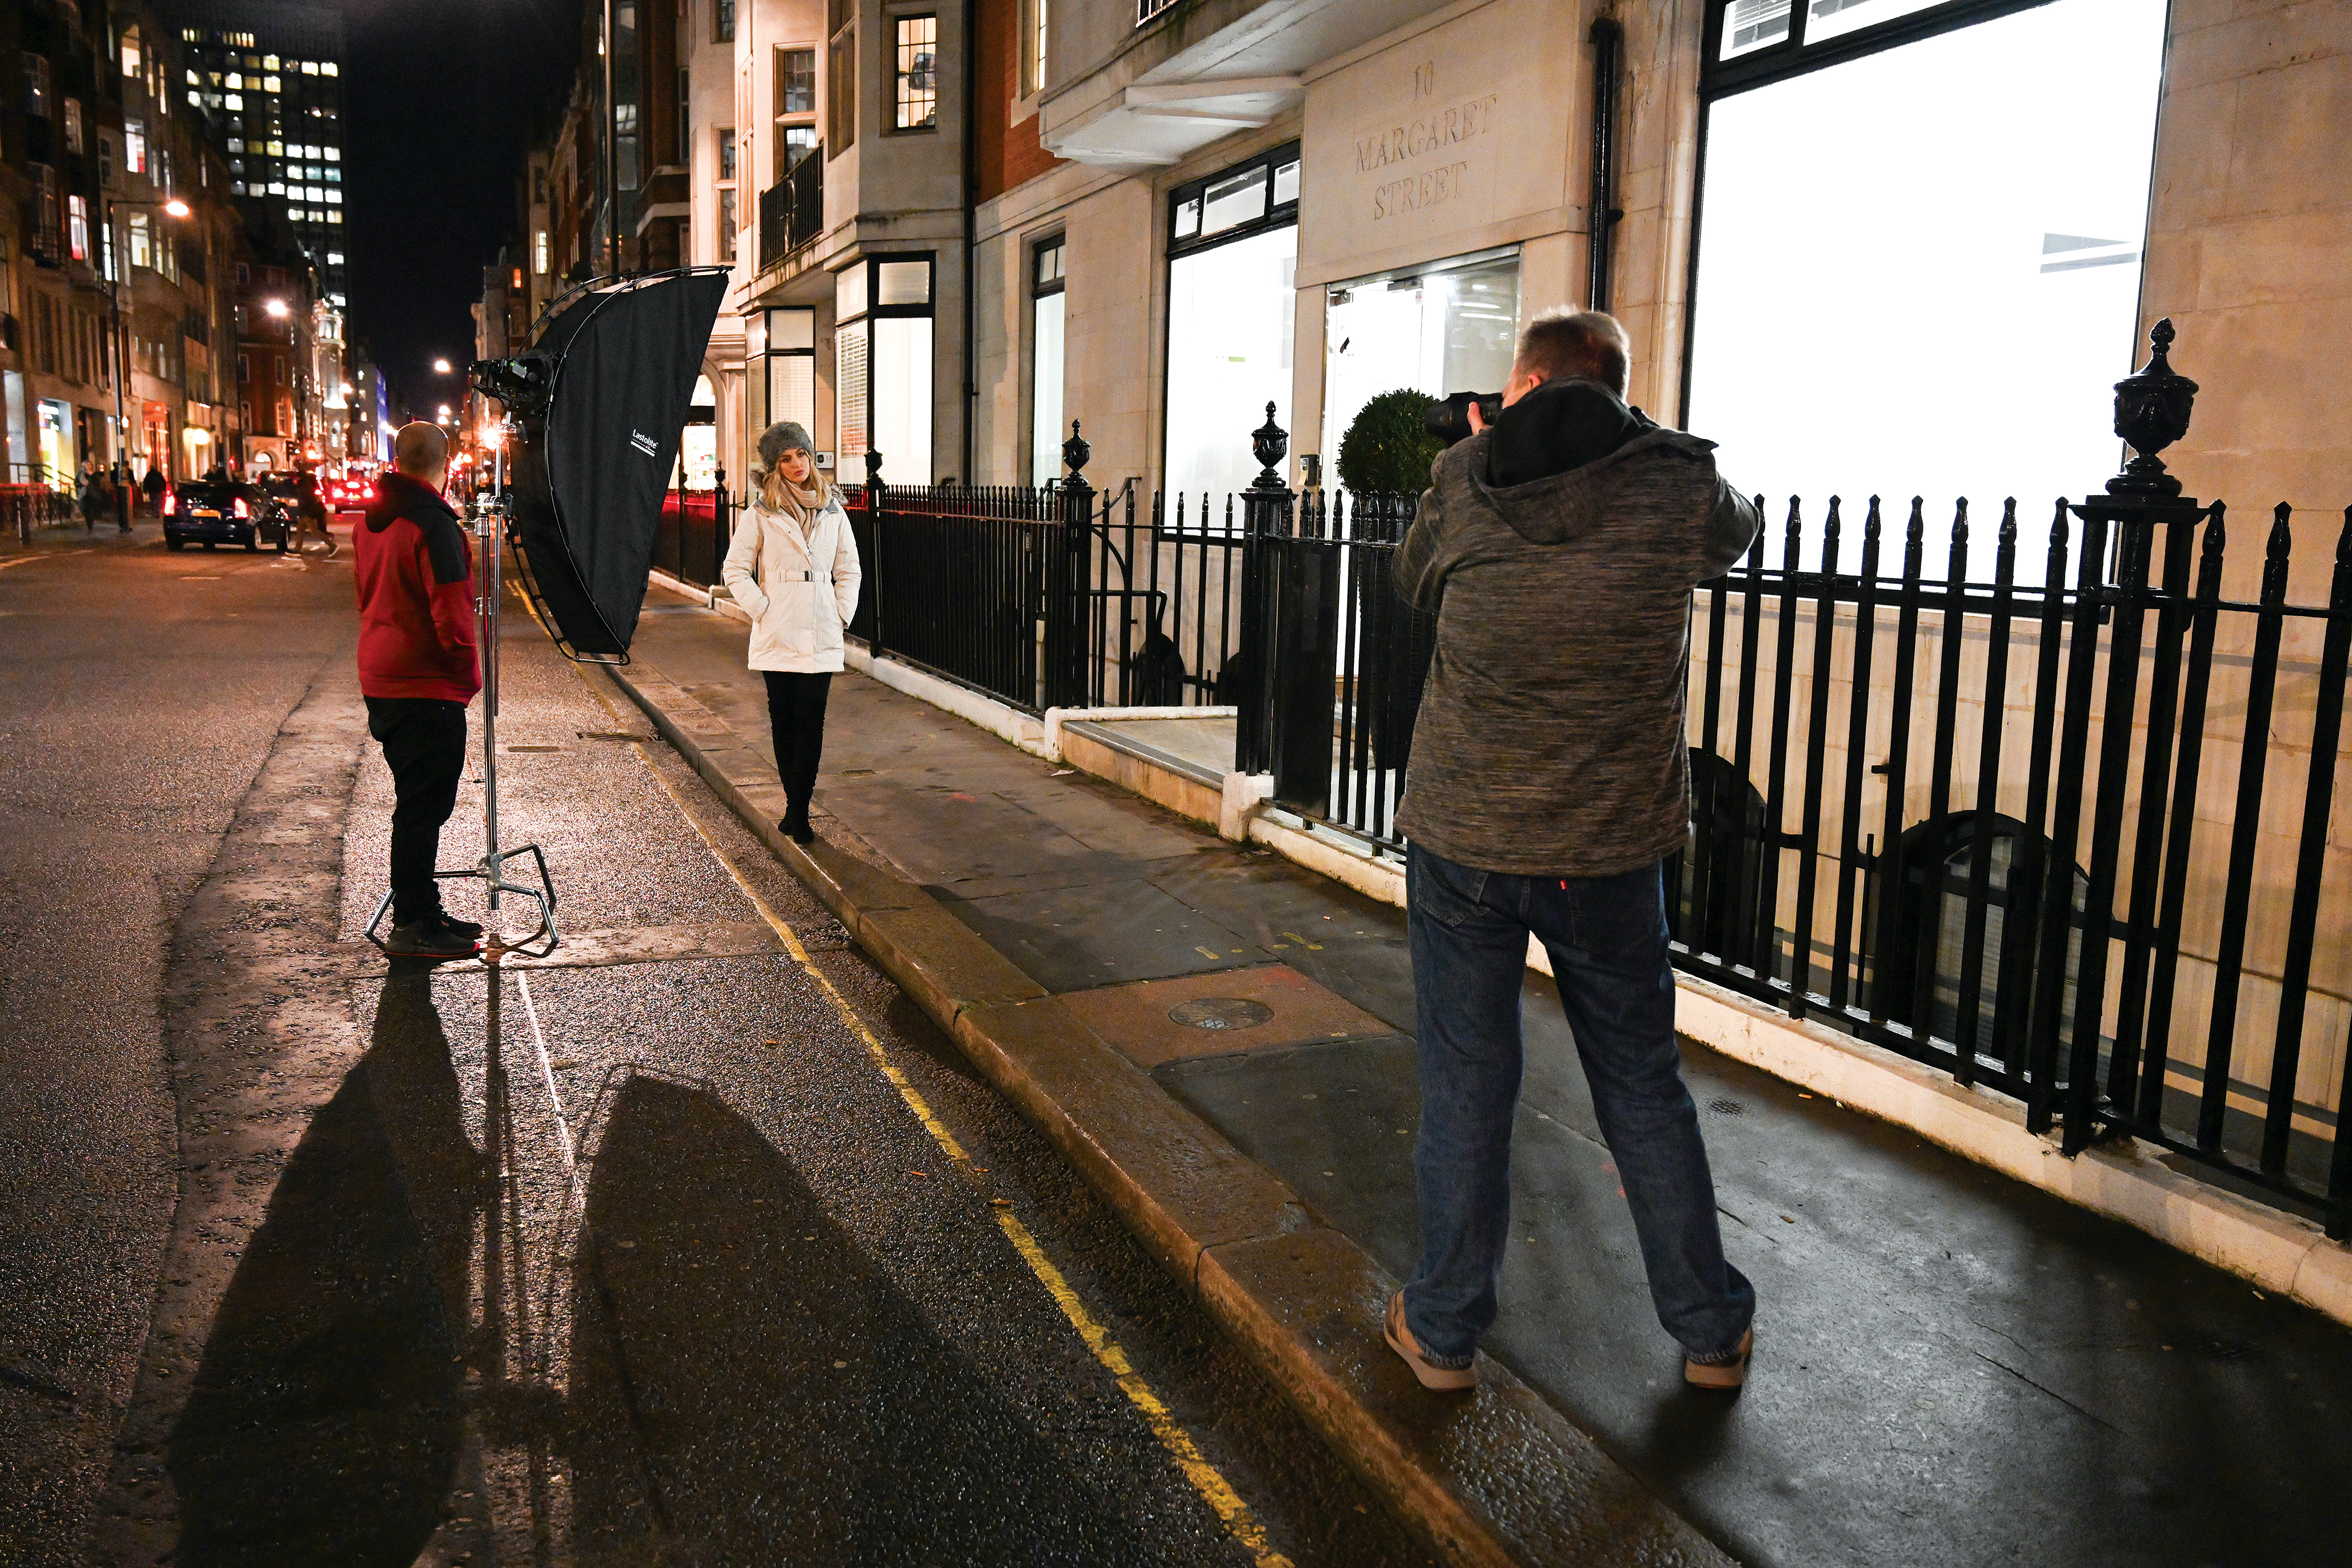
The light and softbox were placed on a C-stand (a heavy-duty light stand), camera-left of our subject. It was raised up higher than her face and aimed downwards for a flattering three-quarters directional light, casting soft shadows on the right side of her face.
06 Include background interest
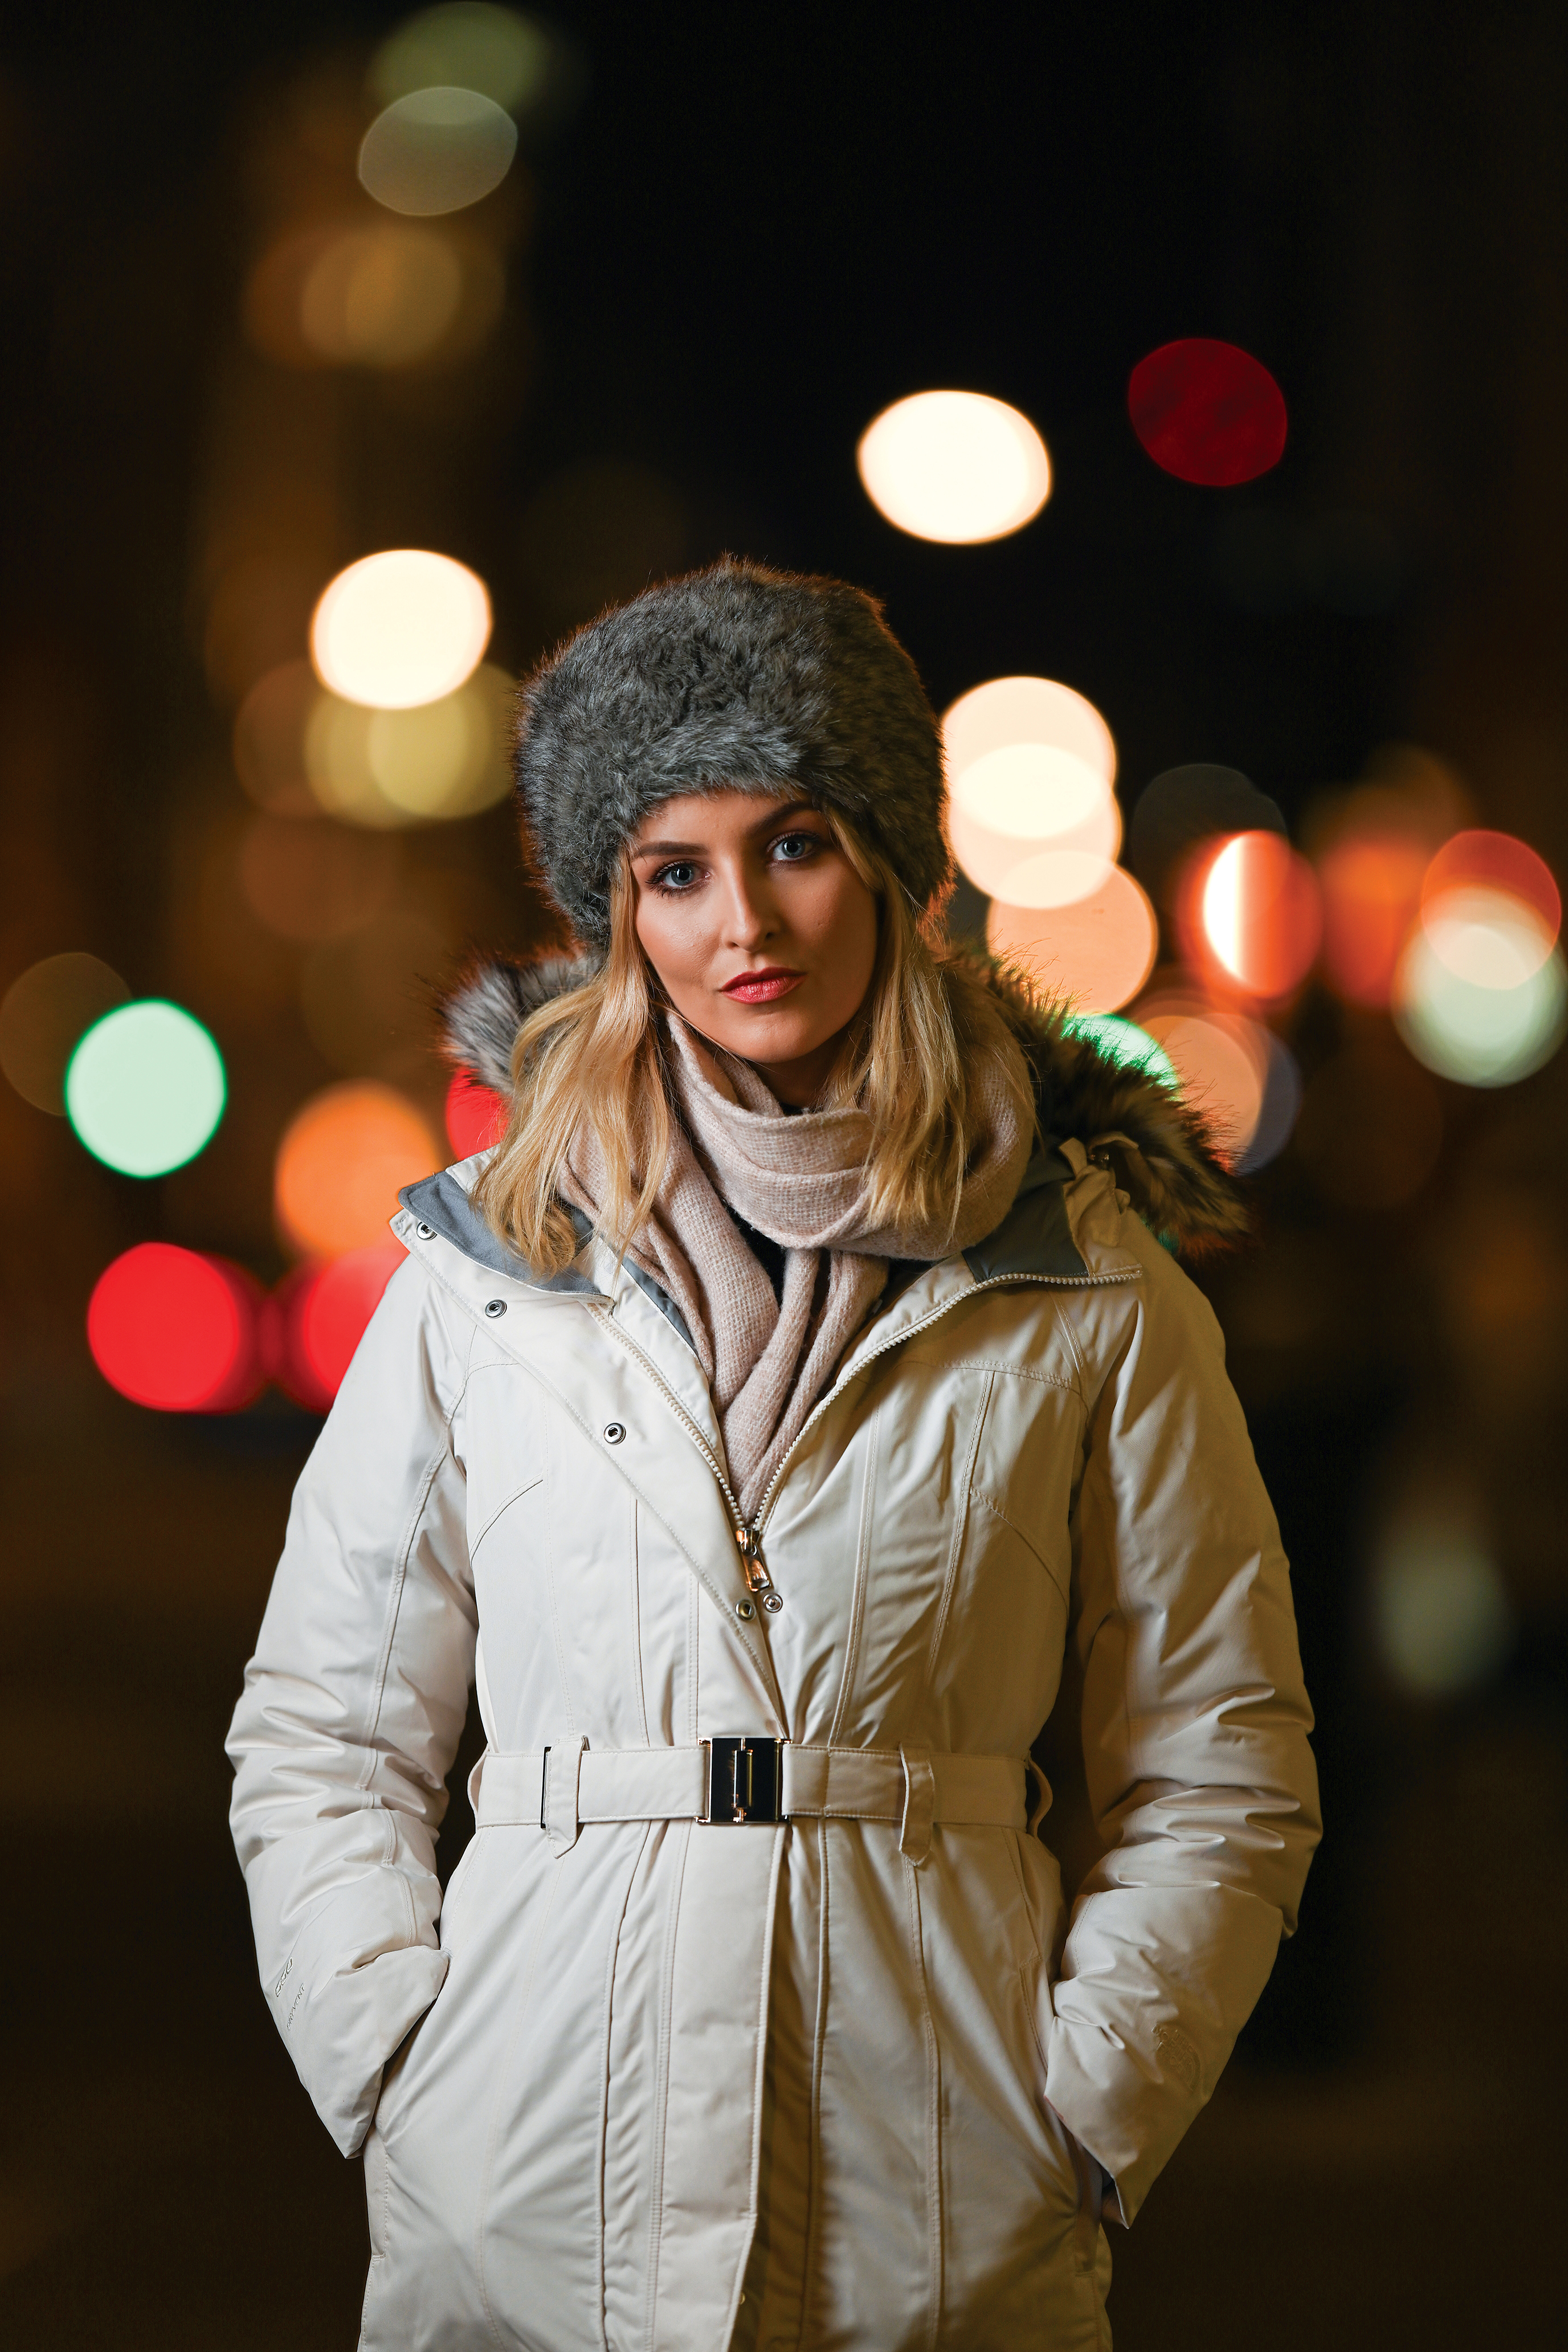
Out on the busy streets after sunset there were a lot of lights from the traffic and nearby bars and restaurants. So, with a central position shooting down the road, we used a 200mm f/2 telephoto lens to increase the size of the 'bokeh balls' created by the lights in the background.

Learn with Nikon School
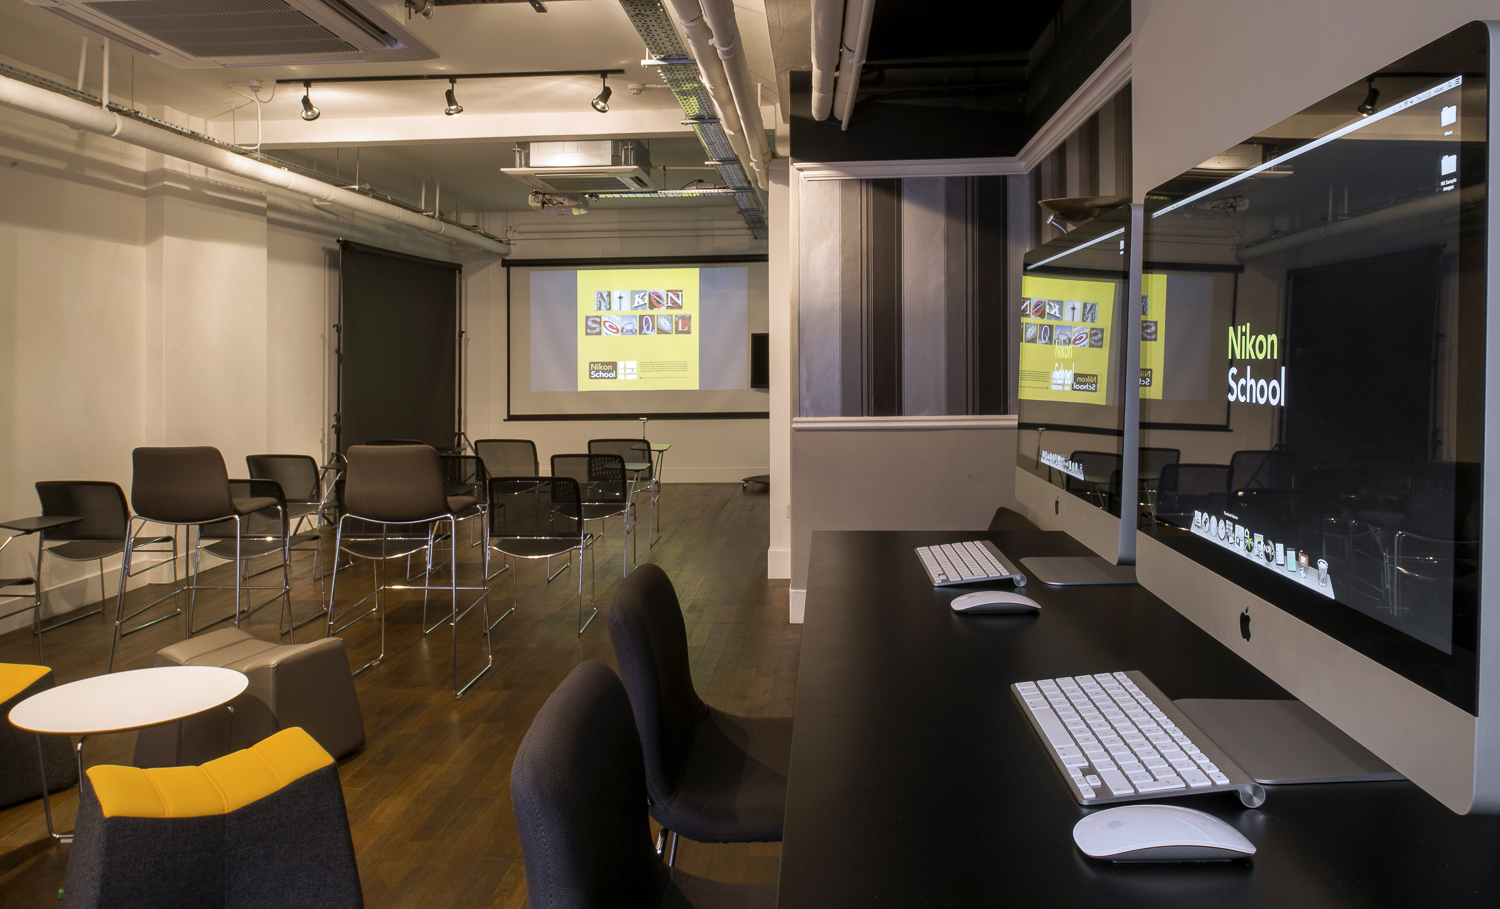
Nikon School UK runs a variety of photography courses, both from London and further afield. Head over to the Nikon School site to book onto your own course. Just visit www.nikonschool.co.uk

More videos:
Best light-light cameras
Photography tips and tutorial videos
Studio portrait lighting: essential tips and setups explained
Painting with light: how to paint landscapes with torchlight
Jase Parnell-Brookes is an award-winning photographer, educator and writer based in the UK. They won the Gold Prize award in the Nikon Photo Contest 2018/19 and was named Digital Photographer of the Year in 2014. After completing their Masters Jase has spent a good chunk of two decades studying and working in photography and optics shooting and writing all over the world for big-name brands and media outlets. Now the Channel Editor for Cameras and Skywatching at Space.com their speciality is in low light optics and camera systems.
