Are you afraid of the dark? Use supplemental light, so you’re not at the mercy of your environment!
Shooting in natural light is great, but you shouldn’t be a slave to environmental conditions – use supplemental light to supercharge your shoots
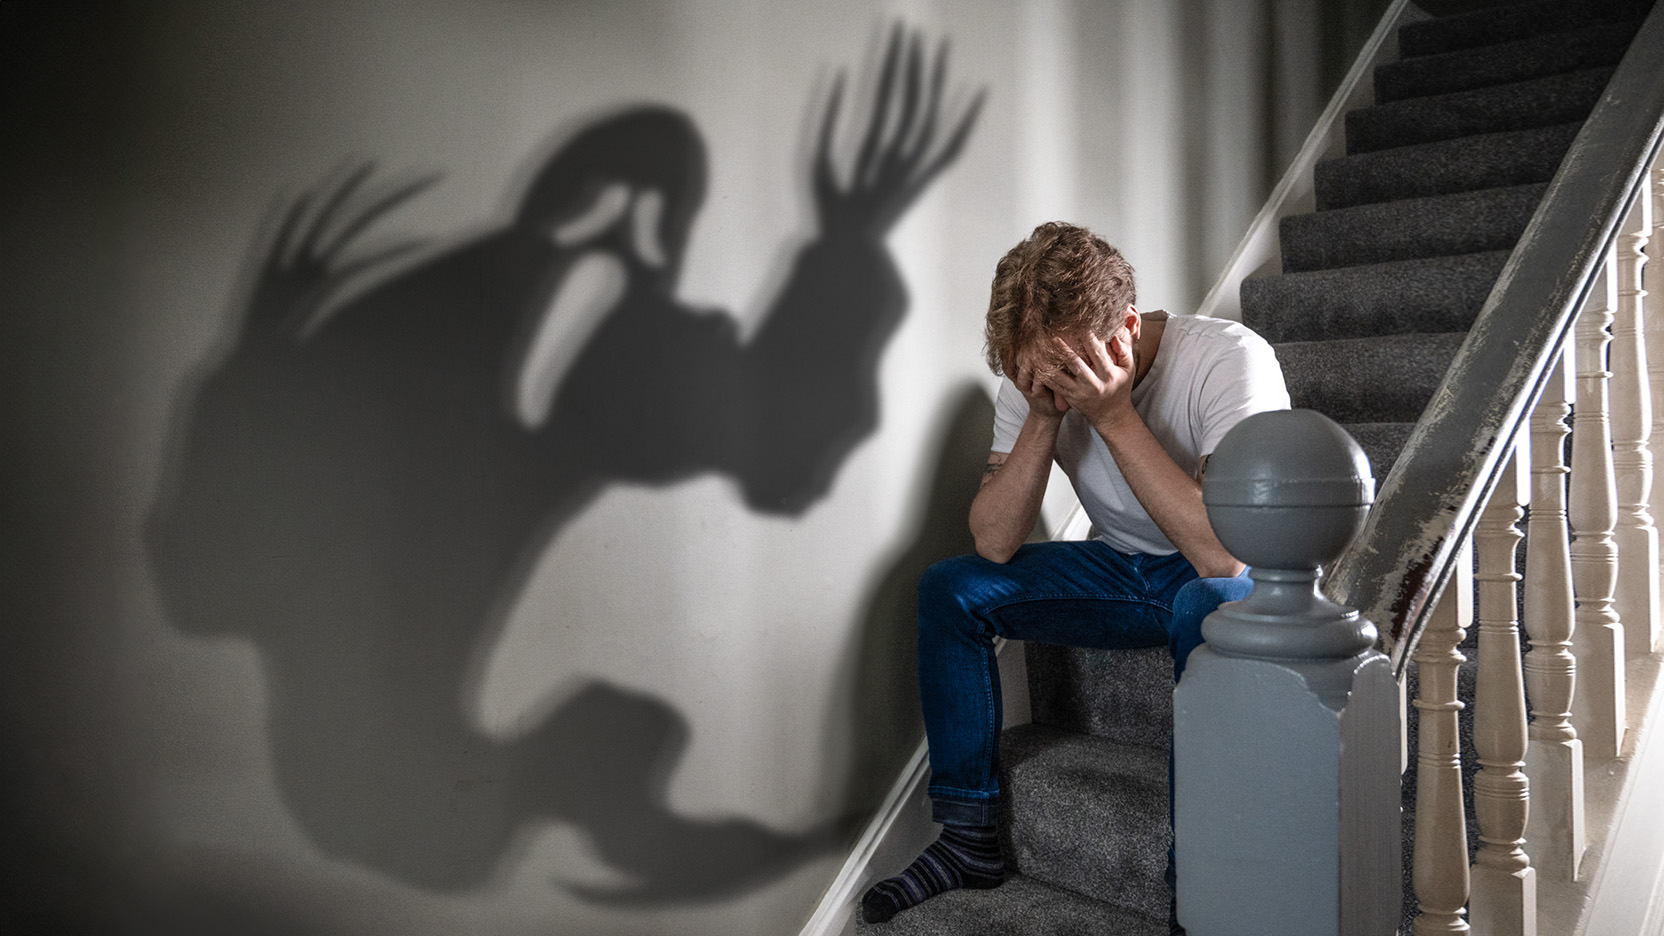
For camera owners, it’s perhaps fitting that horror movies generally have very dark lighting. Because for many photographers and videographers, the only thing scarier than Freddy or Jason is having to use supplemental lighting!
I don’t think anyone would argue that natural light is hard to beat. It’s the best quality light source available to us, able to sculpt and soften our subjects in equal measure… but the problem is, we’re completely at its mercy. Especially in countries like the UK, where the weather isn’t dependable year-round, if you only ever shoot in natural light then you won’t be shooting very much!
Of course, learning to work with ambient lighting is important – and modern cameras give us a lot of latitude with exposure and ISO. But sooner or later, you’re going to face the choice: set up a light or go home. Fortunately, lighting equipment has never been more affordable thanks to used gear specialists like MPB – making it cheaper than ever to dip your toe into the water, then invest in a full lighting system over time.
I know that learning lighting is intimidating – trust me, I used to teach lighting workshops! – but nothing will make a greater impact on your work than being able to use supplemental light. Not only does it enable you to shoot when the light isn’t on your side, you can also use it to powerful creative effect and achieve incredible results that are impossible with natural light.
Do I really need it?
Here’s the thing: supplemental light isn’t just useful if you shoot in low light conditions – it can absolutely elevate your work even if you shoot in broad daylight. To make an extreme point, flashguns are even used for those glossy swimwear shoots and travel ads that are shot on the beach in bright sunlight!
Adding light is obviously helpful if you shoot in dark or changeable environments. But for almost every genre of photography and video, mastering supplemental lighting enables you to create shape, dimension, texture and form in your images. Portraiture, macro, still life, weddings, events, pets… the difference it can make to your images is literally night and day.
For people pictures in particular, being able to use the right lighting pattern is the difference between taking flattering shots of a subject who books another shoot with you, or making them look terrible and never seeing them again.
Get it done in a flash
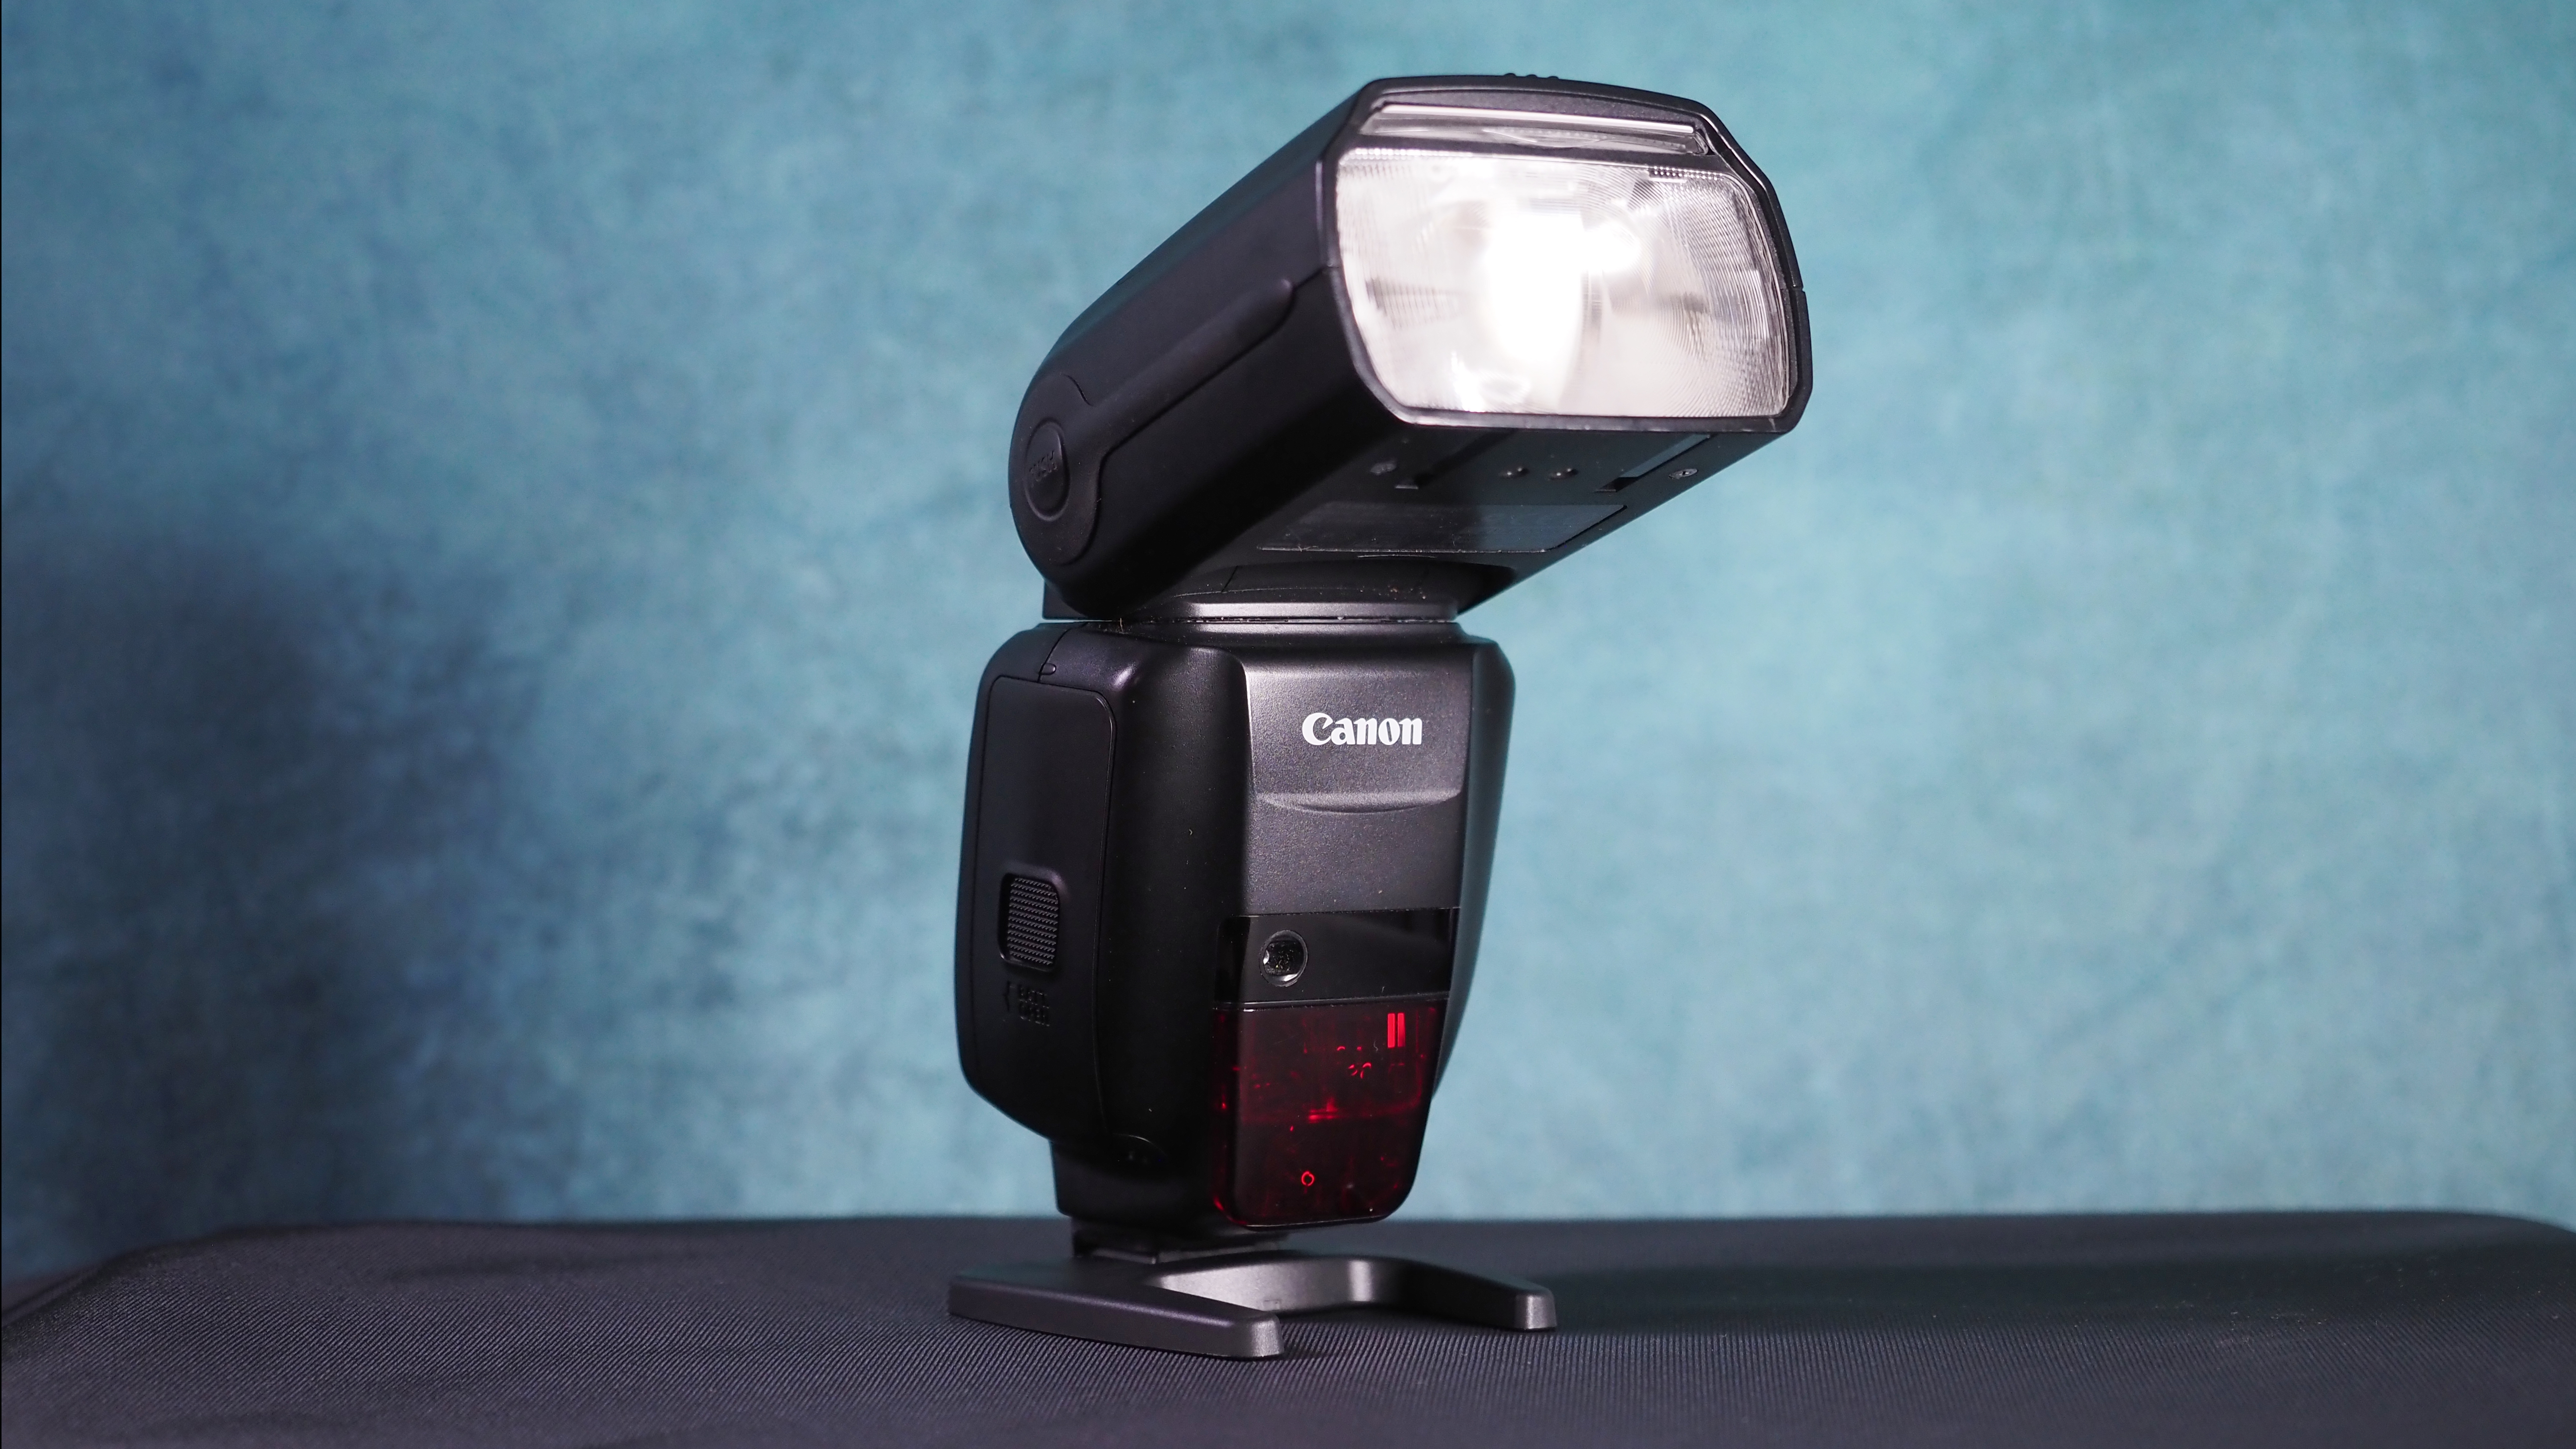
A photography staple, adding a flashgun to your camera bag is probably more important than buying a new lens – that’s how much difference it can make to your shots.
The first thing you need to know is that you can’t use any flashgun on any camera; you need to buy one that’s compatible with your brand. MPB carries flashguns from all the major manufacturers, making it easy to check that you’re getting the right one for your camera.
There are plenty of third-party options as well. This gives you a choice of budget-friendly options, which is perfect if you’re just starting out and want to explore flash photography without breaking the bank. However, it also opens the door to some of the best flashes in the industry – if you’re looking for top-tier pro gear, check out the Profoto A10!
Using flash is a whole topic unto itself, but here are a few quick tips.
Take it off camera
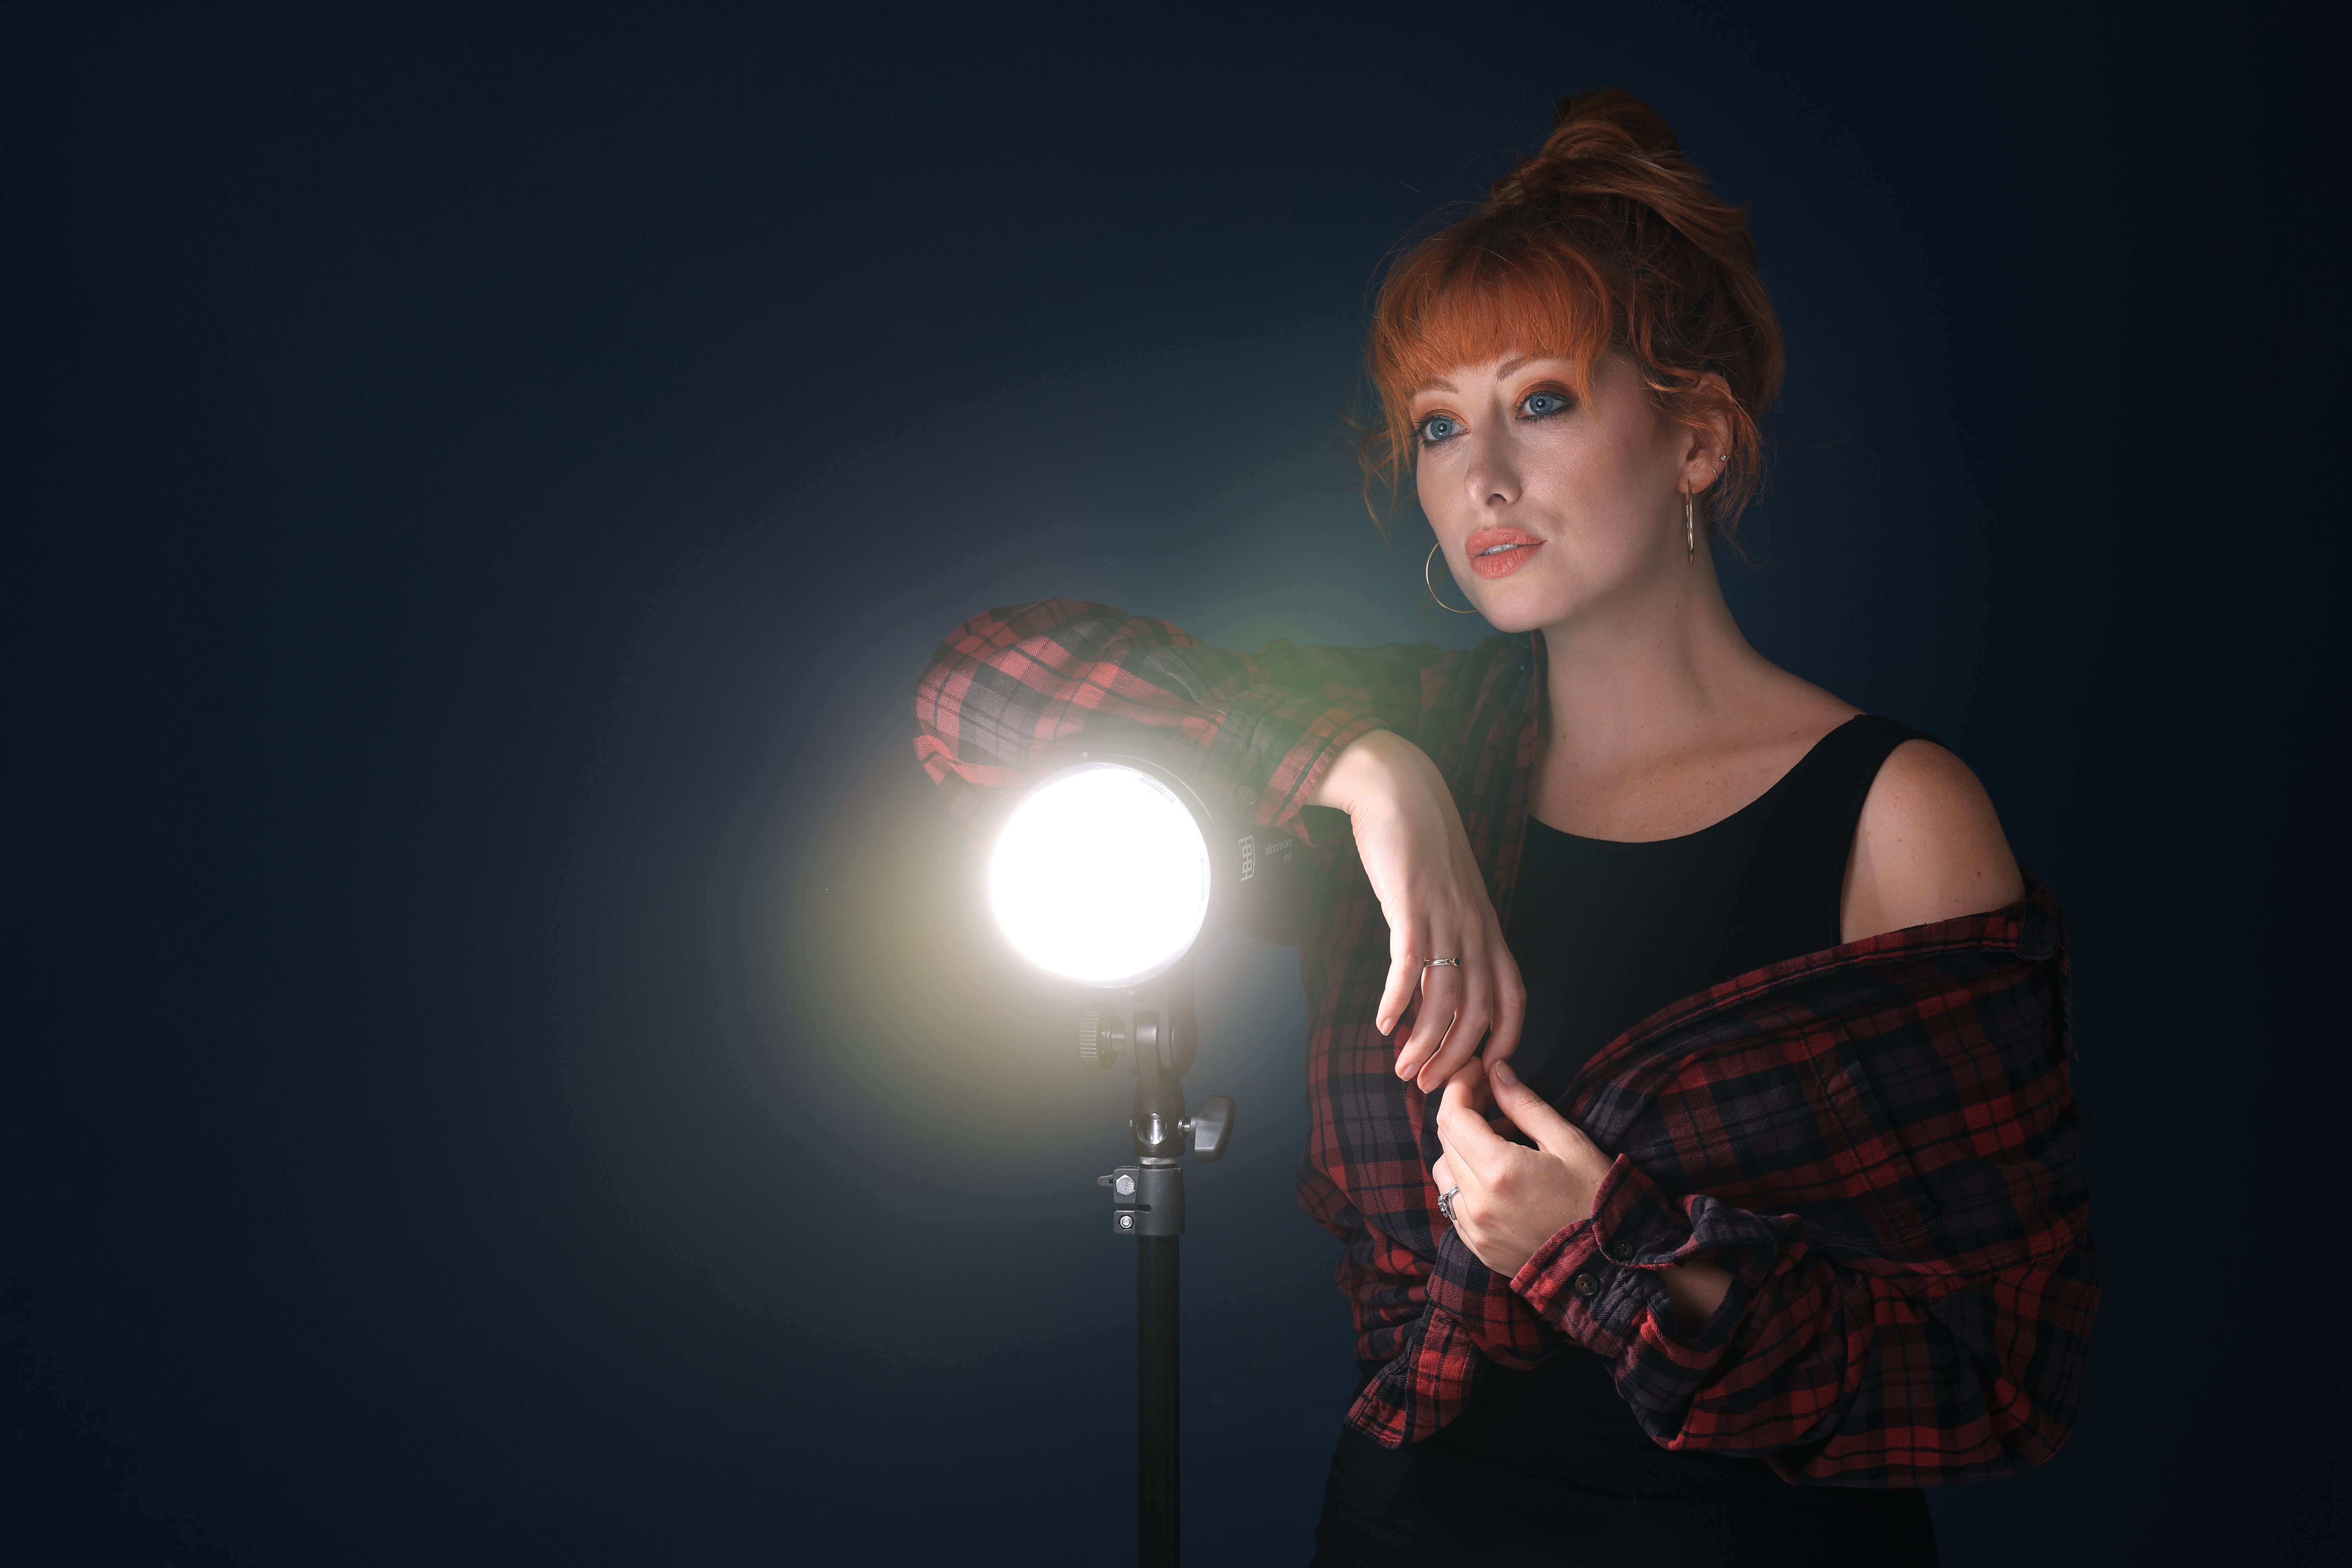
Yes, I know that your hotshoe is the obvious place to put a flashgun. And yes, I know that on-camera flash is having a bit of a moment right now. But firing a flash straight at your subject will give you flat, dimensionless, generally unflattering results. Try mounting your flash on a light stand or tripod, or putting it on a shelf, or even having someone hold it for you – a good starting point is positioning it 45° to your subject, generally higher up and angled 45° downwards.
Modify the light
Using a bare flash produces very harsh, aggressive, directionless light. There are a mountain of softboxes, umbrellas, dishes, grids and other modifiers available to help you control it – all have different effects, typically softening the light or channeling its direction. Again, modifiers aren’t universally compatible so you’ll need to check which will work with your chosen flash system.
Bounce it!
If you don’t have a modifier available, one of the best tricks available is to bounce the light from your flash. Point your flash at a wall and you’ve effectively created a giant softbox, to give you a giant light source with some direction, or point it up at the ceiling to create gentler light that illuminates the whole room. Some flashguns have a head that can be angled and turned, so you can do this while it’s mounted to your camera. If not, use a tripod, stand, or even just prop the flash up on something.
WYSIWYG with continuous light

Flash is hard to master, because you don’t see the results until after the picture is taken. But when you use continuous lighting, what you see is what you get – making this a much easier form of lighting to use and understand, as its effects are shown right through your viewfinder or on your rear screen.
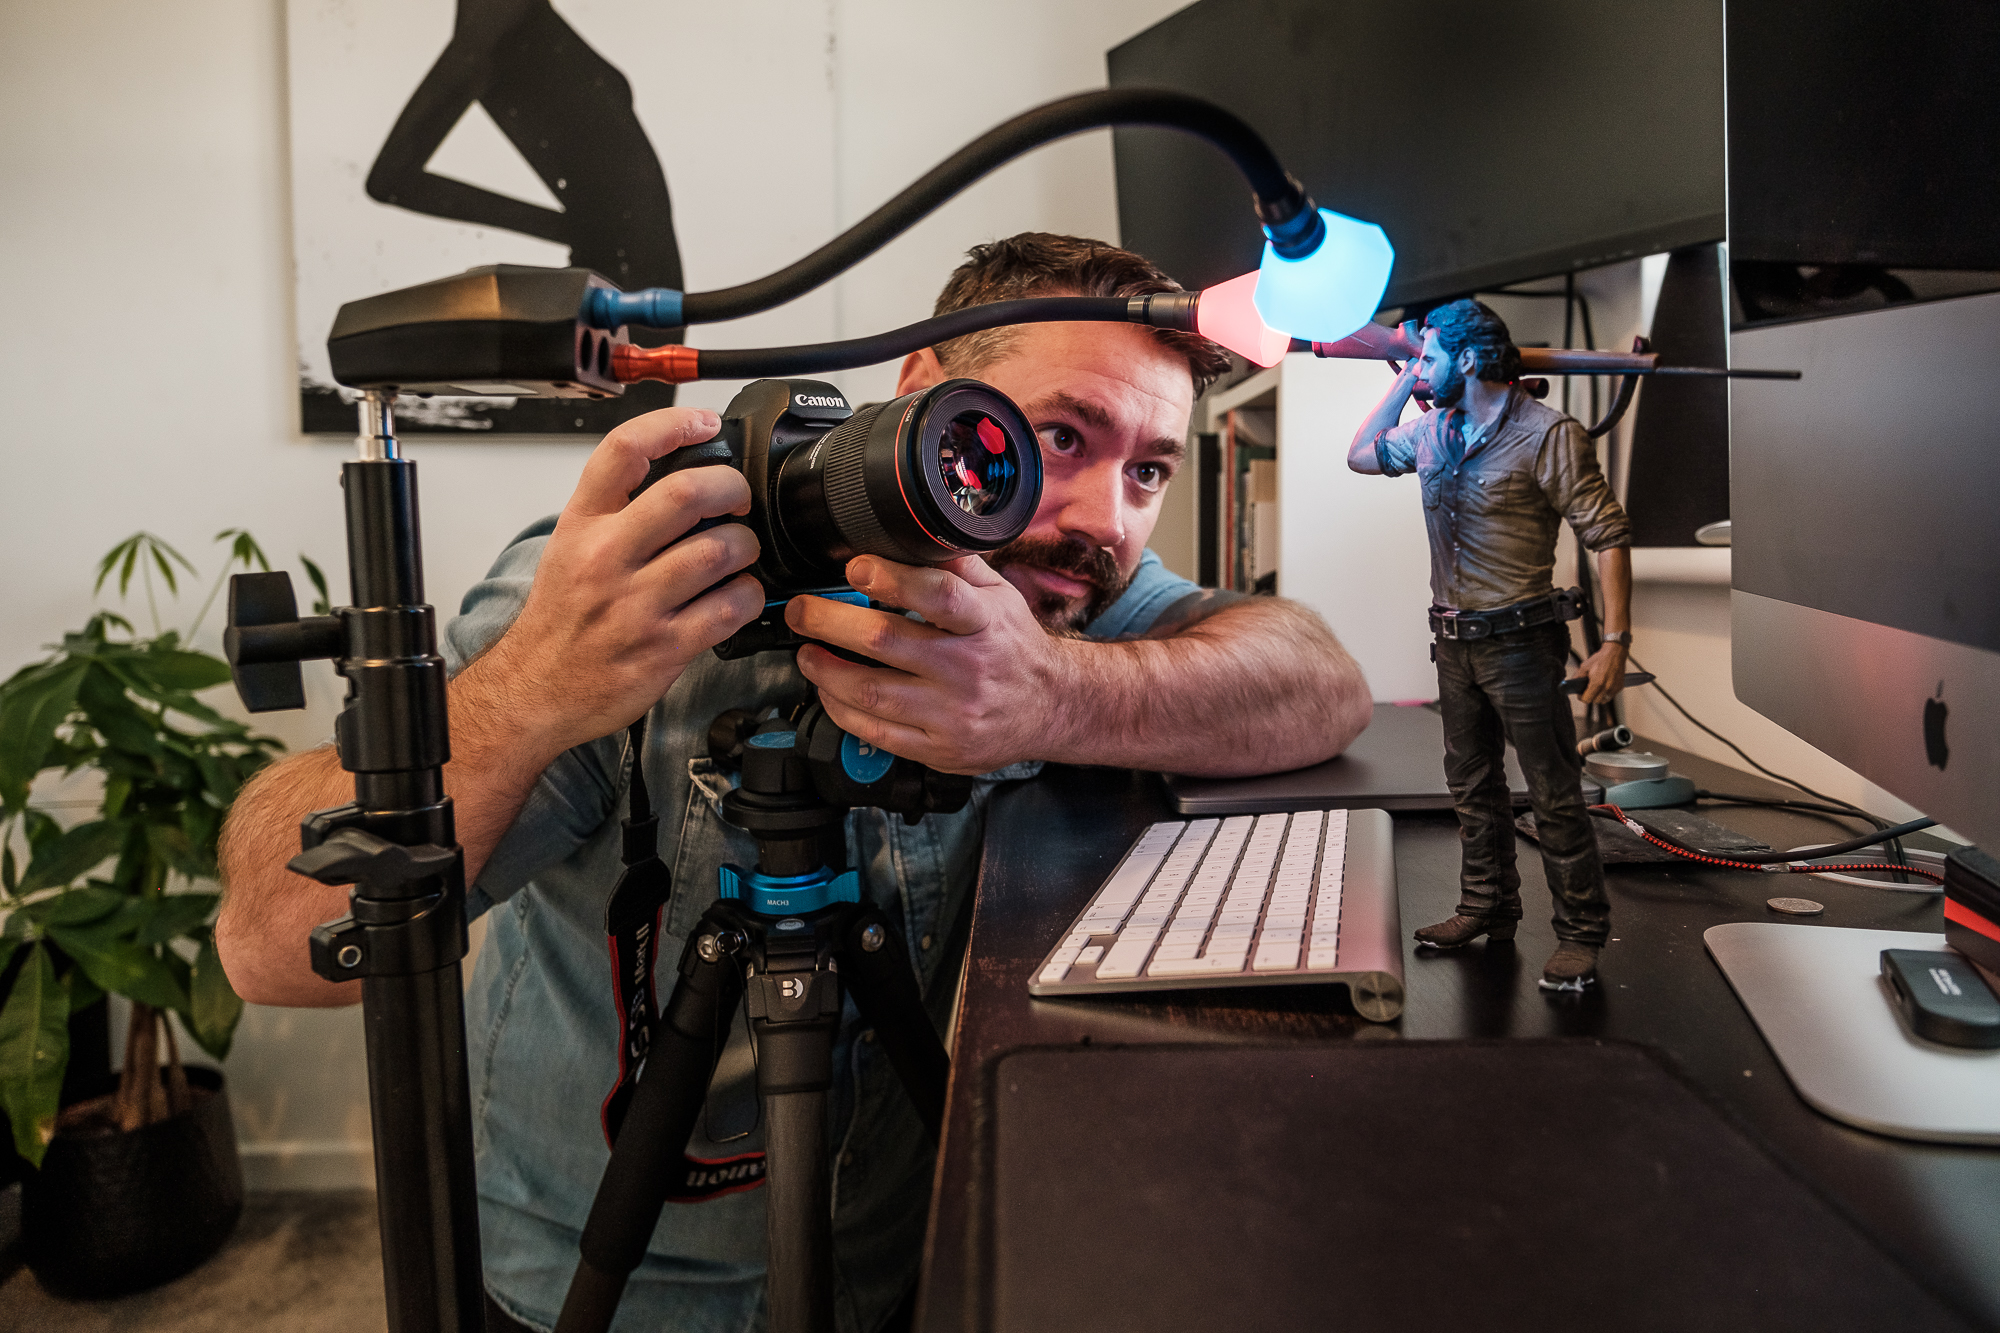
Continuous lighting has historically been the preserve of videography, but LED systems have been eagerly adopted by photographers as well. Brands like Rotolight and Litepanels can be pricey when purchased new, which can be off-putting for those wanting to experiment, but MPB carries used continuous lights from all the big names – and each one is professionally graded and individually pictured, so you know exactly what you’re getting.
Using these lights is very straightforward, as they enable you to control the power and very often the temperature as well – meaning they can be easily matched to the ambient lighting conditions. Some continuous lights even offer built-in color options and virtual gels, enabling you to add creative effects to your scene.
If you’re using them for photography, just be aware that continuous lights do not have the same power as flashguns. Some of them offer high output, and even high speed sync options, but their continuous power won’t be as strong as a flash discharge. That doesn’t mean they’re weak, though – and you will still benefit from modifying them, as their bare light can still be quite harsh!
A matter of meters
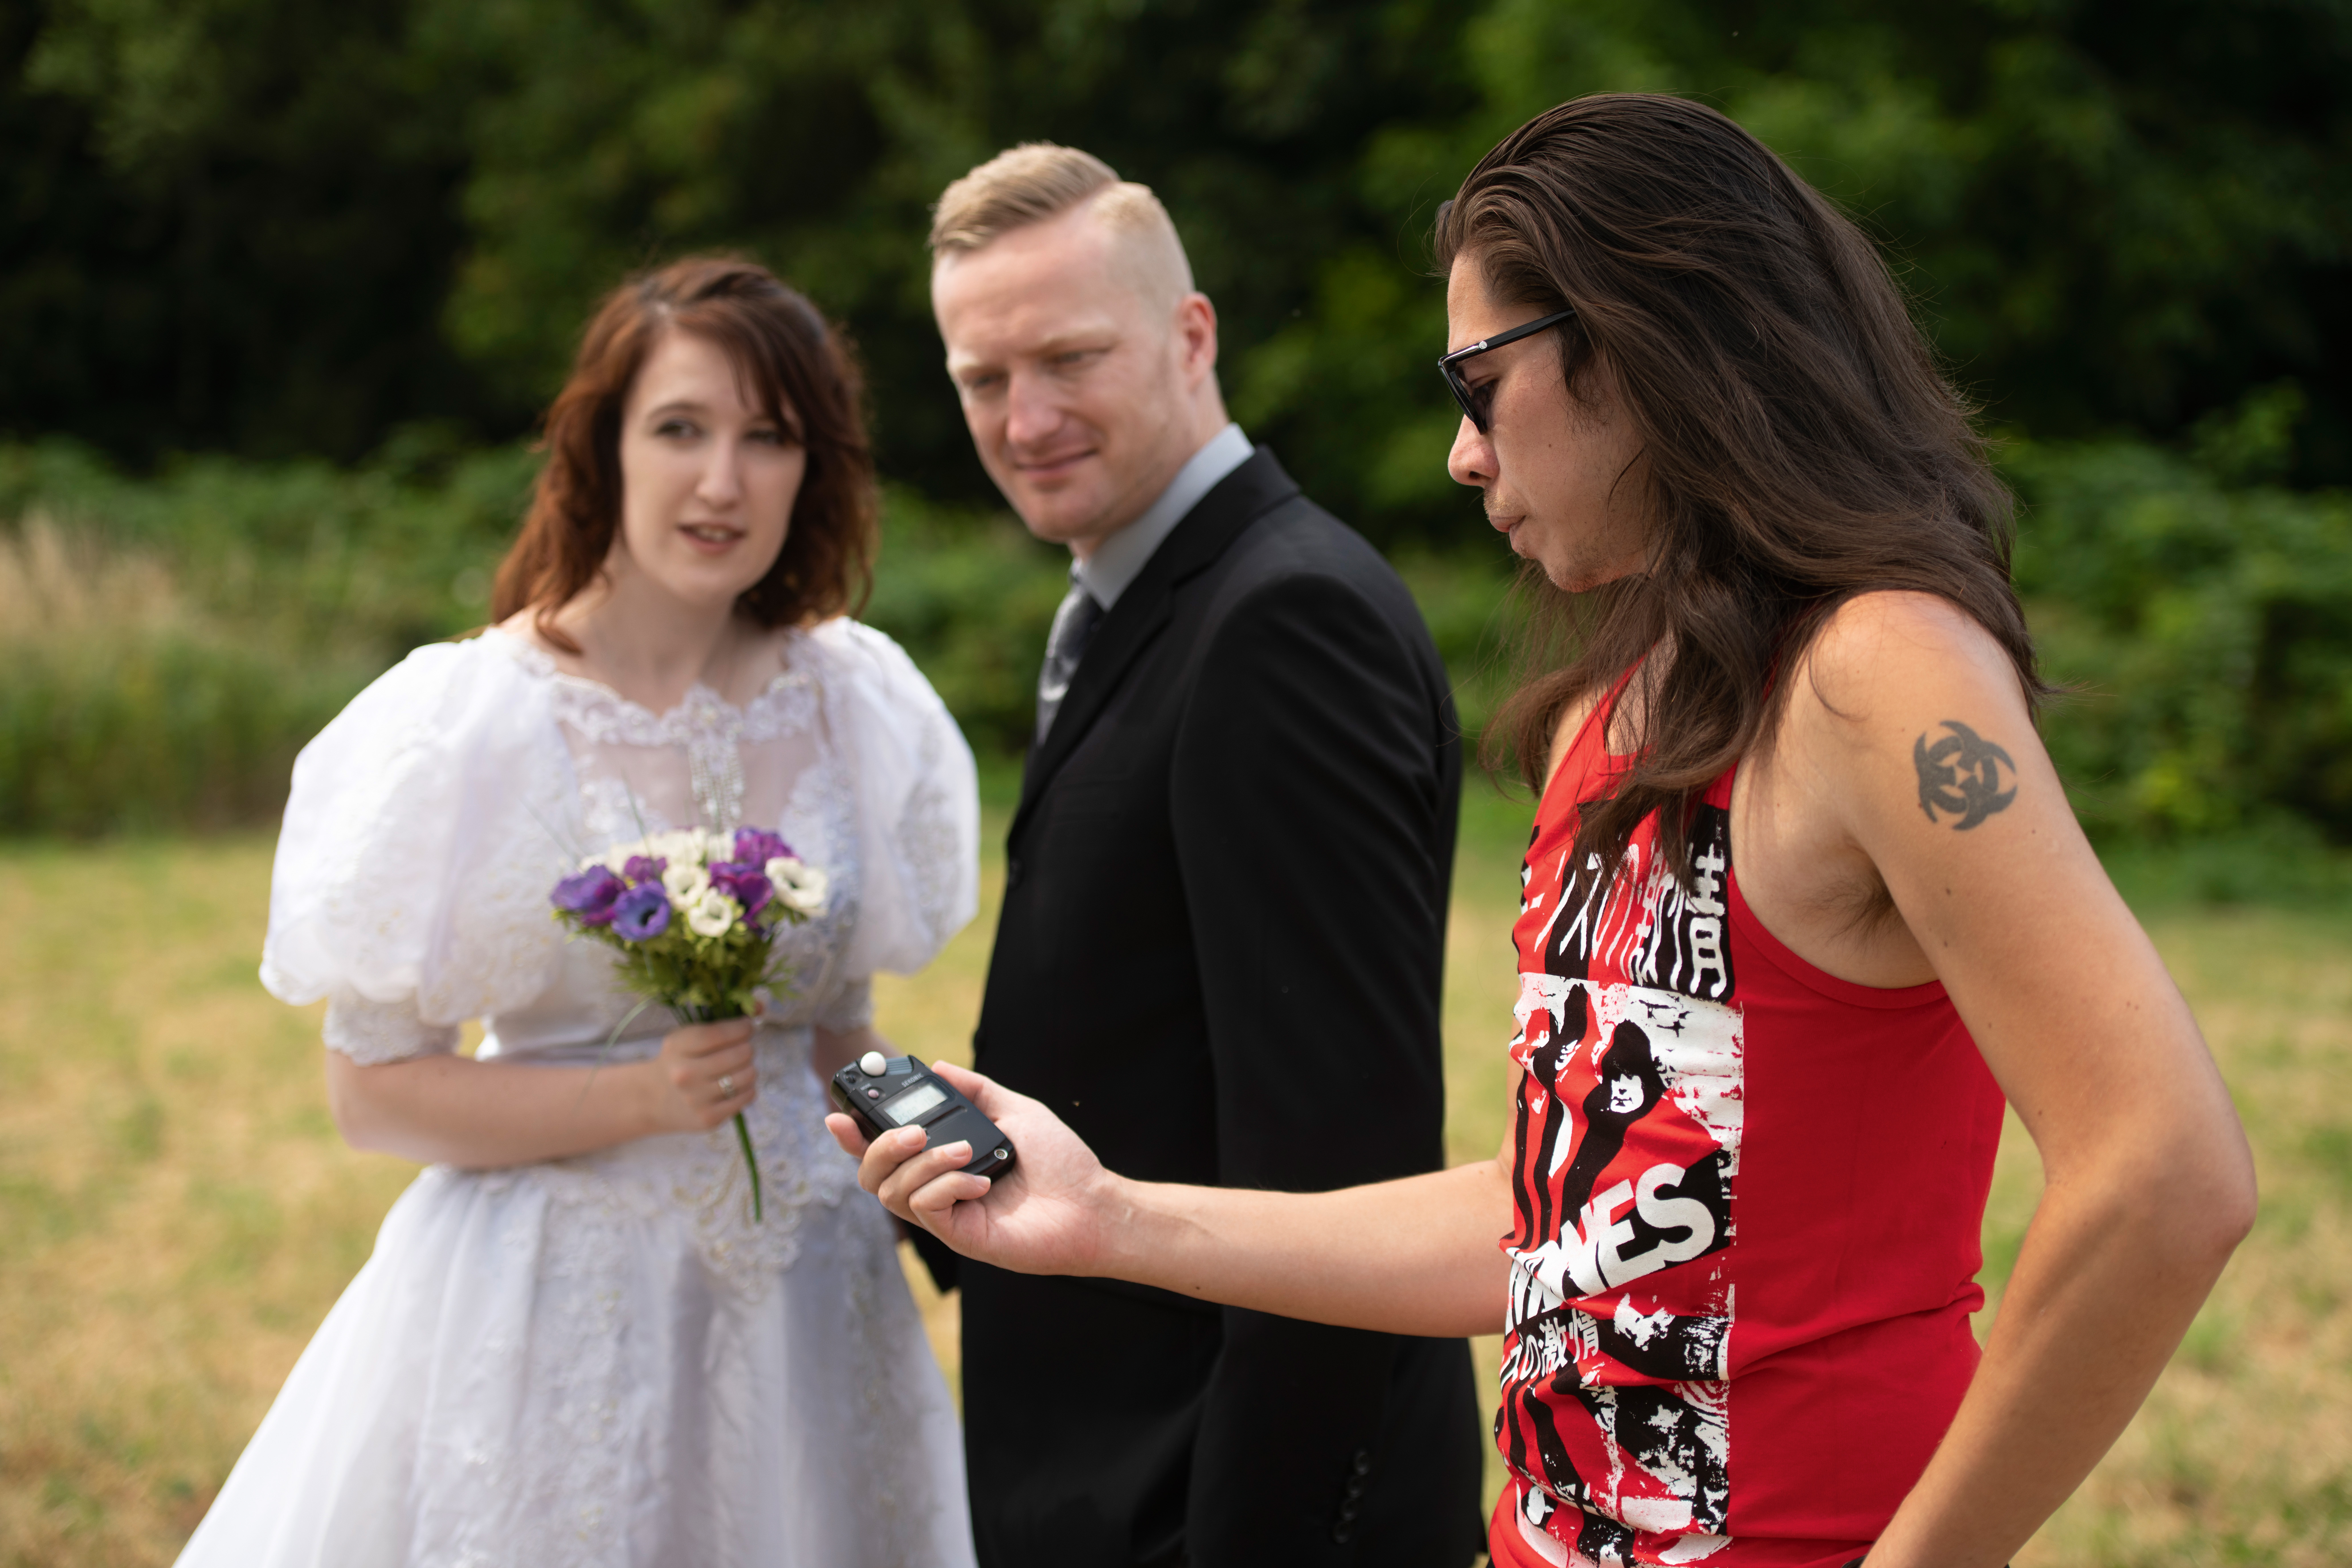
Once upon a time, every photographer had a light meter in their bag – but the advent of mirrorless cameras made them a luxury more than a necessity. However, if you’re a photographer or videographer working with supplemental light, a light meter can be an essential purchase.
These measure the precise lighting conditions wherever you’re shooting. You can measure the ambient light, whether it’s daylight or from ambient illumination like light fittings in a room, and decide whether you want to use it or overpower it. You can measure the amount of light hitting your subjects, so you can accurately control your exposure. And crucially, as you start using multiple flash or continuous light sources, you can measure exactly what each light is doing rather than guesstimating.
Adding light to your scene should be controllable, consistent and repeatable – which is why a meter is so important. Sekonic is the go-to brand, and MPB has a range of Sekonic meters across various price points whether you need multi-spectrum metering or just a basic f-stop measurement.
The best camera deals, reviews, product advice, and unmissable photography news, direct to your inbox!

James has 25 years experience as a journalist, serving as the head of Digital Camera World for 7 of them. He started working in the photography industry in 2014, product testing and shooting ad campaigns for Olympus, as well as clients like Aston Martin Racing, Elinchrom and L'Oréal. An Olympus / OM System, Canon and Hasselblad shooter, he has a wealth of knowledge on cameras of all makes – and he loves instant cameras, too.
