Painting with light: how to paint landscapes with torchlight
Use this innovative painting-with-light technique to capture stunning after-dark landscapes
The best camera deals, reviews, product advice, and unmissable photography news, direct to your inbox!
You are now subscribed
Your newsletter sign-up was successful
Light is the most important aspect of photography, so you might initially think the fun has to stop when the sun goes down. However, there are plenty of after-dark techniques you can use to capture low-light photos.
You could take advantage of the artificial light of towns, cities or traffic as a light source, or even shoot stars and other bodies in the night sky. However, if you want to get really creative, why not try illuminating your night shots with a technique known as ‘painting with light’.
This involves using a light source such as a torch or a flashgun to illuminate your subject. With a torch you can see where the light is falling, while flash is more difficult to use but can enable you to use shorter exposure times.
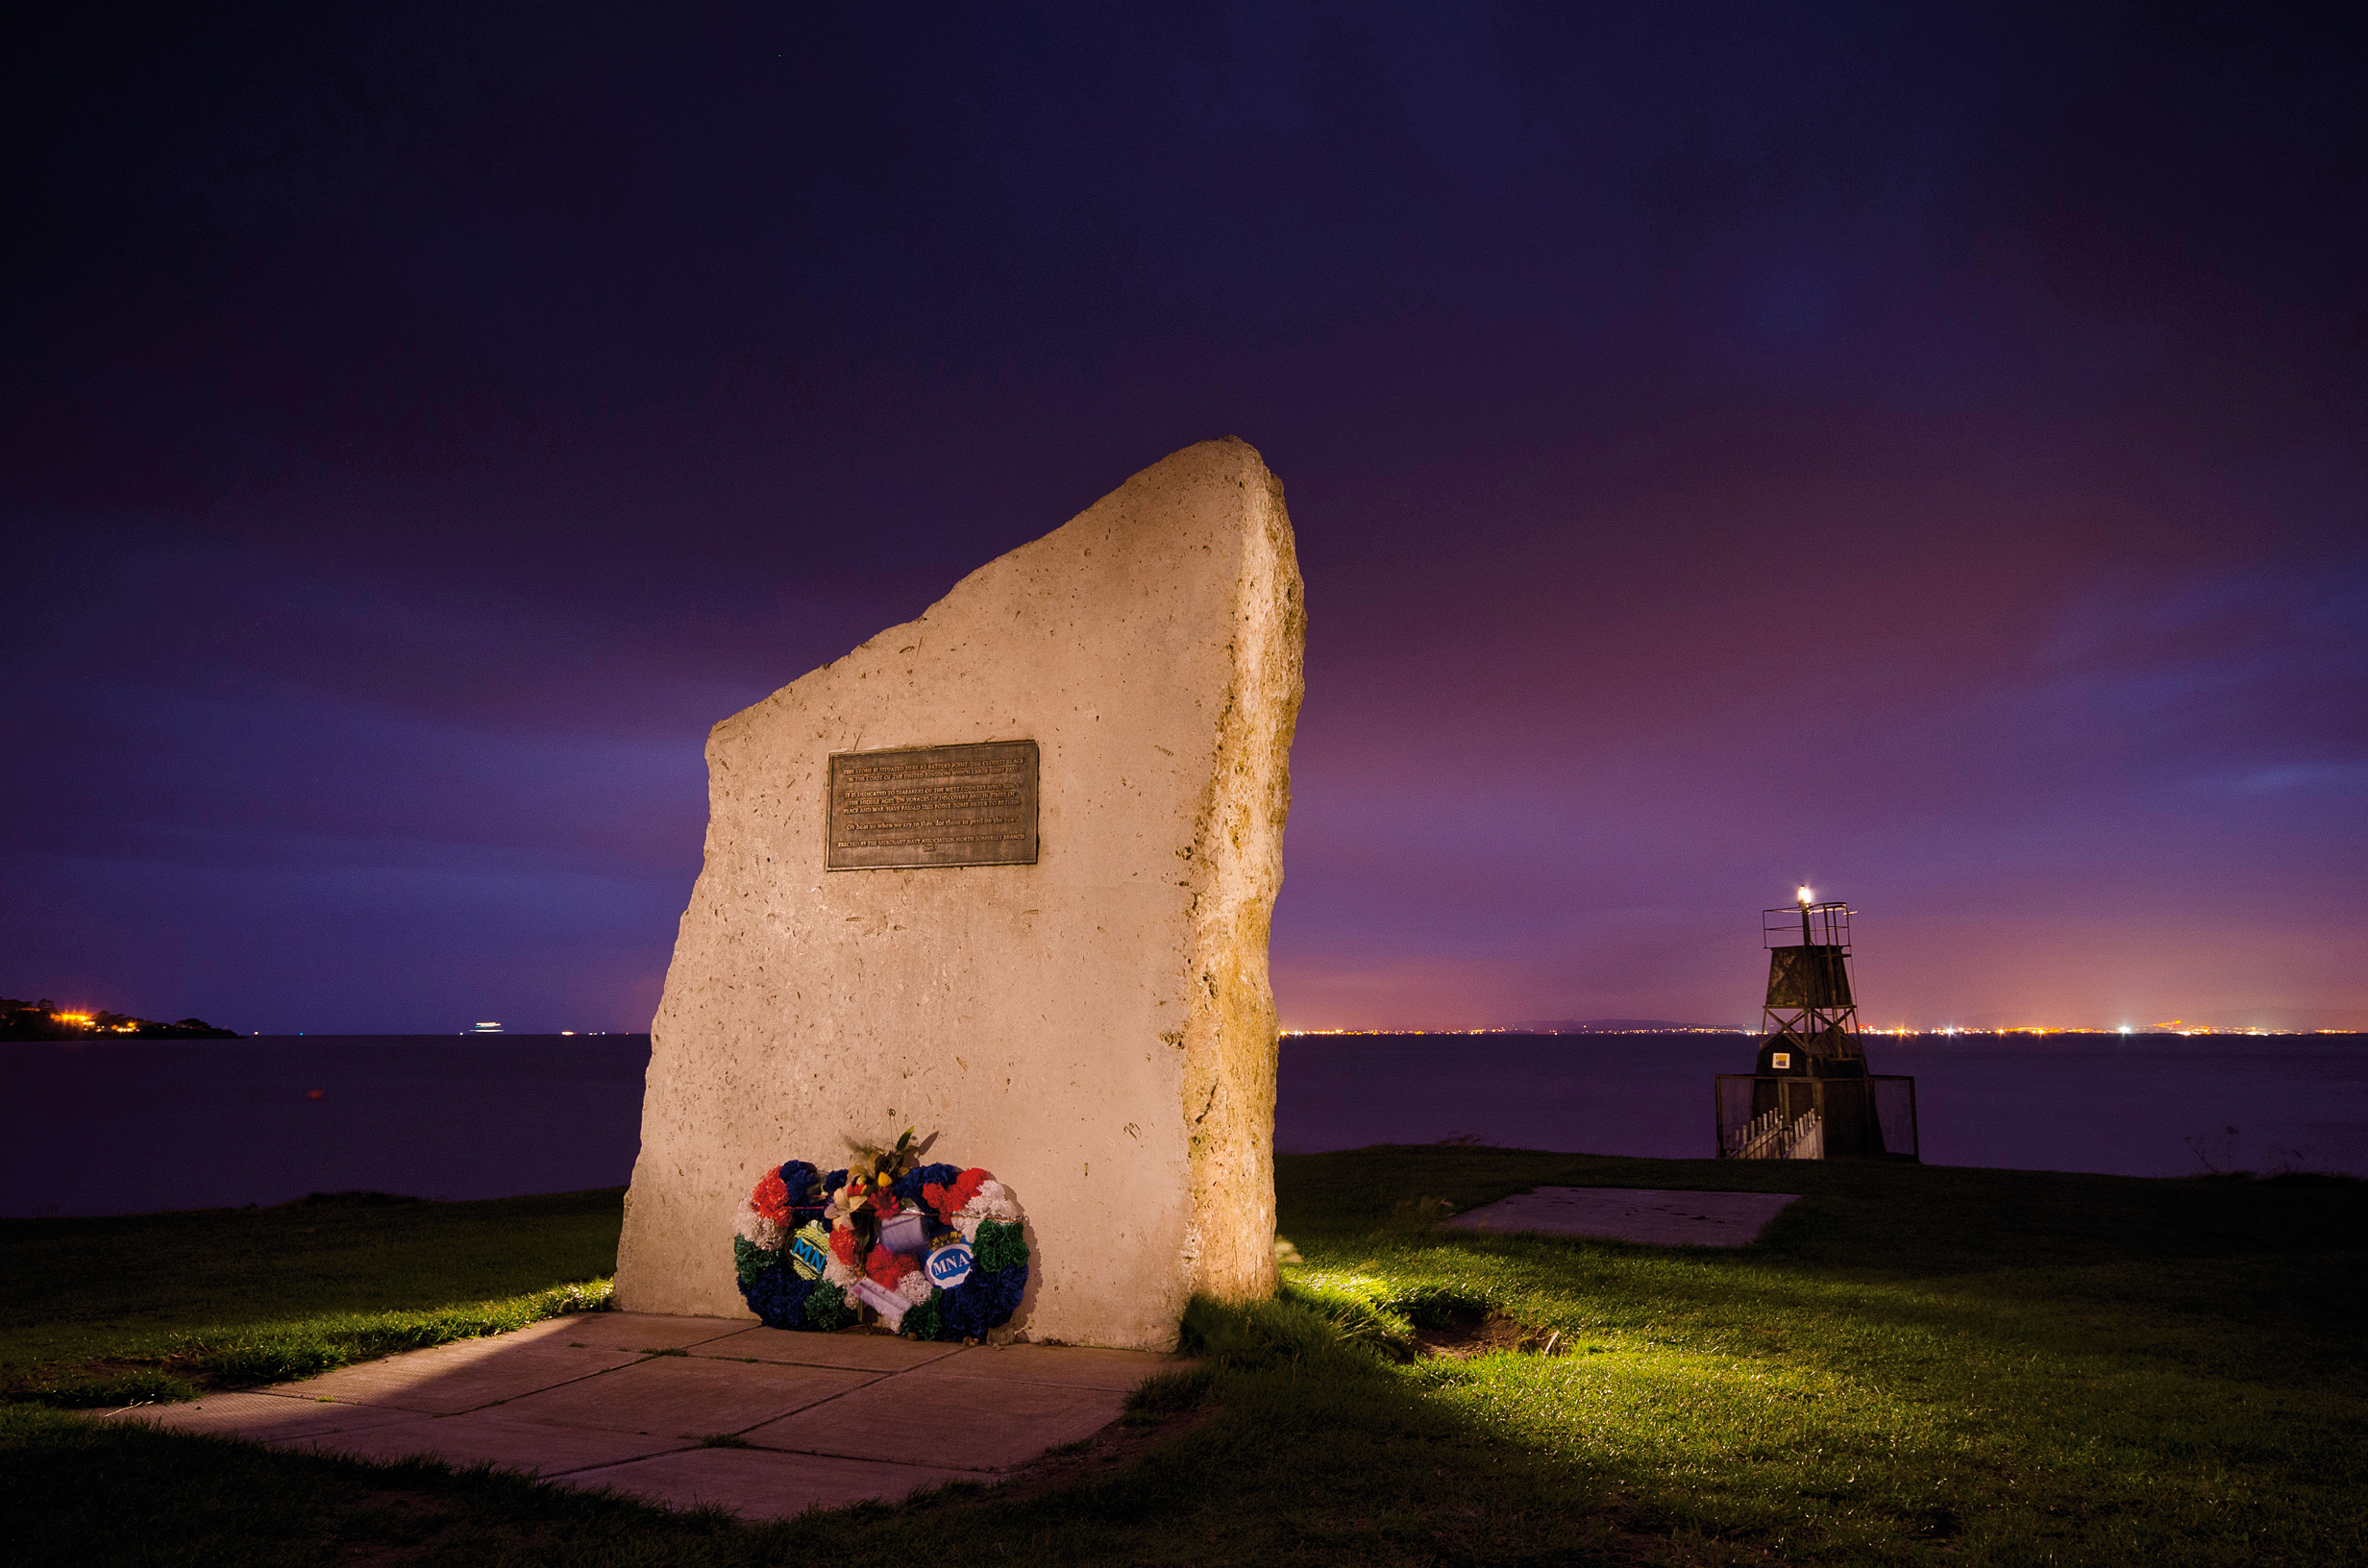
By leaving the shutter open for a long period of time you can shine the light onto parts of the subject, so that you create ‘pools’ of light to give your night shots a unique and slightly surreal appearance.
• Landscape photography tips and techniques
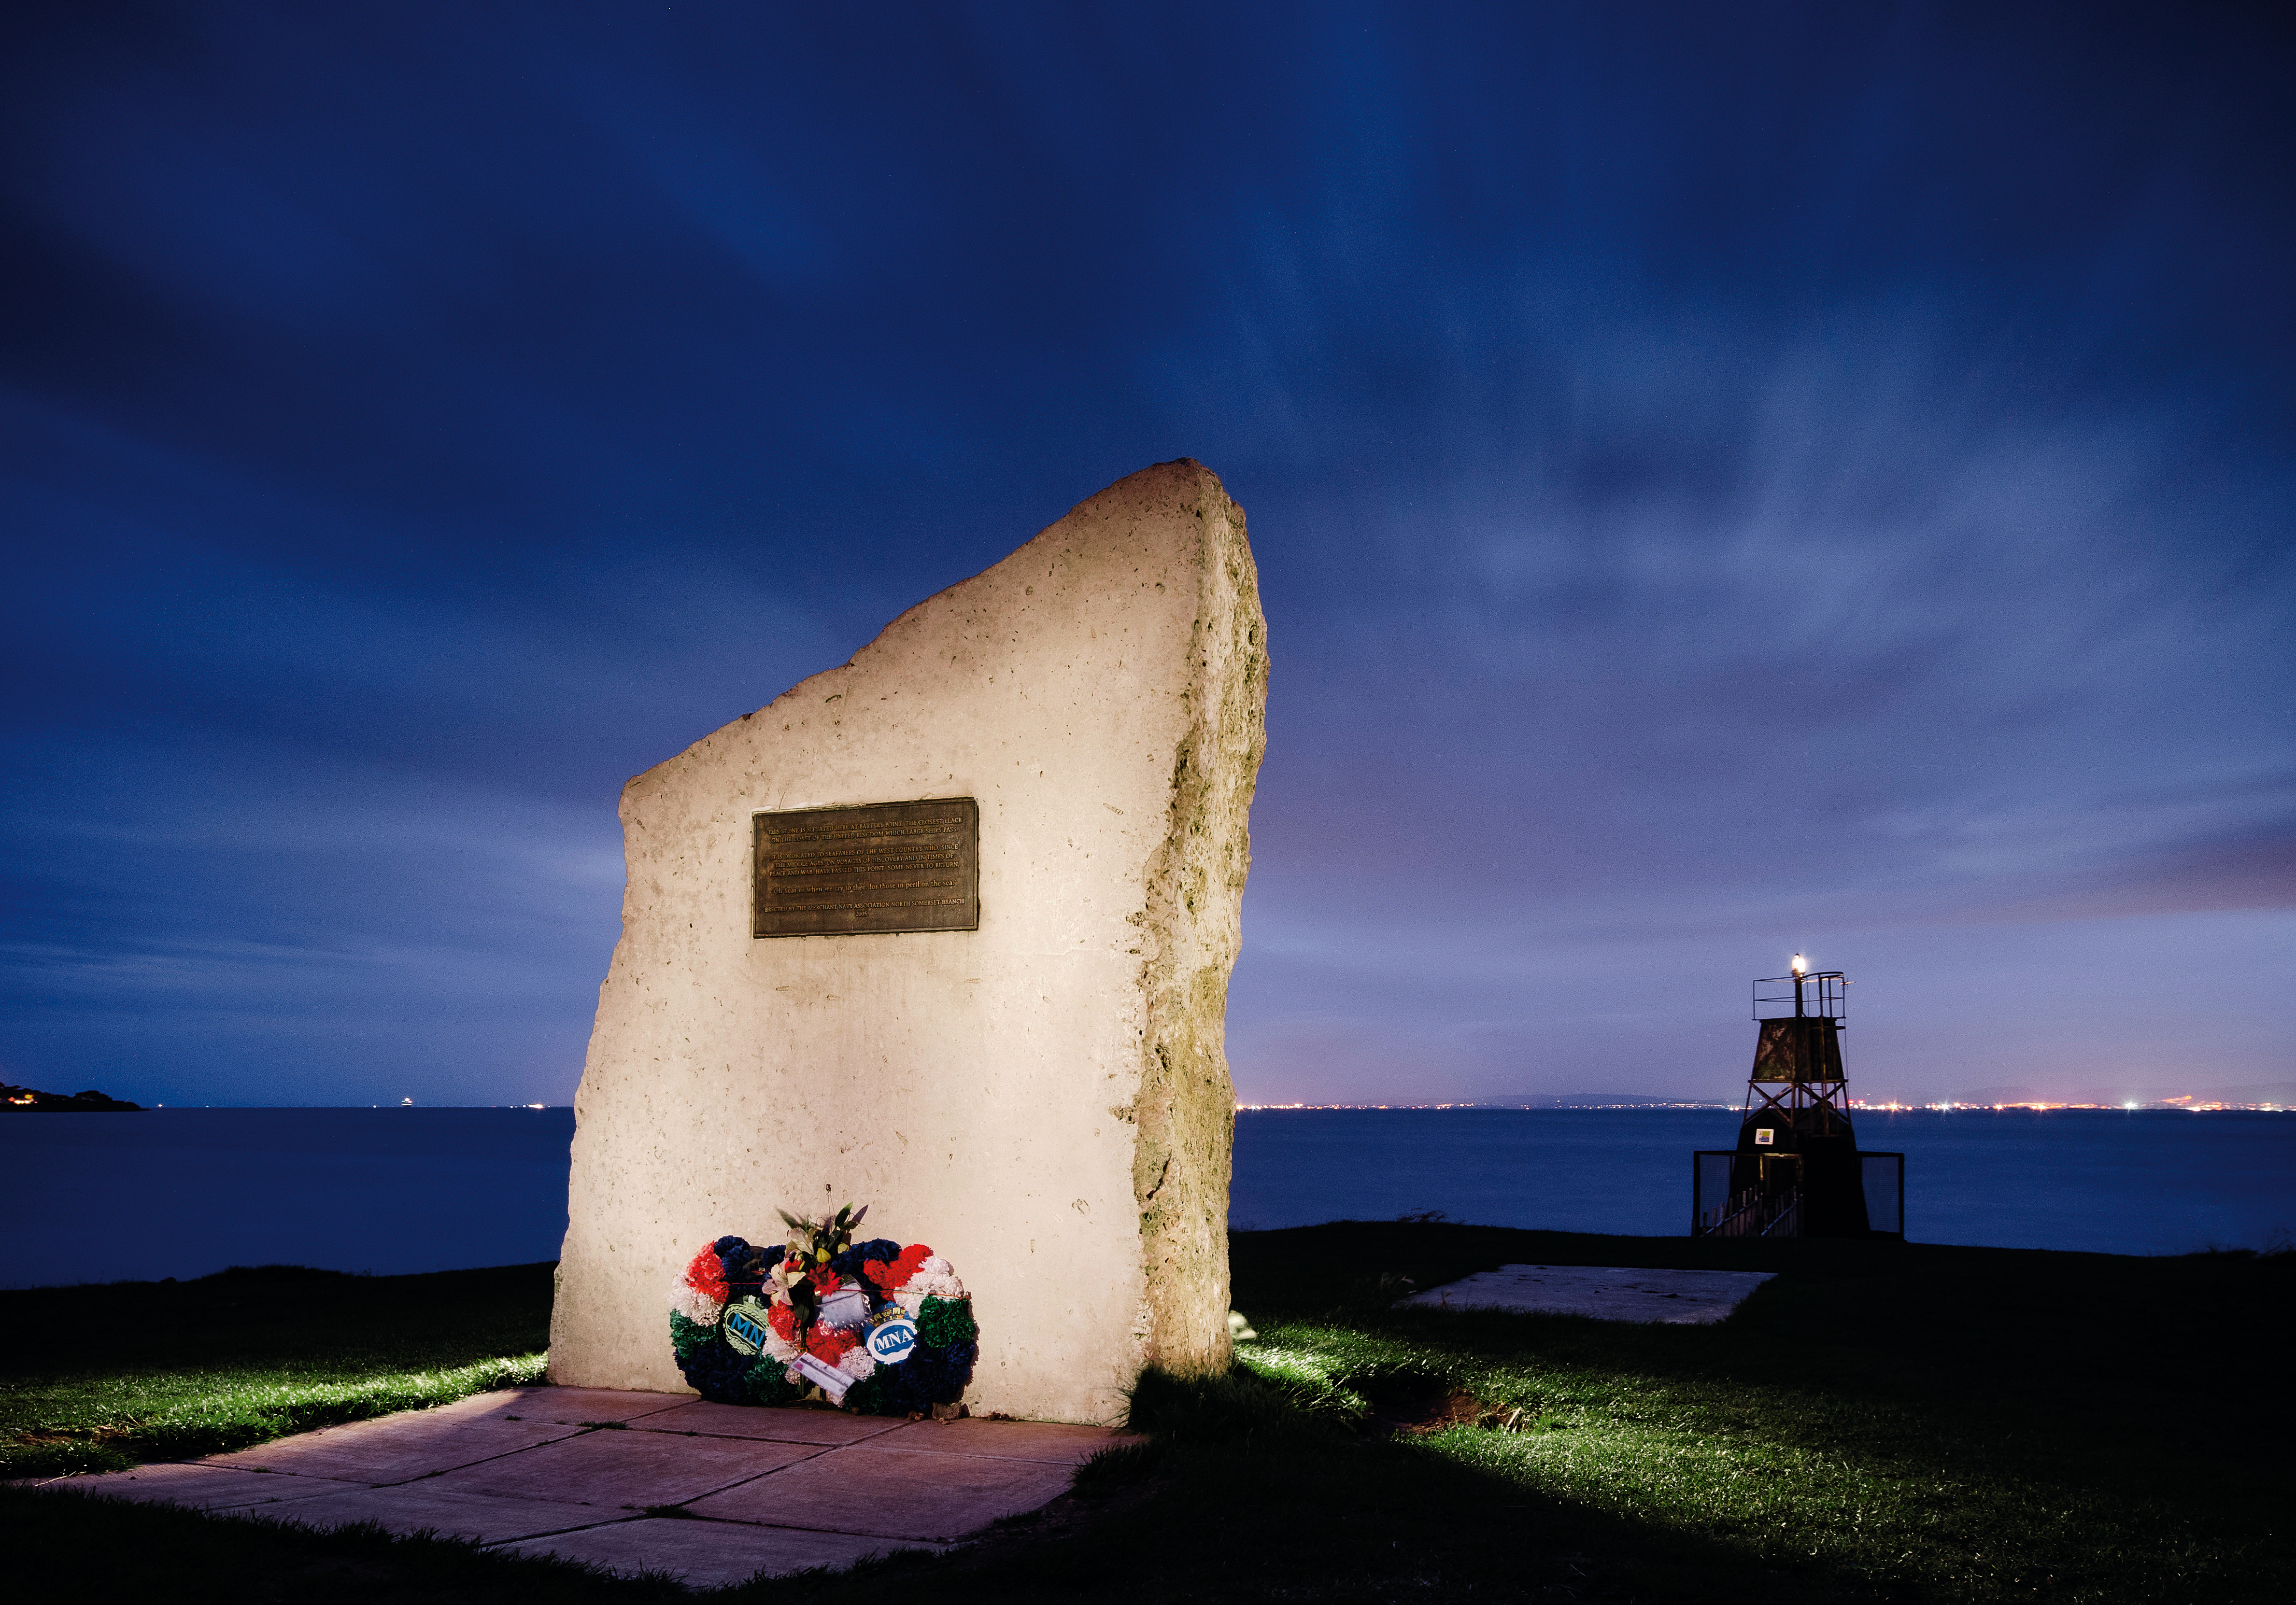
By moving the torch during the exposure you can control the brightness of specific areas of the subject, and even use different light sources or place colored gels over the lights to create color casts for an even more surreal appearance.
Your choice of white balance will also create color casts; daylight or flash white balances will give the correct colors if you are using flash, but will produce an orange color with most artificial light sources.
The best camera deals, reviews, product advice, and unmissable photography news, direct to your inbox!
Judging the exposure is one of the most difficult aspects of light painting, so remember to take a stopwatch along so that you can measure the length of time that you paint each area of the subject, and try to light the subject from the same distance each time.
Even using these techniques it’s difficult to replicate exactly the same light on each exposure, but this unique appearance is part of the technique’s appeal.

01 Frame your shot
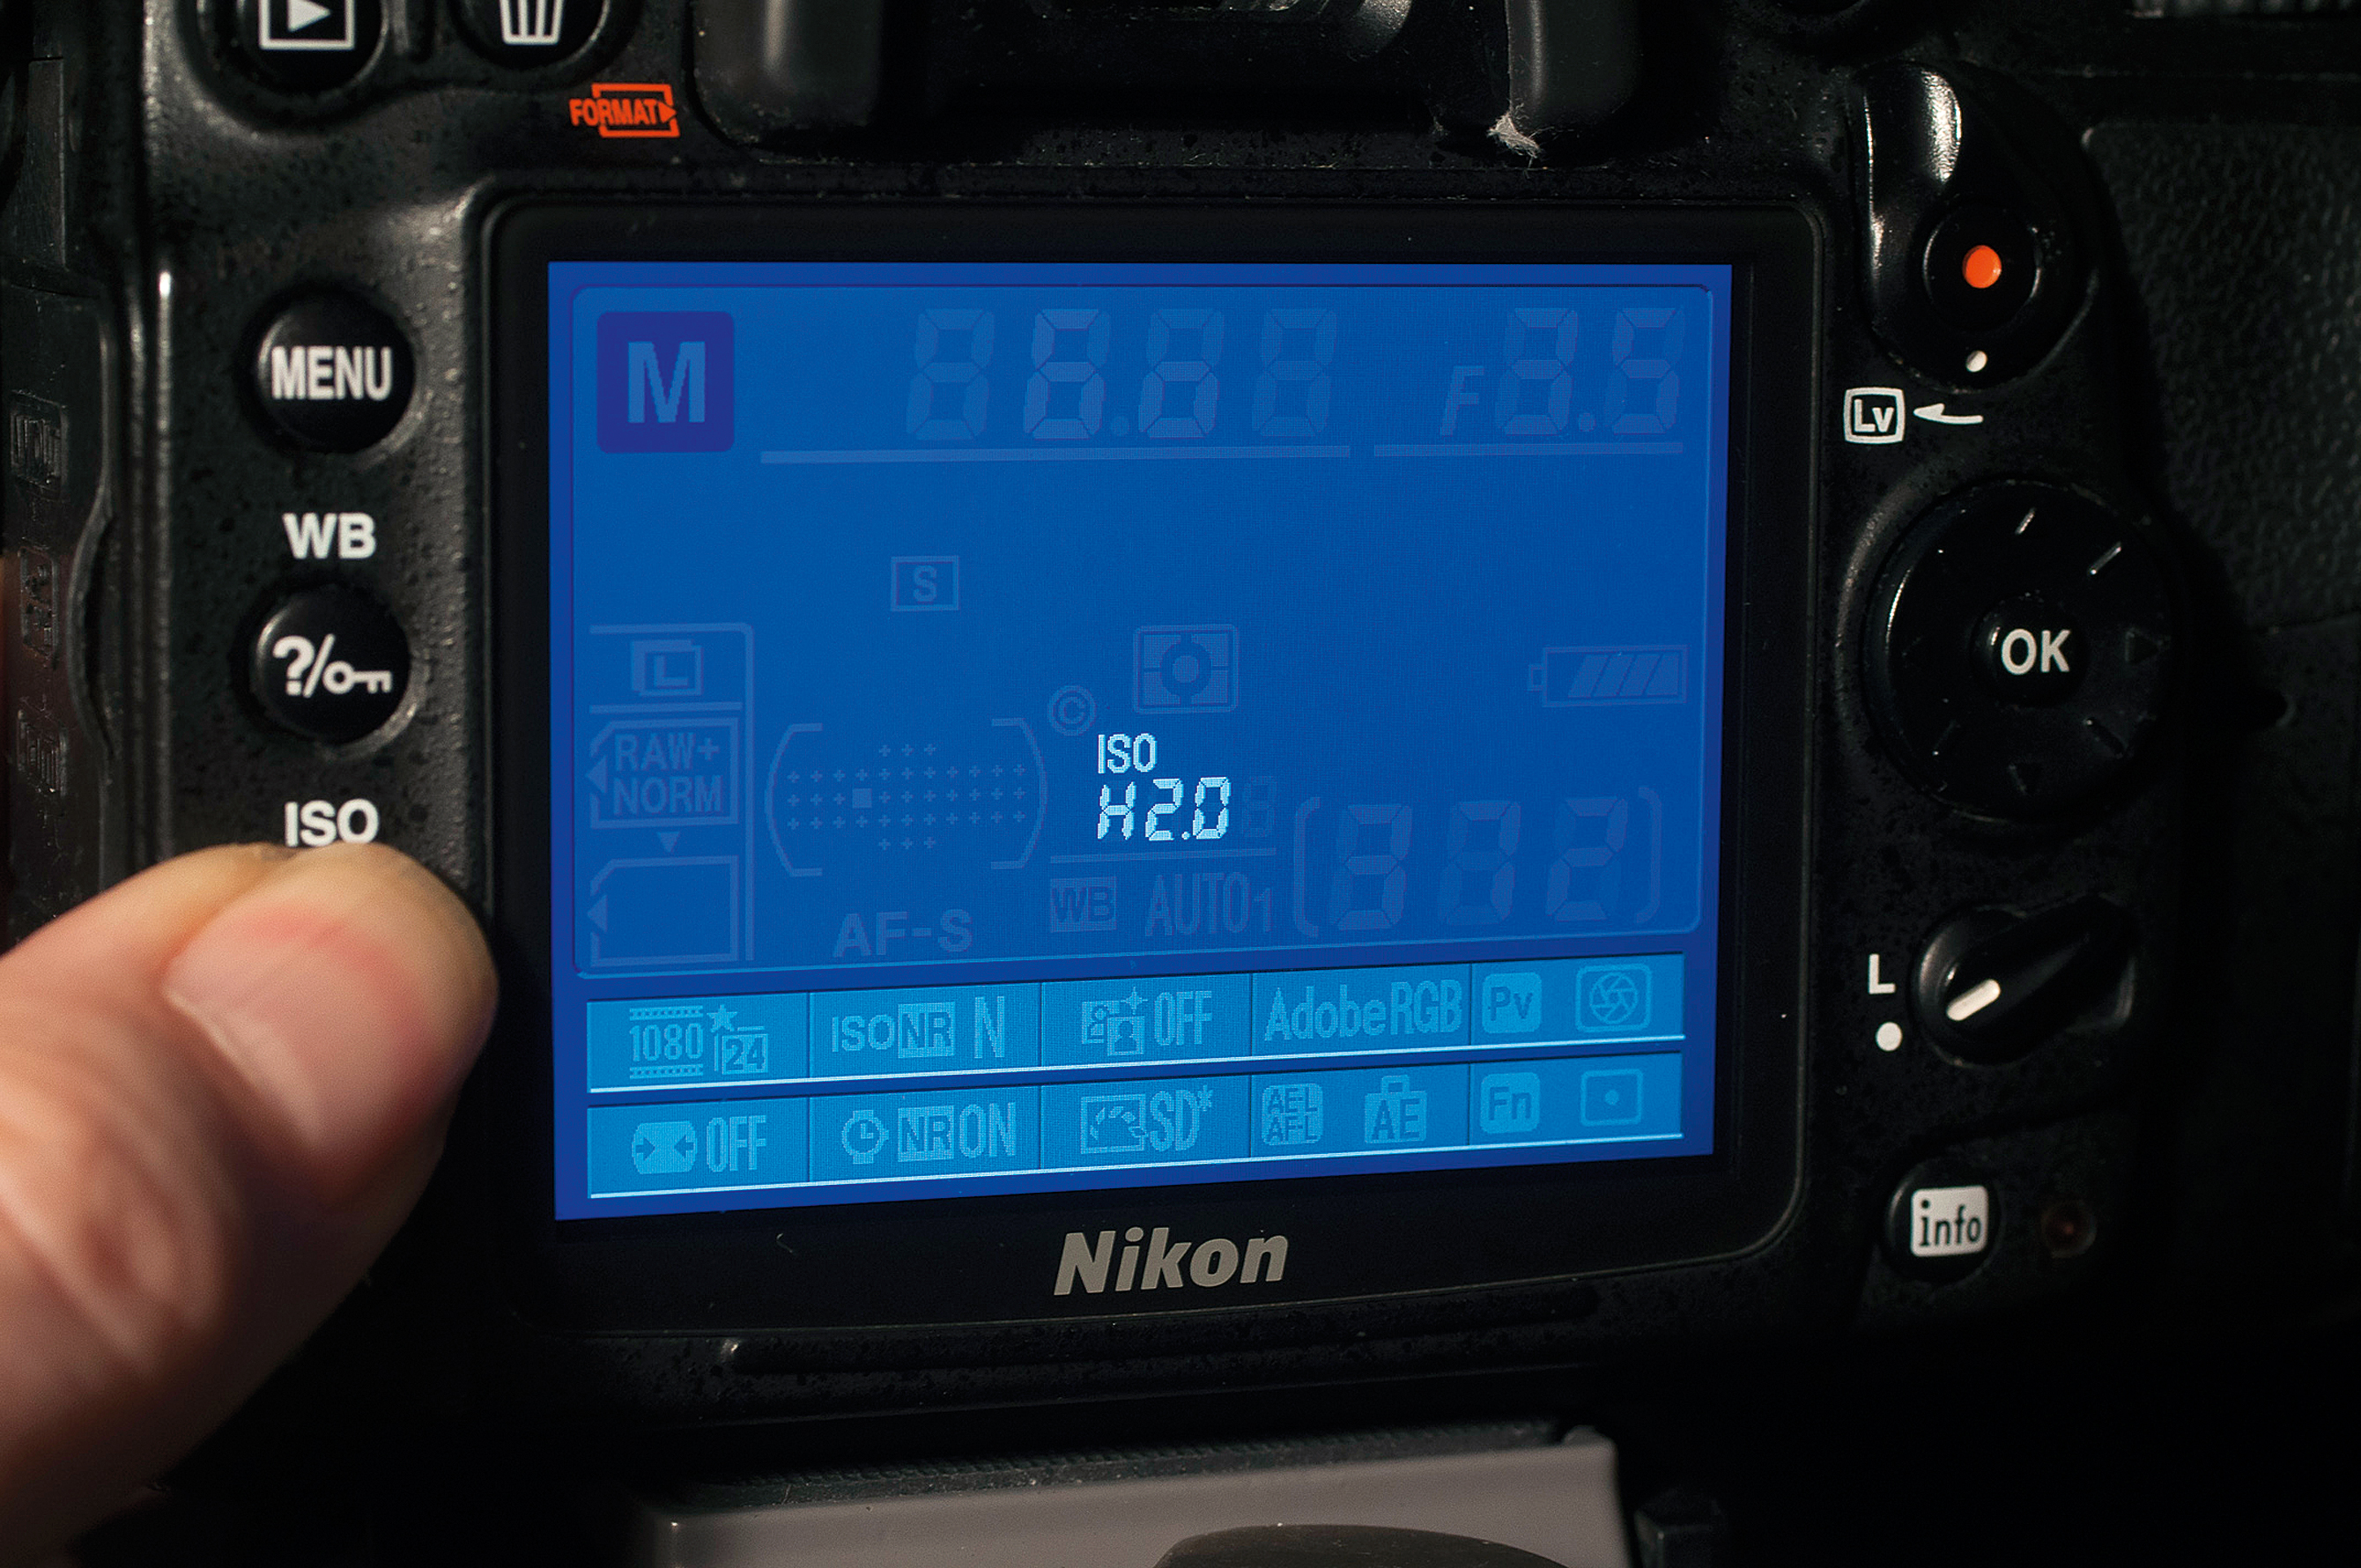
Composing your images in the dark can be tricky as you can see so little through the eye-level viewfinder, so set your camera to the highest ISO and switch to live view to give a visible image on the screen. With the camera on a tripod, use this live view image to compose your shot.
02 Set up the camera
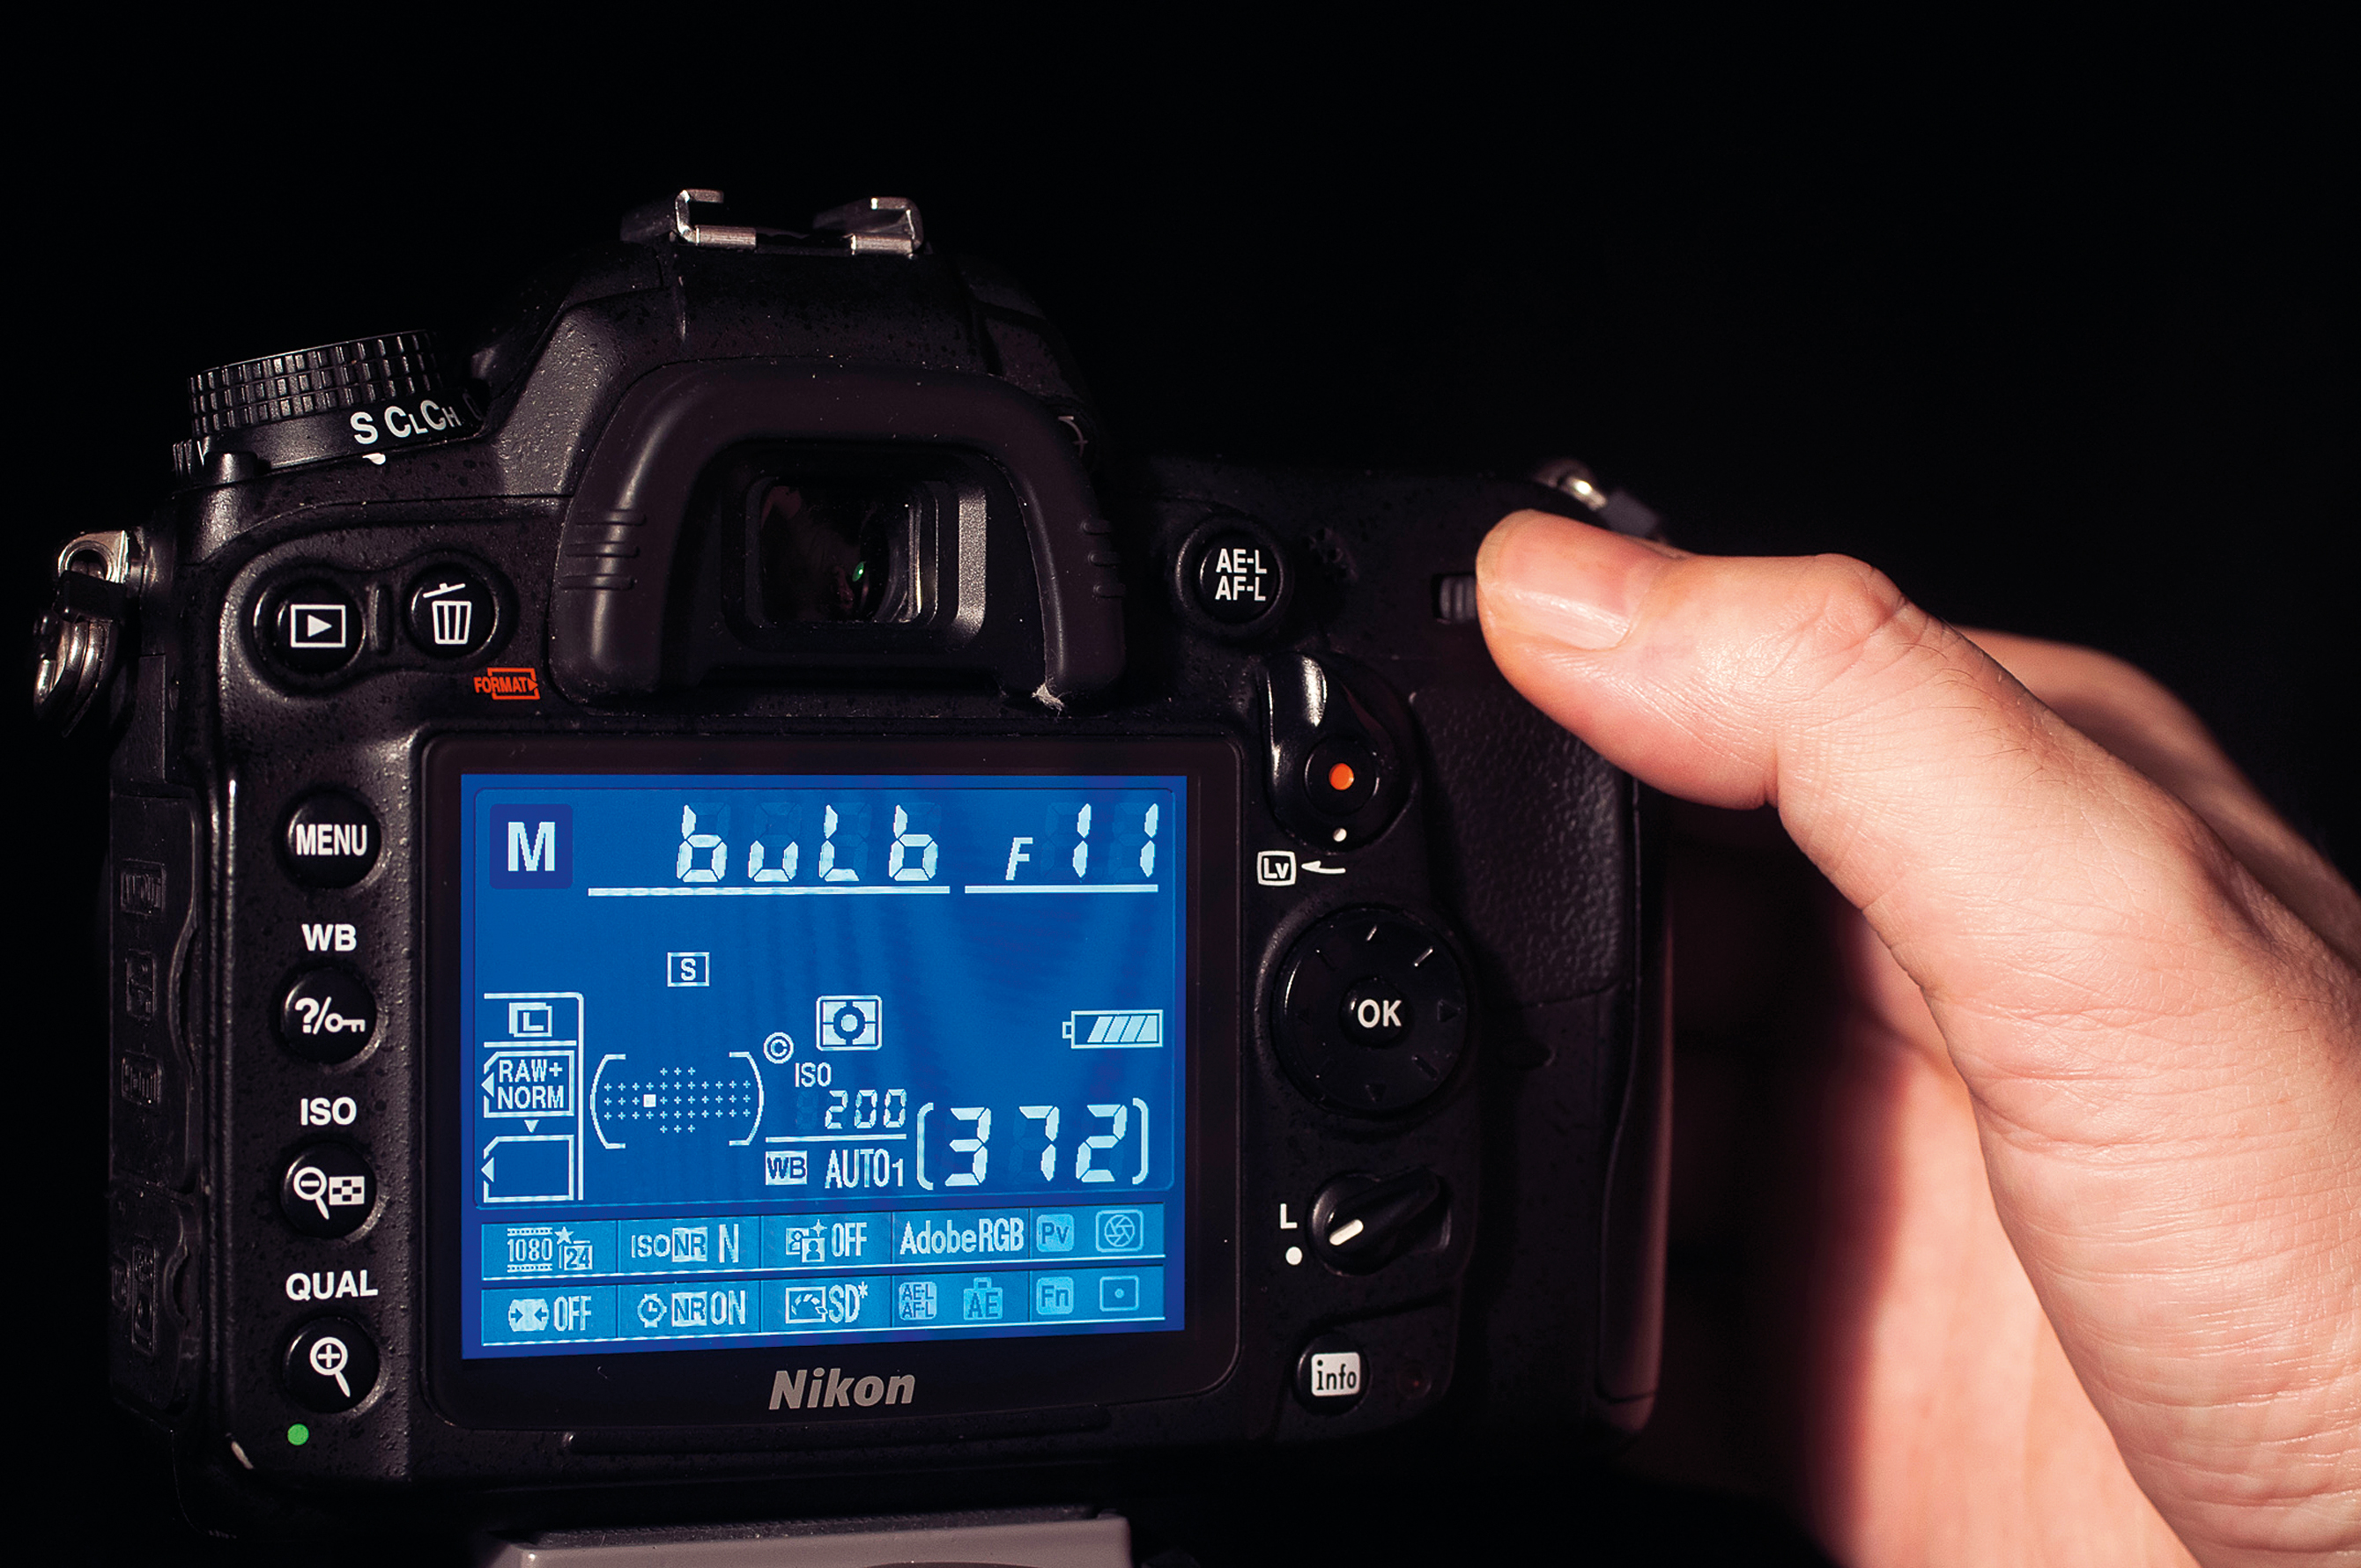
Now set the camera to manual focus and carefully focus on the subject that you are going to illuminate with the light. Then remember to change the ISO down to ISO200, and in manual exposure mode set the shutter speed to bulb exposure and the aperture to f/11.
03 Light the subject
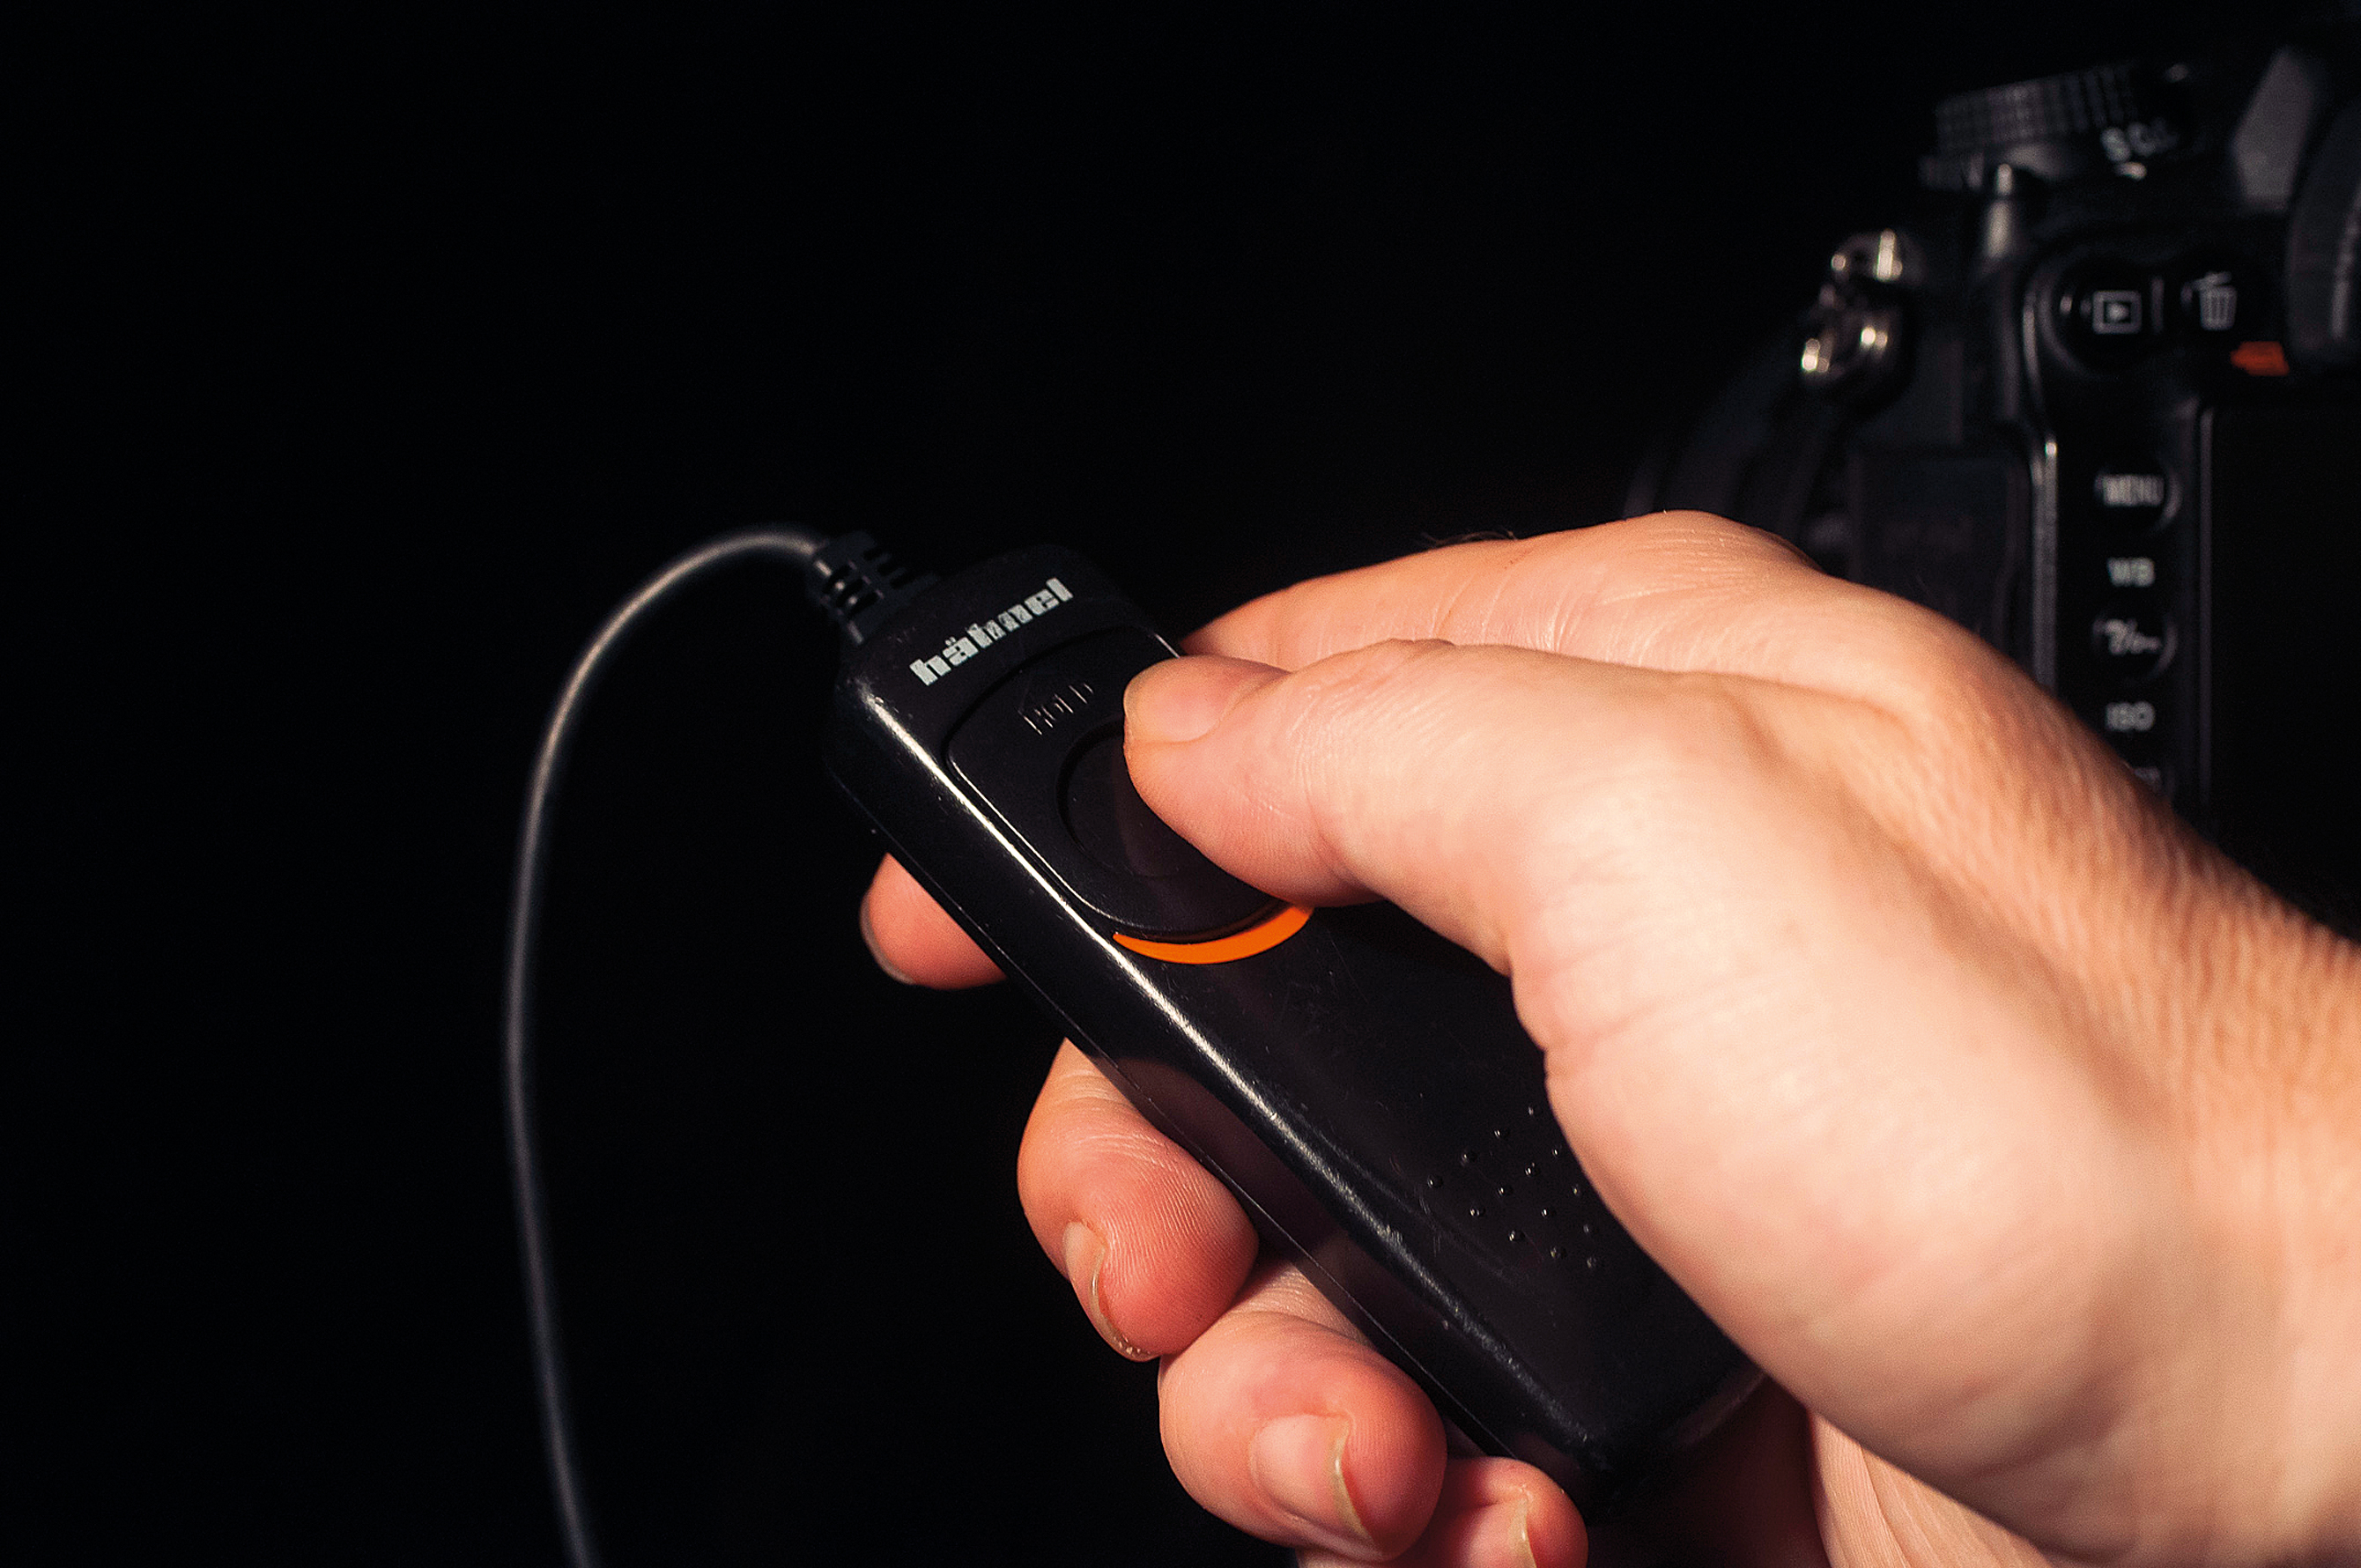
Using a remote release, lock the shutter open and start painting the light onto the subject. Remember that just like any other form of lighting, a directional side-lighting will reveal more detail than lighting from the camera position. Just remember not to wander into the frame.
04 Check the result
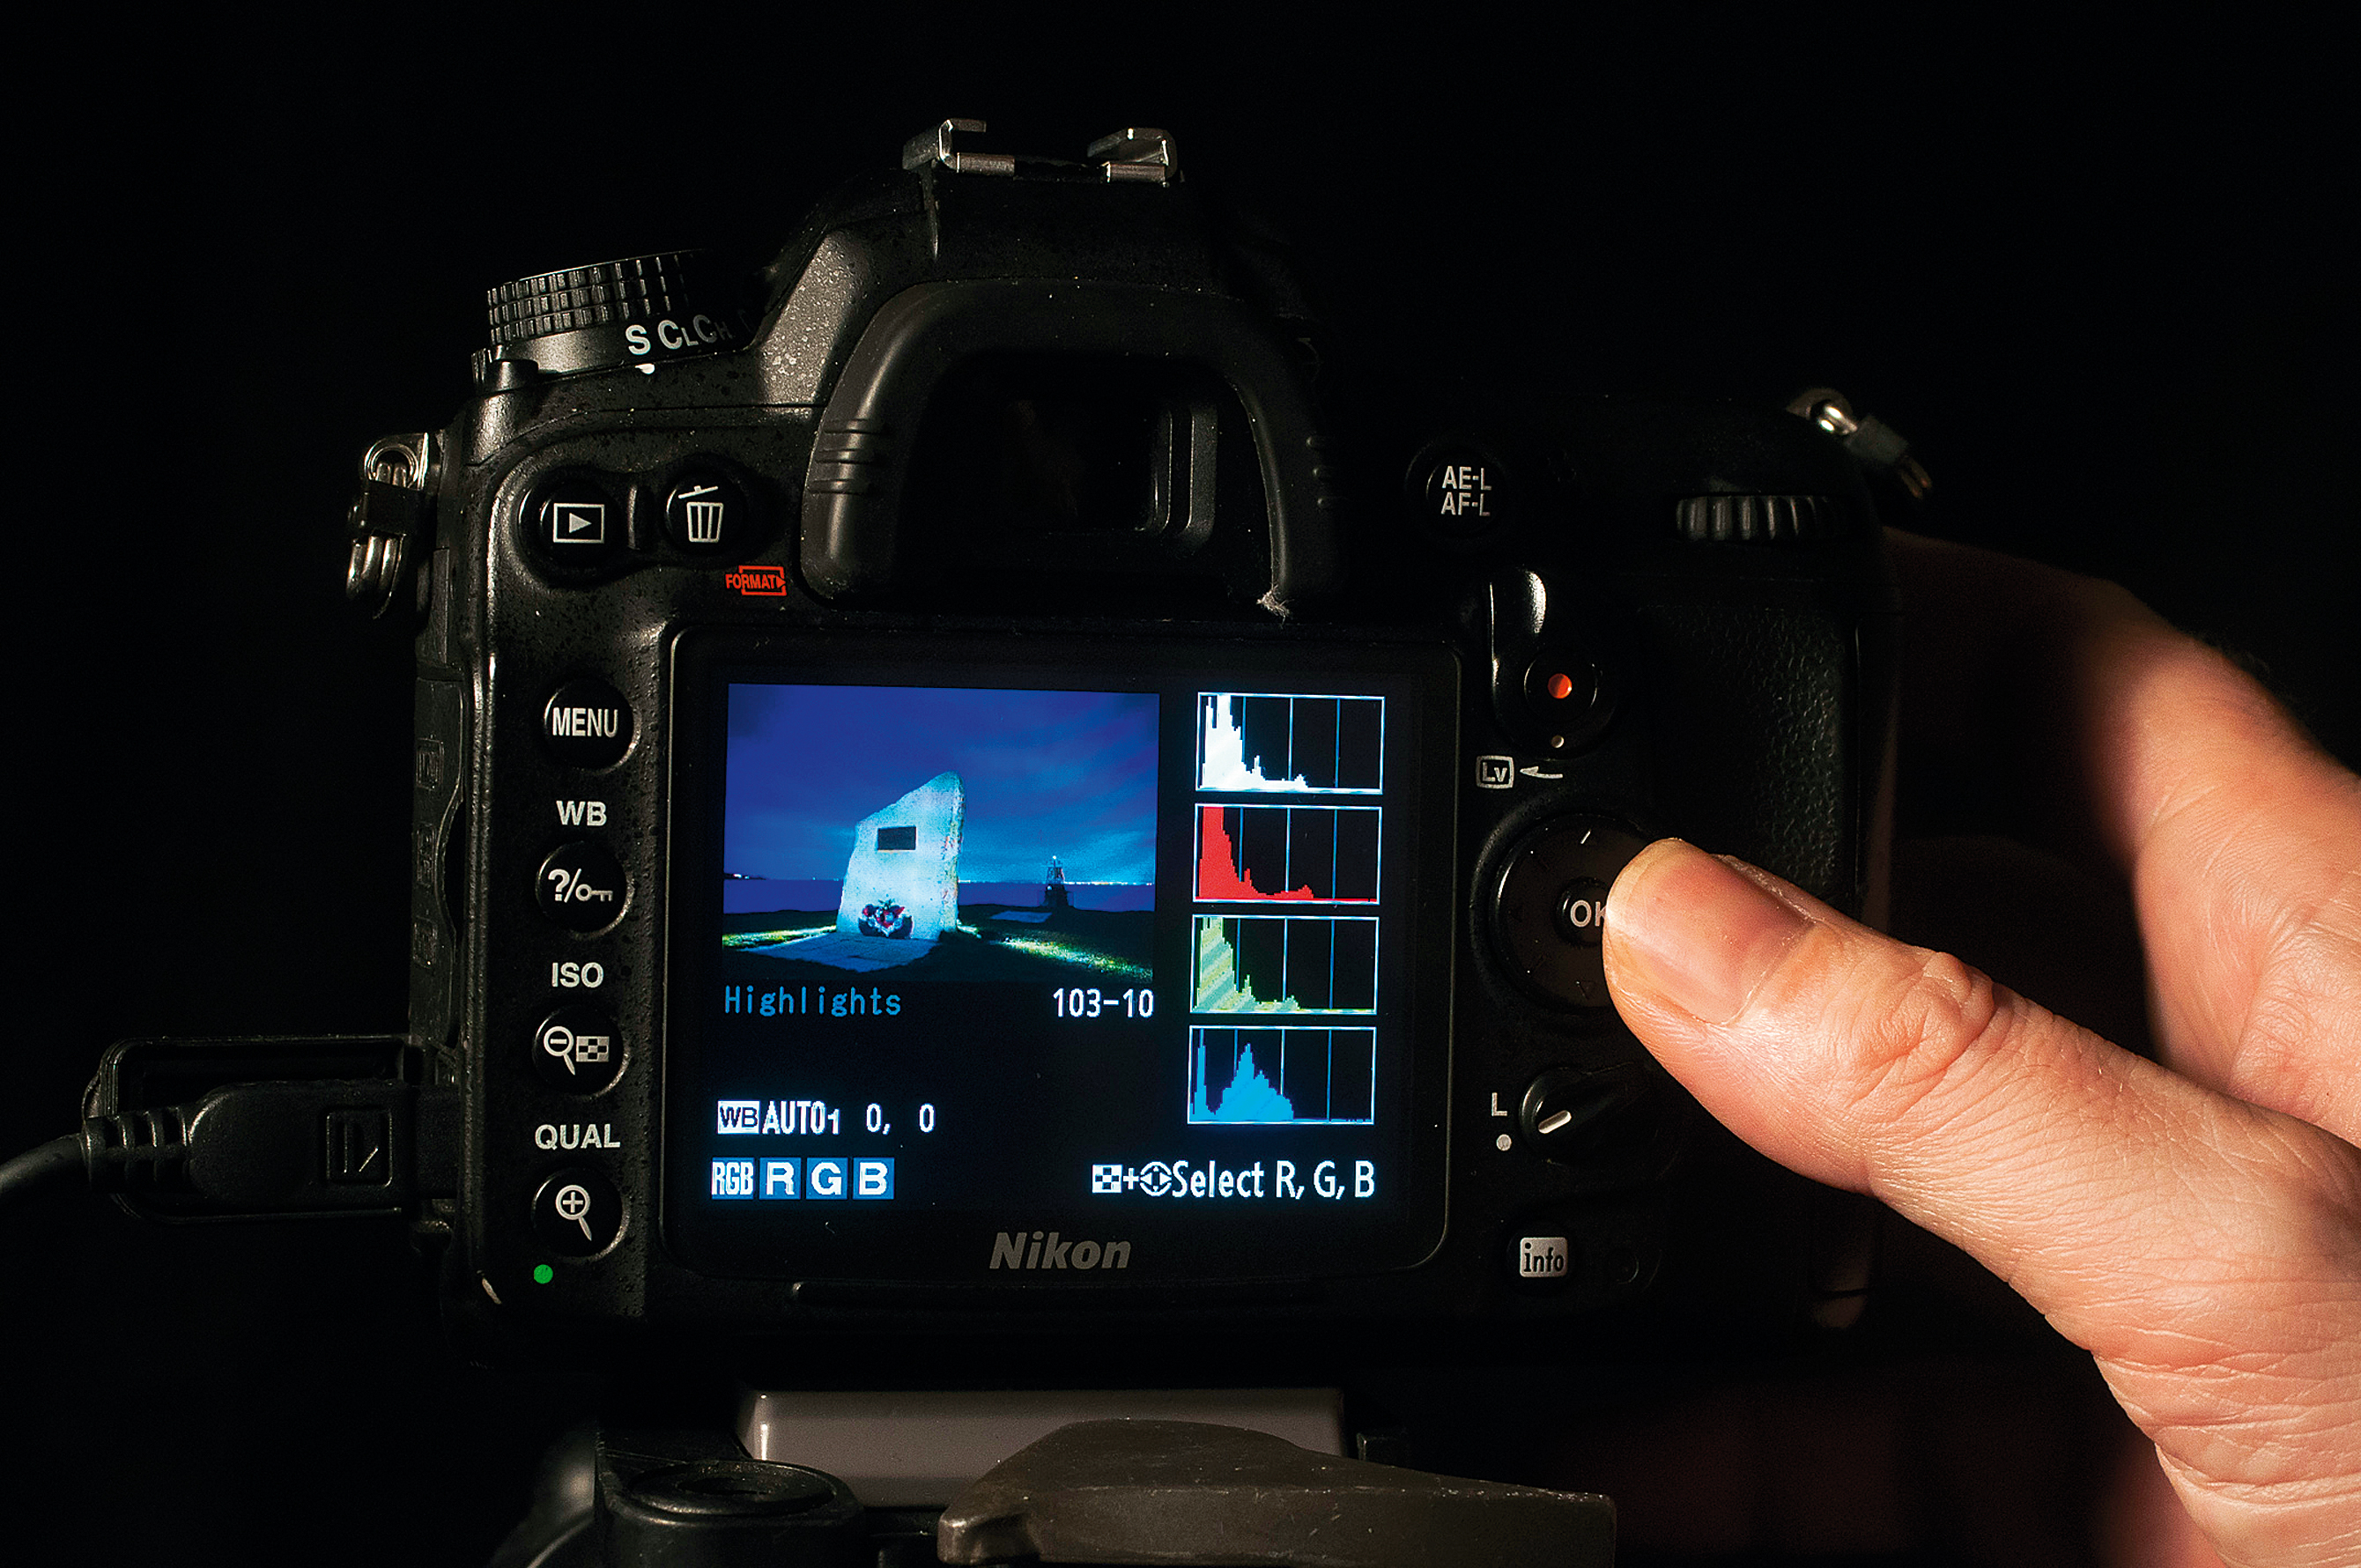
Because of the nature of painting the subject with light it’s very difficult to judge the exposure and direction of the lighting. So check the results on your LCD screen and, if the subject is underexposed, you need to light the subject for a longer time or move the light closer.

Top tips: Painting by numbers
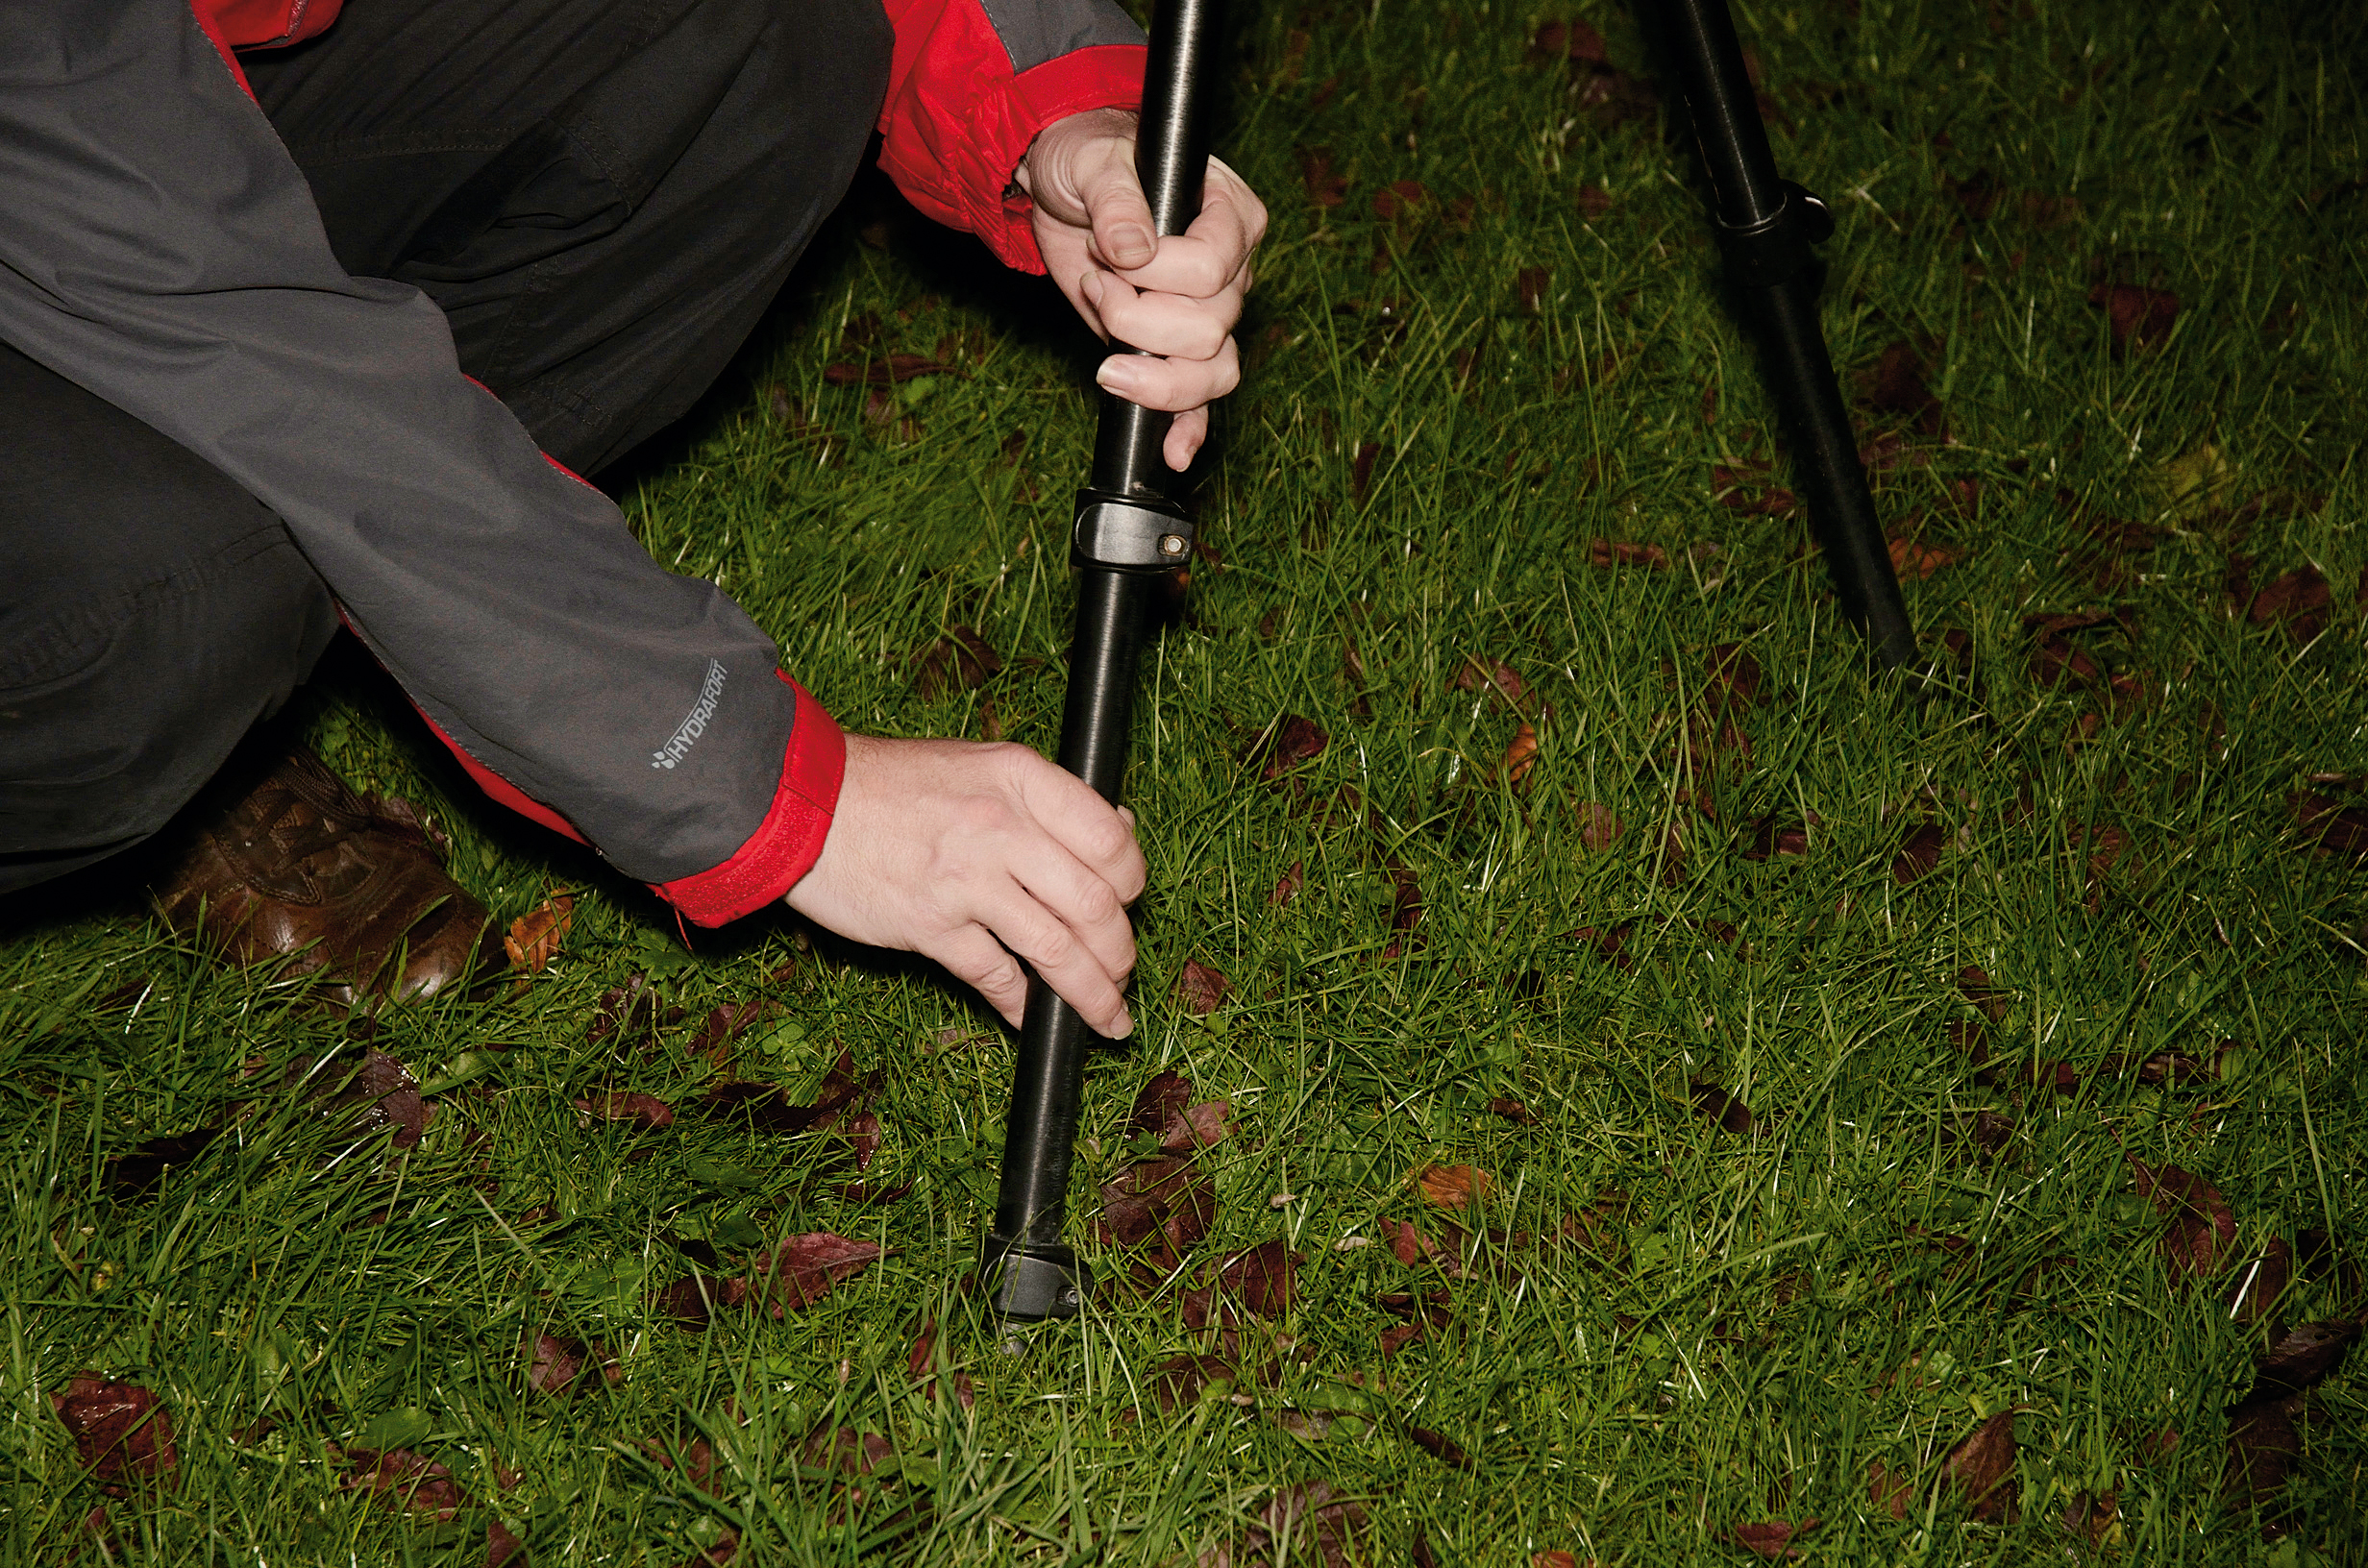
01 Tripod
It’s essential to have a solid tripod that can hold your camera completely steady during the exposure for sharp results.
• Read more: best tripods
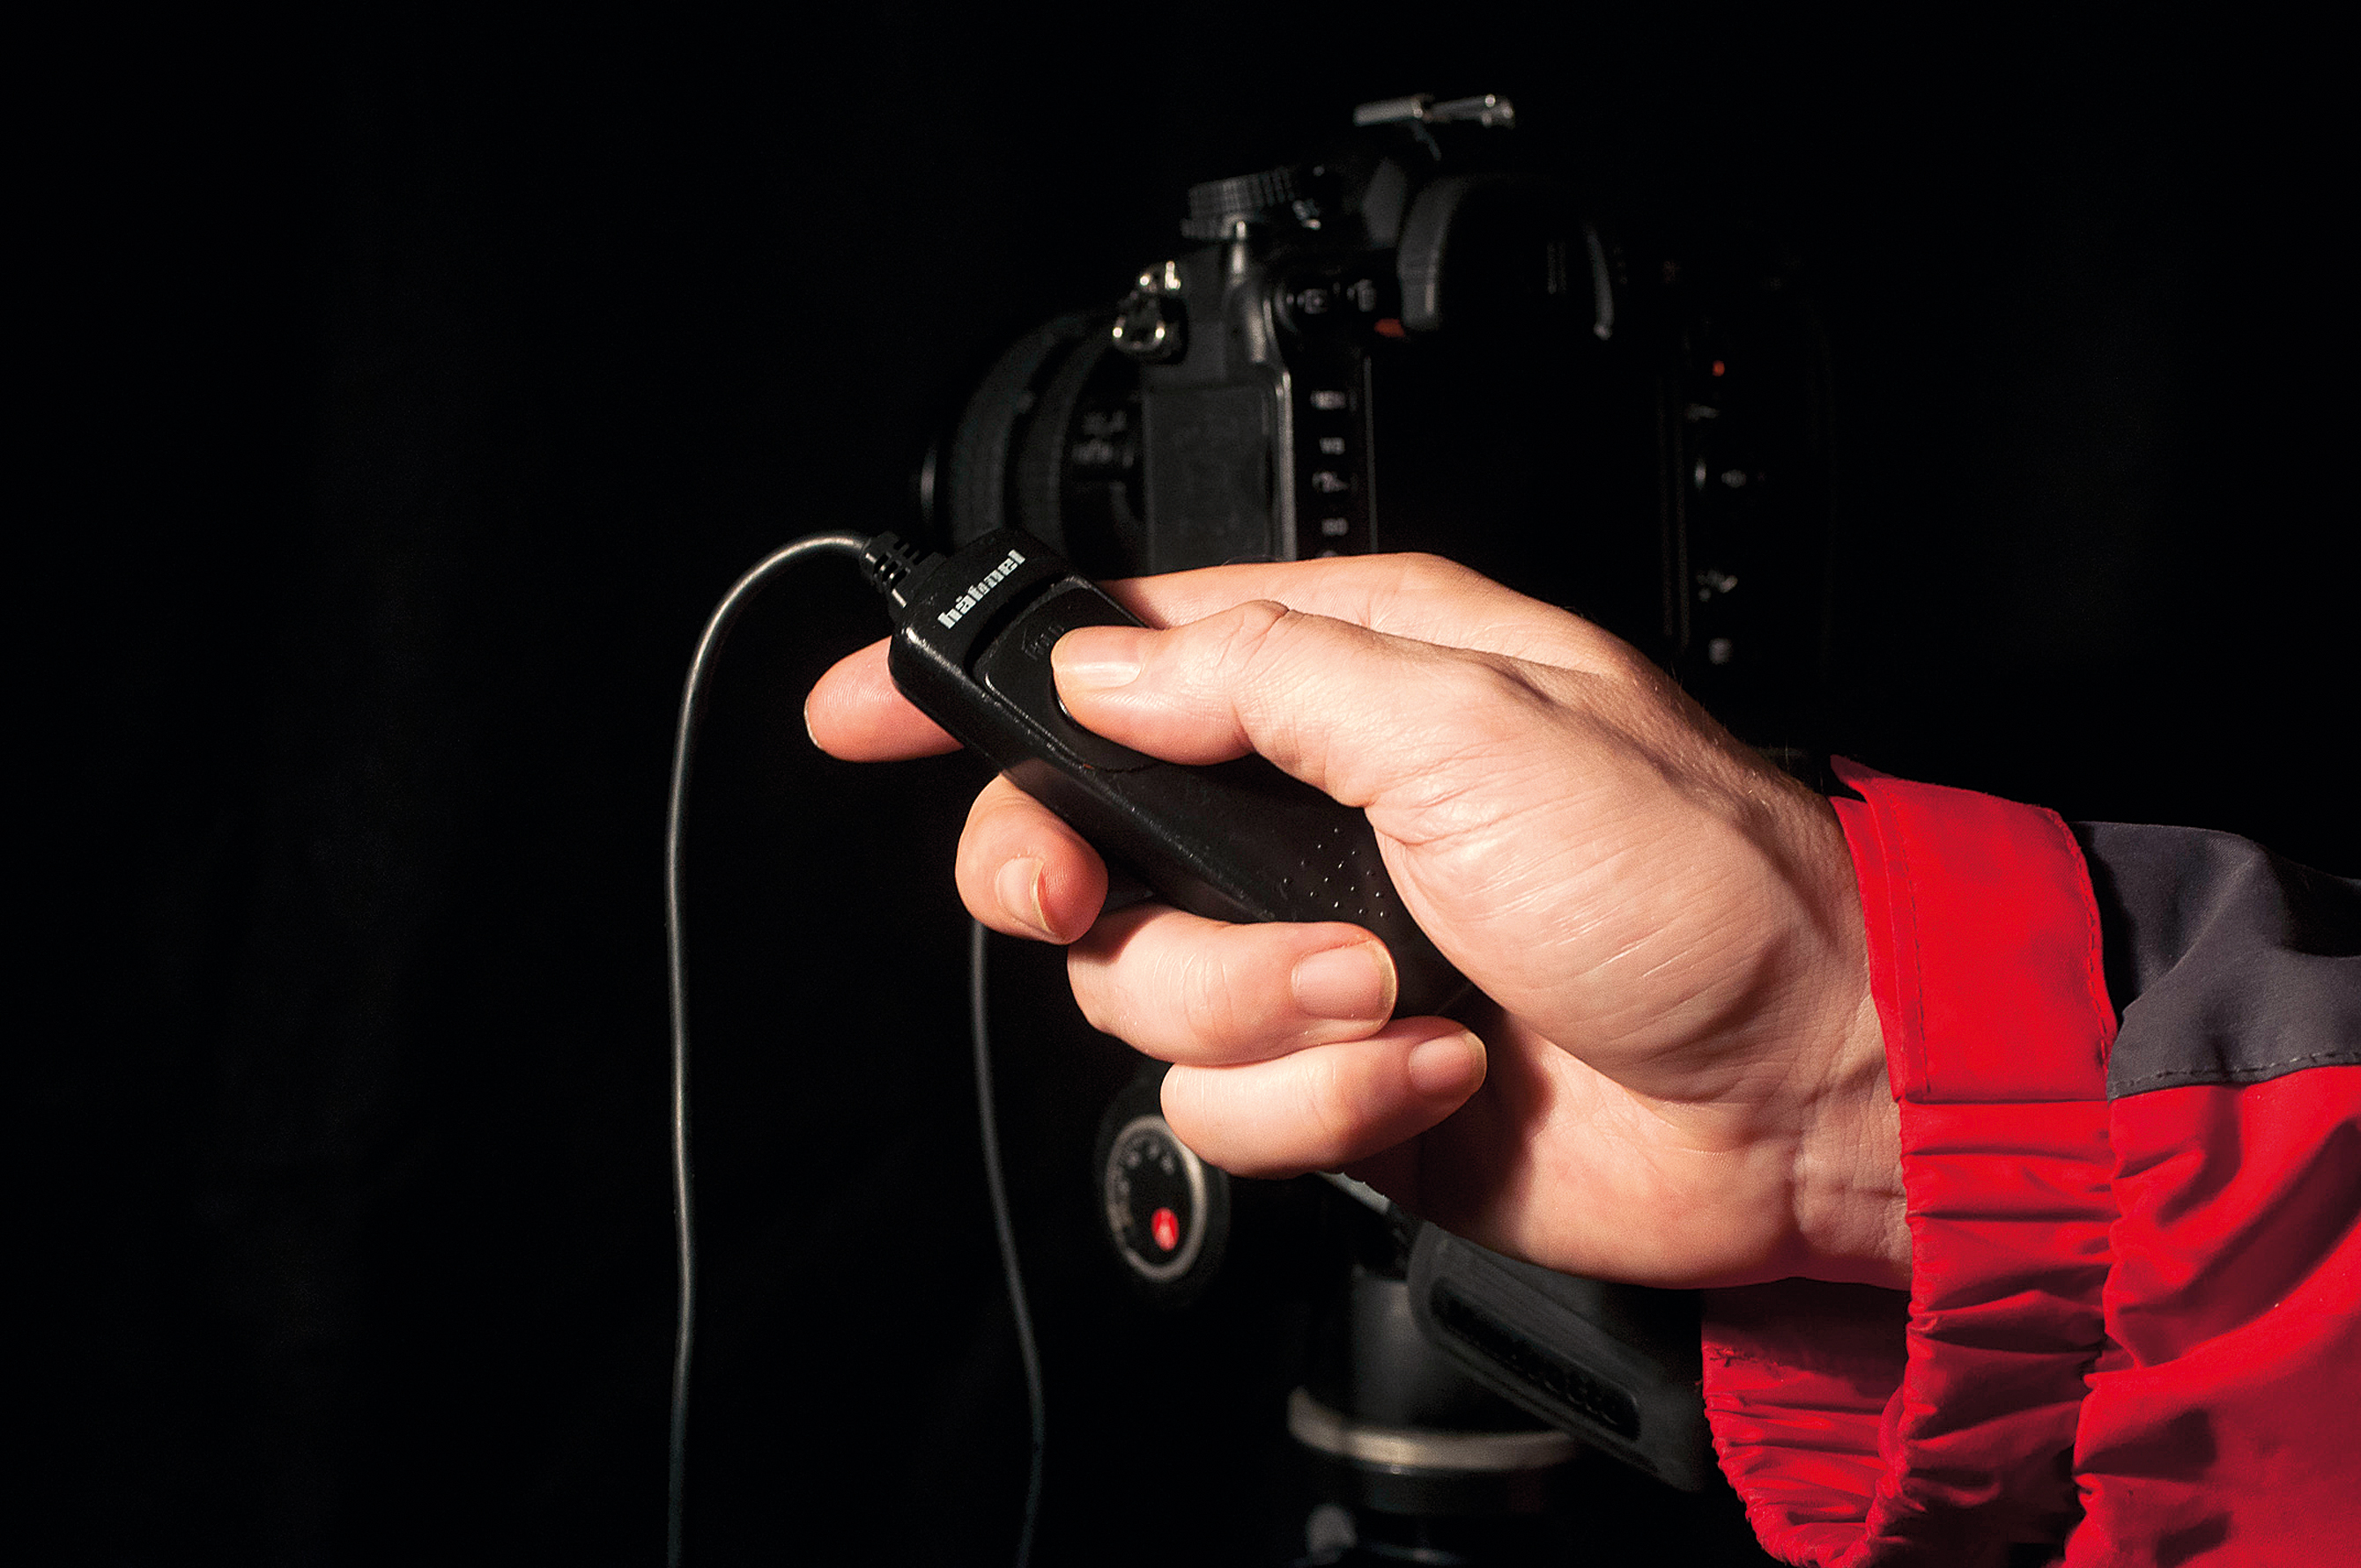
02 Remote release
Make sure that you use a remote release with a lock feature, so that you can hold the shutter open using bulb mode.
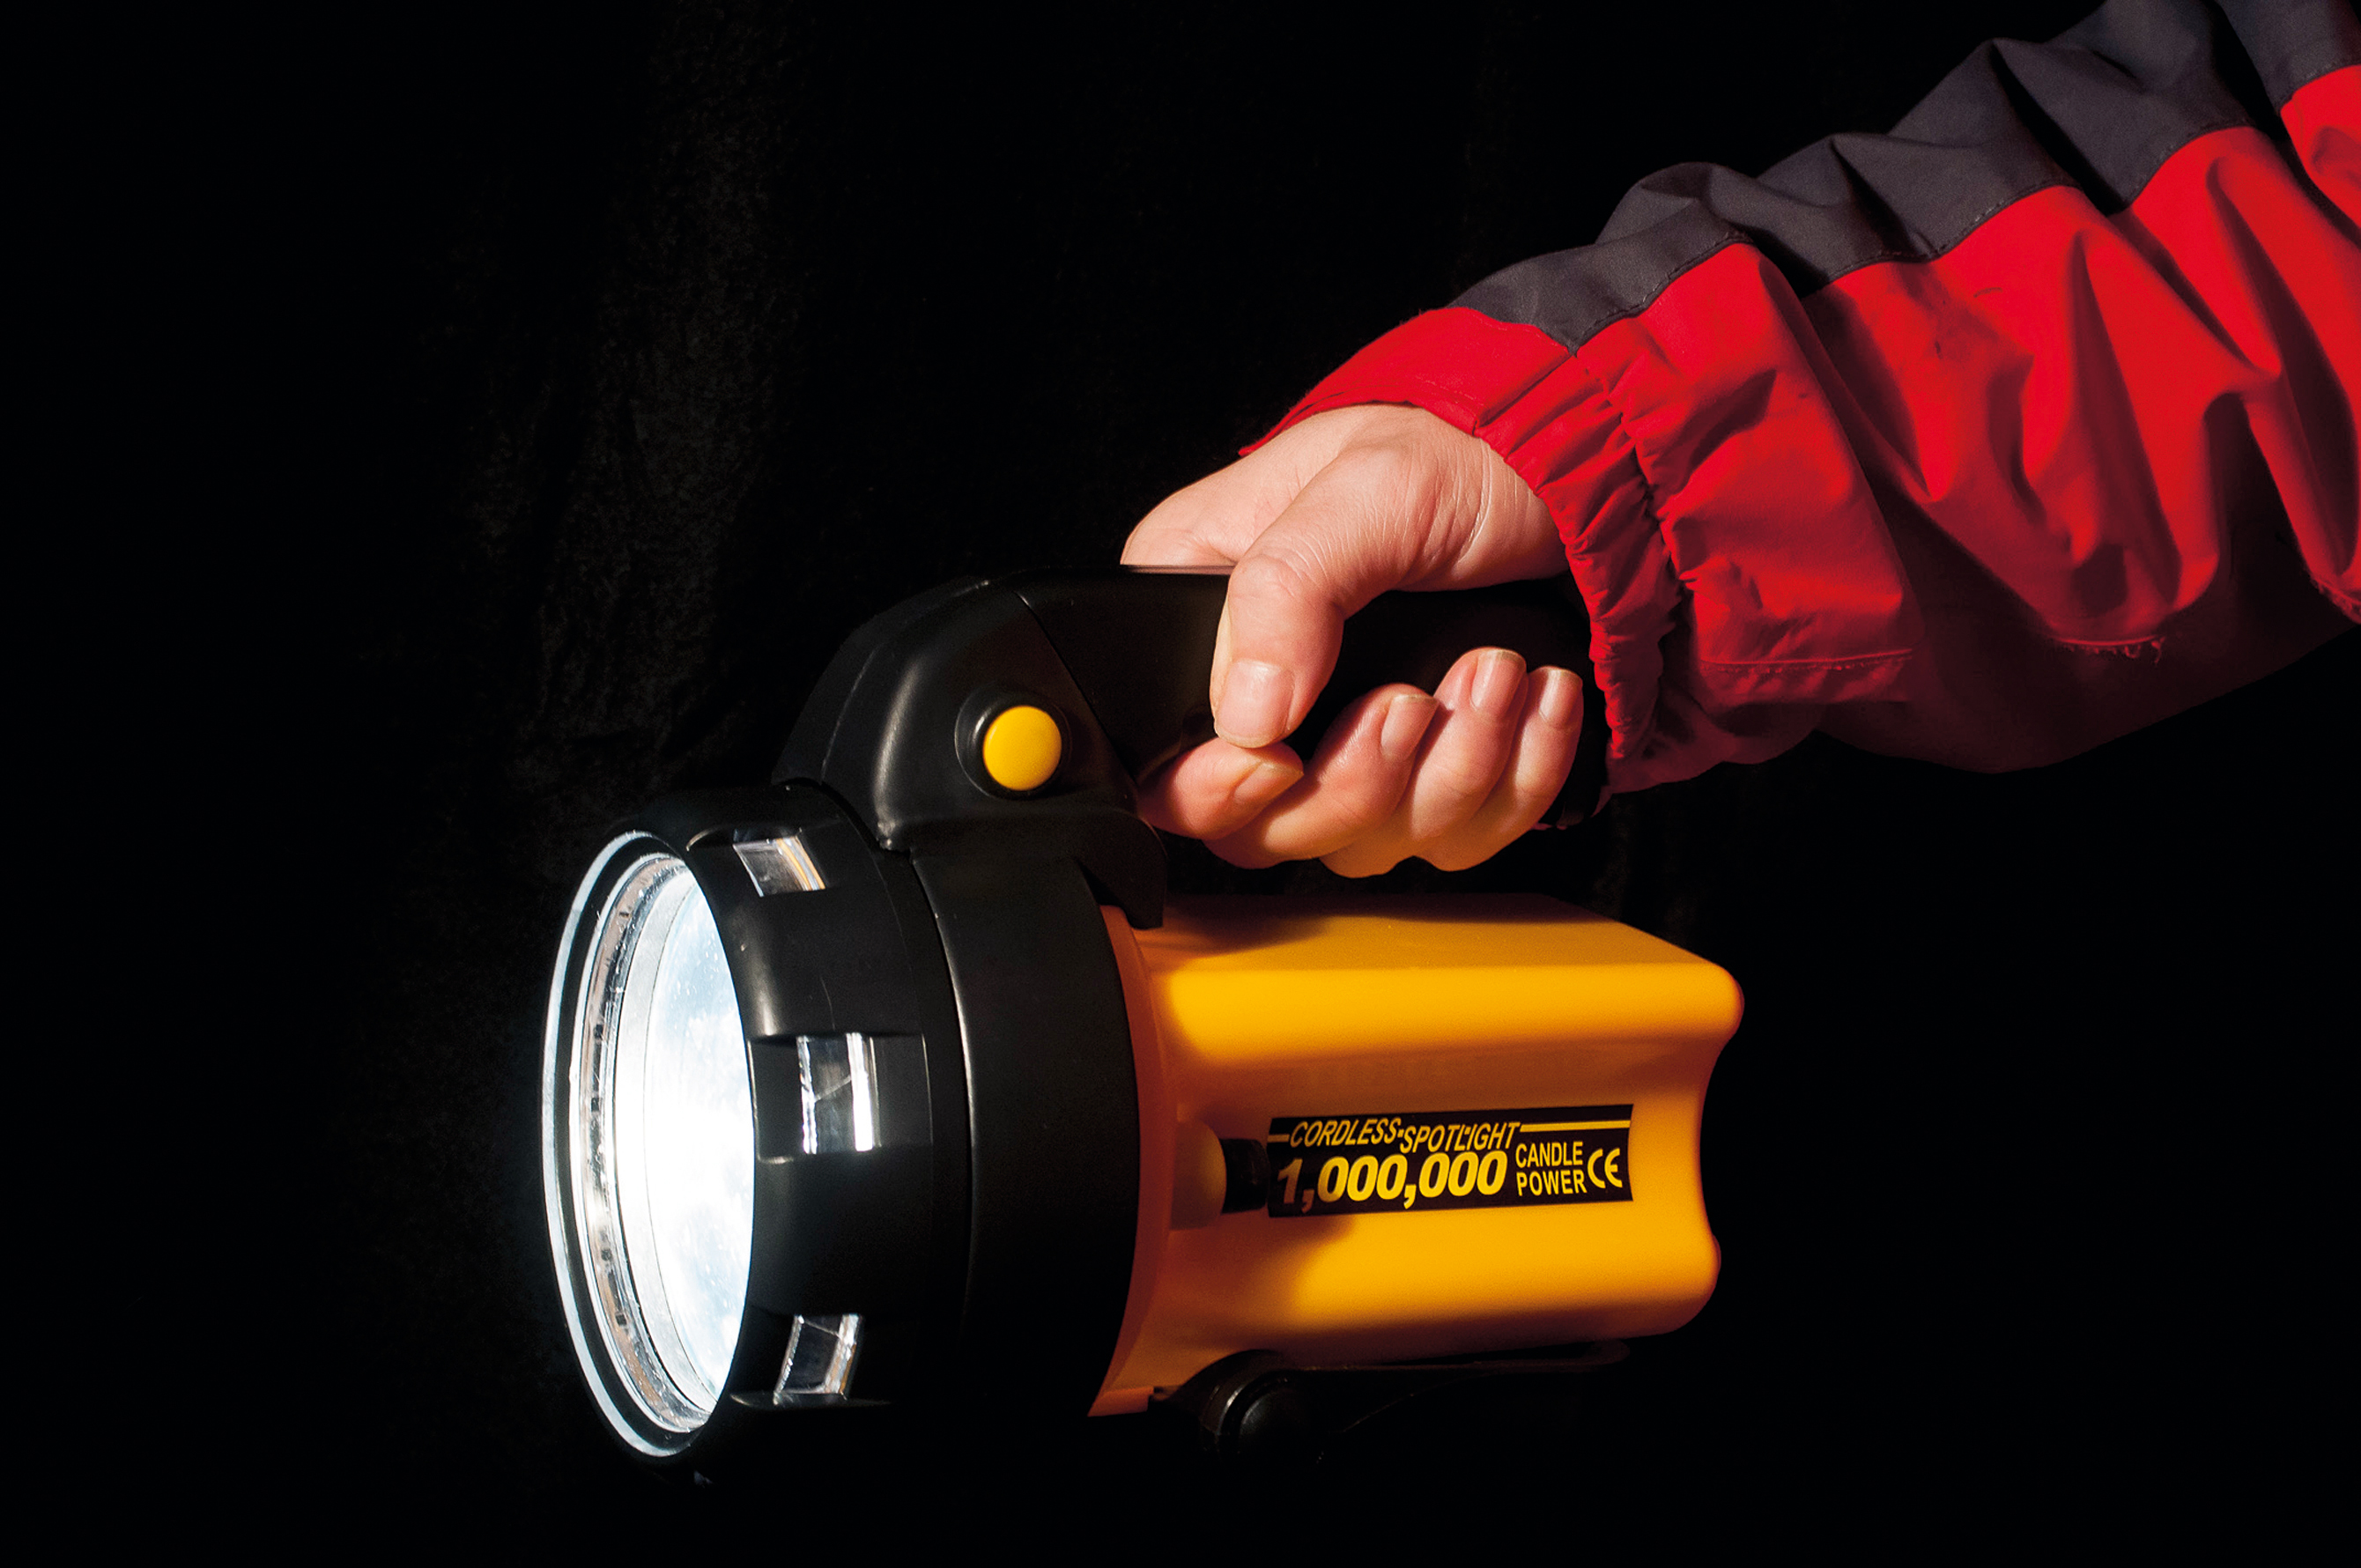
03 Light source
There are plenty of options. A torch is one of the easiest to use as you can see where the light is illuminating the subject.

04 Stopwatch
Use an actual stopwatch or one on your phone. It’s essential for timing the exposure and how long the light shines on the subject.
05 White Balance
Different light sources produce different colored light, so experiment with white balance settings to get the best color balance.

More videos:
Light painting: tips for photographing light orbs
Northern Lights photography: tips and techniques for stunning images
Infrared photography using a filter: tips and techniques
I’ve been interested in the art and craft of photography since I pestered my parents to buy me a ‘proper’ camera aged about 10. Armed with my new Zorki 4k camera, I set out on a photographic journey that continues to this day.
I learned the ‘nuts and bolts’ of the craft by doing a photographic degree at the University of Westminster, and have been involved in the photographic industry since then. For the last 12 years I have combined taking photos with writing articles and features for some of the UKs best-selling photographic magazines, including Practical Photography, Digital Camera and N-Photo. During this time I have also had two photography books published by Rotovision, on color and composition, and spent three years as a professional car photographer, working for evo magazine.
All of this means that I have experience of shooting almost every type of subject, but I always come back to my first love – landscapes (and particularly the British landscape. I know live in on the Isle of Skye in Scotland.
