I used a fisheye lens to photograph a caricature of my dog, in-camera
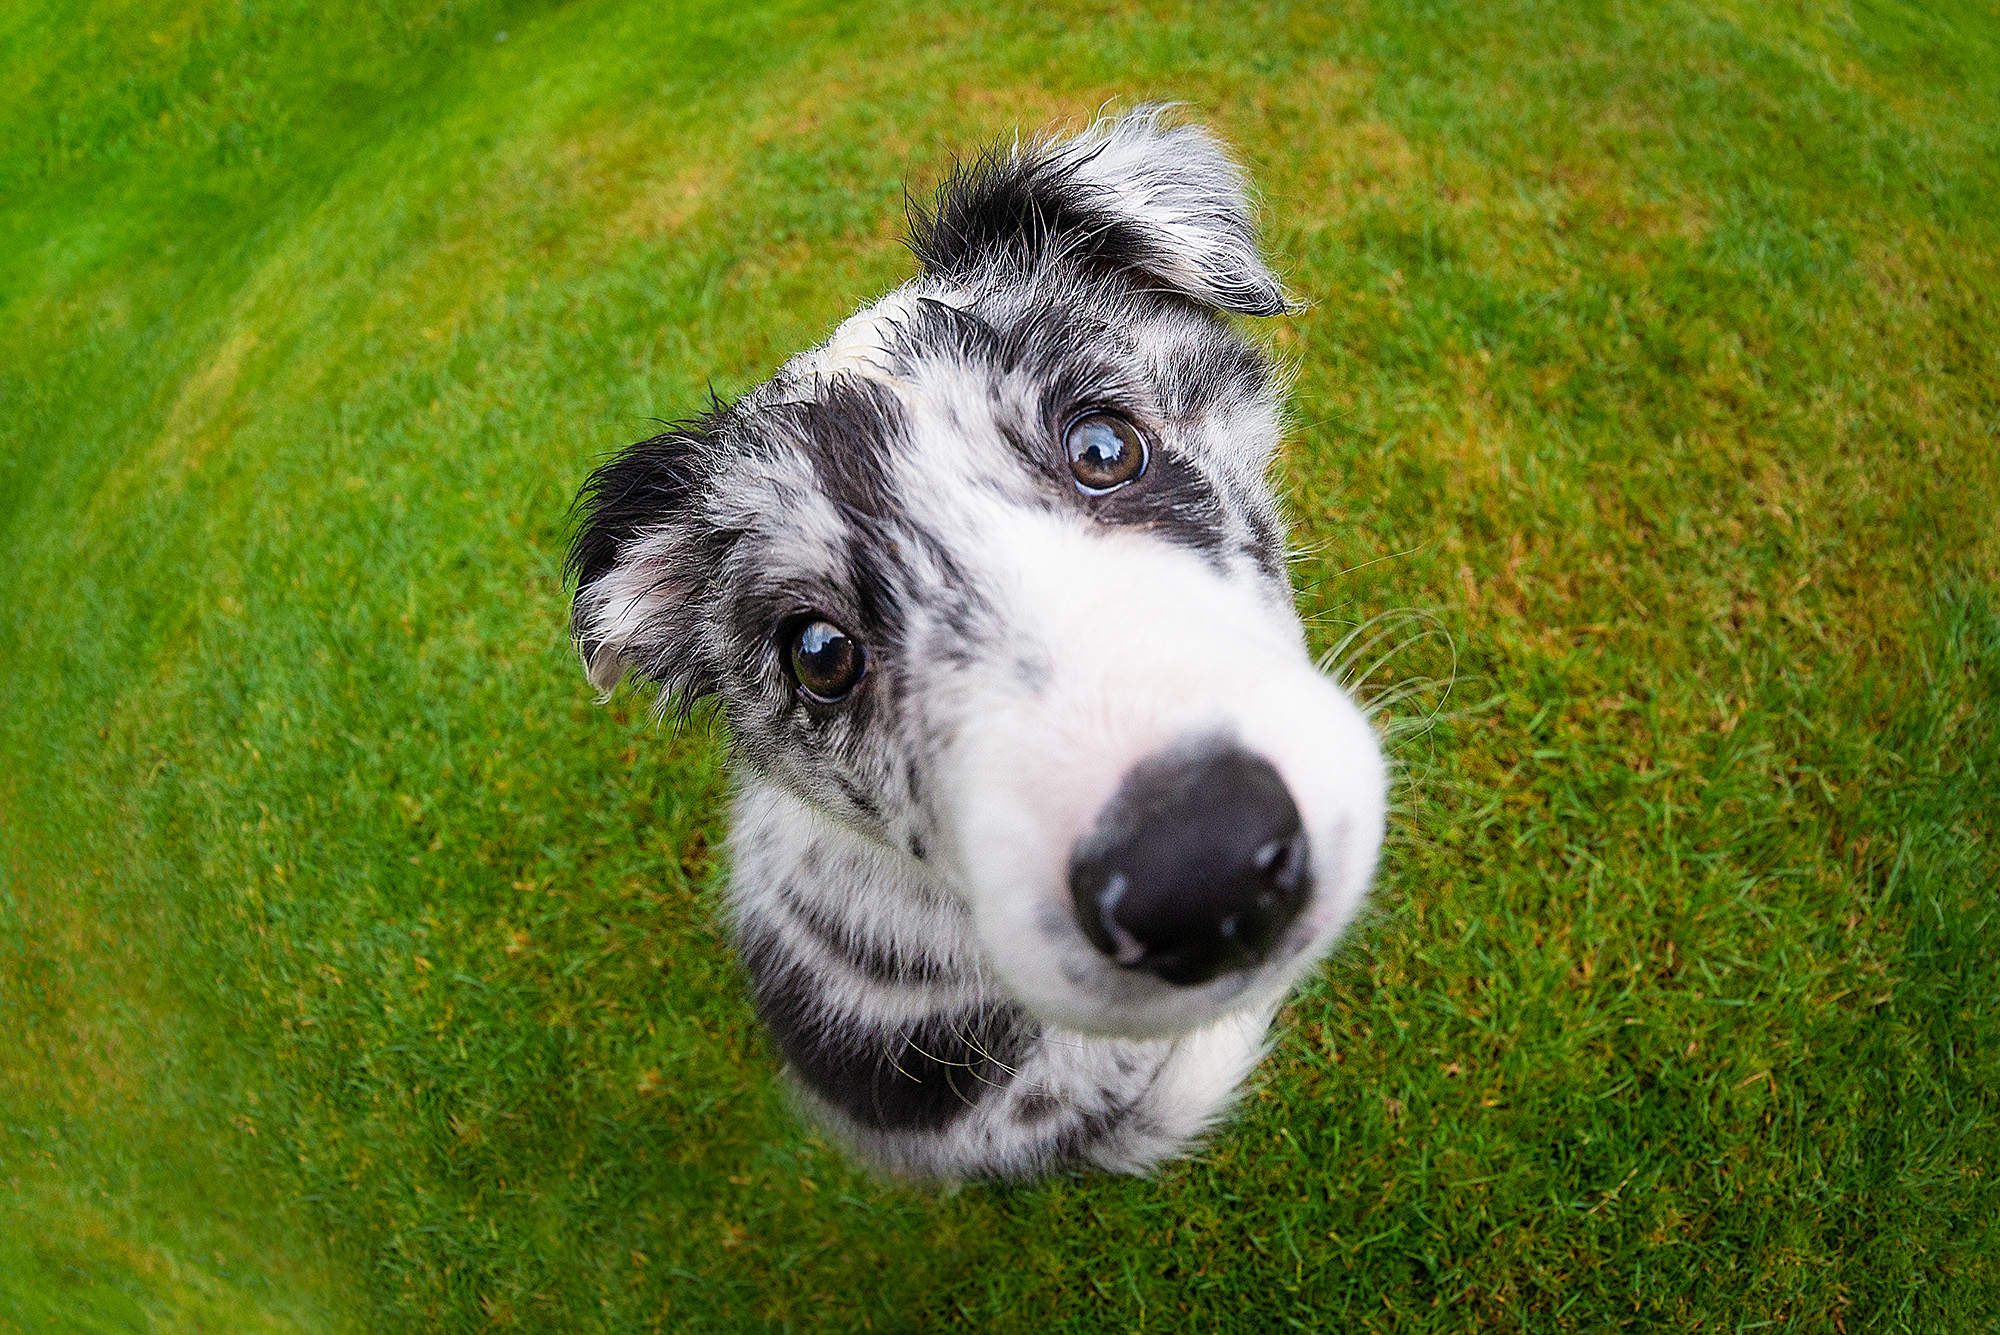
I decided to embrace barrel distortion and use a fisheye lens to capture a fun pet portrait in my garden
The best camera deals, reviews, product advice, and unmissable photography news, direct to your inbox!
You are now subscribed
Your newsletter sign-up was successful
Portrait photographers tend to avoid barrel distortion by using standard or telephoto lenses. But when used intentionally, extreme barrel distortion can be a great way to capture creative portraits. And it doesn’t get much more extreme than a fisheye lens.
These ultra-wide optics are so-called because they replicate the ultra-wide vision possessed by fish. They’re often used to capture street scenes, architecture, skateboarding and occasionally portraits. The latter is particularly effective on pets, since the extreme barrel distortion emphasizes the subject’s features – much like a caricature.
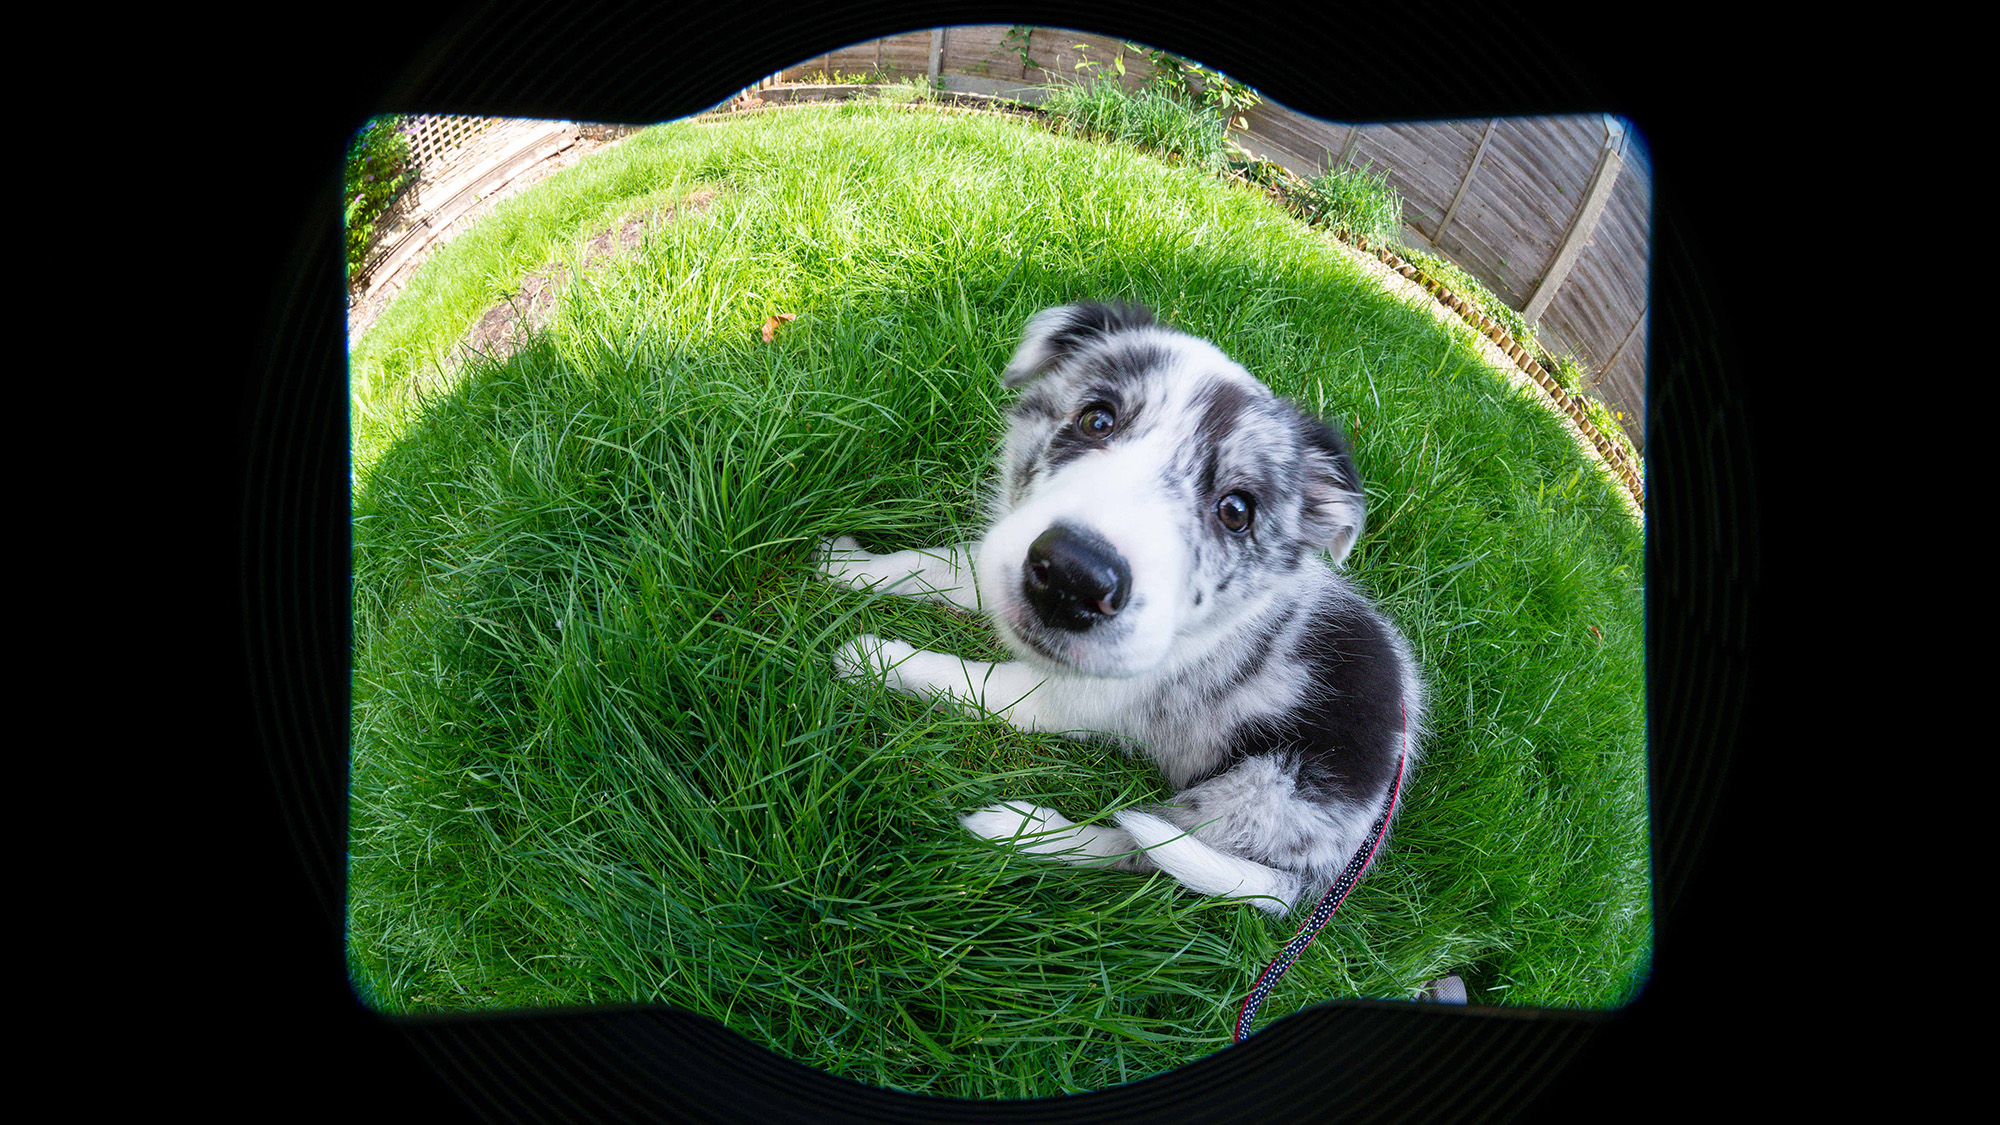
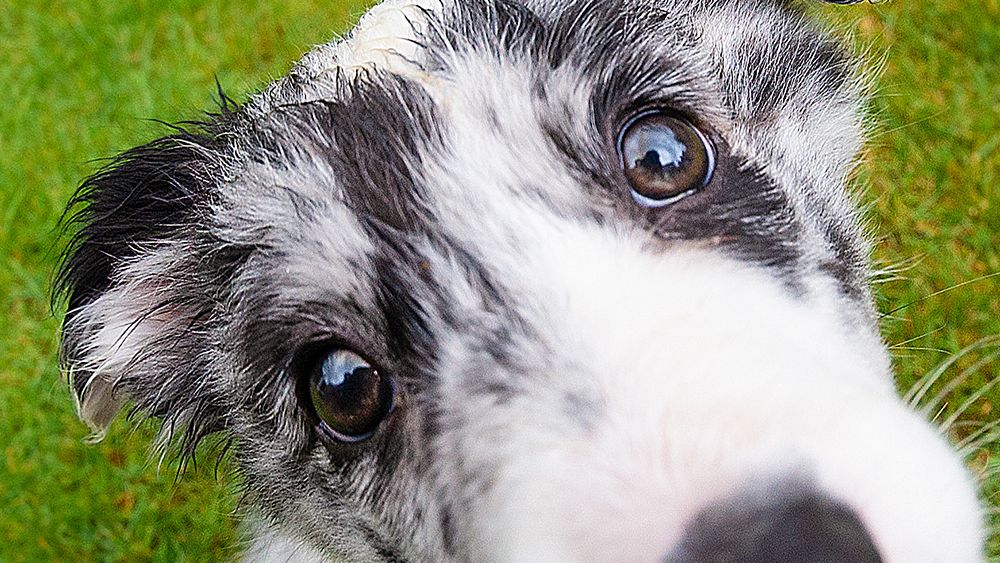
Since a dog’s snout is one of its most poignant features, artists often choose to amplify this feature when designing cartoons – think Scooby-Doo, Snoopy and Dug from Pixar’s Up. By getting very close to your subject while they stare directly into the lens, the distortion will enlarge the canine’s snout and make for a humorous (and charming) caricature effect.
While a fisheye lens’s ultra-wide angle of view is its biggest draw, it also presents a challenge when shooting portraits – because it can be difficult to compose shots without distracting elements encroaching on the frame. Add to that the unpredictable nature of animals, and there’s plenty to consider before heading out with your camera…
How to photograph pets with a fisheye lens
1. Choose the widest lens you have
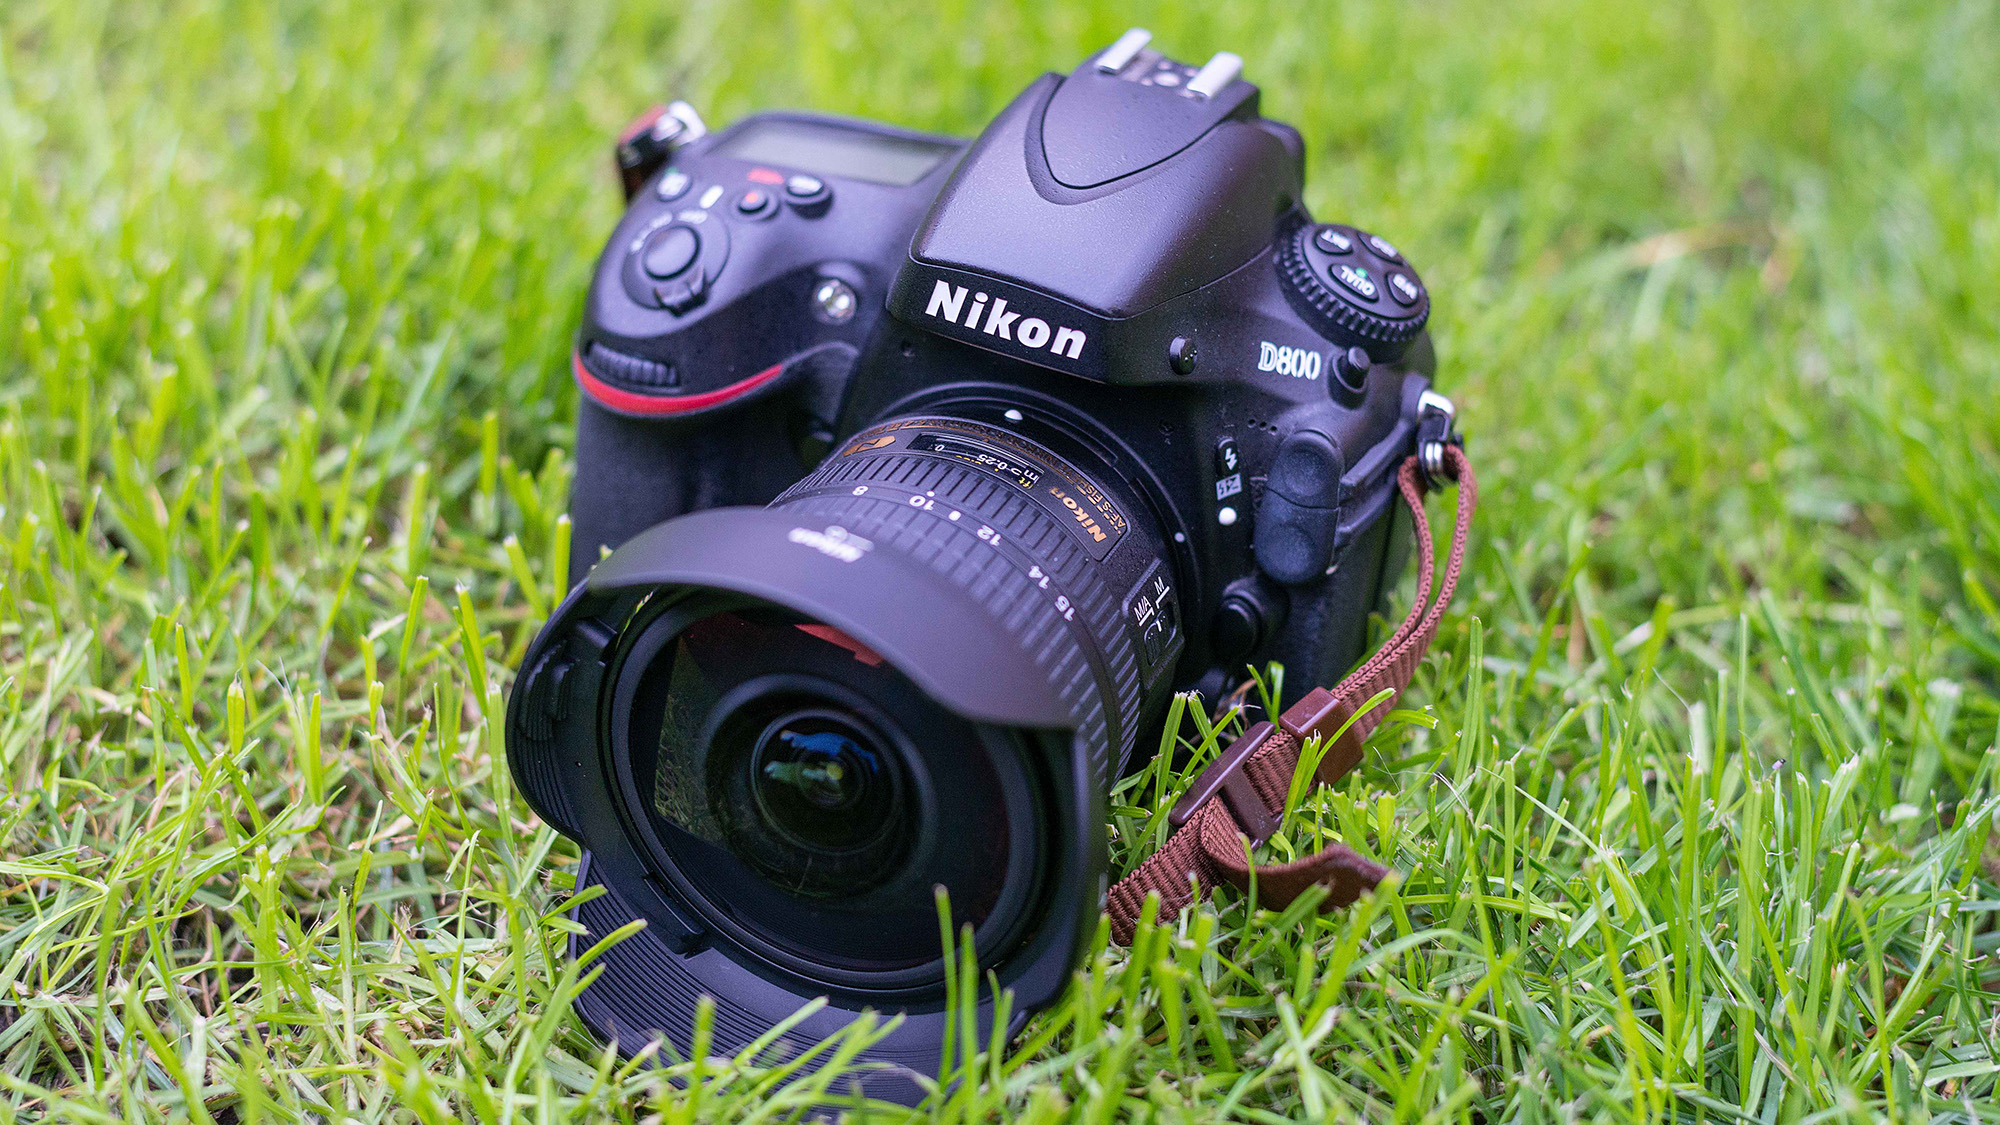
I used the Nikon AF-S Fisheye 8-15mm f/3.5-4.5E ED at its widest to maximize distortion. If you don’t have a dedicated fisheye, you can use the widest lens you have available. Remember to account for the crop factor if you’re shooting on an APS-C camera. For example, a 24mm lens will have a 35mm equivalent focal length of 36mm (or 38.4mm on Canon bodies). As such, it’s easier to get a super-wide fisheye effect on a full-frame camera.
2. Get really close to your subject
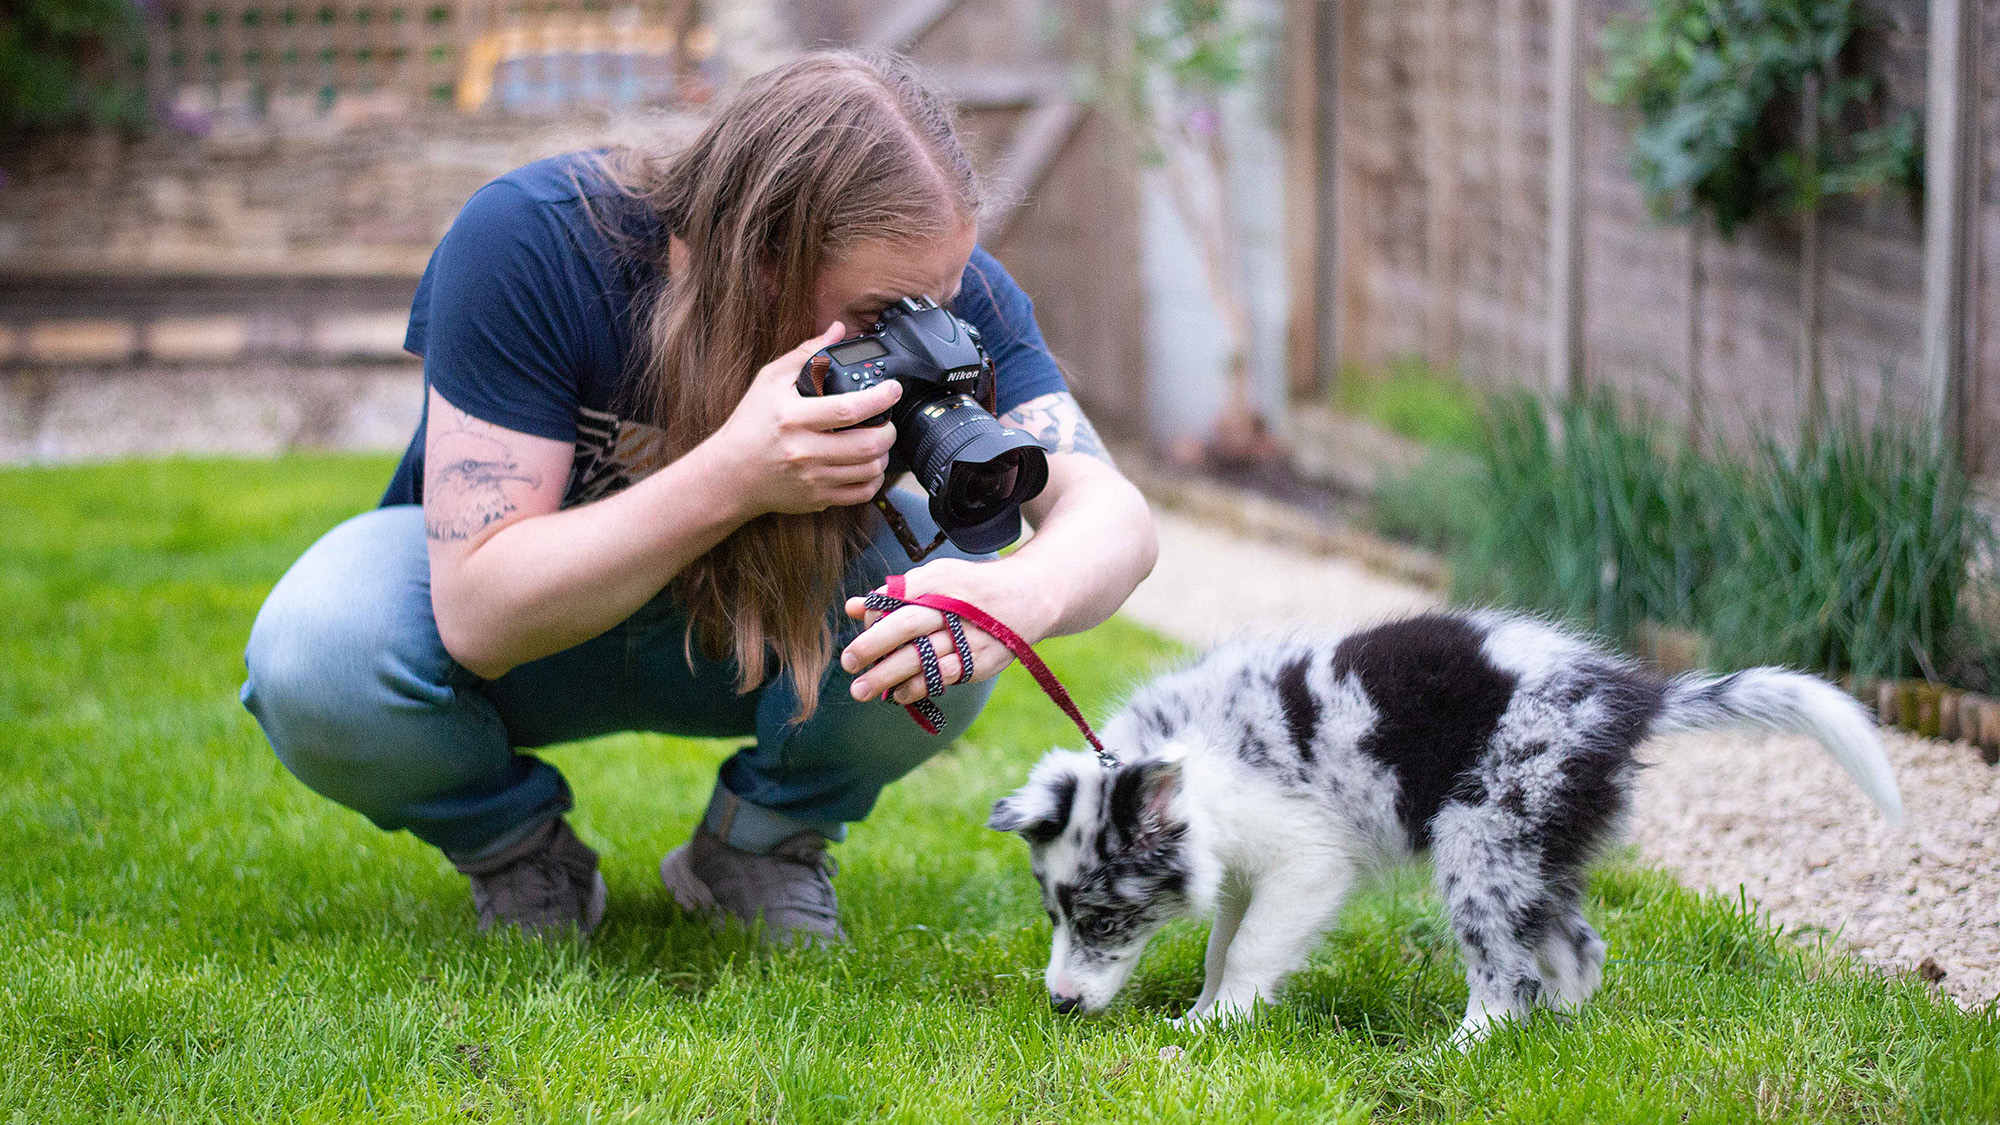
To emphasize the extreme barrel distortion, get close to your subject. Small subjects, like my puppy, may require you to get close to the lens’ 0.5ft minimum focus distance. On more than one occasion, the excitable pup licked the front element – so a lens cloth is essential!
3. Remove the lens hood
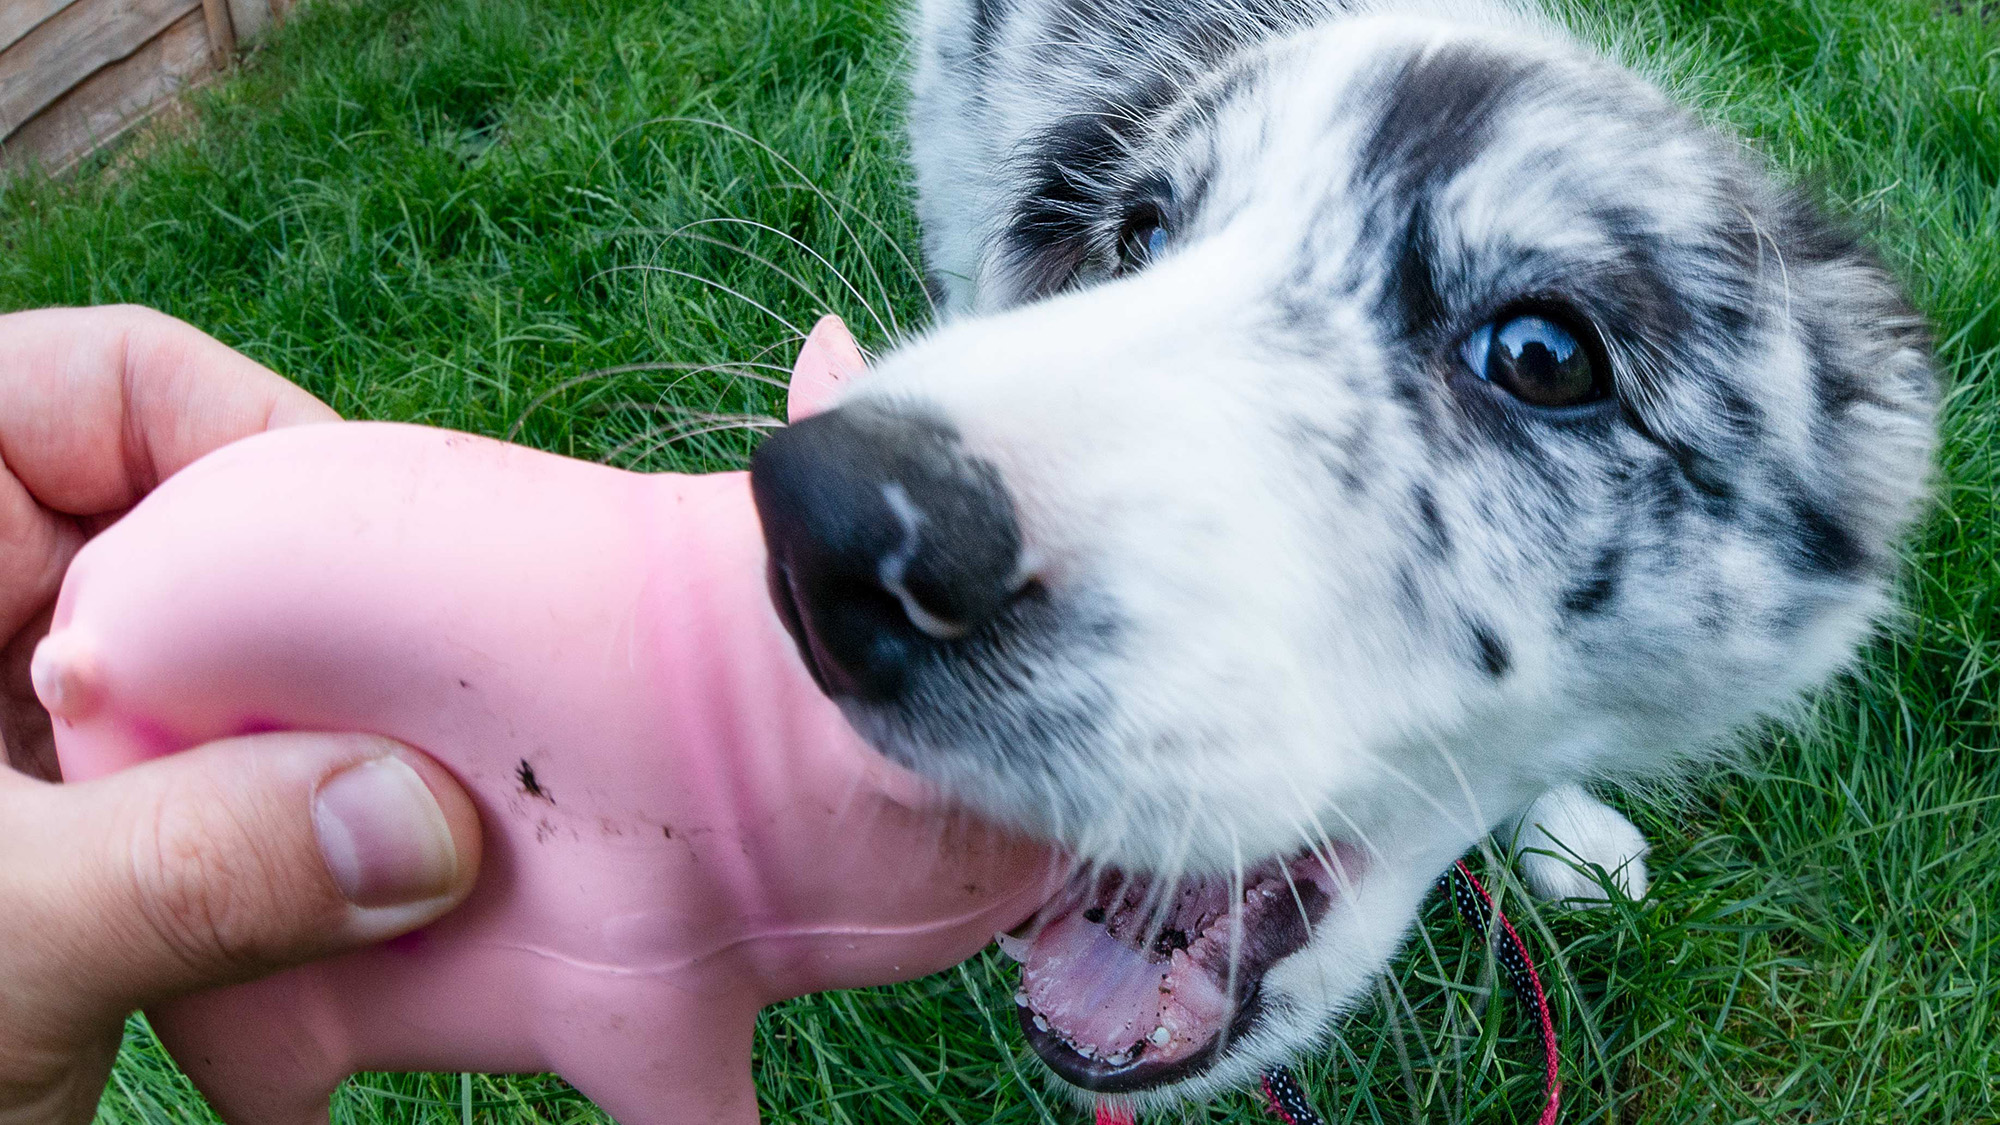
The 8-15mm f/3.5-4.5’s lens hood isn’t visible at 15mm, but when I was shooting at wider focal lengths it started to creep into the frame. At 8mm – as the picture above illustrates – it dramatically encroached on my shot. I therefore removed it altogether.
The best camera deals, reviews, product advice, and unmissable photography news, direct to your inbox!
4. Find a clean, open space
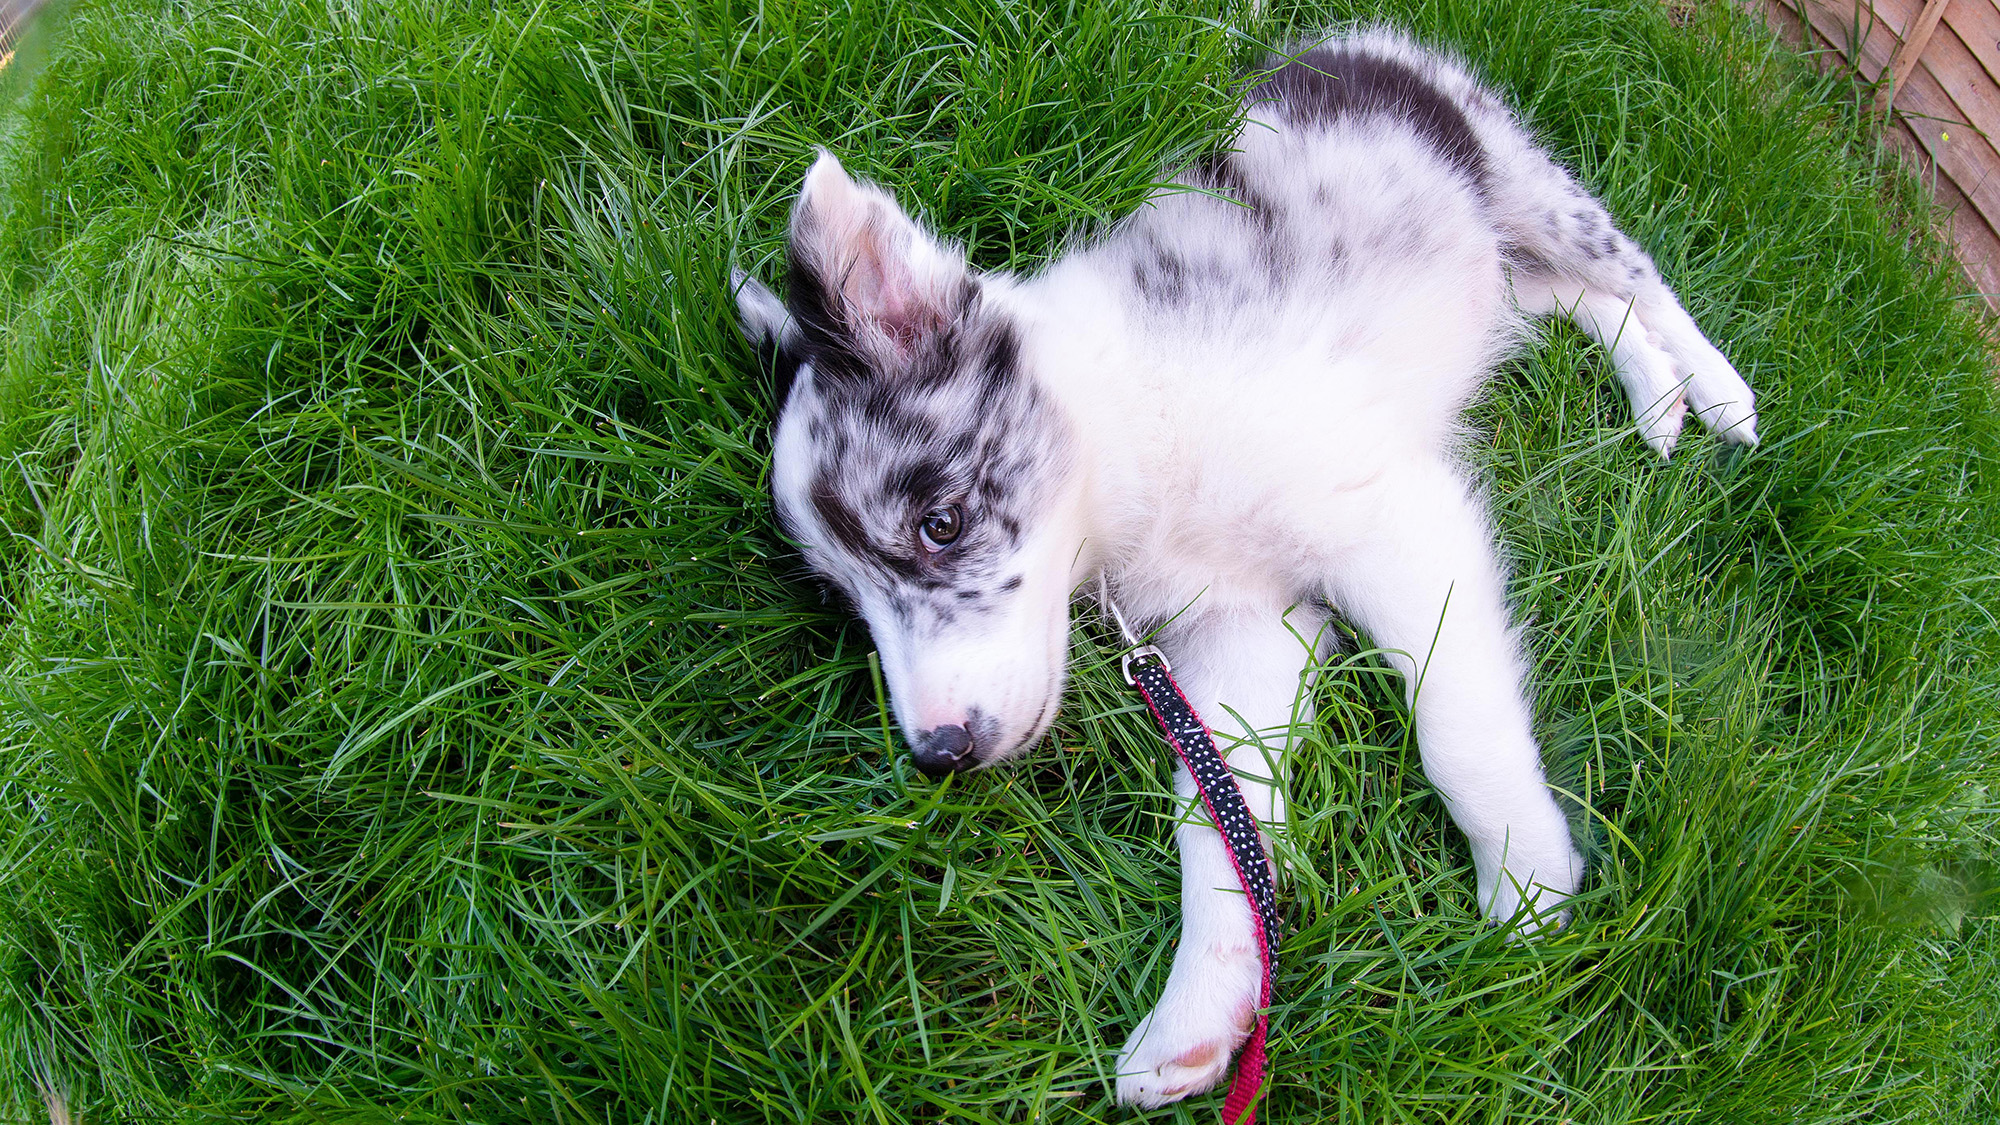
Super-wide focal lengths cram in a huge portion of the surrounding area. To prevent unwanted details detracting from my subject, I shot in a wide-open space that was free from distractions – a field, park, or large garden are ideal locations. I further eliminated distractions by shooting down at my subject from a higher angle.
5. Make it fun for your pet
Animals can be difficult to work with; however, it’s important not to get frustrated with them. I spent a few minutes before the shoot playing with my pup. This meant she was less excitable, more relaxed and more pliable during the shoot, while also providing me an opportunity to introduce her to the camera gradually.
6. Focus on the eyes
As always, when shooting portraits, it’s best practice to focus on the eye that’s closest to the camera. I used single-point AF to pinpoint the correct eye and continuous-servo AF to help lock onto my bouncing subject. If you're using one of the best mirrorless cameras, there's a chance you can use an animal AF mode to make things even easier.
You might also like...
Want more tutorials? Make sure you know the exposure triangle inside and out. My fisheye pet portrait isn't the only thing that looks like a cartoon character: this robot camera looks like a PIXAR character and is ready to photograph the moon. And for a change of pace, try my photography-themed crossword.
Mike studied photography at college, honing his Adobe Photoshop skills and learning to work in the studio and darkroom. After a few years writing for various publications, he headed to the ‘Big Smoke’ to work on Wex Photo Video’s award-winning content team, before transitioning back to print as Technique Editor (later Deputy Editor) on N-Photo: The Nikon Magazine.
With bylines in Digital Camera, PhotoPlus: The Canon Magazine, Practical Photography, Digital Photographer, iMore, and TechRadar, he’s a fountain of photography and consumer tech knowledge, making him a top tutor for techniques on cameras, lenses, tripods, filters, and more. His expertise extends to everything from portraits and landscapes to abstracts and architecture to wildlife and, yes, fast things going around race tracks...
You must confirm your public display name before commenting
Please logout and then login again, you will then be prompted to enter your display name.
