I photographed a studio-quality pet portrait in my living room with a pop-up background and portable LED lights
I wanted to prove that you don’t need a large studio space to photograph studio-quality pet portraits of your four-legged friend!
The best camera deals, reviews, product advice, and unmissable photography news, direct to your inbox!
You are now subscribed
Your newsletter sign-up was successful
If you’re looking for a suitable subject to photograph with that brand-new camera you've acquired during the Black Friday frenzy, why not consider enlisting your faithful furry companion to be your sit–sit–sitter?
You might think you need a studio to capture indoor pet portraits, but so long as you can set up a dedicated or makeshift photography backdrop next to a window, you’re halfway there.
Some pet photographers use flash to capture four-legged friends, but both the flash and recycling hiss can make some animals uncomfortable – so if you have a nervous pet, I’d recommend using constant lighting.
The upside of this is that LED light panels can be picked up for a very reasonable price and, if you’re not used to using off-camera flash, they’re easier to set up to, since what you see is what you get.
You don't need a fancy, super-fast lens either. A standard zoom or a nifty fifty will do, meaning you can get by with most kit lenses.
As the old saying goes: don’t work with children or animals. And indeed, the hardest thing about photographing pet portraits is the pets themselves. Patience and positive reinforcement are key. Make the process fun for the animal, and you’ll have more fun yourself, not to mention increasing the likelihood of capturing that winning shot.
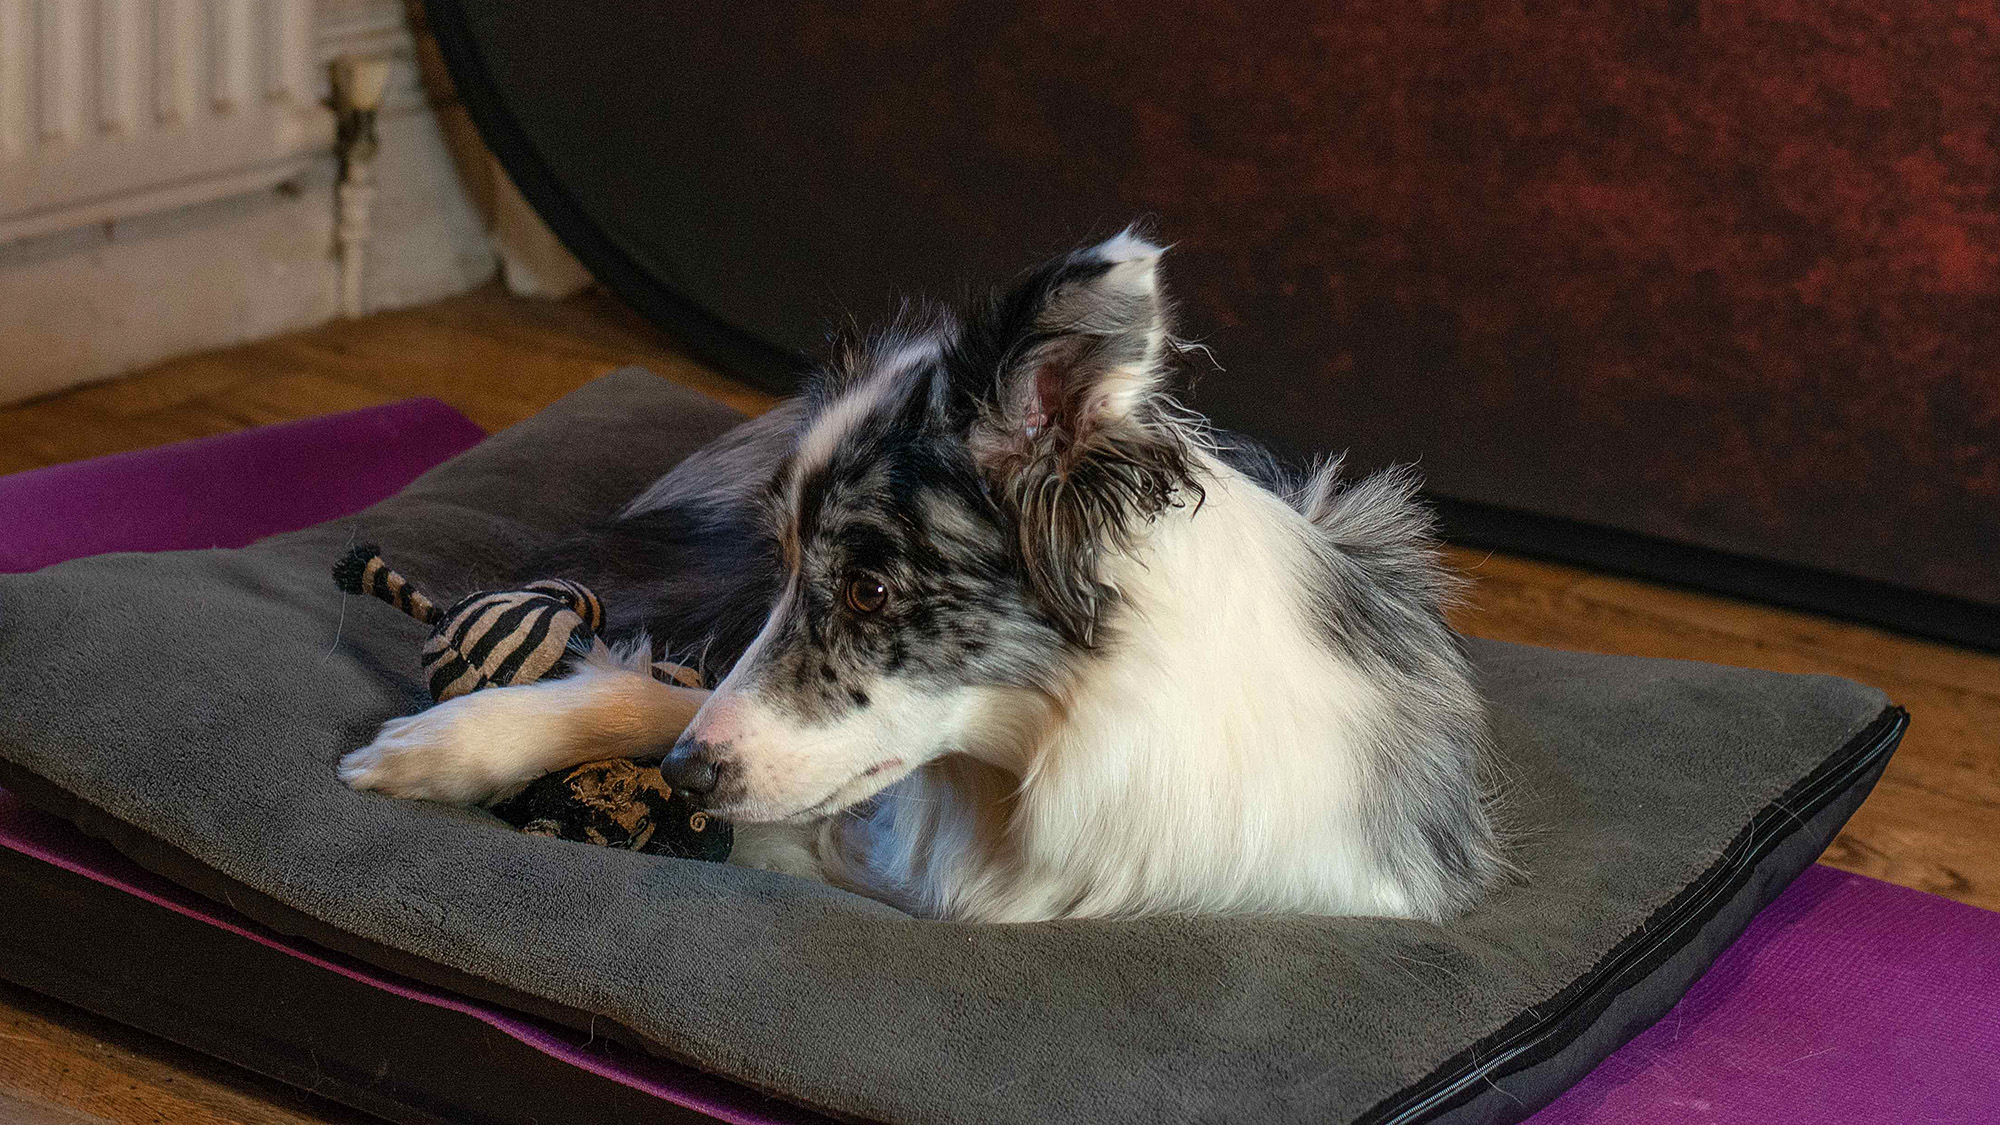
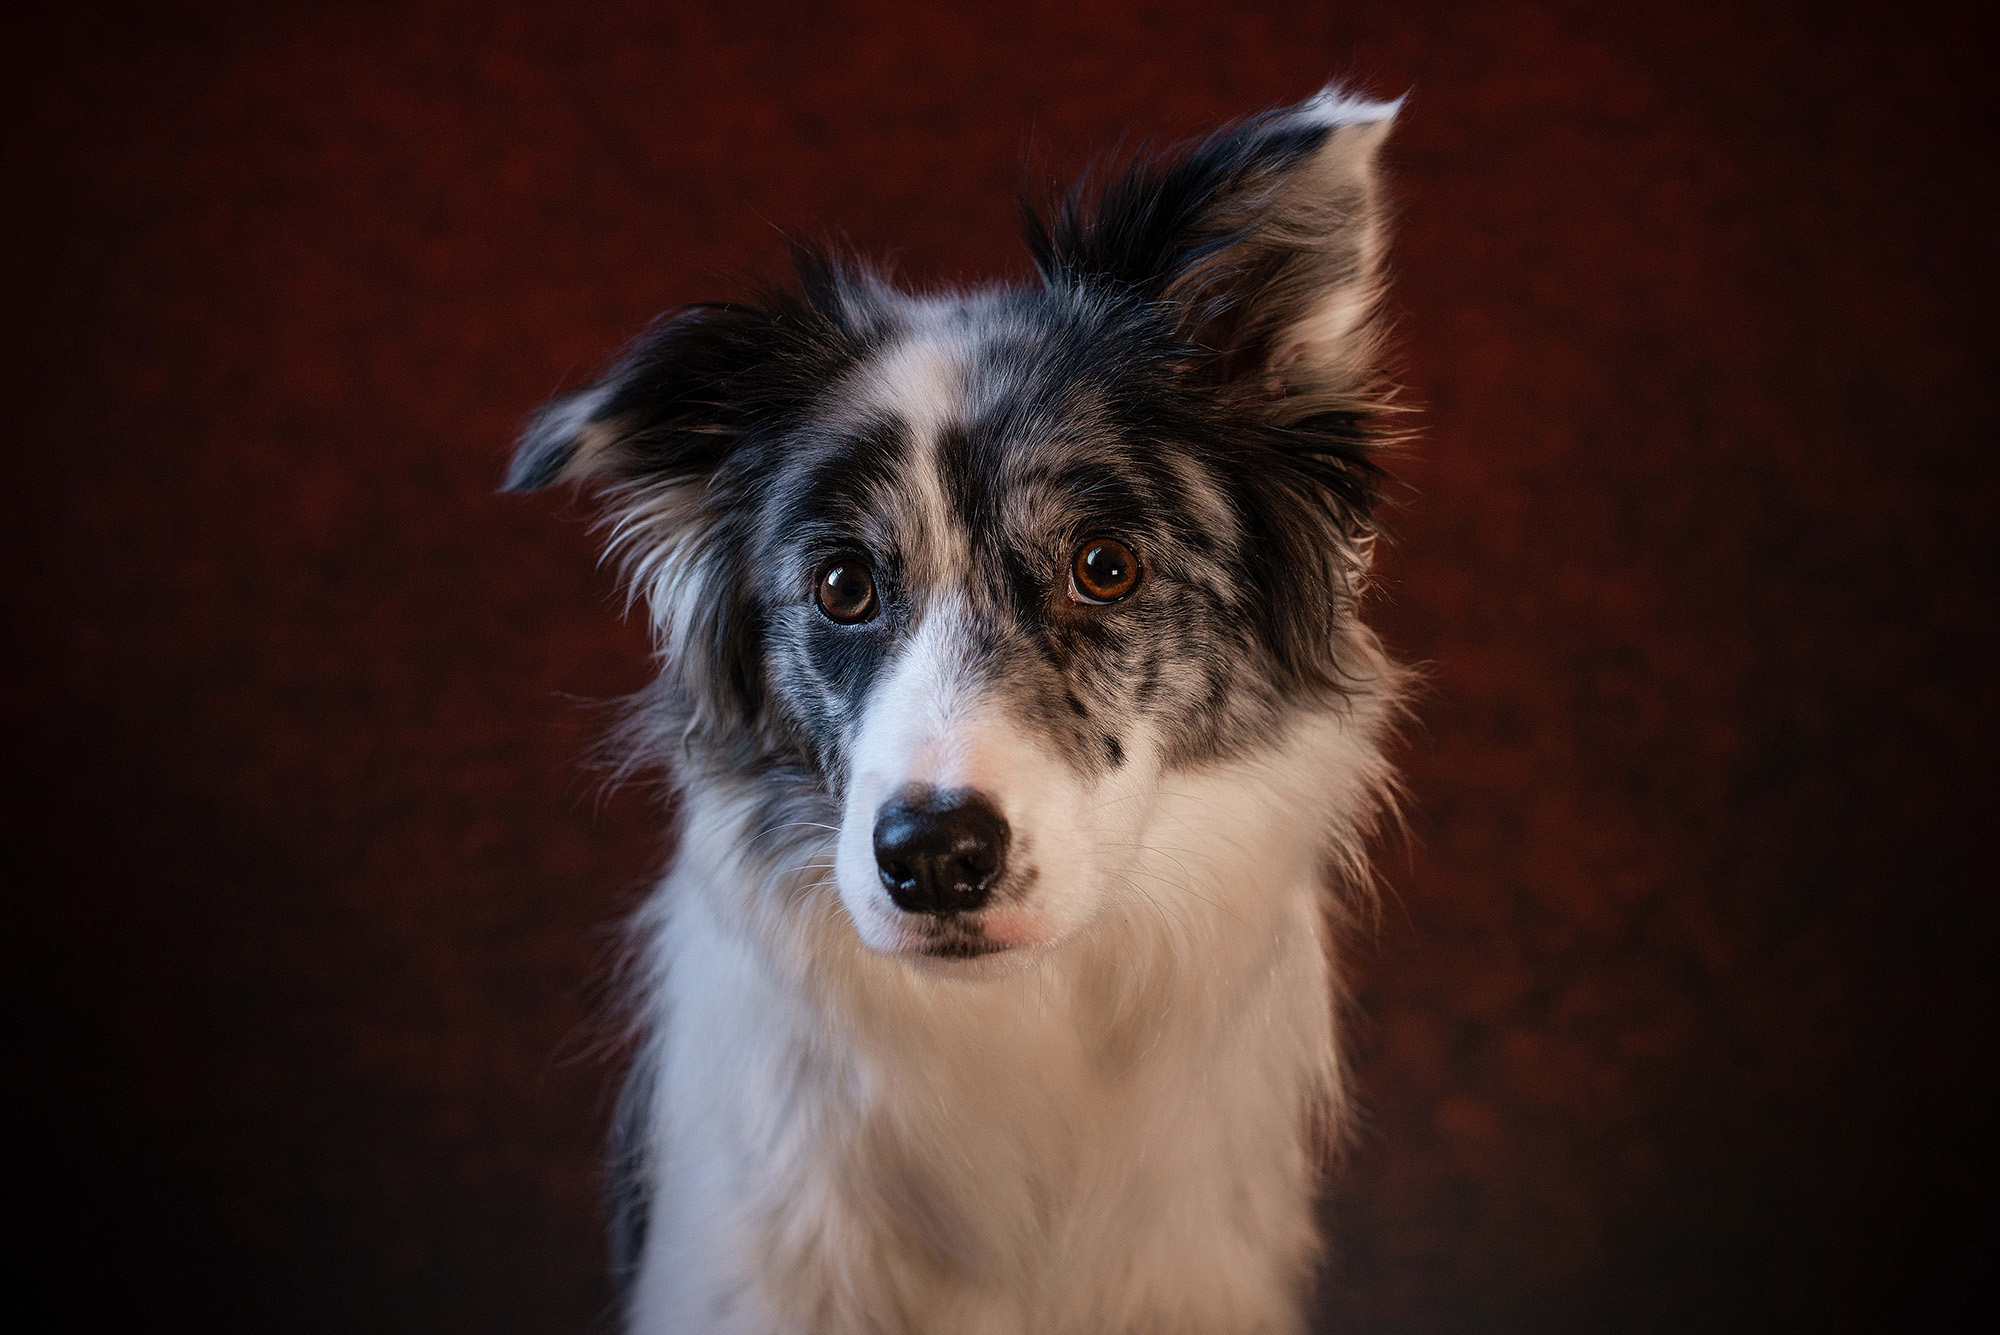
For my portrait session I enlisted the help of Fenwick, the border collie. Once she realized her bed was in the middle of the studio and was plied with plenty of treats, she happily sat in front of the camera while I tweaked my lights and camera settings. Here’s how I got on…
The best camera deals, reviews, product advice, and unmissable photography news, direct to your inbox!
How to capture a pet portrait at home
1. Set up a backdrop (and bed)
I set up my Lastolite collapsible backdrop next to a window on an overcast day, but a plain wall or bed sheet will work just as well. If your pet is particularly attached to their bed or a blanket, placing it in your makeshift studio is a great way to get them to sit in one place and stay there.
2. Set for success
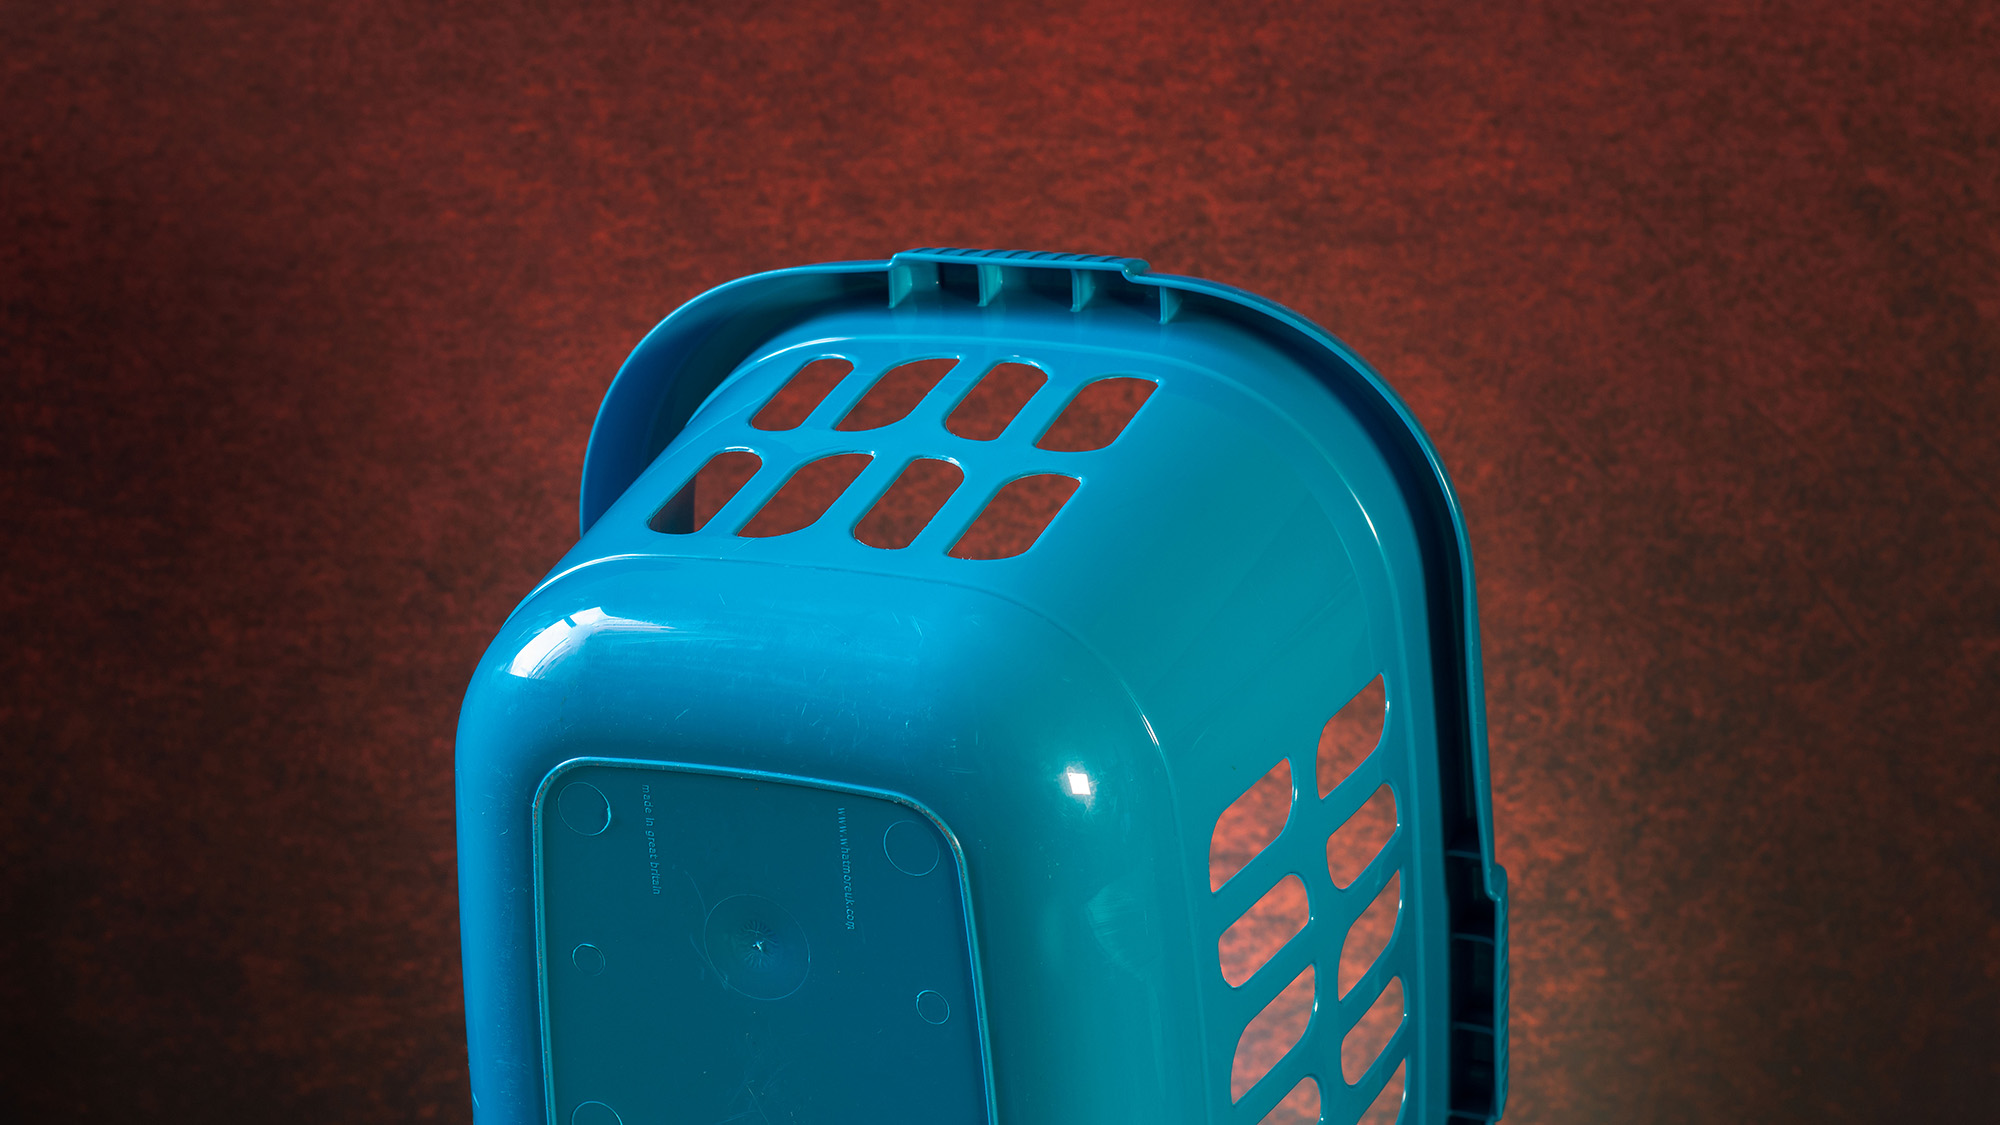
I set everything up before my sitter arrived, as I didn’t want to waste their – potentially limited – attention span while I set up the backdrop and camera equipment. I used a similar-sized object as a stand-in so I could get my camera and lighting roughly set up. That way, I only needed to tweak things later.
3. Build a positive rapport
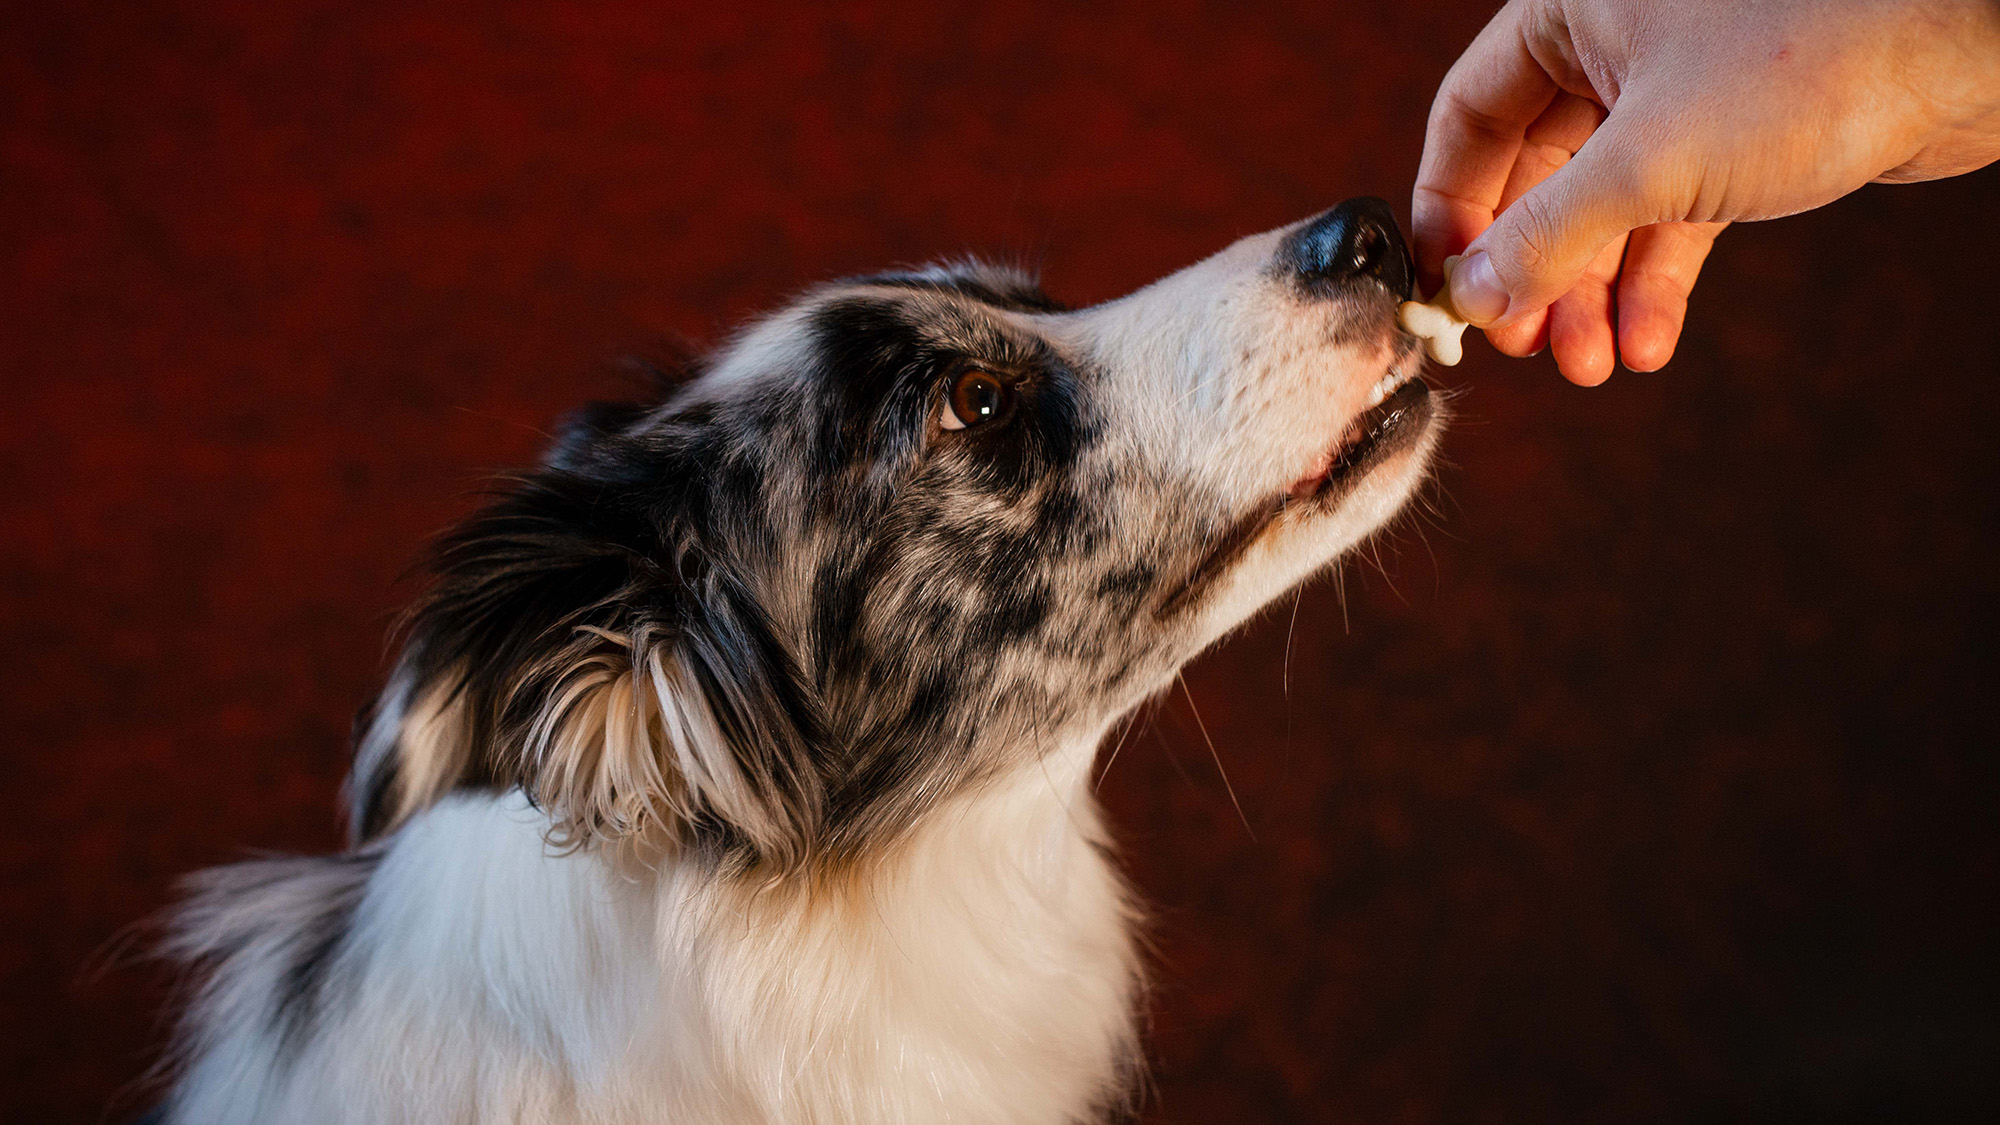
Positive reinforcement is the key to success when working with animals. Allow your sitter the time to sniff around and give them a fuss, so they know they’re in a safe place. I rewarded everything throughout the shoot with a tasty treat. If your pet becomes restless, this might be a sign that they need a break. A quick game of tug or a run around the garden before returning to the ‘studio’ can make a big difference.
4. Focus on the eyes
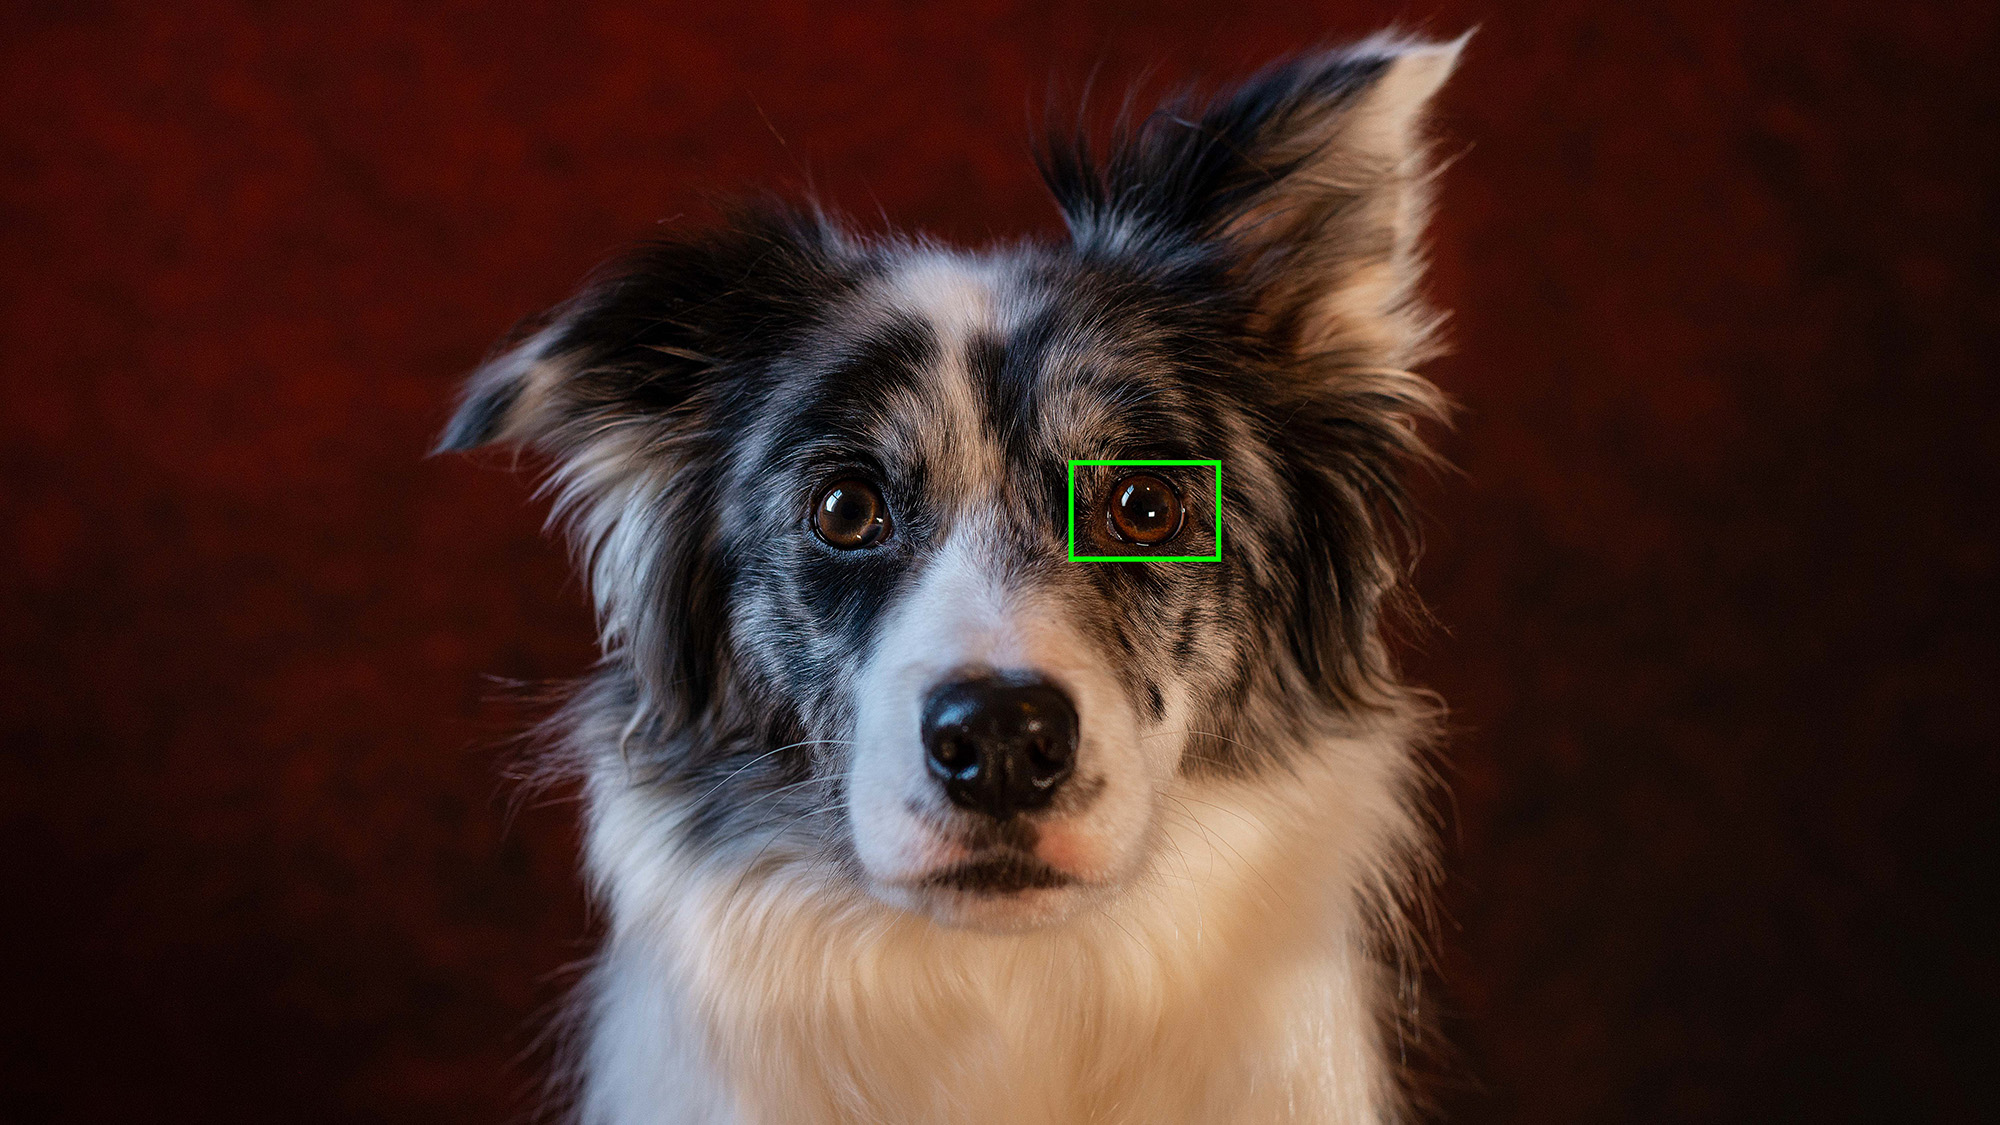
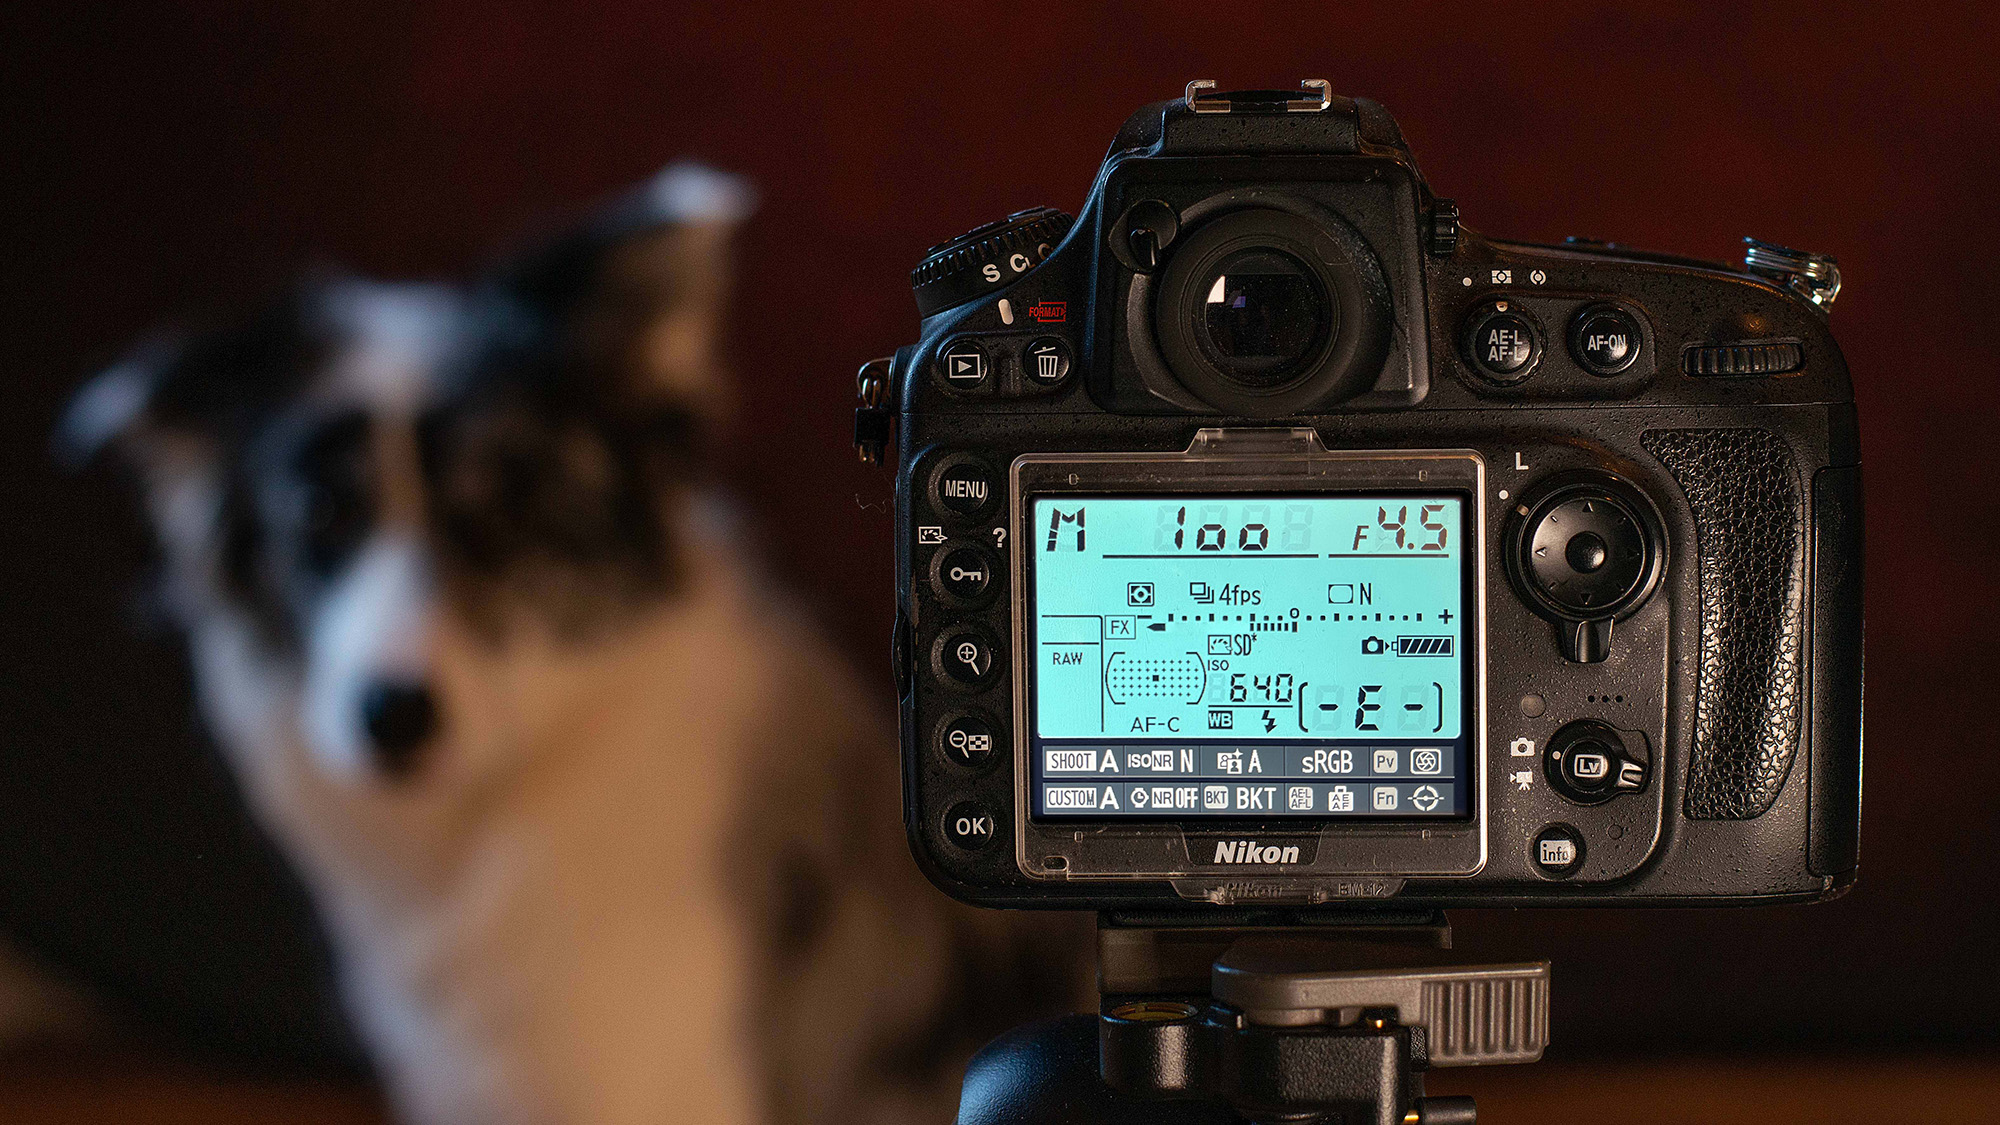
I used single-point AF and AF-C to focus on the nearest eye to the camera. If you’re photographing a cat or dog and you have a mirrorless camera, you may have an animal AF function available to you. At wide apertures you’ll have less room for error, so make sure you are constantly refocusing to better your chances of nailing critical focus.
5. Camera settings
Your settings will depend on the available light, but aim for a shutter speed of around 1/100 sec to compensate for movement. I shot at f/4.5 so as not to completely blur out the snout with a super-shallow DOF, while also letting in a good amount of light. If your camera can handle it, don’t be afraid to increase your ISO if you need to. Sharp shots take precedence.
Quick tips
Use treats, toys or commands to encourage your subject to look at you while you capture the shot. If you need your hands free or want to convince your pet to look off to the side so you can capture their profile, set up a self-timer or, ideally, use a remote shutter release to fire the shutter at the opportune moment.
You might also like...
Can't get enough of your four-legged friends? Home photography ideas: Capture incredible pet portraits. If you're looking at upgrading your kit, check out the best portrait lenses. And don't forget to touch up your photos using the best photo editing software.

Mike studied photography at college, honing his Adobe Photoshop skills and learning to work in the studio and darkroom. After a few years writing for various publications, he headed to the ‘Big Smoke’ to work on Wex Photo Video’s award-winning content team, before transitioning back to print as Technique Editor (later Deputy Editor) on N-Photo: The Nikon Magazine.
With bylines in Digital Camera, PhotoPlus: The Canon Magazine, Practical Photography, Digital Photographer, iMore, and TechRadar, he’s a fountain of photography and consumer tech knowledge, making him a top tutor for techniques on cameras, lenses, tripods, filters, and more. His expertise extends to everything from portraits and landscapes to abstracts and architecture to wildlife and, yes, fast things going around race tracks...
You must confirm your public display name before commenting
Please logout and then login again, you will then be prompted to enter your display name.
