So, you've found a location for the perfect photo... but so has everyone else! Here's how to block out distractions with a super-long shutter speed
Pro travel photographer Kav Dadfar explains how long exposures can help you escape the crowds
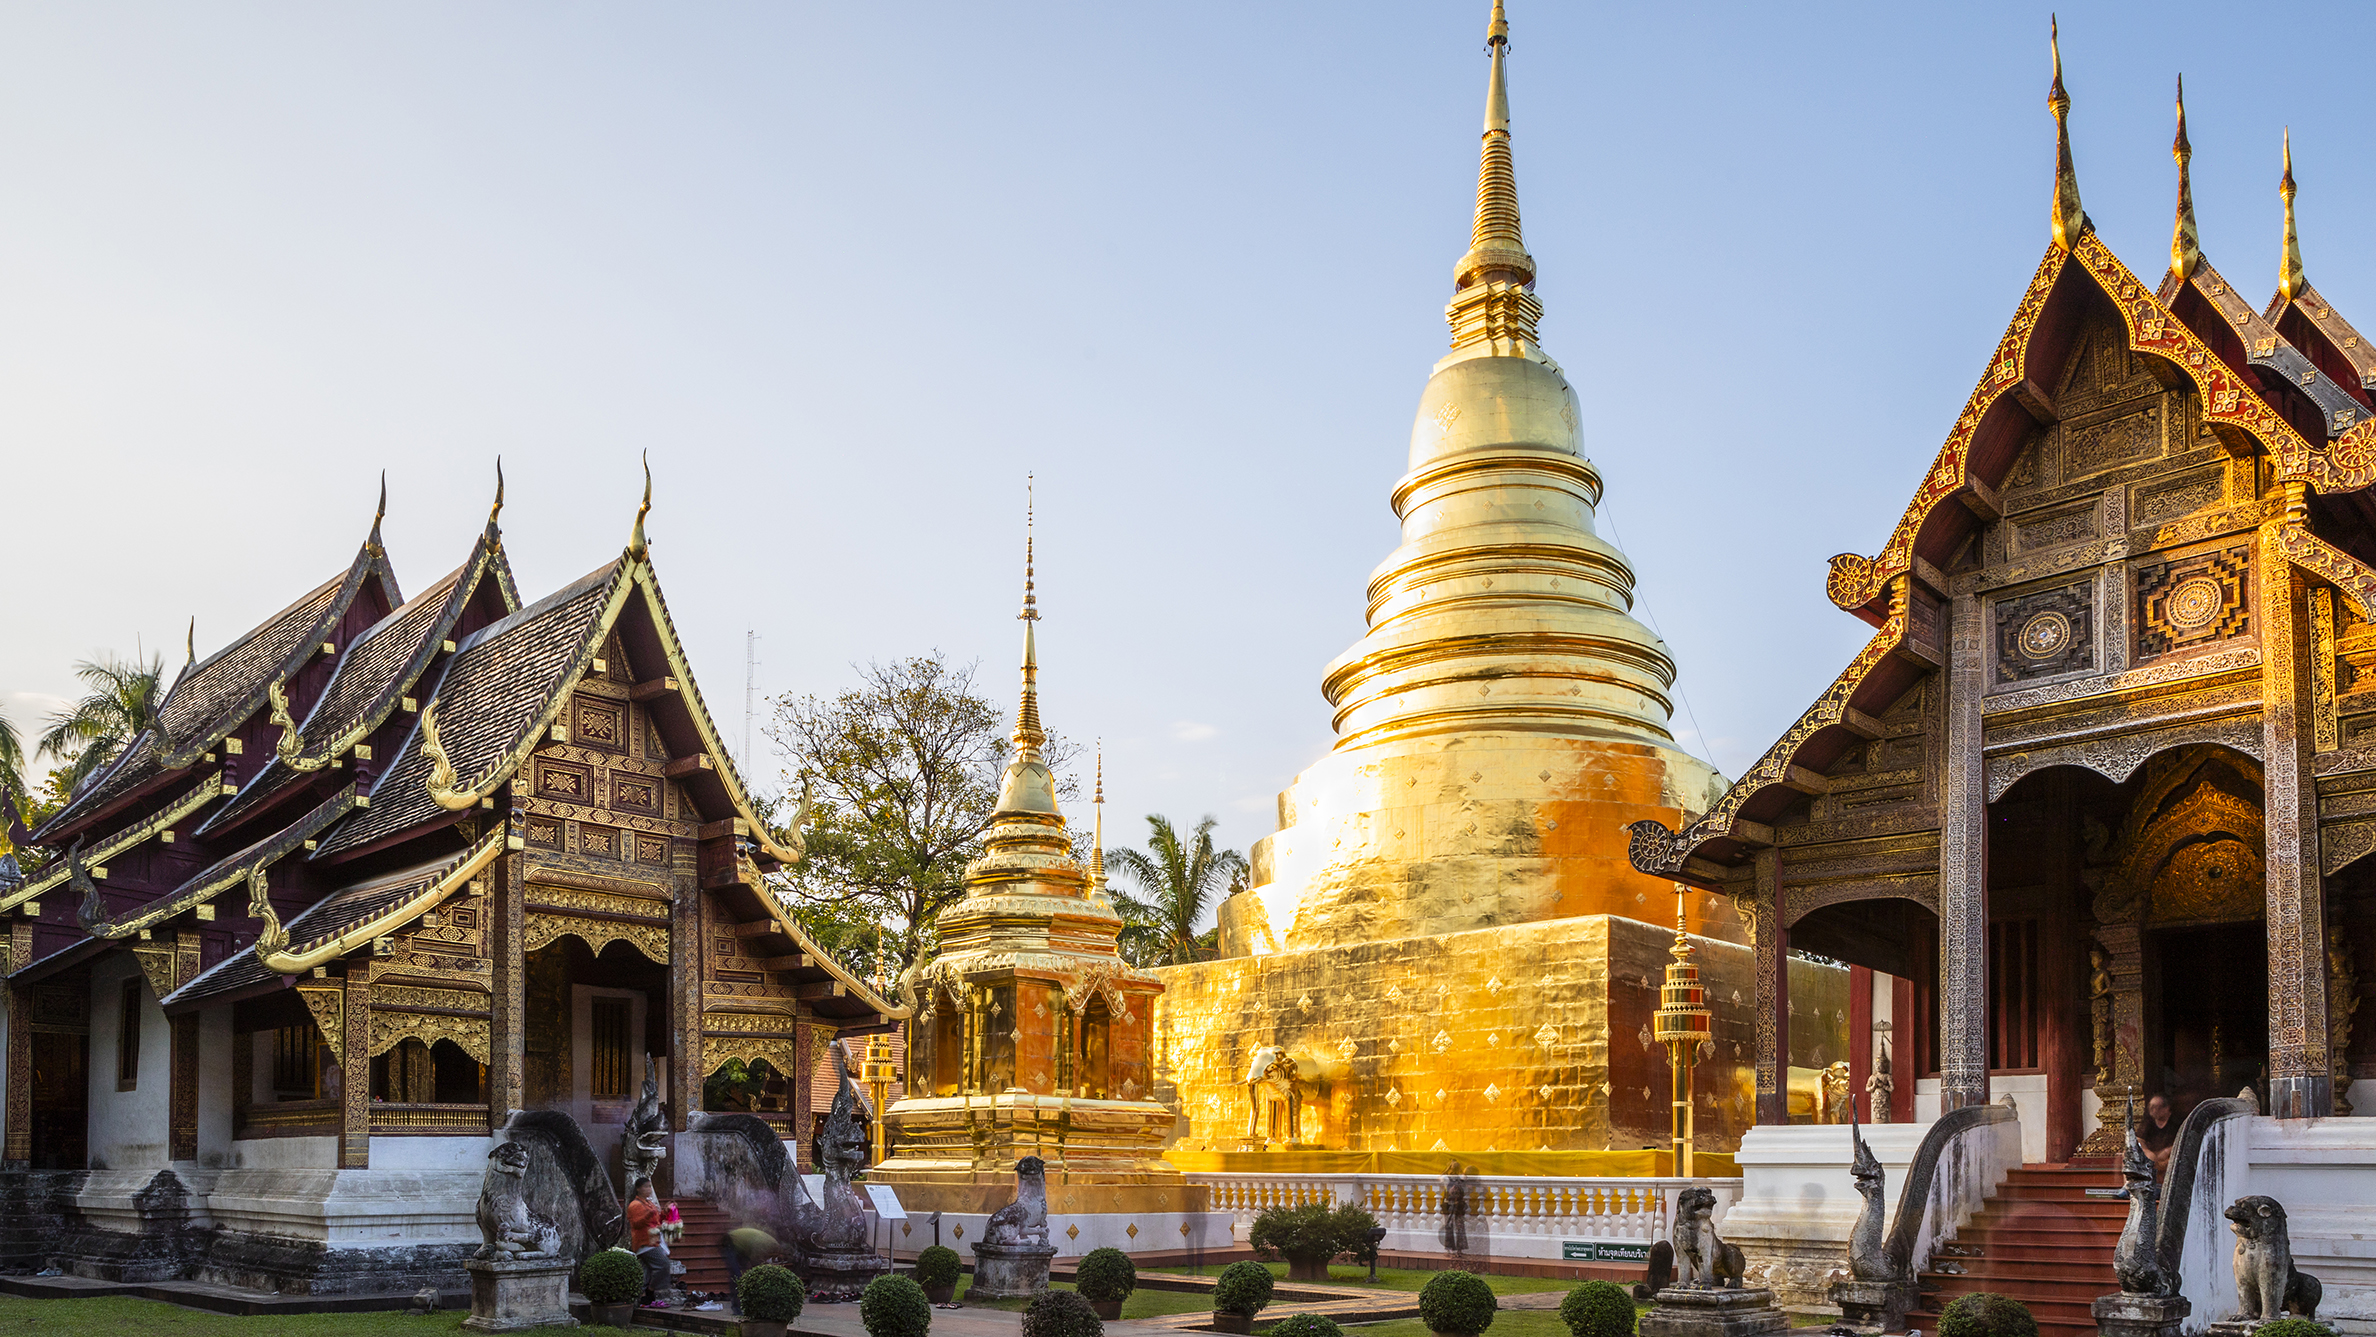
For photographers, the frustration of a pristine scene marred by distractions is a common occurrence. Whether it’s busy crowds, moving vehicles or onlookers in popular tourist spots or scenic viewpoints, we have all experienced this frustration. While patience might secure a gap for a clean shot, it’s often unfeasible in continuously busy locations.
So how can you ensure your photos aren’t inundated with crowds of people? One highly effective solution involves the use of extremely long exposures. By keeping the shutter open for an extended duration, the motion in the scene blurs, effectively eliminating unwanted elements from the frame. This technique proves particularly valuable in crowded scenarios, transforming busy city streets or iconic landmarks into empty, almost surreal landscapes.
The beauty of this method lies in its ease; with the right equipment and a few considerations, any photographer can use long exposures to enhance their photos and avoid hours of editing work. Whether you’re capturing iconic cityscapes or serene landscapes, using long shutter speeds opens up new realms of creative possibilities.
Article continues belowBefore / After
Shooting steps
The setup
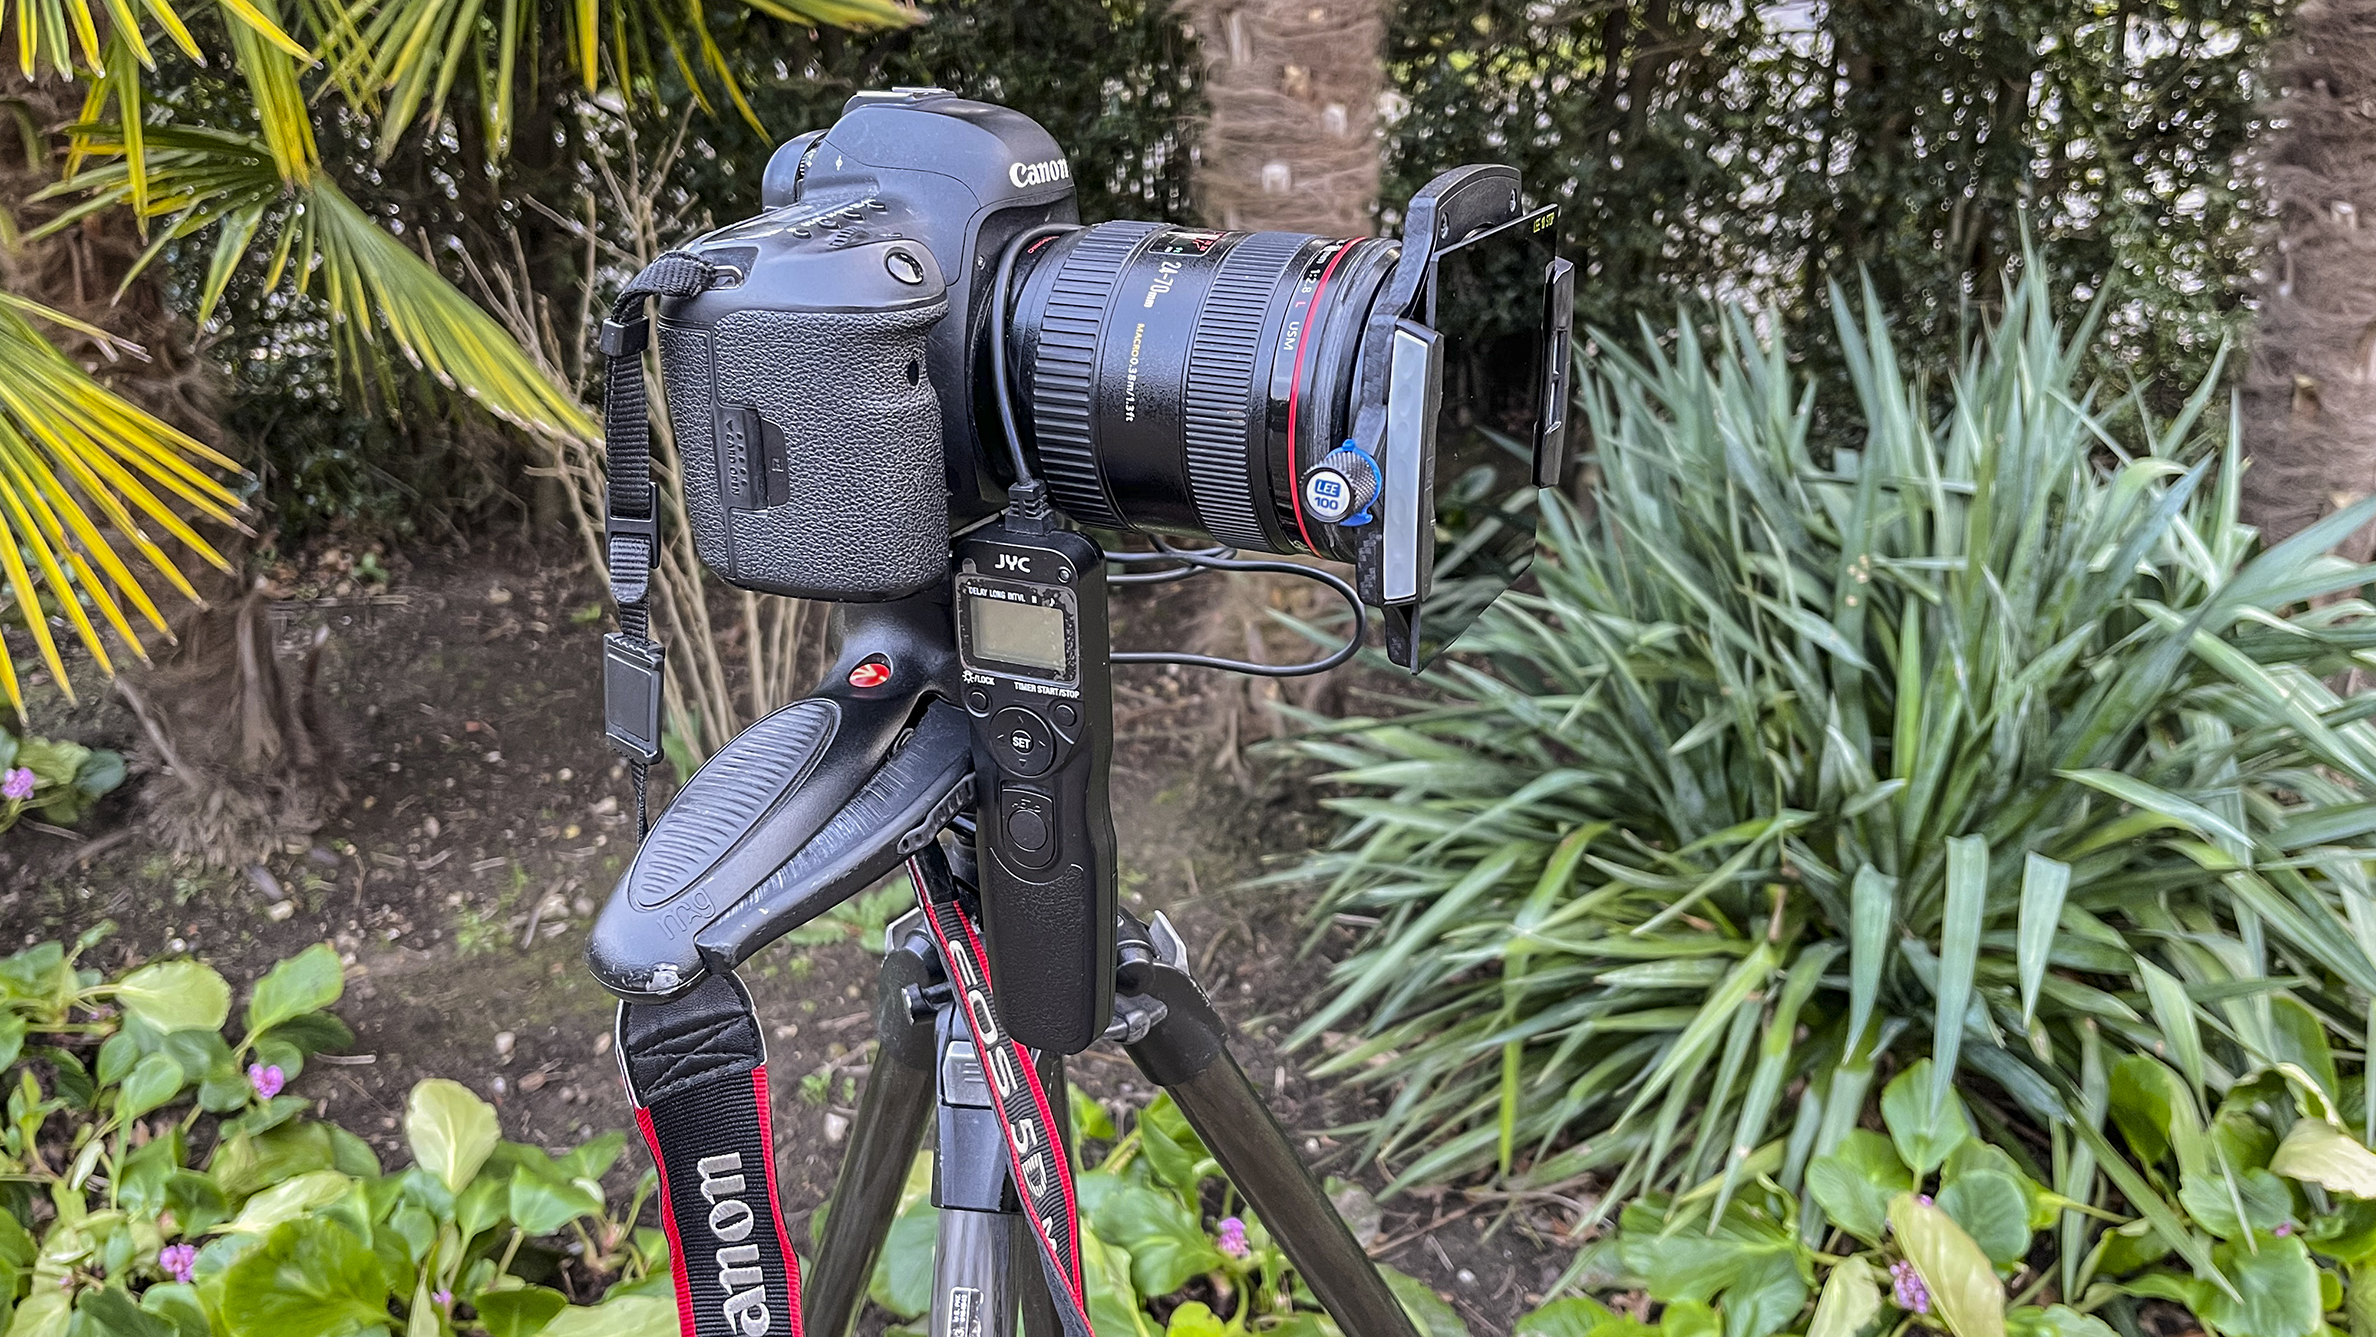
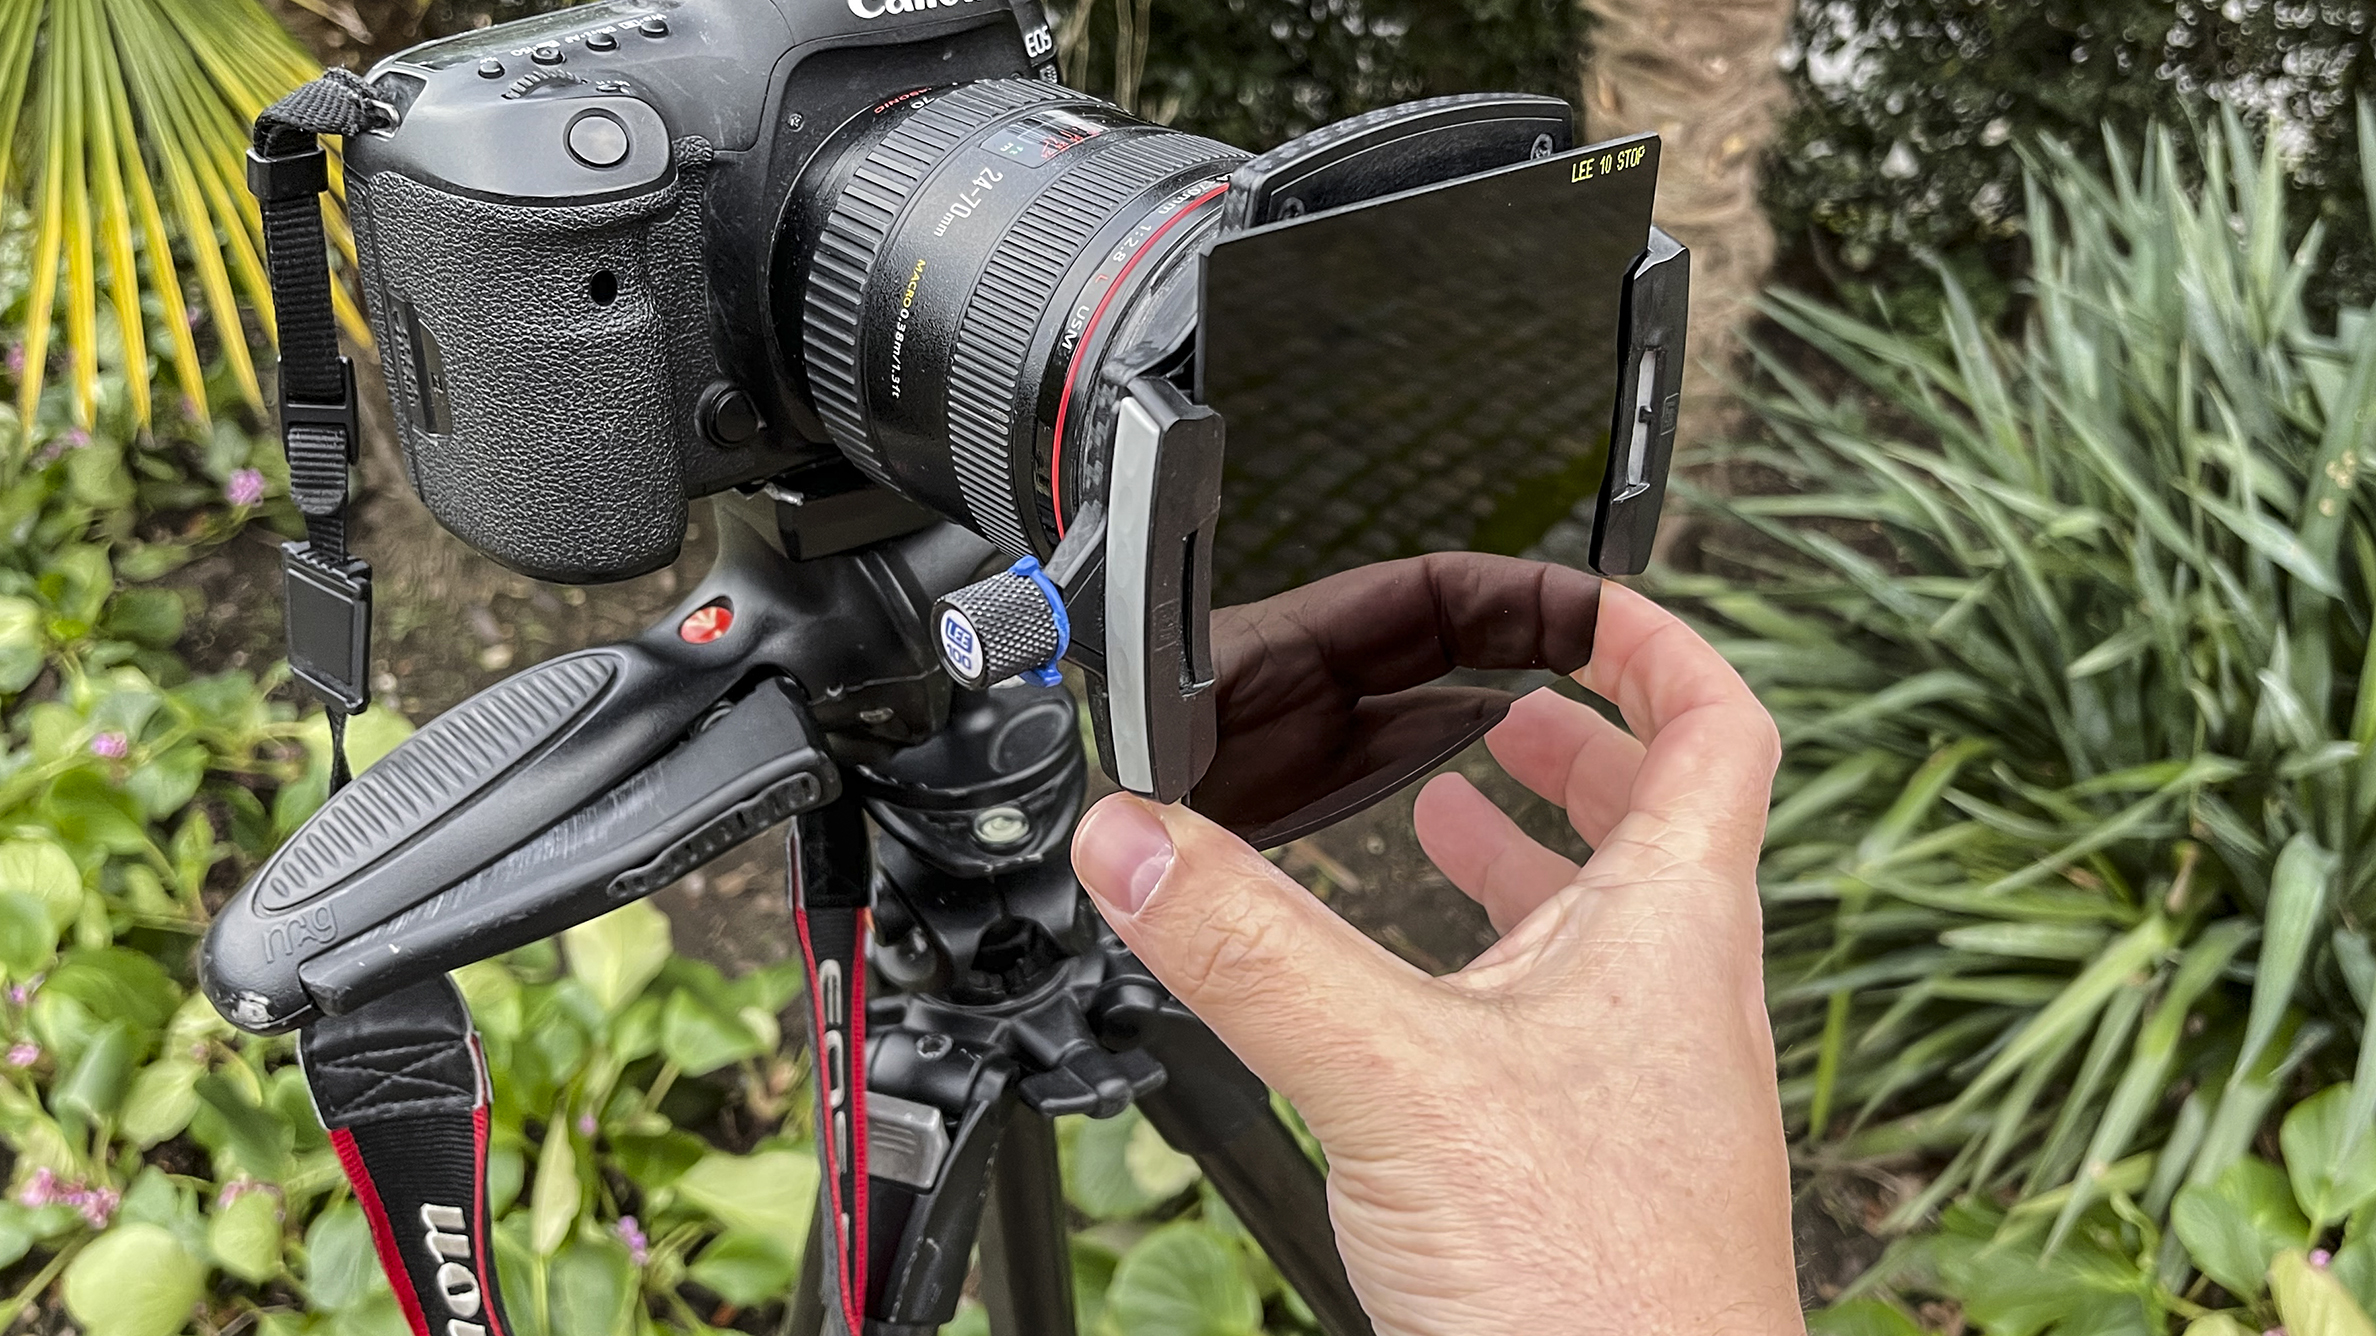
1. 24-70mm f/2.8 lens Your shutter speed is the most important component in low-light photography. So a fast lens (f/2.8 or less) will make things easier
2. 10-Stop ND filter Shooting in live view mode will use up batteries much quicker, so make sure you have fully charged spares
3. Tripod You will take a lot of photos in burst mode, so make sure you have plenty of memory cards for your shoot
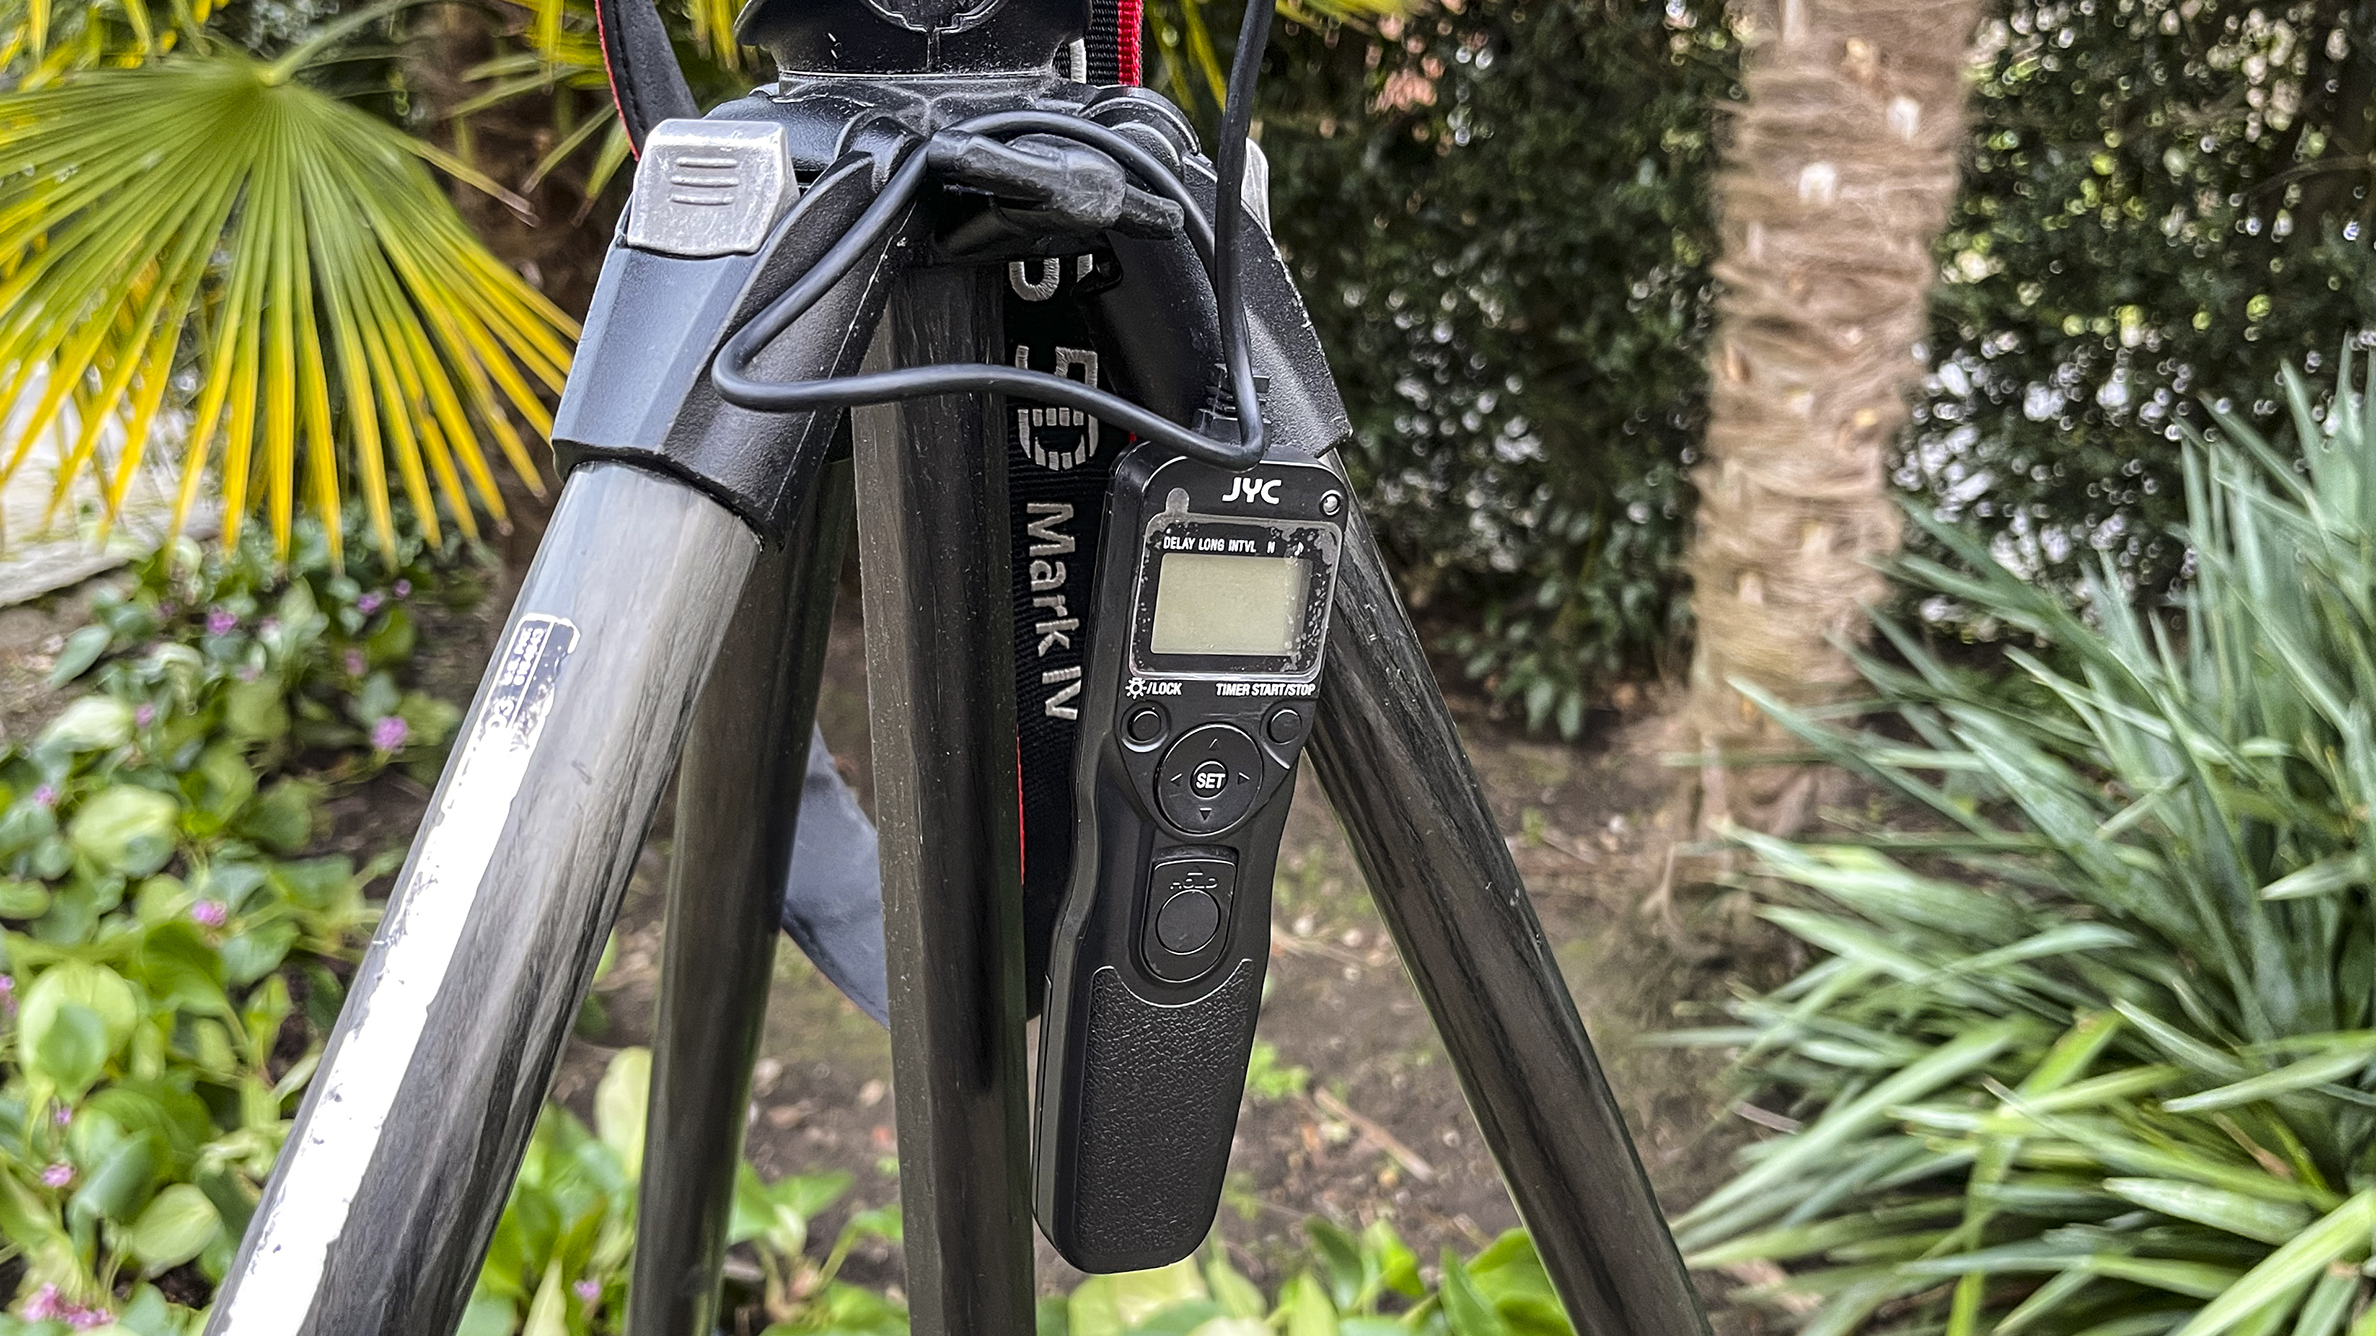
4. Cable Release You will take a lot of photos in burst mode, so make sure you have plenty of memory cards for your shoot
The best camera deals, reviews, product advice, and unmissable photography news, direct to your inbox!
1. Ensure everything is stable
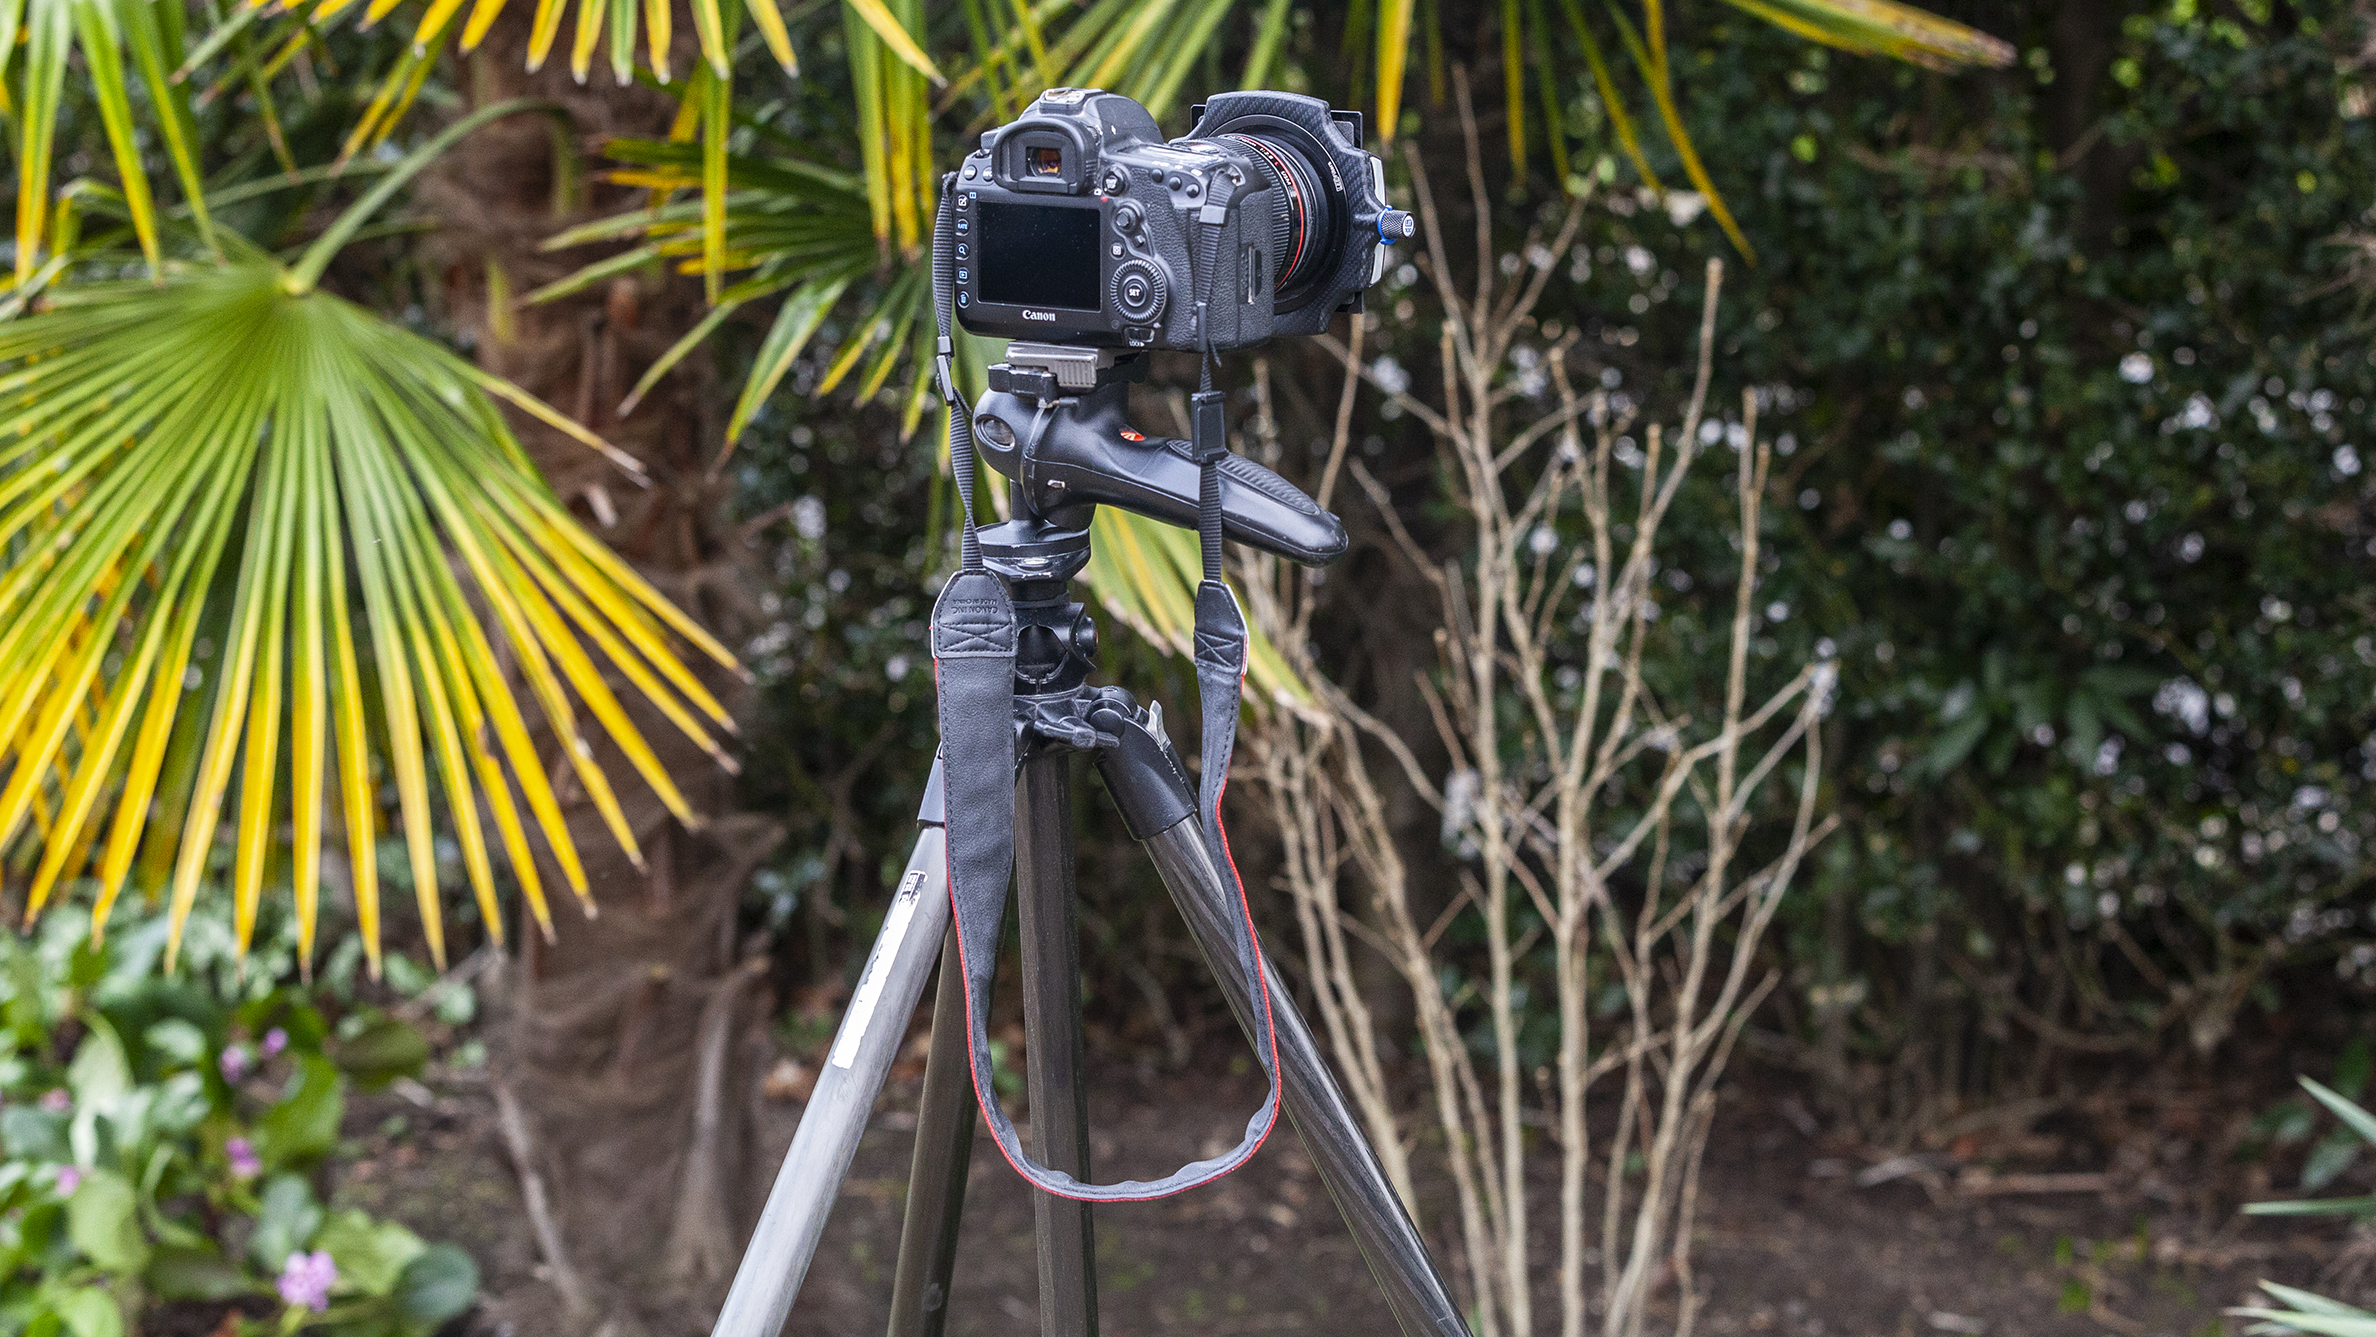
Stability is crucial when using slow shutter speeds to blur out any motion as any slight camera movement can cause camera shake. So, to ensure that your photos remain sharp, mount your camera on a stable tripod on a solid surface.
2. Select a small aperture
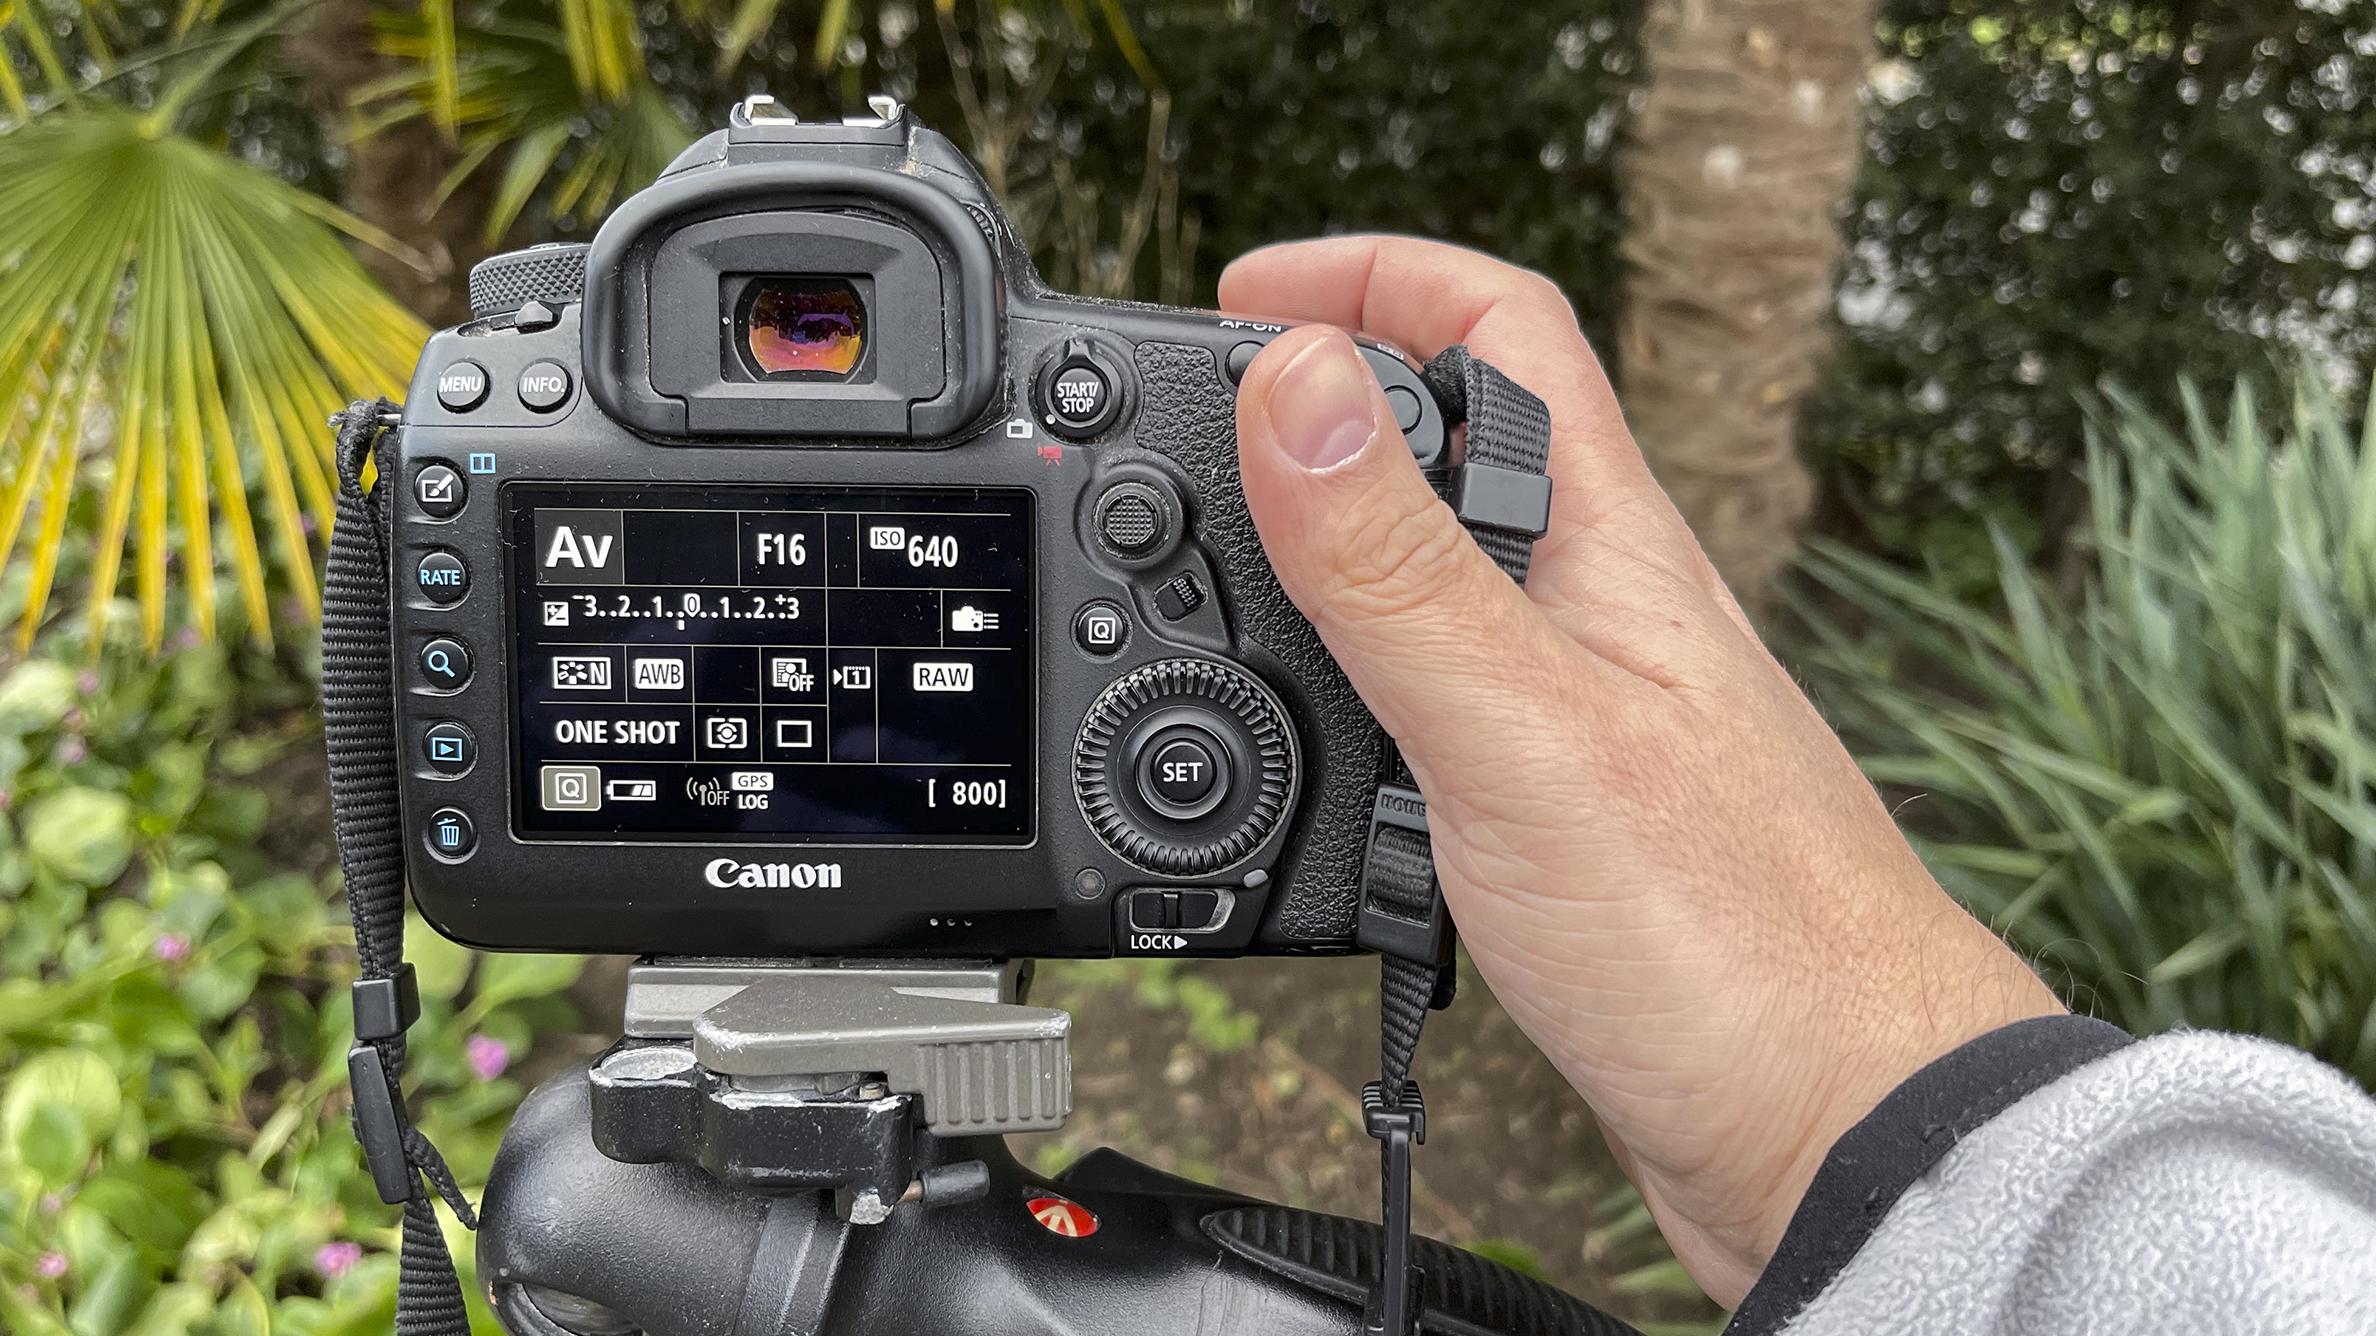
For long shutter speeds, the key is to limit incoming light by choosing a small aperture, such as f/14 or f/16. Avoid going anywhere above f/16, as extremely small apertures can lead to reduced sharpness due to lens diffraction.
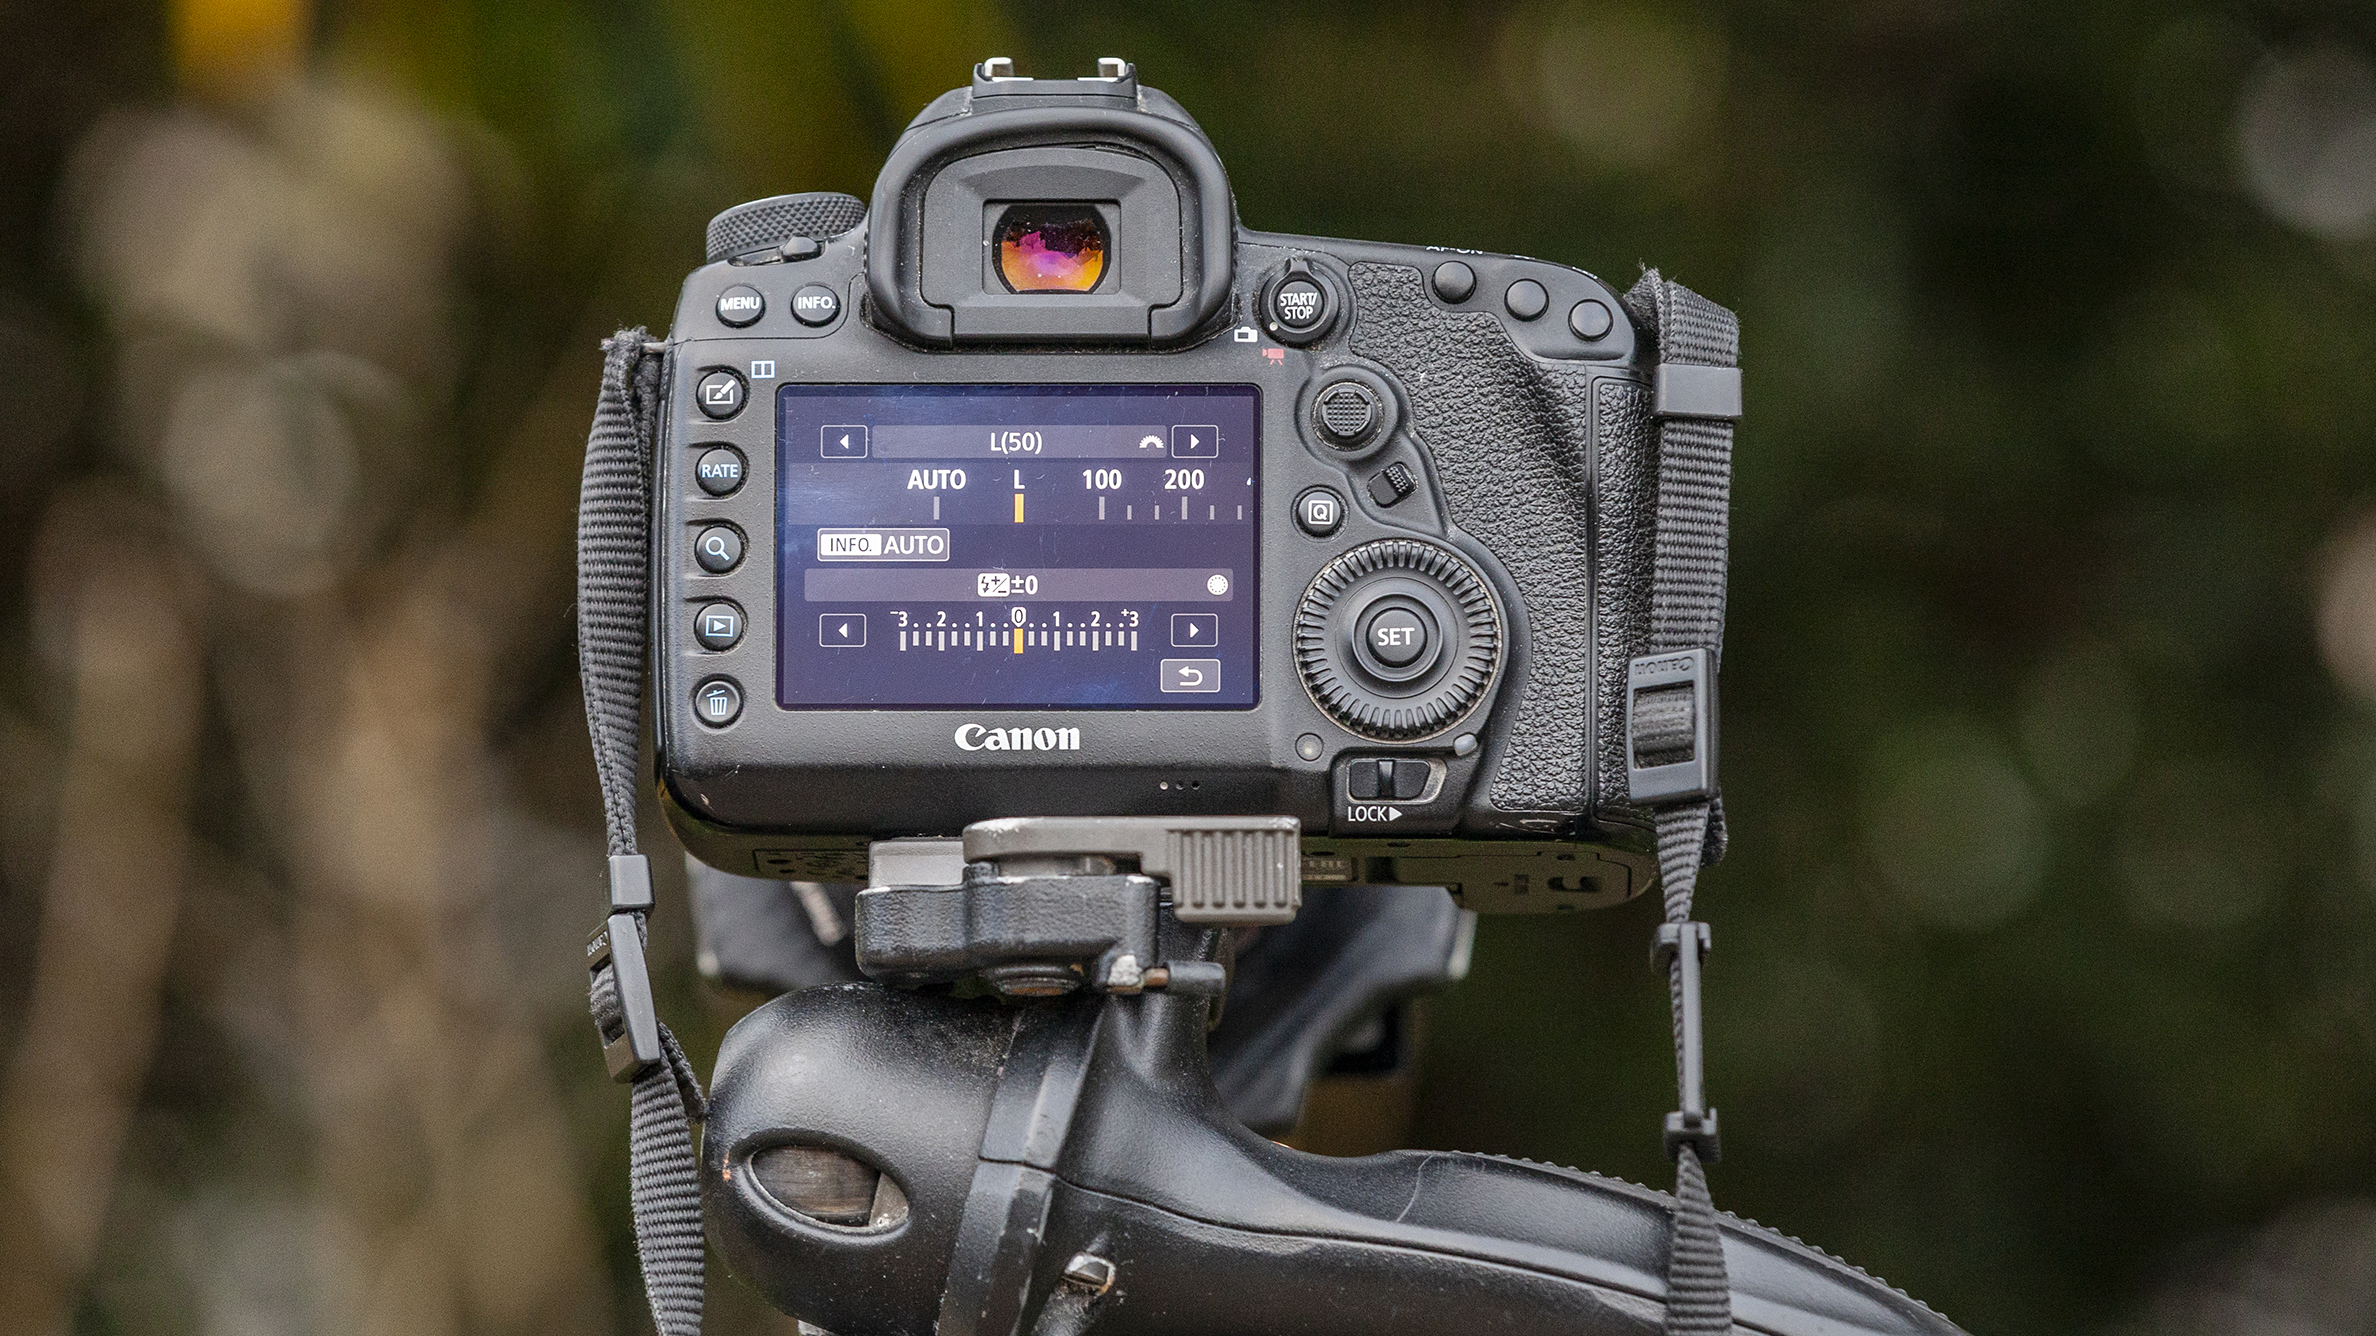
3. Go with a low ISO
Depending on how quickly the distractions in your scene are moving, you are likely to need an exposure of at least 30 seconds and possibly even longer. Alongside a small aperture, expanded low ISO will also help you achieve longer exposure times.
4. Use a filter
During the daytime, the main challenge will be to attain a sufficiently long shutter speed. To overcome this, use a six- to 10-stop neutral density filter. If necessary, consider using stacking filters to achieve a long enough shutter speed that blurs out any movement.
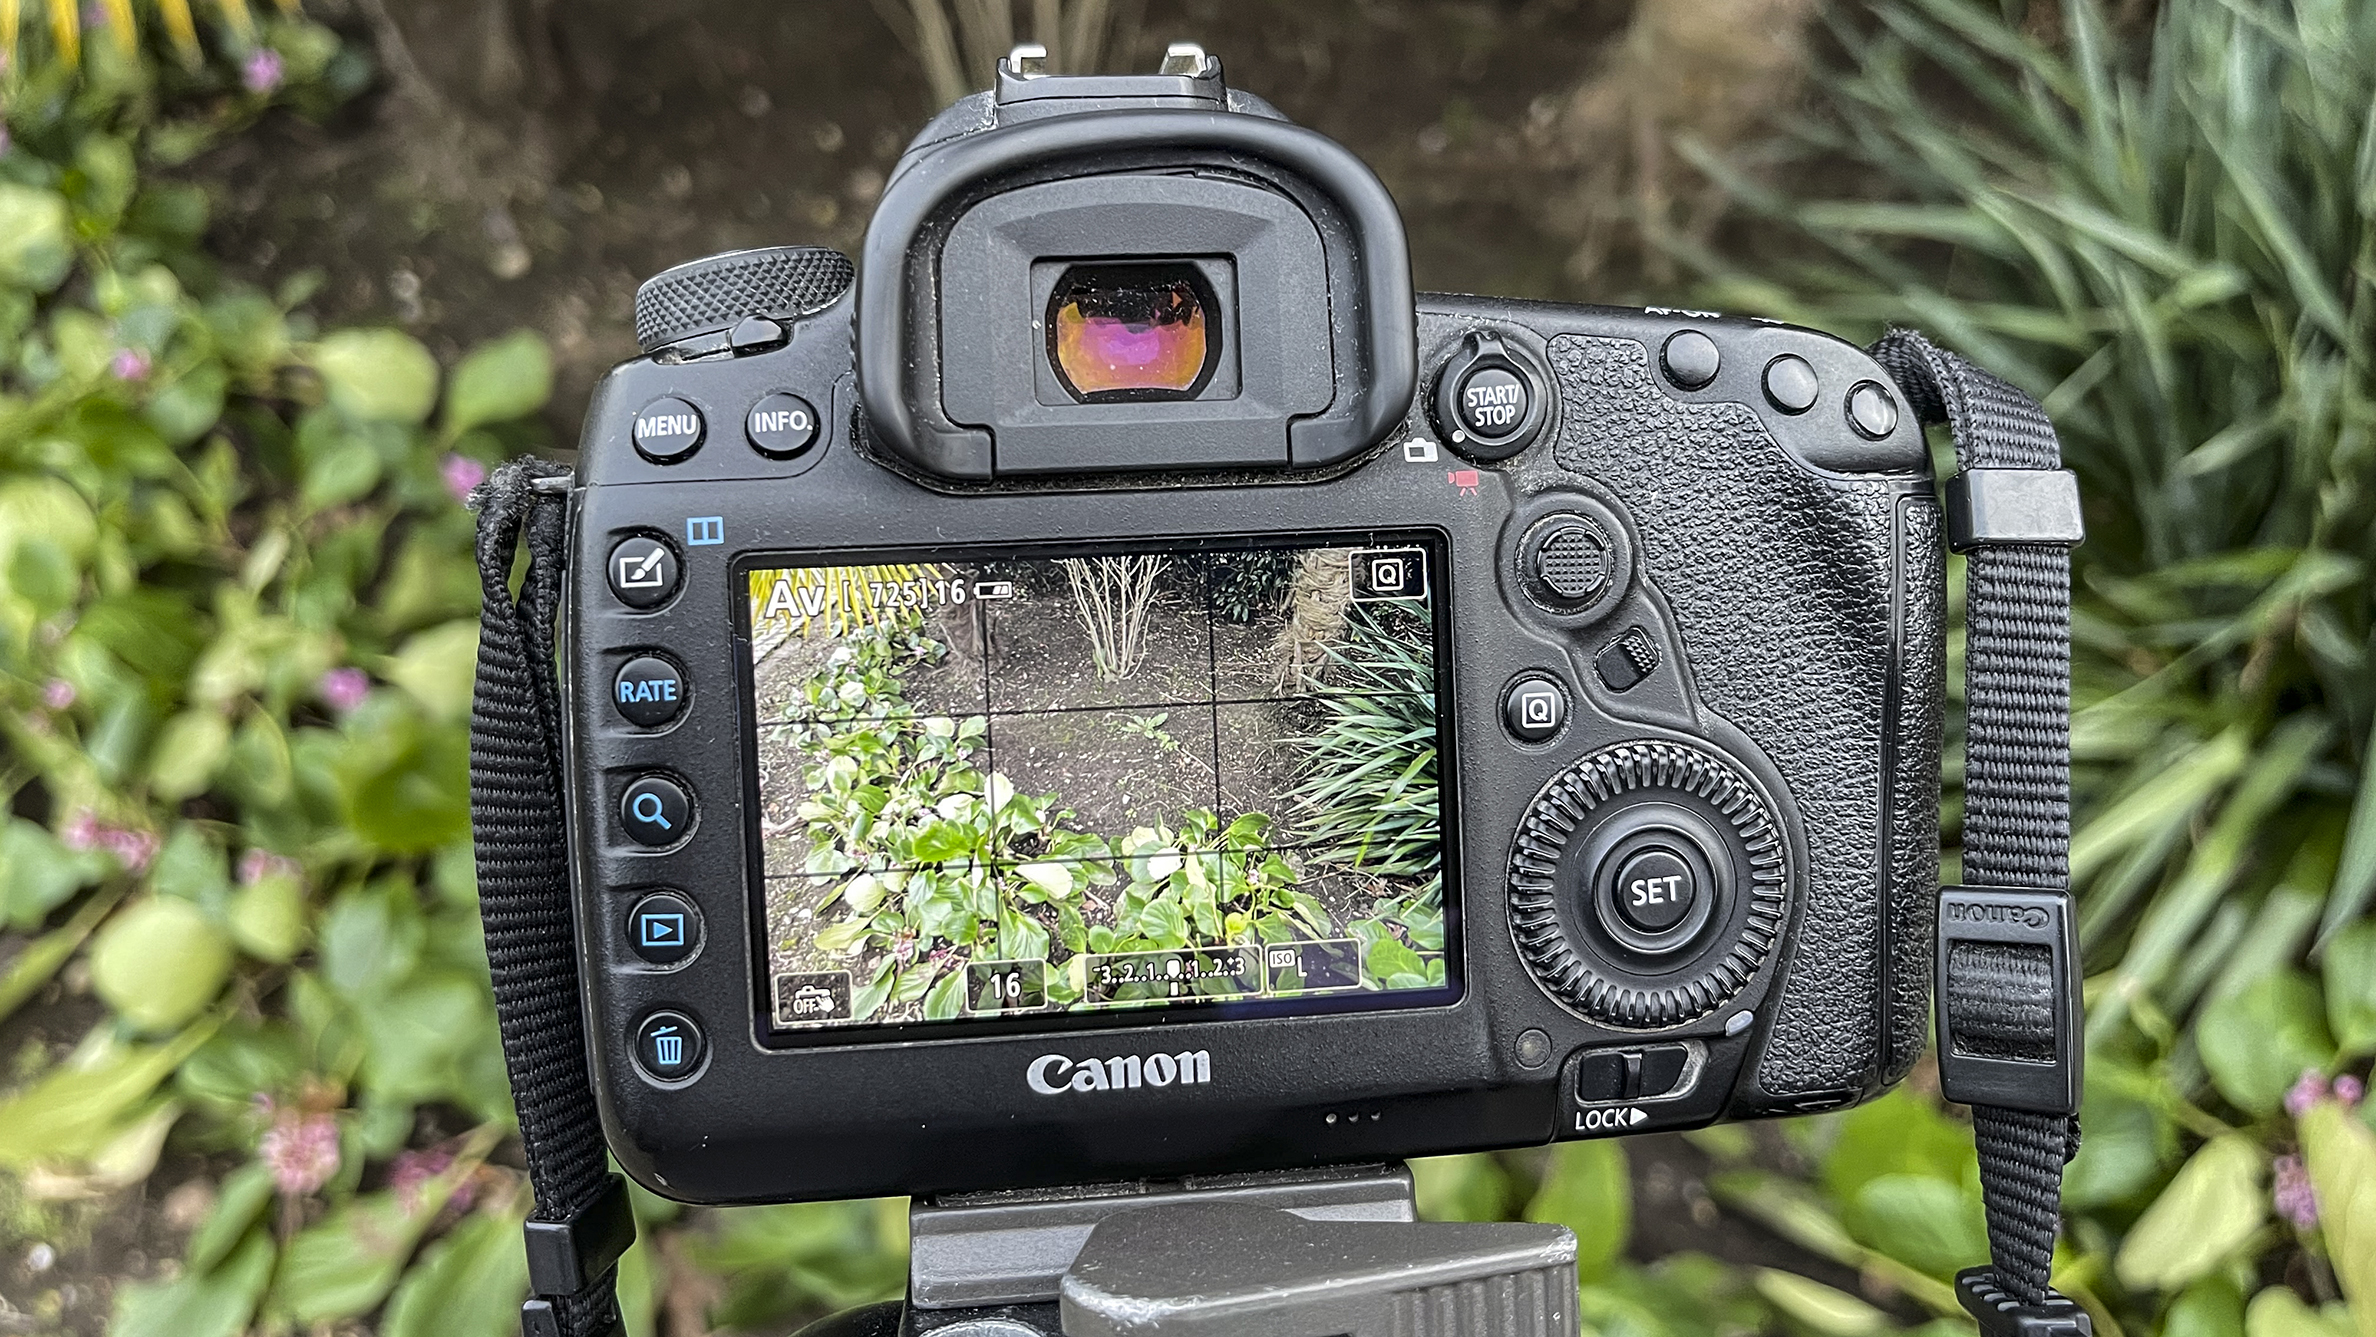
5. Select live view mode
When using DSLR cameras, mirror flips cause subtle vibrations. In long-exposure photography, this may lead to camera shake and soft photos. Prevent this by choosing Live View mode to eliminate mirror movement and ensure your images stay sharp.
6. Don’t touch the camera
Even pressing the shutter button can be detrimental to the sharpness of your photos in a long-exposure shot. So refrain from touching the shutter button and, instead, opt for a cable release or go into your camera’s menu and set a two-second timer.
Pro tips
Top tips for long exposures
1. Be aware of where you are placing your tripod. For example, if you are on a bridge, a passing car or even people walking by can cause vibrations that will blur your images.
2. Make sure that you have multiple filters – even a 10-stop filter might not be enough to slow your shutter speed sufficiently.
3. If you have a UV filter on your lens, remove it before you attempt to screw in an ND filter or the ND filter holder. If there is a slight jam, it will be difficult to unscrew
the two filters from one another.
4. You also need to ensure that you have enough power and spare batteries for this type of photography. Long-exposure photos will drain your battery quicker than you think.
5. Be aware of colour casts when using poor quality or cheap filters, especially if they are made from plastic. If you stack these, you may find that your images have a magenta color cast.
Editing steps
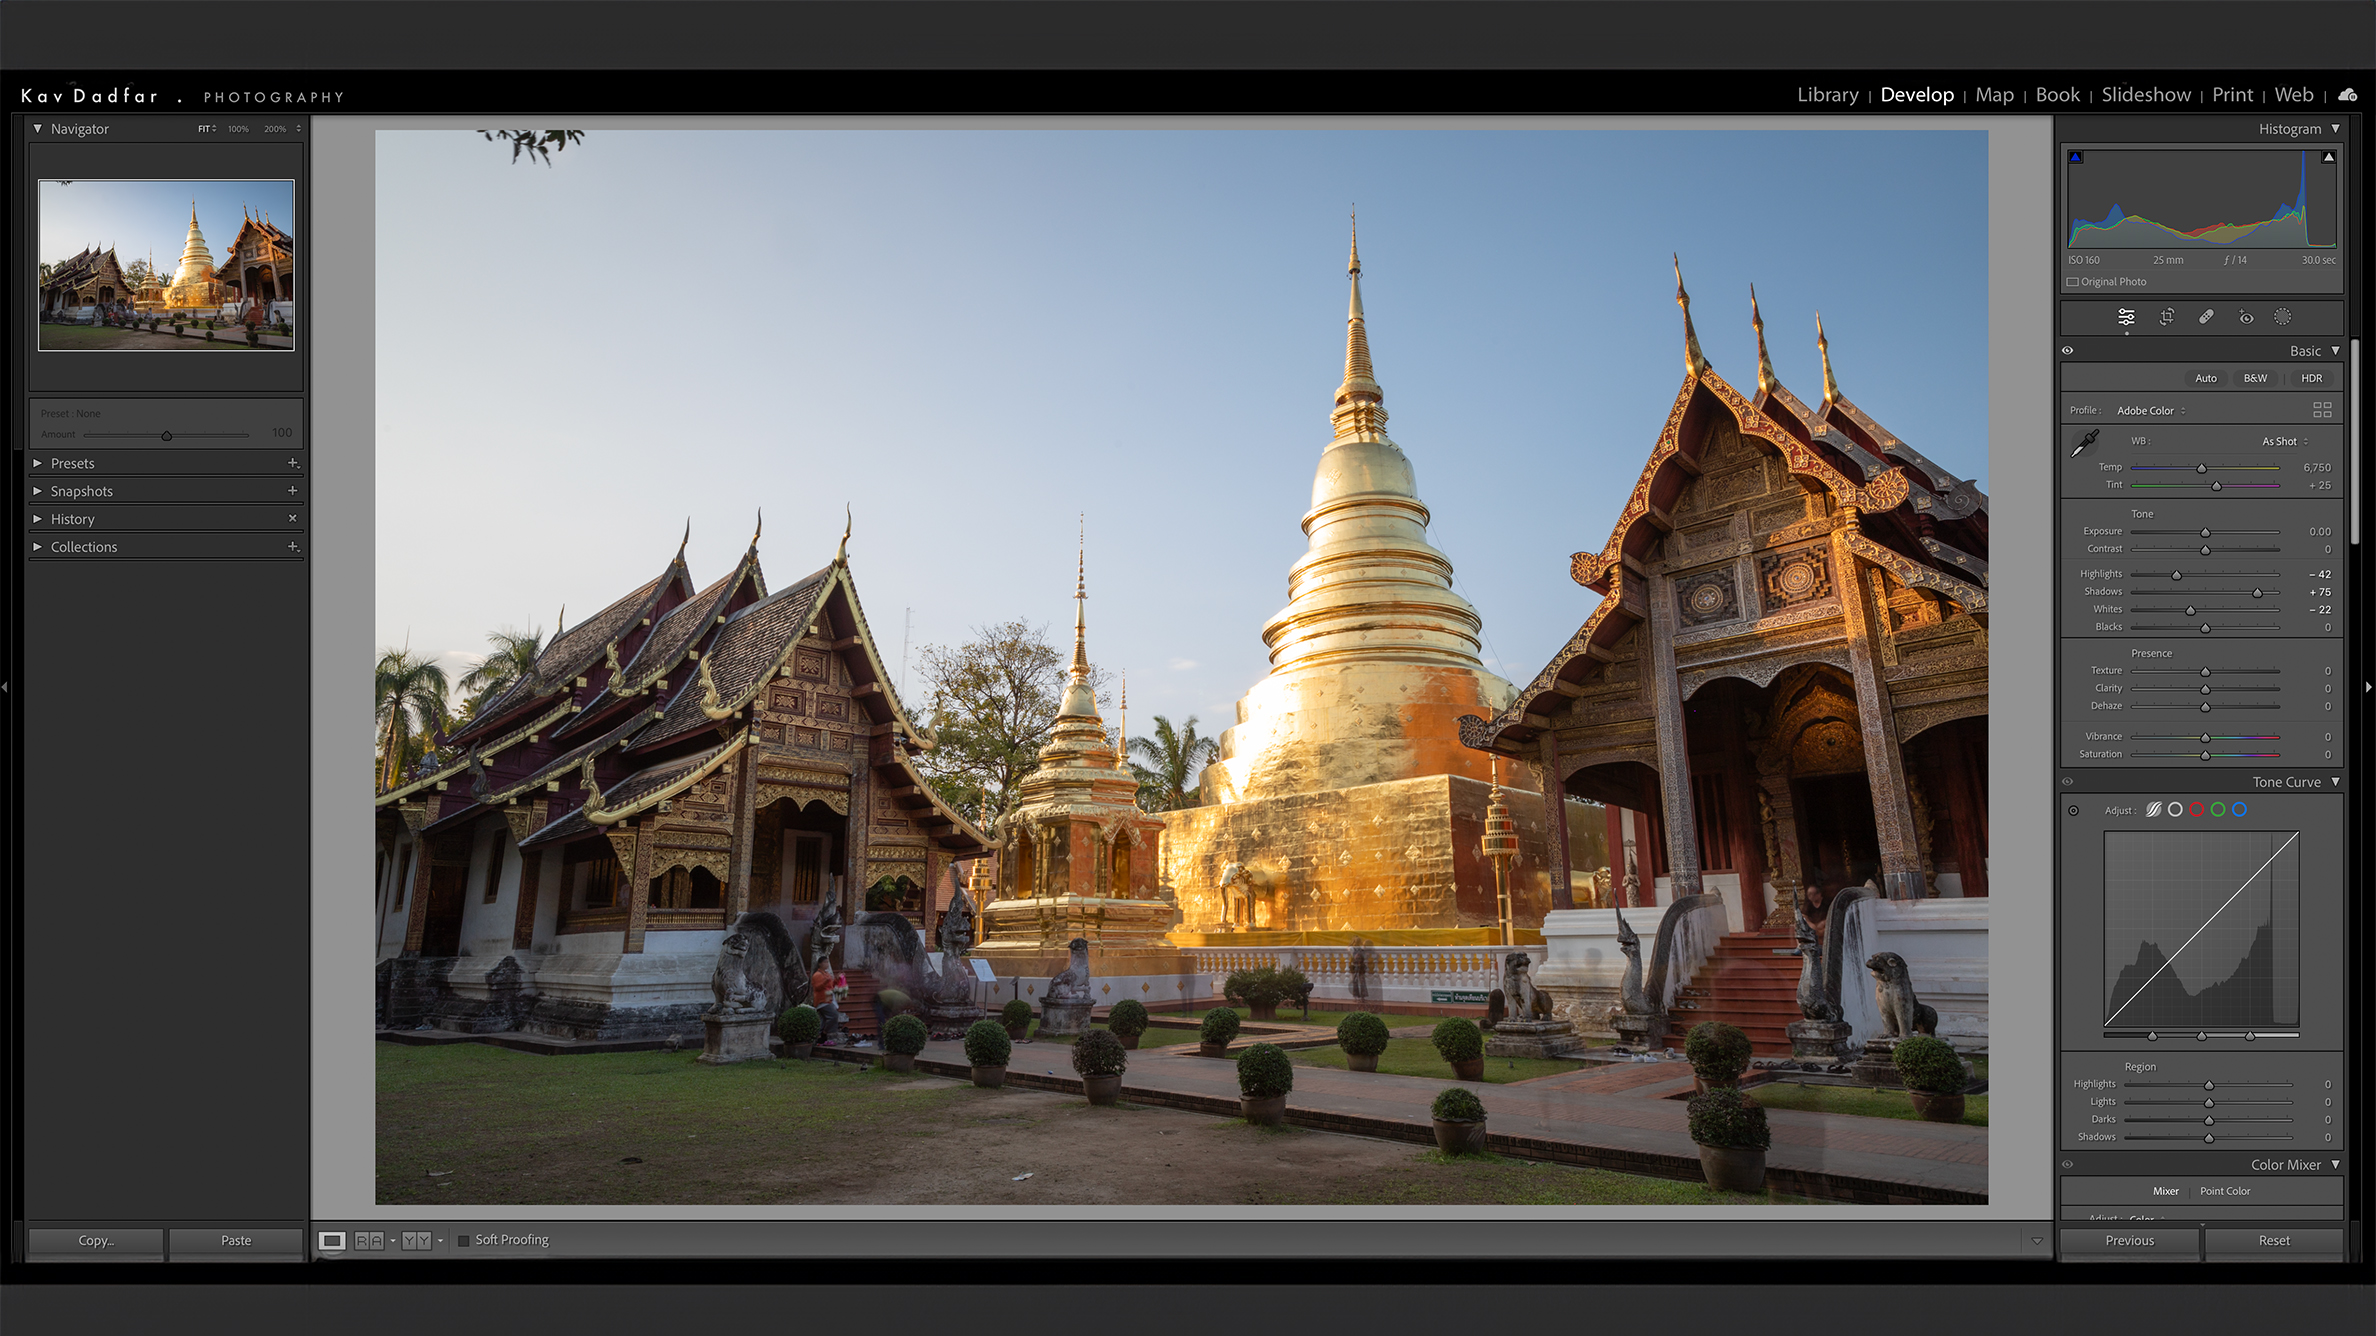
1. Fix the shadows
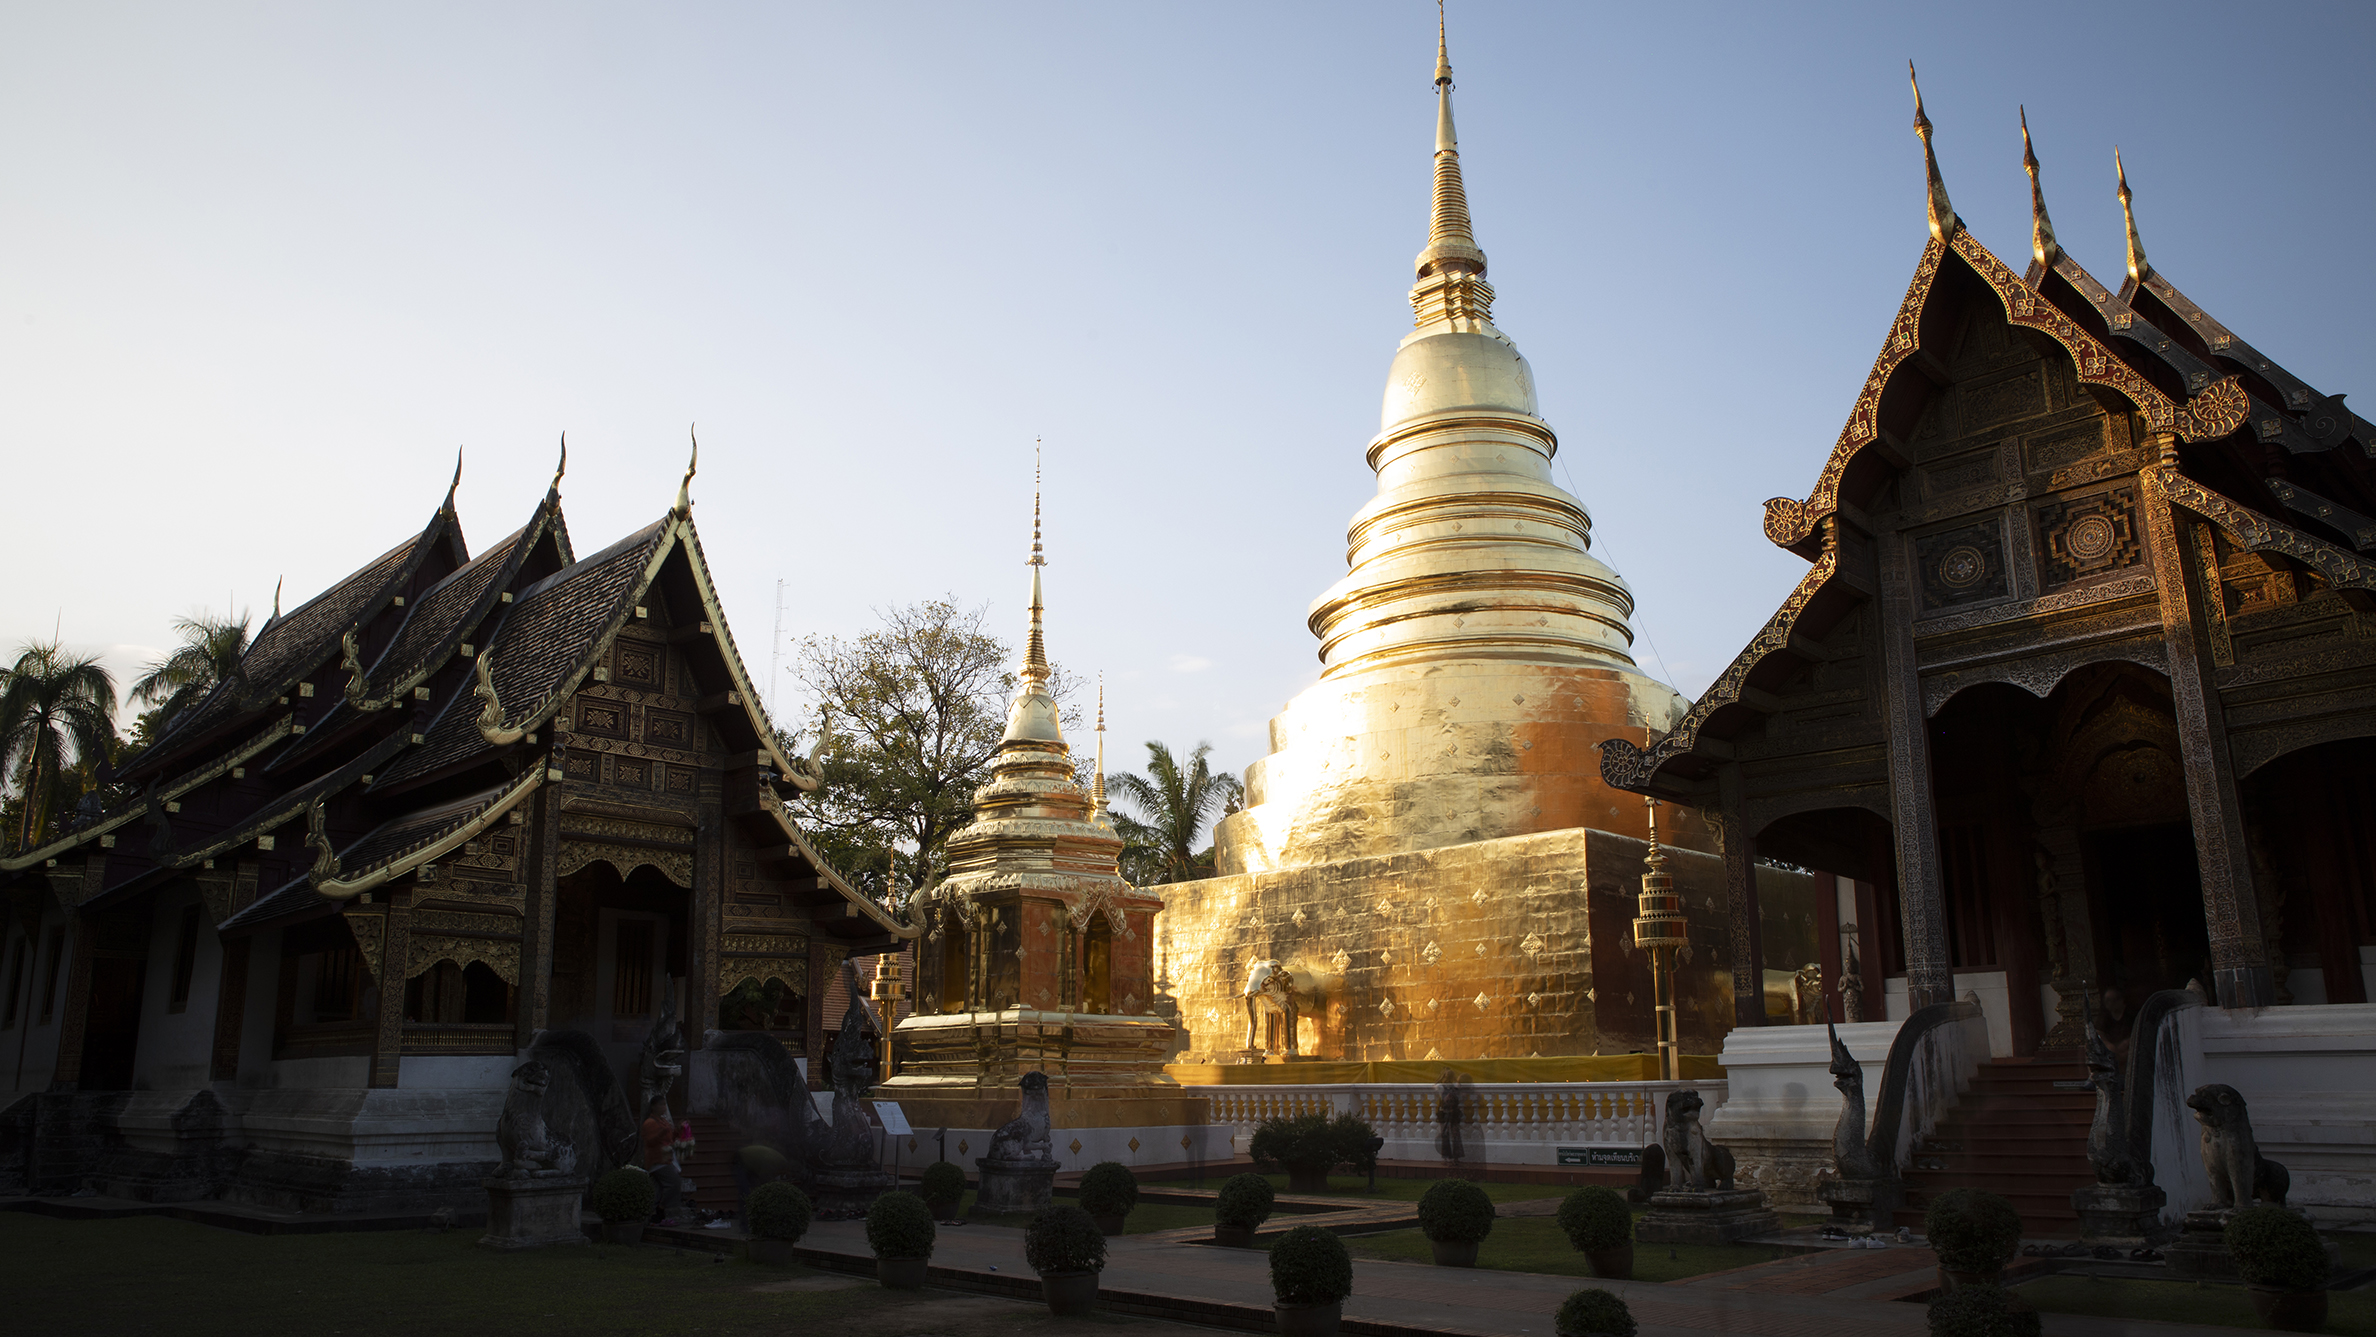
This was a high-contrast scene between the bright, reflective stupa (shrine) and the shaded areas in the foreground. So the first thing to focus on is to brighten the shadows and recover the highlights slightly to avoid them being clipped.
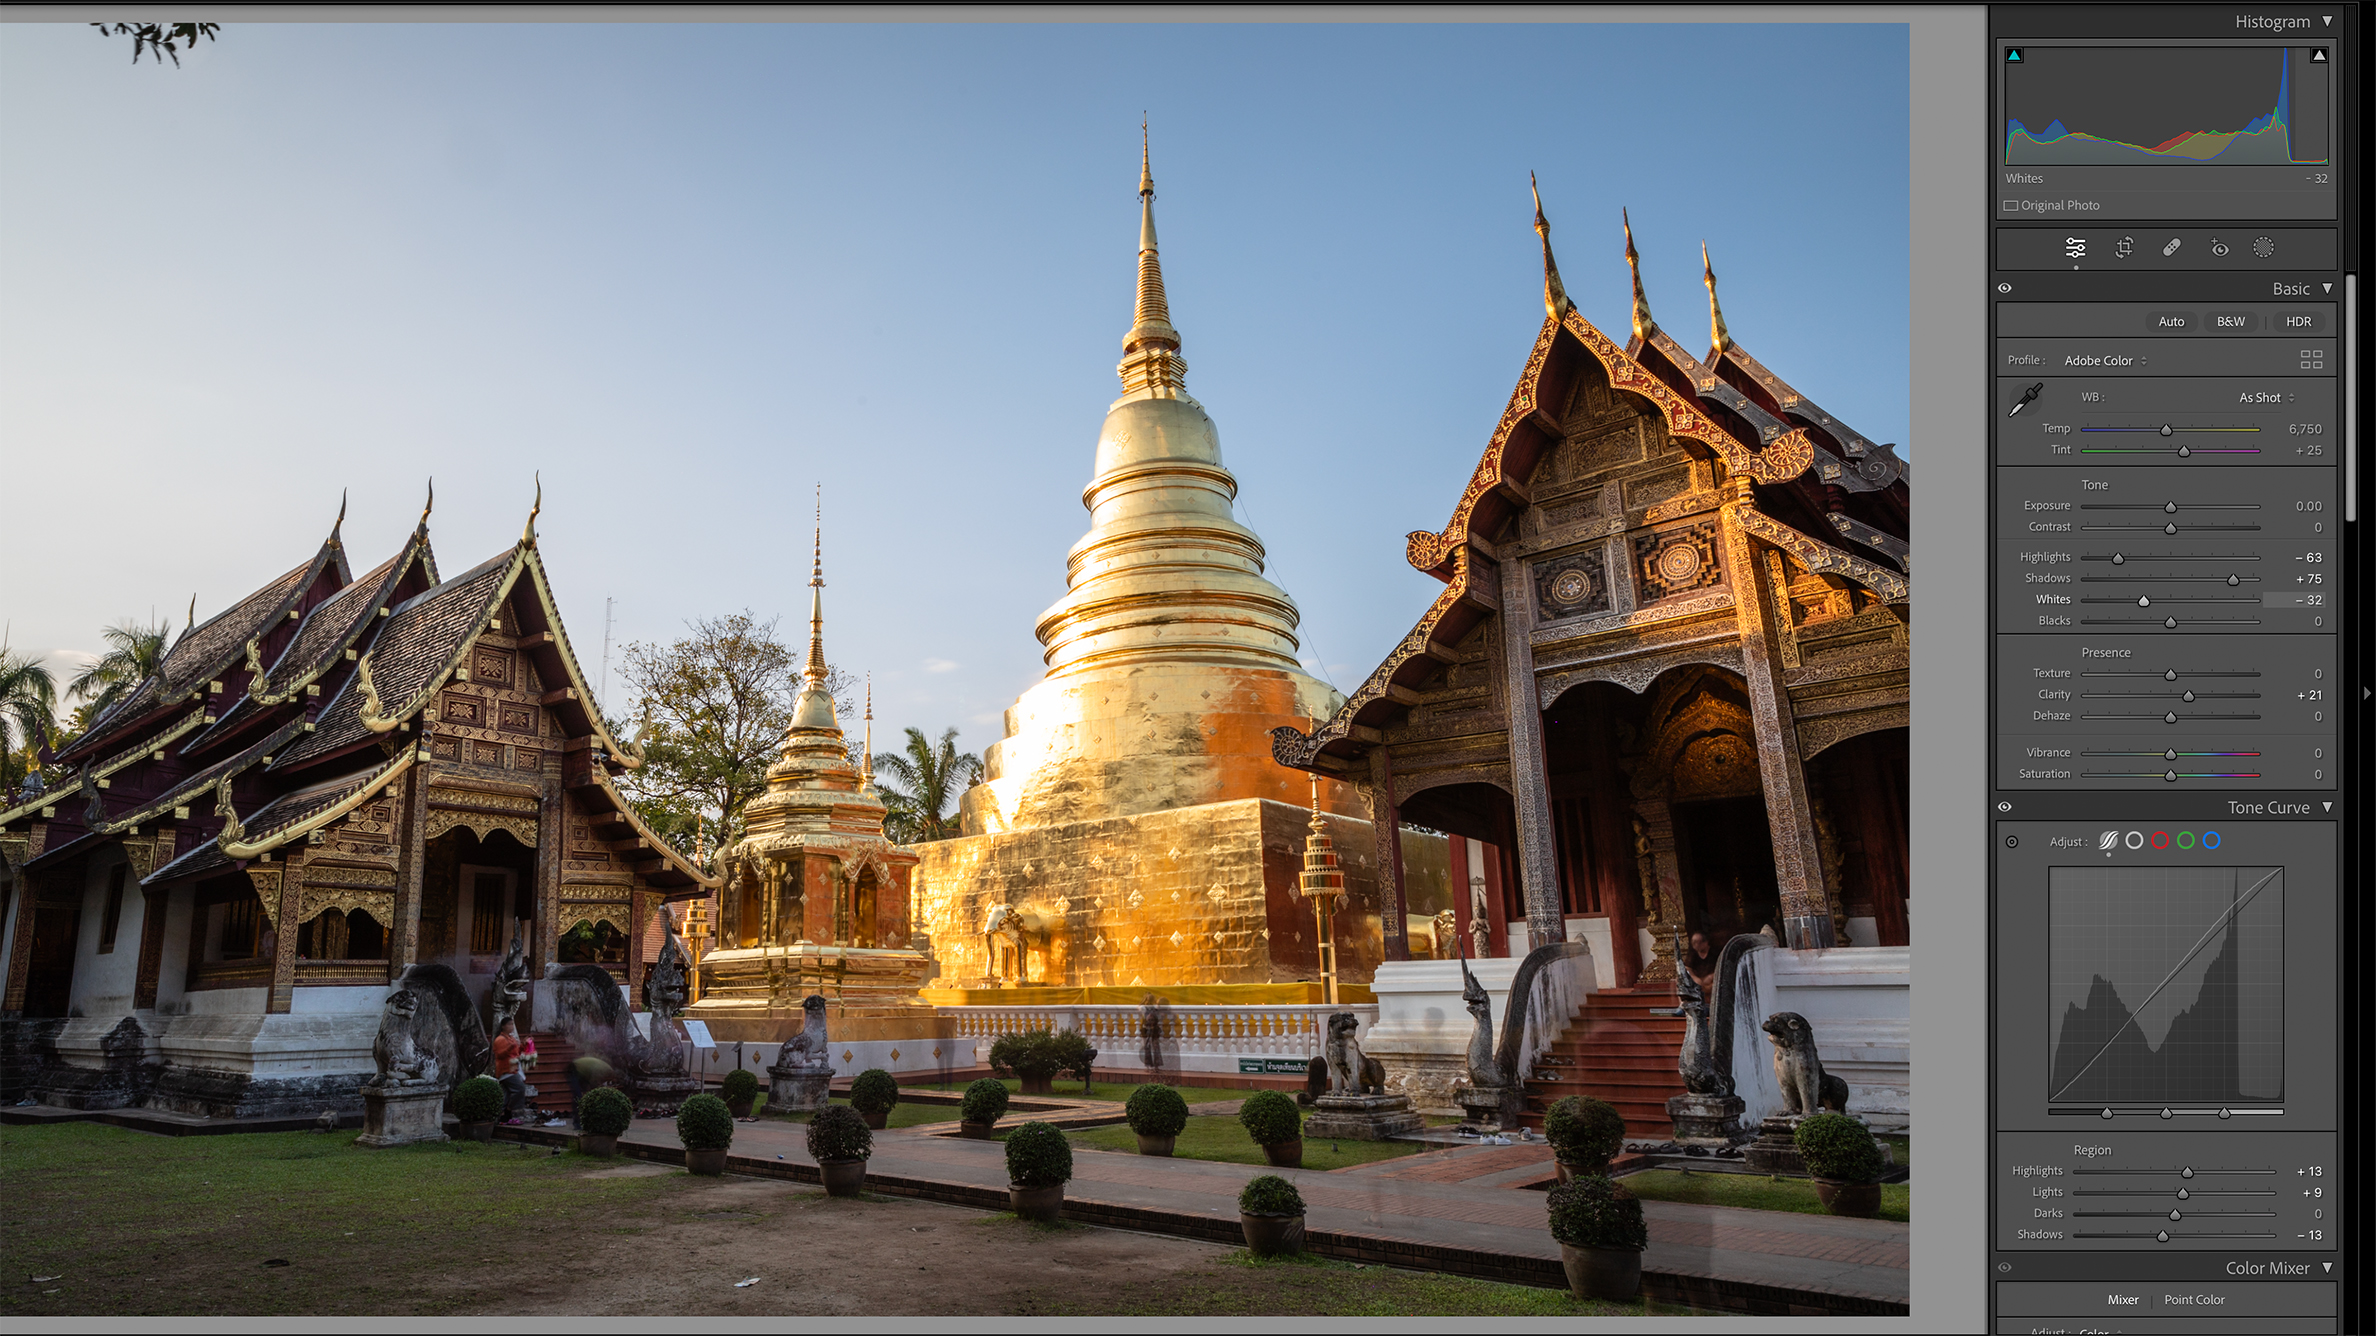
2. Add contrast
Fixing the highlights and shadows has meant that the image now looks a little flat. The next step is to remedy that on the Tone Curve by moving the sliders to create an S-curve. I also added a bit more Clarity to define the edges of the objects.
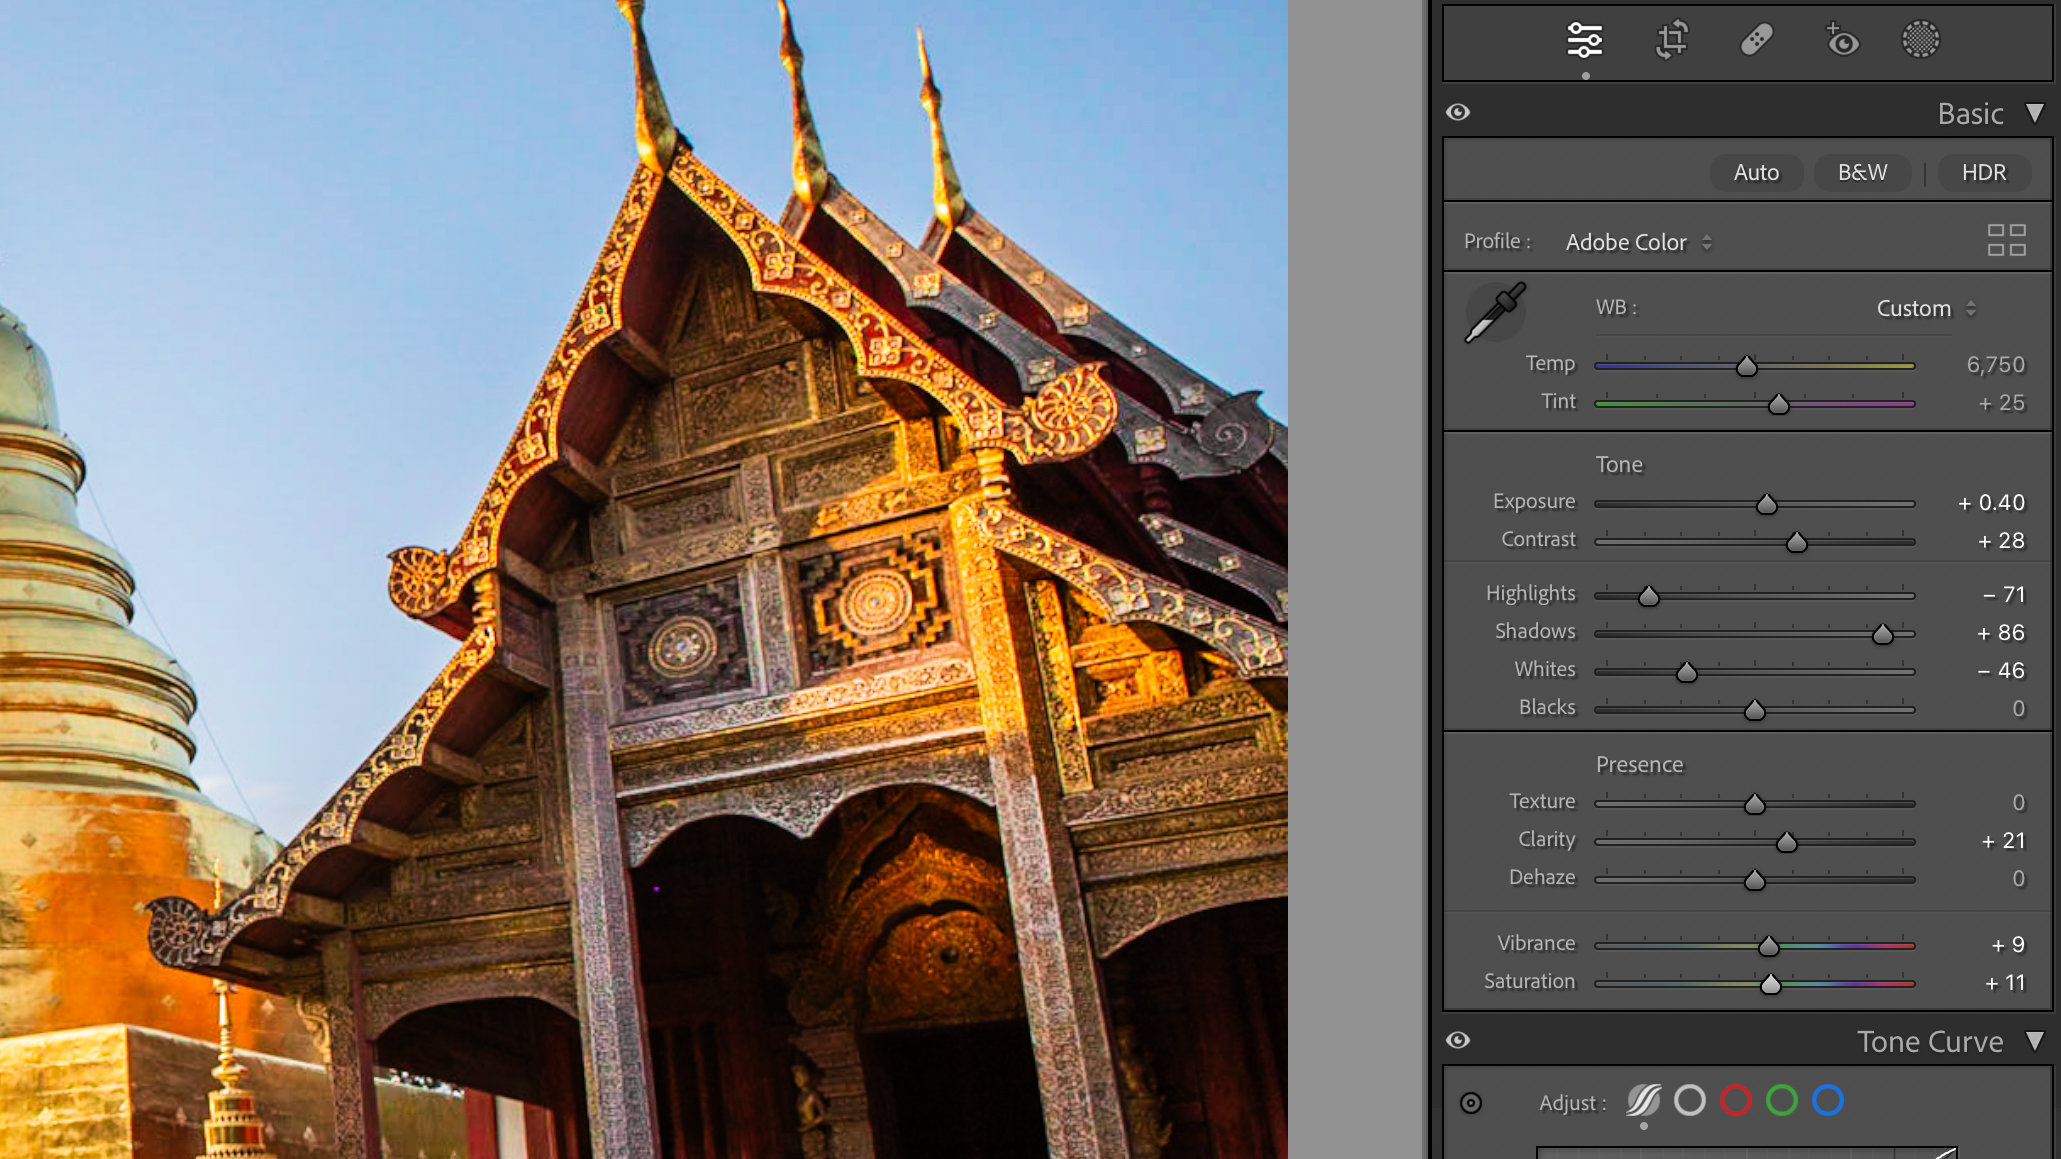
3. Tweak the brightness
Boosting the contrast has darkened the image slightly again, so I tweaked both the Brightness slider and the Shadows slider to make it lighter. To make the colours pop
a little more, I also increased the Vibrancy and Saturation sliders.
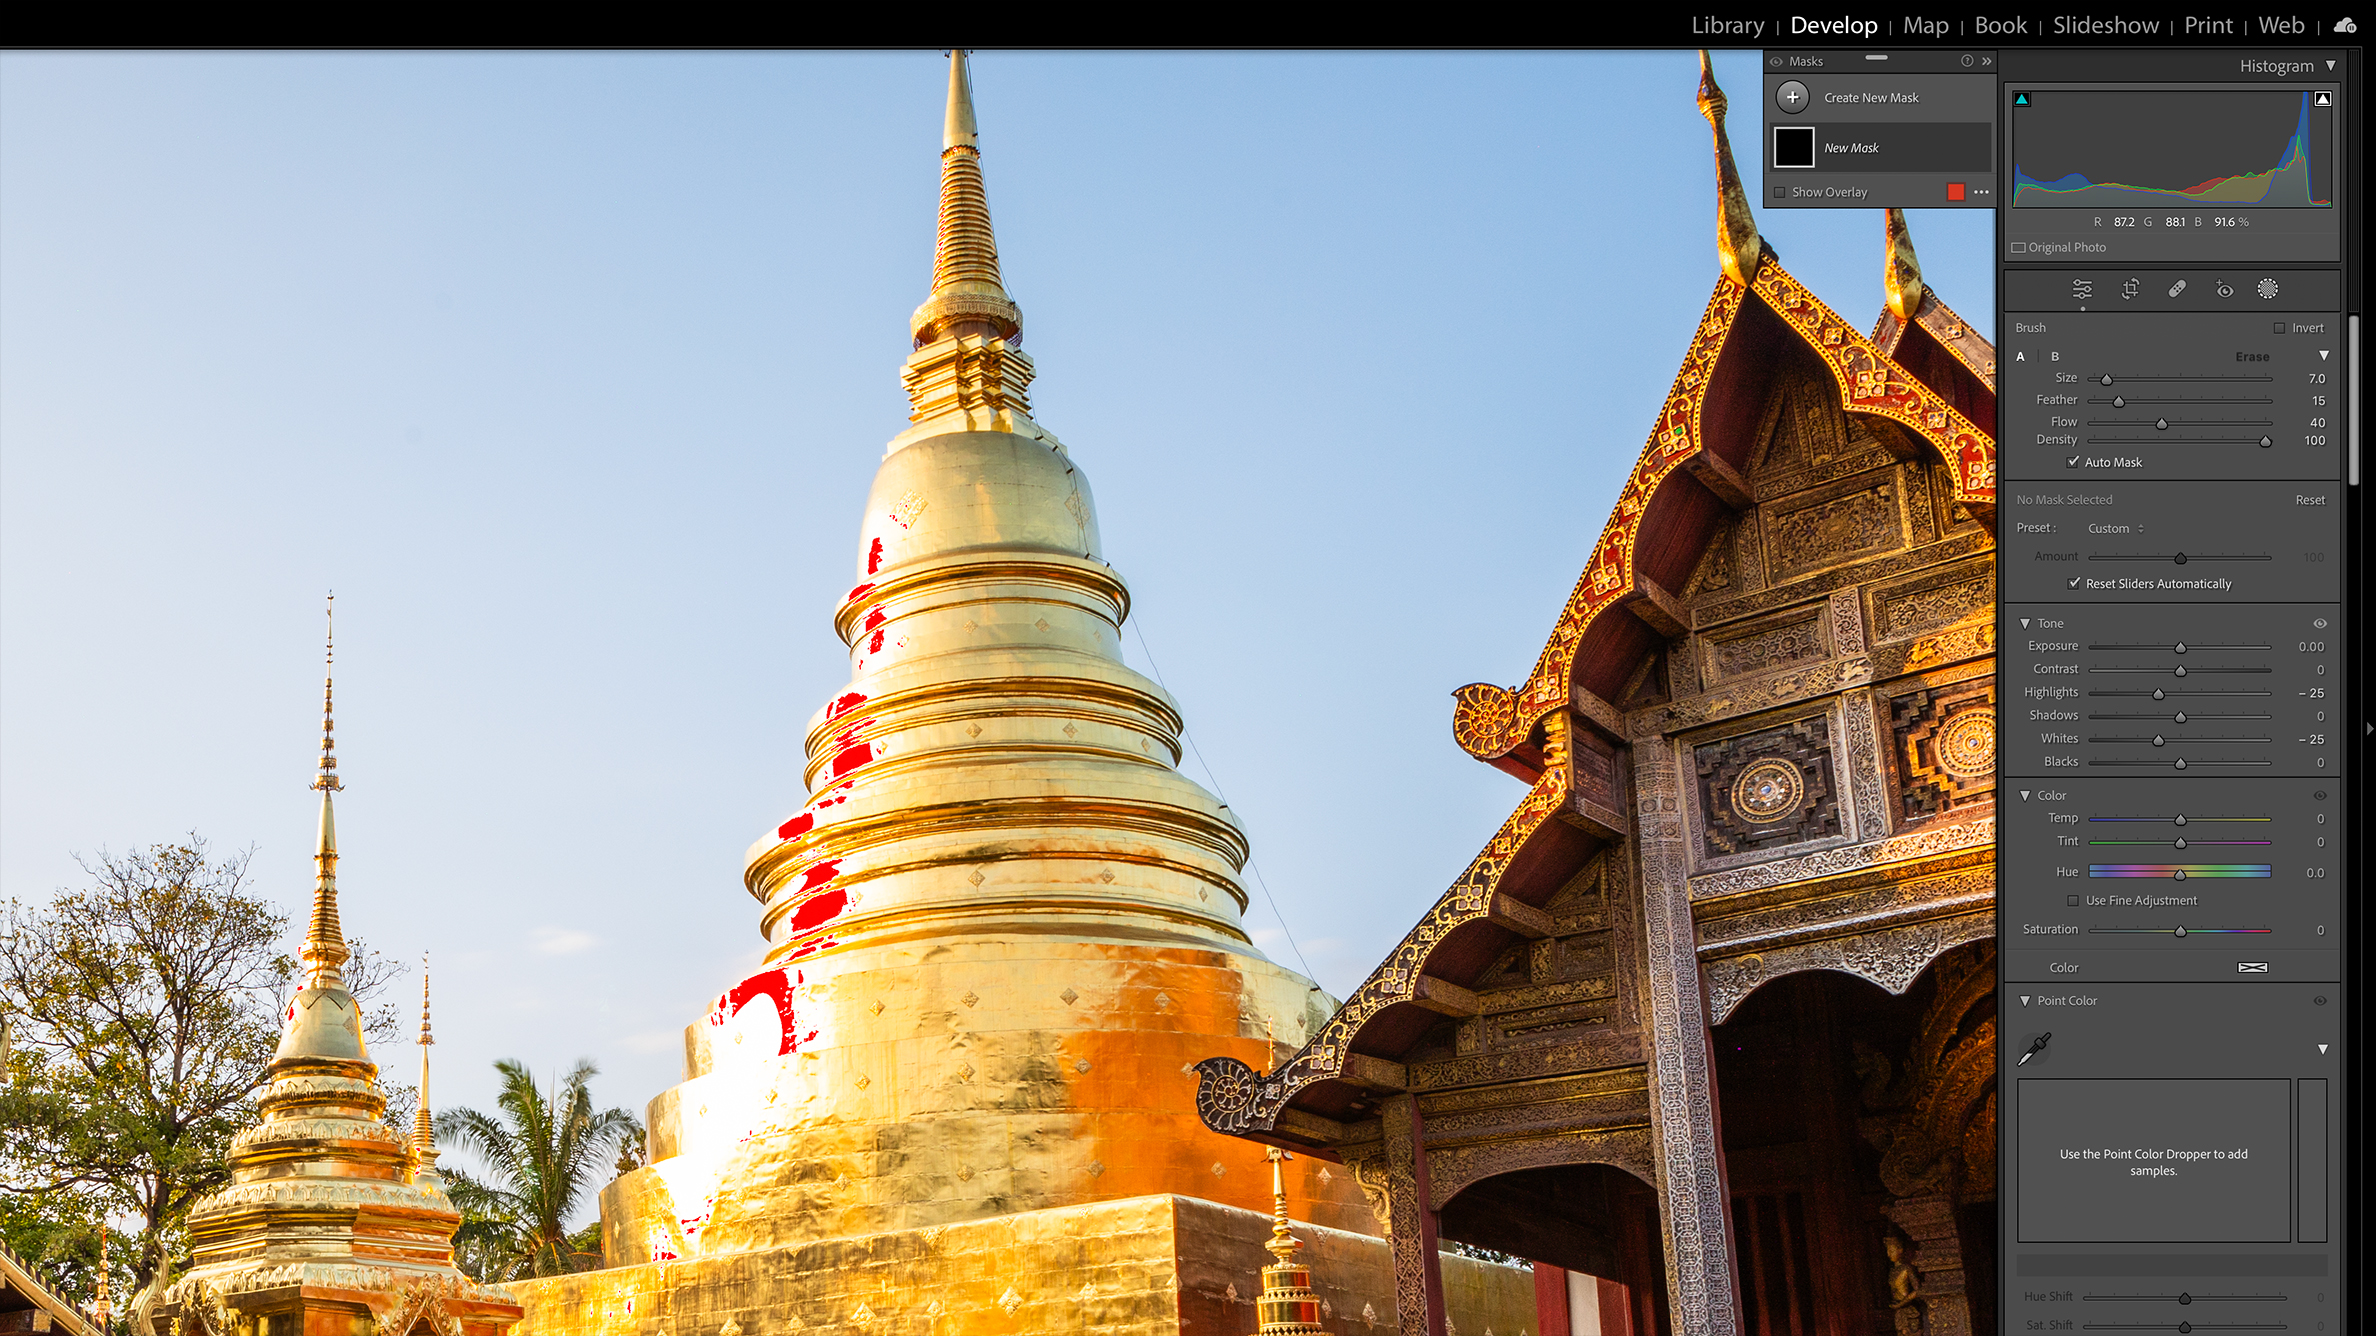
4. Zoom in and finesse
At this stage, I zoom into my image to make some local adjustments and tweak things. For example, increasing the brightness has resulted in some of the highlights being clipped, so I created a mask and recovered these local areas.
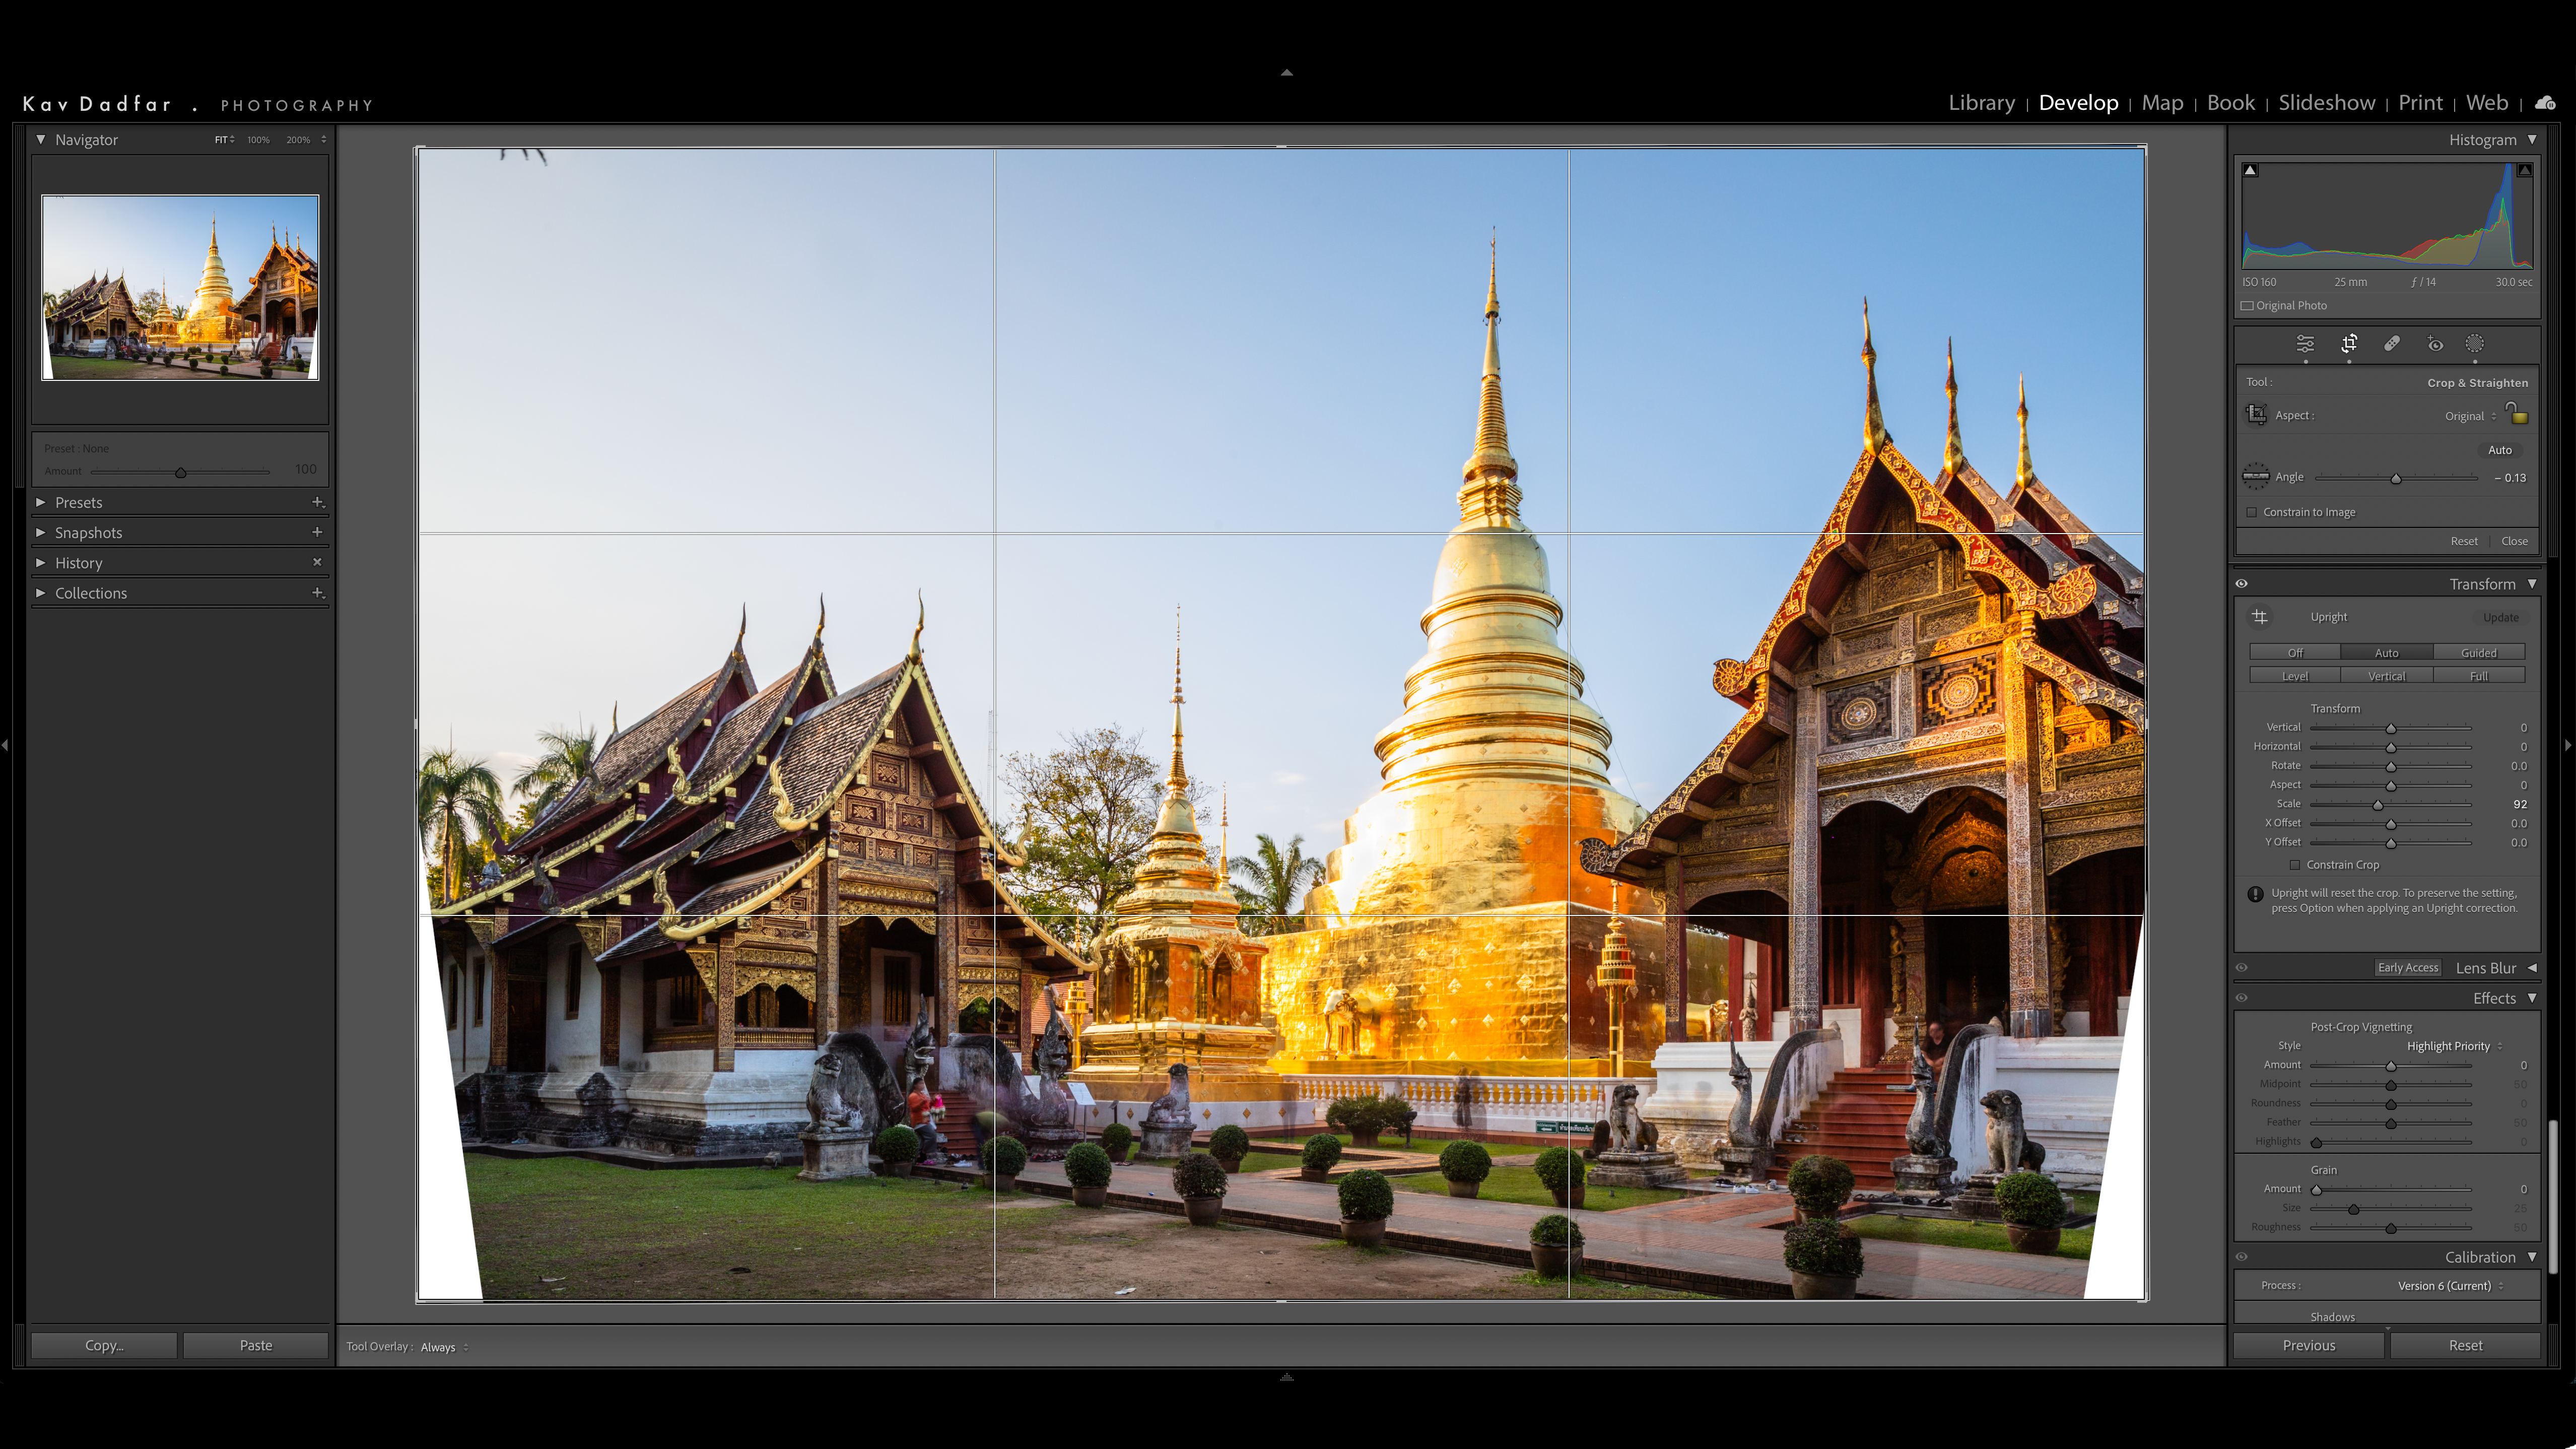
5. Straighten and crop
Next, I try to fix the converging lines in the image. In most cases, the image can be straightened by selecting the Auto setting in the Transform tab. I then cropped in slightly on either side and the top of the image to get a 4:3 ratio.
6. Tidy up
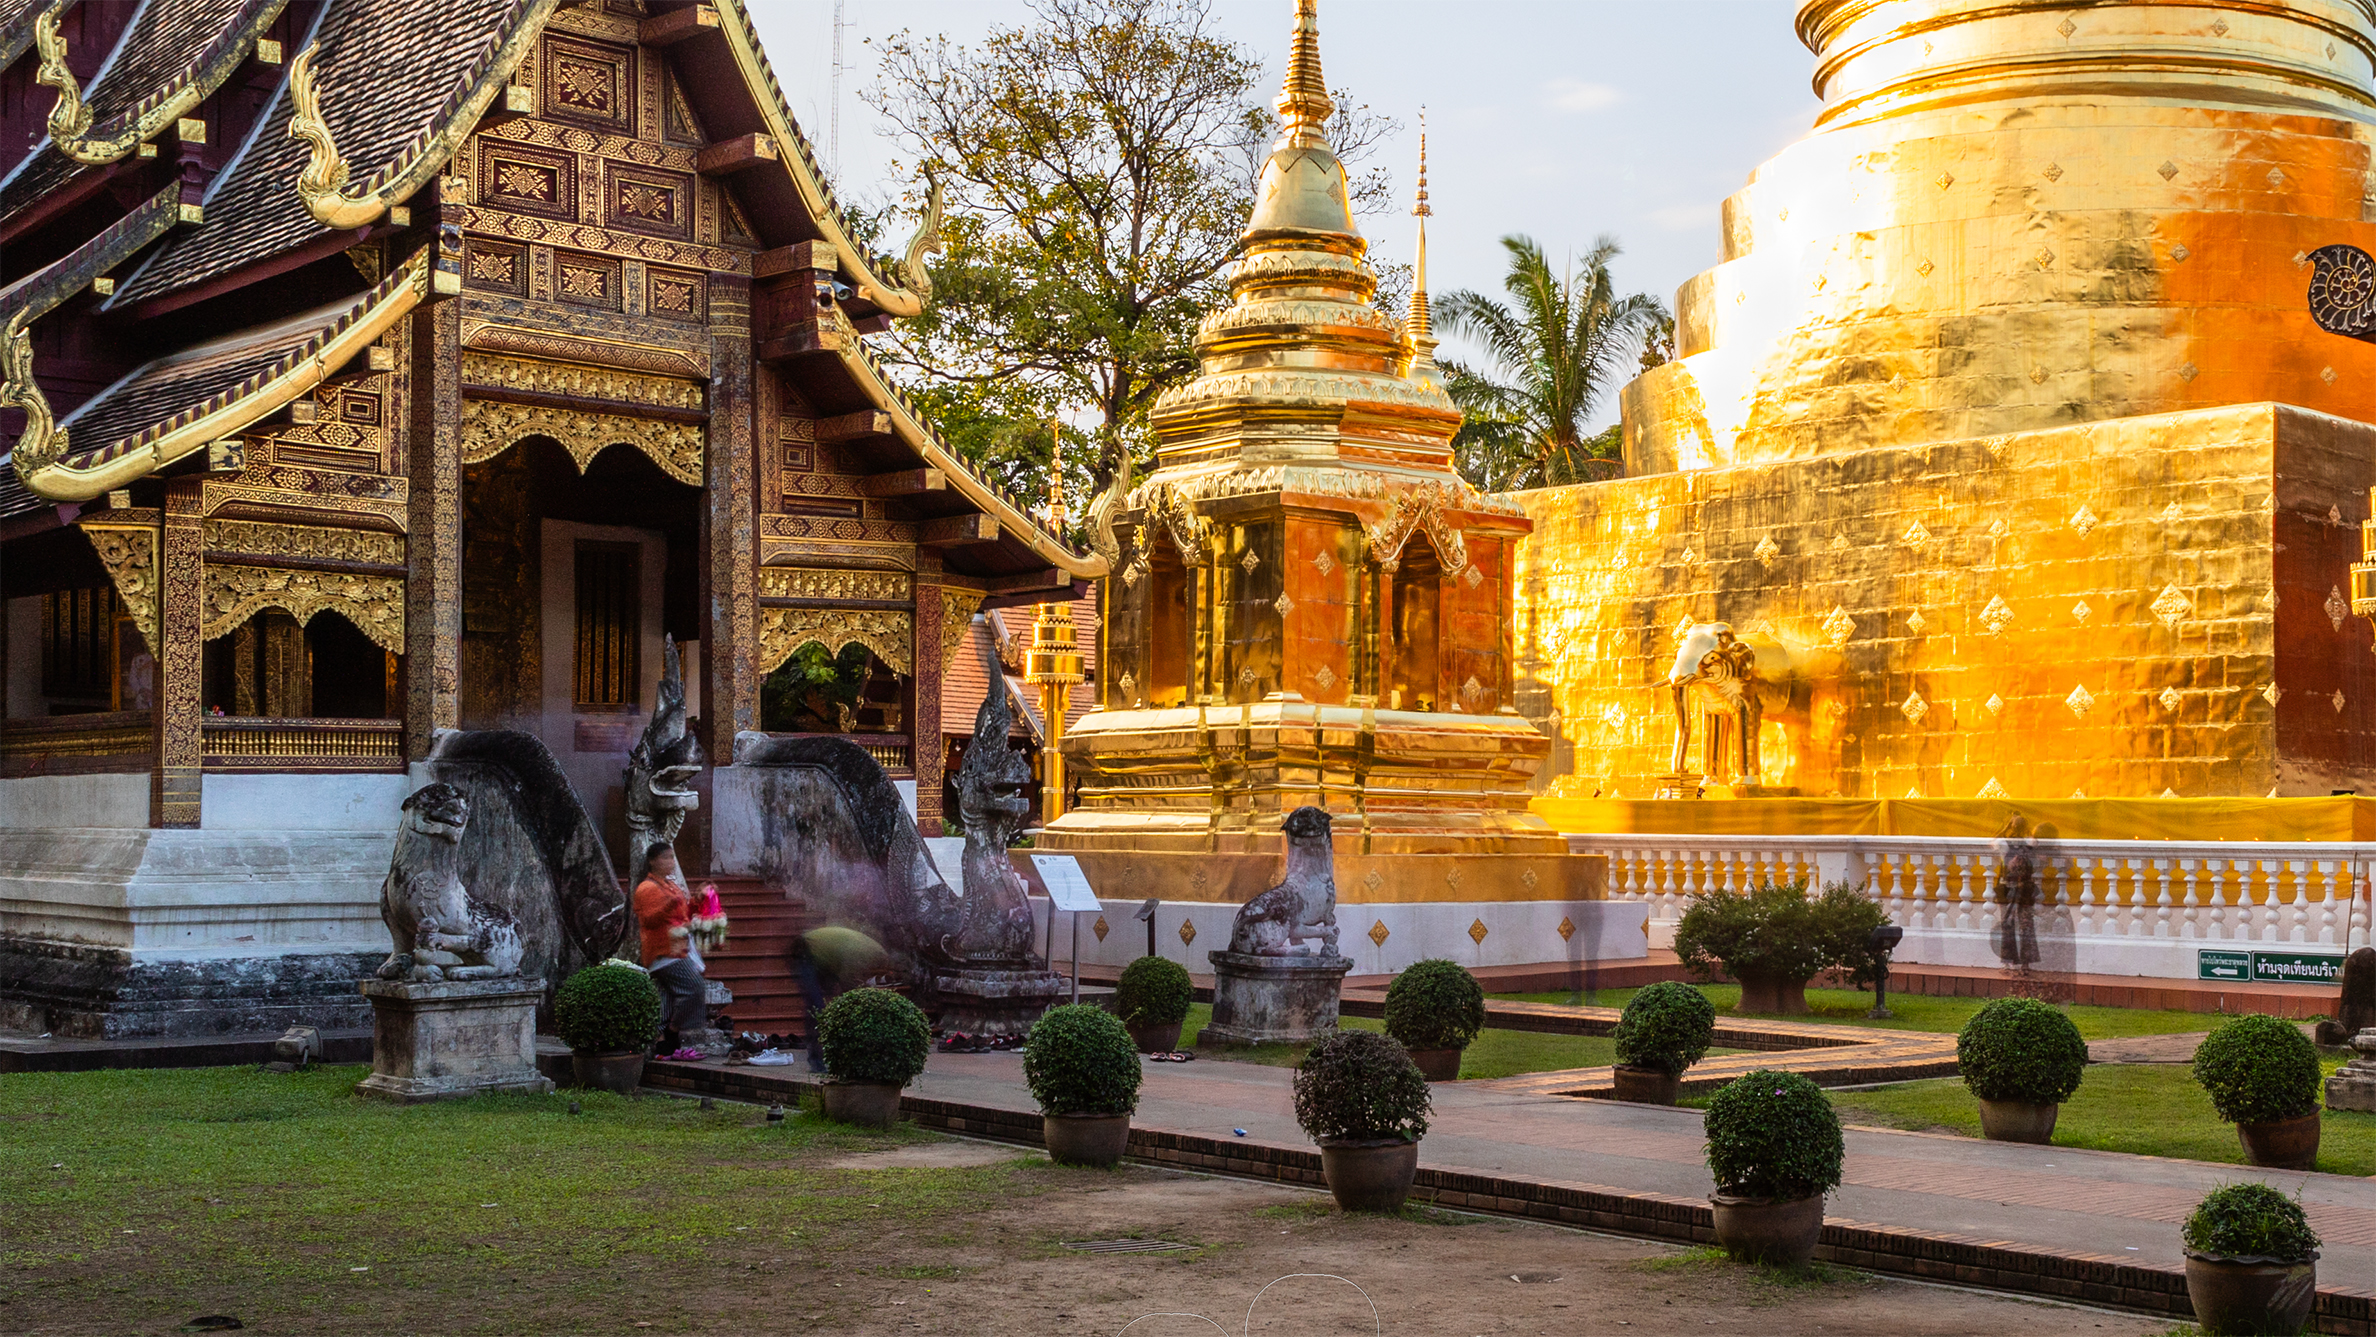
My last step is to zoom into the image at 100 per cent and check the photo for things like dust spots, which often become more noticeable when you darken clear sky areas. I use the Healing function to remove these and clean up the rubbish in the foreground.
You might like...
Browse the best travel cameras, and the best lenses for travel photography.
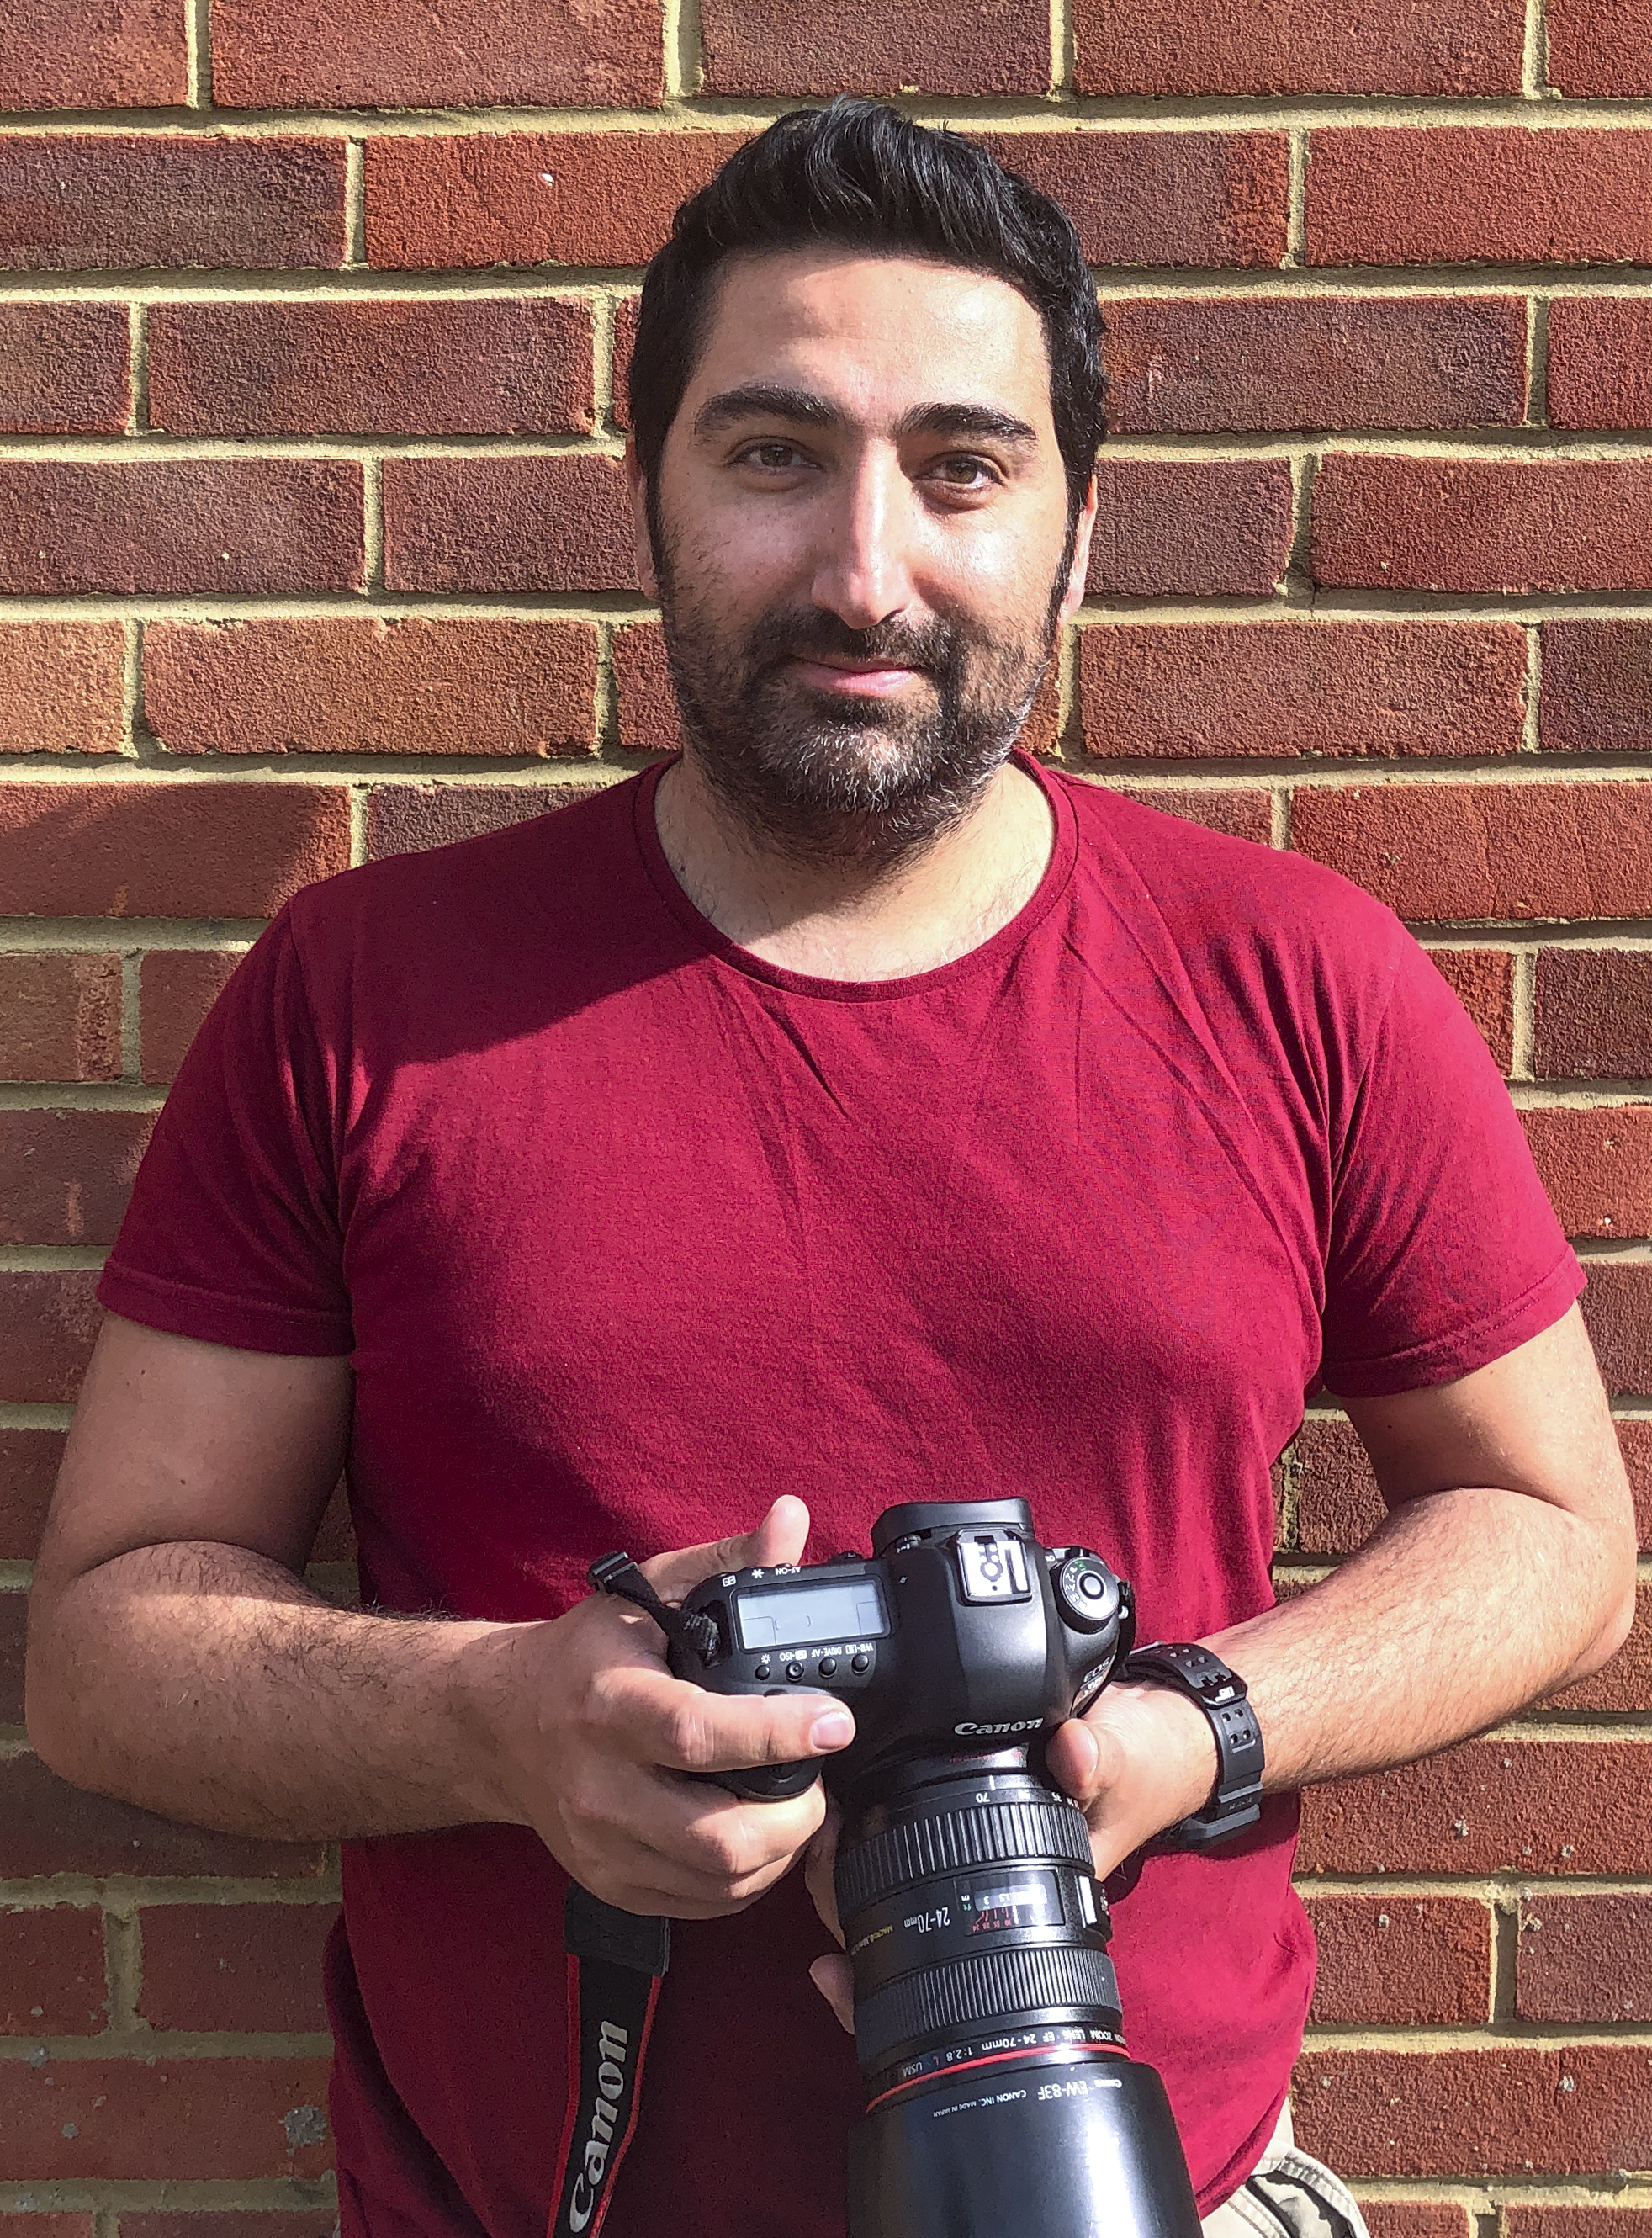
UK-based travel and landscape pro Kav shoots on assignment for editorial and commercial clients, and stock for high-end agencies. He has written over 400 articles on photography, judges a major travel photo contest and leads tours and workshops worldwide with the company That Wild Idea. In 2021 Kav launched JRNY travel magazine with fellow photographer Jordan Banks.
- Kim BunermannNews Editor
- Peter Fenech
You must confirm your public display name before commenting
Please logout and then login again, you will then be prompted to enter your display name.
