Blue skies aren’t always good news for landscape photographers – but I’ve got this classic quick fix
I created timeless travel photos by transforming iconic American destinations with black-and-white conversions
The best camera deals, reviews, product advice, and unmissable photography news, direct to your inbox!
You are now subscribed
Your newsletter sign-up was successful
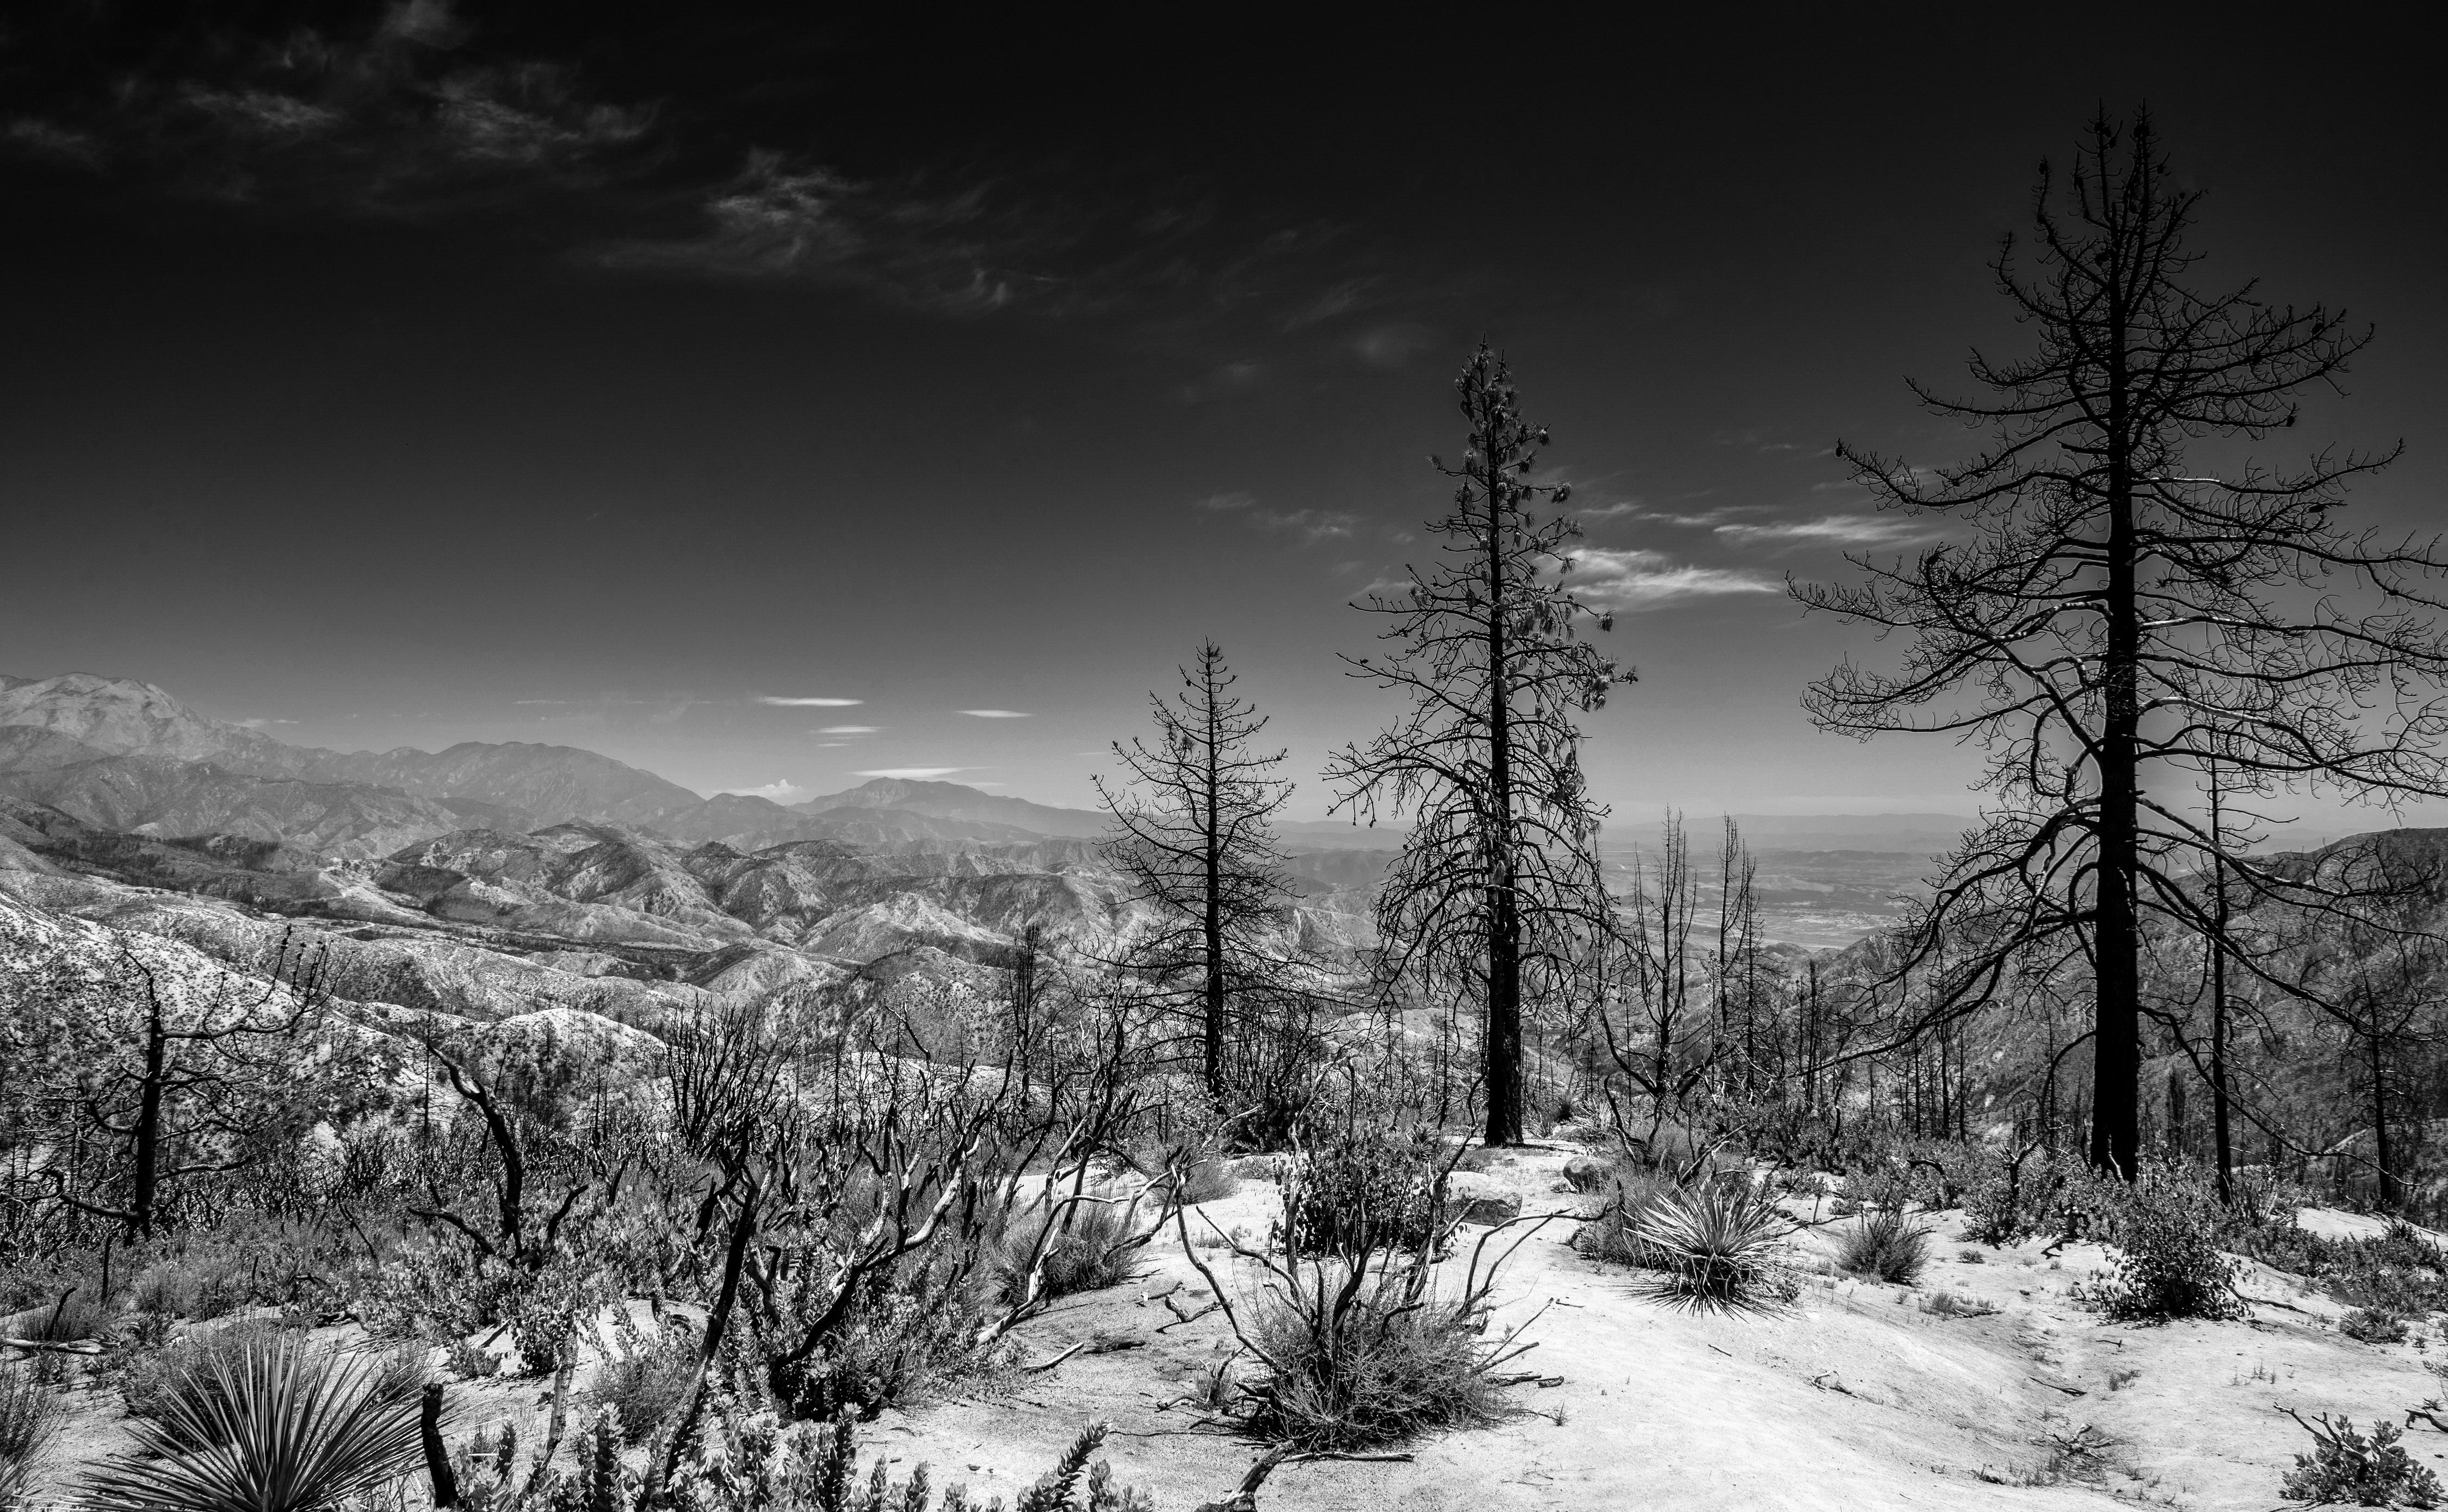
When we’re not getting much sunshine at this time of year, it may seem ridiculous to say blue skies on sunny days are a problem for landscape photography. Sometimes, however, these scenes with clear blue skies can look a bit bland and need a boost.
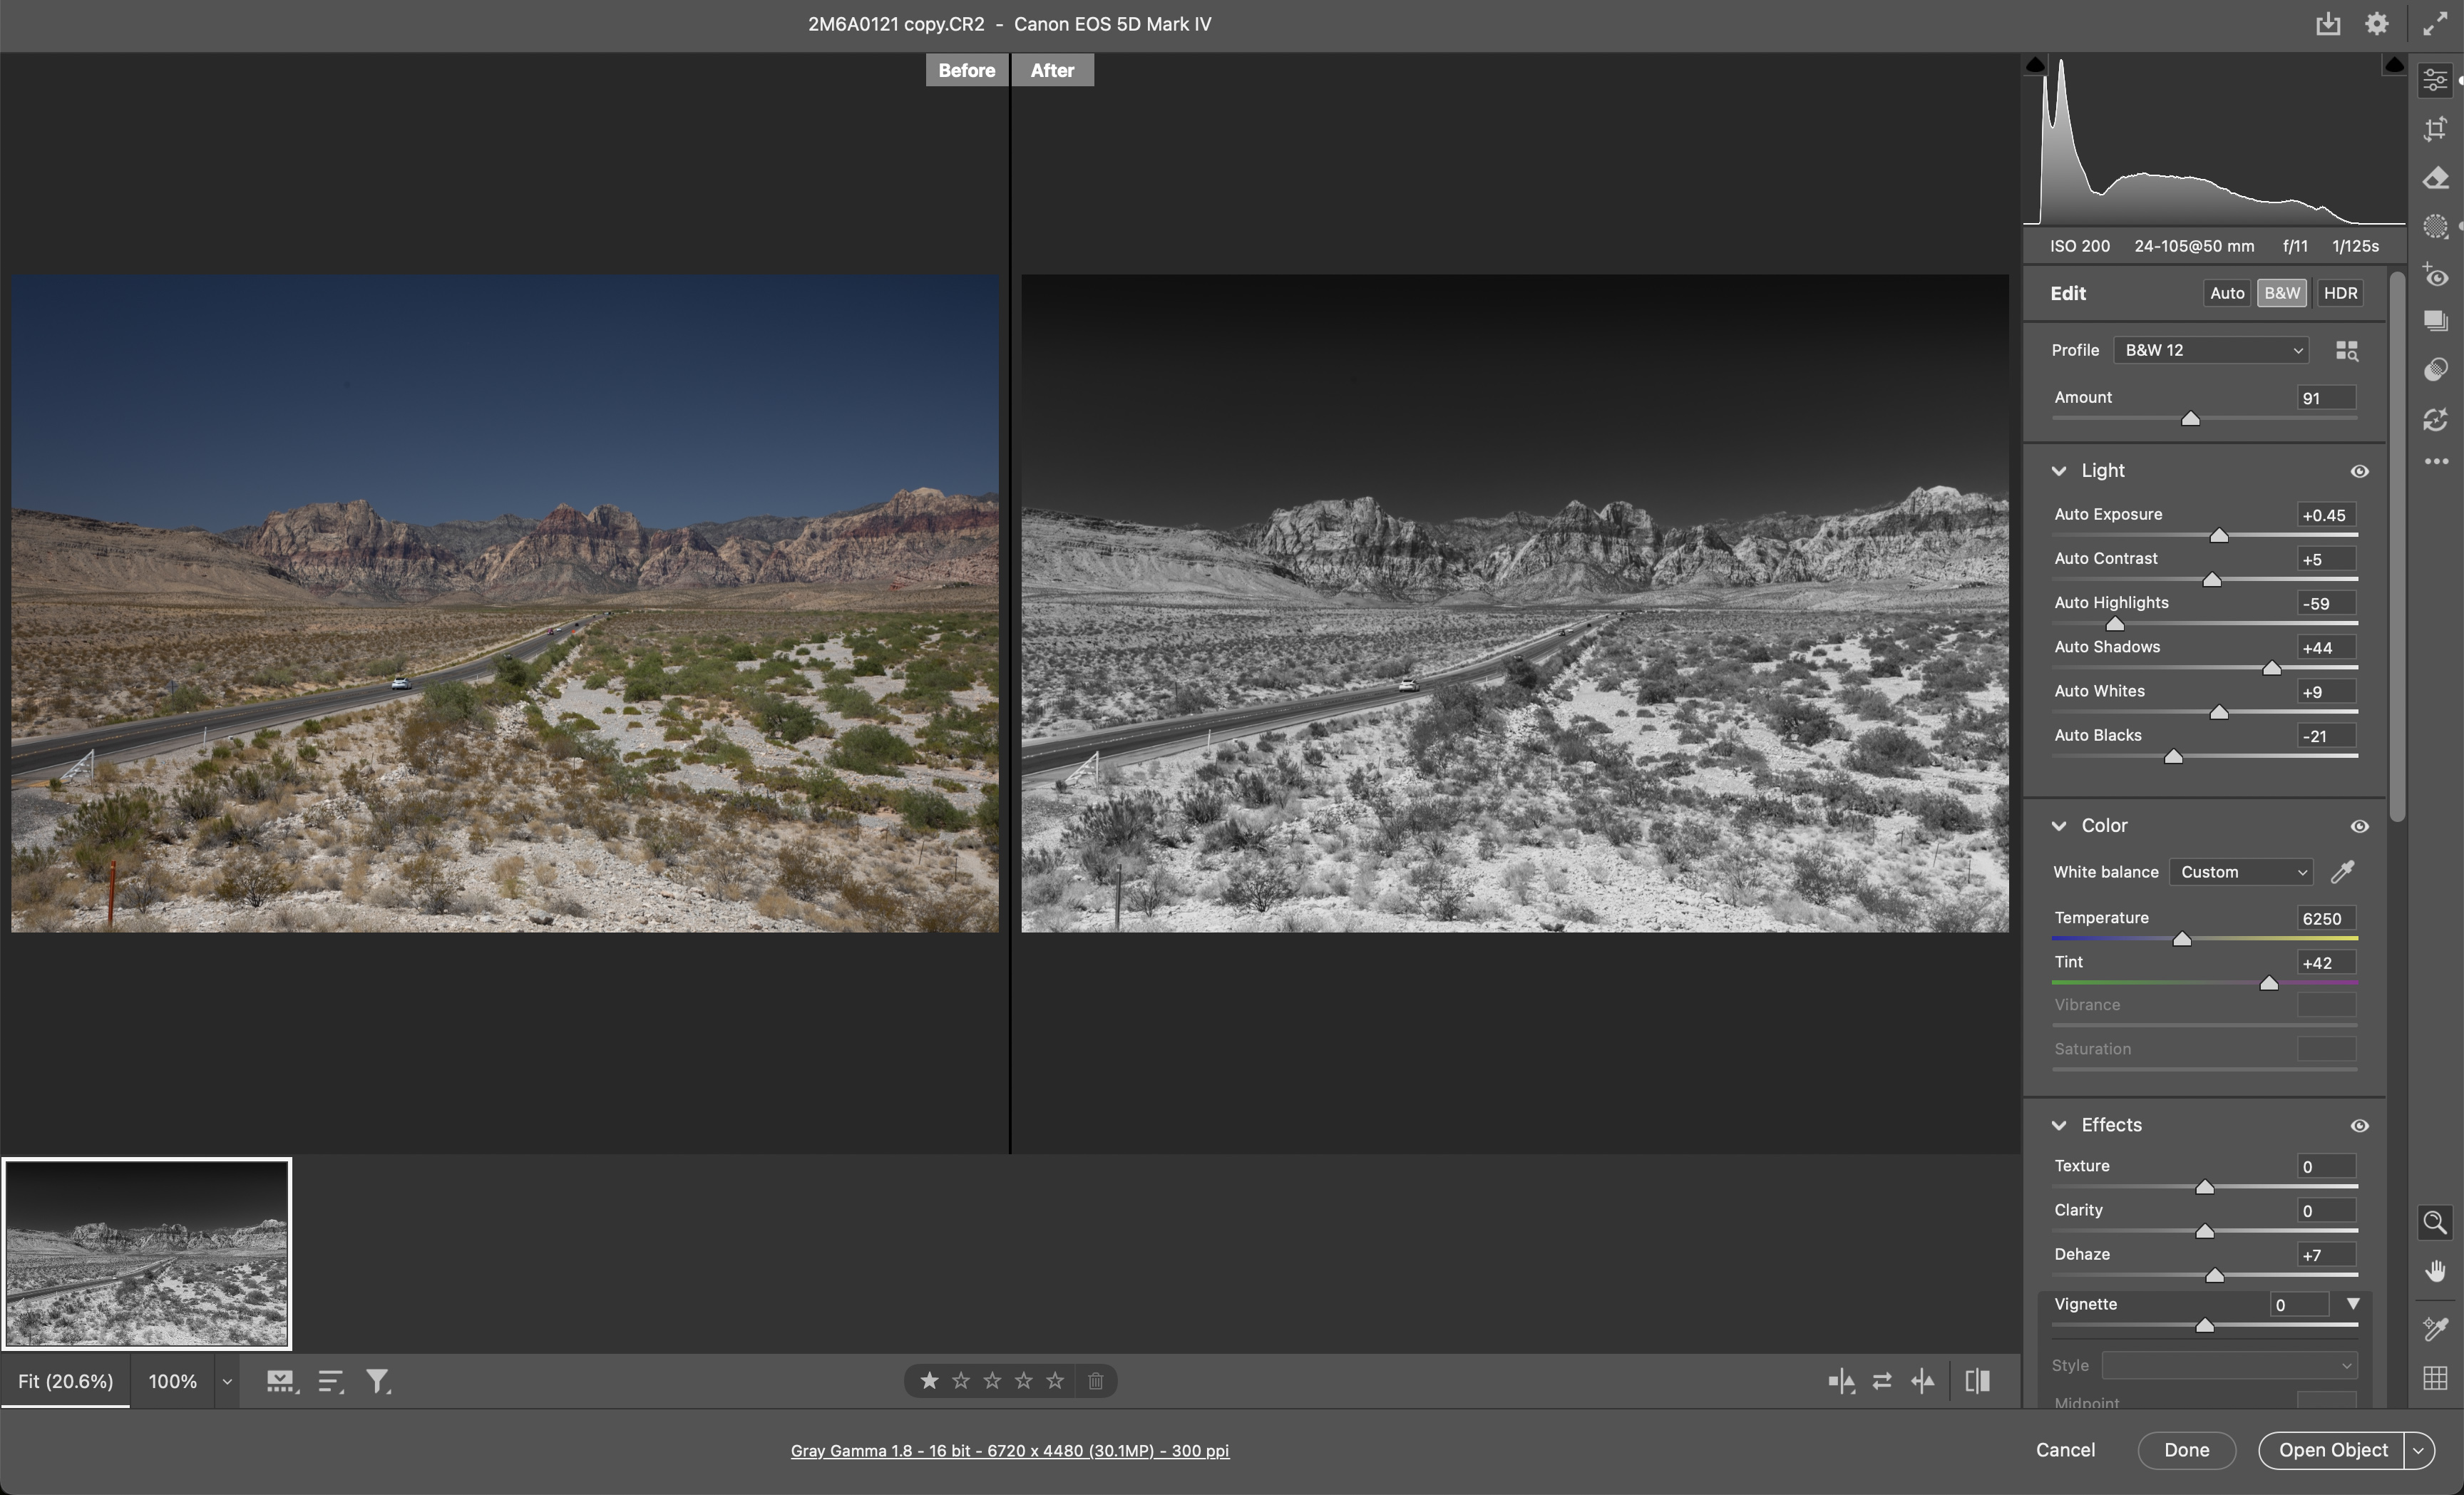
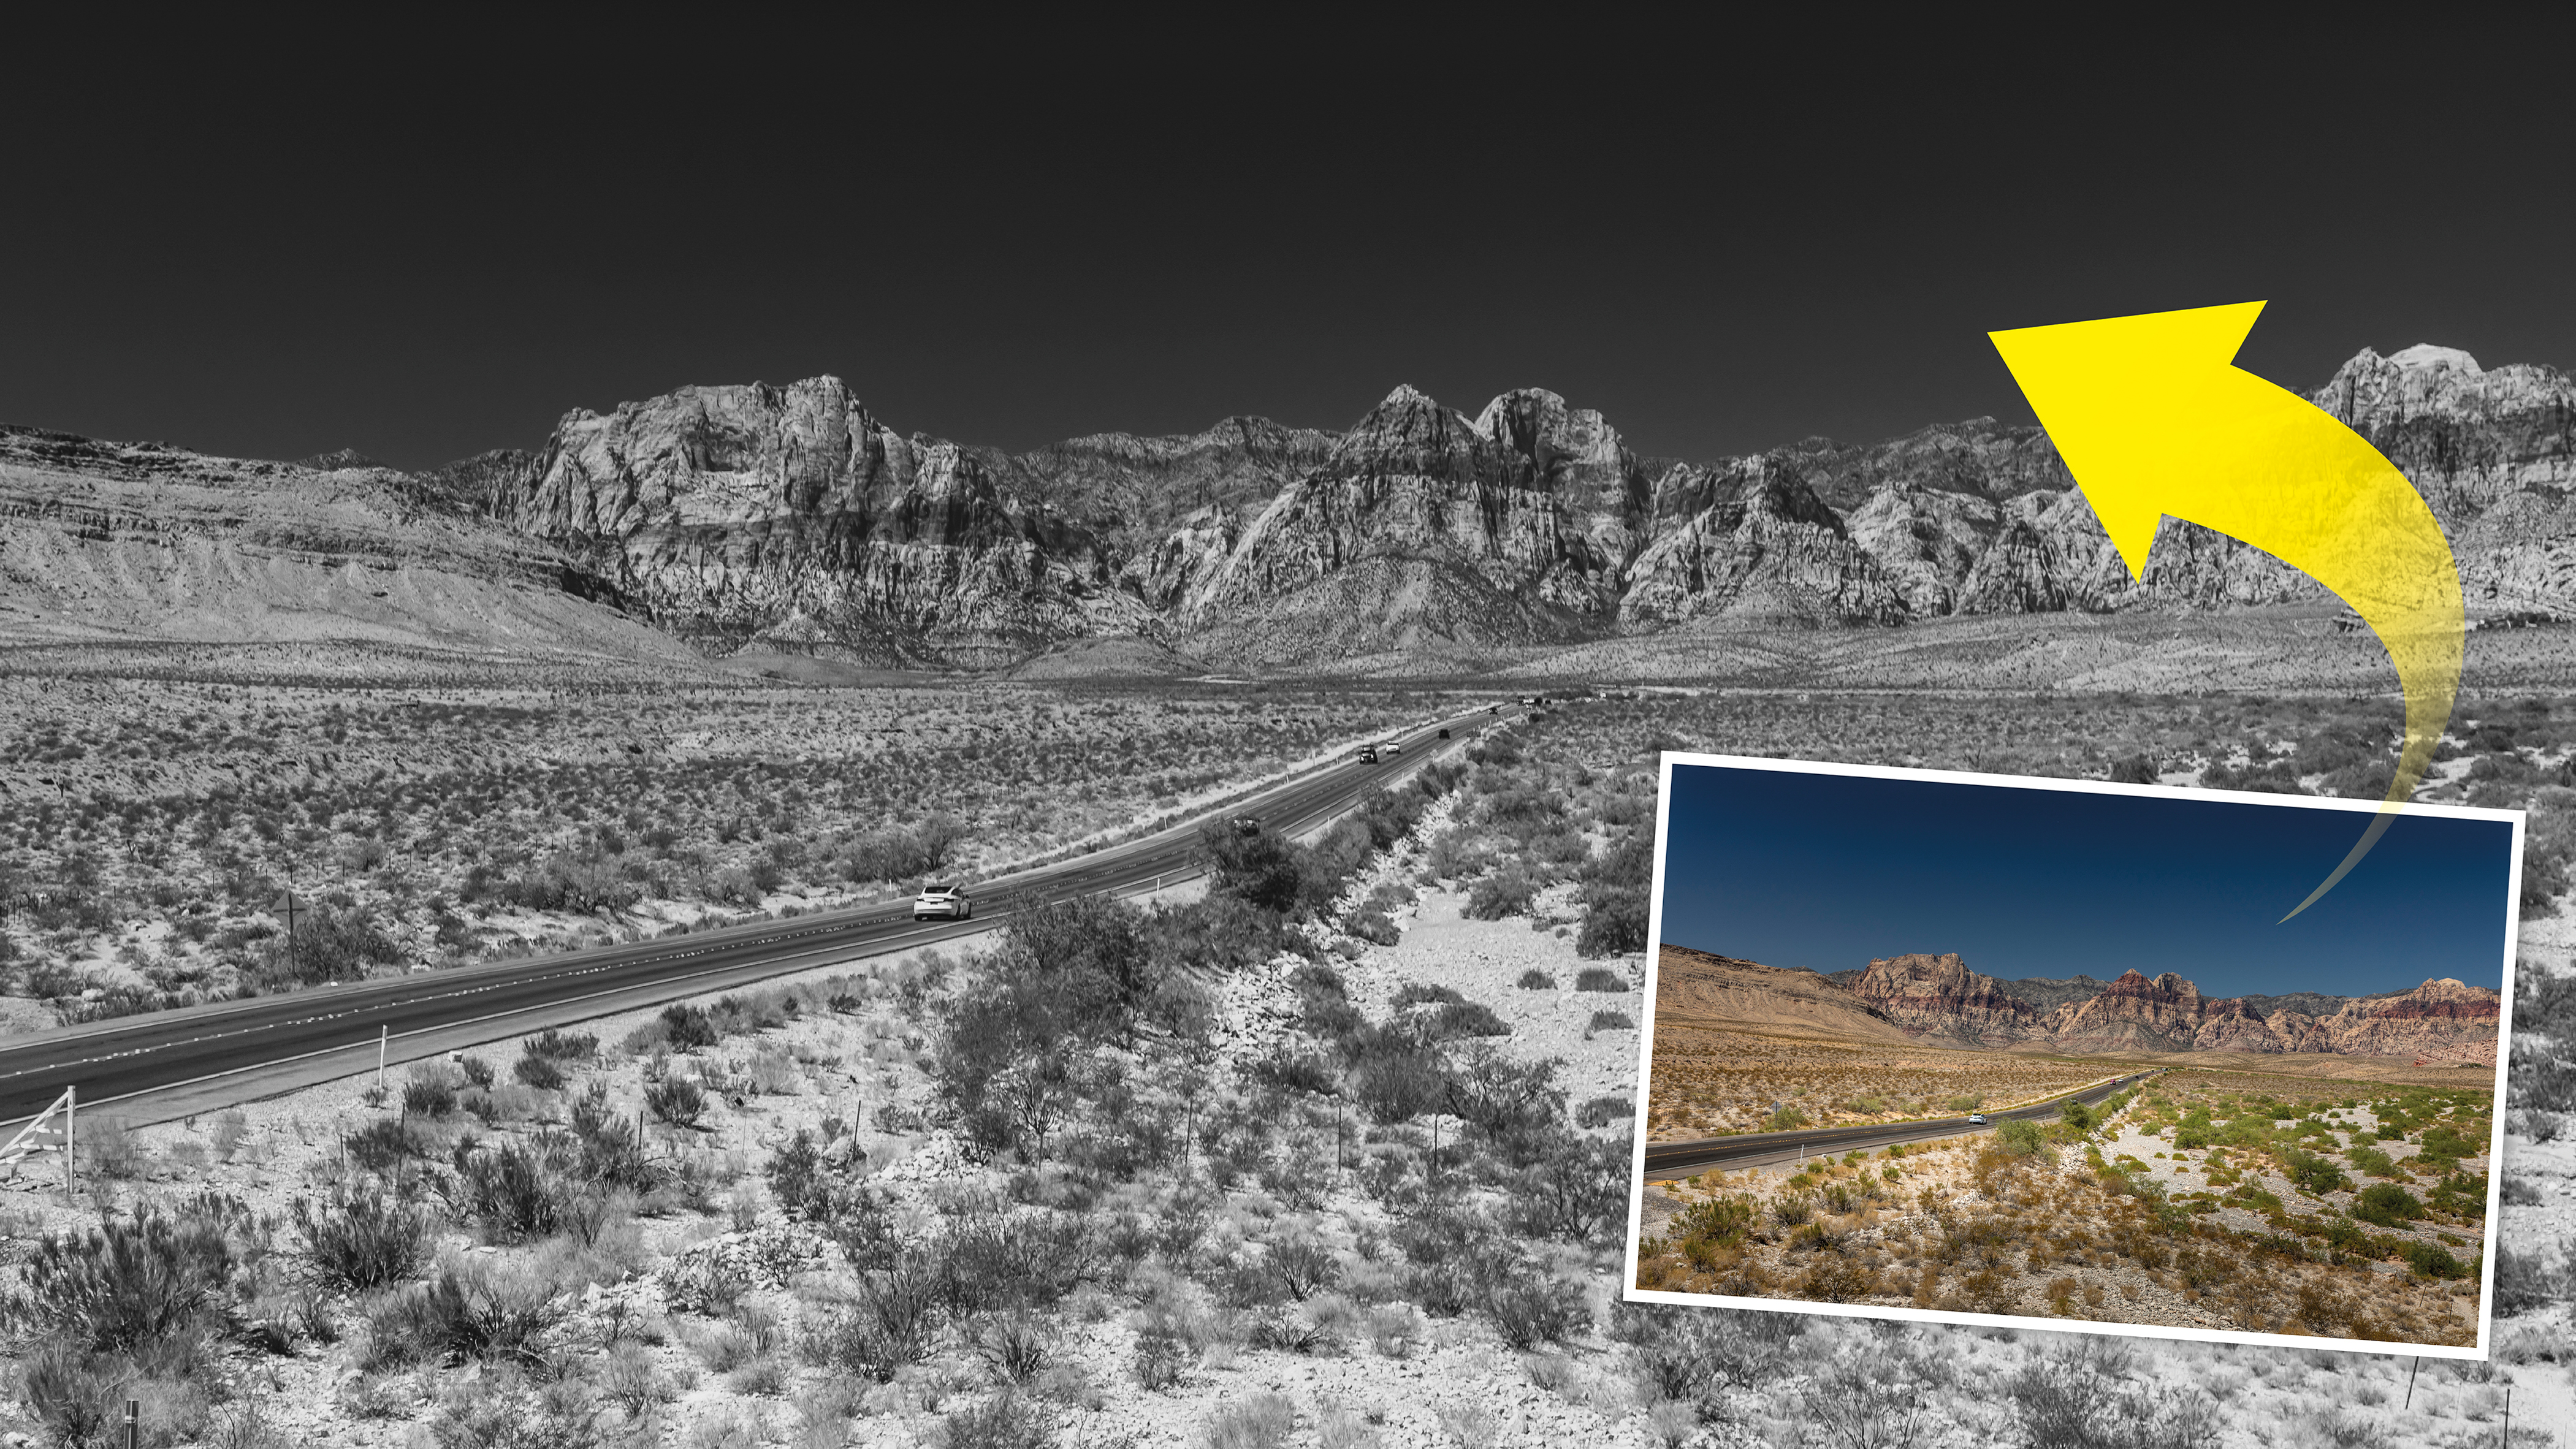
I’d used a polarizing filter for these shots of Red Rock Canyon near Las Vegas, so the skies became this incredible deep blue. While I’m happy with vibrant results, and the Red Rock mountains have a richer quality in shot, these sorts of color landscapes are also perfect for a black-and-white conversion.
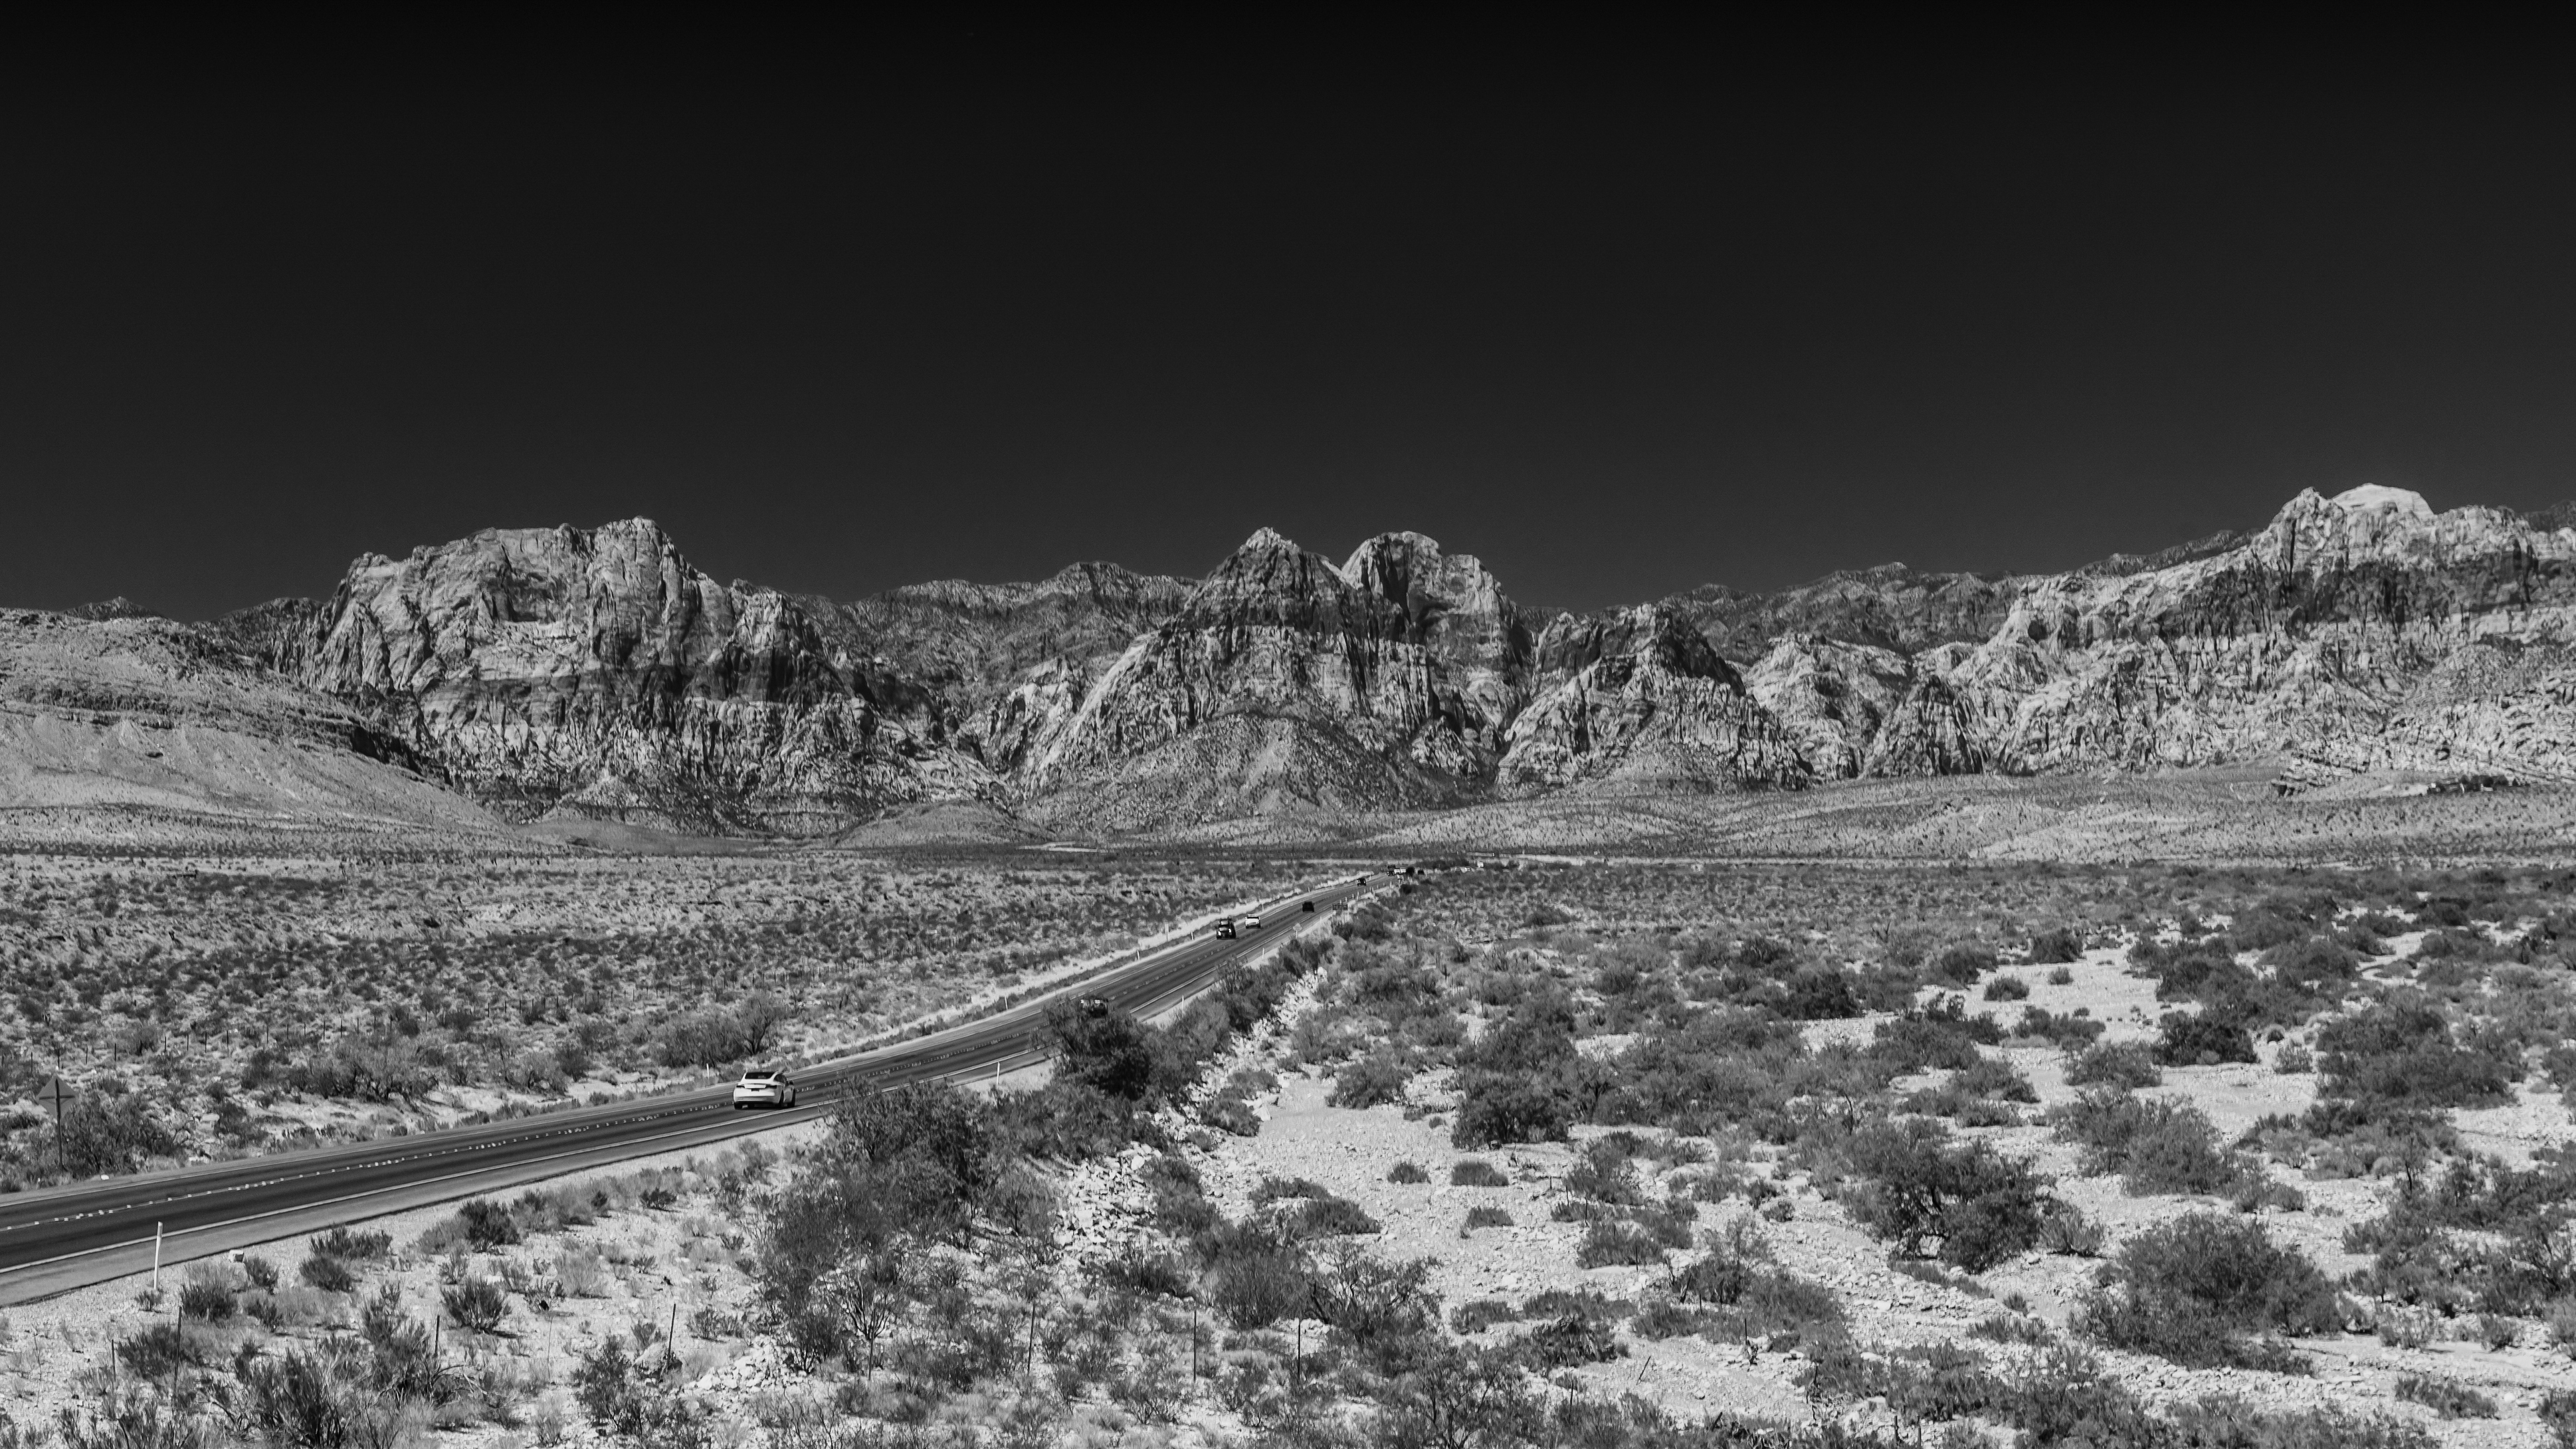
Skies become dark black and imposing, and the contrasting mountain textures jump out of the image. Now, with all color removed, the eye is drawn to the most interesting parts, and the shapes and sharp areas of a scene. For instance, in this Red Rock Canyon shot, the eye isn't distracted by the green shrubbery in the desert or the flashes of color from the cars on the road.
Article continues belowWith a few clicks when editing your photographs, you can create black-and-white images with a much more timeless feel. Ansel Adams, eat your heart out!
When creating black-and-white photos, I always shoot in RAW and full colour. That way you have the color image if you want it, and can make a high-quality mono image from it on your computer.
It’s always best to make your black-and-white conversions in your RAW editing software to retain detail and avoid nasty pixelation – otherwise you can rapidly lose image quality if you make a strong black-and-white conversion of your color JPG in the Photoshop workspace.
A classic amateur error is to use the High Contrast Red Filter in the Black and White adjustment box in Photoshop – unnaturally dark skies can quickly become blocky and patchy!
The best camera deals, reviews, product advice, and unmissable photography news, direct to your inbox!
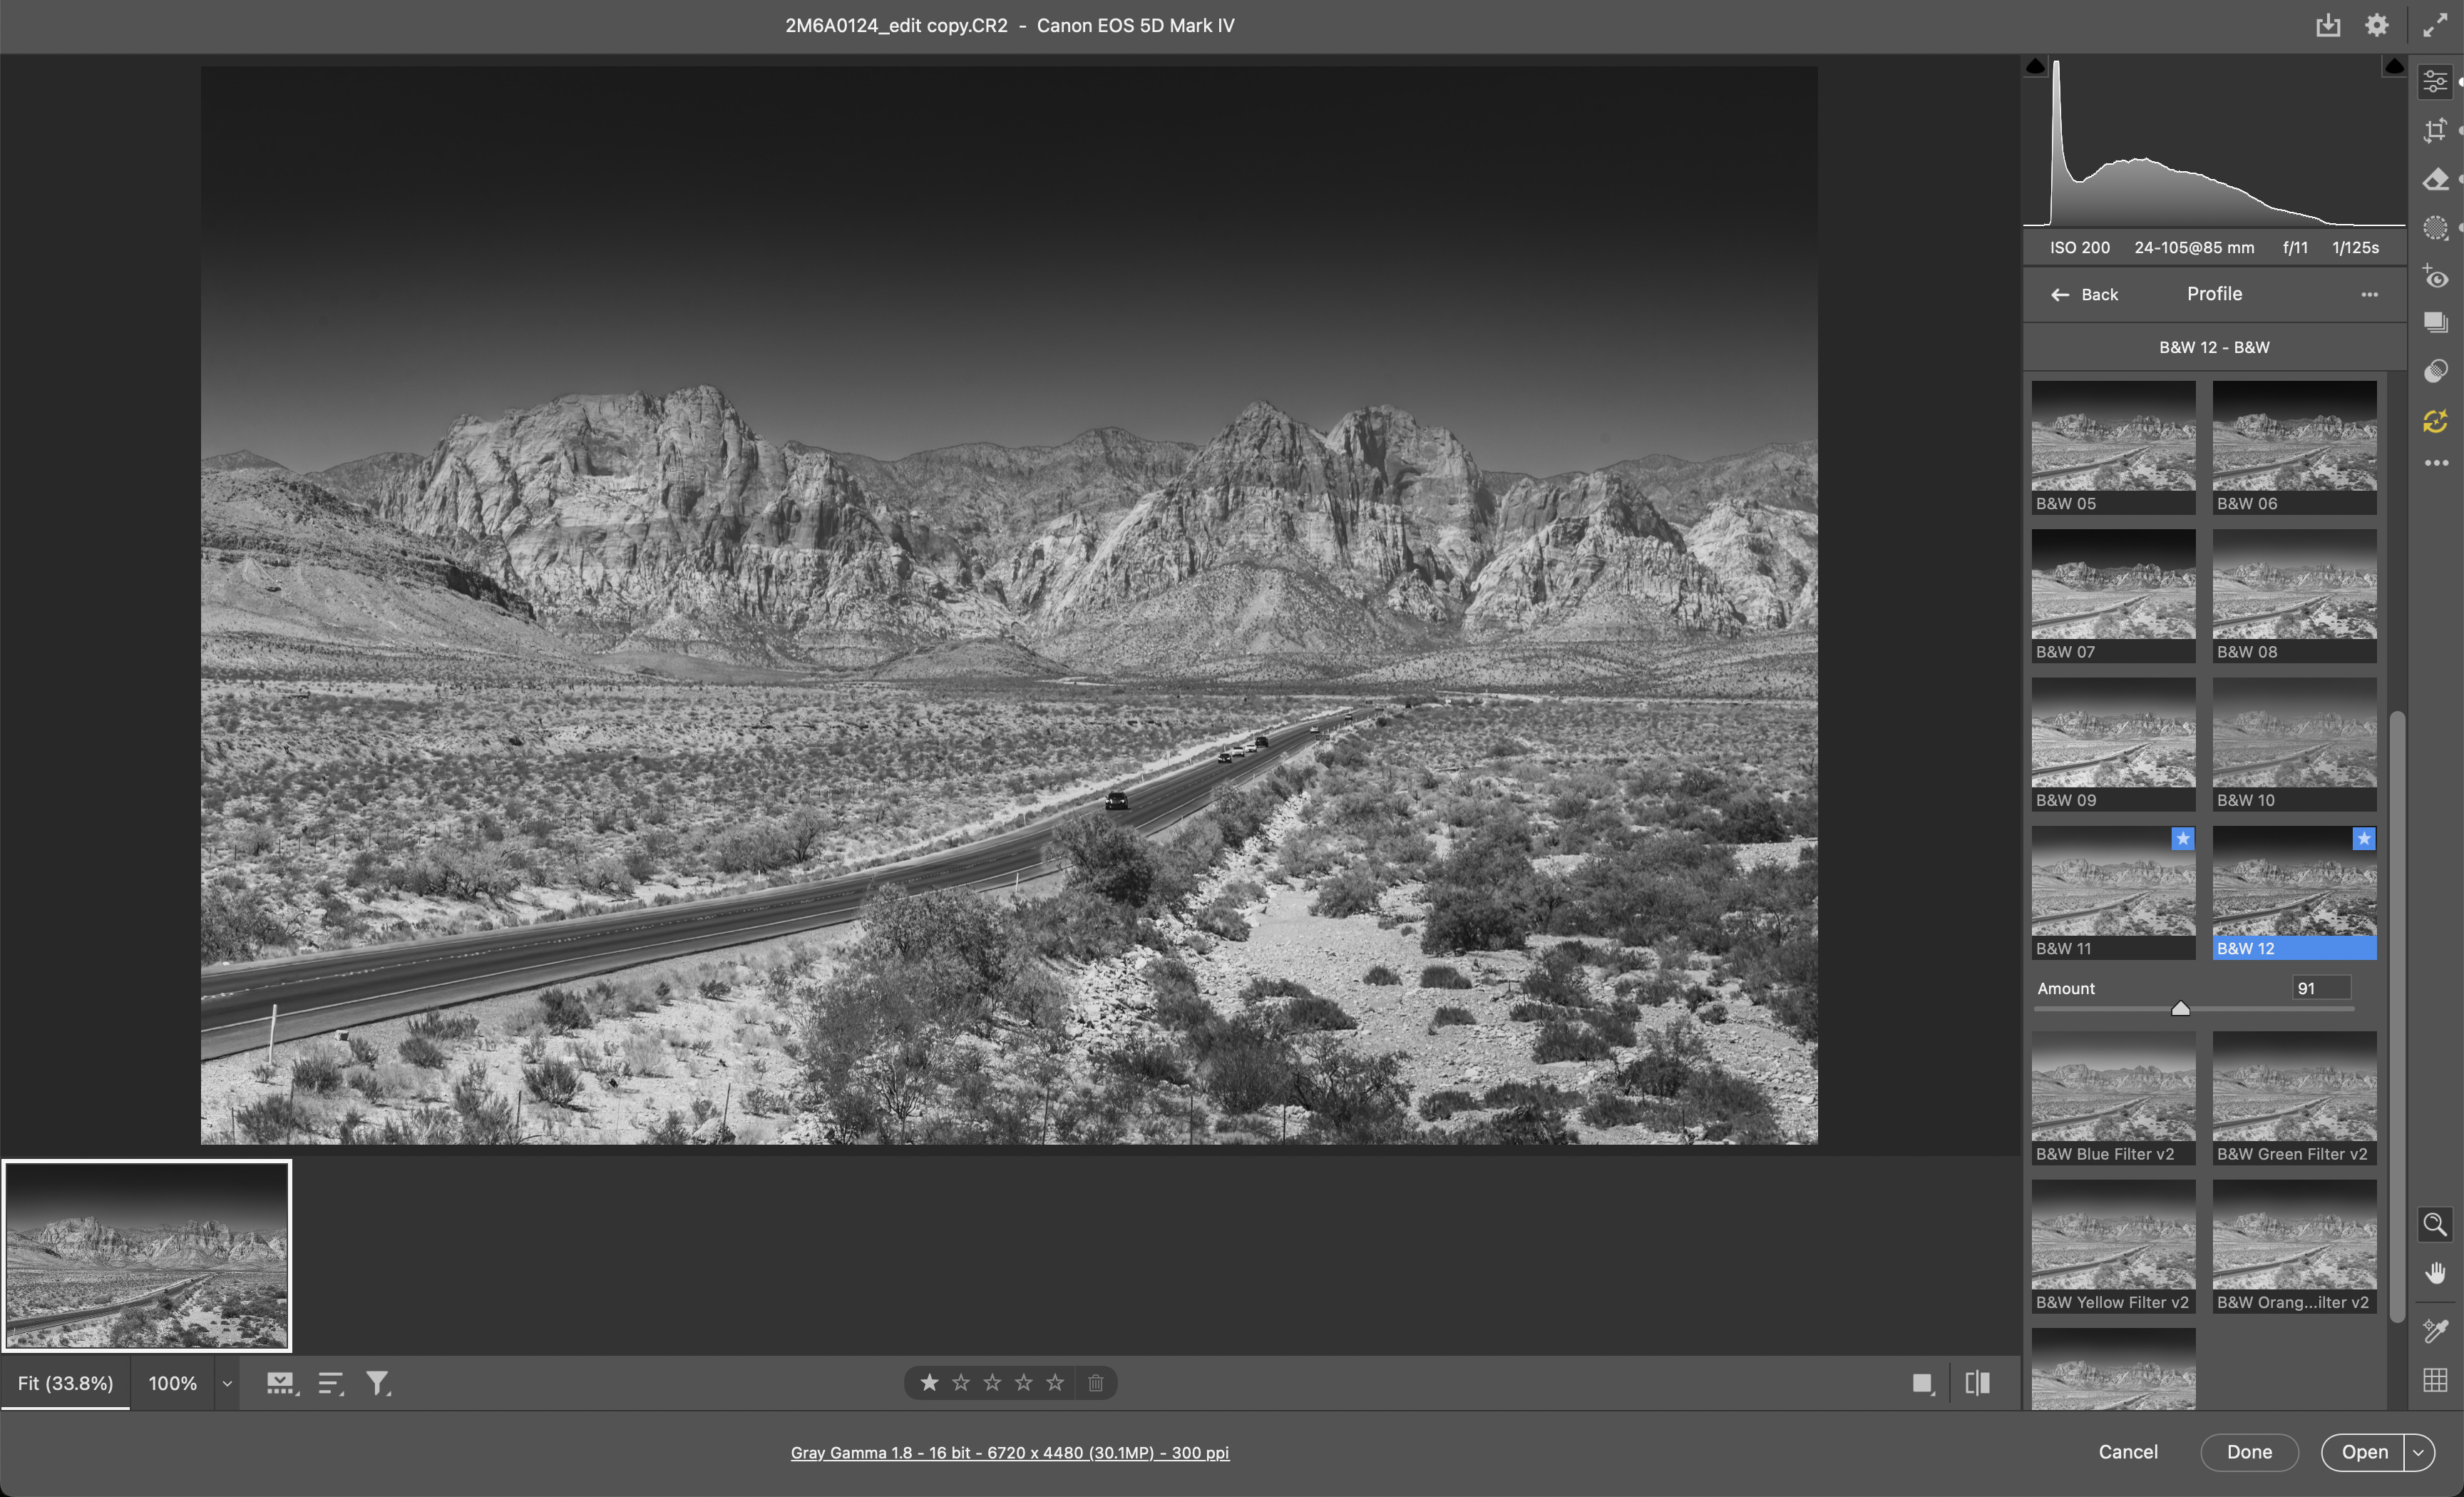
I use Adobe Camera RAW and once I’ve made general edits to exposure, contrast, highlights and shadows (and added a gradient to the sky to darken it), I find that the mono preset profiles are a great place to get inspiration and work from.
You might also like…
Want to get your black-and-whites in-camera? Take a look at the best cameras for black-and-white photography. Not a fan of Photoshop? Check out the best Photoshop alternatives.
The former editor of PhotoPlus: The Canon Magazine, Peter has 18 years of experience as both a journalist and professional photographer. He is a hands-on photographer with a passion and expertise for sharing his practical shooting skills. Equally adept at turning his hand to portraits, landscapes, sports and wildlife, he has a fantastic knowledge of camera technique and principles.
He is the author of several published photography books including Portrait Photographer's Style Guide, and The Complete Guide to Organising and Styling Professional Photo Shoots with fellow portrait pro Brett Harkness.
Peter remains a devout Canon user and can often be found reeling off shots with his Canon EOS DSLR and EOS R mirrorless gear. He runs Peter Travers Photography, and contributes to Digital Camera magazine.
You must confirm your public display name before commenting
Please logout and then login again, you will then be prompted to enter your display name.
