No tripod? No problem – here's how you capture high-quality handheld images in challenging lighting conditions
Shoot high-quality handheld images in any lighting conditions using these in-camera features combined with targeted processing
Many photographers will know the importance of using tripods for capturing sharp images in low-light conditions. But while tripods are a must when shooting long-exposure images outdoors, in places where there are restrictions on their use – in churches, cathedrals and museums or at live performances – this can pose challenges.
Even if tripods are allowed, sometimes it isn't practical to use them, such as when shooting in crowded areas.
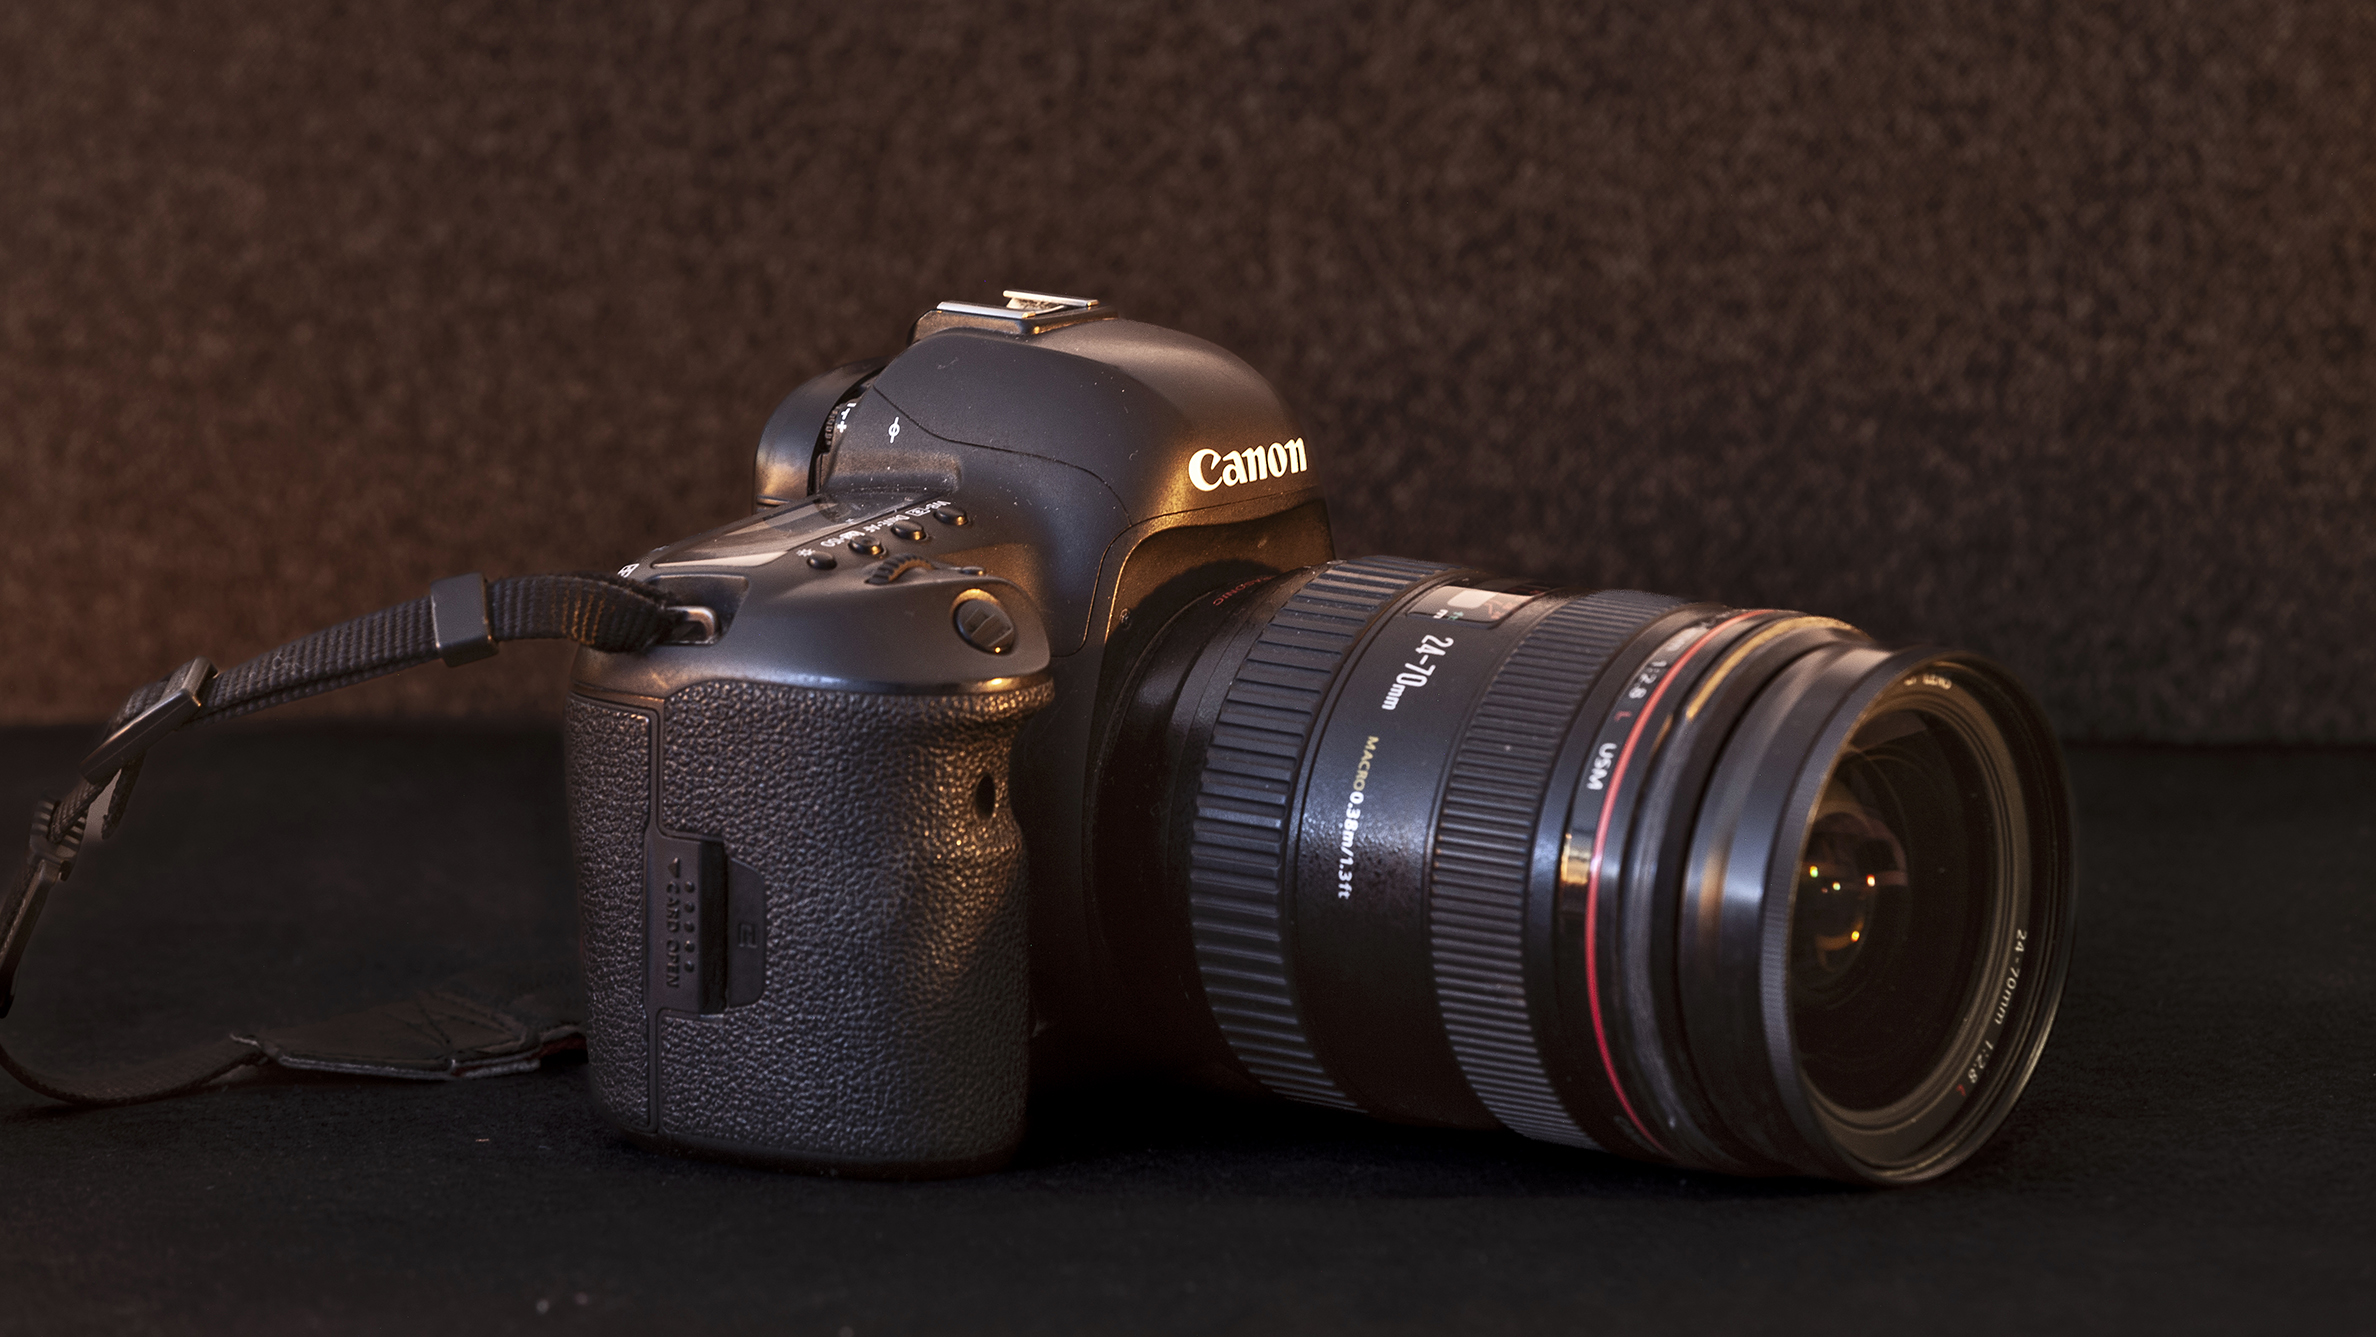
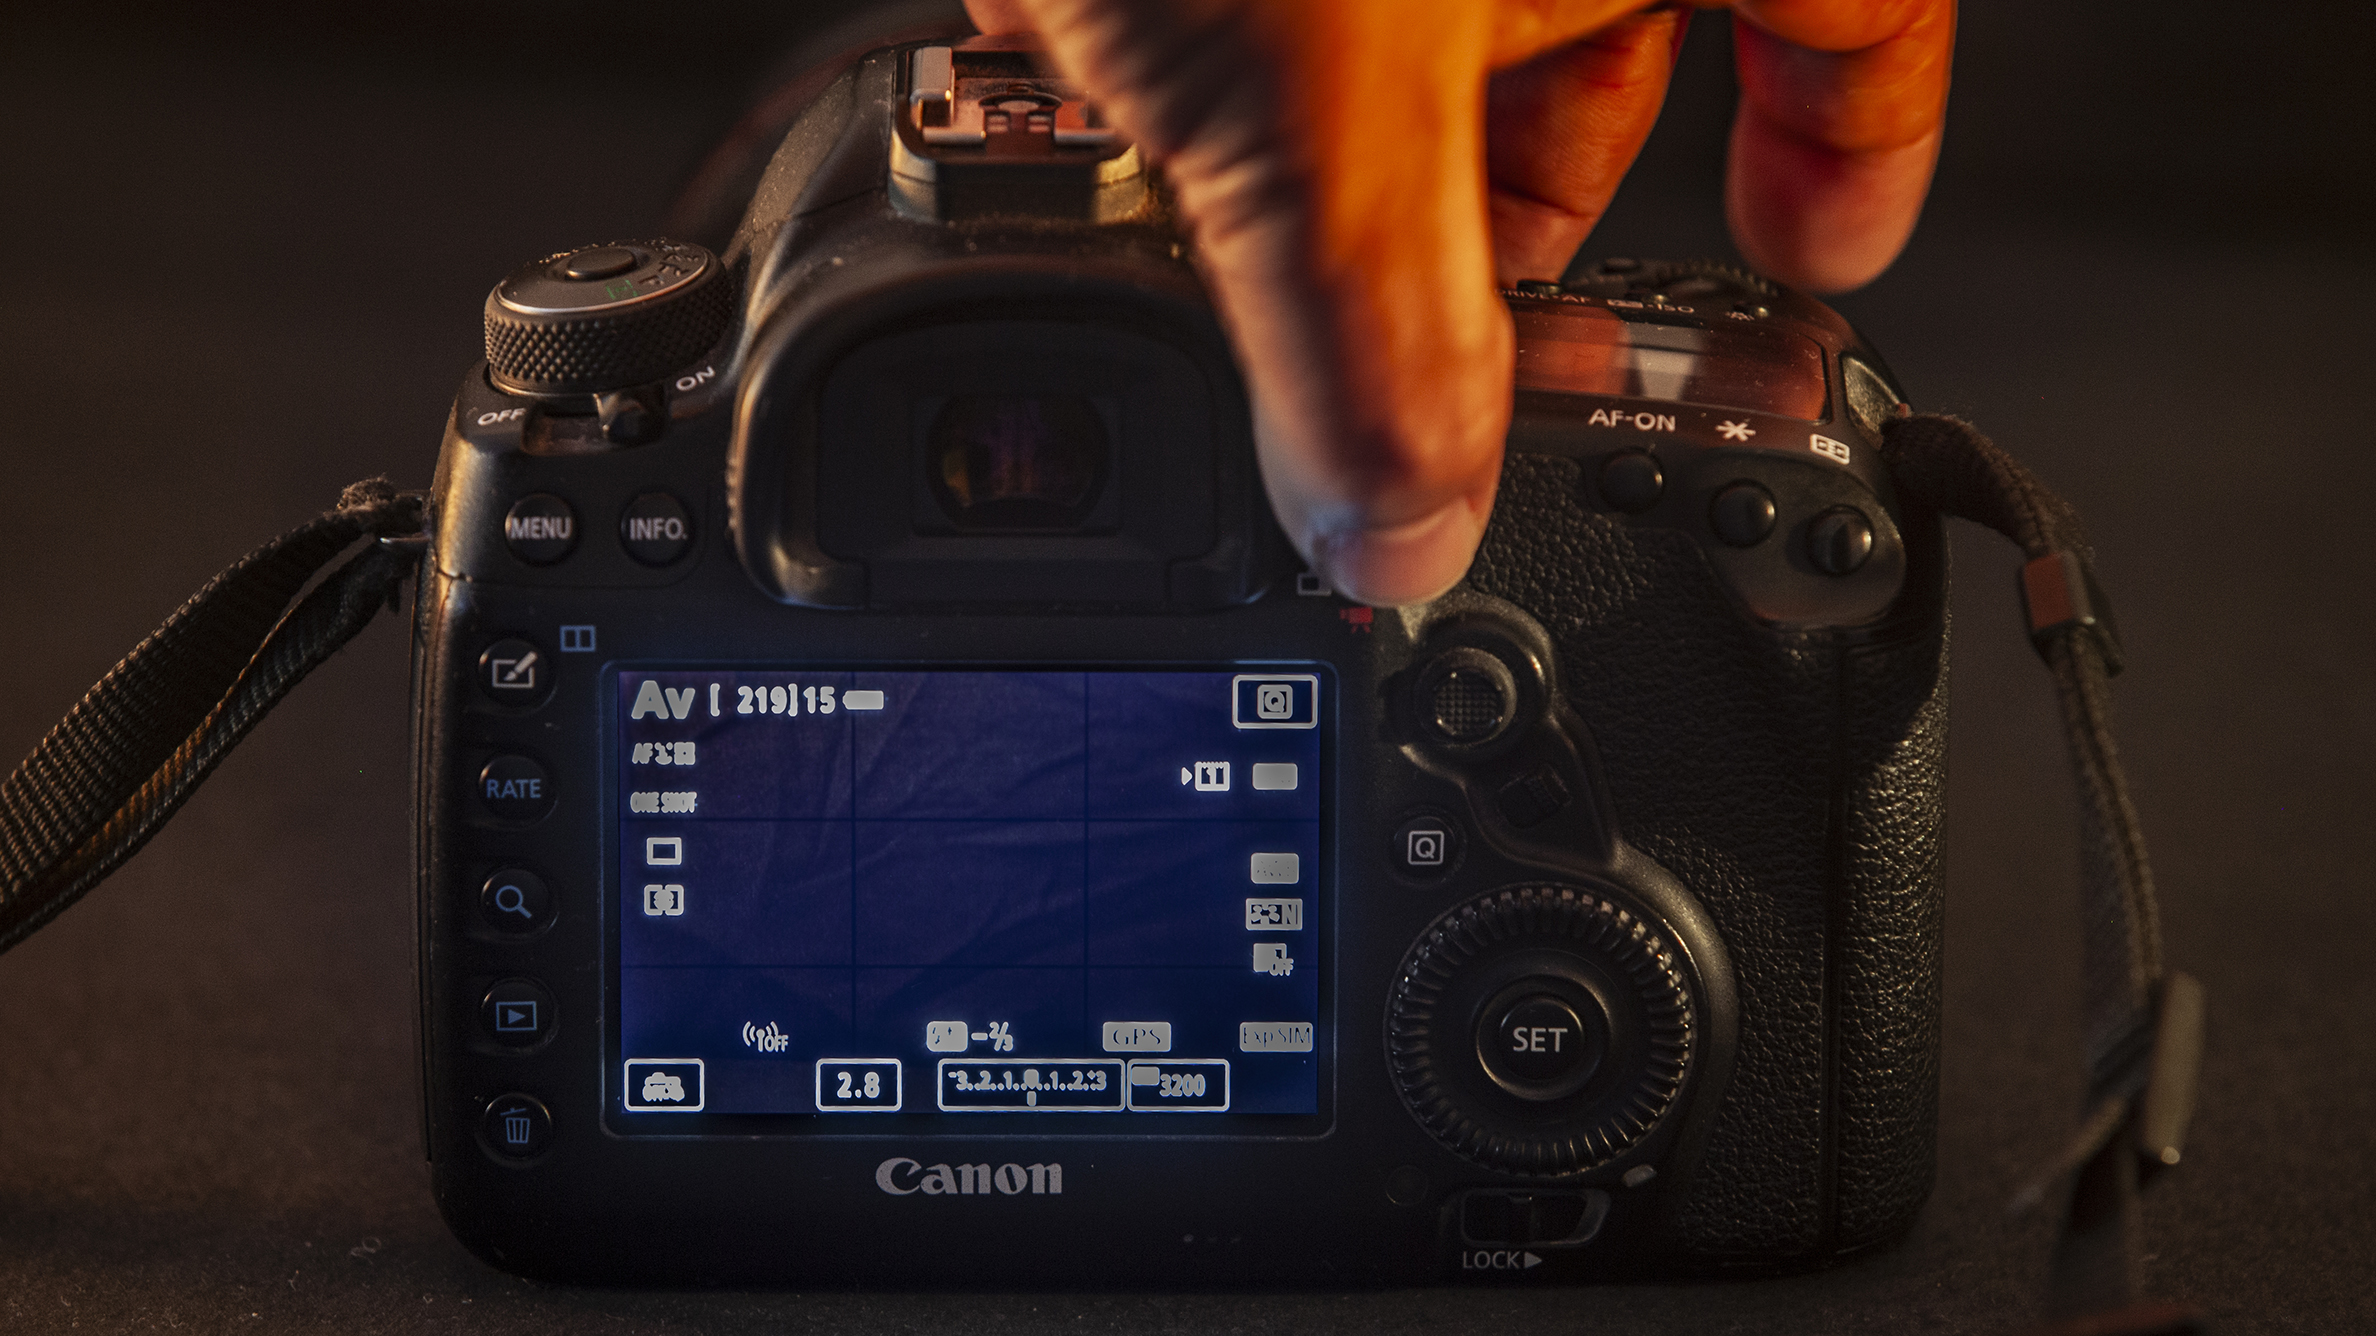
1. Fast Lens: Your shutter speed is the most important component. So a fast lens (f/2.8 or less) will make things easier.
2. Batteries: Shooting in live view mode will use up batteries much quicker so make sure you have fully charged spares.
3. Memory Card: You will take a lot of photos in burst mode, so make sure you have plenty of memory cards.
Not being able to use a tripod becomes particularly problematic in low-light conditions where longer shutter speeds increase the susceptibility to camera shake.
Despite the many advancements in camera technology that have helped low-light photography, achieving sharp photos in these conditions is difficult. Without the necessary knowledge and practice, you may end up with a collection of blurry images.
By using the tips shared within this article, you can enhance your photography skills and boost your chances of producing high-quality, well-defined images when faced with challenging lighting environments.
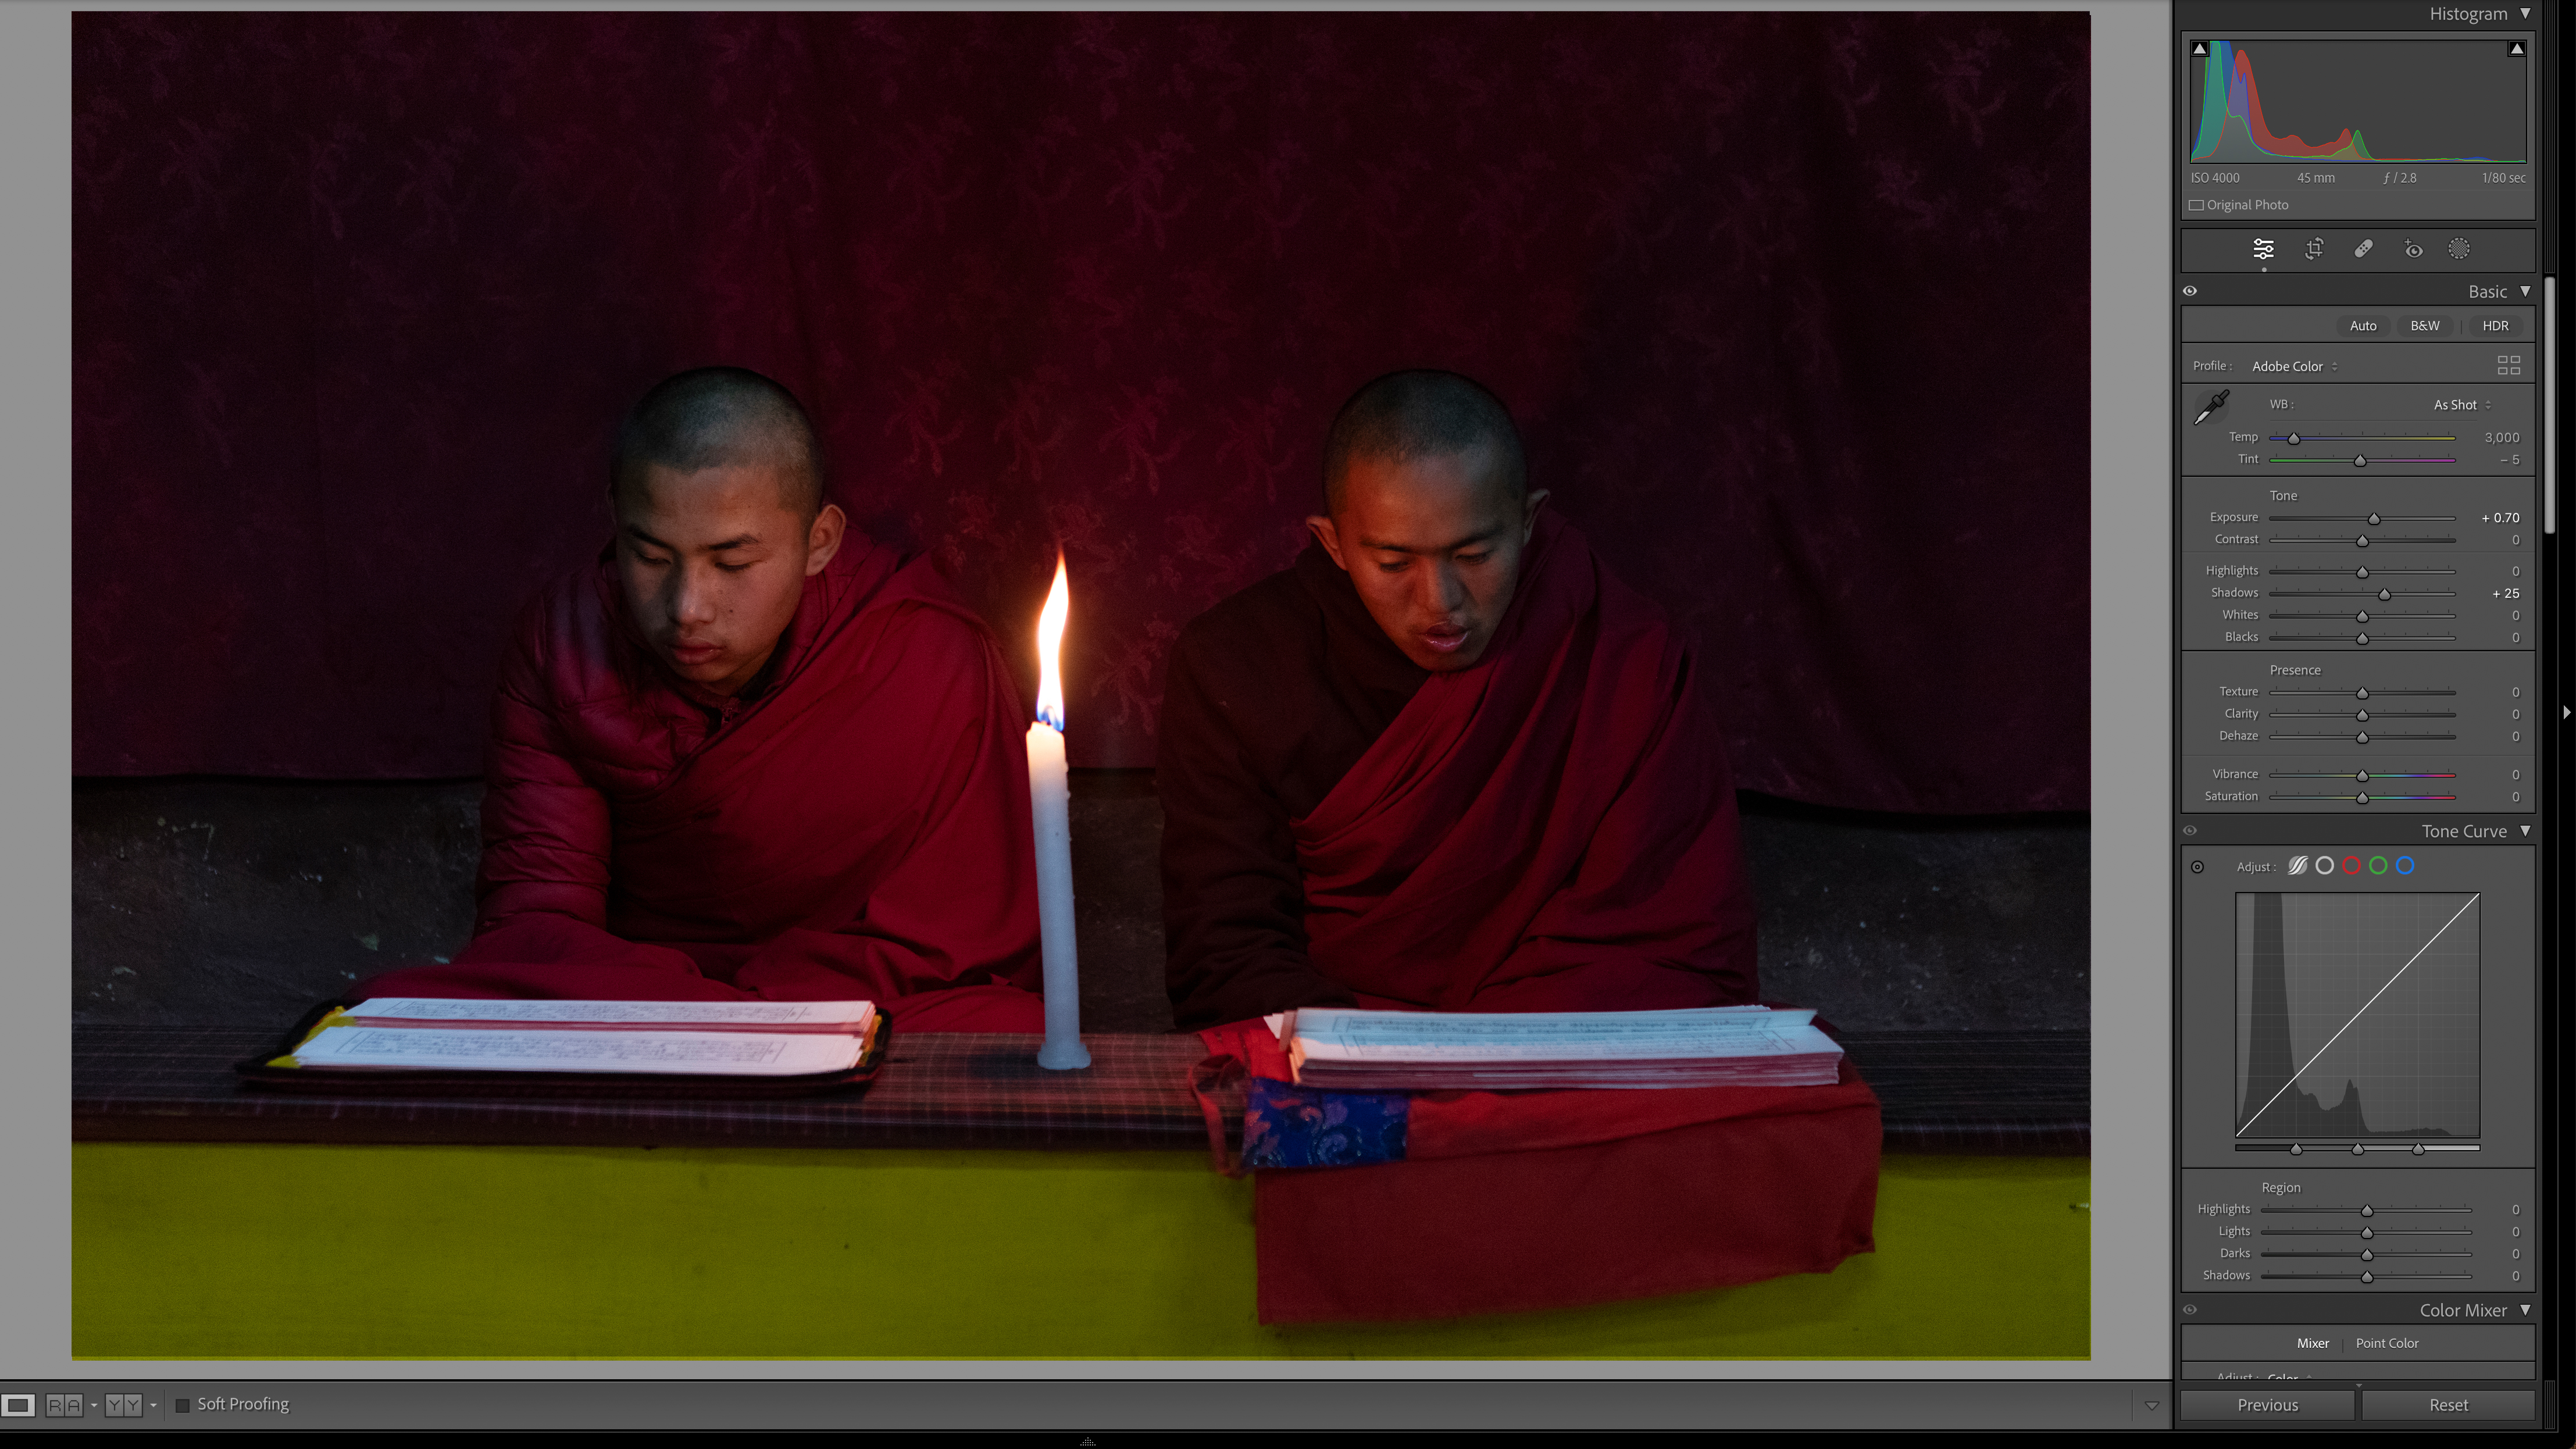
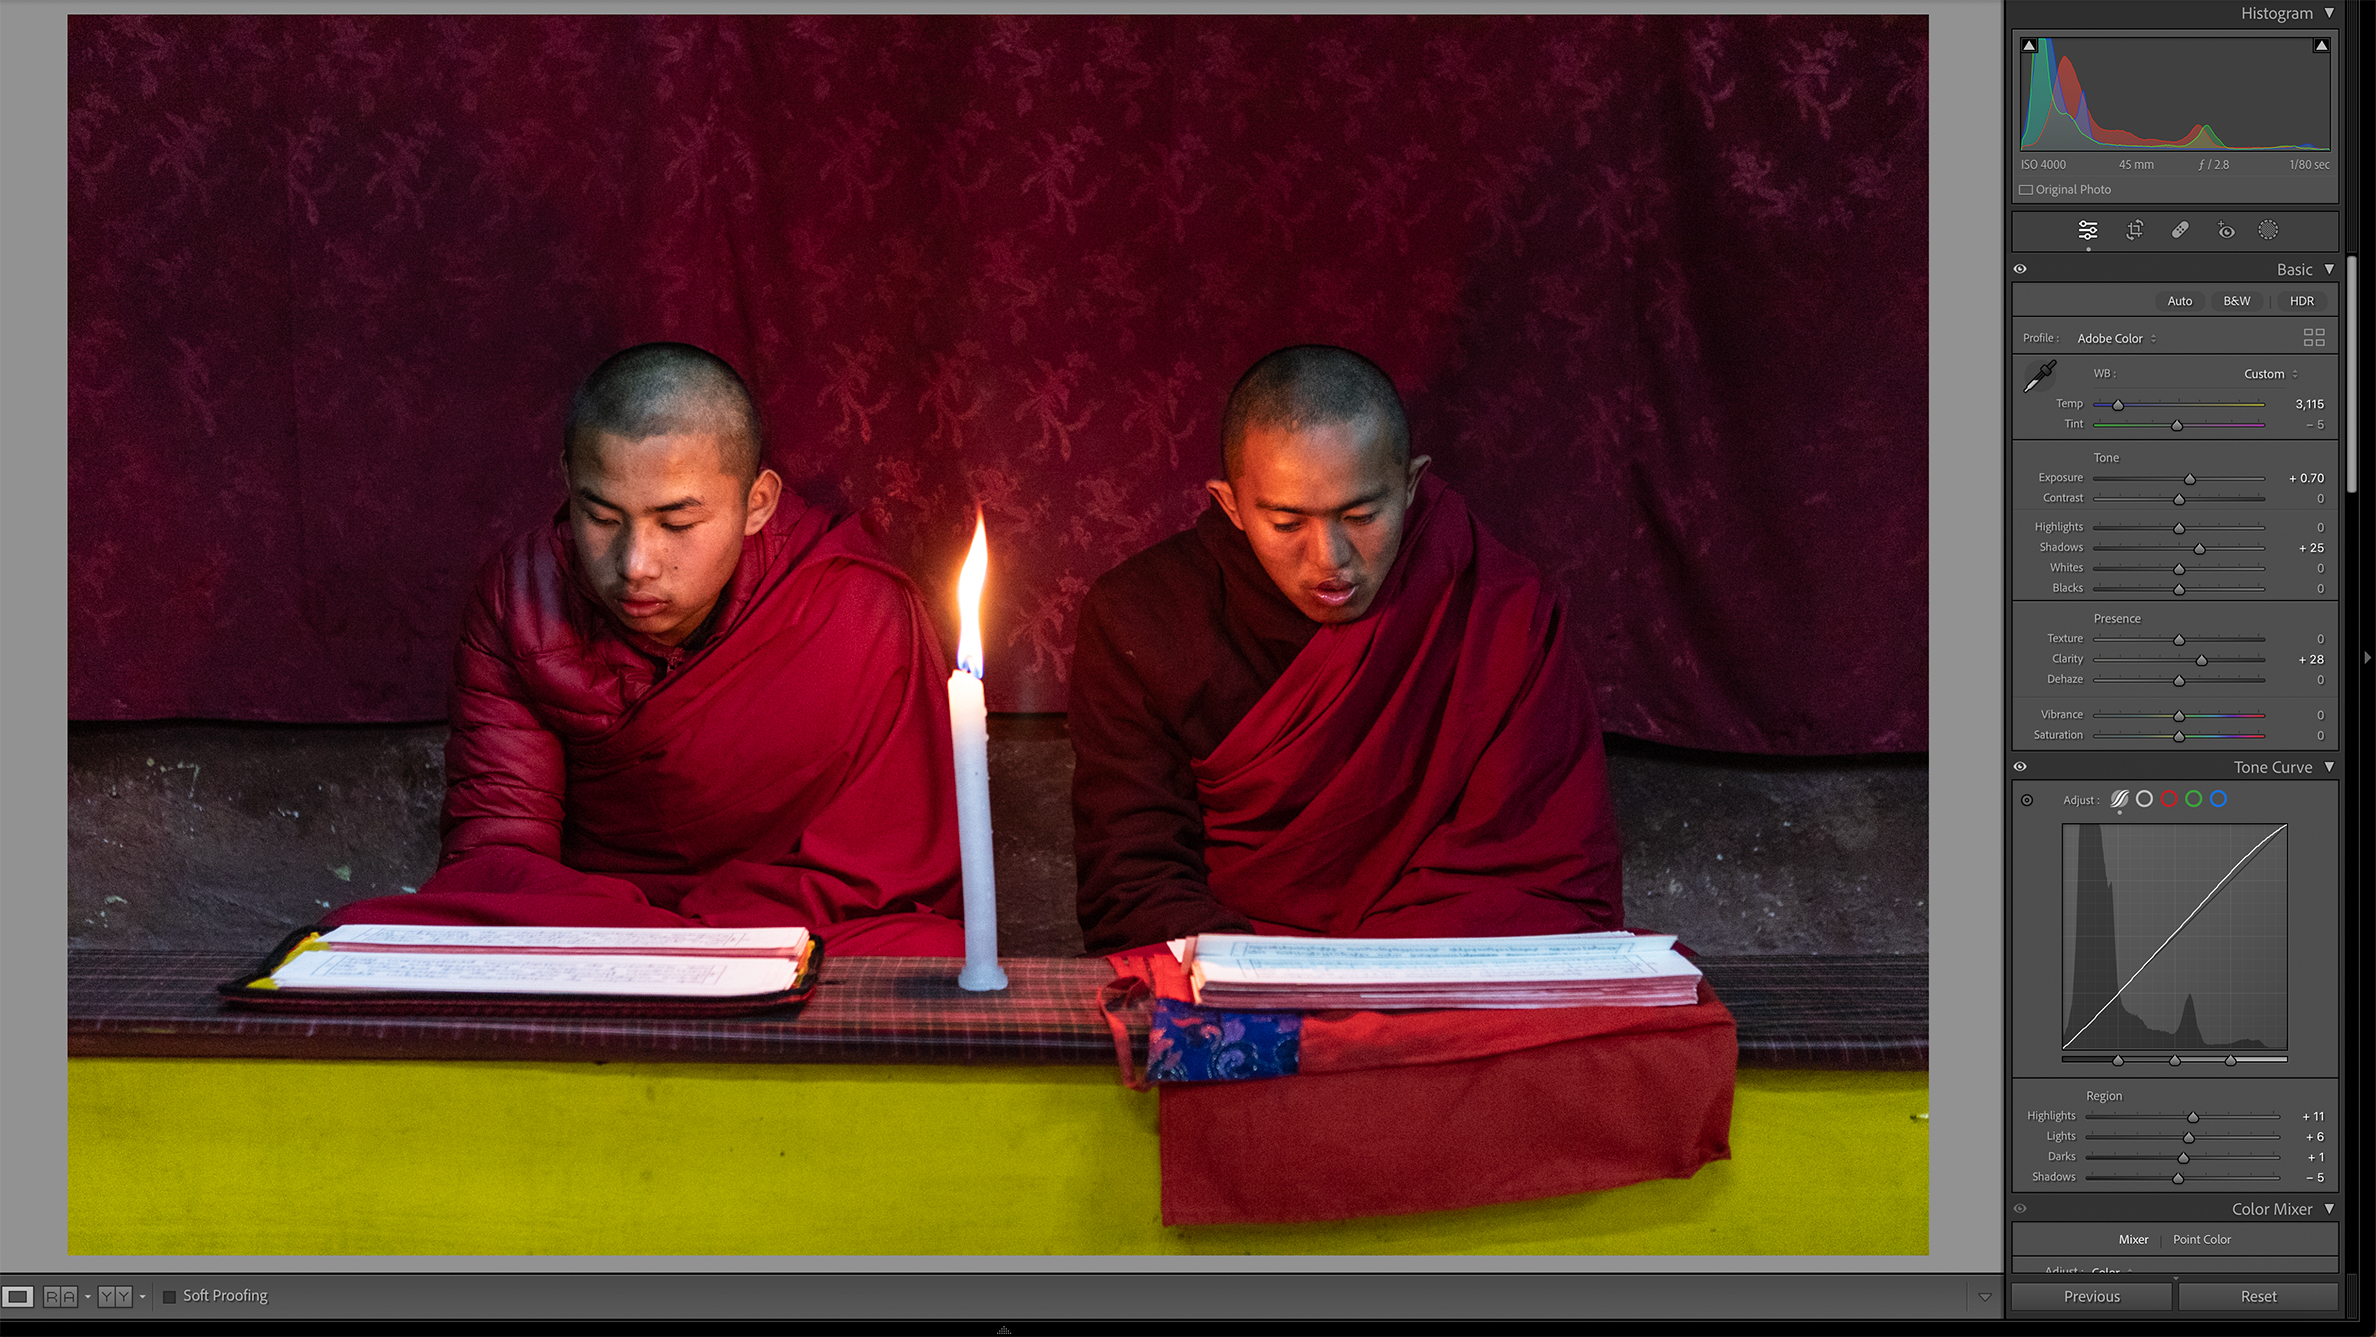
Before/After
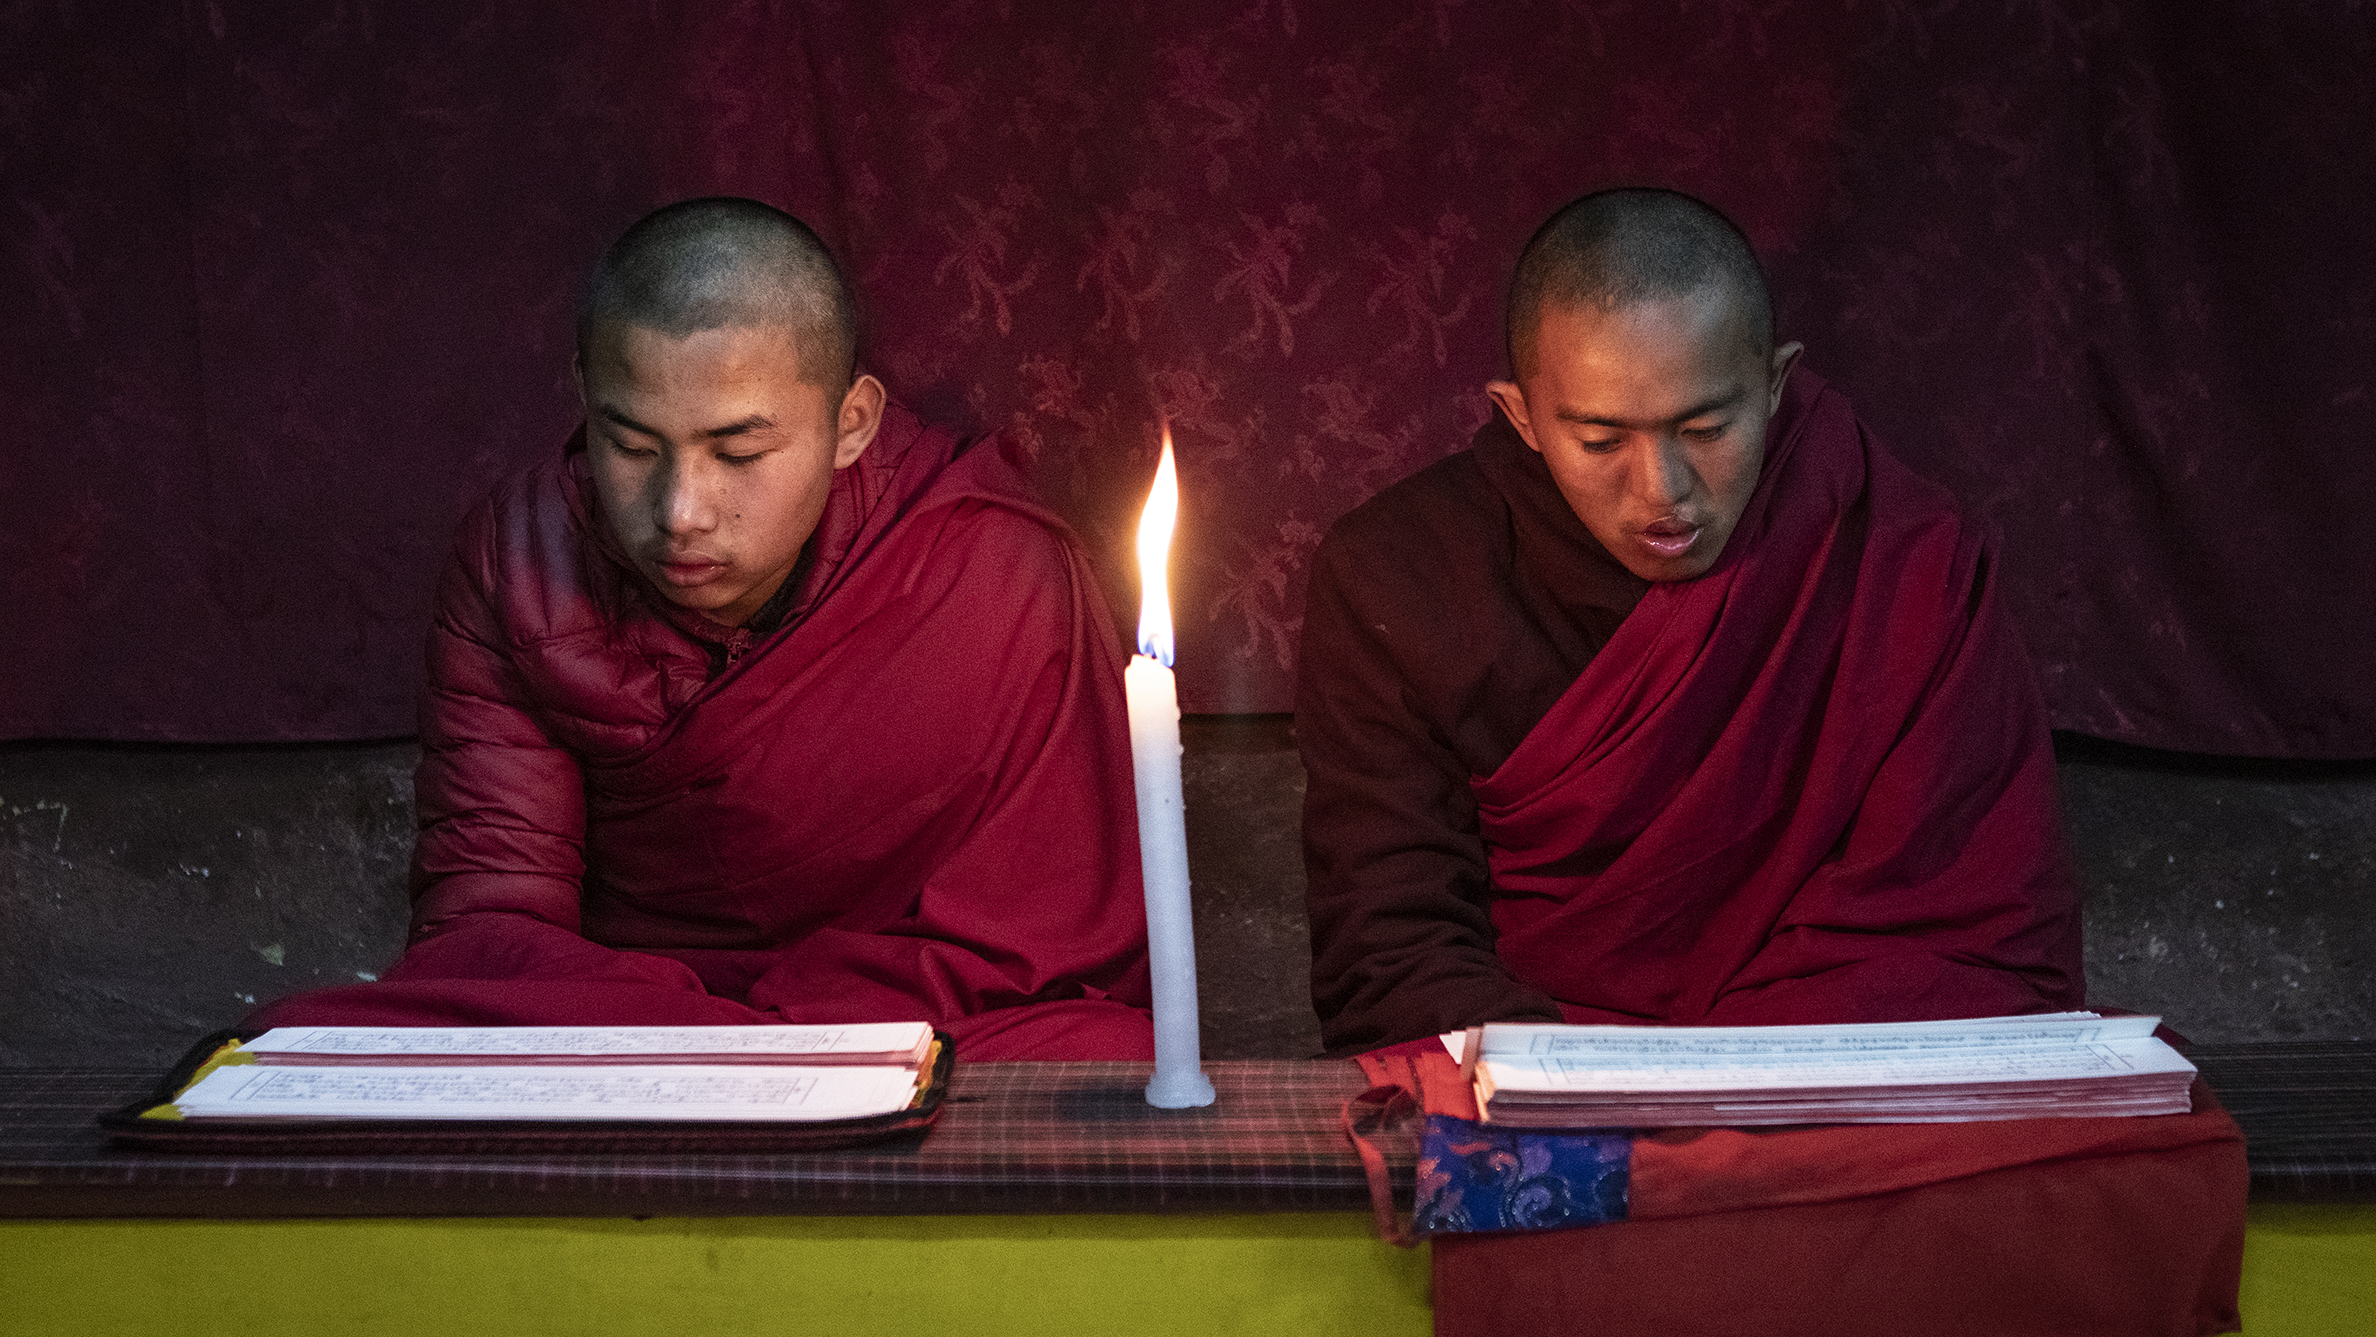
Before: Reading the room
By applying a few shooting techniques, this low-light image has come out sharp and in focus. However, we can still make a few improvements

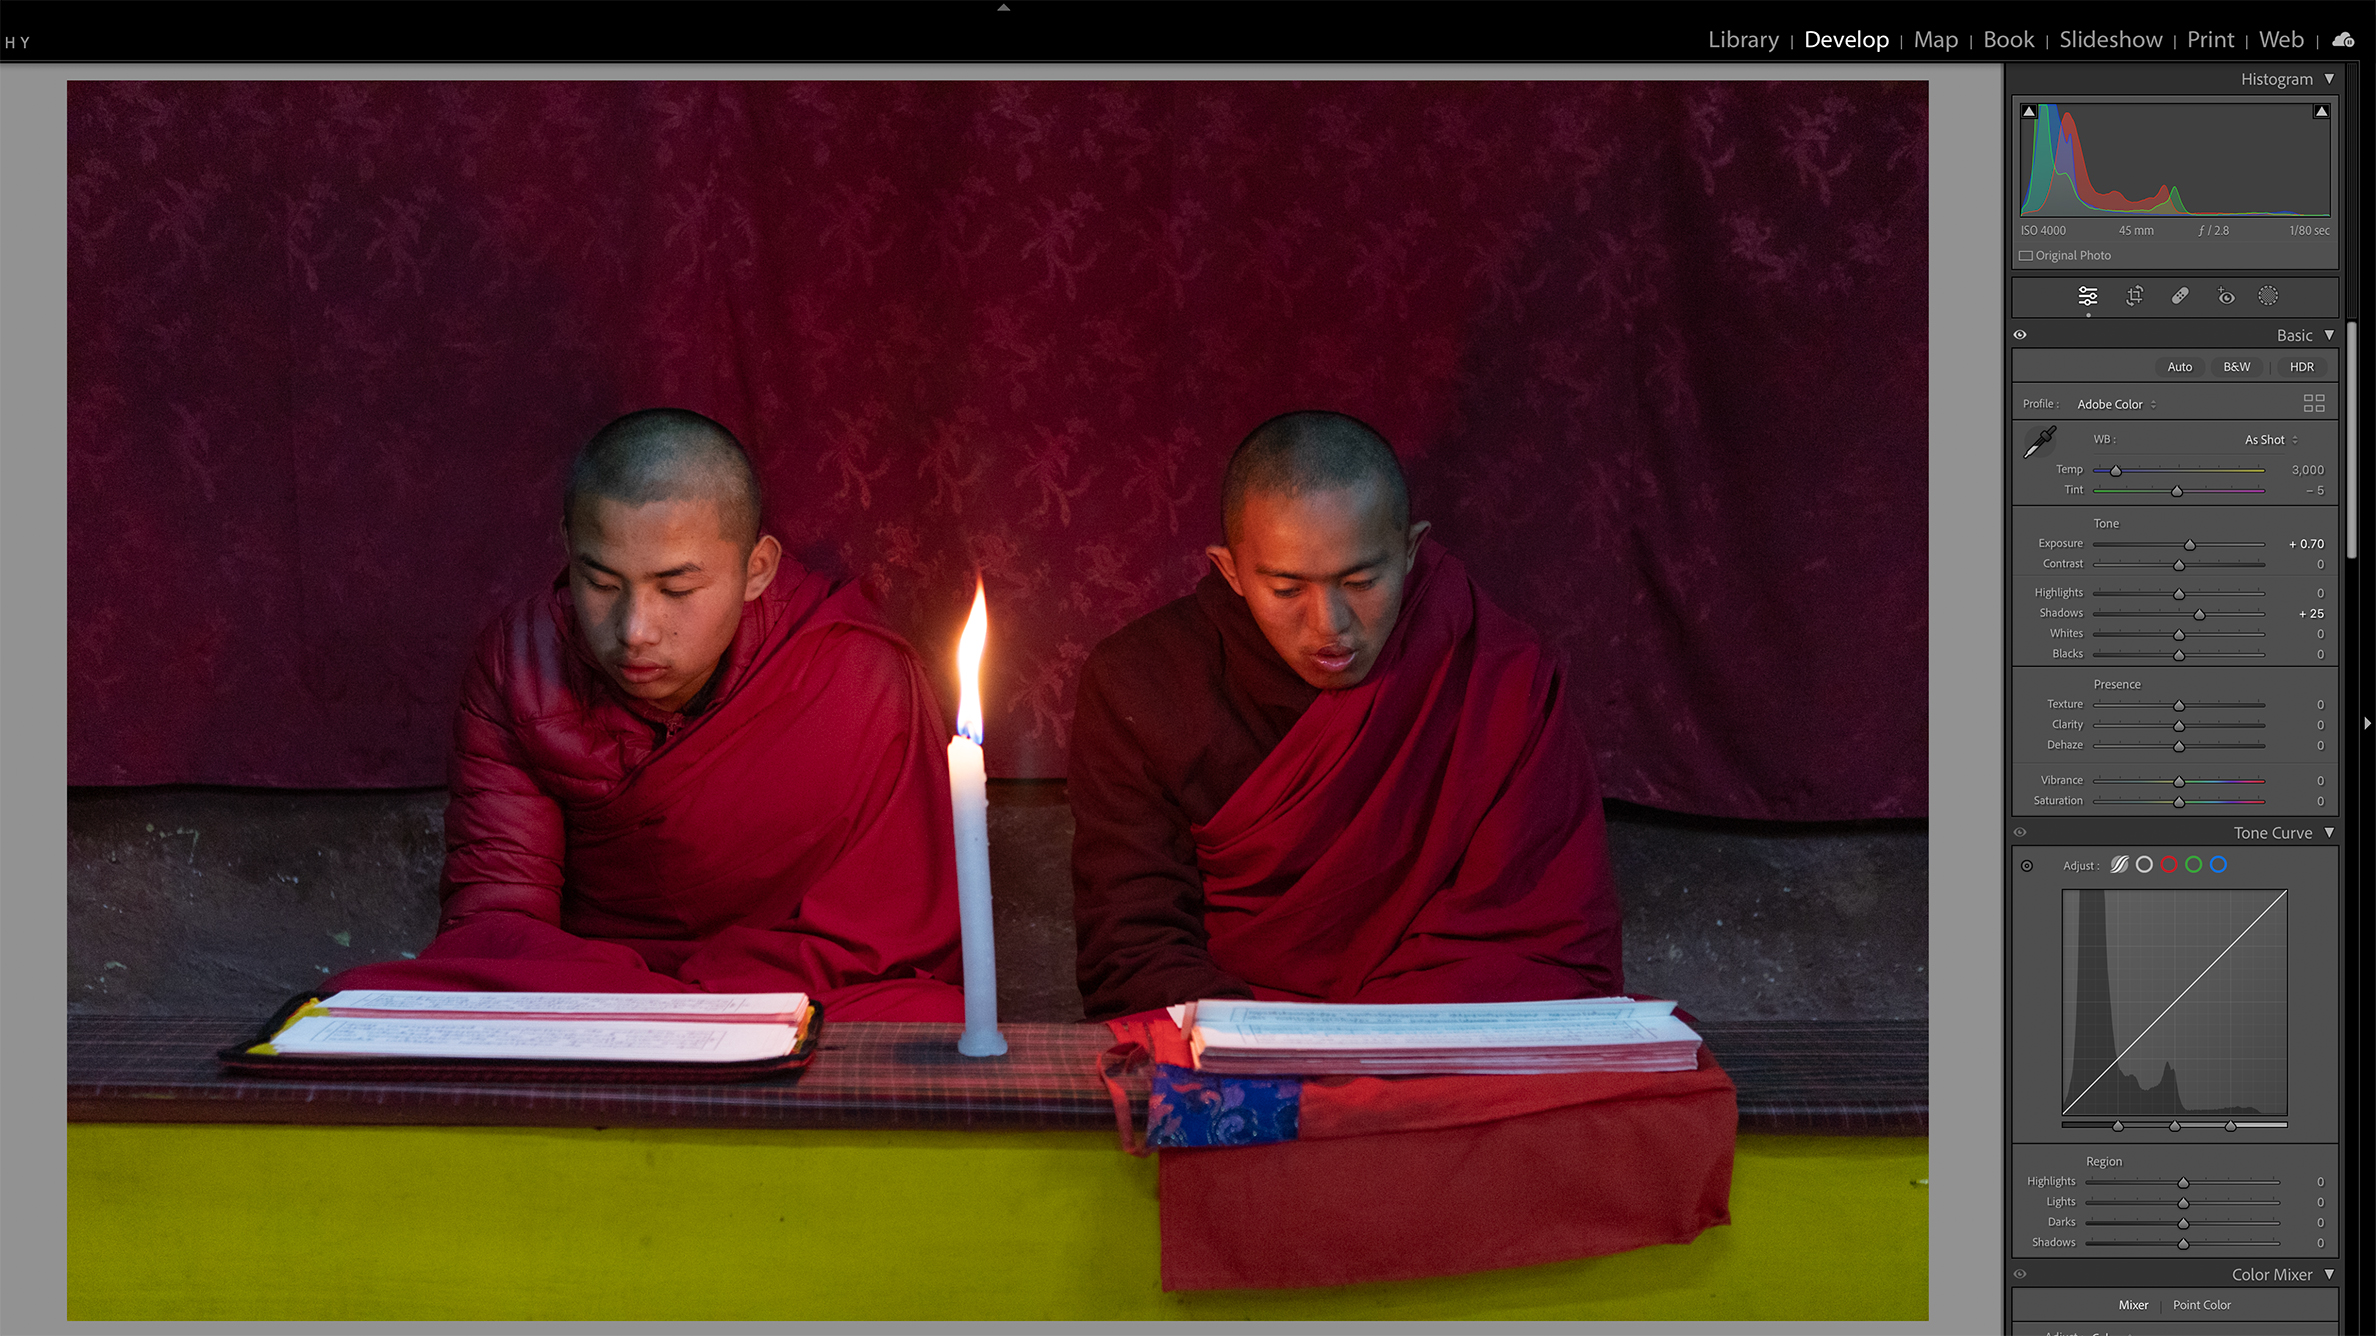
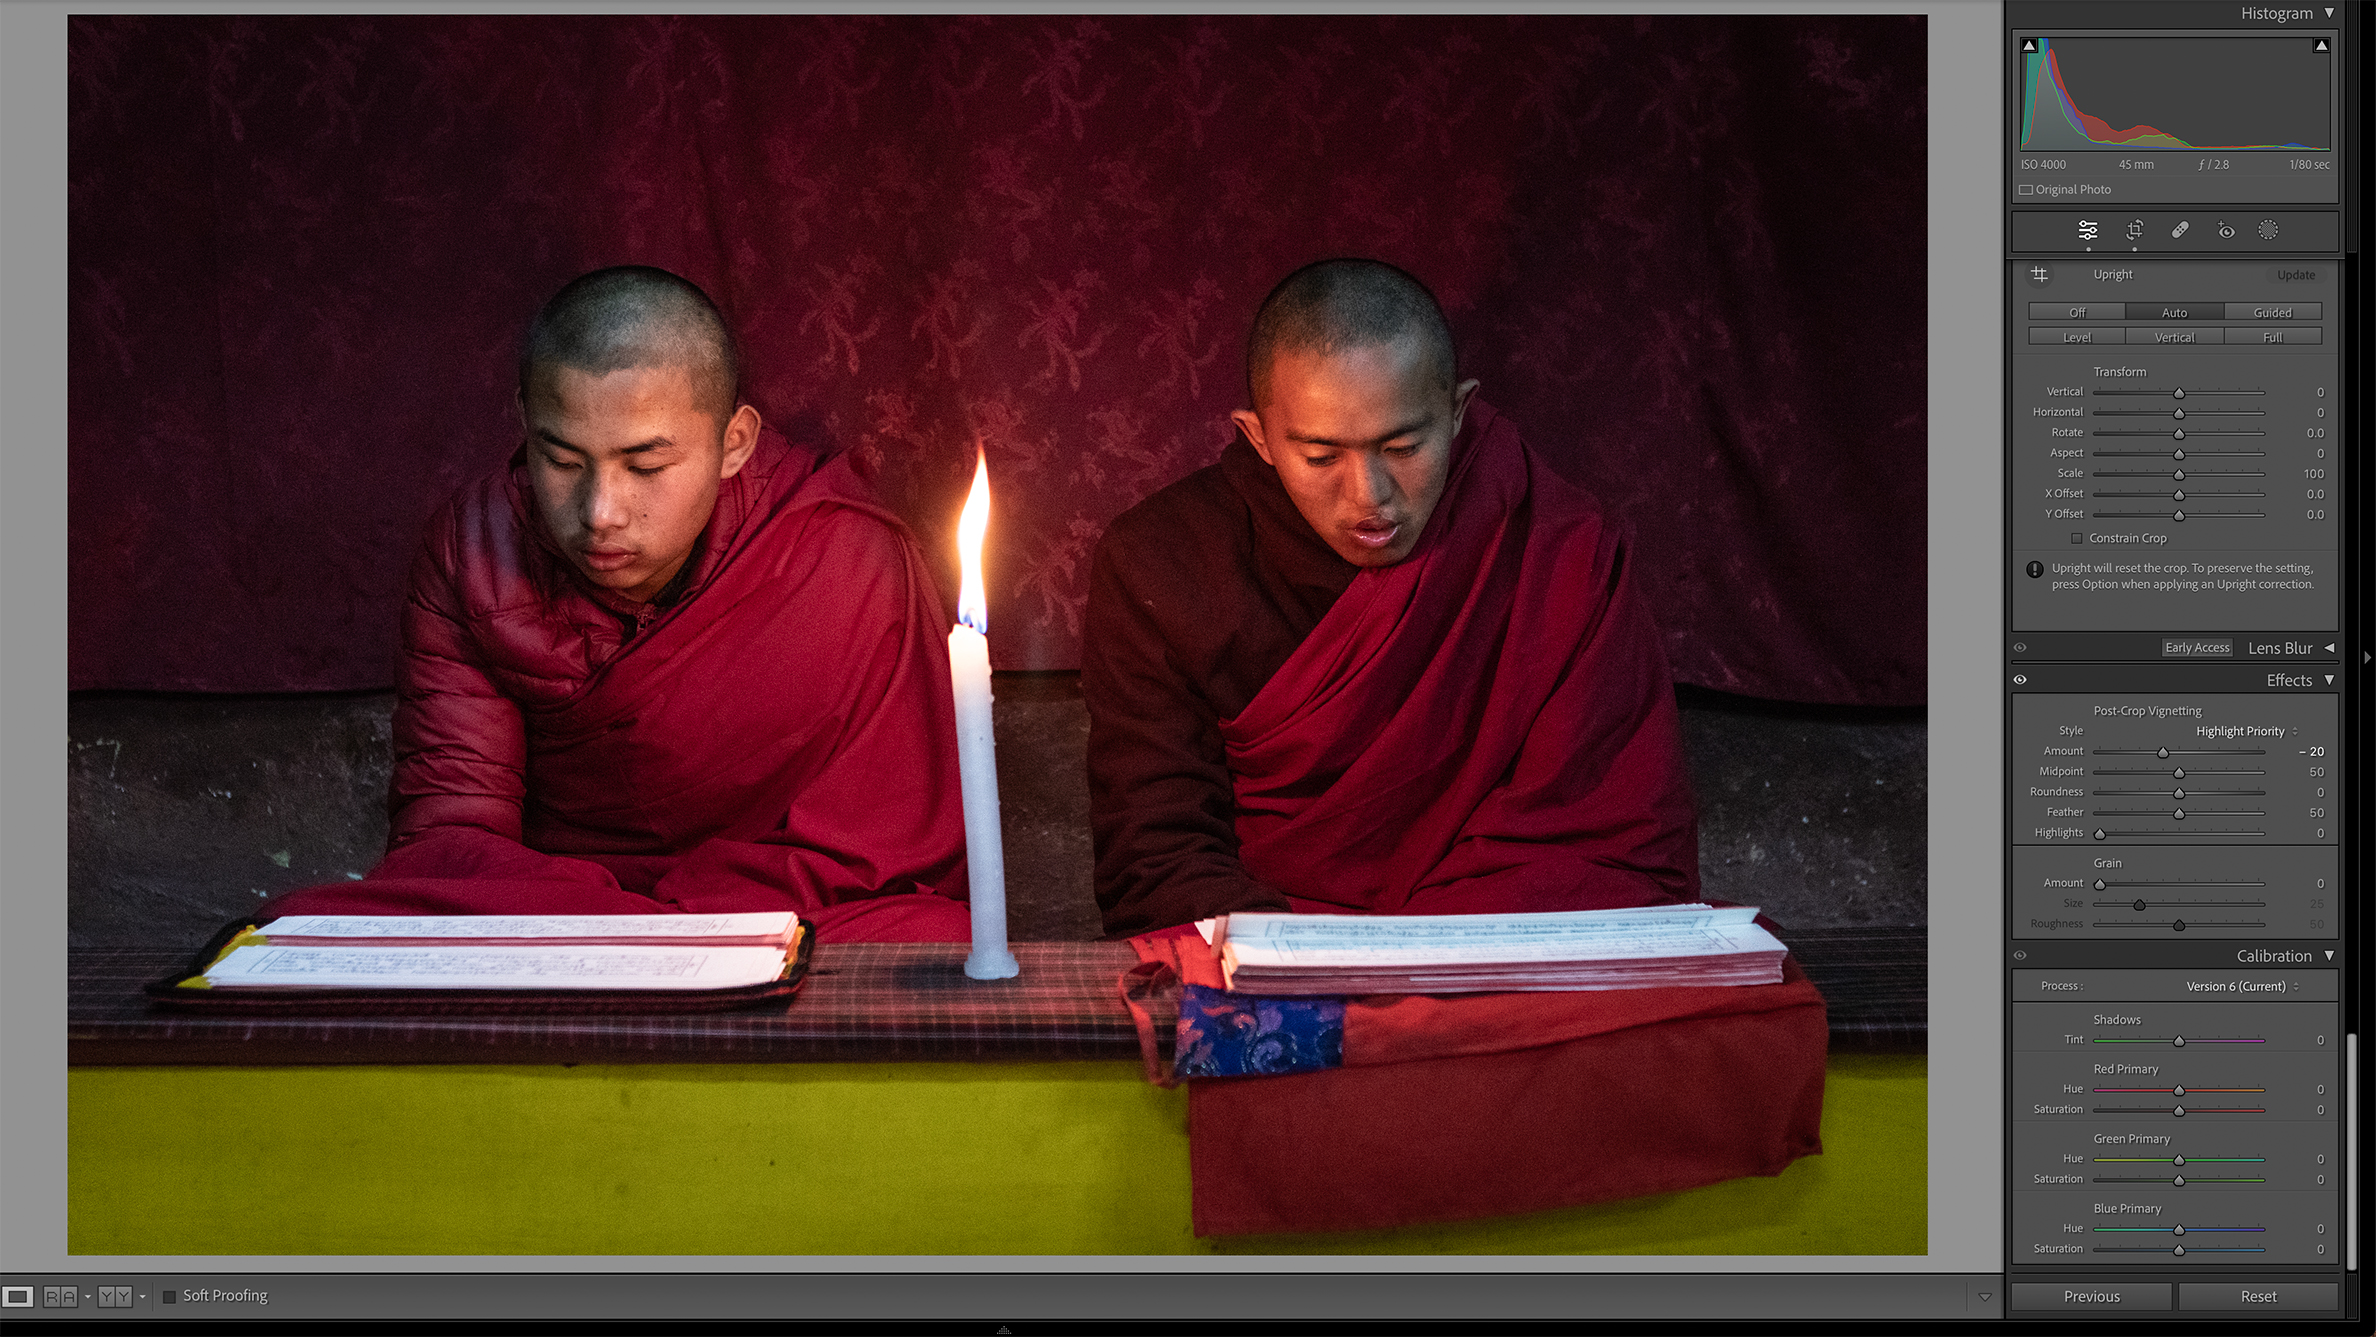
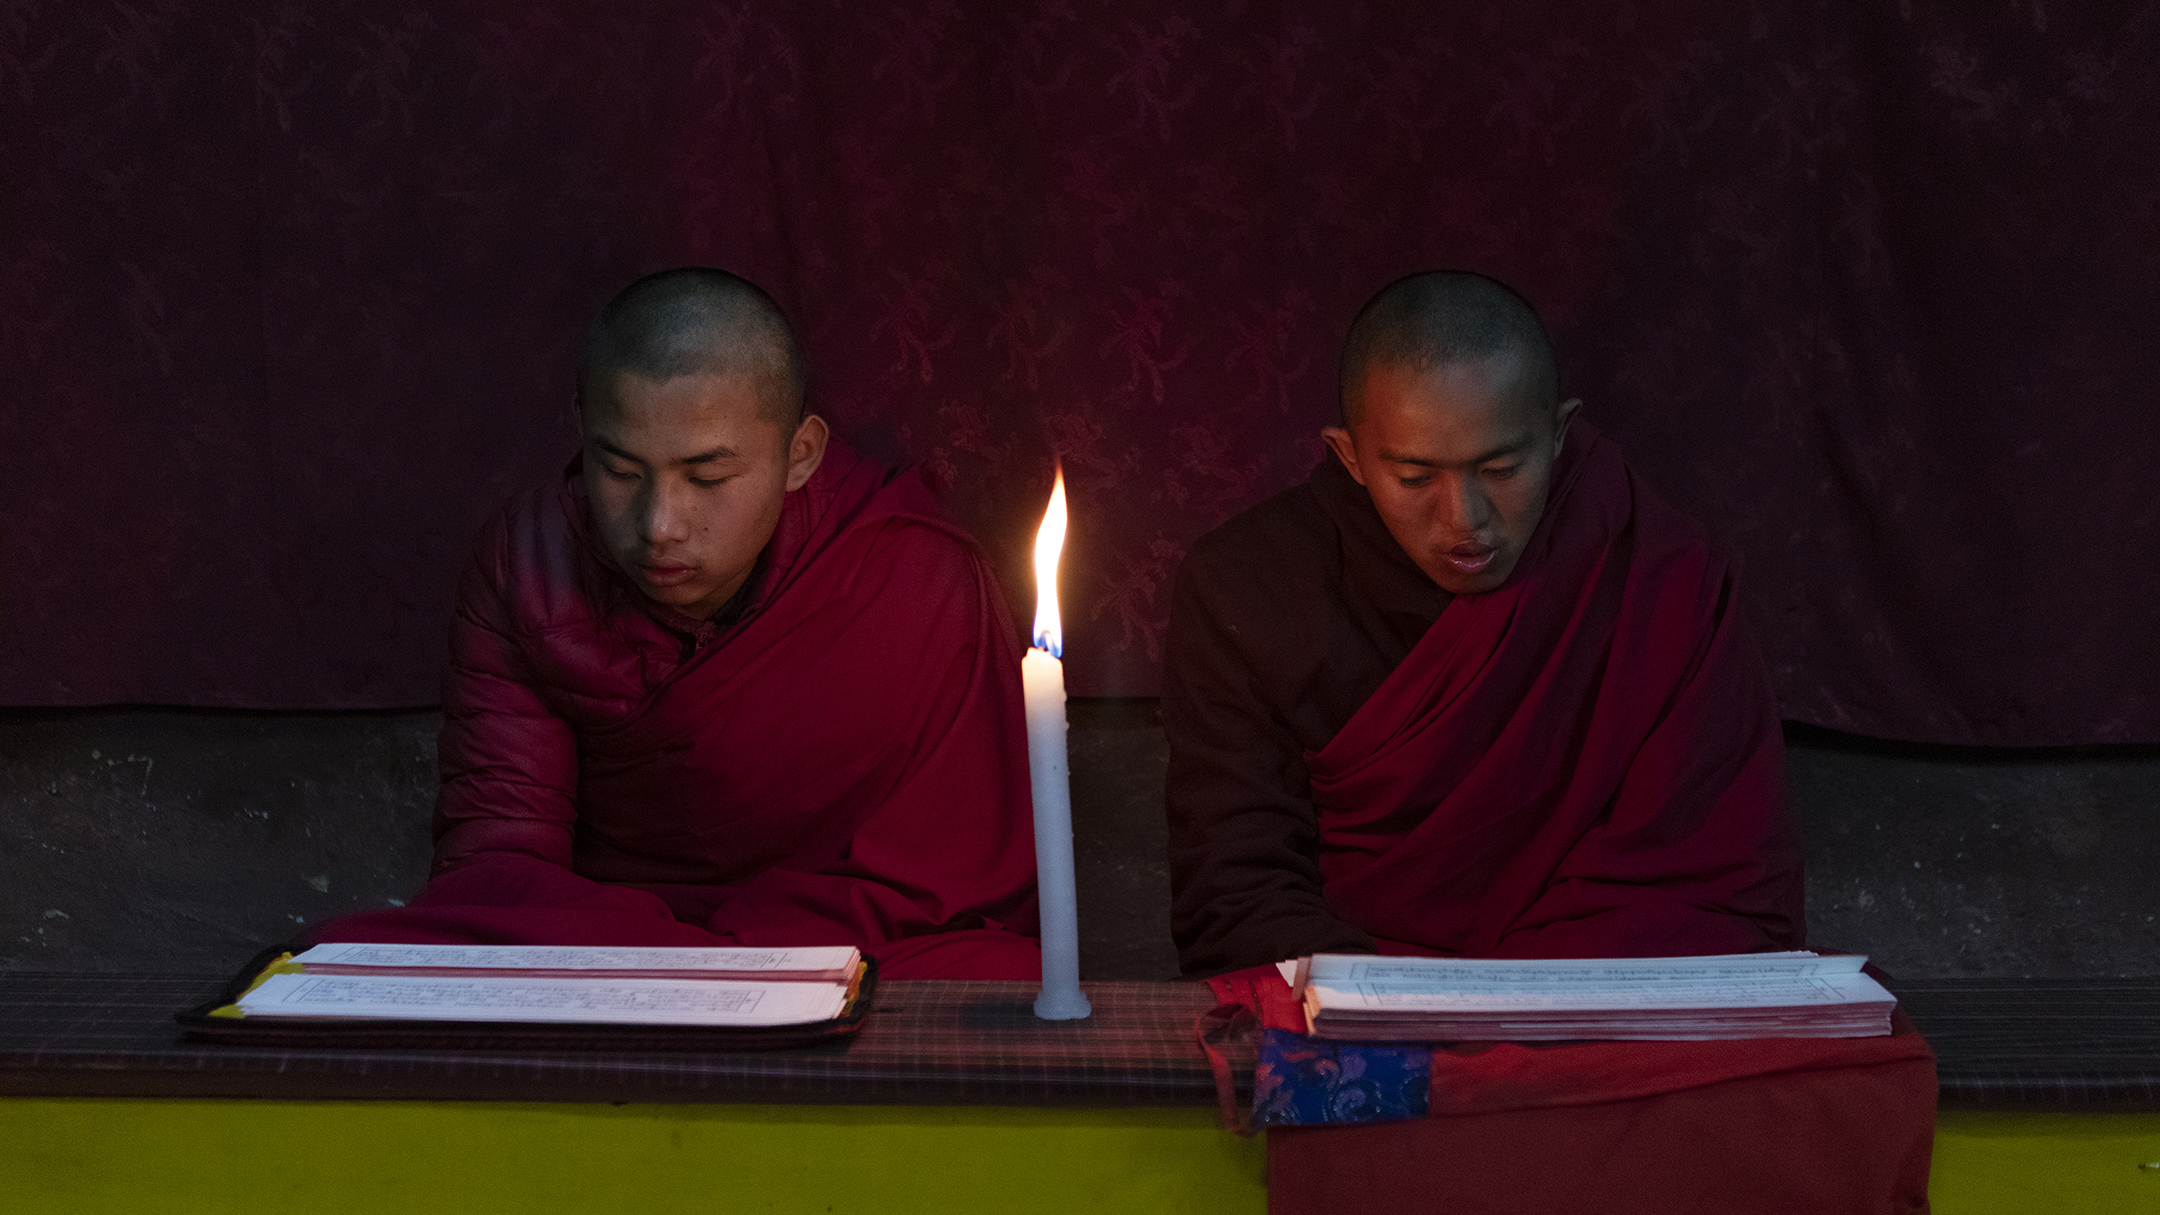
After: Silent treatment
After some post-processing, the final image looks warmer and more vibrant, with a vignette highlighting the two centrally positioned subjects
Shooting steps
1. Shutter speed
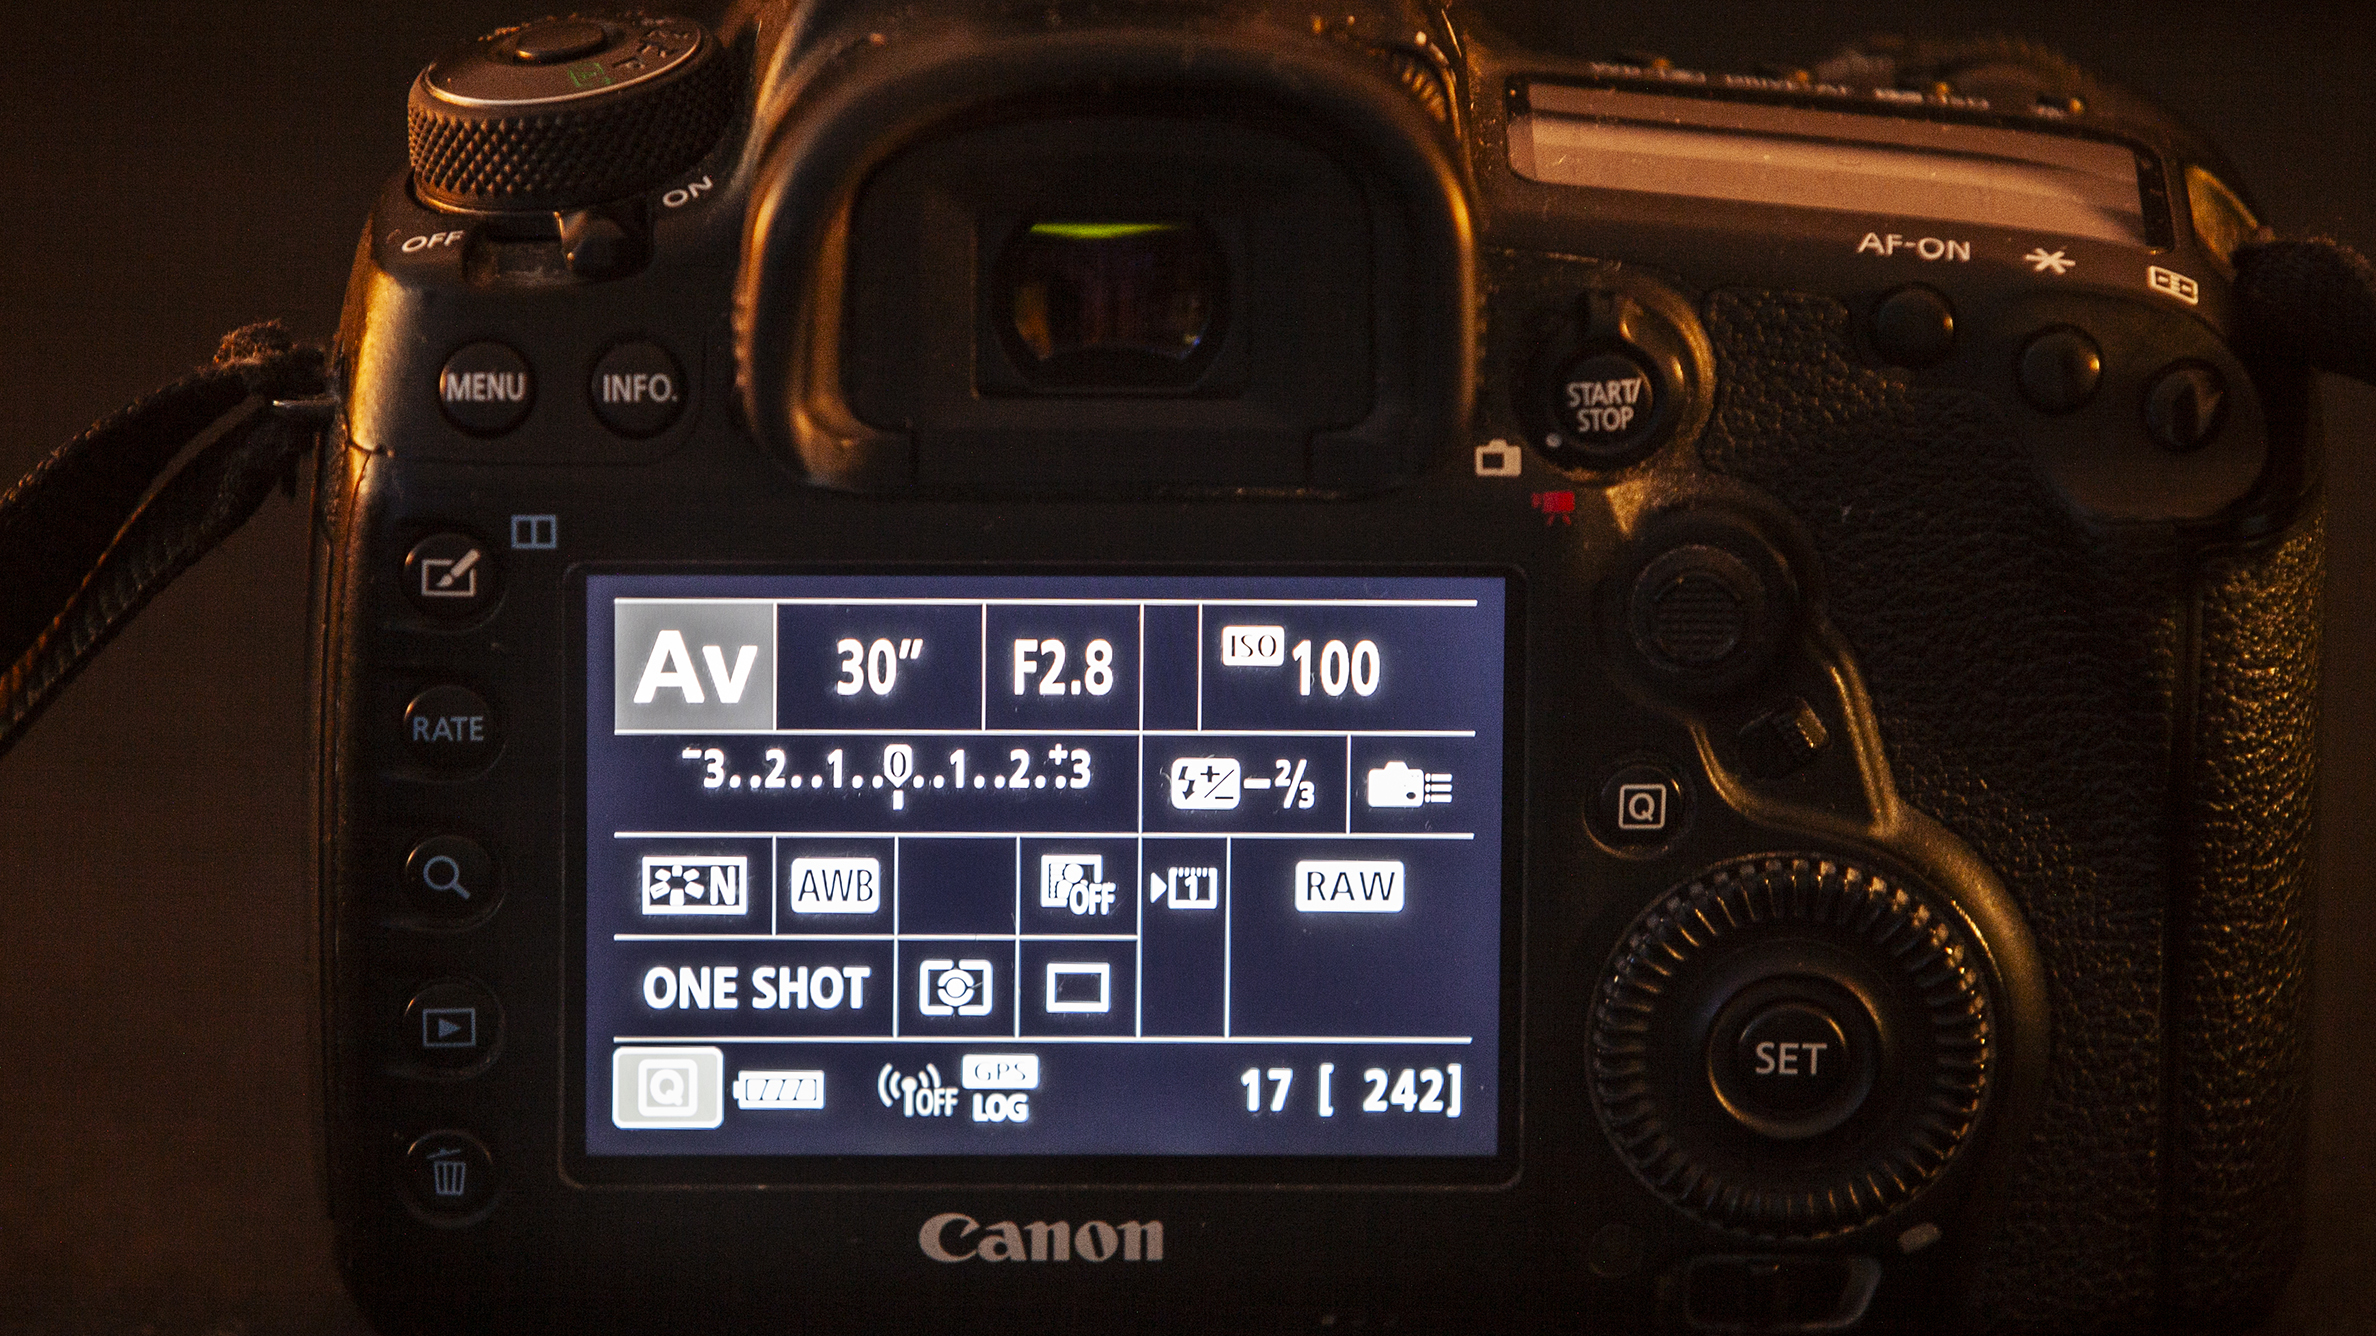
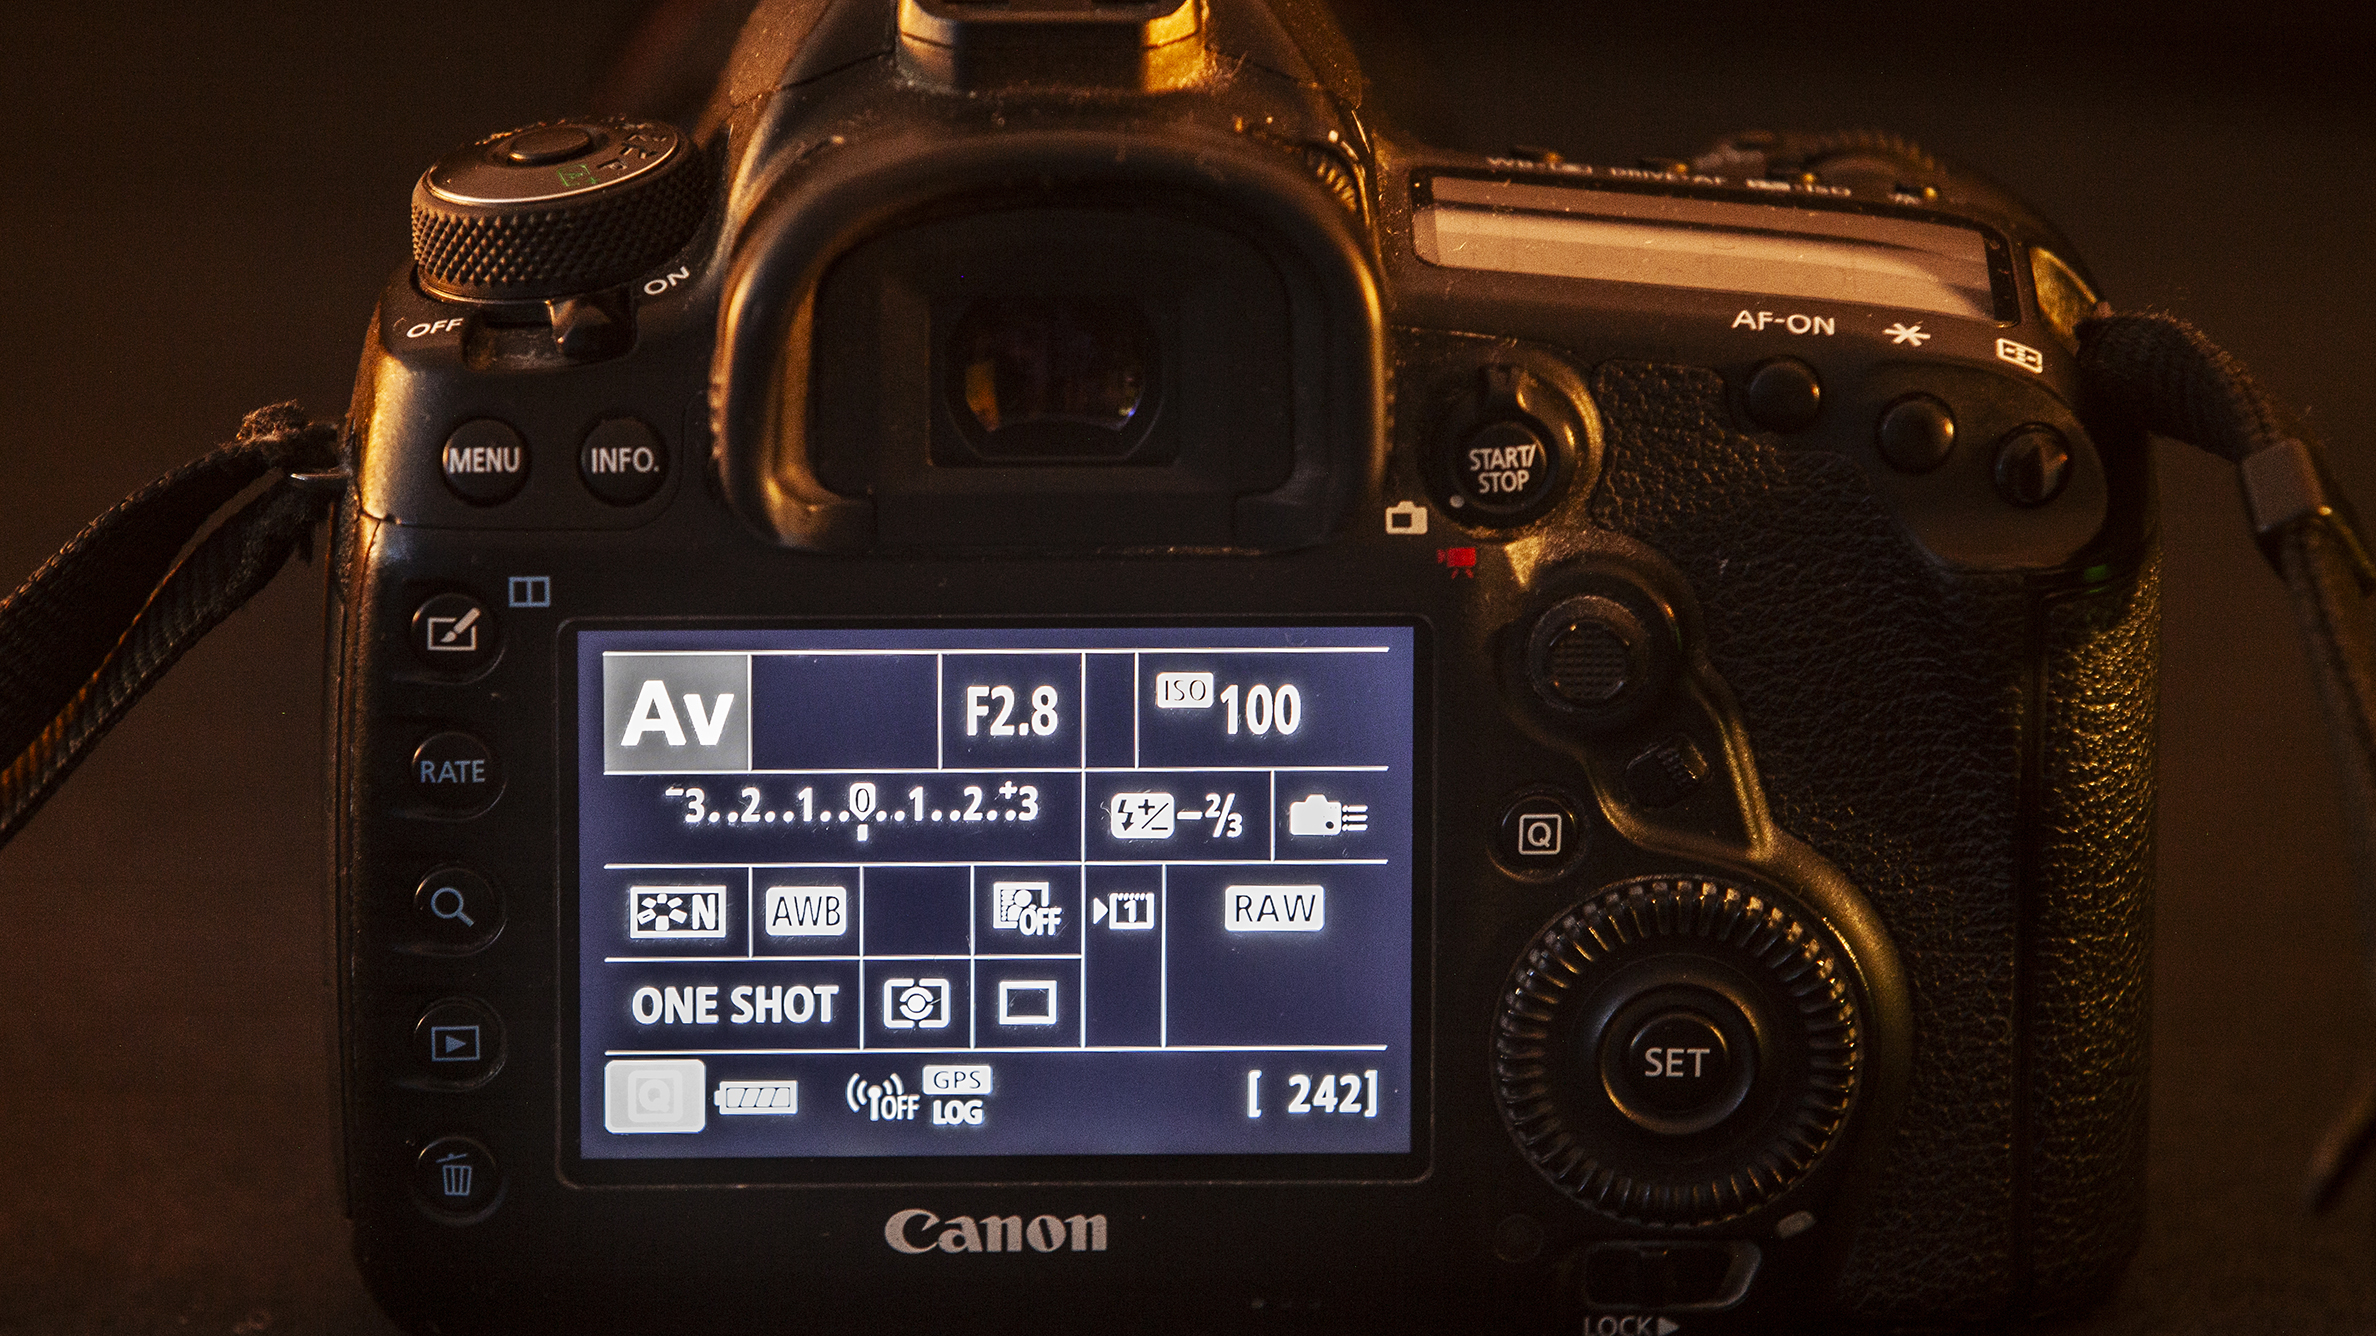
In low-light conditions, achieving a steady handheld shot is challenging due to the slow shutter speeds. Follow the reciprocal rule, which is "1/focal length" – for example, with a 50mm lens, use 1/50 sec or faster to avoid blurred photos caused by camera shake in low light.
2. Raise your ISO
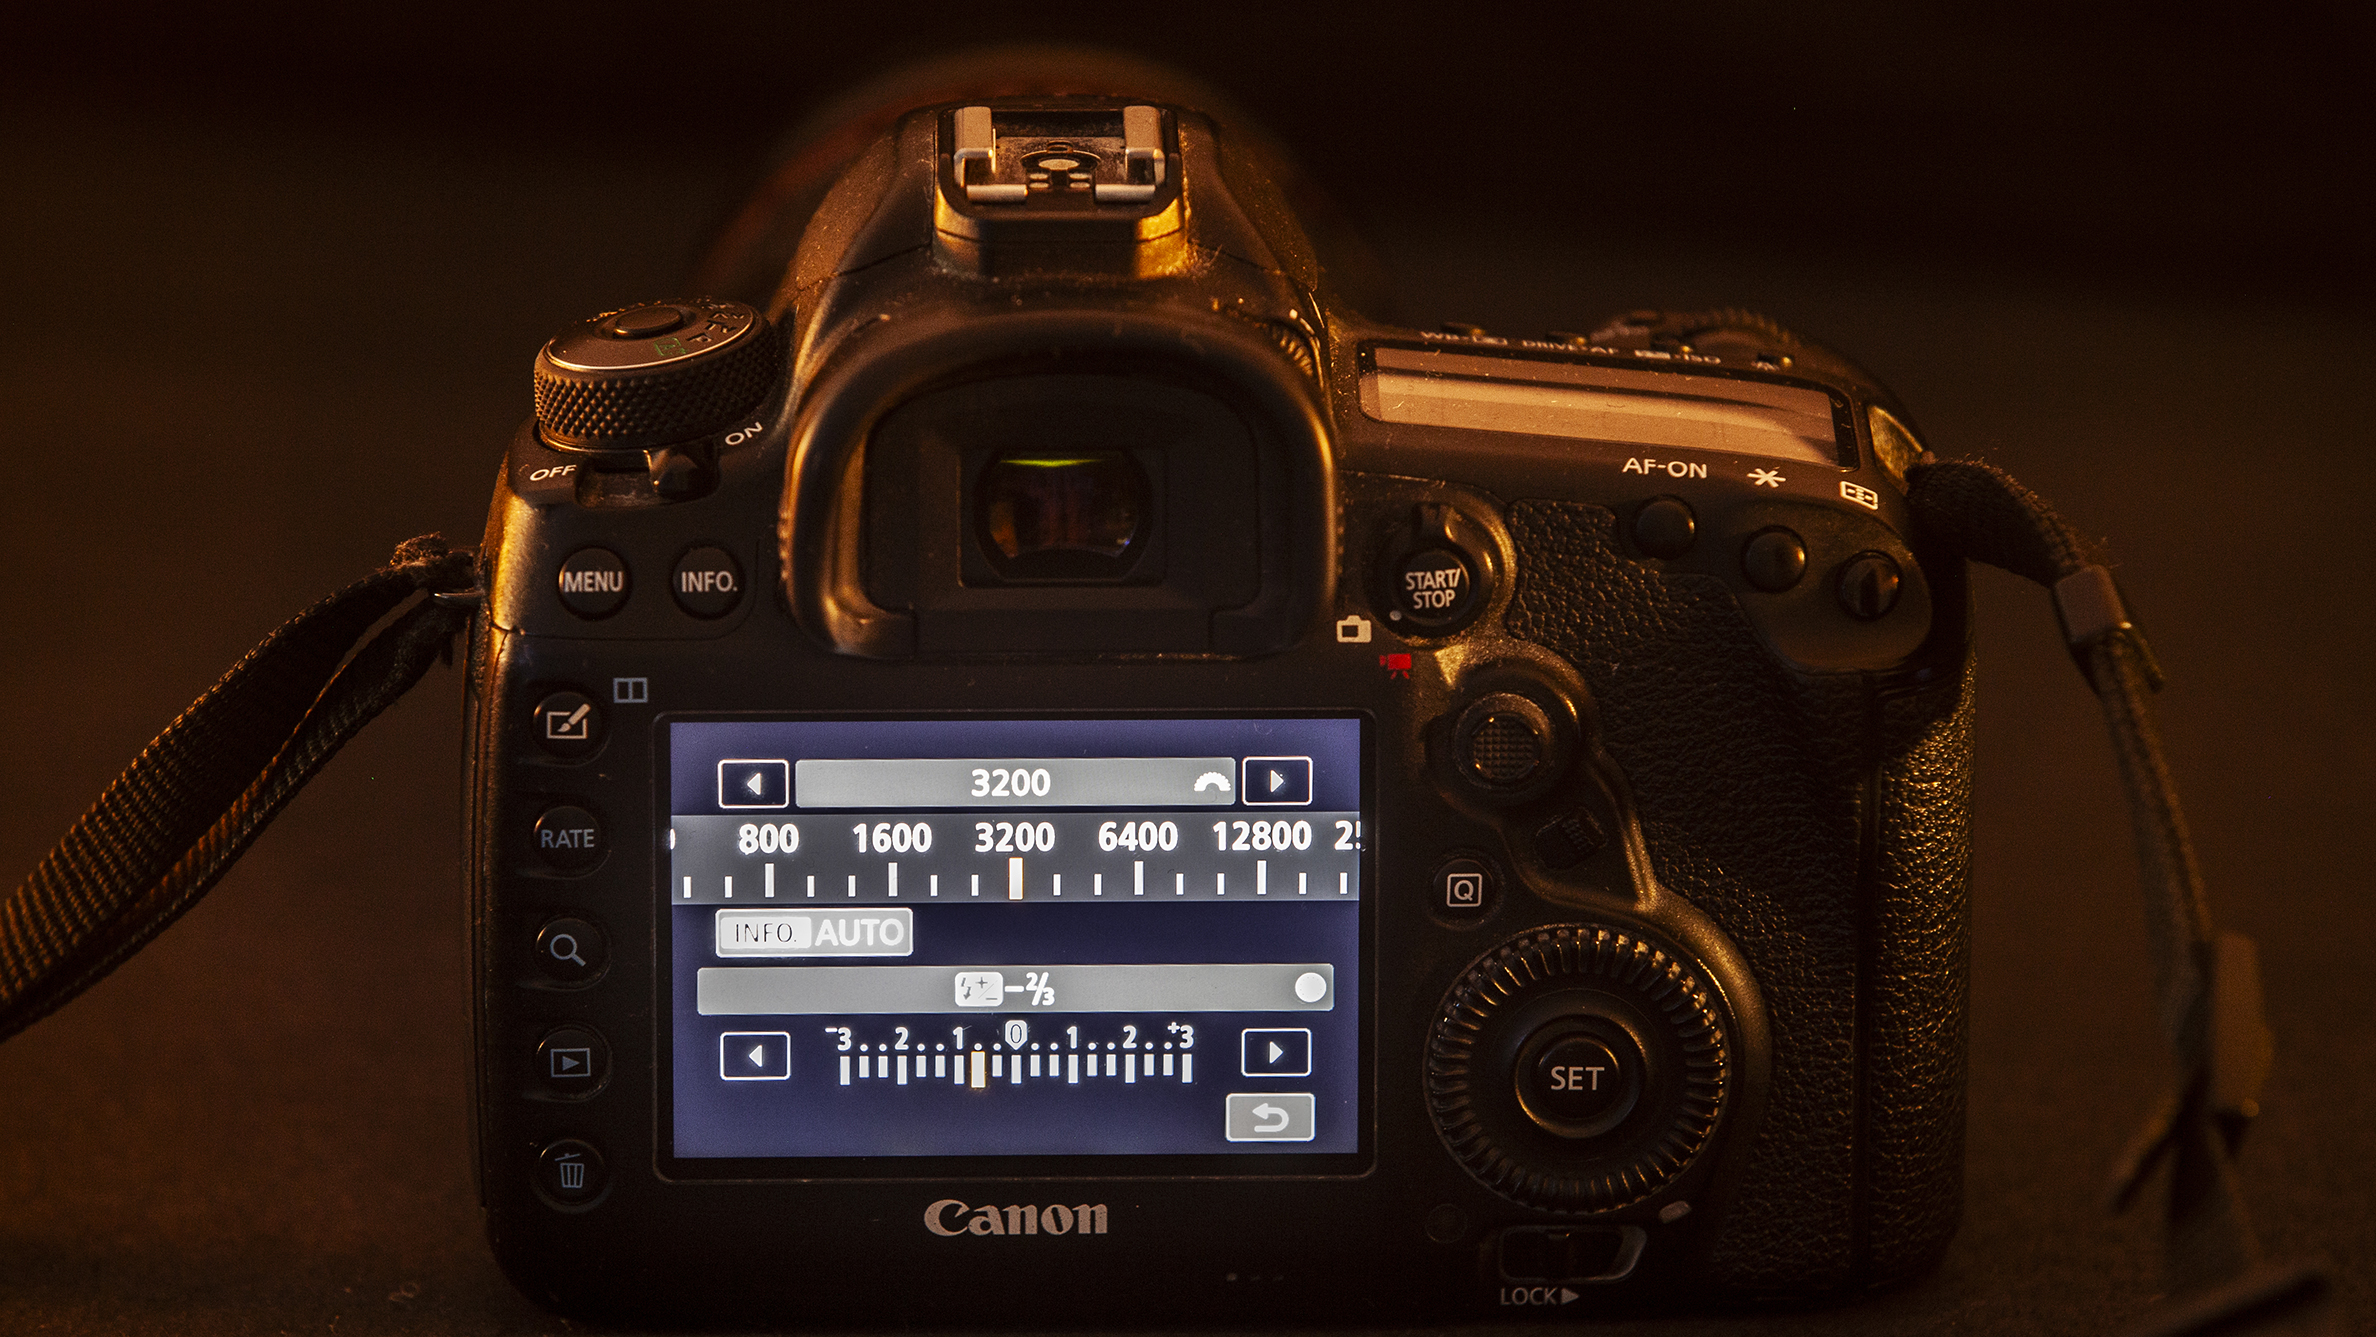
To ensure that your shutter speed is going to be fast enough to shoot handheld, you will need to raise your ISO. Don’t push the ISO too far, or your image will start to display noise – increase it just enough to achieve your minimum required shutter speed.
The best camera deals, reviews, product advice, and unmissable photography news, direct to your inbox!
3. Select a wide aperture
In these conditions, you should aim to get as much light into the camera as possible. Along with raising your ISO, selecting a wide aperture – such as f/4.5 or wider – will also enable you to select a faster shutter speed.
4. Burst mode
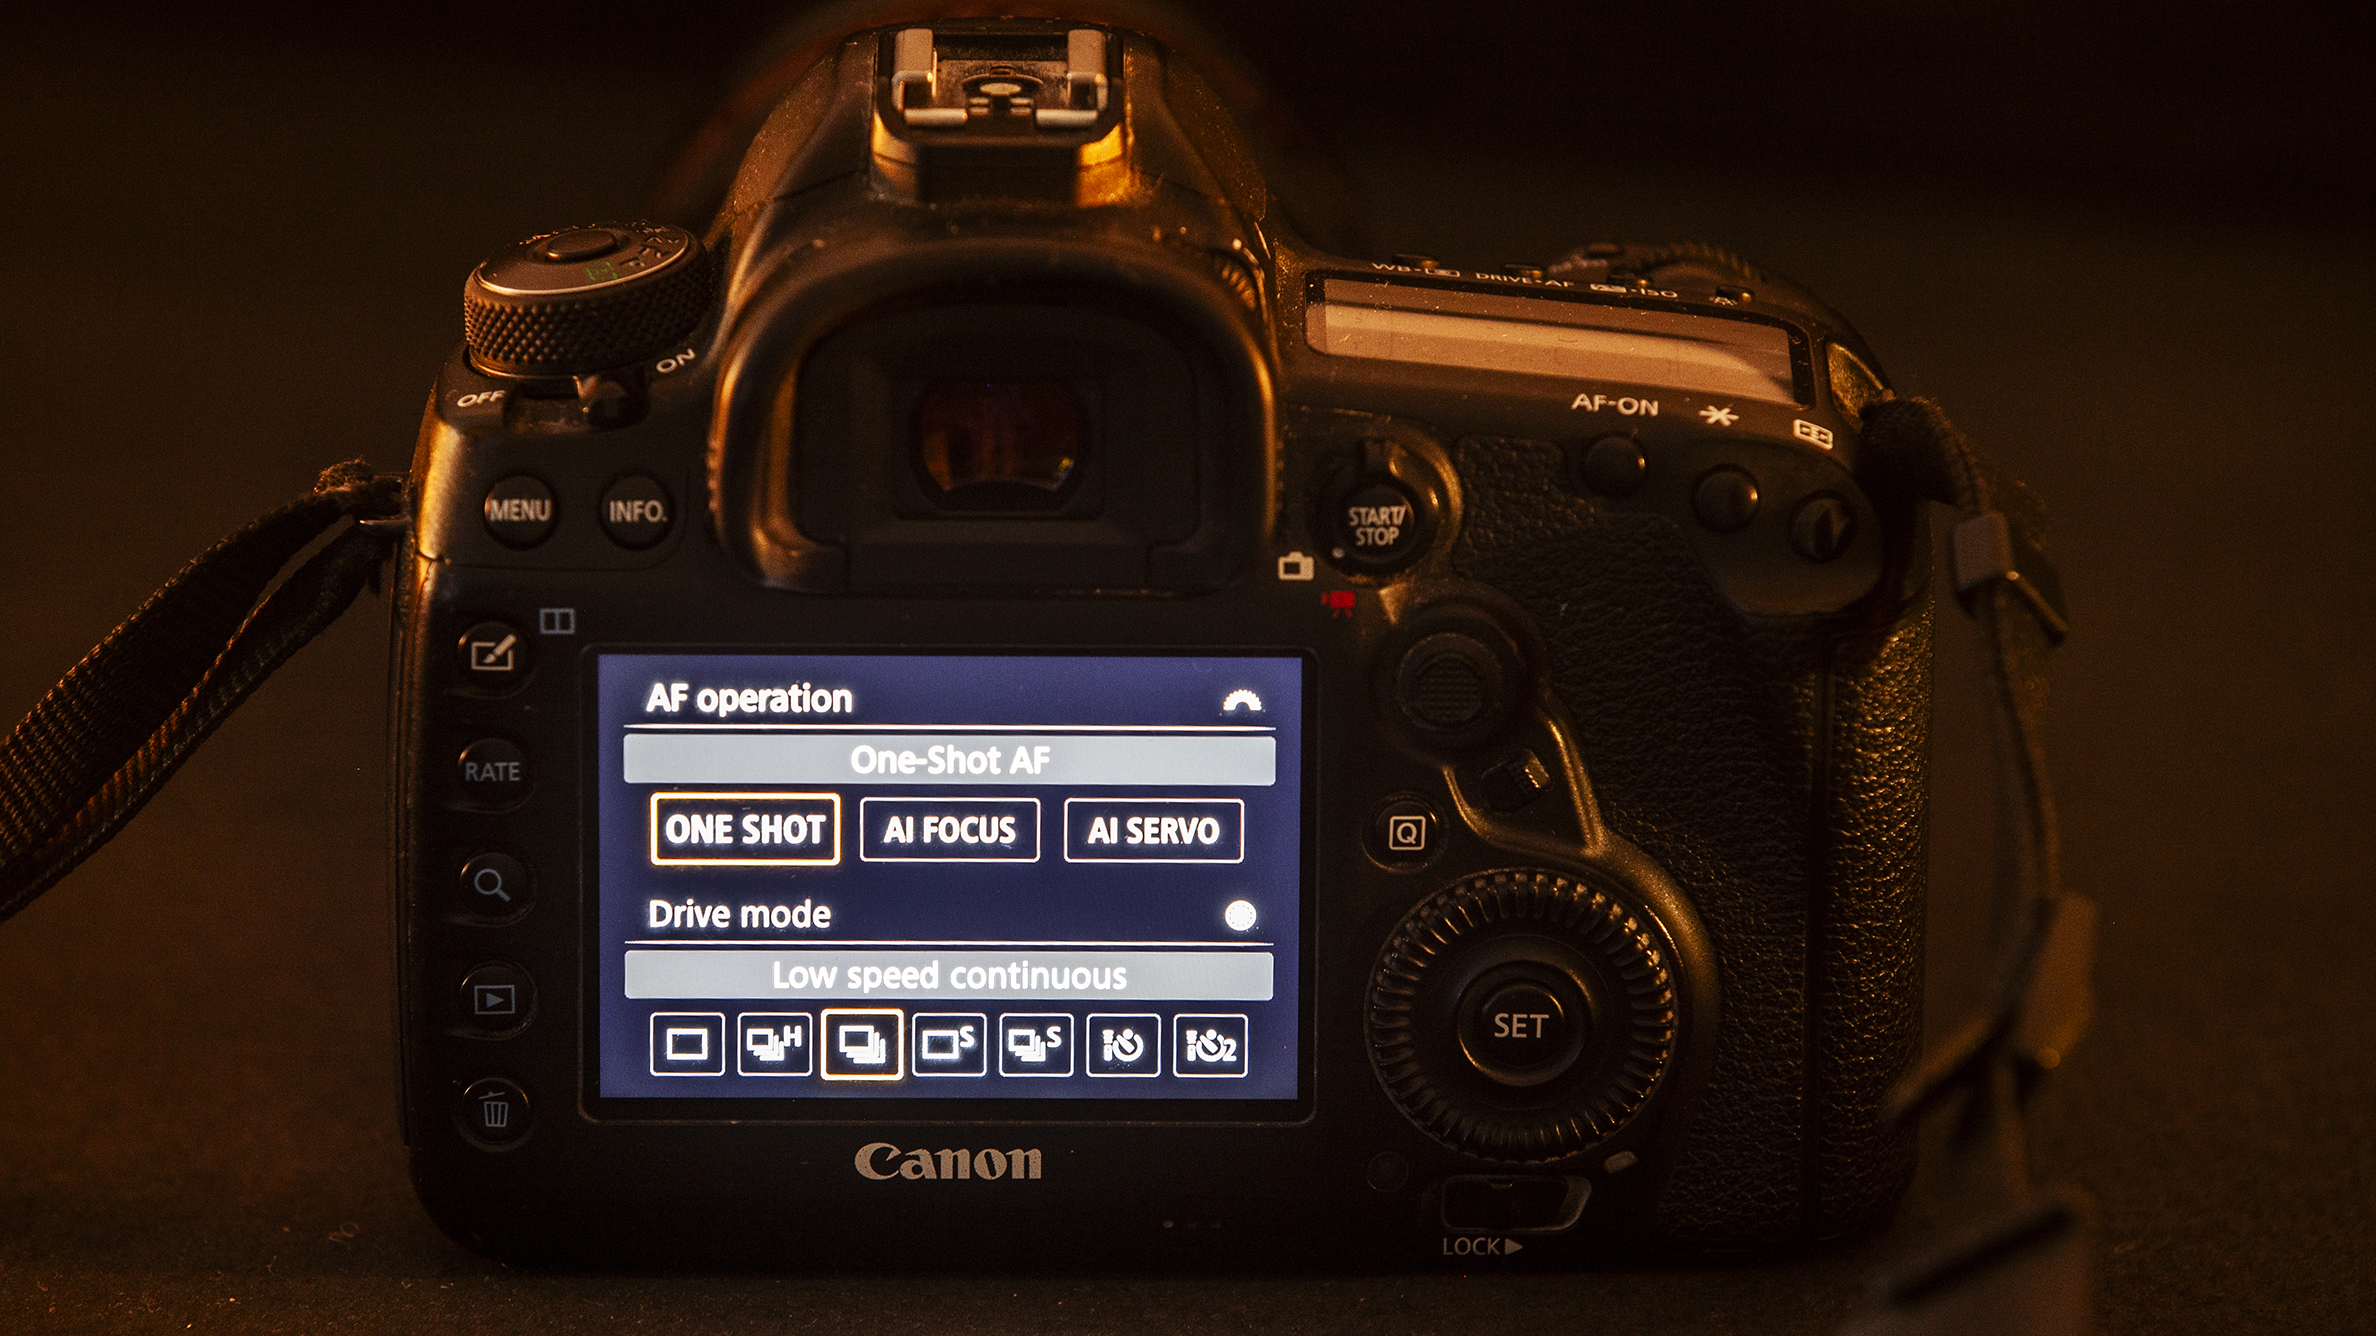
To maximize your chances of getting a sharp image that you are happy with, set your camera to shoot in burst mode. In a sequence of fast burst shots, the images in the middle of the sequence will usually be the sharpest.
5. Choose live view mode
On a DSLR camera, it can be difficult to see the scene through your viewfinder, especially in low-lit conditions. So switch to live view mode – and you might also find that you can get away with your shutter speed being a couple of stops slower.
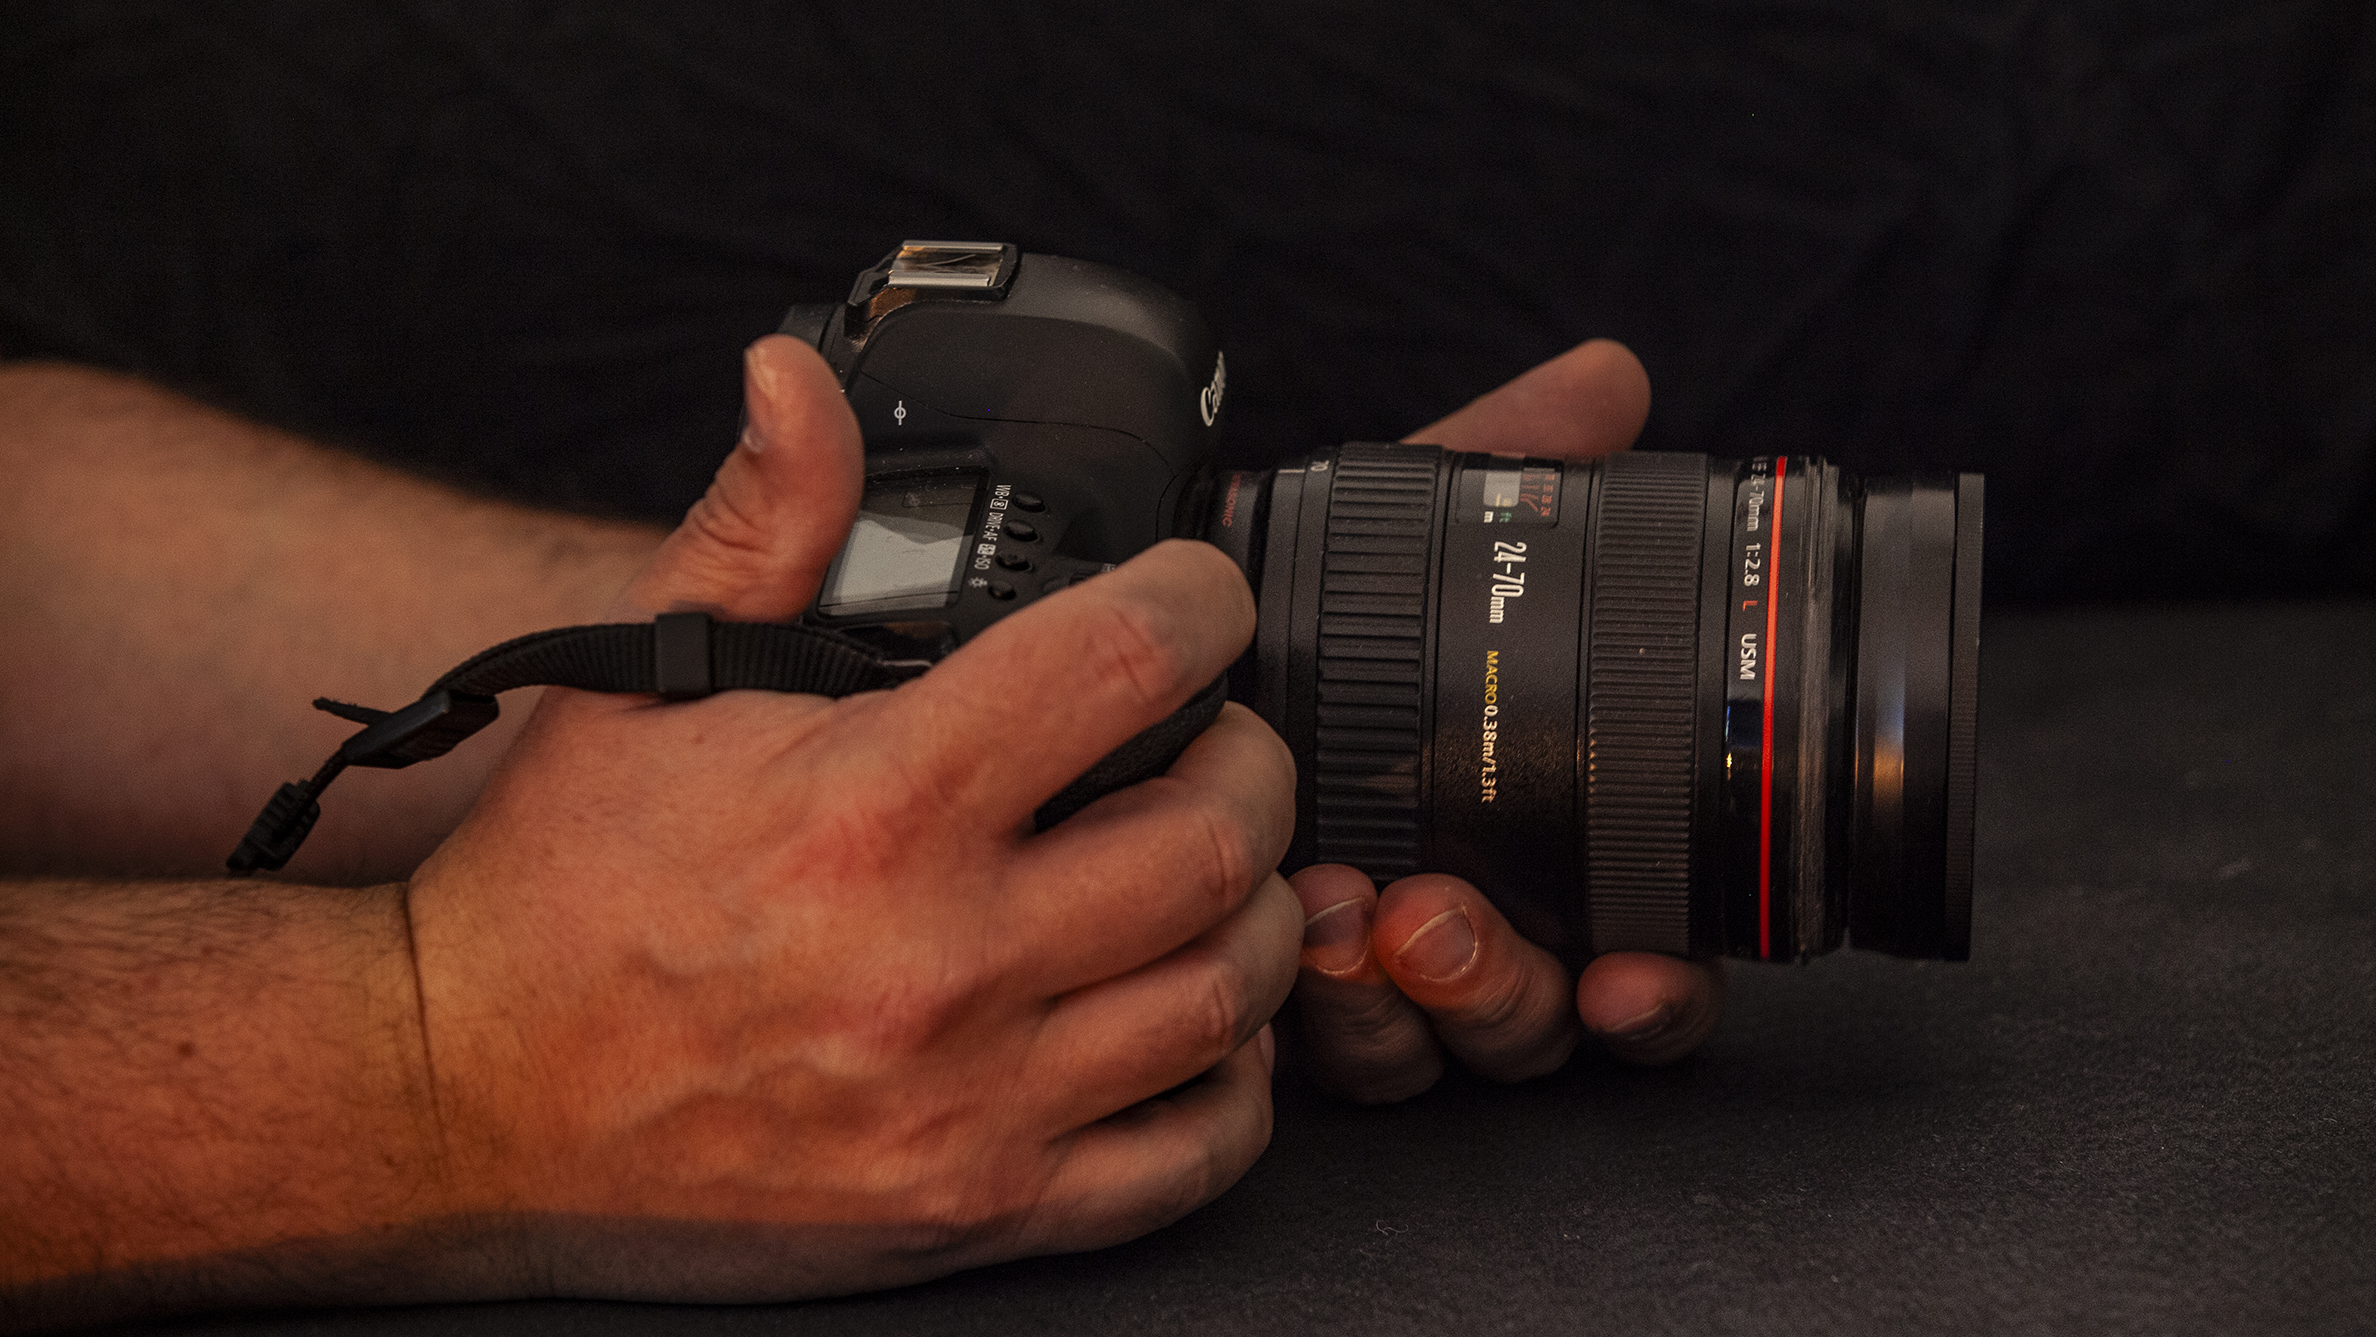
6. Steady yourself
Before shooting, make sure your stance is correct and that you are as steady as possible. Leaning against a wall, sitting down and even lying down with your elbows resting on the ground will make you much more stable, reducing the chance of camera shake.
Pro tips
1. Try practising this type of photography at home to help you become more accustomed to what you need to do when required.
2. Test your camera at different ISO levels to get an understanding of how high you can set your ISO before your images show unacceptable levels of noise.
3. If you have set your camera on auto ISO, make sure that you have also set the maximum limit.
4. Look for ledges and shelves, or even use place your camera on your camera bag, as an alternative to handheld photography in these conditions.
5. Be aware of any potential movement in the scene. If someone is moving, even slightly, you will likely need a faster shutter speed.
Editing steps
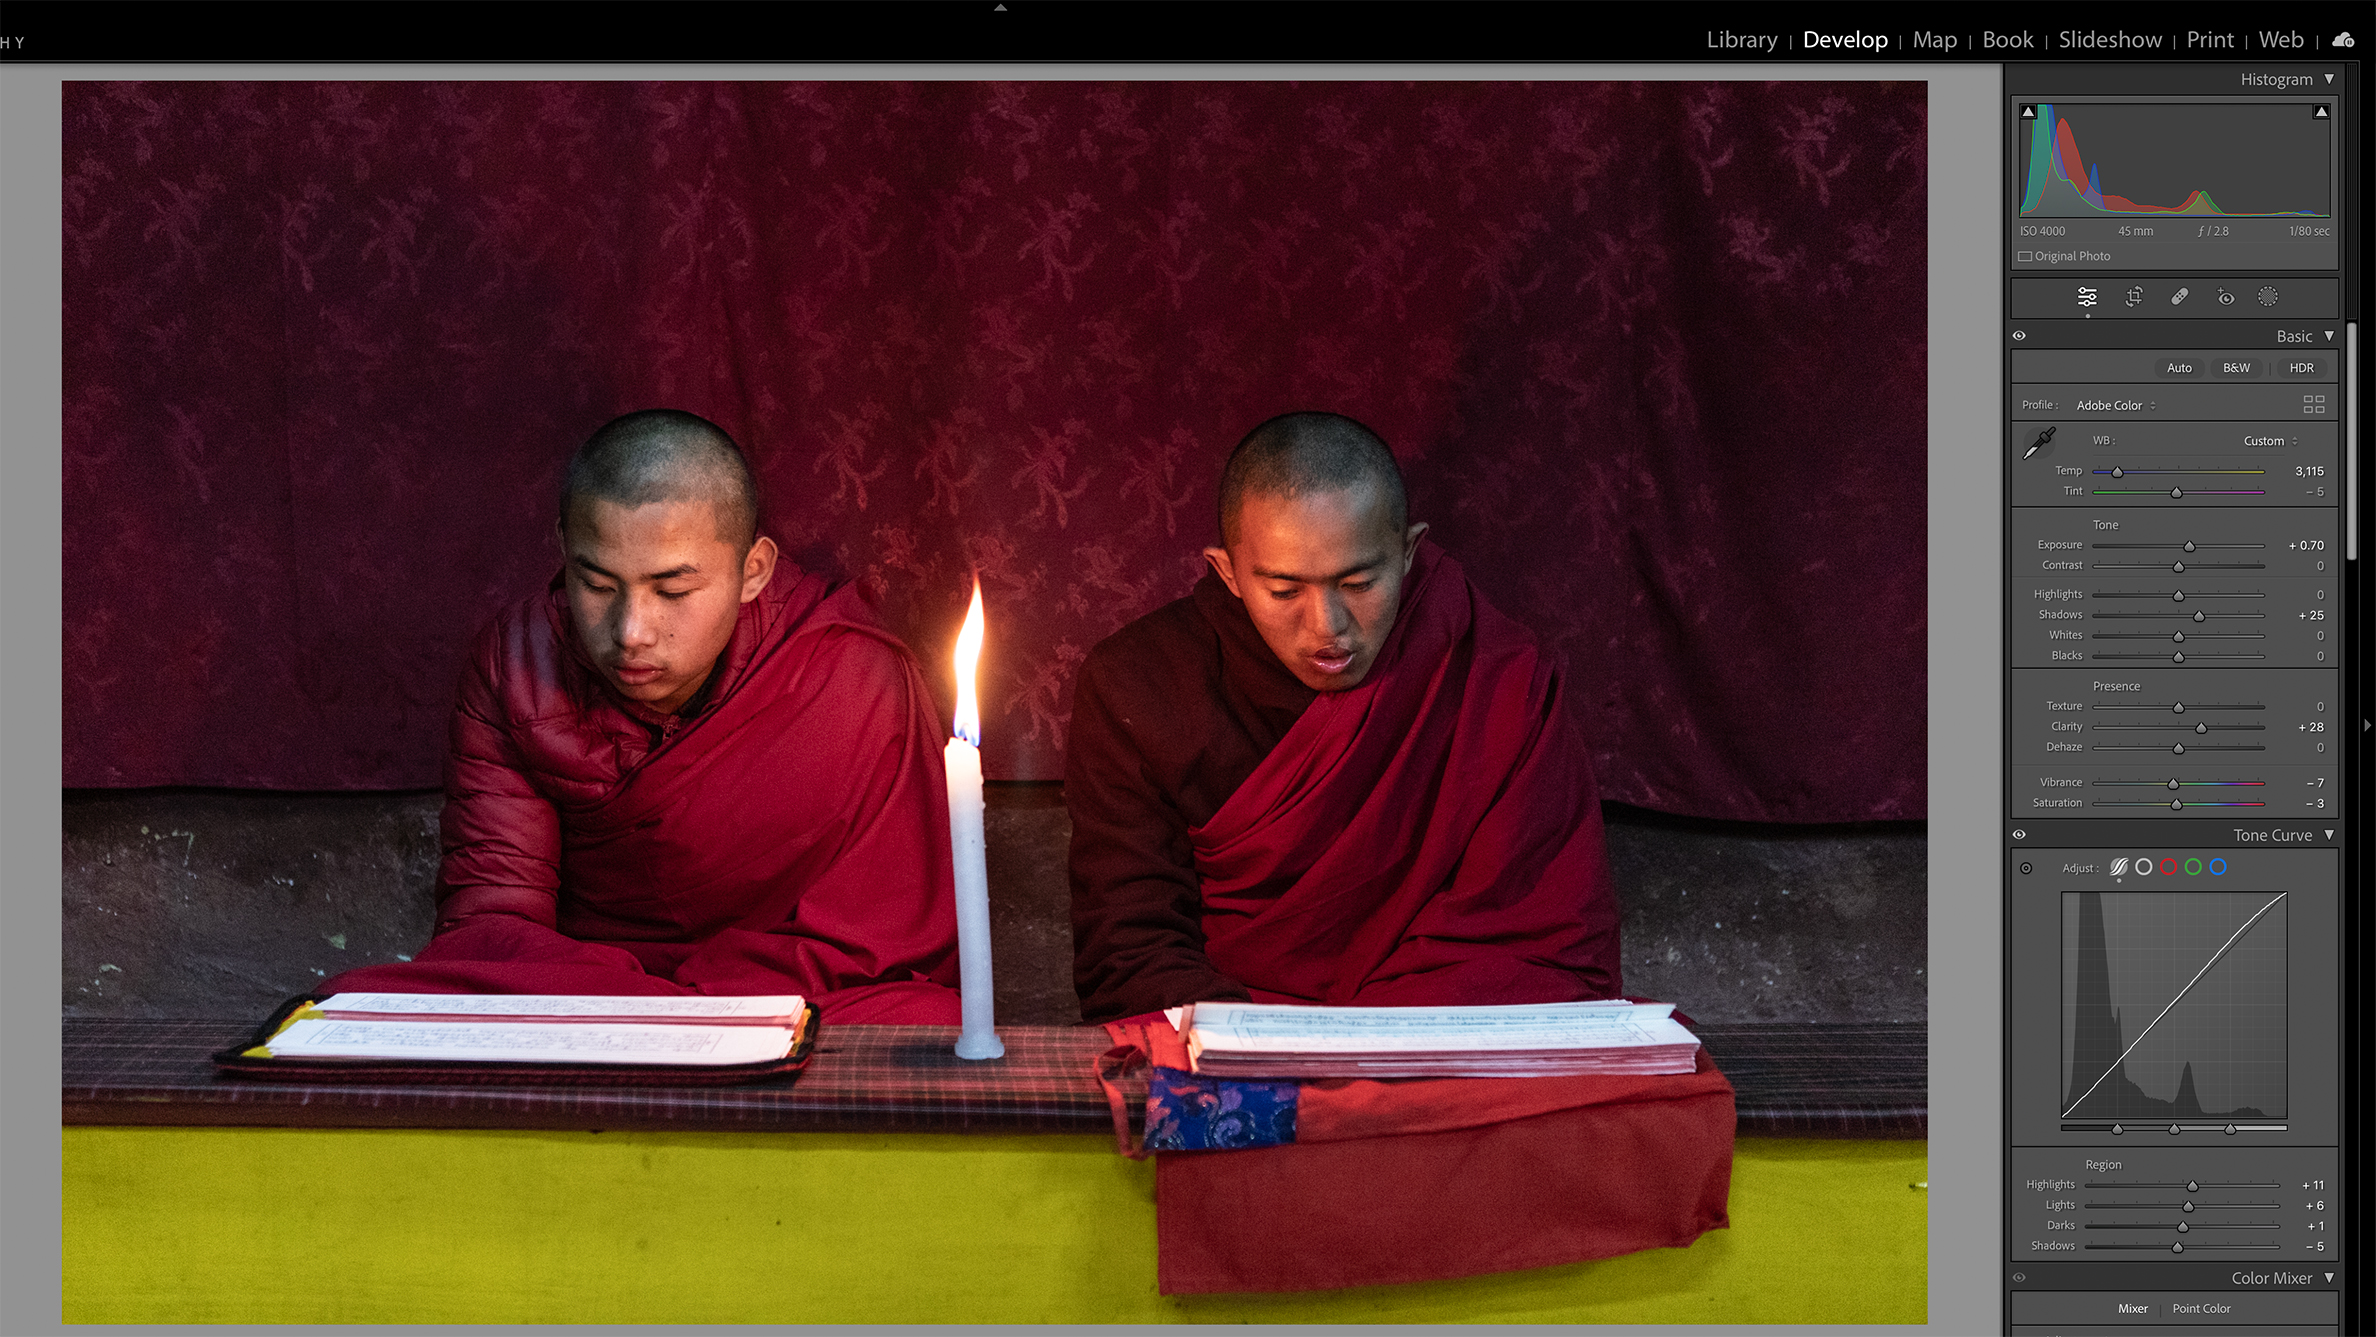
1. Brighten up
Naturally, when shooting in low-light conditions, you will find that your images will be slightly underexposed. In your preferred editing software, start by brightening the whole image as well as lightening up the shadows, which are too dark.
2. Add contrast
Here, I wanted to ensure that I maintained the general ambience of the scene, so I slightly increased the contrast using the Tone Curve. I also boosted the Clarity slider a little so that it added some more definition to the edges.
3. Adjust the white balance
Whenever you are photographing in these conditions with any sort of artificial light, you will need to check your white balance settings. Here I added a magenta tint to the image, which also benefits from being slightly warmer.
4. Check the saturation
The candlelight and the striking red robes dominated the scene, so I decided to reduce the overall saturation and vibrancy. This gives the scene a more natural look rather than the bright reds that were a little overwhelming.
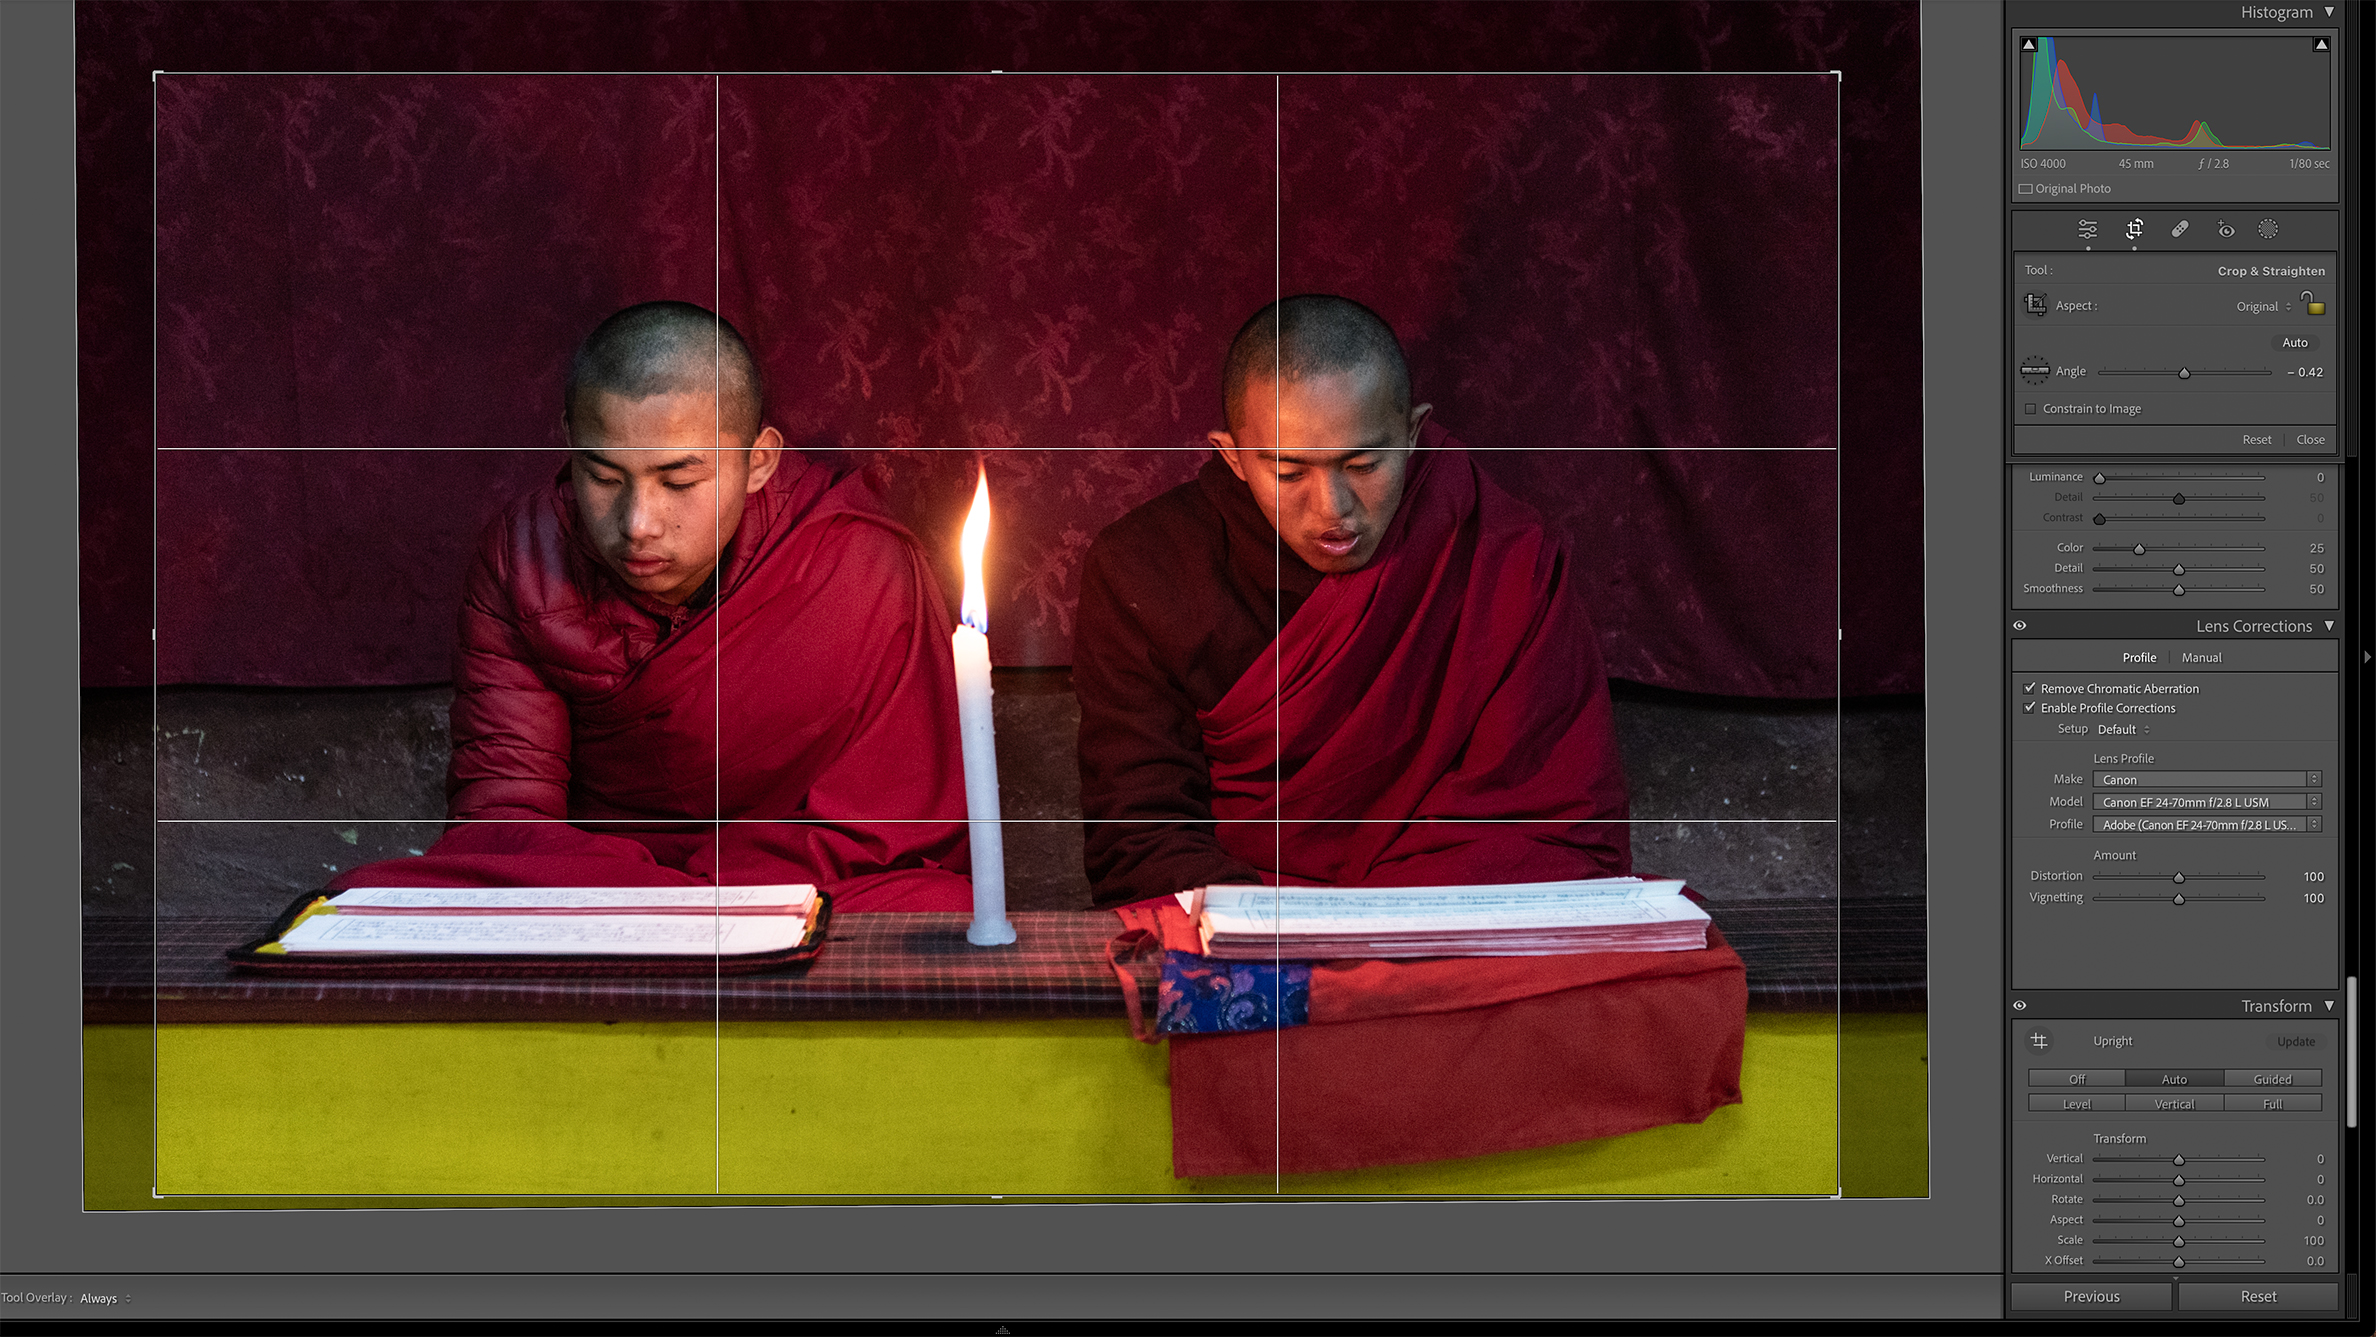
5. Crop the photo
On reflection, there was too much dead space around the main subjects (the monks) in the frame. So I cropped in slightly to remove the dead space at the top. I also checked whether the image was perfectly level and straightened it up.
6. Add vignette
For this type of image, where the viewer’s attention should be focused on the subjects in the centre of the frame, it can sometimes be a good idea to add a vignette. This darkens the edges and helps the viewer to navigate to the middle of the photo.
You might also like...
Browse the best low-light cameras, the best travel cameras and the best lenses for travel photography.
UK-based travel and landscape pro Kav shoots on assignment for editorial and commercial clients, and stock for high-end agencies. He has written over 400 articles on photography, judges a major travel photo contest and leads tours and workshops worldwide with the company That Wild Idea. In 2021 Kav launched JRNY travel magazine with fellow photographer Jordan Banks.
- Peter Fenech
- Kim BunermannStaff Writer
You must confirm your public display name before commenting
Please logout and then login again, you will then be prompted to enter your display name.
