Watch video: Home photography ideas – Bubbly bokeh shots
Photography projects at home
• Home photography ideas
Useful home photography kit
• Best tripods
• Best lighting kits
• Best reflectors
• Best macro lenses
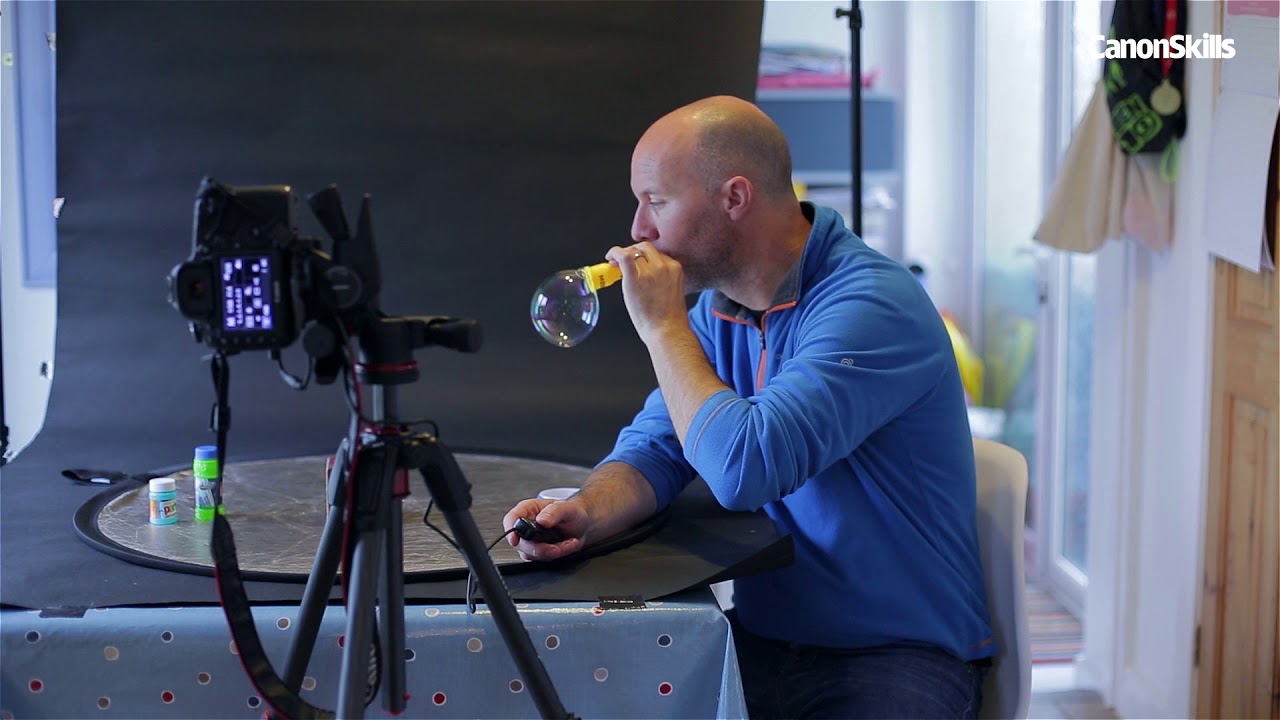
Photographing bubbles is a great way to experiment with your camera and get some fun, creative shots. However, rather than shooting outside and dealing with the elements, we’re going to use a simple setup indoors and a fast lens to capture some inspirational images.
We’ve set up a simple black background roll over a table, next to a large window for some nice sidelight. As we’re using a fast 50mm f/1.4 prime lens at its maximum aperture, our depth of field is going to be very shallow – ideal for capturing sharp bubbles as our principal subjects, along with lots of blurred bubbles for beautiful bokeh in the background.
• 10 best online photography courses

When shooting with a shallow depth of field, your focusing needs to be absolutely spot-on. So here we've pre-focused on a washing-up bottle, elevated on blocks, to set our focal plane for the bubbles we want to capture in sharp focus. Then removed the bottle, but we kept a block on the table-top that’s out of shot so we knew where to blow the bubbles.
After we were done, we took our shots into Photoshop to embellish our bubbles and to add a little injection of color to proceedings. Read on, get your bubble mix ready, and prepare for a fun photo project!
Get set up to shoot

01 getting set up
We’re using a black paper background so that the bubbles will stand out, and keeping things simple by just using window light to one side to light the bubbles. This way, you also get a nice reflection from the window in both sides of the bubbles.

02 Bubble solutions
We popped a reflector on the table-top to bounce some light under the bubbles. We bought different bubble mixtures to create different-sized bubbles for better variety in our shot; the yellow tube creates larger bubbles compared to the smaller blue pot.

03 Camera on tripod
Our camera is fixed in position on a tripod, which leaves our hands (and lips!) free to blow bubbles – and it makes it easier to combine images later in Photoshop. We’re using a remote control so we can fire the shutter just after we’ve blown the bubbles.

04 Fast lens
We’re using a fast lens to capture some of the bubbles sharp, and render bubbles in the background very blurry. We’re using a lens in manual mode wide open, for a very shallow depth of field, so that the bubbles behind will create a nice bokeh.

05 Exposure settings
The bonus of using a really wide aperture is that you end up with a fast shutter speed – ideal for capturing the fast bubbles! At ISO800 we could achieve a speed of 1/500 sec. Next we pre-focused on the washing-up bottle sat on blocks.

06 forever blowing bubbles
Now we just blow bubbles and press the button on our remote at the right time. We shot the bigger bubbles sharpest, then blew smaller bubbles 6-12 inches behind our plane of focus to capture blurry bubbles to fill the background area.
Post production

01 Batch process Raw images
Once happy with our shots, we need to combine the images in Photoshop. First we batch processed our 36 RAW images (we reduced blacks to get the background dark, and boosted contrast for the bubbles) and then output them as JPEGs.

02 Load the images into layers
From Bridge, instead of opening all the images in Photoshop and cutting and pasting them to make layer upon layer, just highlight all images, go to Tools > Photoshop > Load Files into Photoshop Layers, and Photoshop will create one image with layers.

03 Reveal all the bubbles
When Photoshop has sorted all the layers, simply highlight them all in the Layers palette (shift and click, scrolling down to the last layer) and select Lighten from the blending mode drop-down menu to reveal all the bubbles in each layer.

04 Move and adjust bubbles
You may discover that each layer of bubbles isn’t in the perfect place for the best composition. No bother, just highlight a layer and use the Move tool to shunt the bubbles around. We also used the Free Transform tool to adjust bubble sizes and move them to better spots.

05 Inject some color
To add some color we used the Hue/Saturation slider to change the colors of some of the larger bubbles. If any bubbles are too distracting, delete them or highlight their layer and reduce the Opacity to 60-70% to darken them.

06 Final touches to finish
We saved a JPEG image (which flattens the image into one layer) and boosted the overall image using Curves. By creating a strong S-curve we were able to darken the black background and lift the bubbles for a high-contrast shot with great impact.

Read more:
The best 50mm lens: Which 'standard prime' is the right one for you?
The best Canon lenses: go longer, wider and closer with your Canon camera
The best Nikon lenses: expand your Nikon DSLR with these lenses

