Canon School: how to use Canon's Auto Lighting Optimizer camera setting
Part 5: Find out how Canon's subtle in-camera Auto Lighting Optimizer setting can open up the shadows in your shots
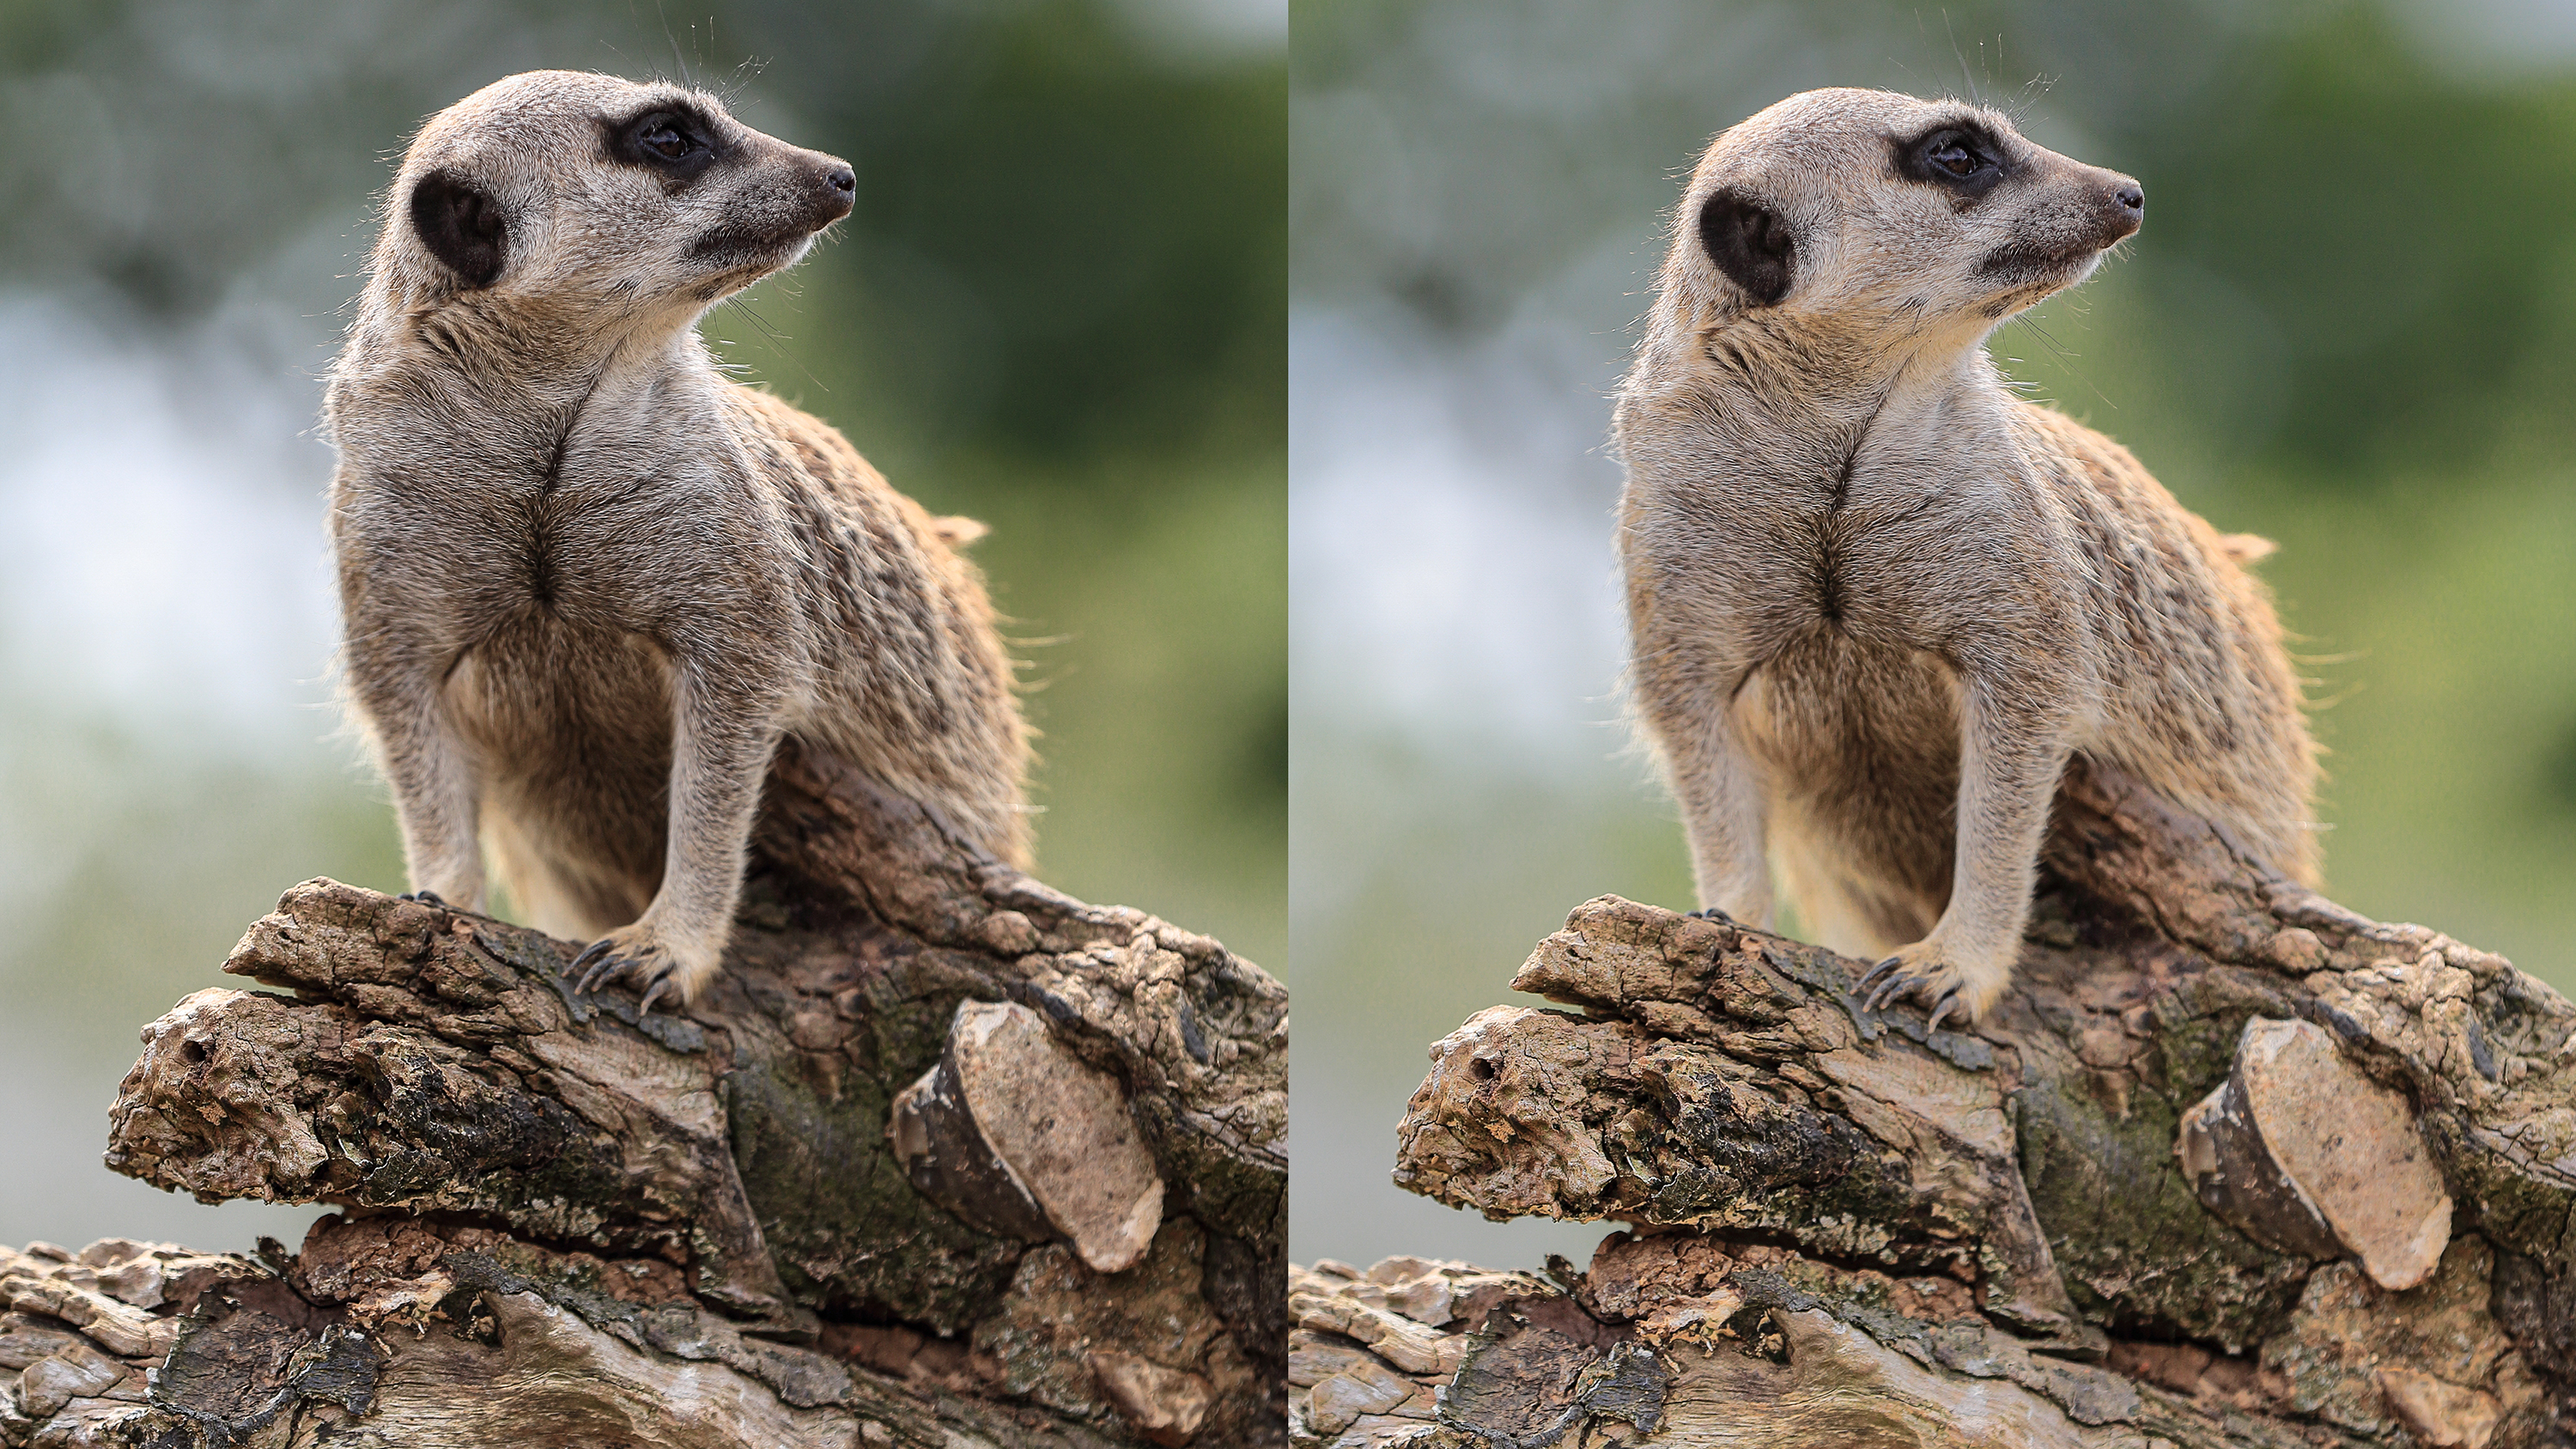
Welcome to our new Canon School tutorial series part 5. Find out all you need to know about the Auto Lighting Optimizer function on Canon EOS cameras.
Canon’s Auto Lighting Optimizer (ALO) debuted in the EOS 450D/EOS Rebel XSi back in the spring of 2008, and yet ALO continues to be a big feature in Canon’s EOS cameras, spanning the entire DSLR line-up, from beginner-friendly EOS 1300D, to the pro flagship EOS-1D X Mk III – as well as the EOS R and EOS M mirrorless range.
But what even is ALO and how does it work? Well, the first thing to note is that it’s an image processing setting, similar to White Balance and Picture Style. This means that it’s only applied when images are saved as JPEGs – whether that’s done in the camera when you take a picture, or when Raw files are processed in Digital Photo Professional software. Third-party software won’t recognize the ALO setting, so you’ll have to manually make adjustments to shadows and highlights there.
1. Auto Lighting Optimizer
Unlike White Balance and Picture Style, you can’t customize the Auto Lighting Optimizer effect. You can adjust the strength, or switch it off, in a similar way to High ISO Noise Reduction, but that’s it. There’s a lot going on ‘under the hood’ though.
What ALO does is selectively modifies the shadows and highlights to give you a better-looking shot. That’s the theory… It does this by analysing the contrast in the photograph and applying tone curve adjustments, in a similar way that you might use the Curves control in Photoshop, Lightroom and practically every other photo editing software.
2. Give me strength
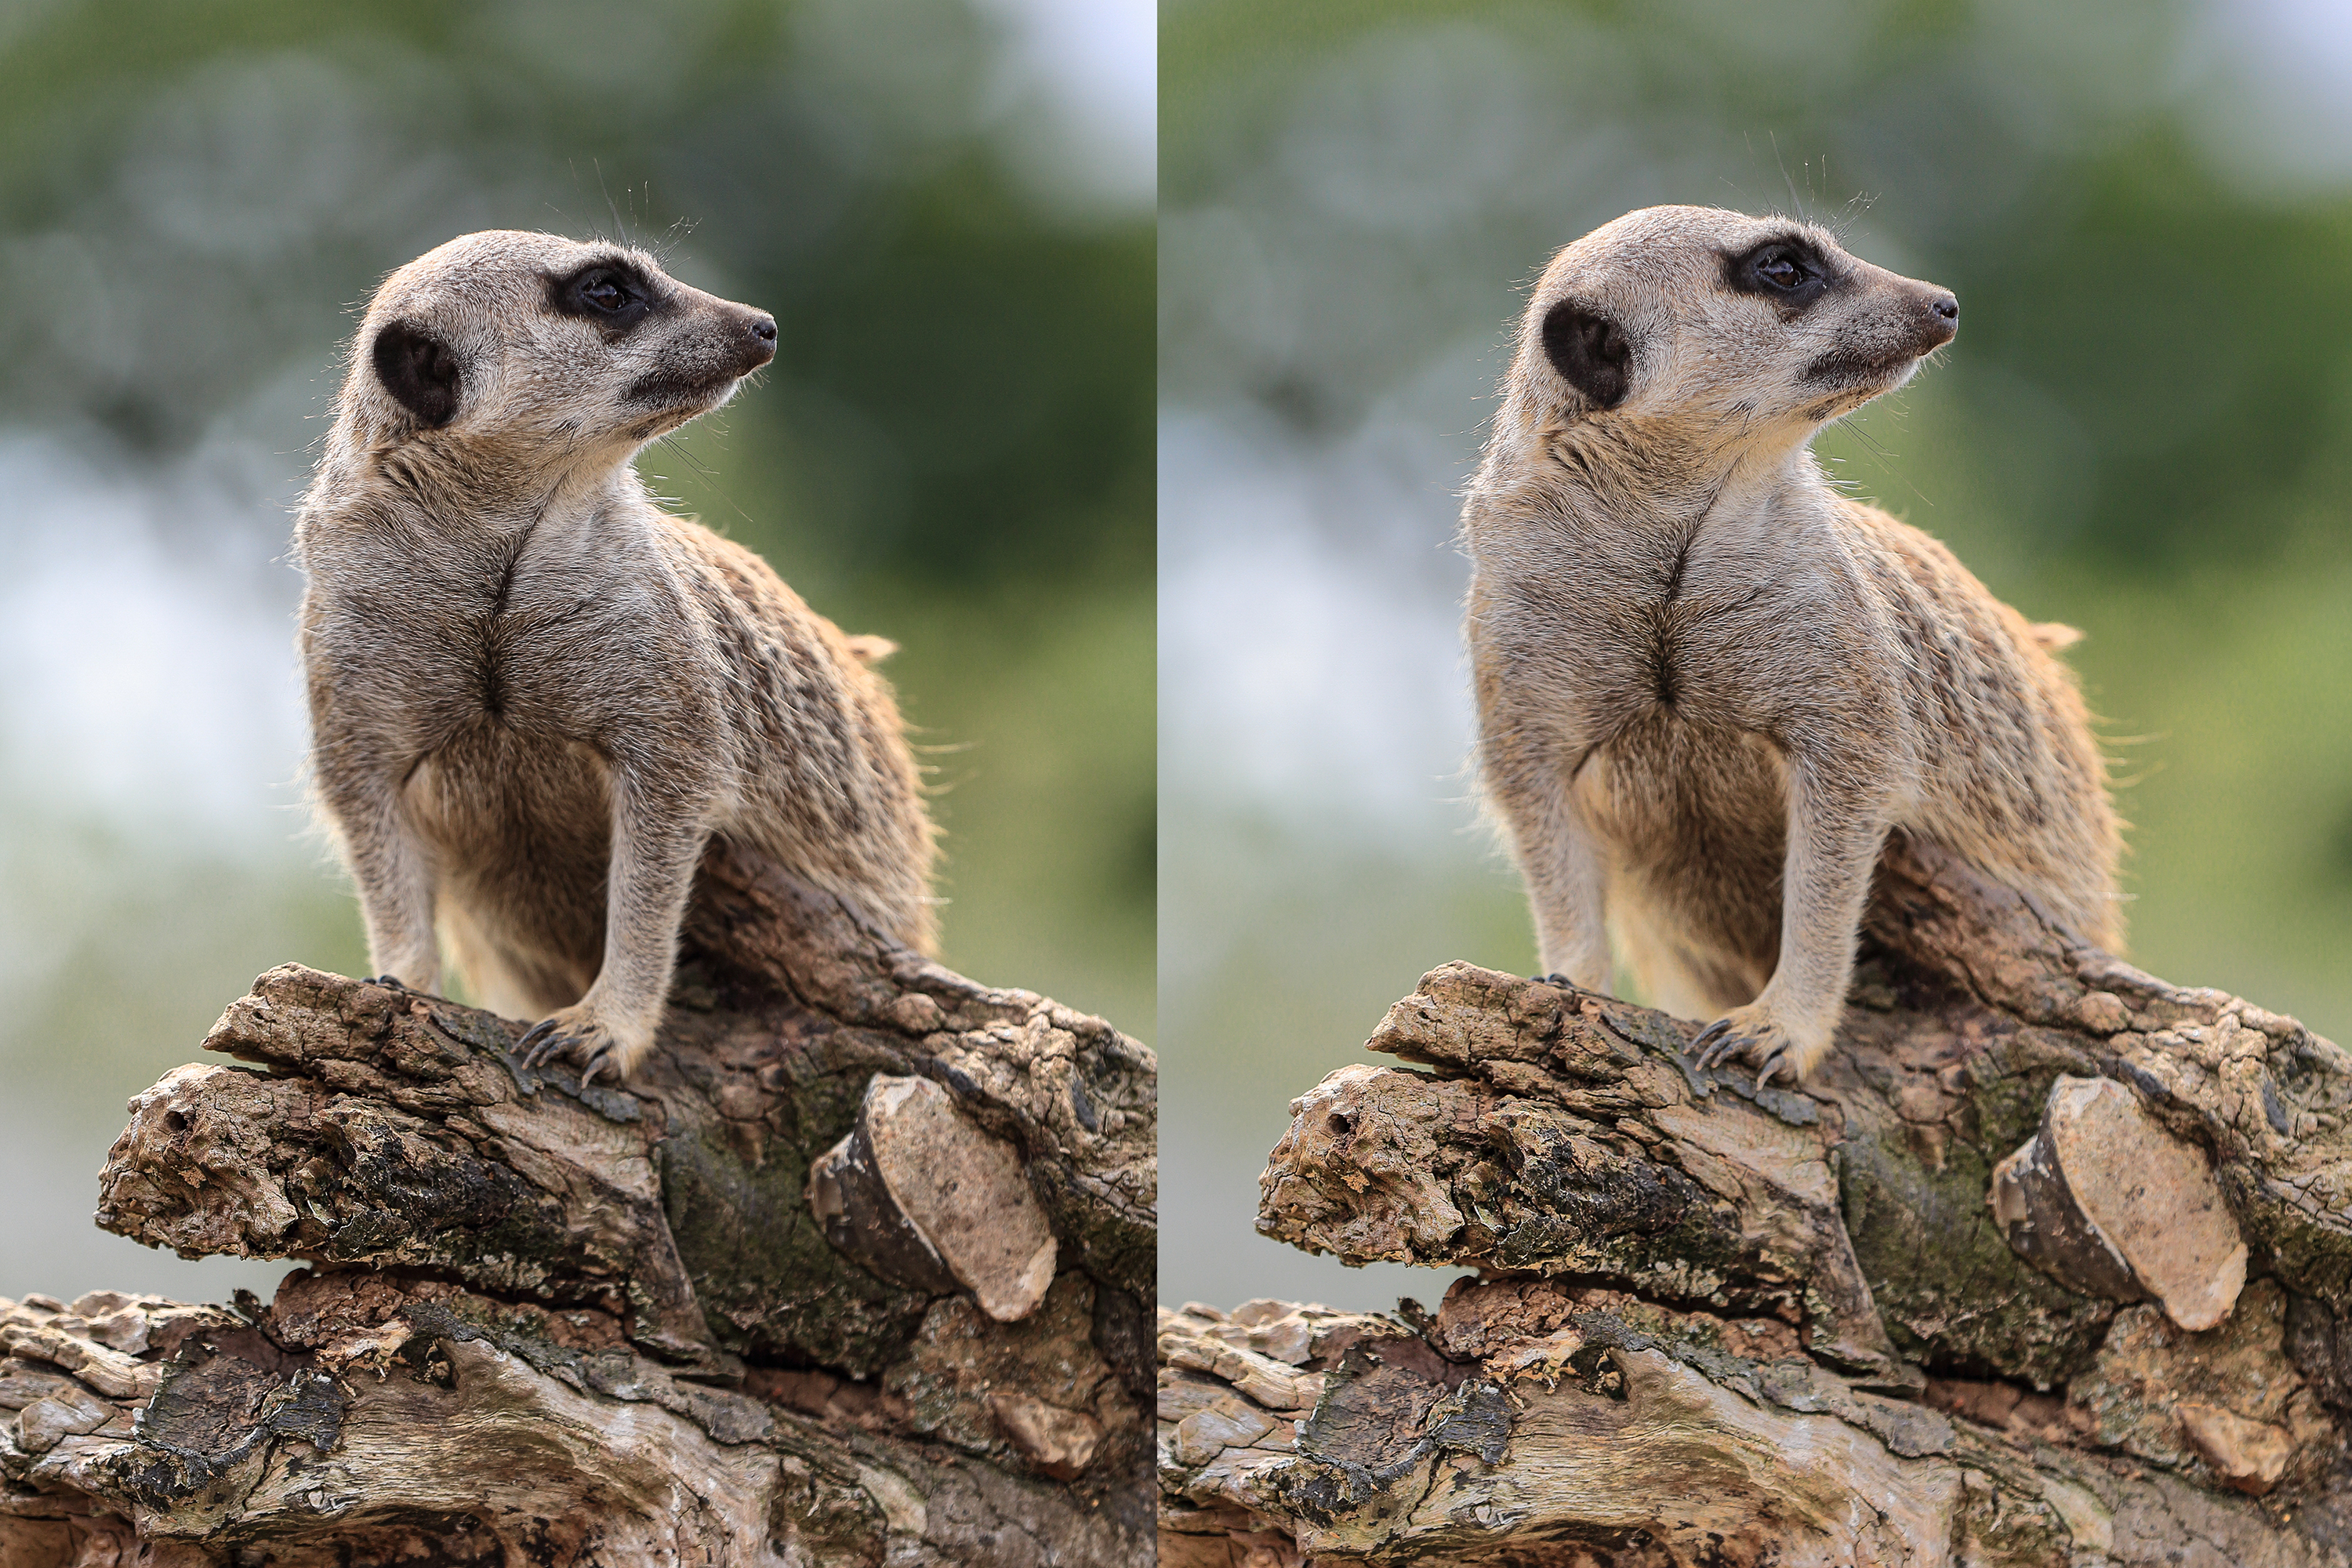
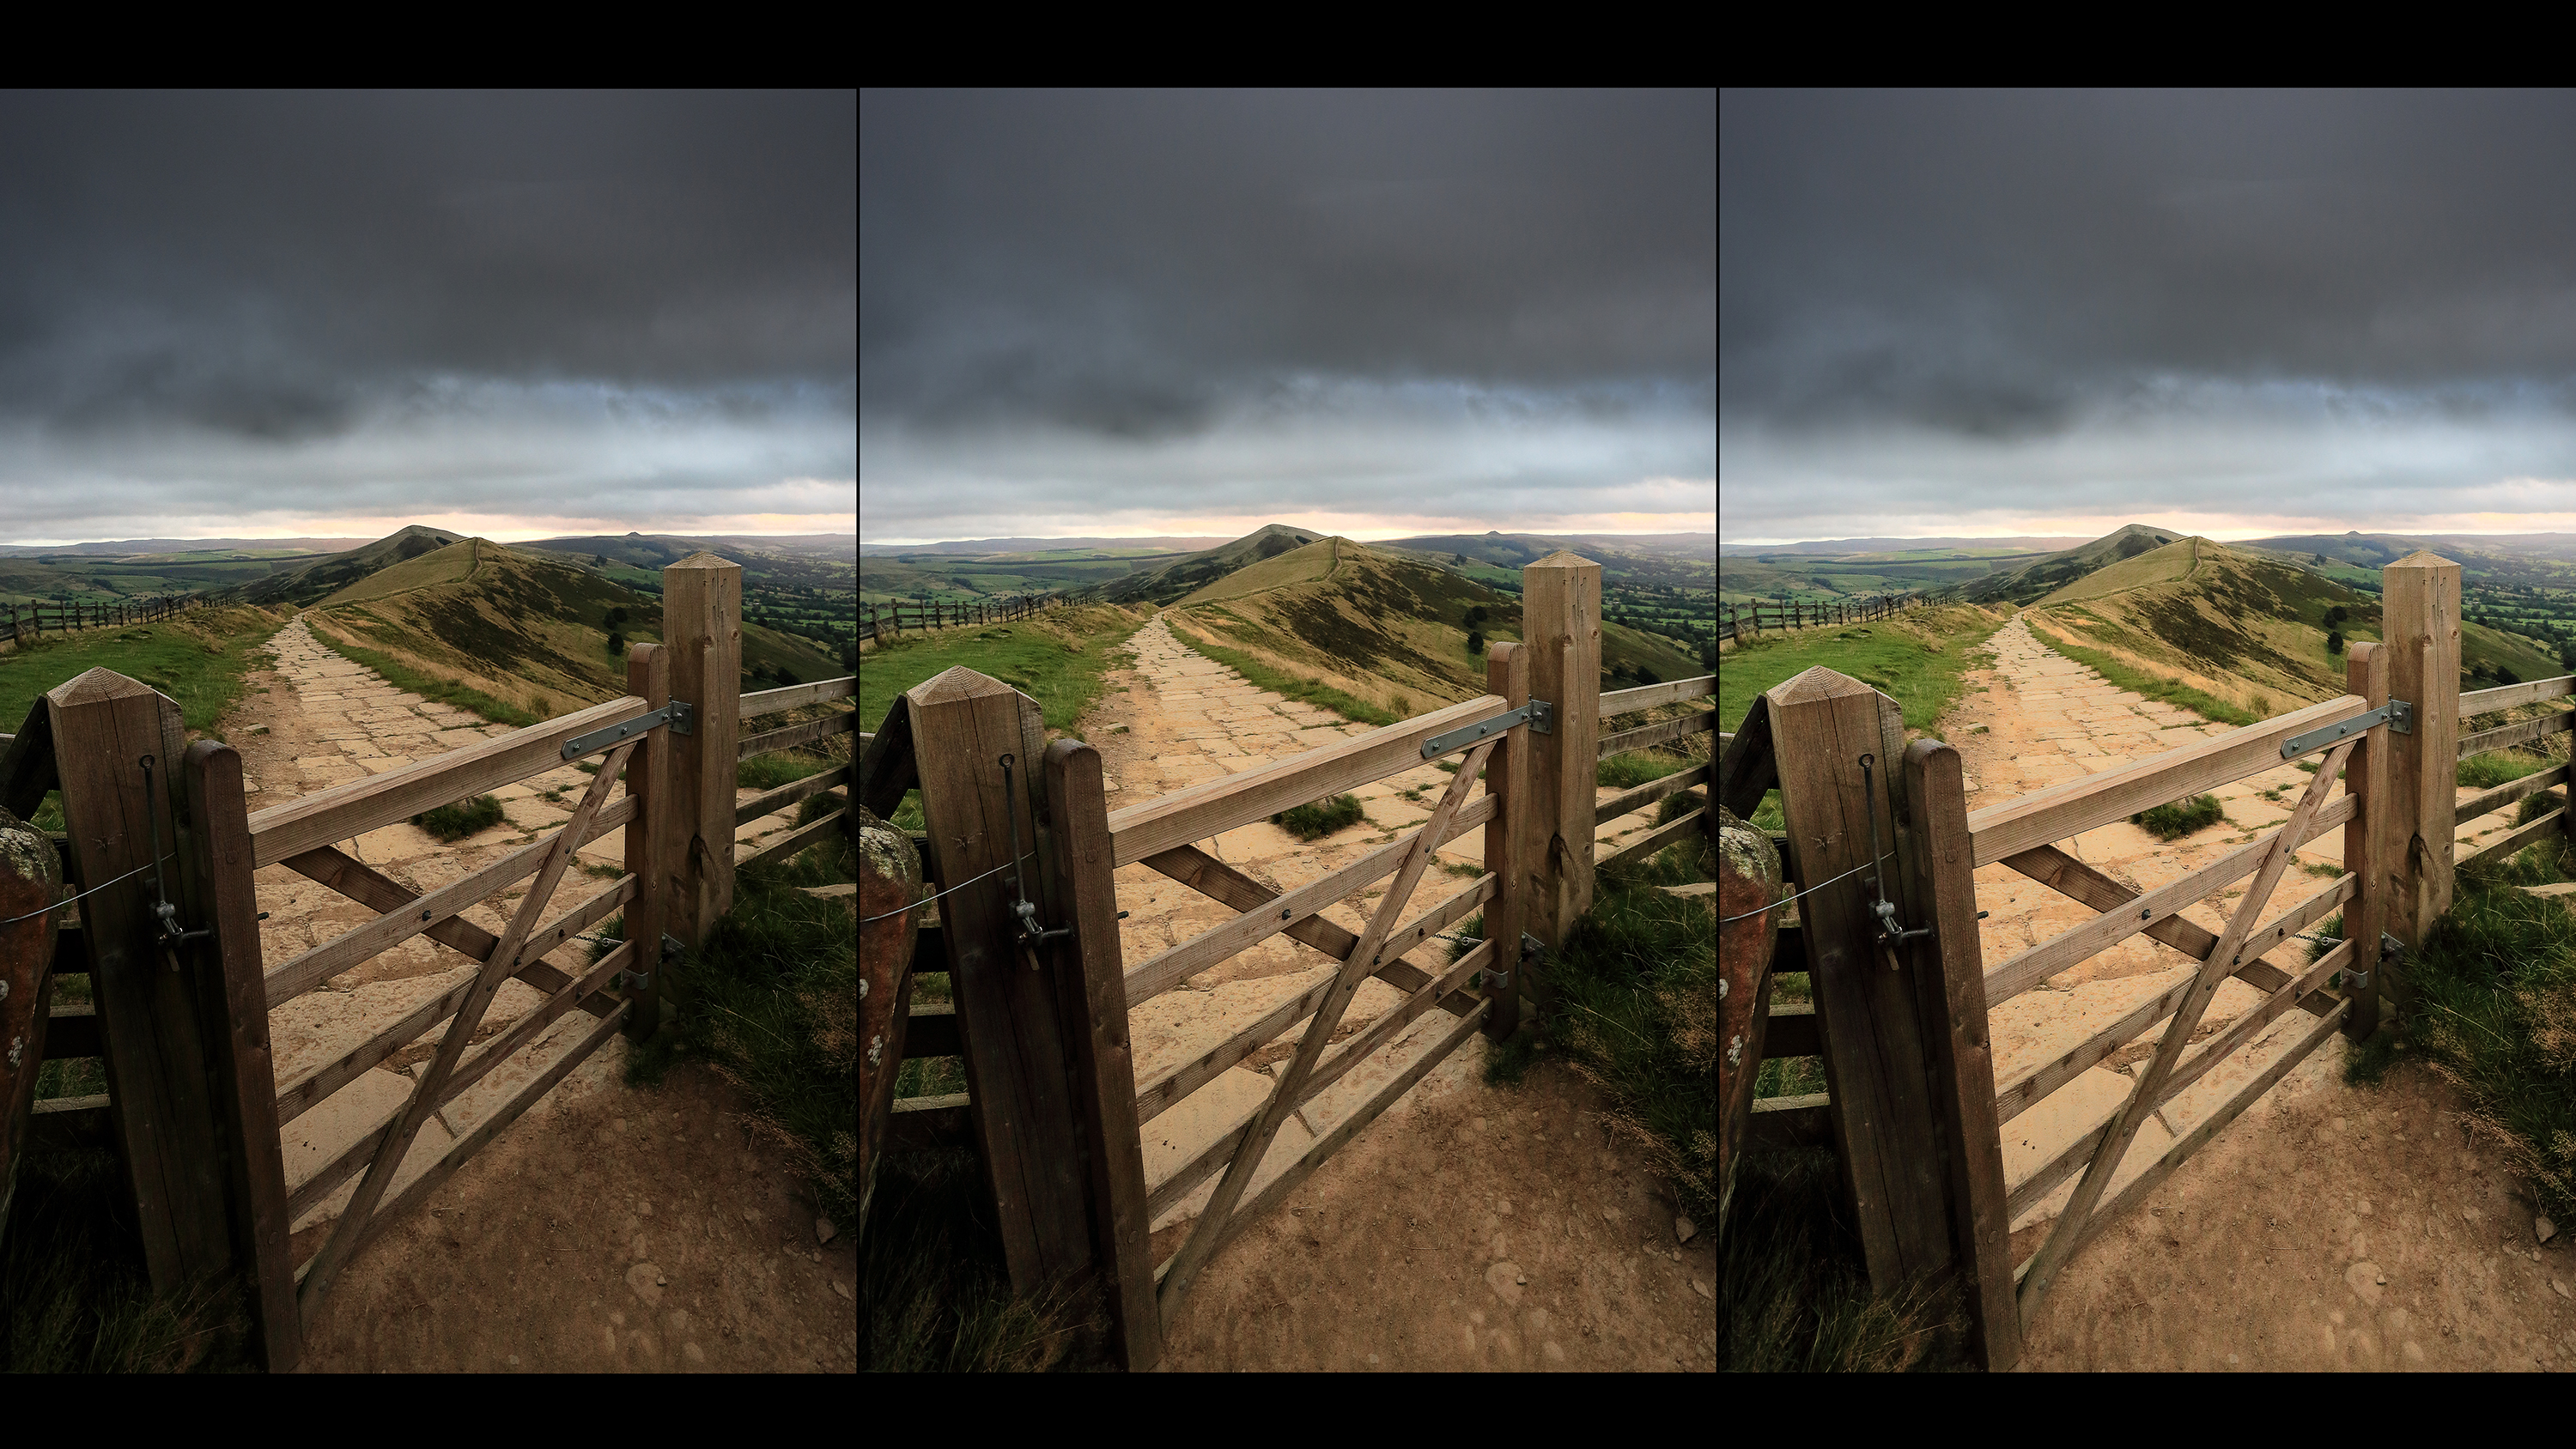
There are three ALO strength settings to choose from: Low, Standard and High. EOS cameras are shipped from the factory with ALO enabled by default and set to Standard in the Creative Zone modes (eg Av, Tv, M) but you’re free to choose one of the other strengths or disable it. In the Basic Zone modes, however, you will be unable to override the Standard setting. Depending on the type of subject or scene you’re shooting, the difference between the three settings veers from understated, to pronounced. High-contrast or backlit scenes, which ALO was essentially designed to tame, show the strongest variation between the three settings. Even then, the Strong options can deliver subtle adjustments.
The best camera deals, reviews, product advice, and unmissable photography news, direct to your inbox!
This is all about image refinement, rather than in-your-face HDR-style manipulation, and ALO does a good job of preserving the natural look of a scene.
3. Canon camera menus
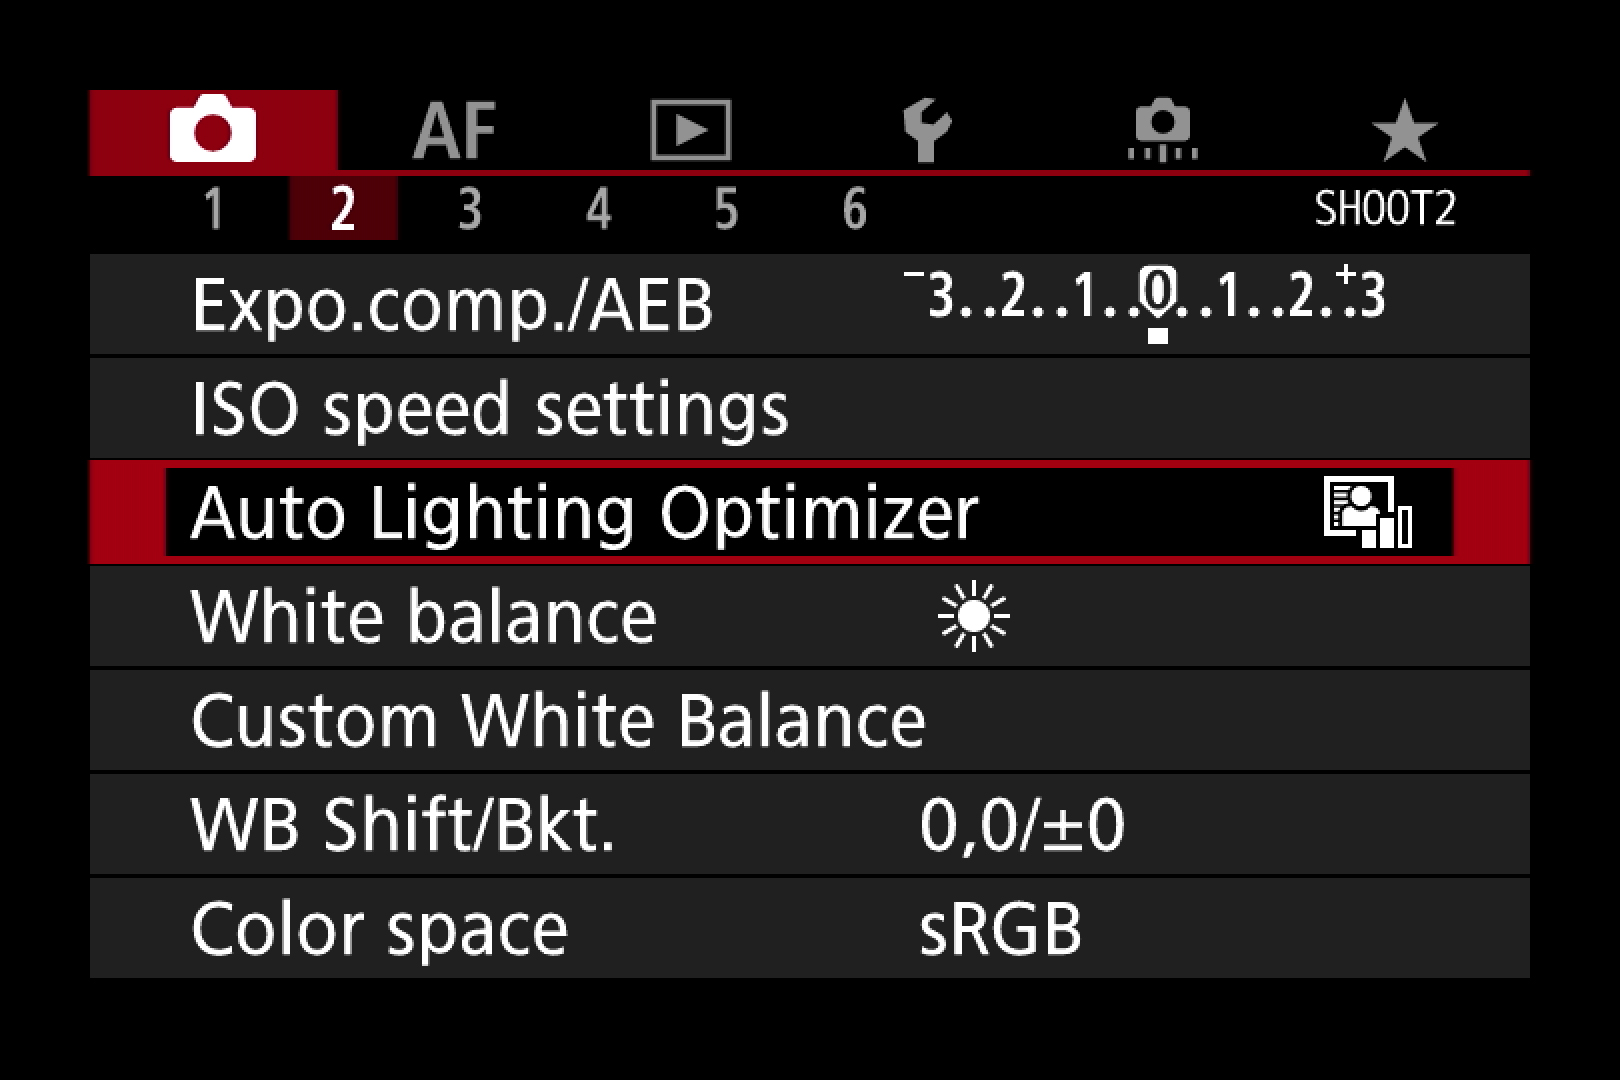
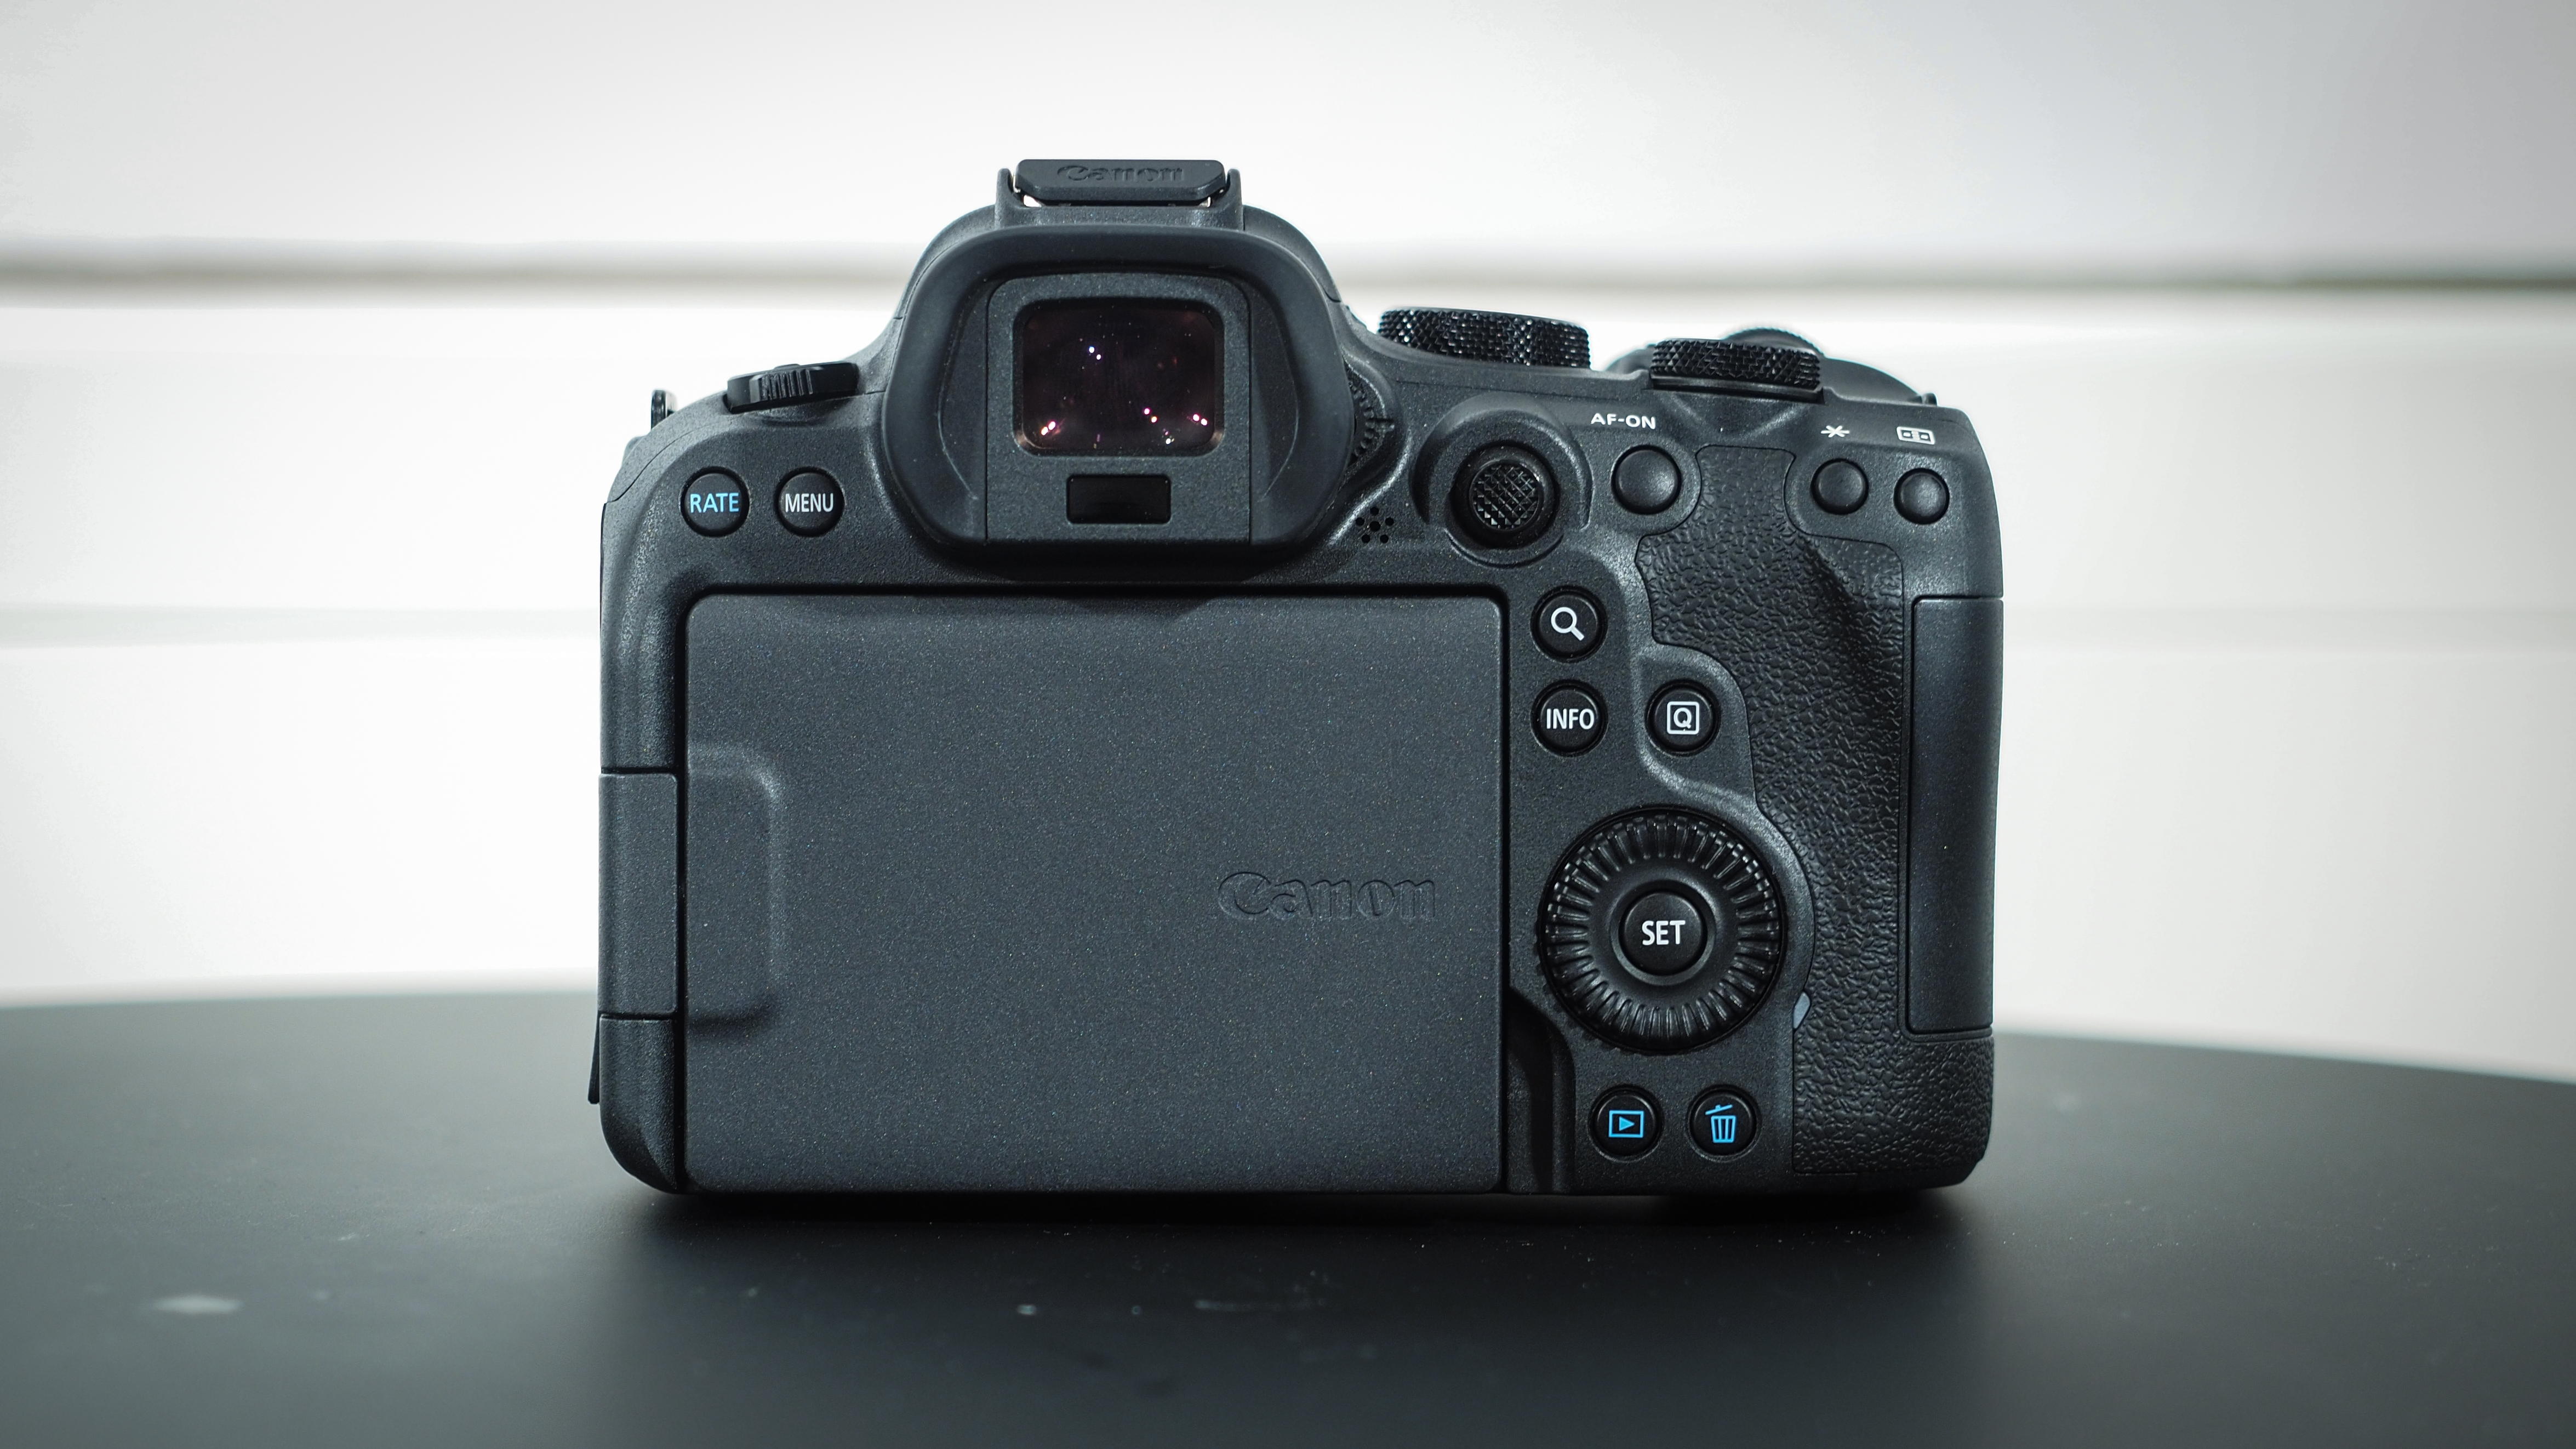
You’ll find ALO up front in the red Shooting menu of EOS DSLR and EOS R mirrorless cameras, usually on page 2 or 3. It’s also a Quick Control Screen and Quick Menu staple, allowing you to make adjustment on the fly while you’re shooting. If you shoot Raw files, then you can play with the ALO setting when you process the images via the rear screen (on compatible cameras) or in Digital Photo Professional.
4. Checking the histogram
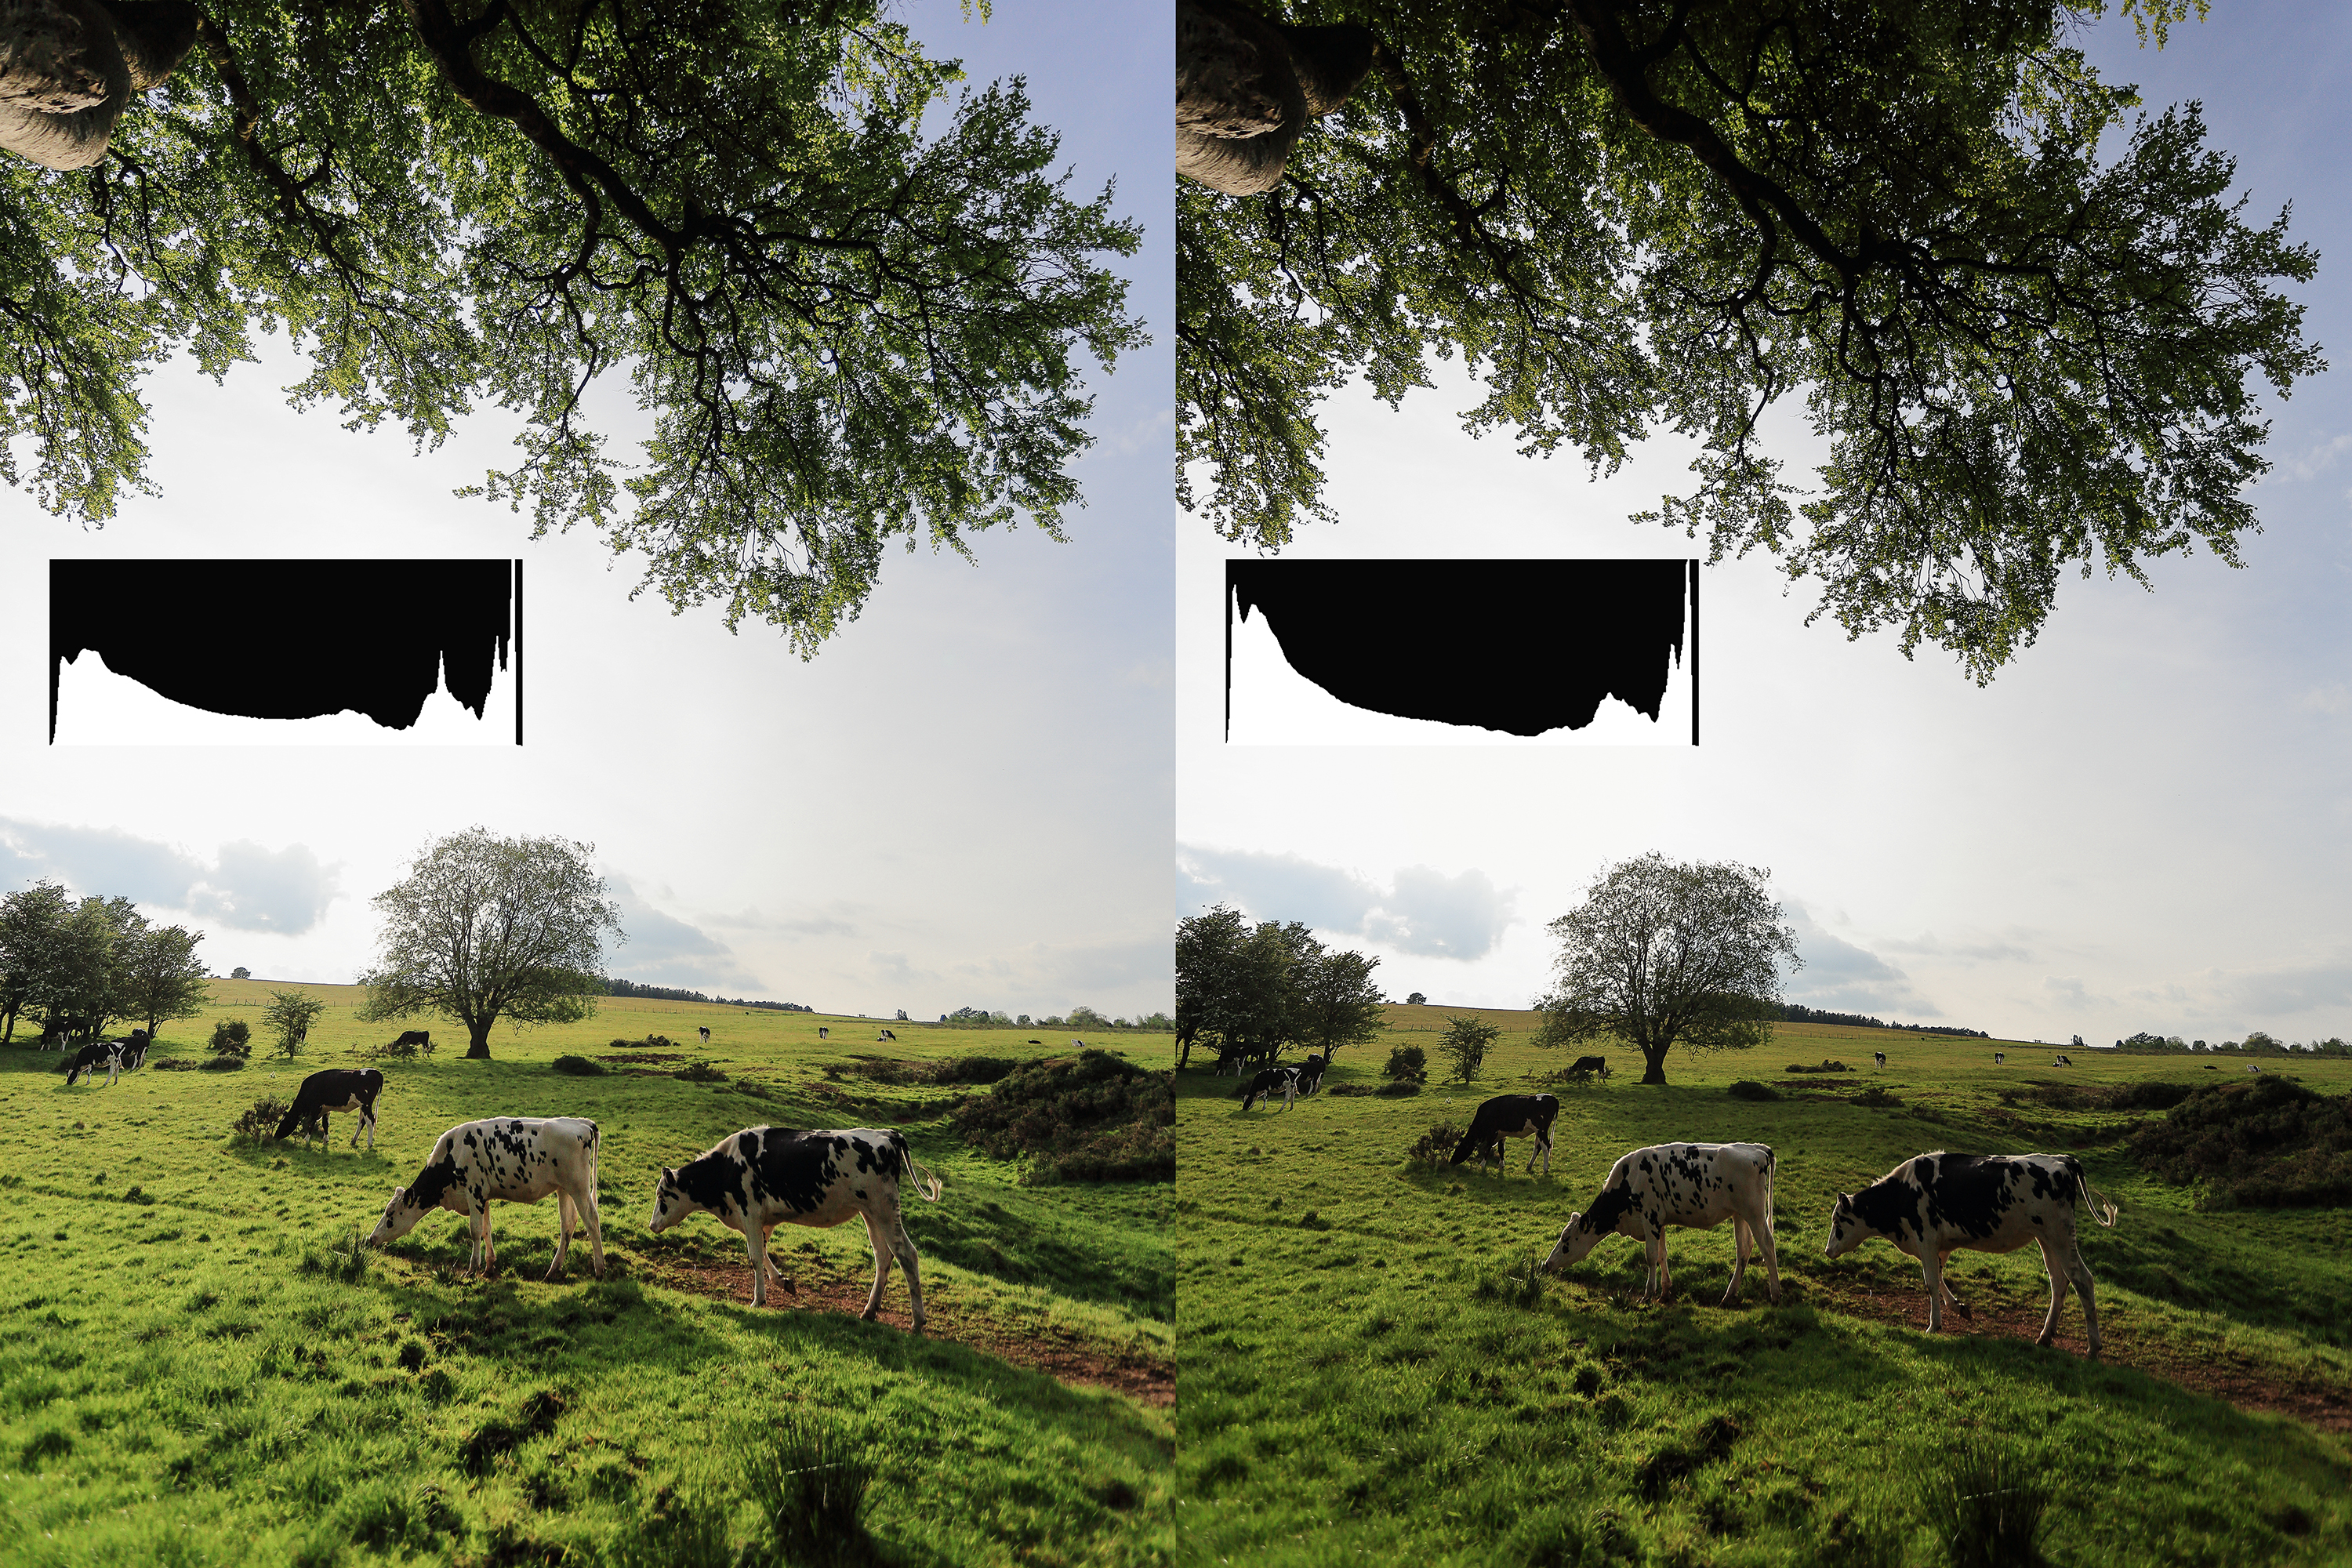
One thing you do need to be aware of, is that ALO affects the exposure histogram, sometimes in quite significant ways. Generally, you’ll notice the histogram becoming squeezed from left to right, with less of a peak on the left (shadow) side of the graph, and a greater spread through the middle of the range. The brightest highlights on the right of the histogram may also be pulled in towards the left, but this is often a subtle shift.
If you shoot JPEGs, then what you see is what you get; if the histogram is ‘clipped’ on the right of the graph, then the brightest areas of the picture will be overexposed. If it’s pushed up against the left-side of the graph then the darkest areas may be underexposed. In each case that can mean lost detail. This isn’t the case with a Raw, which will hold more info than the histogram indicates.
The trouble is that the preview and histogram on the camera are always based on a JPEG, which can give a false impression of the underlying Raw exposure. I’d suggest switching off ALO when shooting Raws, as well as using the Neutral Picture Style in order to get a histogram that is more representative of the unprocessed image.
PhotoPlus: The Canon Magazine is the world's only monthly newsstand title that's 100% devoted to Canon, so you can be sure the magazine is completely relevant to your system.
Read more:
Canon DPP: Canon Digital Photo Professional tutorials
The best Canon cameras
The best monitors for photo editing
Canon switchable teleconverter goes from 1.4x to 2x
The former editor of PhotoPlus: The Canon Magazine, Peter has 18 years of experience as both a journalist and professional photographer. He is a hands-on photographer with a passion and expertise for sharing his practical shooting skills. Equally adept at turning his hand to portraits, landscapes, sports and wildlife, he has a fantastic knowledge of camera technique and principles.
He is the author of several published photography books including Portrait Photographer's Style Guide, and The Complete Guide to Organising and Styling Professional Photo Shoots with fellow portrait pro Brett Harkness.
Peter remains a devout Canon user and can often be found reeling off shots with his Canon EOS DSLR and EOS R mirrorless gear. He runs Peter Travers Photography, and contributes to Digital Camera magazine.
