Canon School: Master macro photography with your Canon camera
Part 8: Learn the basics of macro photography with your Canon EOS camera and Canon macro lenses
The best camera deals, reviews, product advice, and unmissable photography news, direct to your inbox!
You are now subscribed
Your newsletter sign-up was successful
Welcome to our new Canon School tutorial series part 8, in this tutorial we explain all you need to know about macro photography.
Spending so much time in lockdown has undoubtedly given us all an appreciation for the small things. Quite literally, in many cases. Having to be restricted to home turf for so long may have forced you to train your camera on subjects that are close at hand – and looking for camera gear that can help you get even closer.
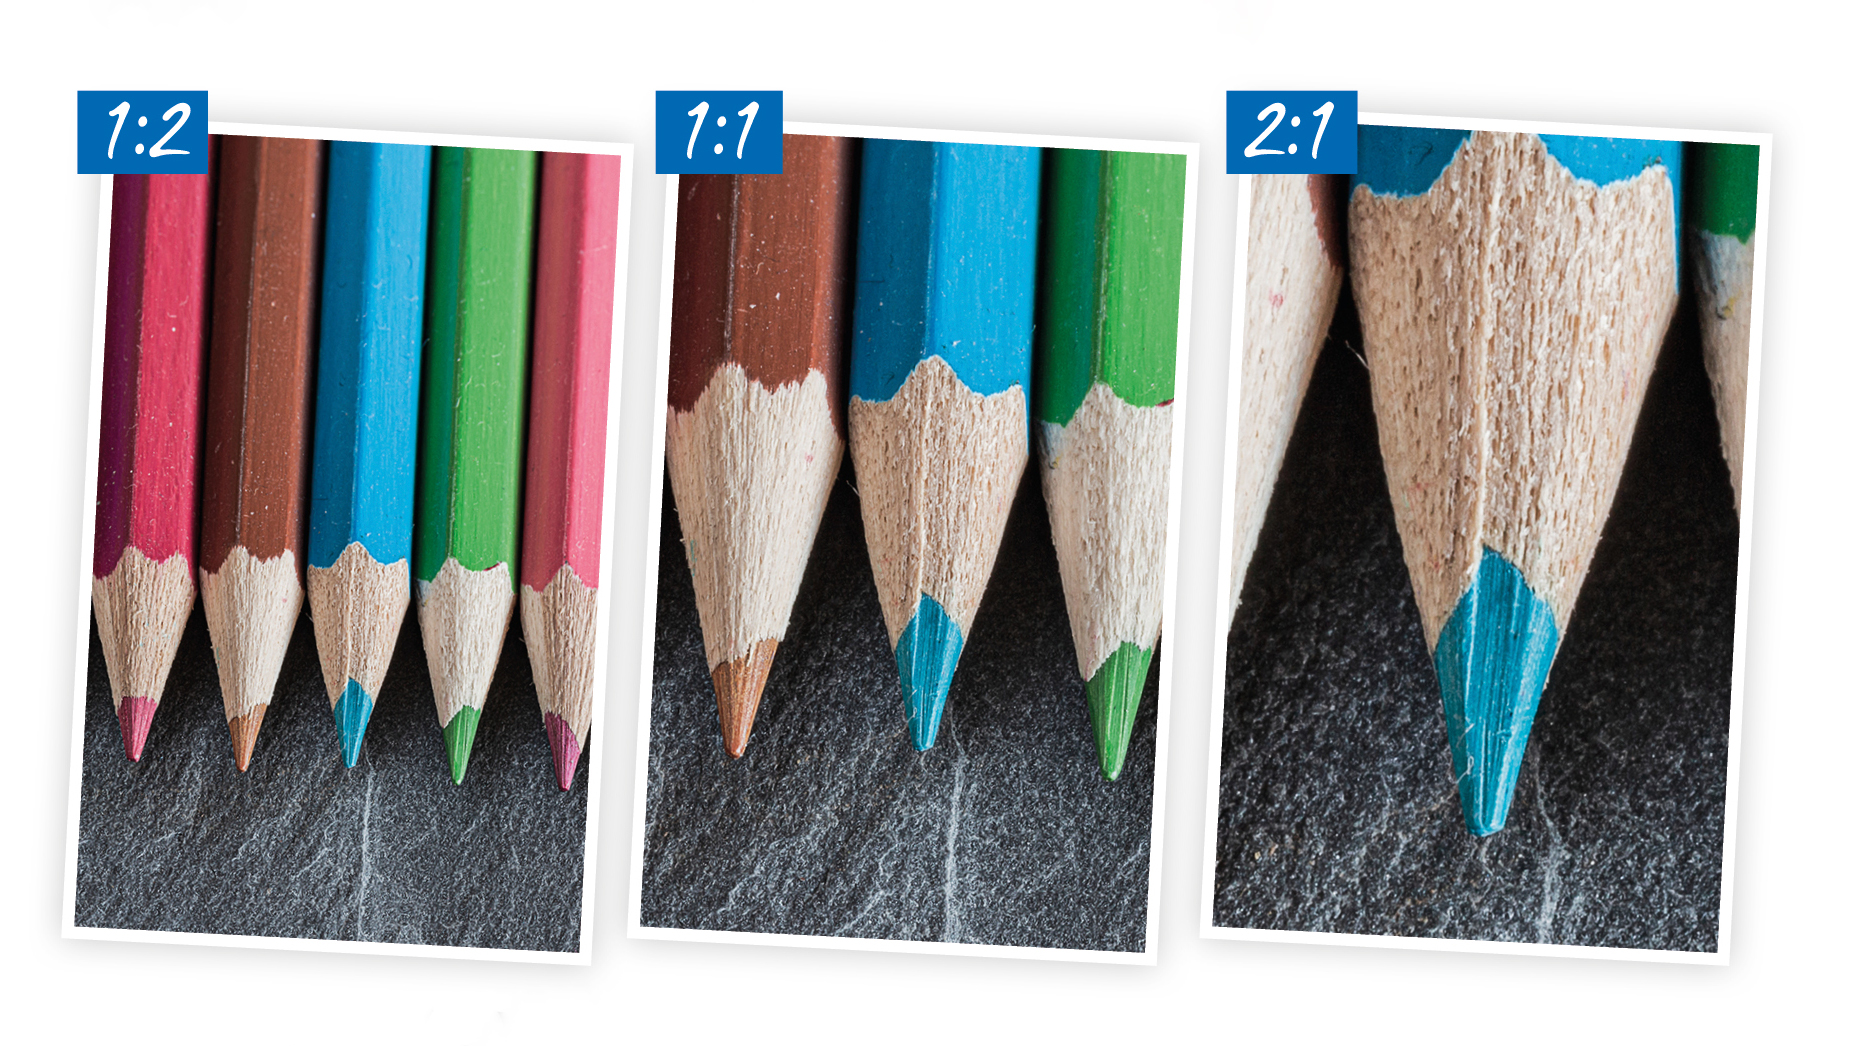
Many lenses enable you to get close enough to a subject so you magnify small details, but only a ‘true’ macro lens gives a max magnification of at least 1x. But what does this mean, and in light of the fact that you can make a large print of a small subject captured with any lens, why does it matter?
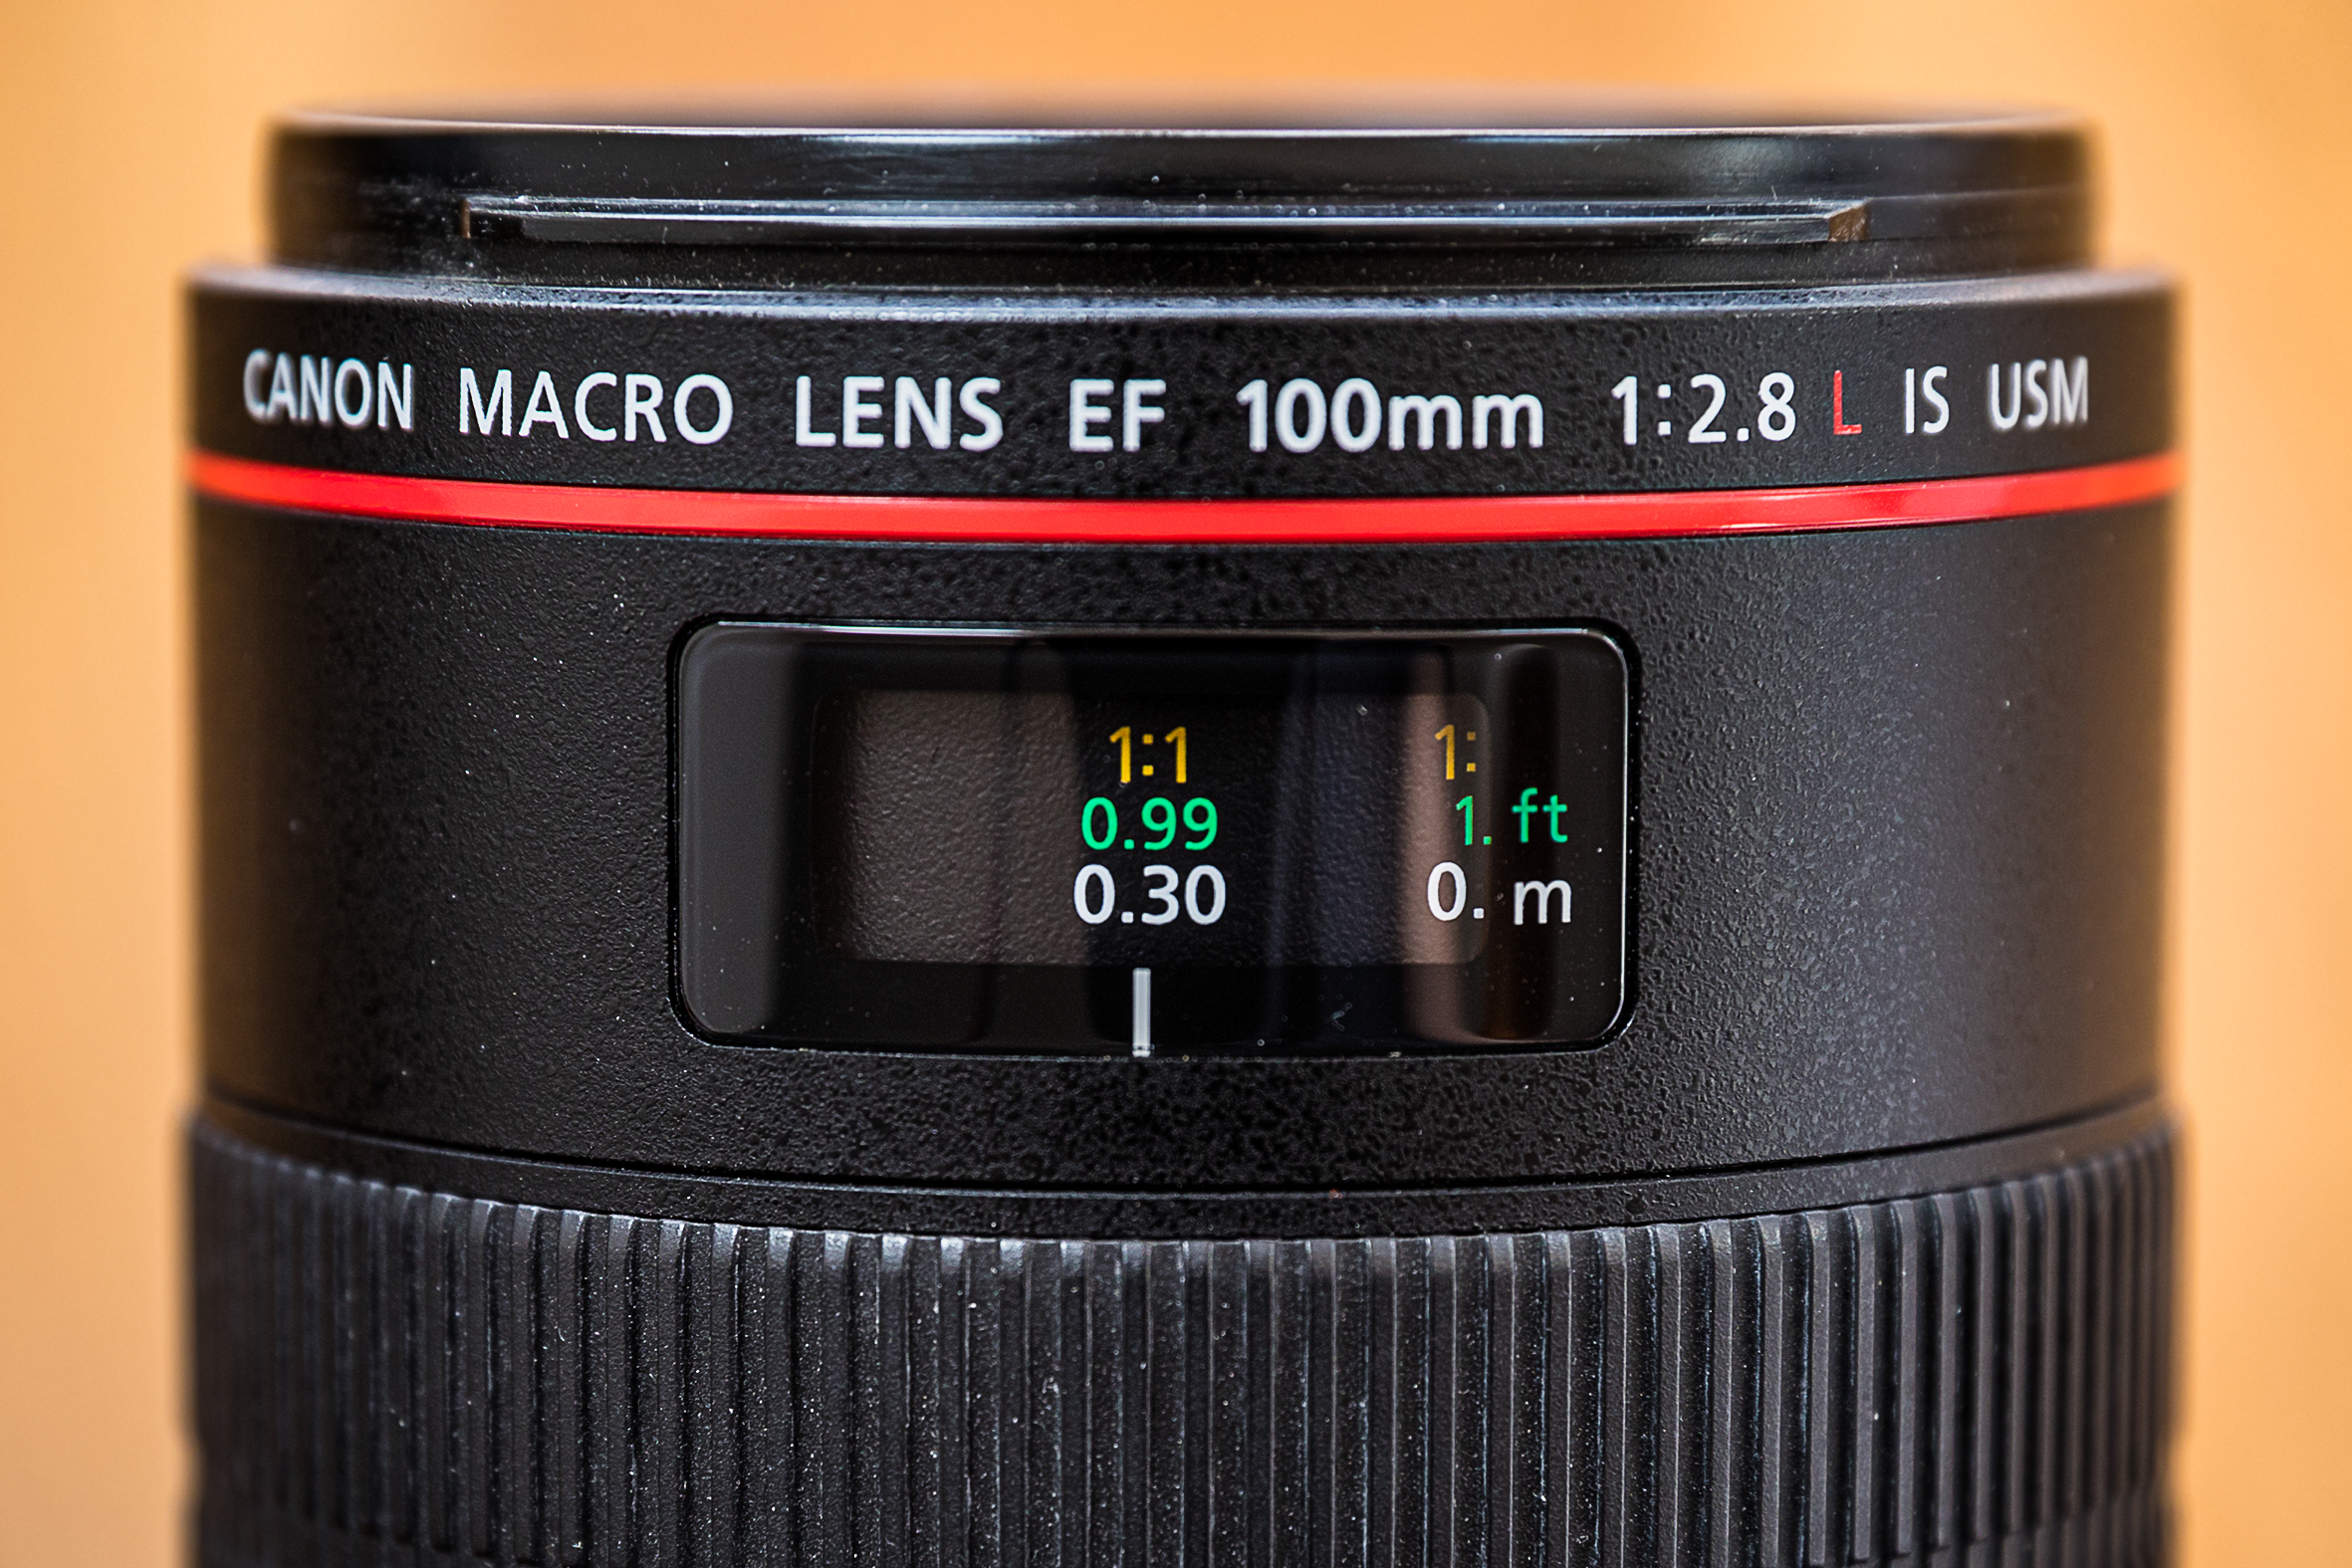
A magnification of 1x means that the subject is recorded on the camera’s sensor at the same size as it is in real life. This is often expressed as a reproduction ratio on the distance scale of the lens. At the minimum focus you get a reproduction ratio of 1:1 or ‘life size’ – so an object that is one centimetre long, for example, would take up one centimetre on the sensor. This means that a subject as small as an SD card would essentially fill the entire image on a full-frame sensor.
Once you enlarge this image on your PC screen, or print it out, the subject will be many more times its actual size, and details that are almost invisible to the naked eye will be clear to see.
1. Reproduction ratio
Dedicated macro lenses are available in different focal lengths, with Canon’s current line-up ranging from 28mm up to 180mm. While many of these offer 1x maximum magnification, some come up a little lower than this or have an even higher magnification. The EF 50mm f/2.5 Compact Macro has a 1:2 reproduction ratio, for example, giving 0.5x (or half life-size) magnification. While Canon’s EF 100mm f/2.8L IS Macro lens capture 1:1 (life-size).
At the other end of the scale, the MP-E 65mm f/2.8 1-5x Macro Photo offers a reproduction ratio range of 1:1 to 5:1, giving up to 5x magnification. At this extreme magnification, depth of field is very shallow – less than a third of a millimetre at an aperture of f/16!
The best camera deals, reviews, product advice, and unmissable photography news, direct to your inbox!
2. Canon sensor size
Although the lens determines the magnification of the subject, the subject will appear larger in an image taken on an EOS camera which has an APS-C sensor, compared with one taken on a full-frame camera. The magnification hasn’t really changed, it’s simply that the smaller sensor crops the full image projected by the lens. You can achieve the same effect by simply cropping a full-frame image in software, although you will lose some of the resolution when you do this.
Several full-frame EOS cameras allow you to crop the image in-camera. Both the EOS 5DS and 5DS R allow you to manually select smaller x1.3 or x1.6 crops when shooting JPEGs, for example.
• The best Canon EOS 5DS deals
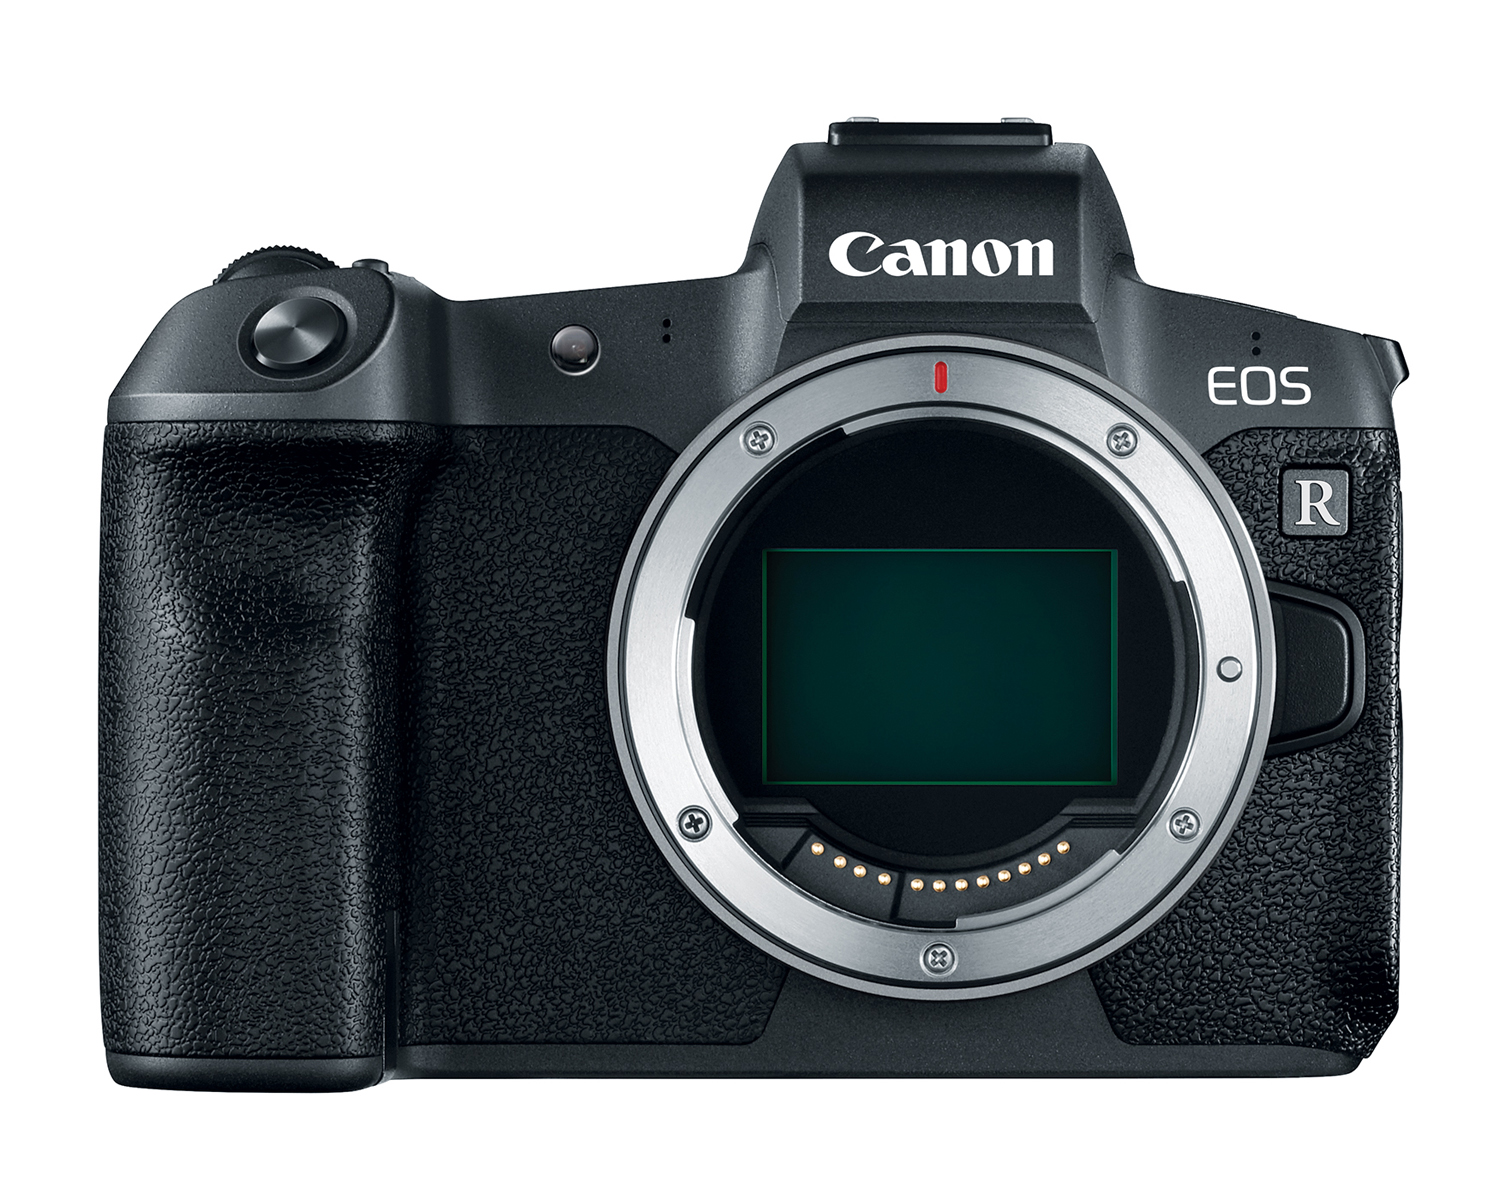
Cameras in the EOS R mirrorless range offer a manually selectable x1.6 JPEG crop, and will automatically switch to the smaller format when an APS-C-friendly EF-S lens is attached to the camera via one of Canon’s R-series mount adapters.
There is an affordable way to achieve even greater magnification when you take a picture: add an extension tube. These hollow metal tubes fit between the camera and the lens and allow the lens to be focused closer than normal. They can also be stacked to give even greater magnification, although there is a trade off in terms of handling and light; an extension tube increases the effective aperture – you’ll need to use a longer shutter speed or a higher ISO, or increase the power of the flash or other light source to compensate for the loss of light.
3. Macro focusing techniques
The majority of Canon’s macro lenses benefit from autofocus, although the tilt-shift TS-E macro lenses and the specialist MP-E 65mm f/2.8 1-5x Macro Photo are manual-focus only. Autofocus can struggle to lock onto fine detail, and the depth of field is so shallow when you’re working at such high magnification, that any autofocusing error is going to be equally magnified.
If you’re not too worried about shooting a subject at life-size (or thereabouts), then you can frame your shot and focus the lens as normal. If you want to make use of the full magnification power of the lens, however, set it to manual focus, turn the focus ring all the way to the closest focusing position, then move the camera back and forth until the image appears sharp in the right place. This may only require micro movements, so you may find it easier to work from a monopod or tripod and nudge the back of the camera.
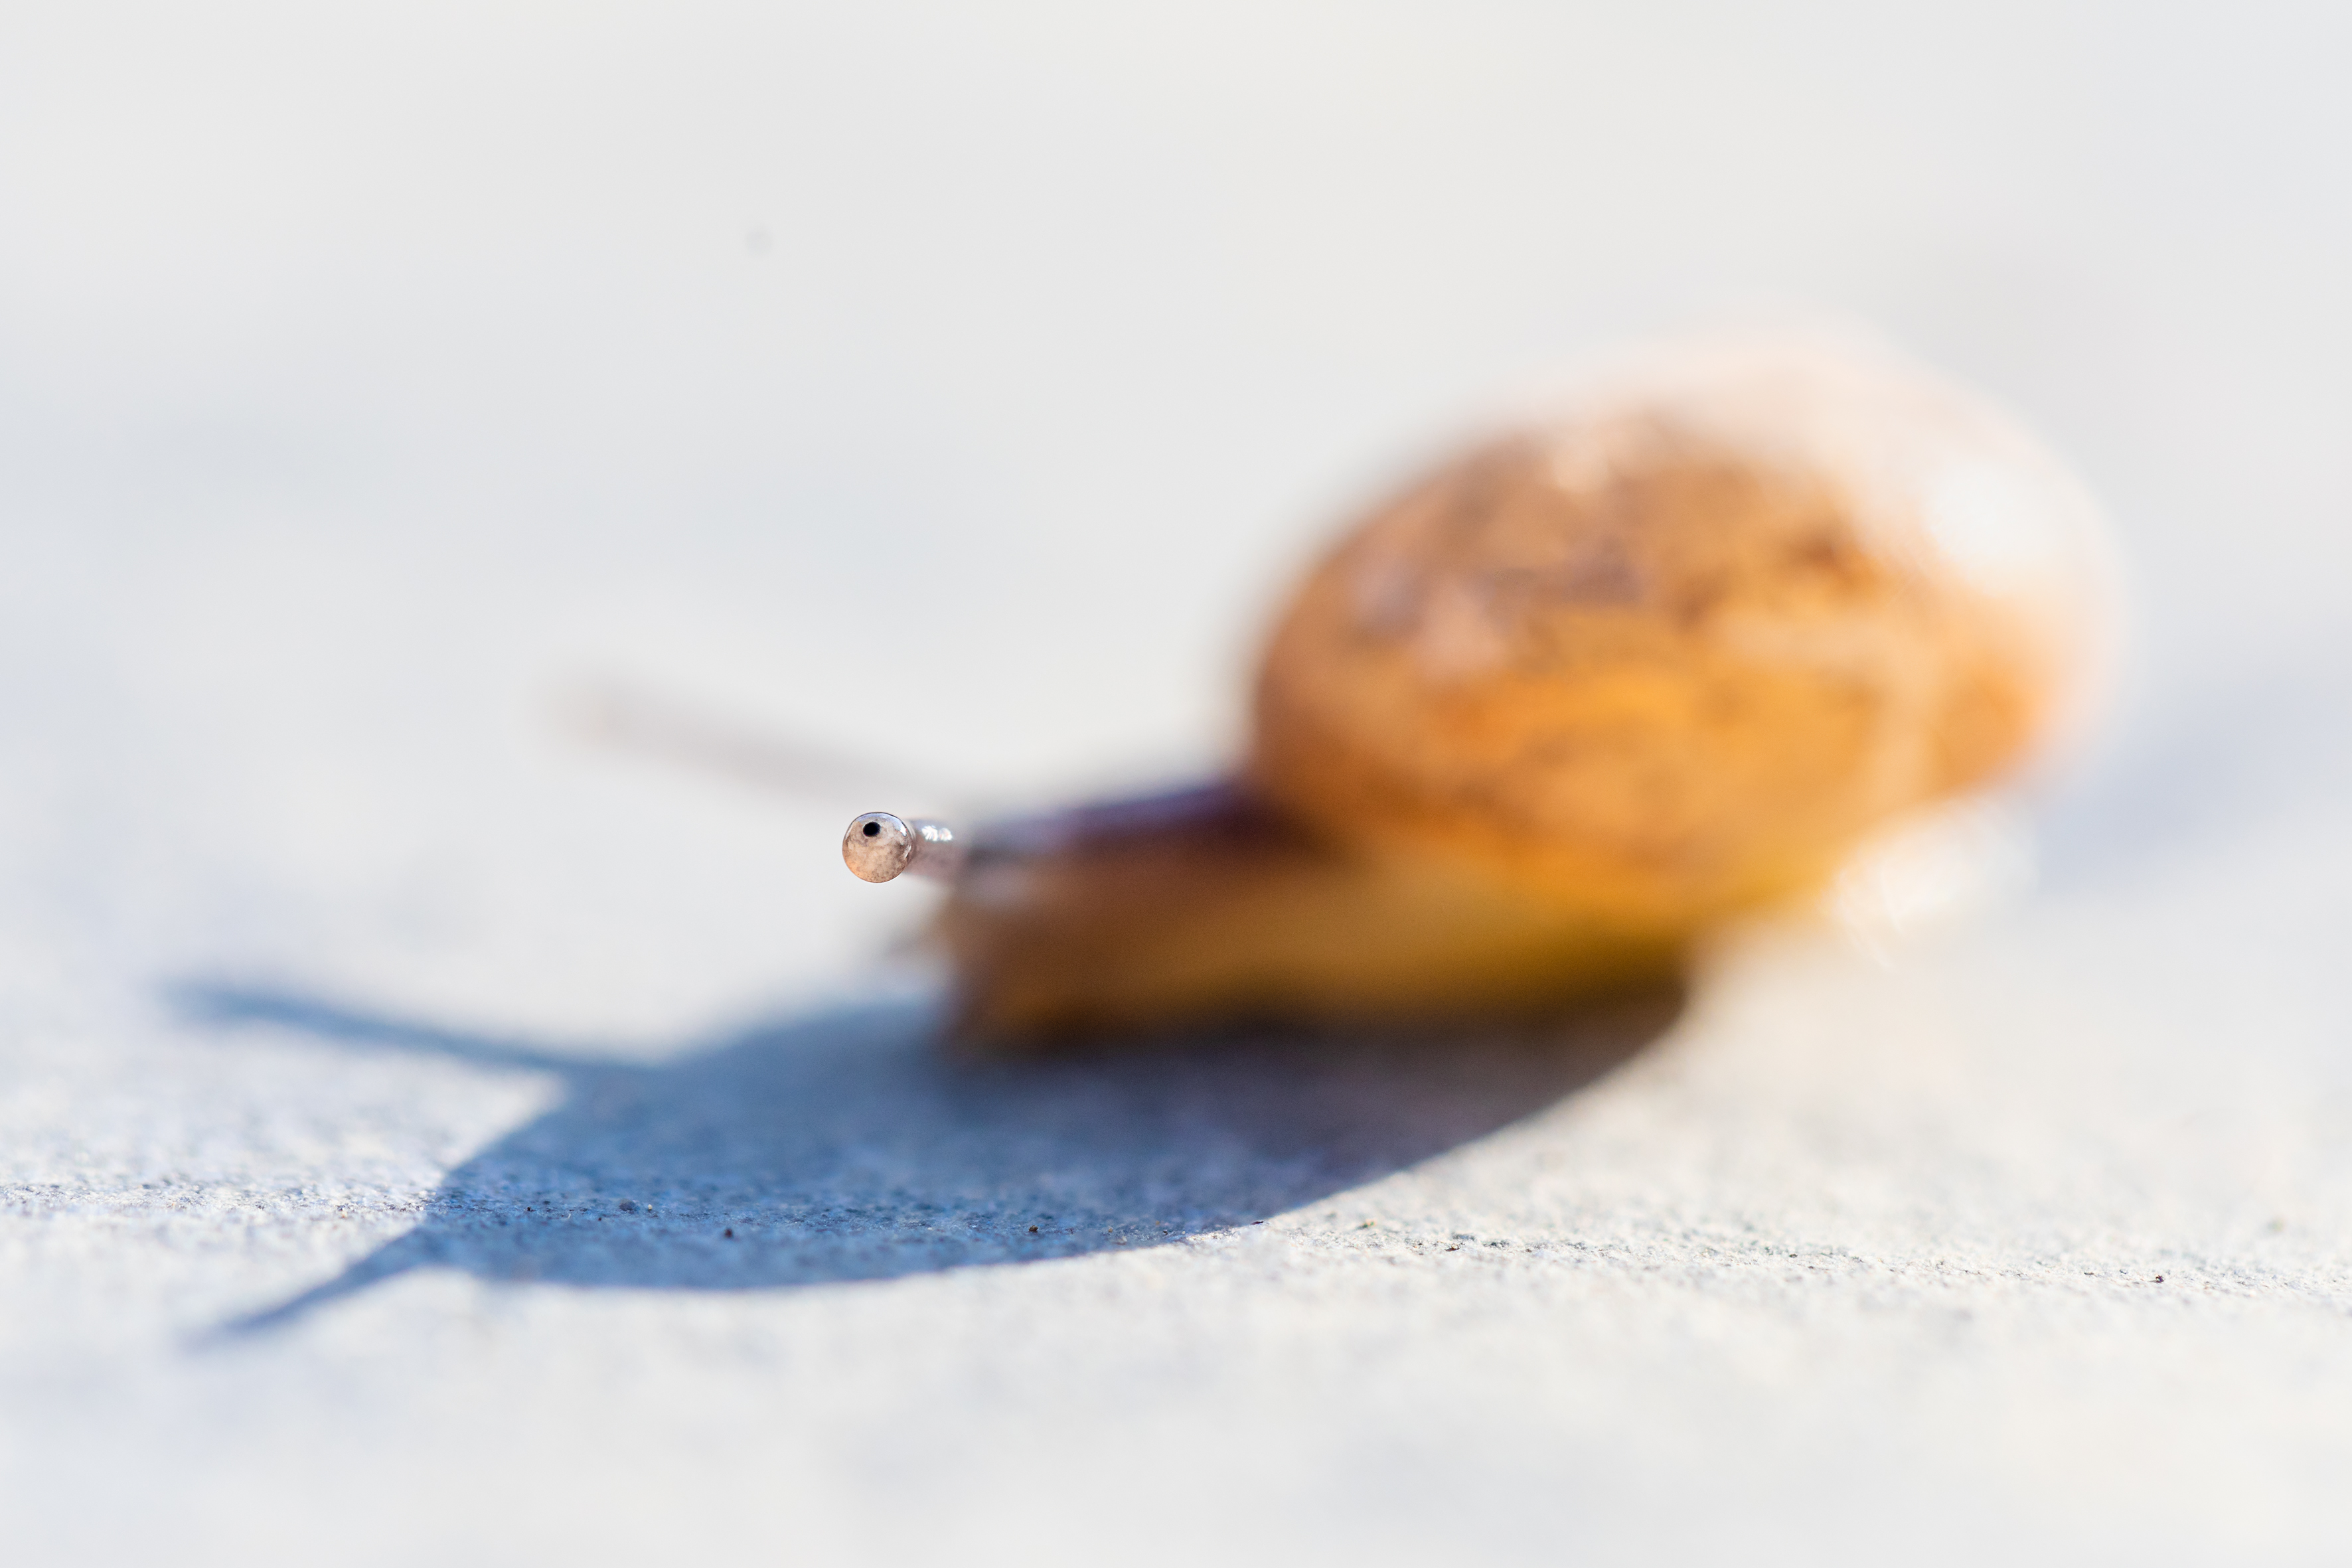
If I’m handheld, I set the camera to its fastest drive mode and take a burst of shots as I move the camera. Below, I set the lens to 1:1, held the camera ahead of the snail and fired shots as it moved into the zone of sharpness. Working at f/3.5, so that only the eye would be crisp, meant I ended up with a lot of missed shots.
4. Take control of the depth of field
Your EOS camera may have a Close-up Special Scene Mode, which you can access using the SCN setting or the flower symbol on the Mode dial. This doesn’t allow you to focus the lens closer or magnify the subject more than normal, rather it sets the camera to a default configuration for close-ups – such as putting the drive mode to single shooting and automatically firing the built-in flash (where present), as well as controlling the exposure.
For more control over your pictures, it pays to shoot in Aperture Priority (Av), Flexible Priority (Fv) or Manual. These options allow you to choose an aperture, which gives you more control over the depth of field. Stick with Av or Fv if you’re using Canon’s Creative Zone modes for the first time.
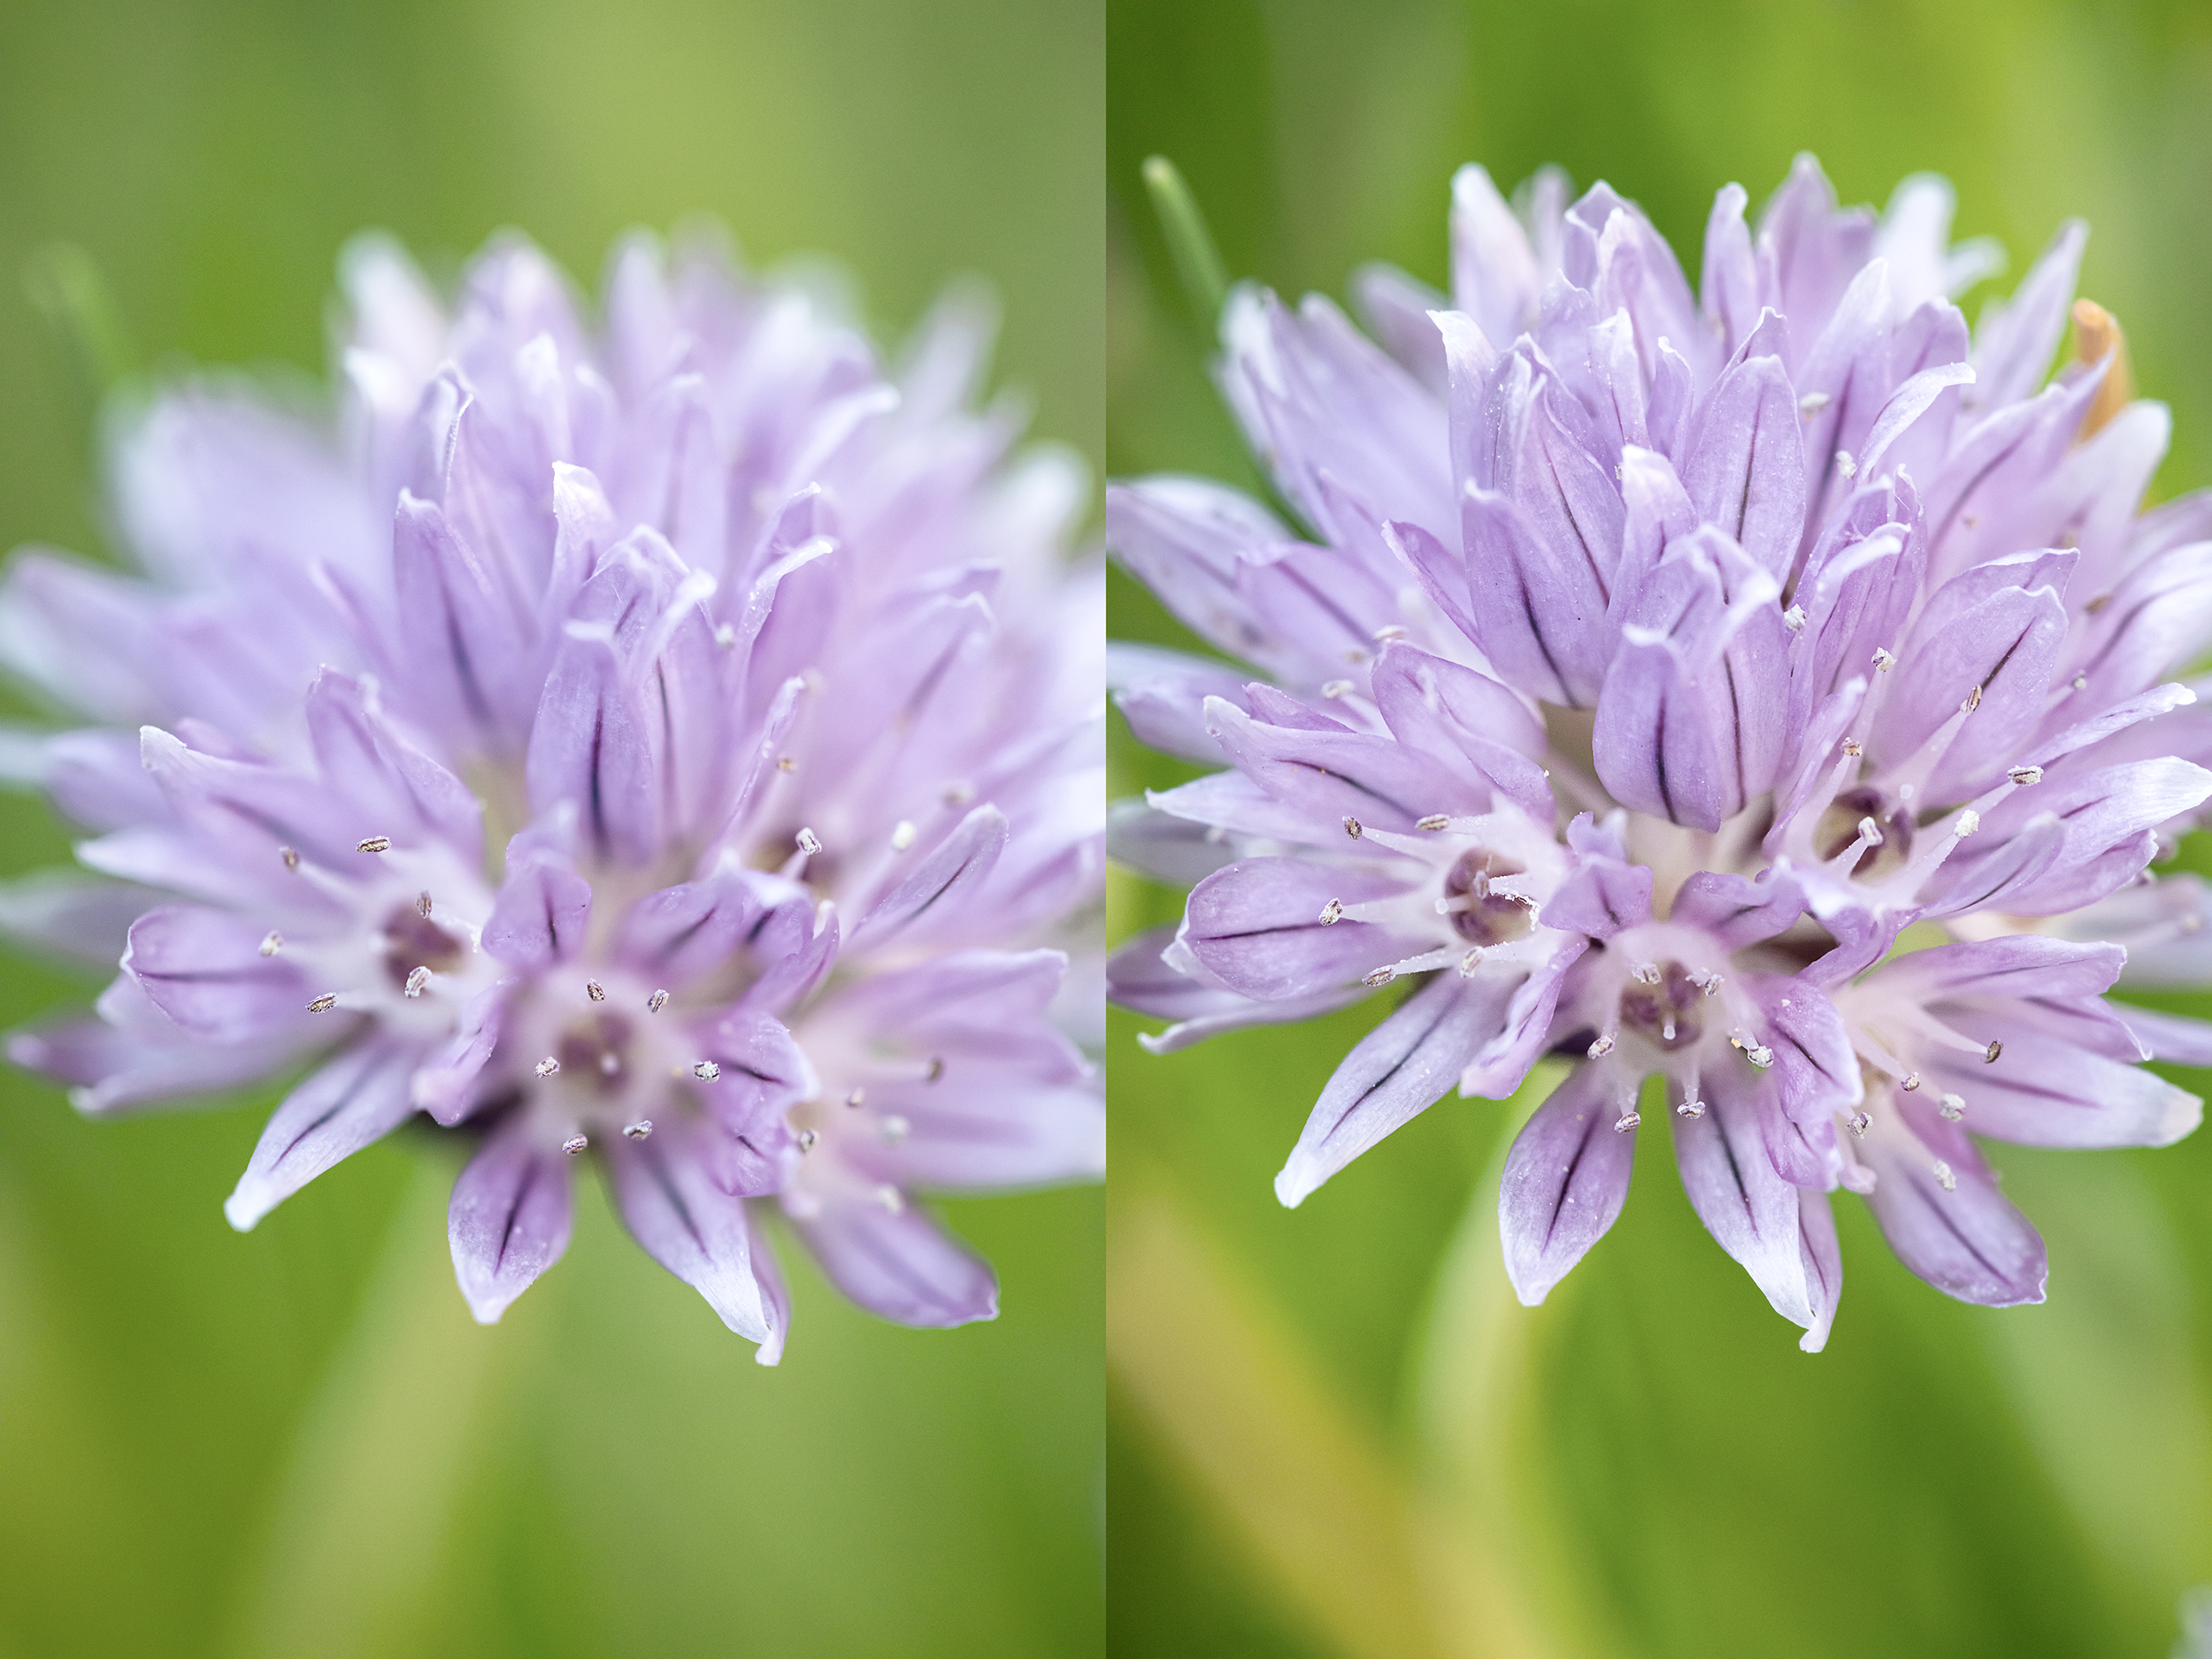
Depth of field is basically the depth of sharpness, with low f-numbers, such as f/4 and f/2.8 reducing the sharpness and high f-numbers, such as f/11 and f/16 increasing it – although we’re only talking a few centimetres or millimetres difference with extreme close-ups. In fact, there are many reasons why you wouldn’t want to set a small aperture. It can add too much definition to the background, which can be a distraction. Once you start hitting double-figure f-numbers, the effects of diffraction also become more noticeable. This is where the light rays are bent out of shape by the edges of the aperture blades, which can lead to soft, fuzzy details even though the depth of sharpness is increased. Small apertures also lead to a loss of light, which can lead to slower shutter speeds and potentially blurred shots.
PhotoPlus: The Canon Magazine is the world's only monthly newsstand title that's 100% devoted to Canon, so you can be sure the magazine is completely relevant to your system.
Read more:
Canon DPP: Canon Digital Photo Professional tutorials
Best macro lenses
Best extension tubes
Best close-up filters
Best ringflash for macro
The former editor of PhotoPlus: The Canon Magazine, Peter has 18 years of experience as both a journalist and professional photographer. He is a hands-on photographer with a passion and expertise for sharing his practical shooting skills. Equally adept at turning his hand to portraits, landscapes, sports and wildlife, he has a fantastic knowledge of camera technique and principles.
He is the author of several published photography books including Portrait Photographer's Style Guide, and The Complete Guide to Organising and Styling Professional Photo Shoots with fellow portrait pro Brett Harkness.
Peter remains a devout Canon user and can often be found reeling off shots with his Canon EOS DSLR and EOS R mirrorless gear. He runs Peter Travers Photography, and contributes to Digital Camera magazine.
