10 fall-proof steps to amazing autumn photographs
Make the most of Fall by following these steps to capture amazing color and detail in your autumn photographs
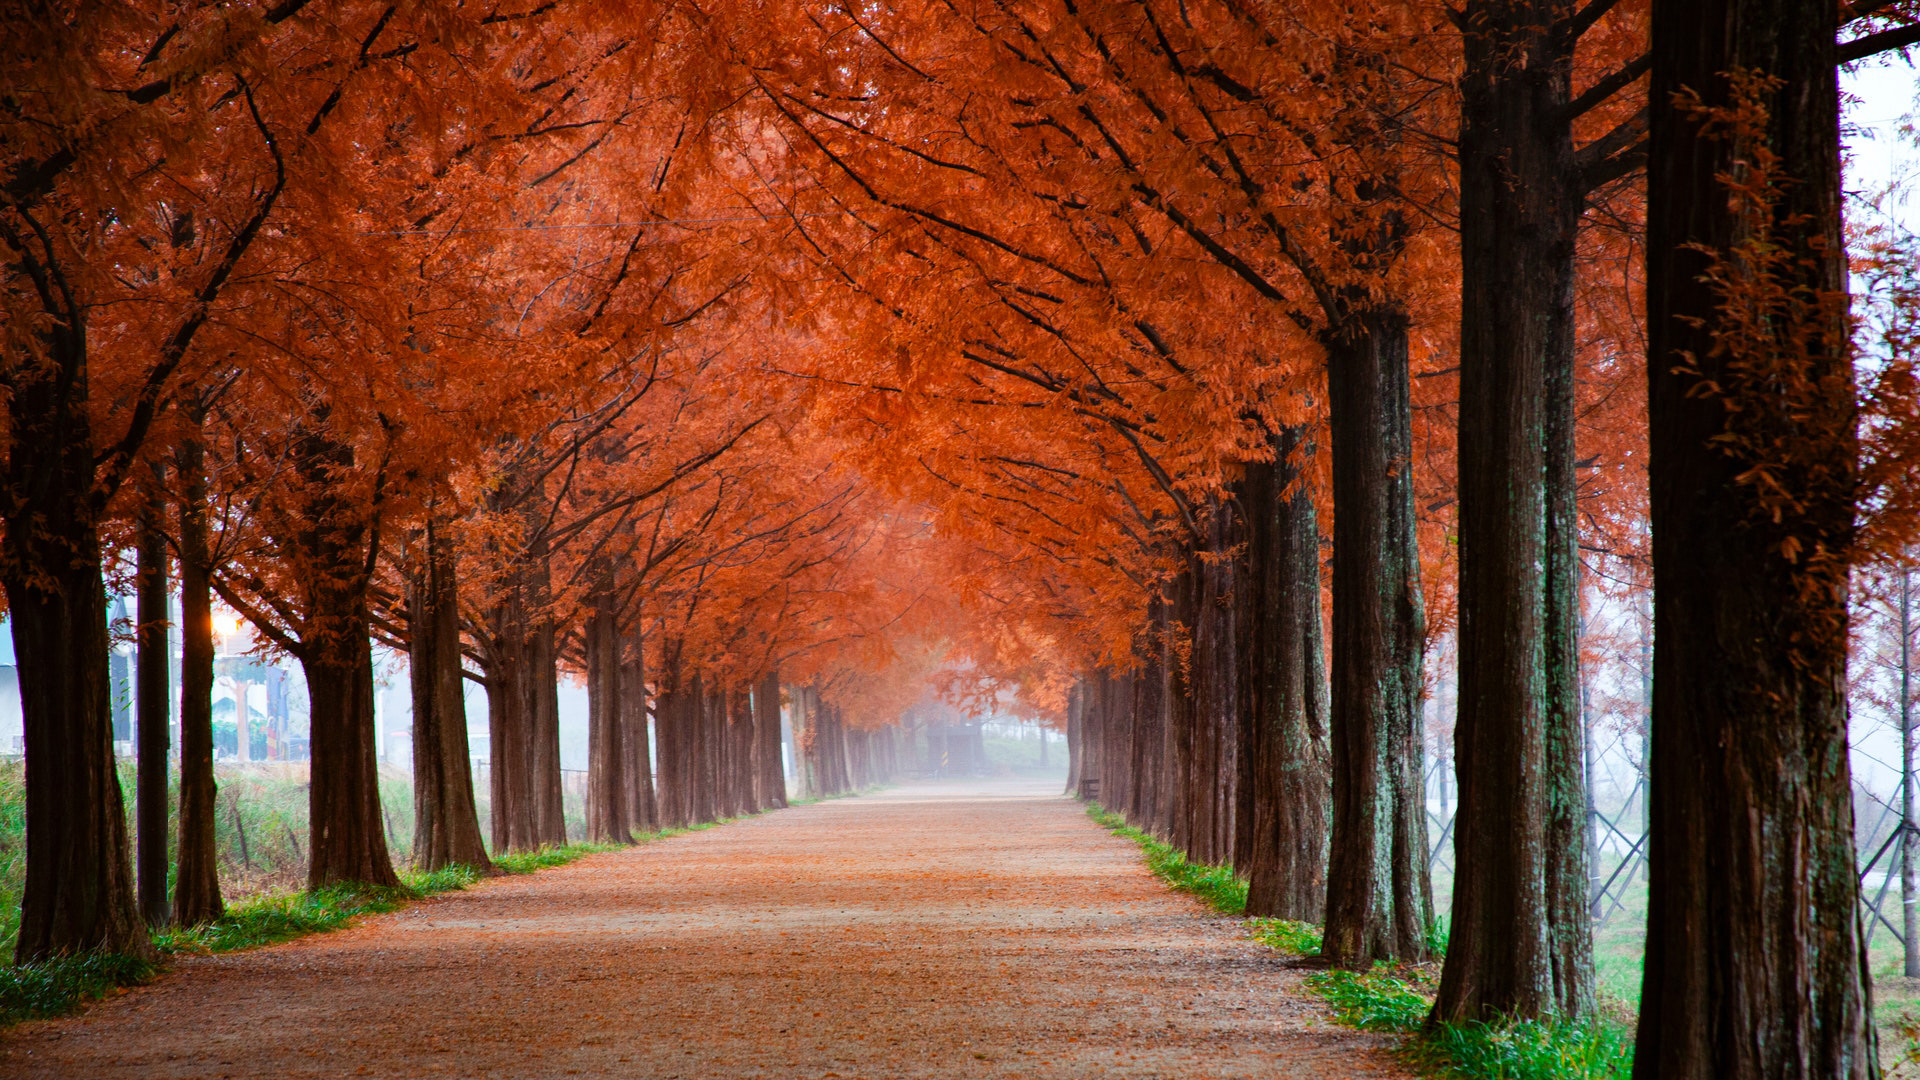
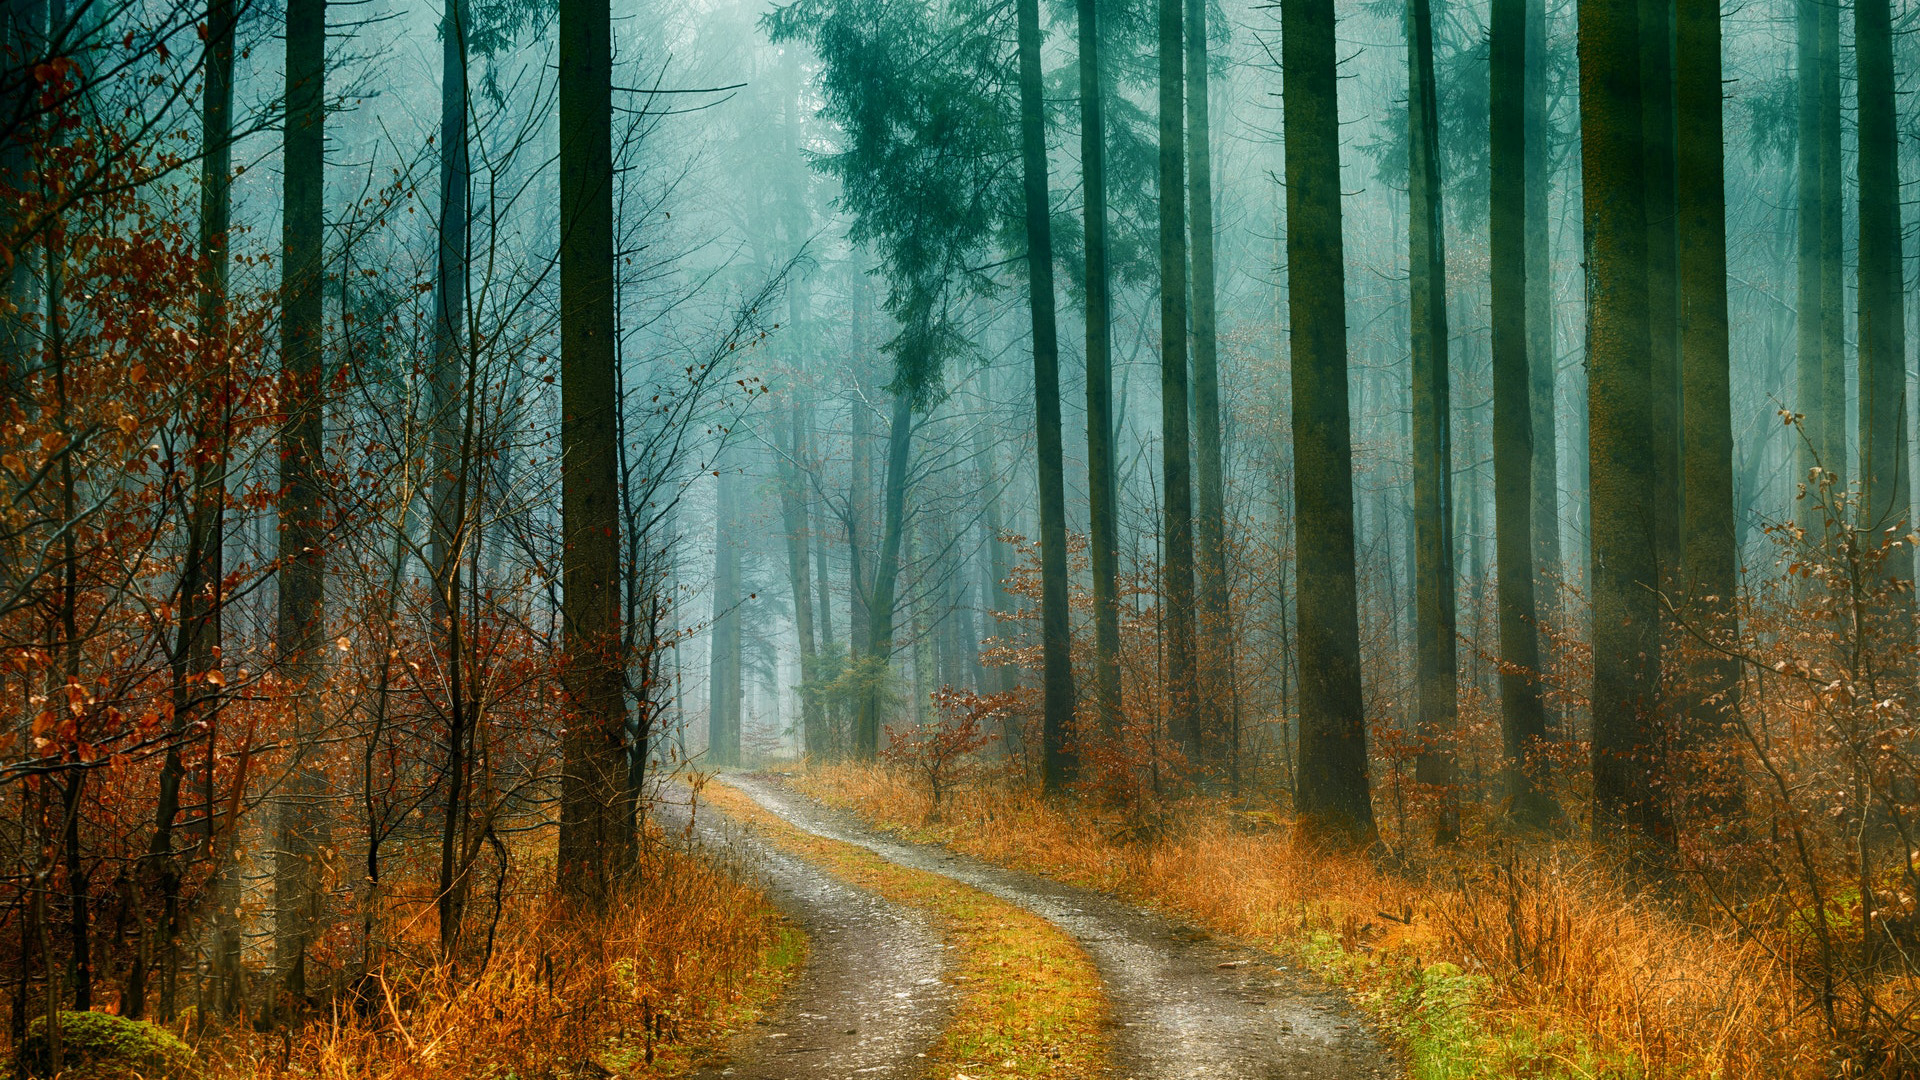
The fall season is one of the favorite times of year for many photographers. The combination of stunning autumnal color and detail, and the sheer extent of the transformation of the landscape, inspires wonder like few other times of year. Sure, snow-covered hills are truly beautiful to behold and summer light can give unique shadows, but autumn is the season where we get to explore familiar locations in a whole new way.
With all of this photographic potential at our fingertips it is easy to get carried away, and head out with the assumption that the physical changes to the environment will be enough to deliver stunning images. It is critical to understand the psychological reasons why fall images resonate with viewers, however, and how best to use color, light and detail to tell a story of the season and capture the atmosphere. It’s not as straightforward as it looks! Here we explore 10 professional secrets to truly magnetic autumn scenes…
1) Pack your polarizer
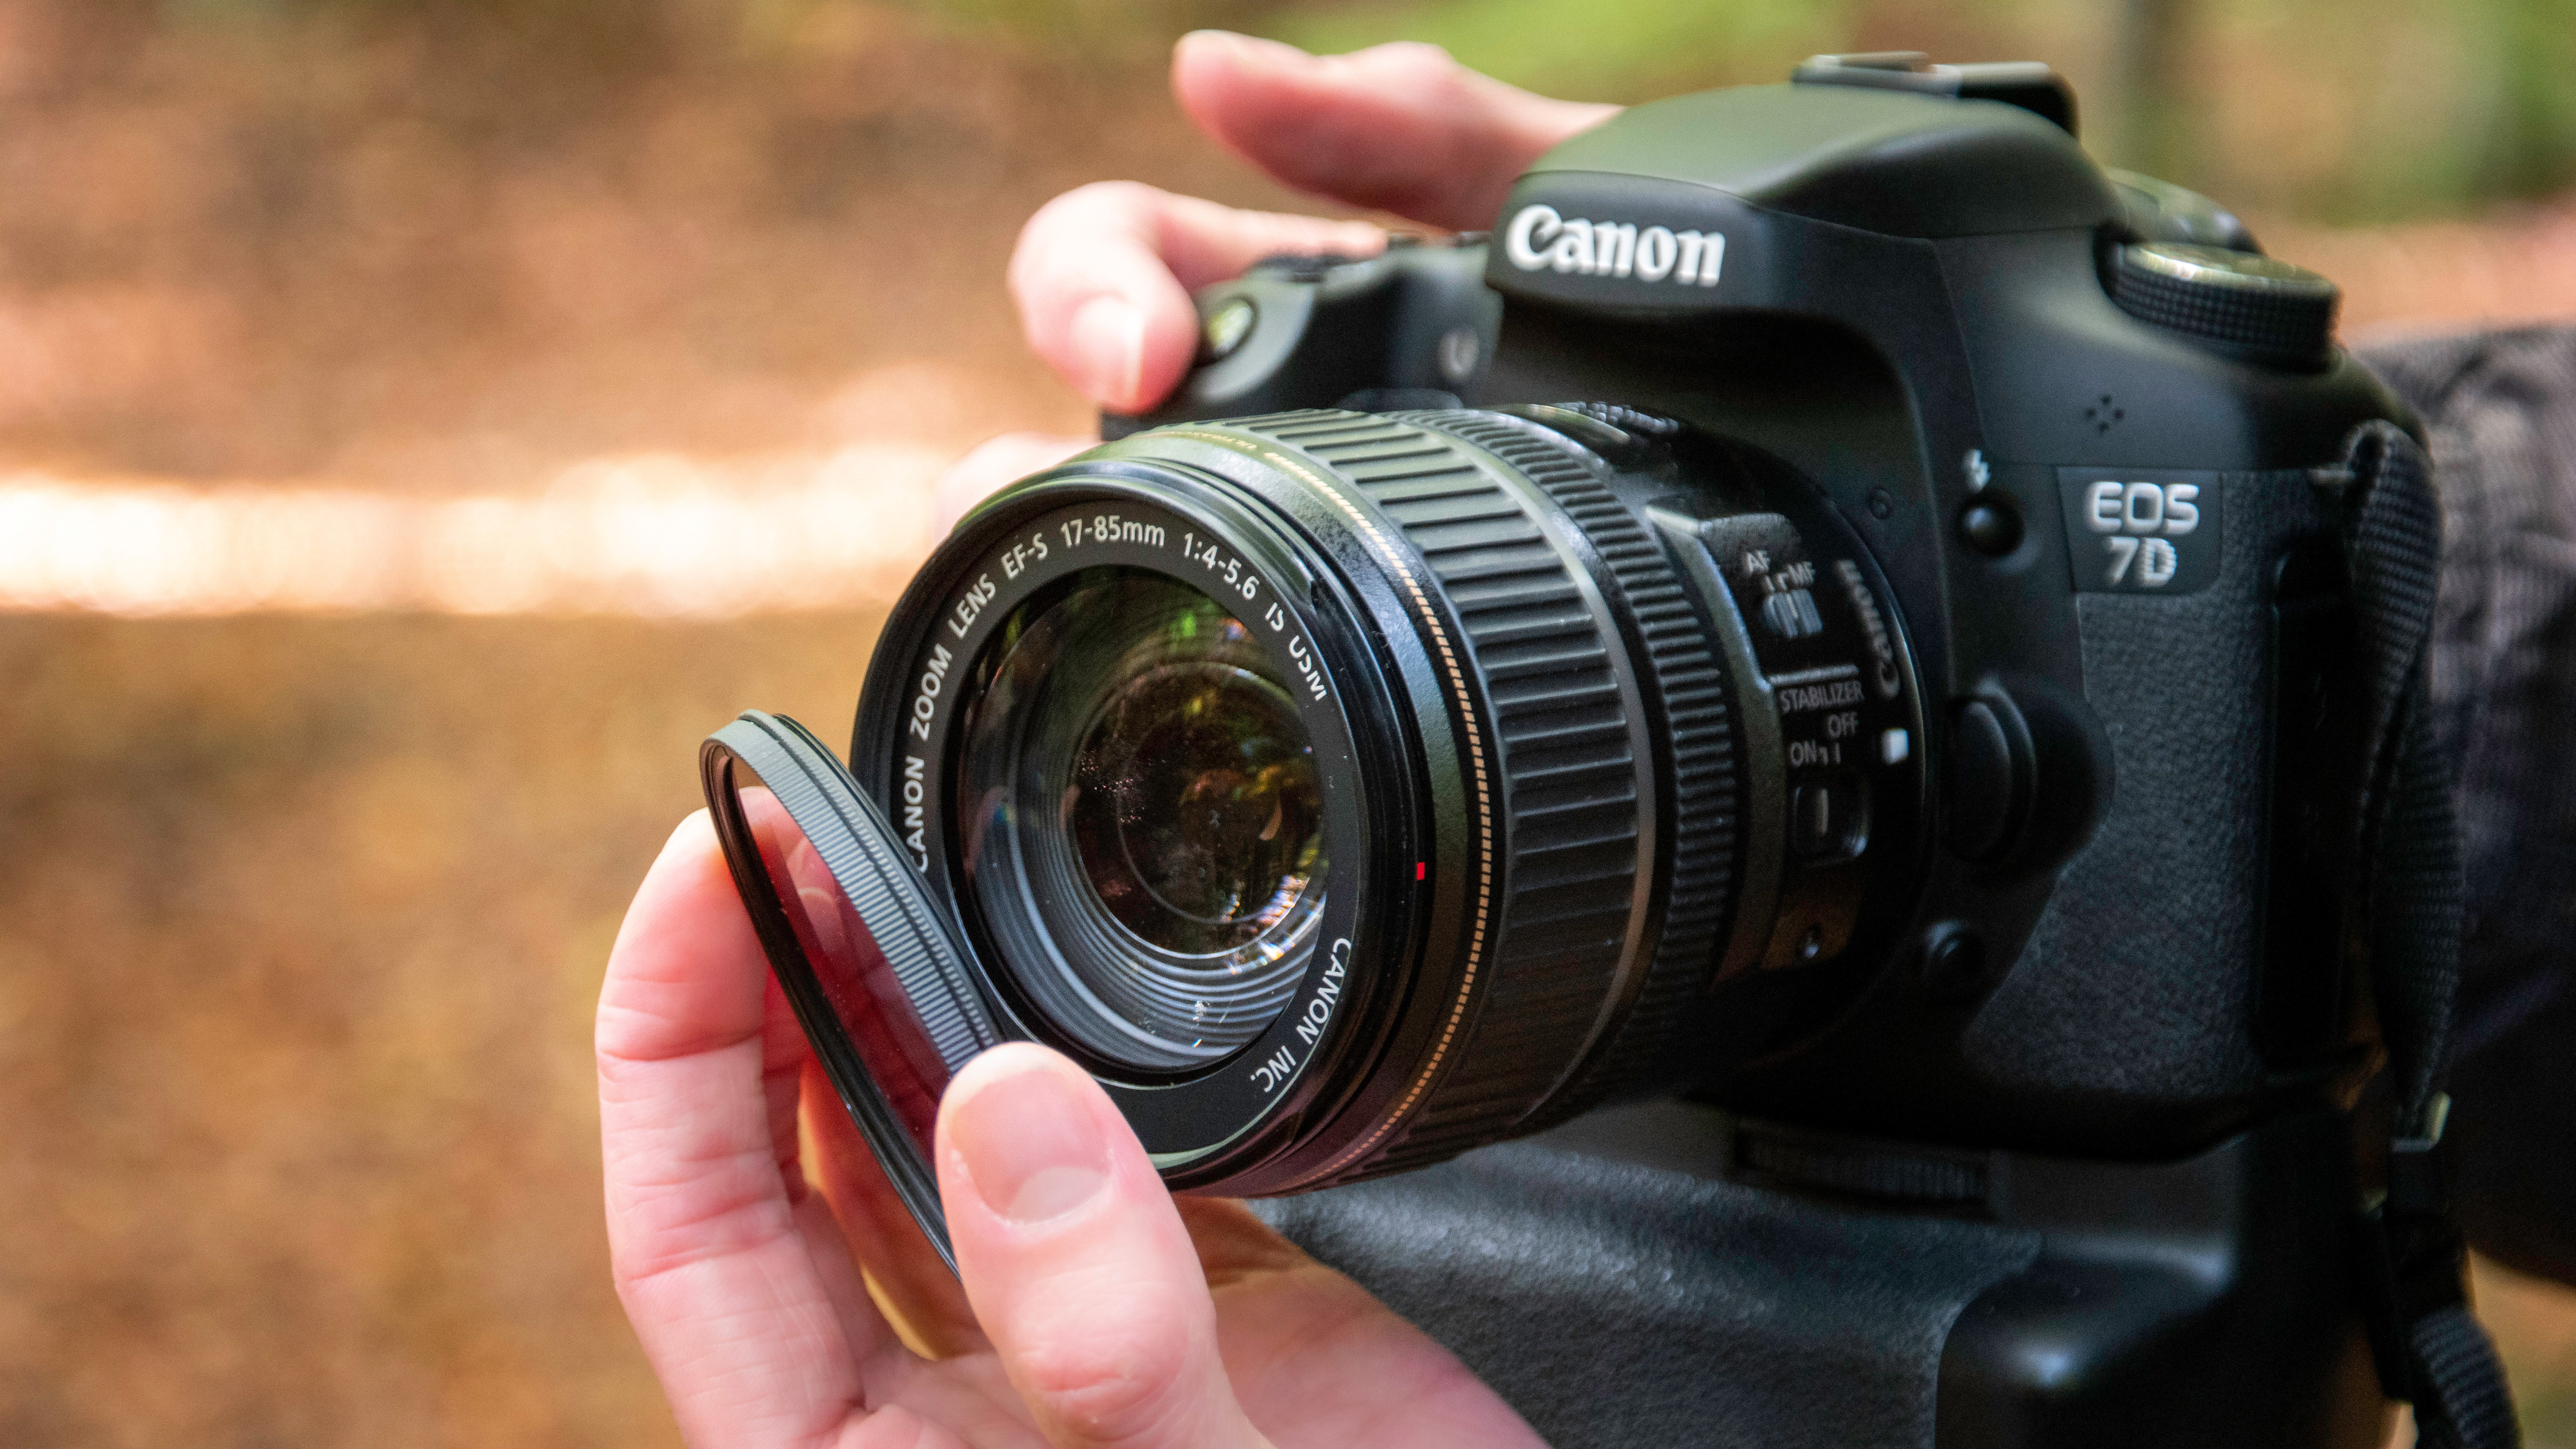
It might be seen as an essential filter in many genres of photography, but landscape is where the circular polarizer feels most at home. This is especially true during the fall season, where sheen on the leaves can reduce the impact of the deep fiery colors we all want to capture. We advise keeping your polarizer on your lens at all times when shooting in woodland, to make sure you aren't disappointed with the color saturation.
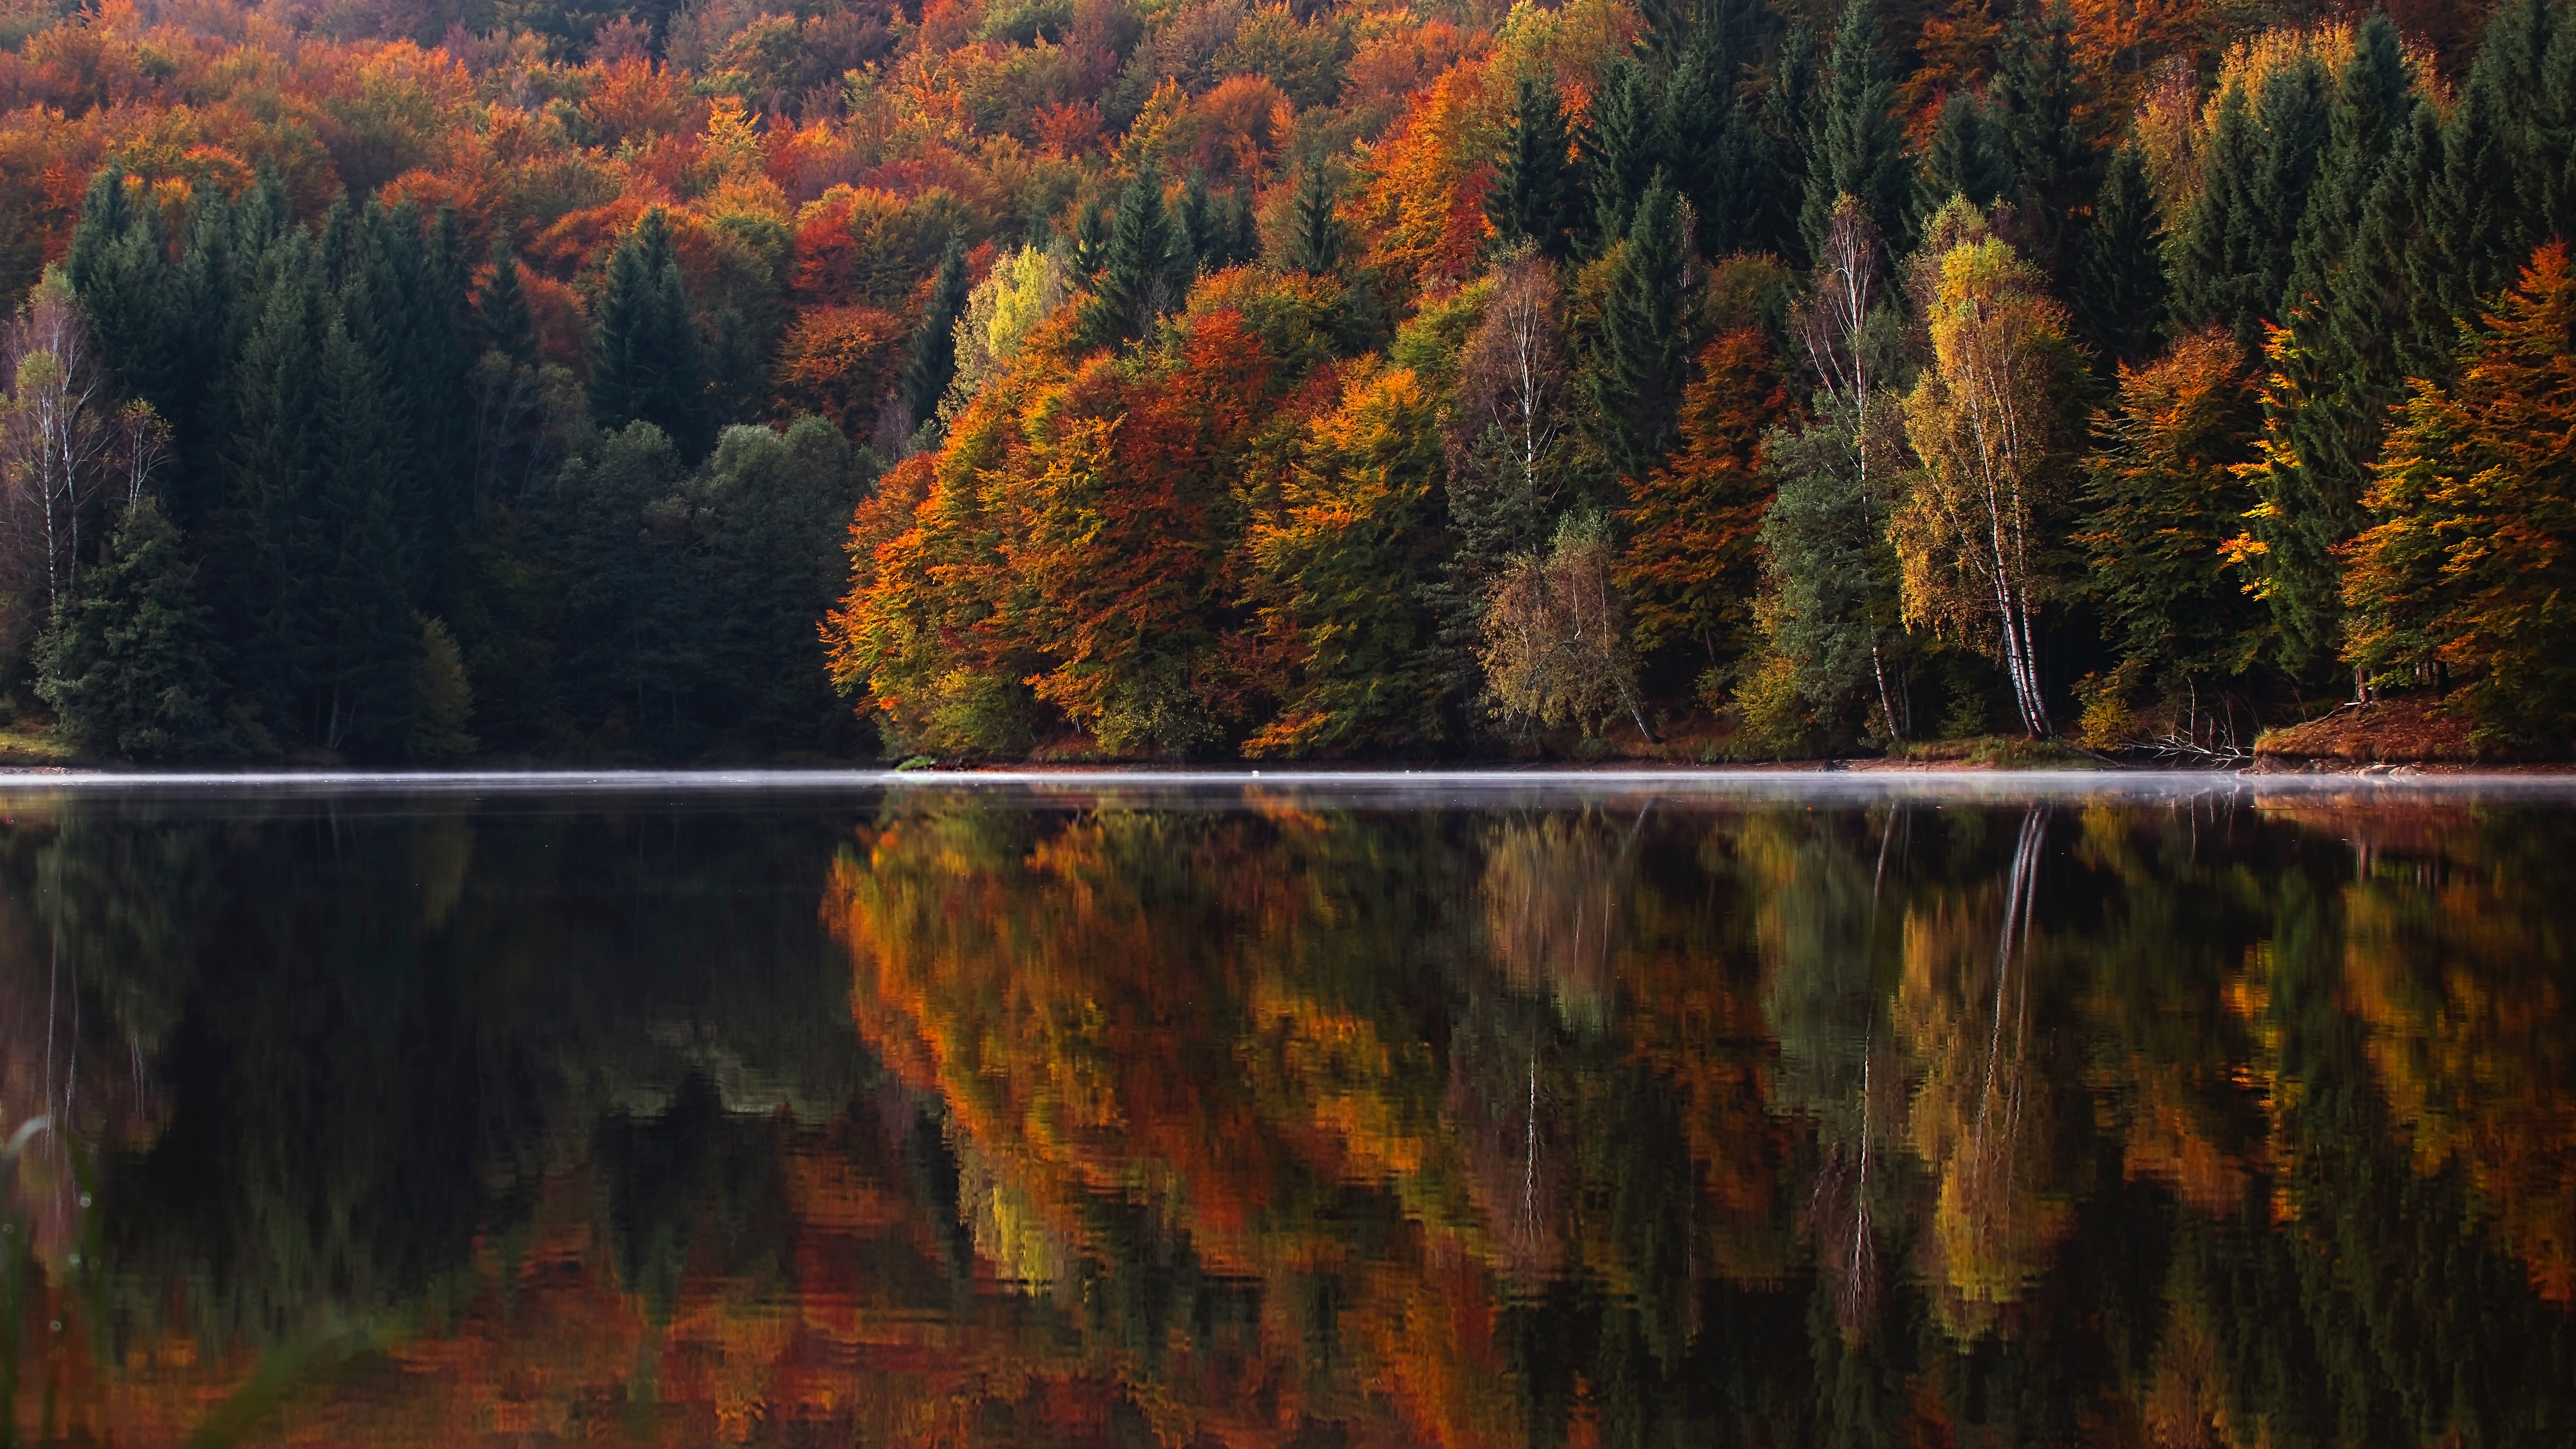
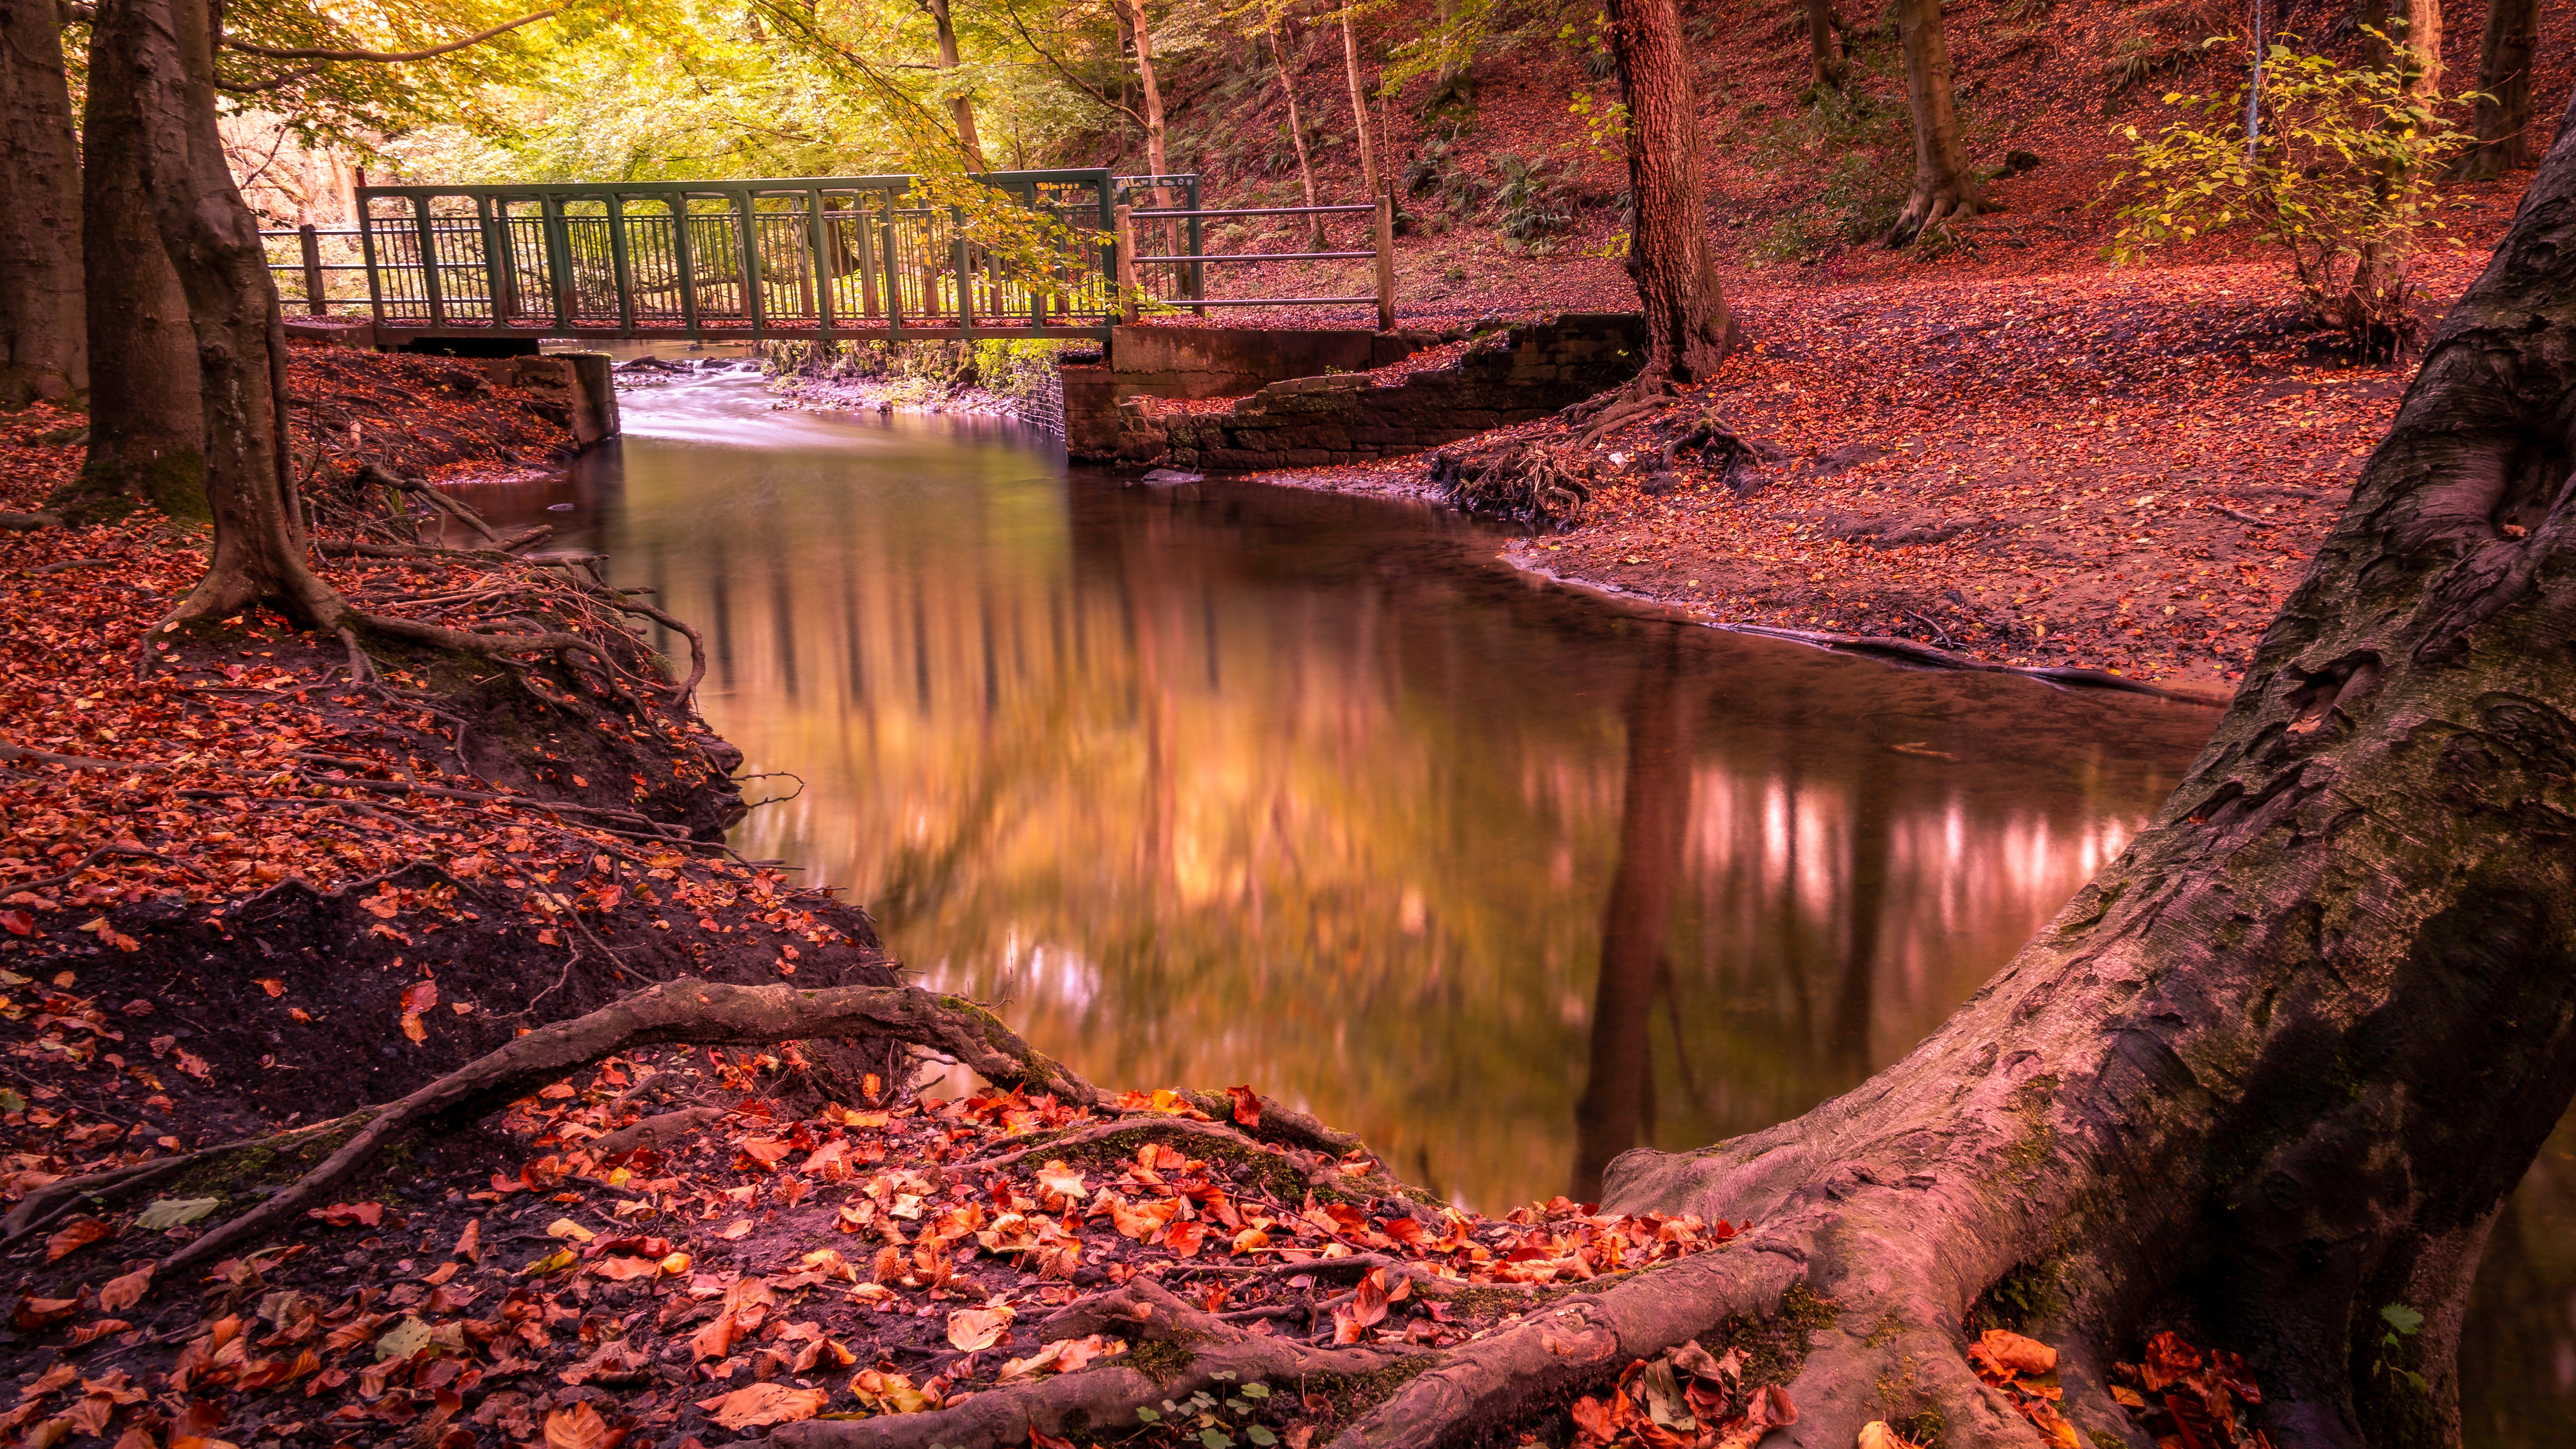
Beyond the basics, using a polarizer can actually improves the appearance of colorful reflections in streams, for example. This is because by carefully aligning the filter you allow more polarized light through than other ambient light. It's somewhat of an illusion, but it can really help with enhancing autumn scenes.
2) Avoid auto white balance
'Correct' color is rarely the most dramatic. Unfortunately the automatic white balance systems in most cameras attempt to capture just that: a centralized color range, with no strong cast. This might be useful in other circumstances, but we want strong color here!
Use a preset or custom white balance instead to really capture the intensity of the colors in the scene before you. Start with the 'cloudy' setting, then try 'shade' to enhance the warmer colors.
The best camera deals, reviews, product advice, and unmissable photography news, direct to your inbox!
3) Look beyond the color
While it is a critical component, don’t make autumn color the only subject of your images. It is a common beginner's mistake to focus on isolated vignettes of the season, or to assume that the color itself is a reason to shoot a picture on its own.
Always remember the other basics of photography – composition in particular. Find a subject first, and then concentrate on working in the seasonal color to complete the image.
4) Shoot through the season
Capture the entire color transformation to find the ideal balance of hues at any particular location. Start early and shoot some test images, even before any strong colors have appeared, as this will enable you to spot where and calculate when amazing spreads of autumnal color will manifest.
Revisiting a location is key to capturing the best arrangements of colors, and also to study both fully laden trees and the classic falling leaf shots, popular on stock photography sites.
5) Don’t forget your telephoto
Bring a telephoto lens to compress perspective and bring different colors together in the frame. While a wide-angle lens can capture the amazing expanses of color seen in a tree canopy, for example, the stretching effect can create gaps that ruin the effect of a carpet of color.
A focal length of over 100mm is better suited to bringing multiple trees together in the same frame, so try standing back and zooming in to take control of the proportions of your shot.
6) Capture details
Tell a story. Find a narrative in your images, such as the gradual color changes or the sensation of being out on a cold fall walk. These are the physical, identifiable characteristics of the season, to which viewers of your images can have the strongest emotional connection.
We can all see the colors outside our windows, but taking the audience on a journey and exploring the small details, as well as the bigger picture, can create far more impact when used together in a portfolio.
7) Capture movement
Experiment with varying shutter speeds to capture the motion of falling leaves or branches in the wind. One of the issues with forest landscapes, where we'll probably be spending most of our time this season, is that they can appear somewhat static and lacking energy. Trees are by their nature symbols of stillness and immovability, so adding in some motion can breathe new life into your images.
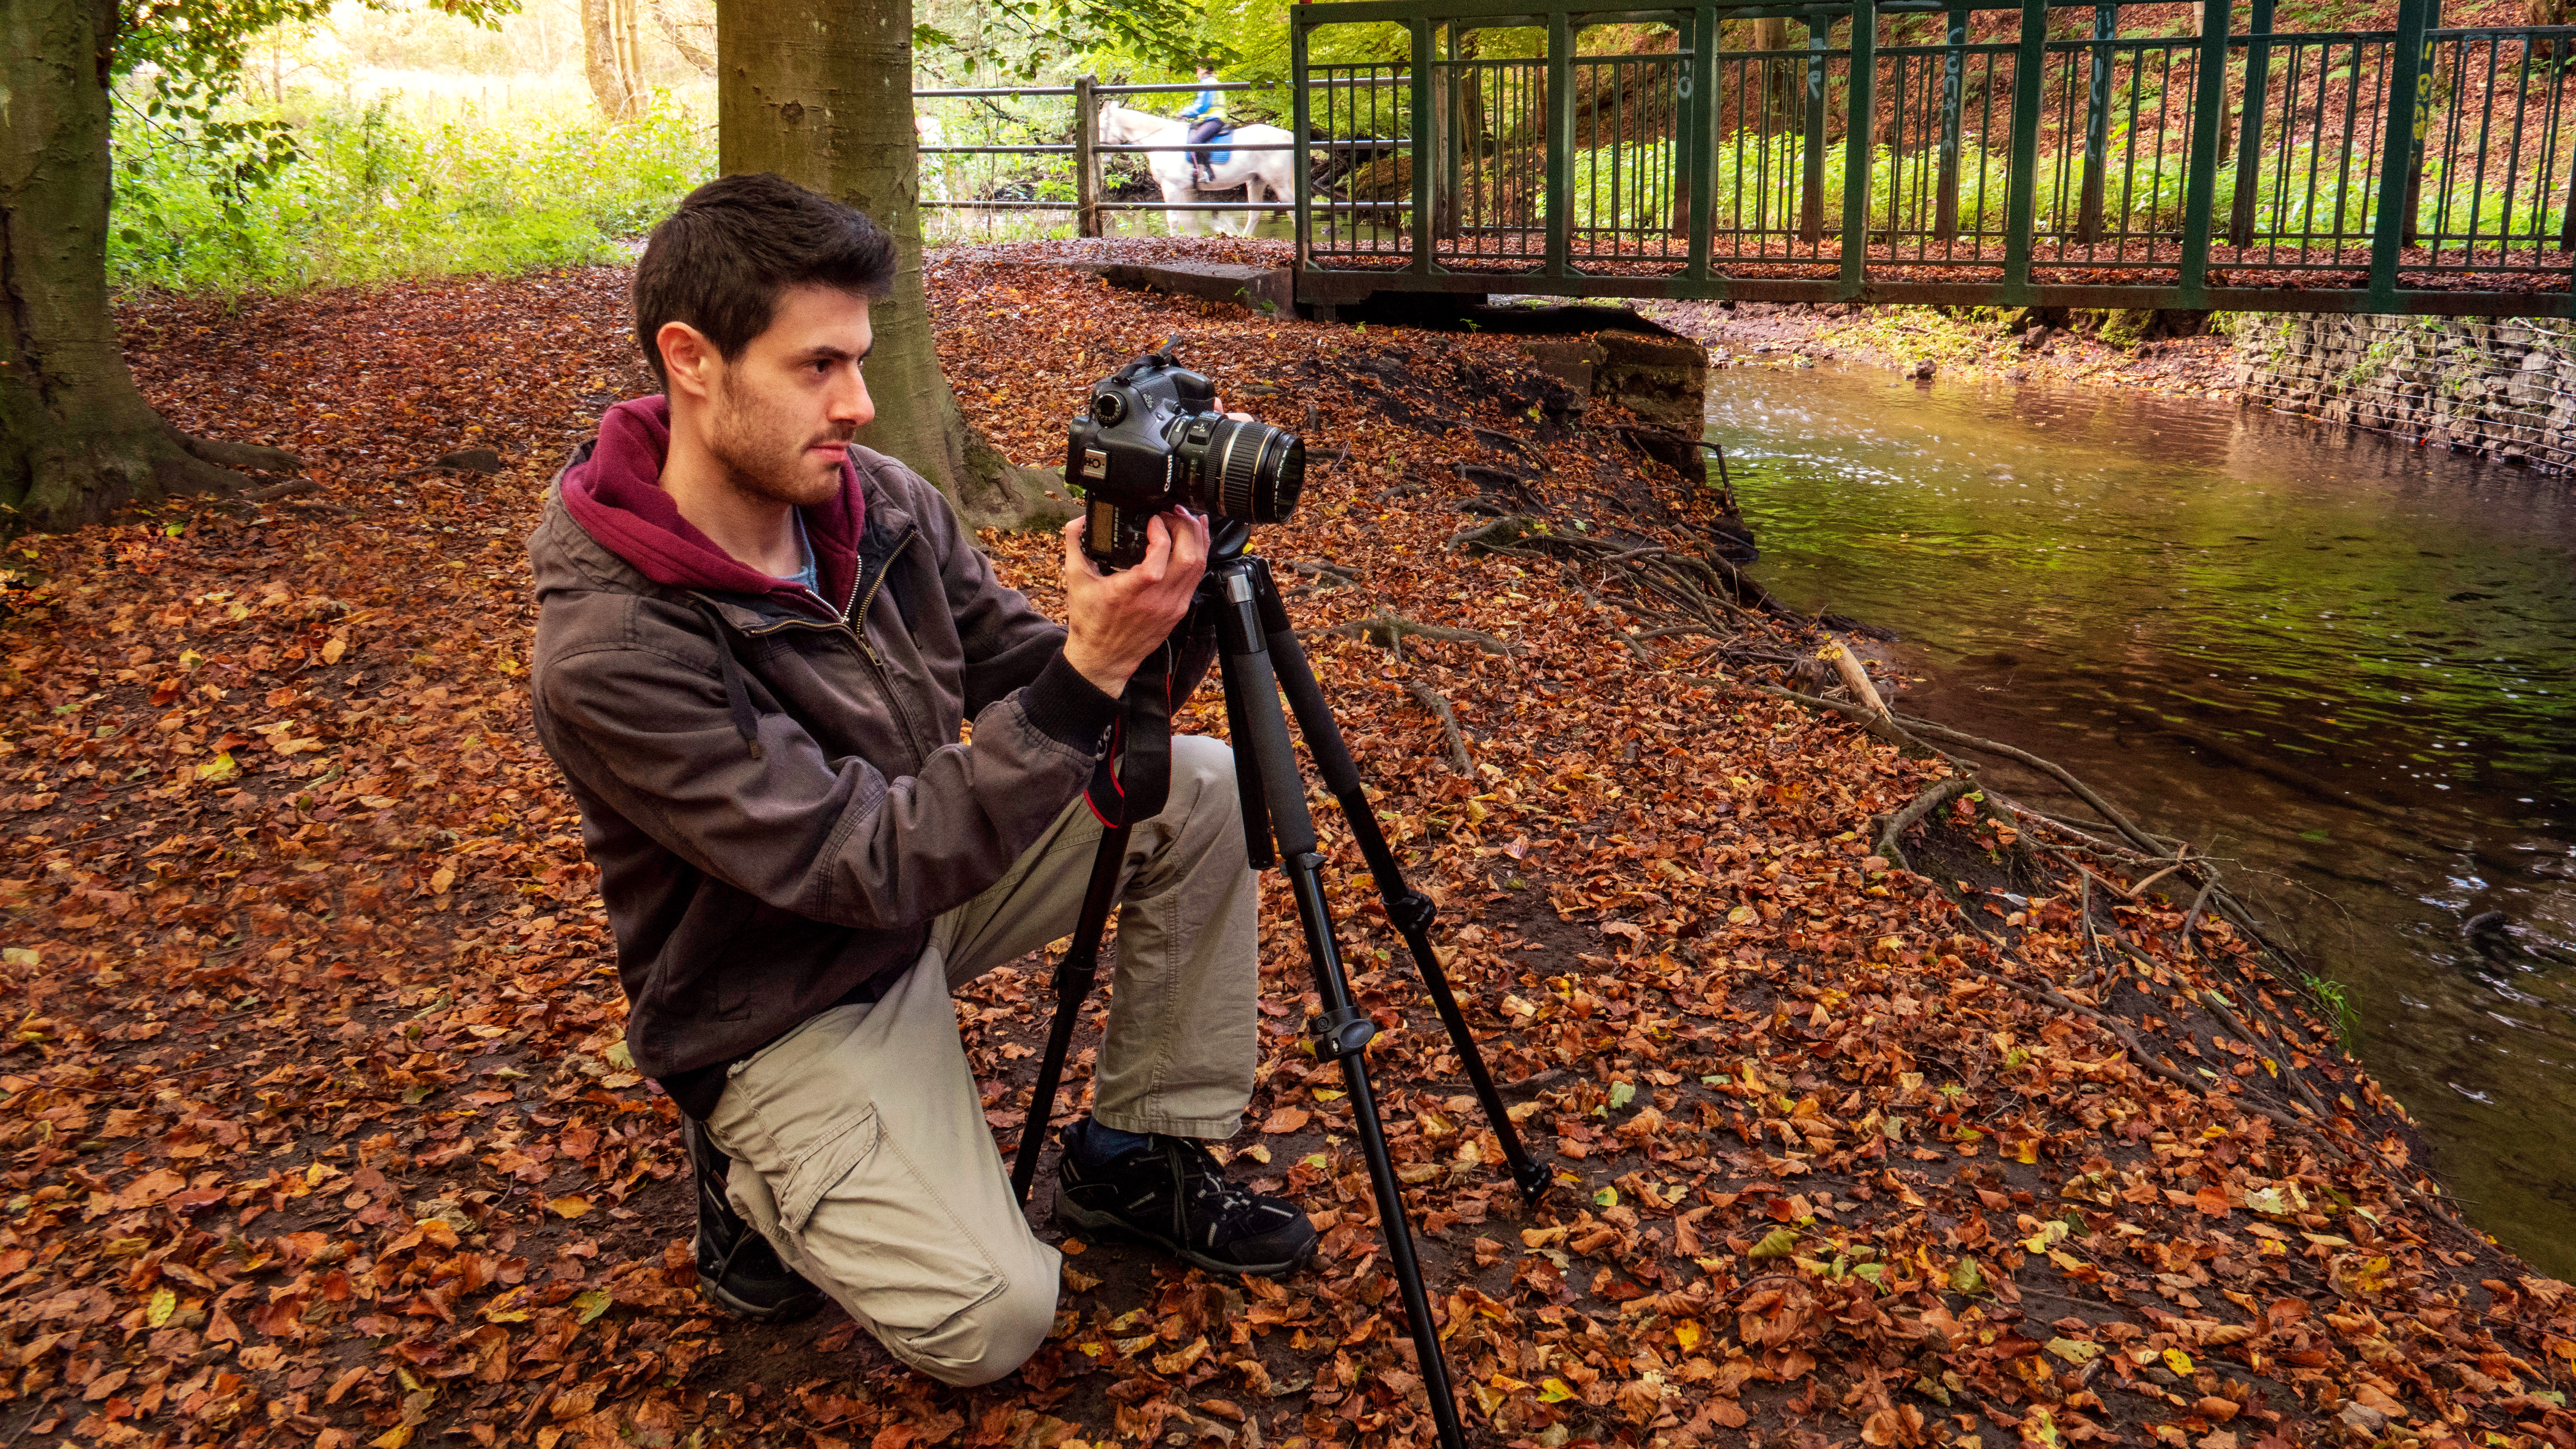
Set a shutter speed of more than a full second to capture the motion of water in an autumnal stream, or use more than five seconds to show gentle movements in the branches. A tripod is, of course, essential.
8) Explore every angle
Move around your chosen location to capture different lighting styles on the scene elements. It's very tempting to arrive on location, set up and keep shooting from that one position. This will be missing opportunities, however, so be sure to move around the scene to find alternative angles.
This will enable you to capture front, side and backlighting, too, which can each provide unique subject-shaping qualities. It's also a good idea to keep altering the focal length to shake things up a bit and experiment with perspective.
9) Color contrast
Don’t forget to capture cooler hues, too, which will produce color depth and greater impact. Fall might me all about reds, oranges and yellows, but blues, cyans and magentas are still present – and cutting them out completely can produce images that lack dimension. When this happens it's tricky to know what is wrong, but it's obvious that something is missing from the colour palette.
This is why shooting RAW files is essential here – being able to blend images with different white balance settings, for the highlights and shadows, can produce final images with a broader color range and a more organic look.
10) Show scale
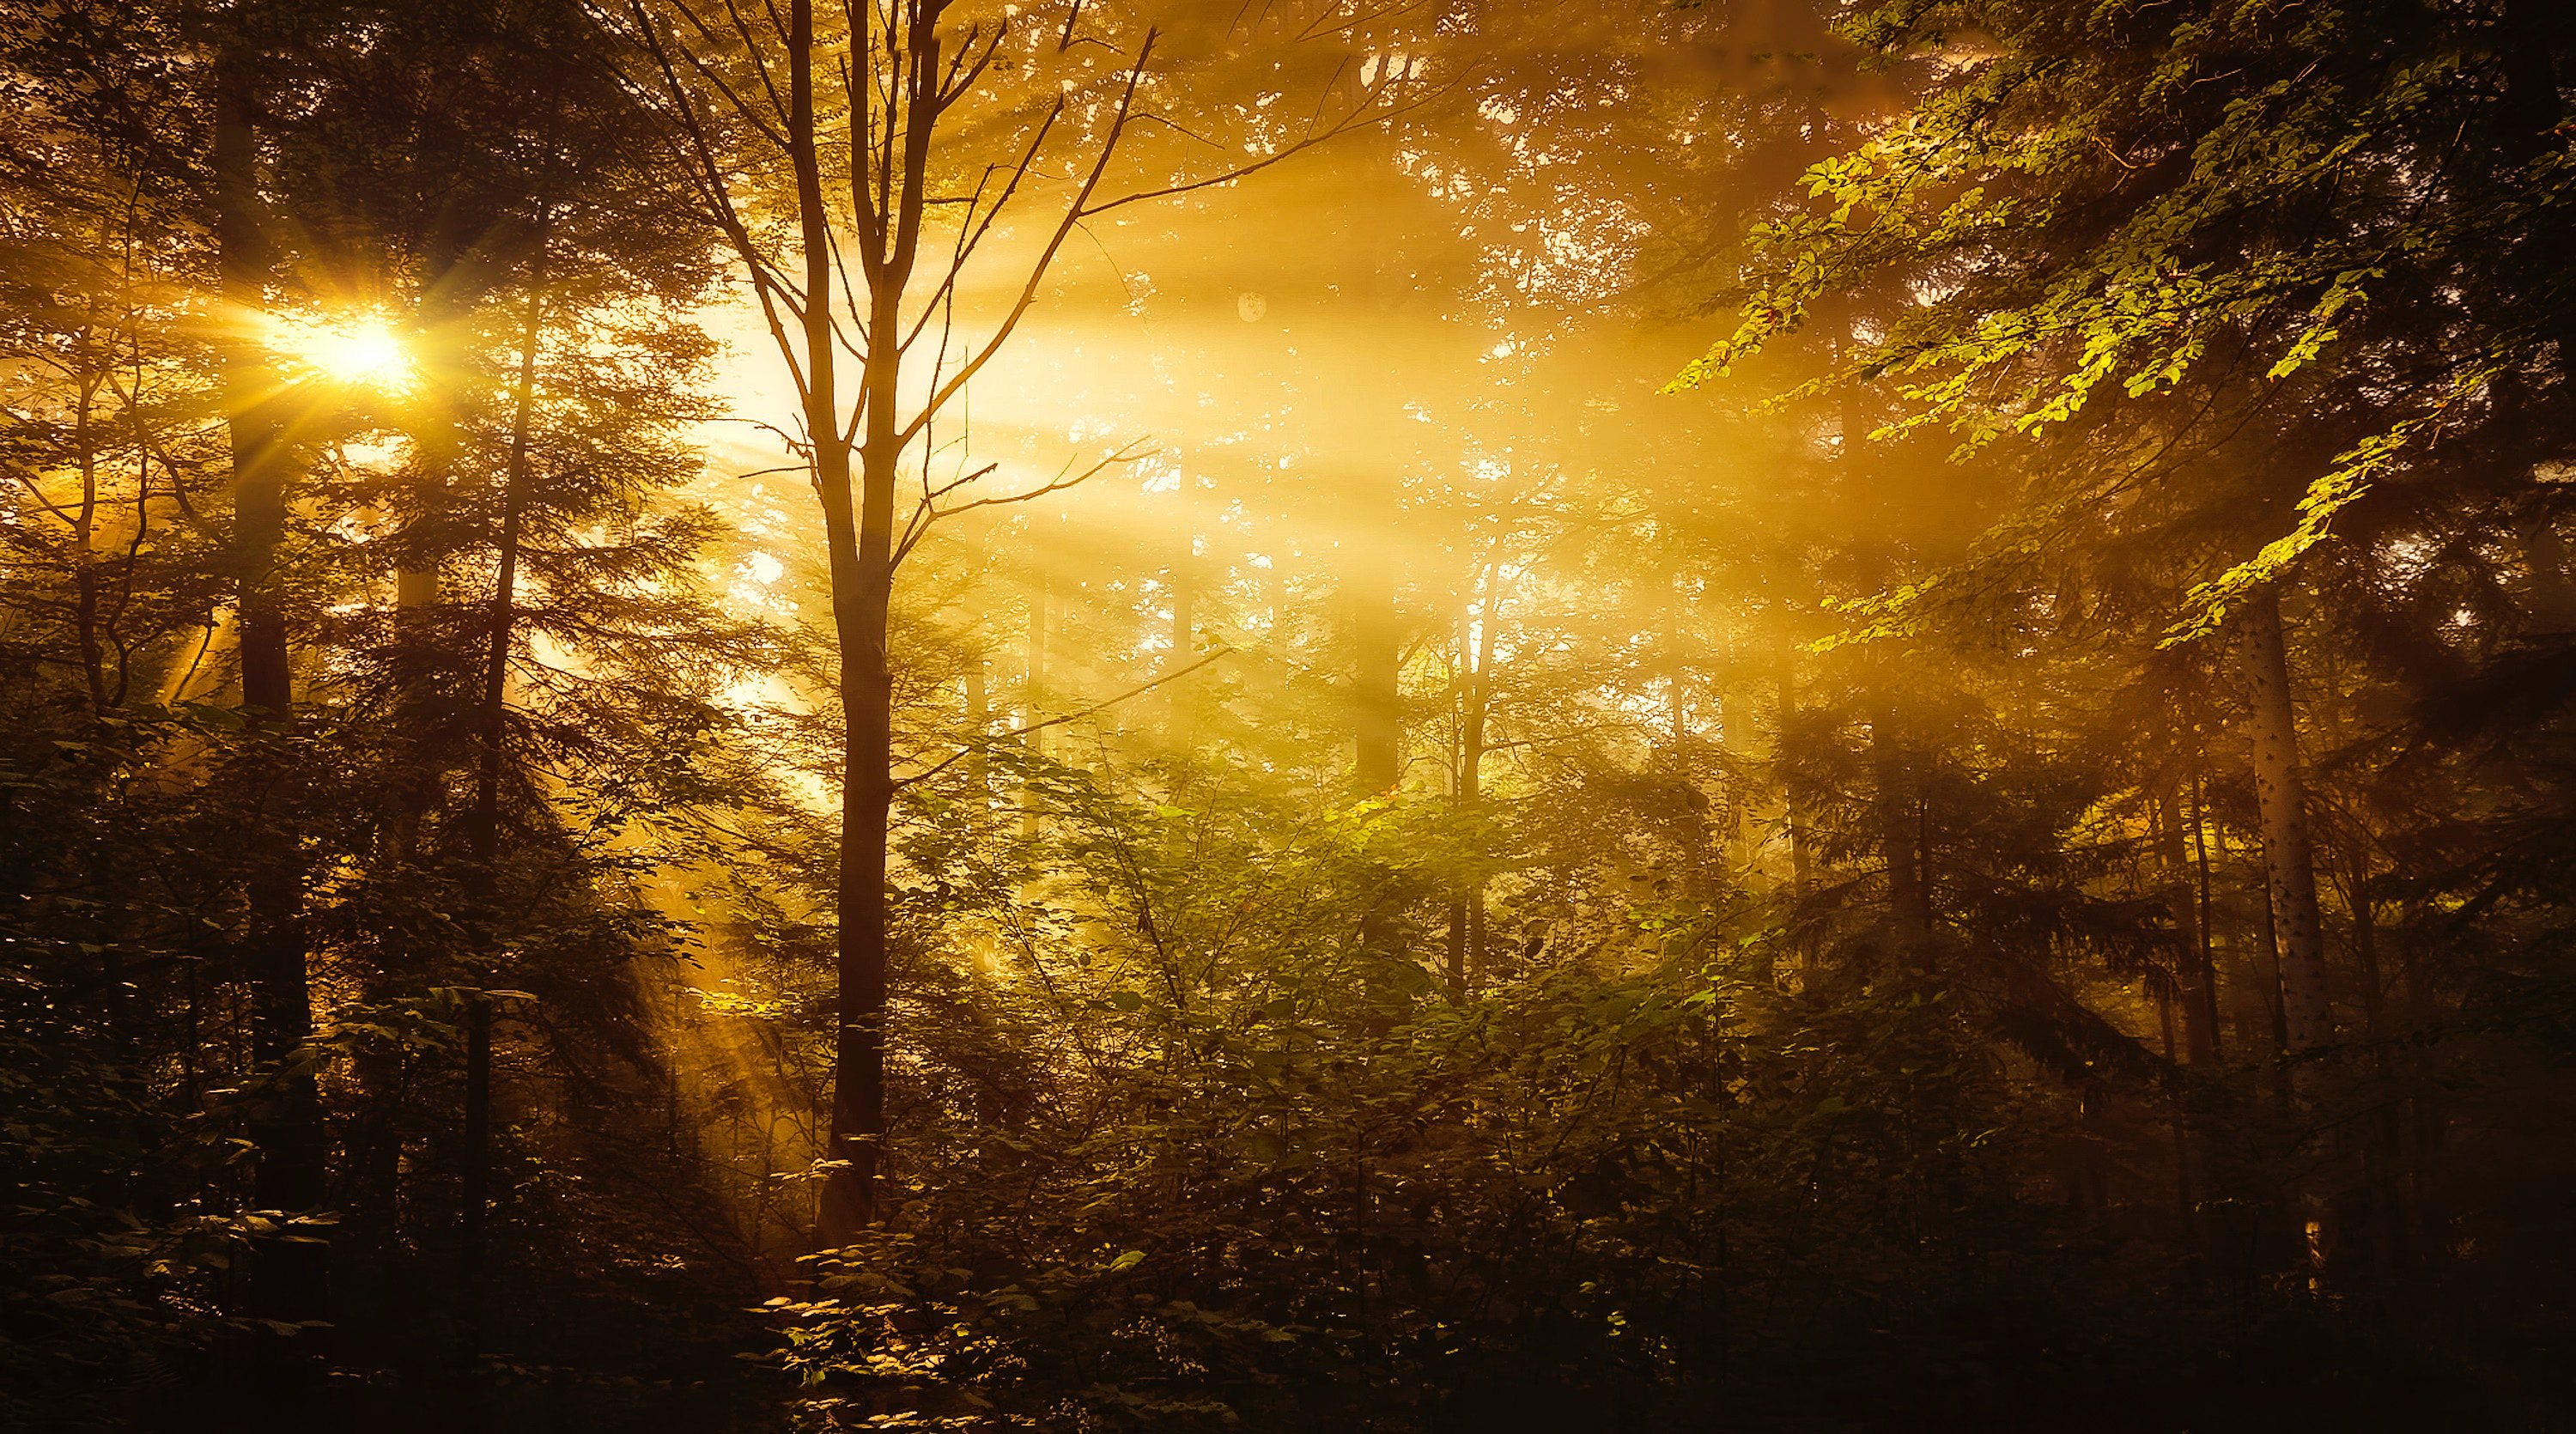
Lend added drama to your shots by incorporating a marker for scale, such as a person. When reviewing your images after a shoot it can feel a little deflating sometimes, when the resulting images don't seem to convey the vastness of the location or the impressive array of colours you experienced while shooting. This is because there is nothing in the scene to reveal the context. On a woodland path wait until someone walks into the frame to give your viewers something to refer to. A human element will also stir emotions effectively as it helps your audience imagine themselves walking into the picture.
Read more:
3 issues for just £/$/€3 when you subscribe to Digital Photographer magazine
Best lenses for landscapes
Best cameras for landscape photography
Landscape photography tips
As the Editor for Digital Photographer magazine, Peter is a specialist in camera tutorials and creative projects to help you get the most out of your camera, lens, tripod, filters, gimbal, lighting and other imaging equipment.
After cutting his teeth working in retail for camera specialists like Jessops, he has spent 11 years as a photography journalist and freelance writer – and he is a Getty Images-registered photographer, to boot.
No matter what you want to shoot, Peter can help you sharpen your skills and elevate your ability, whether it’s taking portraits, capturing landscapes, shooting architecture, creating macro and still life, photographing action… he can help you learn and improve.
