Don't make this black-and-white photography editing mistake! Here's how to fine-tune mono images like a pro
Finesse your black-and-white photos with these techniques and handle grey shades with maximum visual flair
The best camera deals, reviews, product advice, and unmissable photography news, direct to your inbox!
You are now subscribed
Your newsletter sign-up was successful
Black-and-white photography is all about control – and one misstep in post-processing can completely limit your creative potential. Understanding how to handle grey tones properly is the key to impactful monochrome images – no matter what genre you're shooting.
One of the most common mistakes photographers make when editing black-and-white photos is converting files straight to greyscale. While it sounds logical, this instantly discards valuable color data – and with it, your ability to precisely control luminosity contrast and tonal separation.
For context, the color information is crucial to control luminosity, which heavily influences the visual outcome of black-and-white photographs. The result? Flat, lifeless black-and-white images.
Article continues belowInstead make use of the Black & White Adjustment Layer, which enables you to individually control the colors' grey shades via luminosity. In general, working with Adjustment Layers only is the way to go. This has the benefit of maximum control over the editing process, as you can always go back to the specific layer to reset or readjust settings.
Let's take a look at the powerful – and flexible – tools for optimizing your monochrome images. From simple adjustments to advanced conversions, these techniques will help you fine-tune your black-and-white work with intention, creativity and full control.
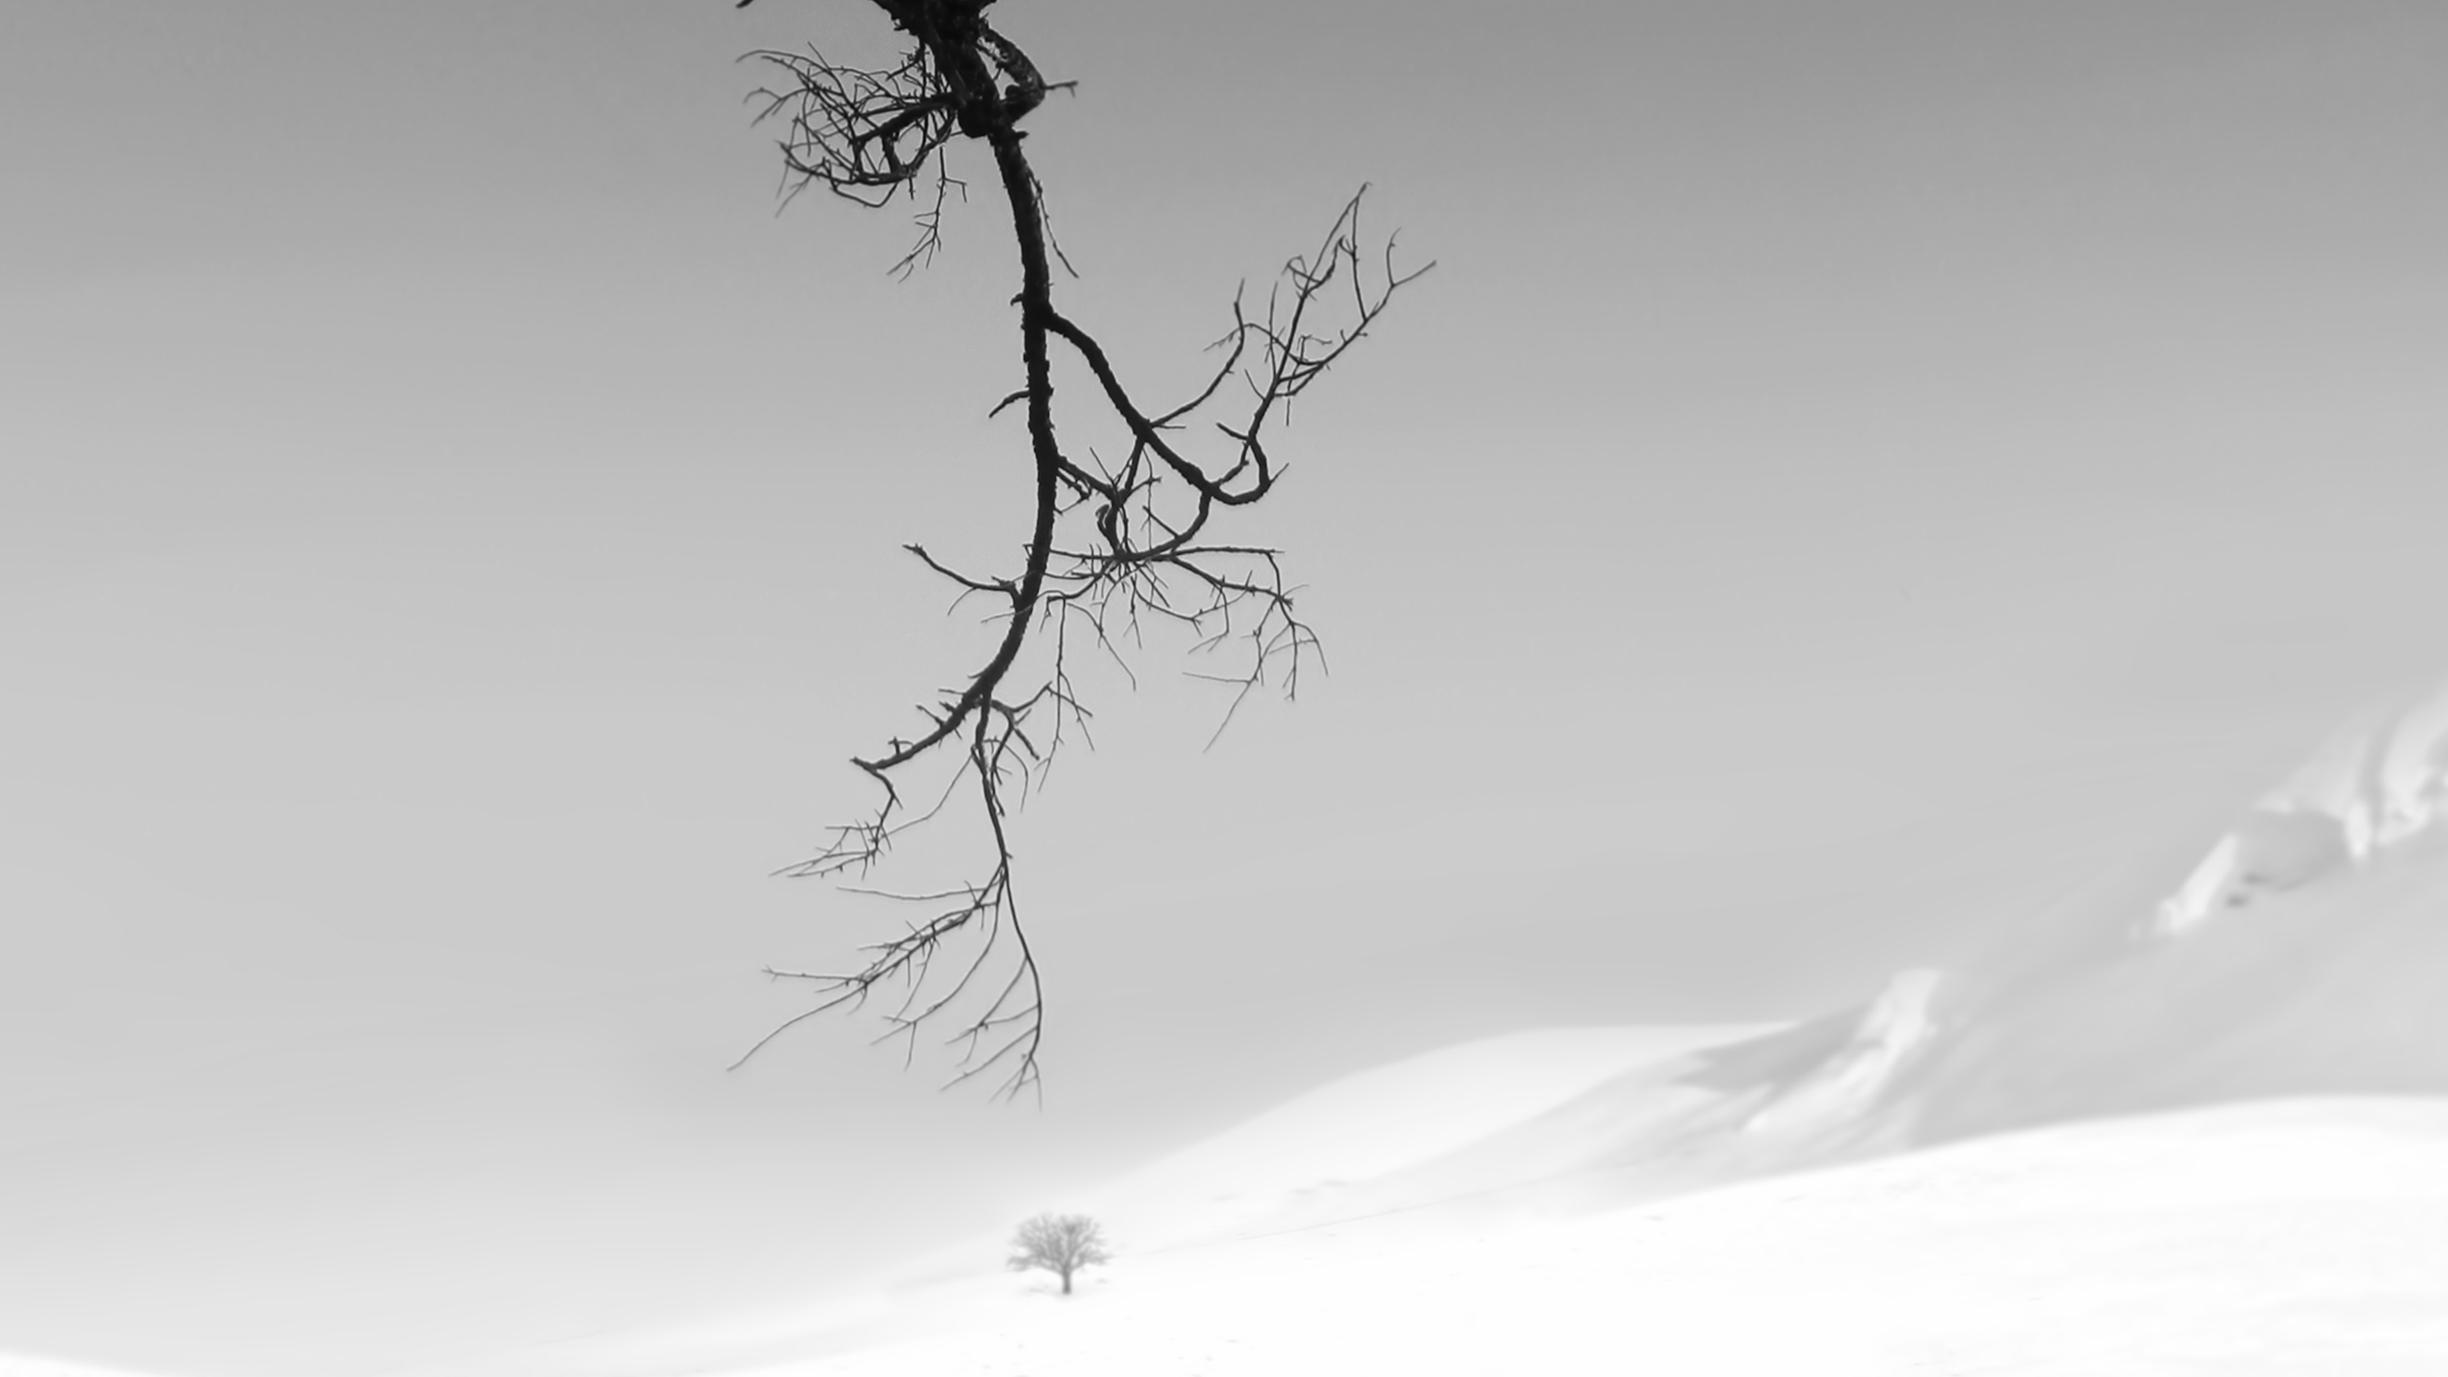
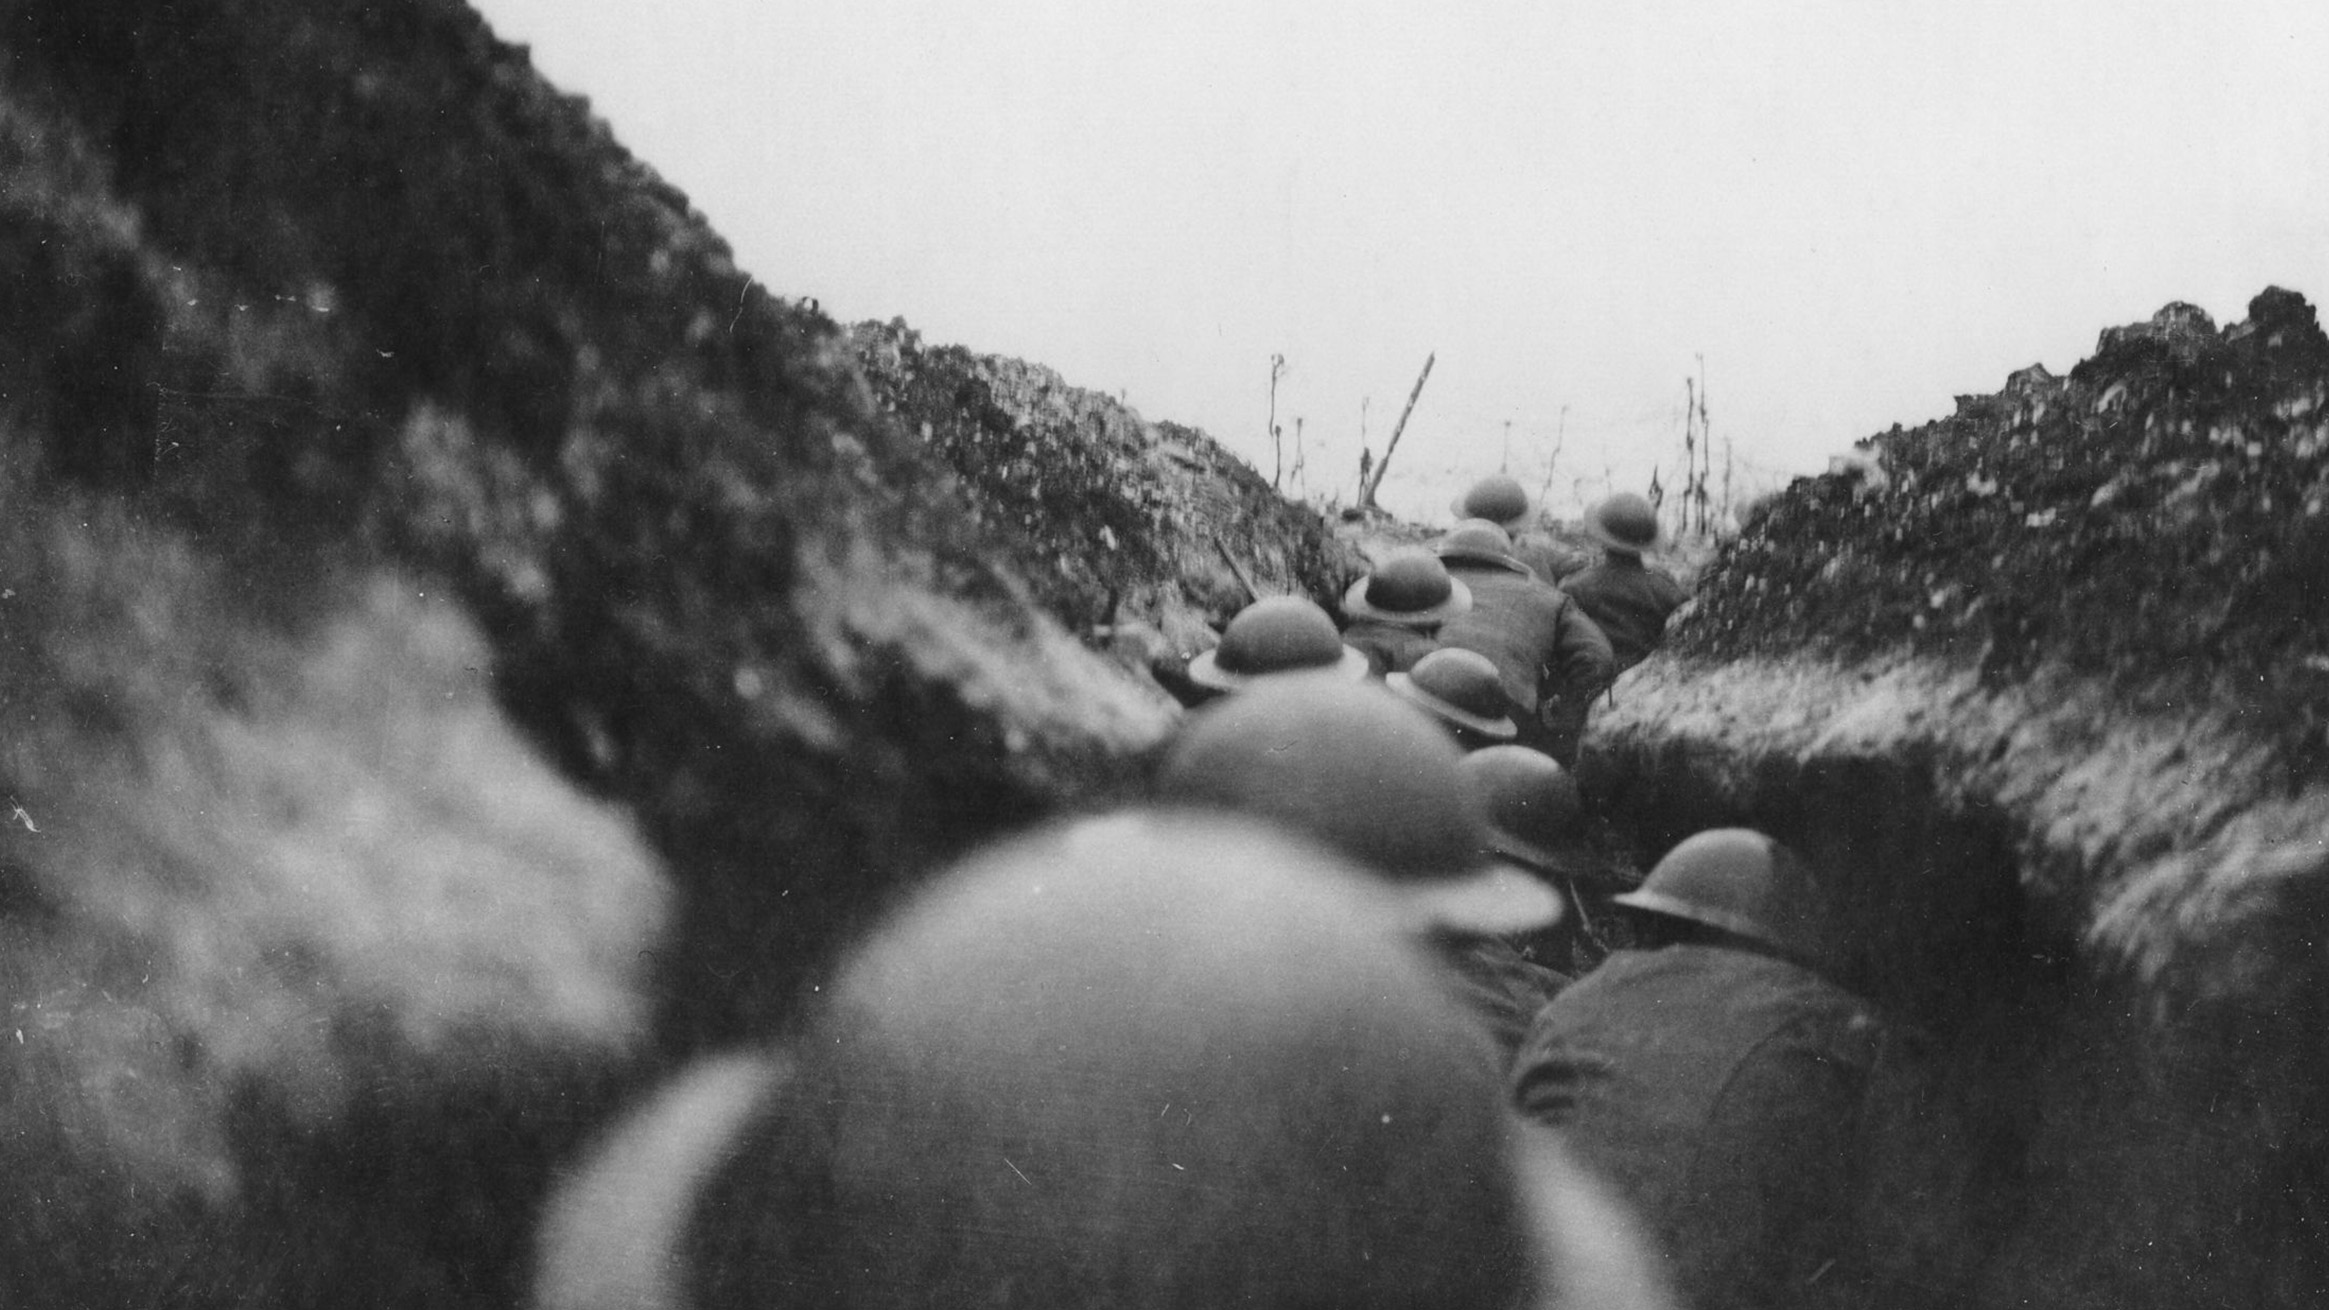
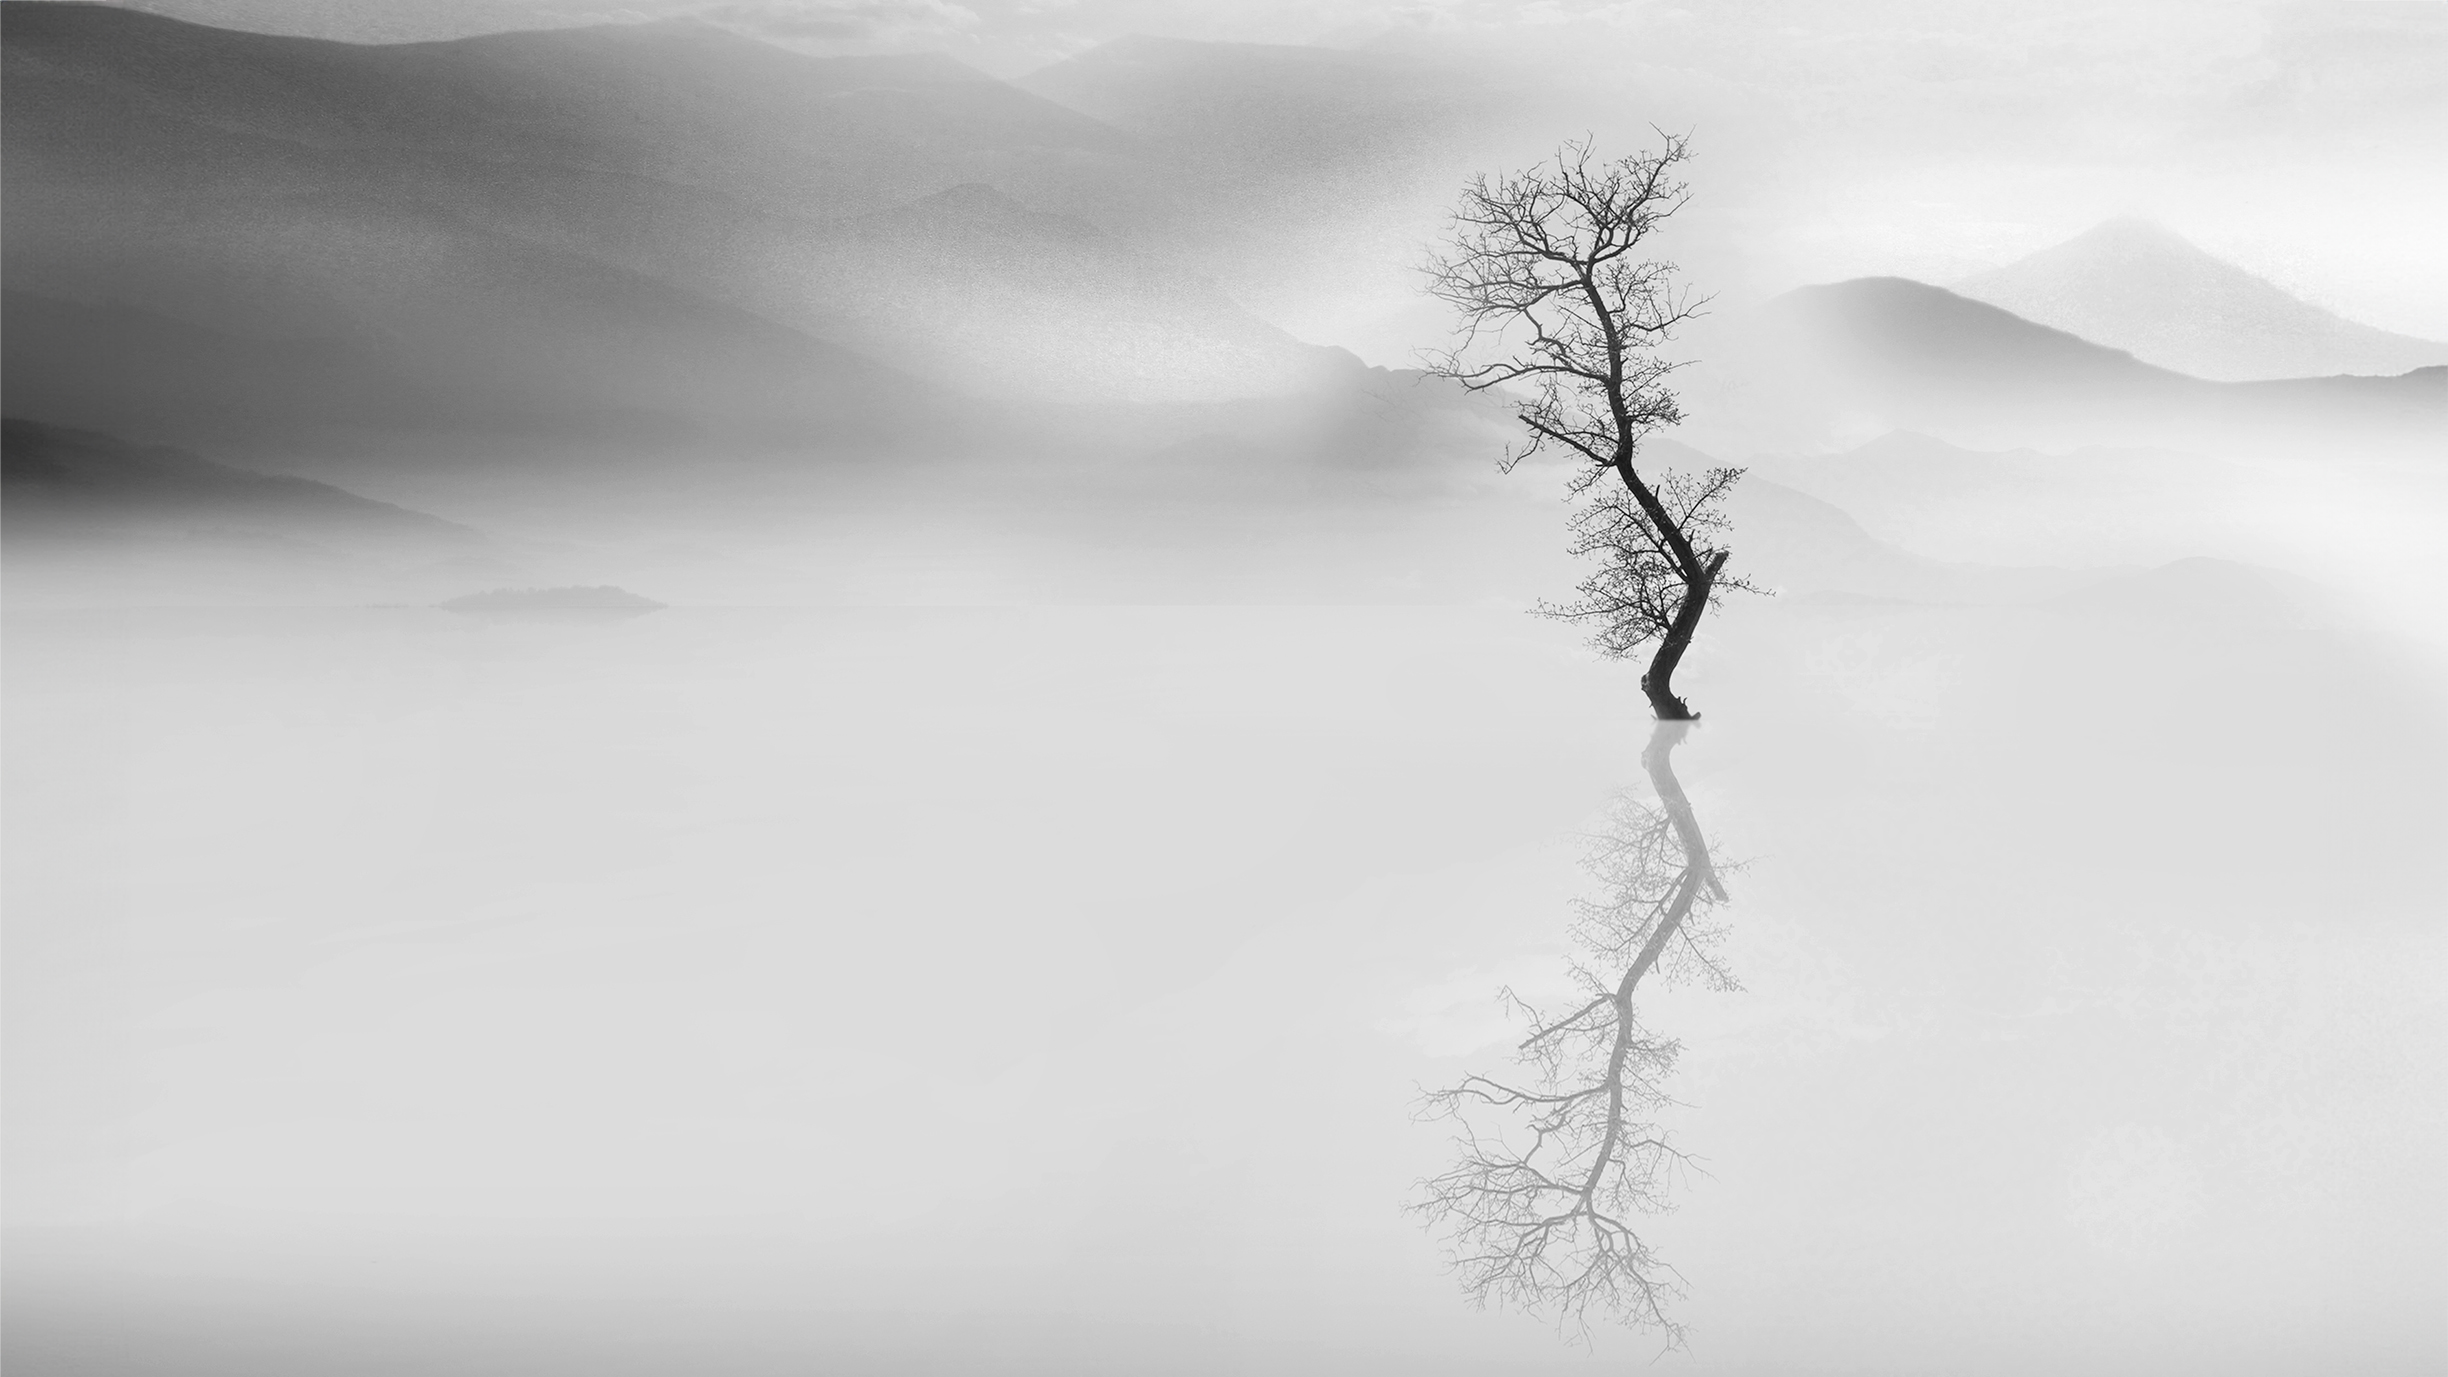
To demonstrate the effects, we're editing images by Mostafa Nodeh, an award-winning photographer known for his minimalistic black-and-white photography.
The top four
1. Control luminosity
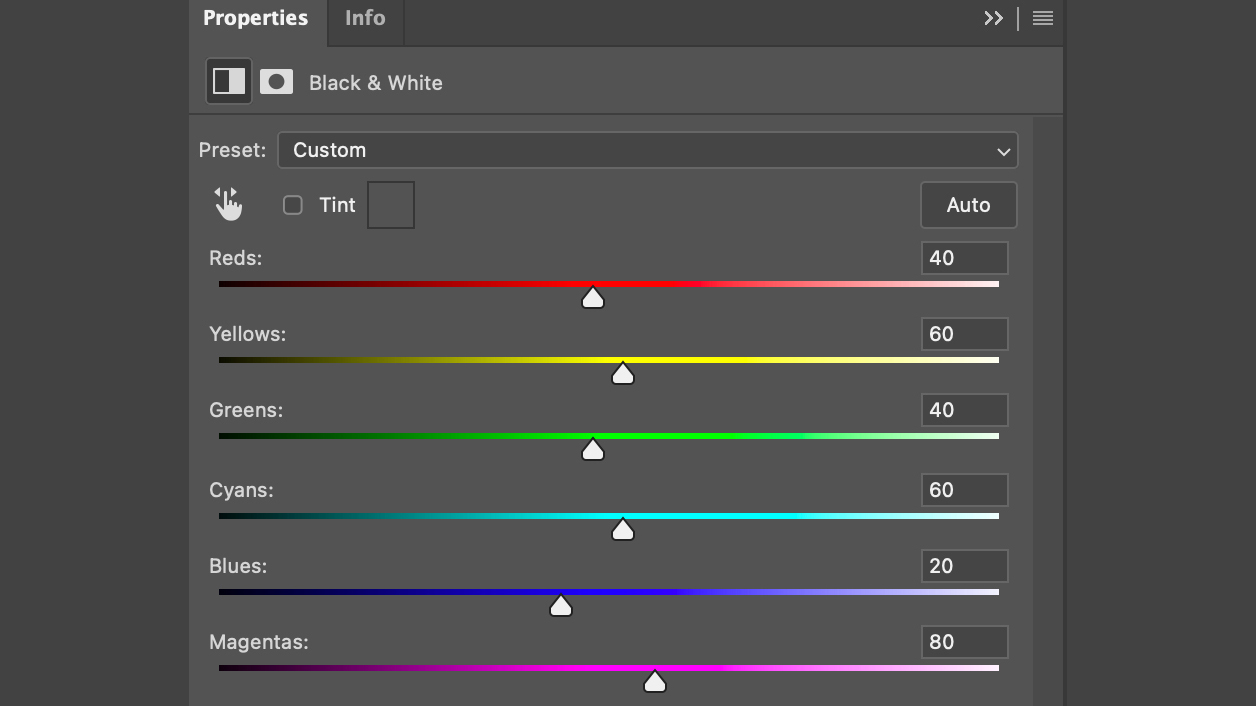
Use the color information to visually set elements apart in mono. Add a Black & White Adjustment Layer and a window opens showing color tones from Red to Magenta. This adjustment works similarly to the in-camera color filters but, with access to specific sliders, you have maximum control over the luminosity levels.
The best camera deals, reviews, product advice, and unmissable photography news, direct to your inbox!
2. S-Curve
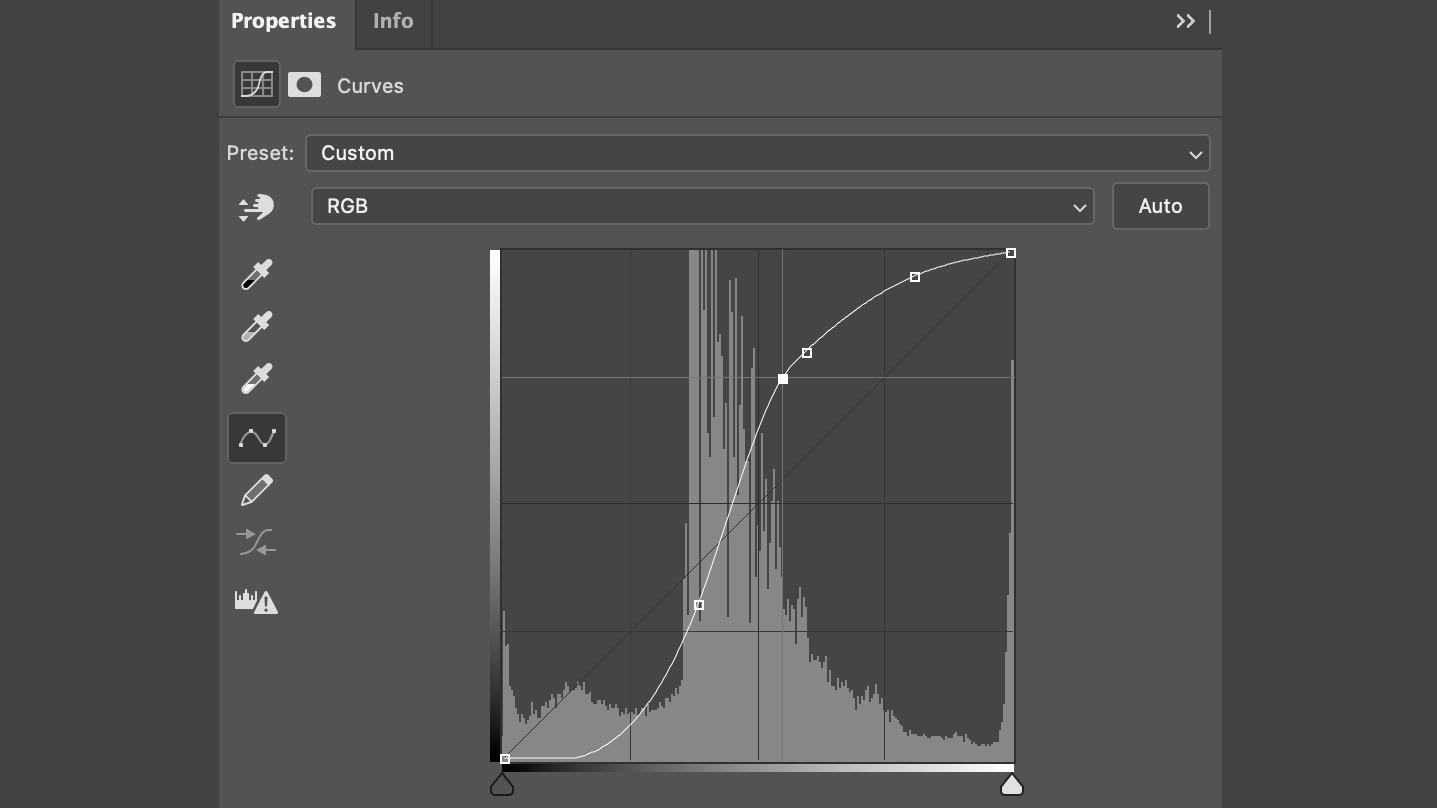
To enhance or decrease the contrast of your black-and-white shots, add a Curve Adjustment layer. Here, most frames benefit from a classic curve. Click on the anchor points and adjust these into an S-shape. However, it is worth experimenting with settings as each frame is different.
3. Dodge and Burn
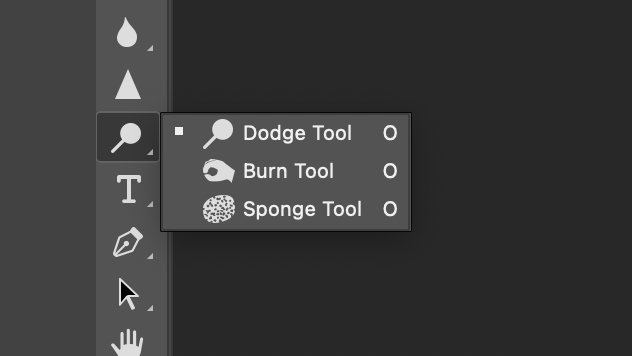
To fine-tune specific image elements in contrast and luminosity, use Dodge and Burn tools. With these, you can target the tonality of subjects (Dodge) or add contrast (Burn) by painting in the frame. Don’t forget to specify the tonality range to either work on shadows, midtones or highlights.
4. Texture overlay
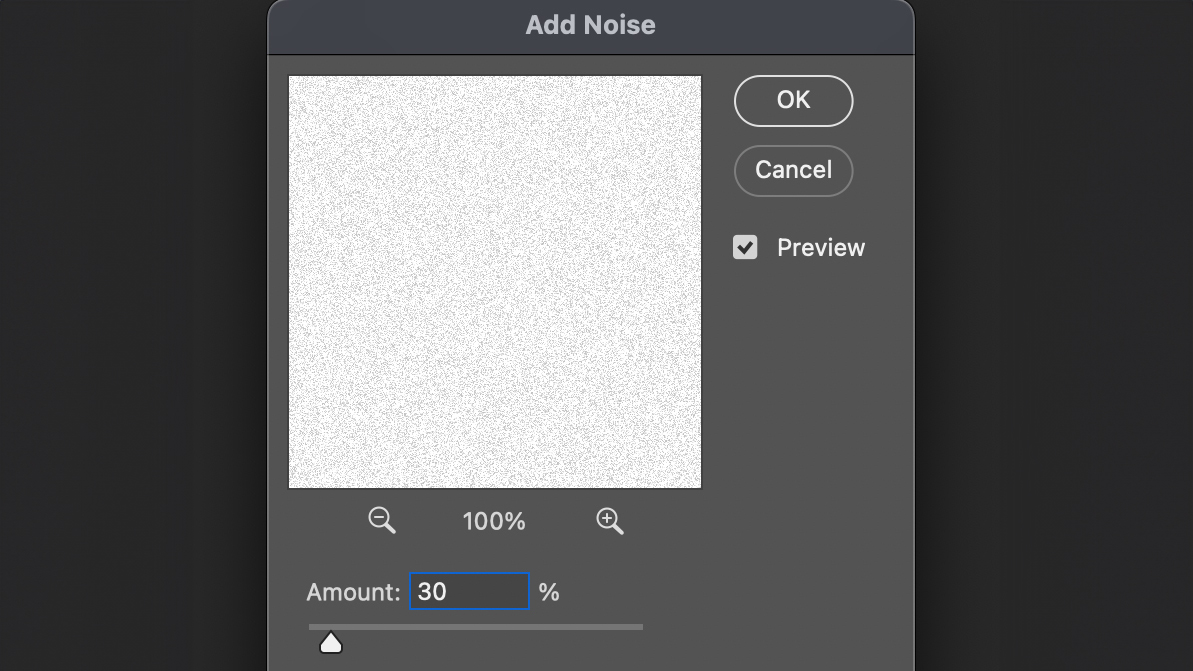
Adding some fine-grain noise or a pattern overlay is a clever technique to add a more classical analog touch to your monochrome shots. Texture filters are available, but you can also raise the texture slider in your RAW Editing Converter. Here, bear in mind that the latter can not be fine-tuned after the setting has been applied.
Toning effect
High key
Add a Curve Adjustment Layer. Now raise the curve via the anchors to lighten the grey tones in your image. Keep an eye out so that you don’t lose any details in the highlights.
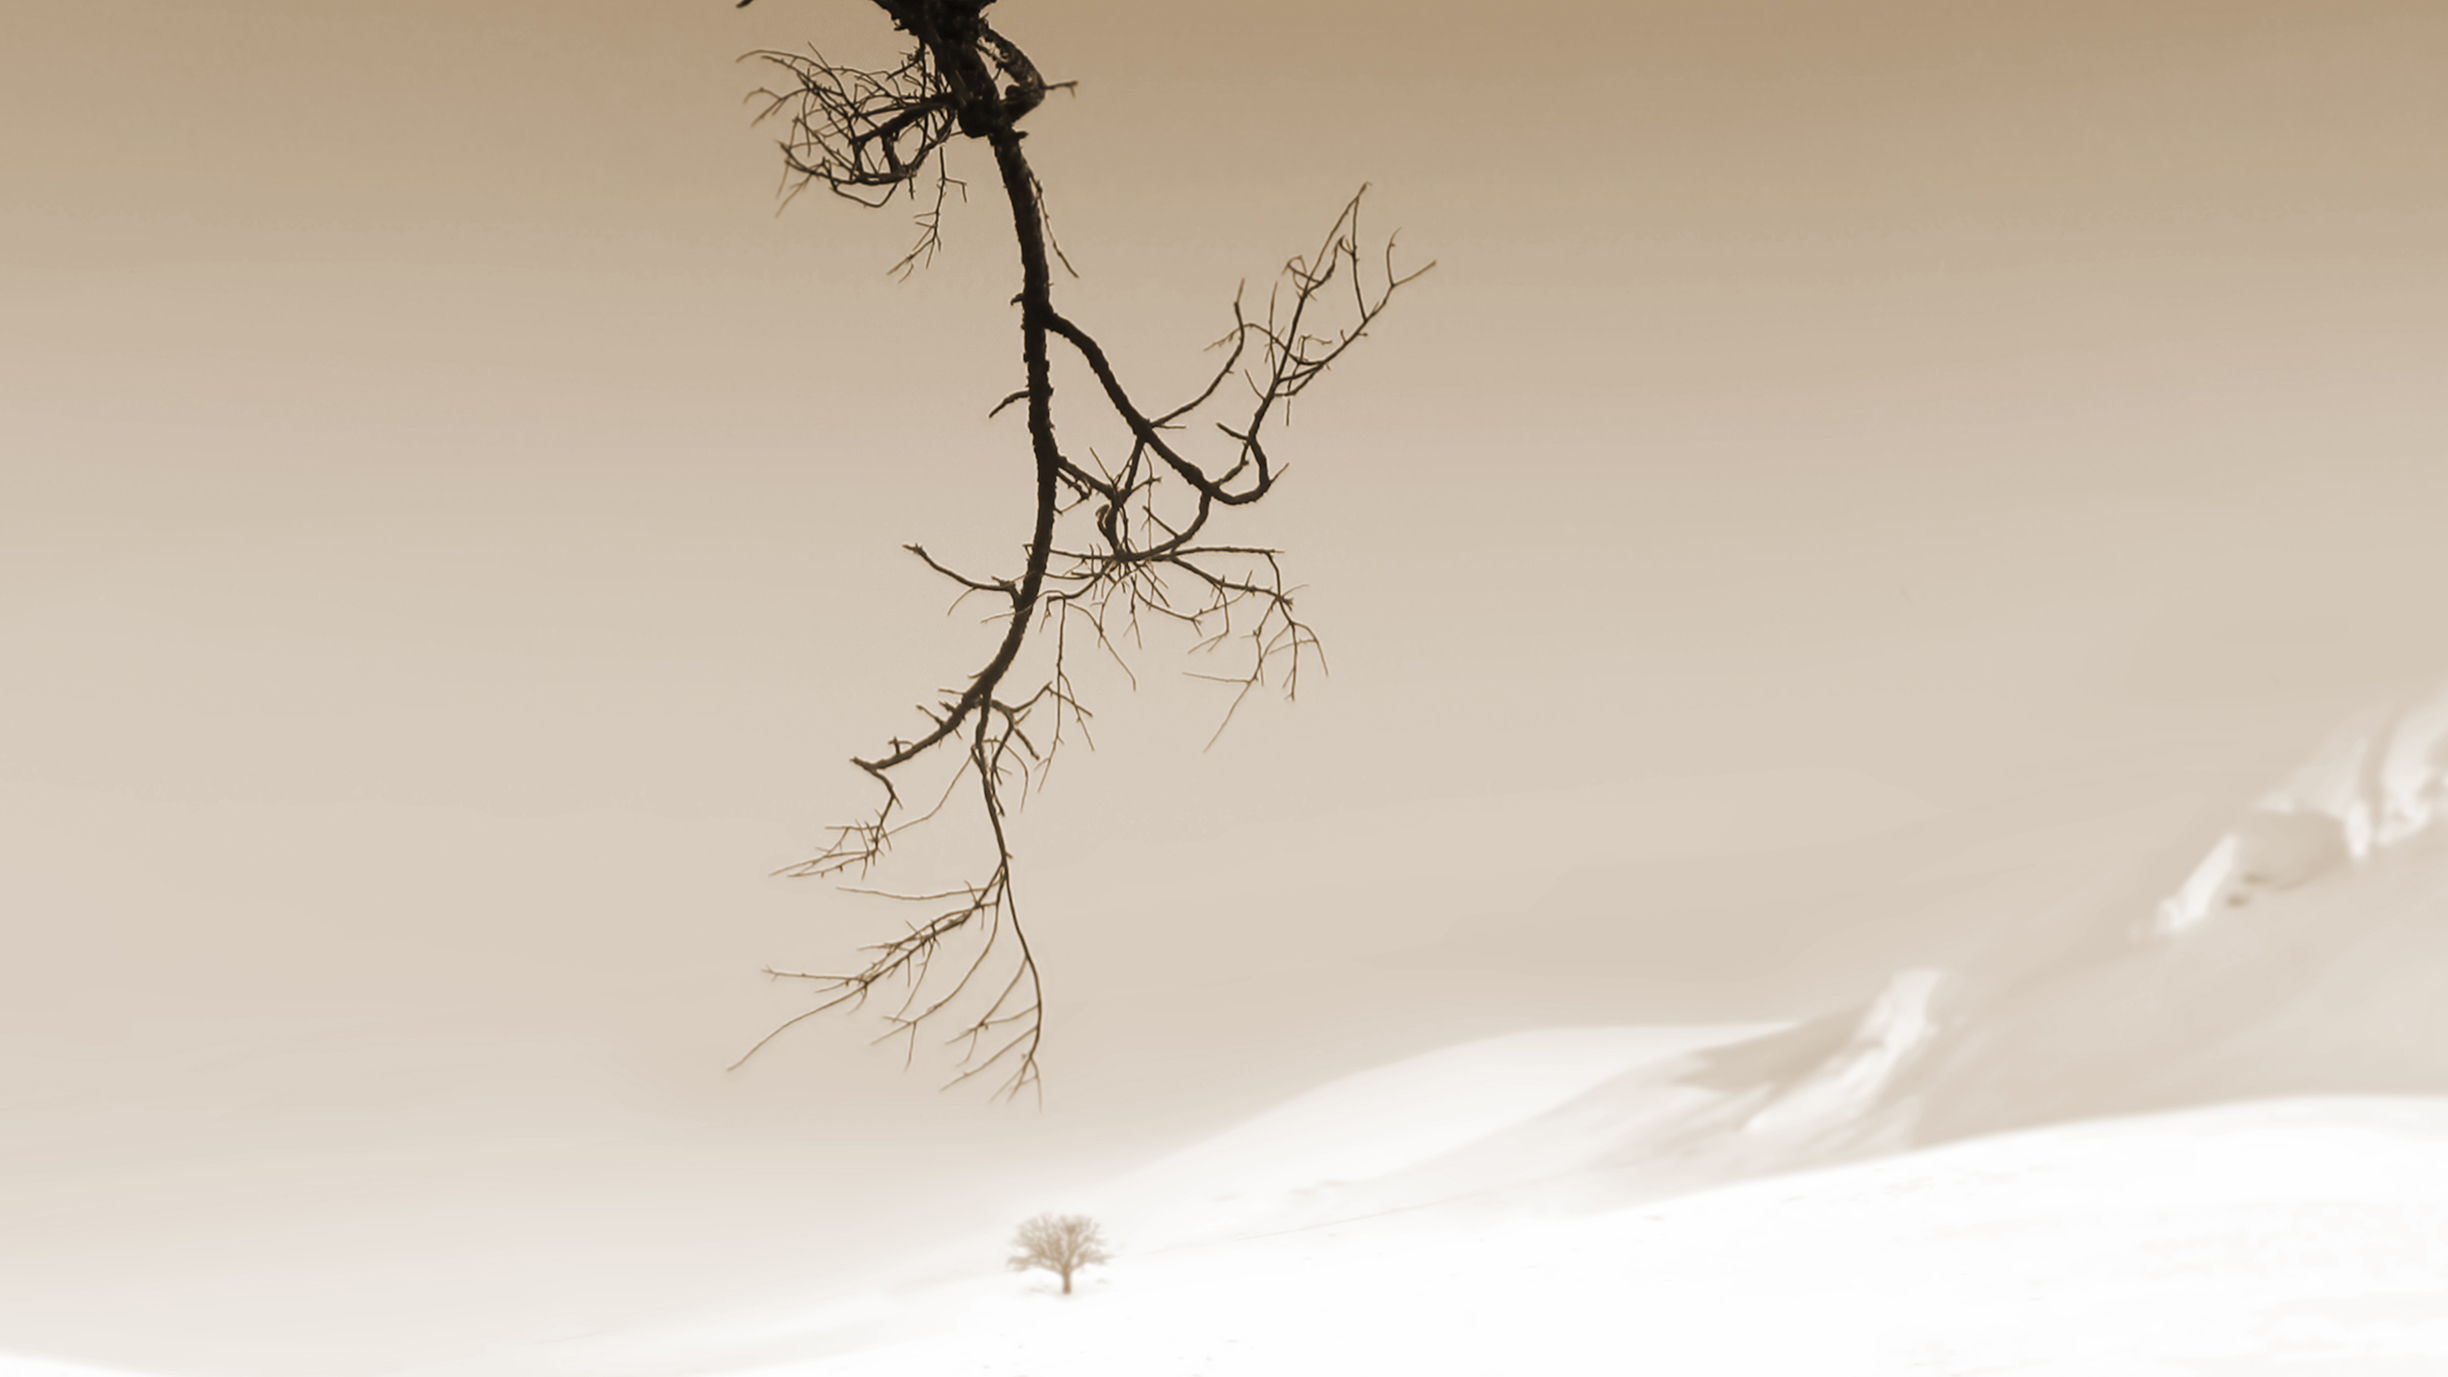
Sepia
First, add a Hue/Saturation Adjustment Layer. Now set the Hue value to around 30, while dragging the Saturation slider to around a value of 25. Tick the Colorize box.
Cyanotype
Add a Hue/Saturation Adjustment Layer. Set the Hue value around 220 and Saturation to 35. Tick the Colorize box. Open the Curve Adjustment Layer and add contrast via an S-curve.
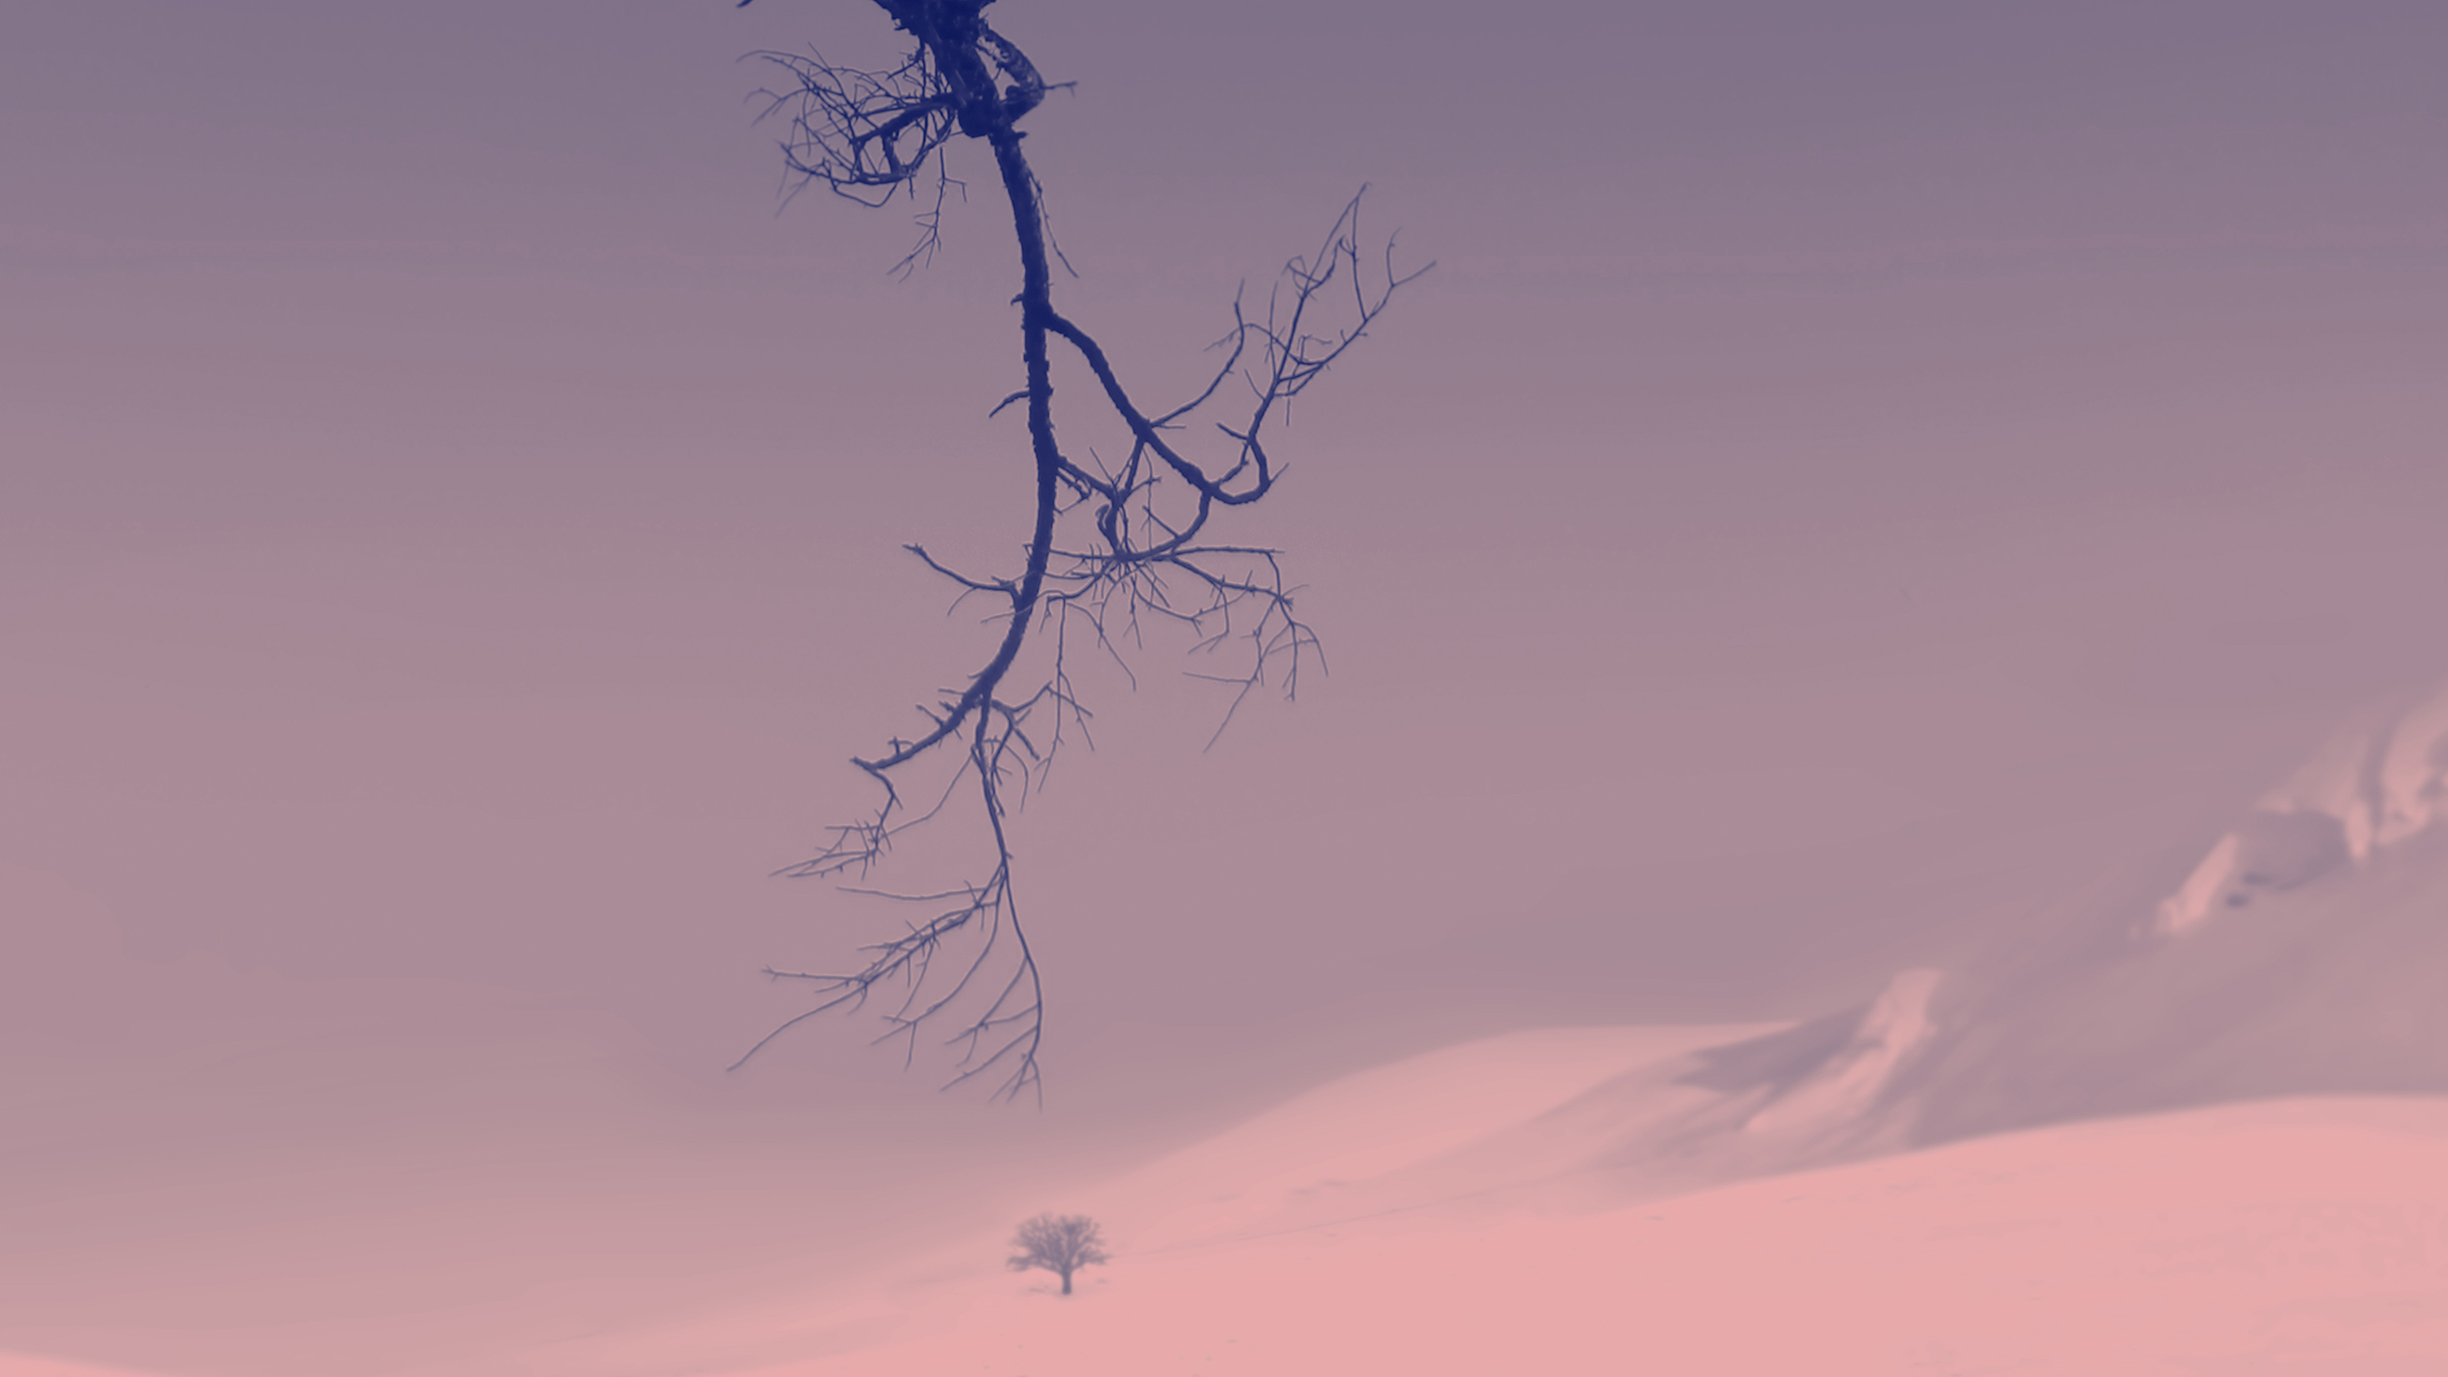
Split-tone
Use Split Tone panel or Gradient Map Adjustment Layer. Set shadows to one colour and highlights to another. Complementary color combinations such as red and blue work best.
Advanced conversions
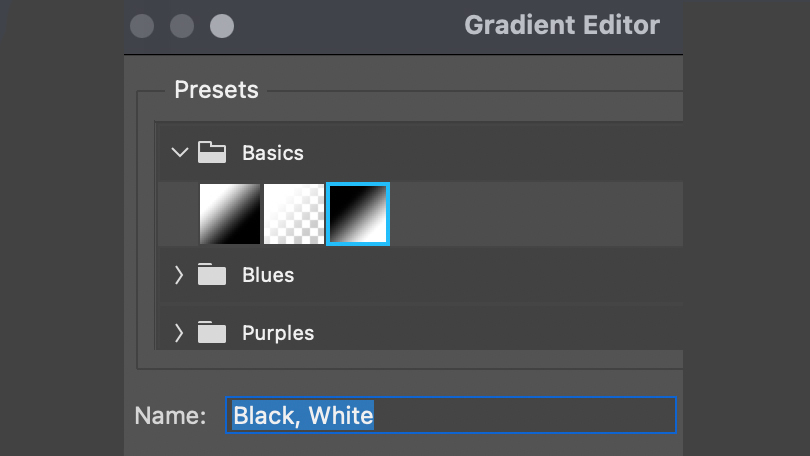
Step 1: Create Gradient Map
Click on the half-white and half-black circle found at the bottom of the Layers panel. Now select the Gradient Map. Then a window will appear in the Properties panel.
2. Open dialog box
Simply click on the gradient shown and the Gradient Editor opens. Under Presets, you will find a Basics folder. Open it and select the third option shown named Black, White.
3. Add Level Adjustment Layer
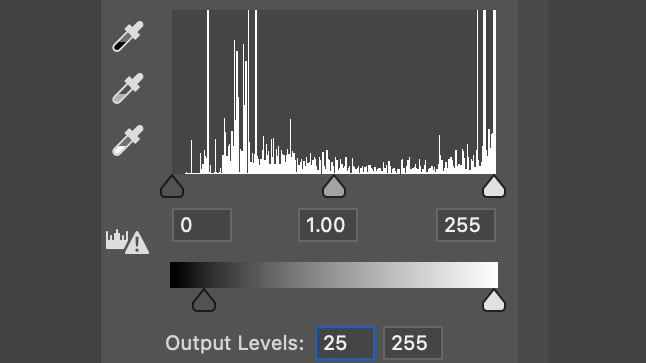
To reduce the contrast, set the black output level to around 25. To enhance the contrast, set the white point to 10, mid-tones/brightness to 1, and the black point around 200.
You might also like...
Browse the best camera for black and white photography, and the best photo editing software.

Kim is a photographer, editor and writer with work published internationally. She holds a Master's degree in Photography and Media and was formerly Technique Editor at Digital Photographer, focusing on the art and science of photography. Blending technical expertise with visual insight, Kim explores photography's time-honored yet ever-evolving role in culture. Through her features, tutorials, and gear reviews, she aims to encourage readers to explore the medium more deeply and embrace its full creative potential.
You must confirm your public display name before commenting
Please logout and then login again, you will then be prompted to enter your display name.
