Home photography ideas: Master focus bracketing & focus stacking macro modes
How to use your camera's focus bracketing or focus stacking function, and work some macro magic in post-production
The best camera deals, reviews, product advice, and unmissable photography news, direct to your inbox!
You are now subscribed
Your newsletter sign-up was successful
Watch the video: Home photography projects – Focus bracketing & stacking
You may be trying your hand at macro, now that we're all stuck at home. And as seasoned macro shooters know all too well, depth of field – even at narrow apertures – is so thin that it can be impossible to get the whole subject in focus. That’s where the magic of focus bracketing or focus stacking comes into play.
This process involves taking multiple shots, gradually shifting the focus point each time, and then ‘bracketing’ or 'stacking' them together to create a single image with a large depth of field.
• 10 best online photography courses
• Get more Home photography ideas
A number of cameras feature one of these two techniques as a built-in feature. Focus stacking, offered by systems such as the Olympus OM-D E-M1 Mark III, will automatically composite all the images in-camera. Focus bracketing, seen in cameras like the Canon EOS RP, requires you to composite the images yourself in post-production.
Both methods make it possible to capture macro shots with apertures as wide as f/1.8 and still get the whole scene in focus. And of course, you don’t have to a camera with one of these features built in – you can perform the technique yourself by taking a frame, manually changing the point of focus, taking another frame and so on until you get what you want.
Cameras automate and streamline this process, making it less time consuming (and much less painful) to shoot and bracket up to 999 frames. However, if you're not going down the automated route and you want to replicate the technique, skip steps 5 to 8 below – all the other steps apply if you’re doing it old school!
The best camera deals, reviews, product advice, and unmissable photography news, direct to your inbox!
If you're compositing the images yourself, some of the manufacturers' native imaging software (like Canon's DPP) make the process similarly automated, but it's relatively straightforward to perform in Photoshop as well. So let's get started…
01 The right kit
You’ll need a camera like the Canon EOS RP or Canon EOS 90D to use the in-built focus bracketing feature (which requires you to composite the images together yourself), or cameras like the Olympus OM-D E-M1 Mark III or Olympus OM-D E-M1X for fully automated focus stacking.
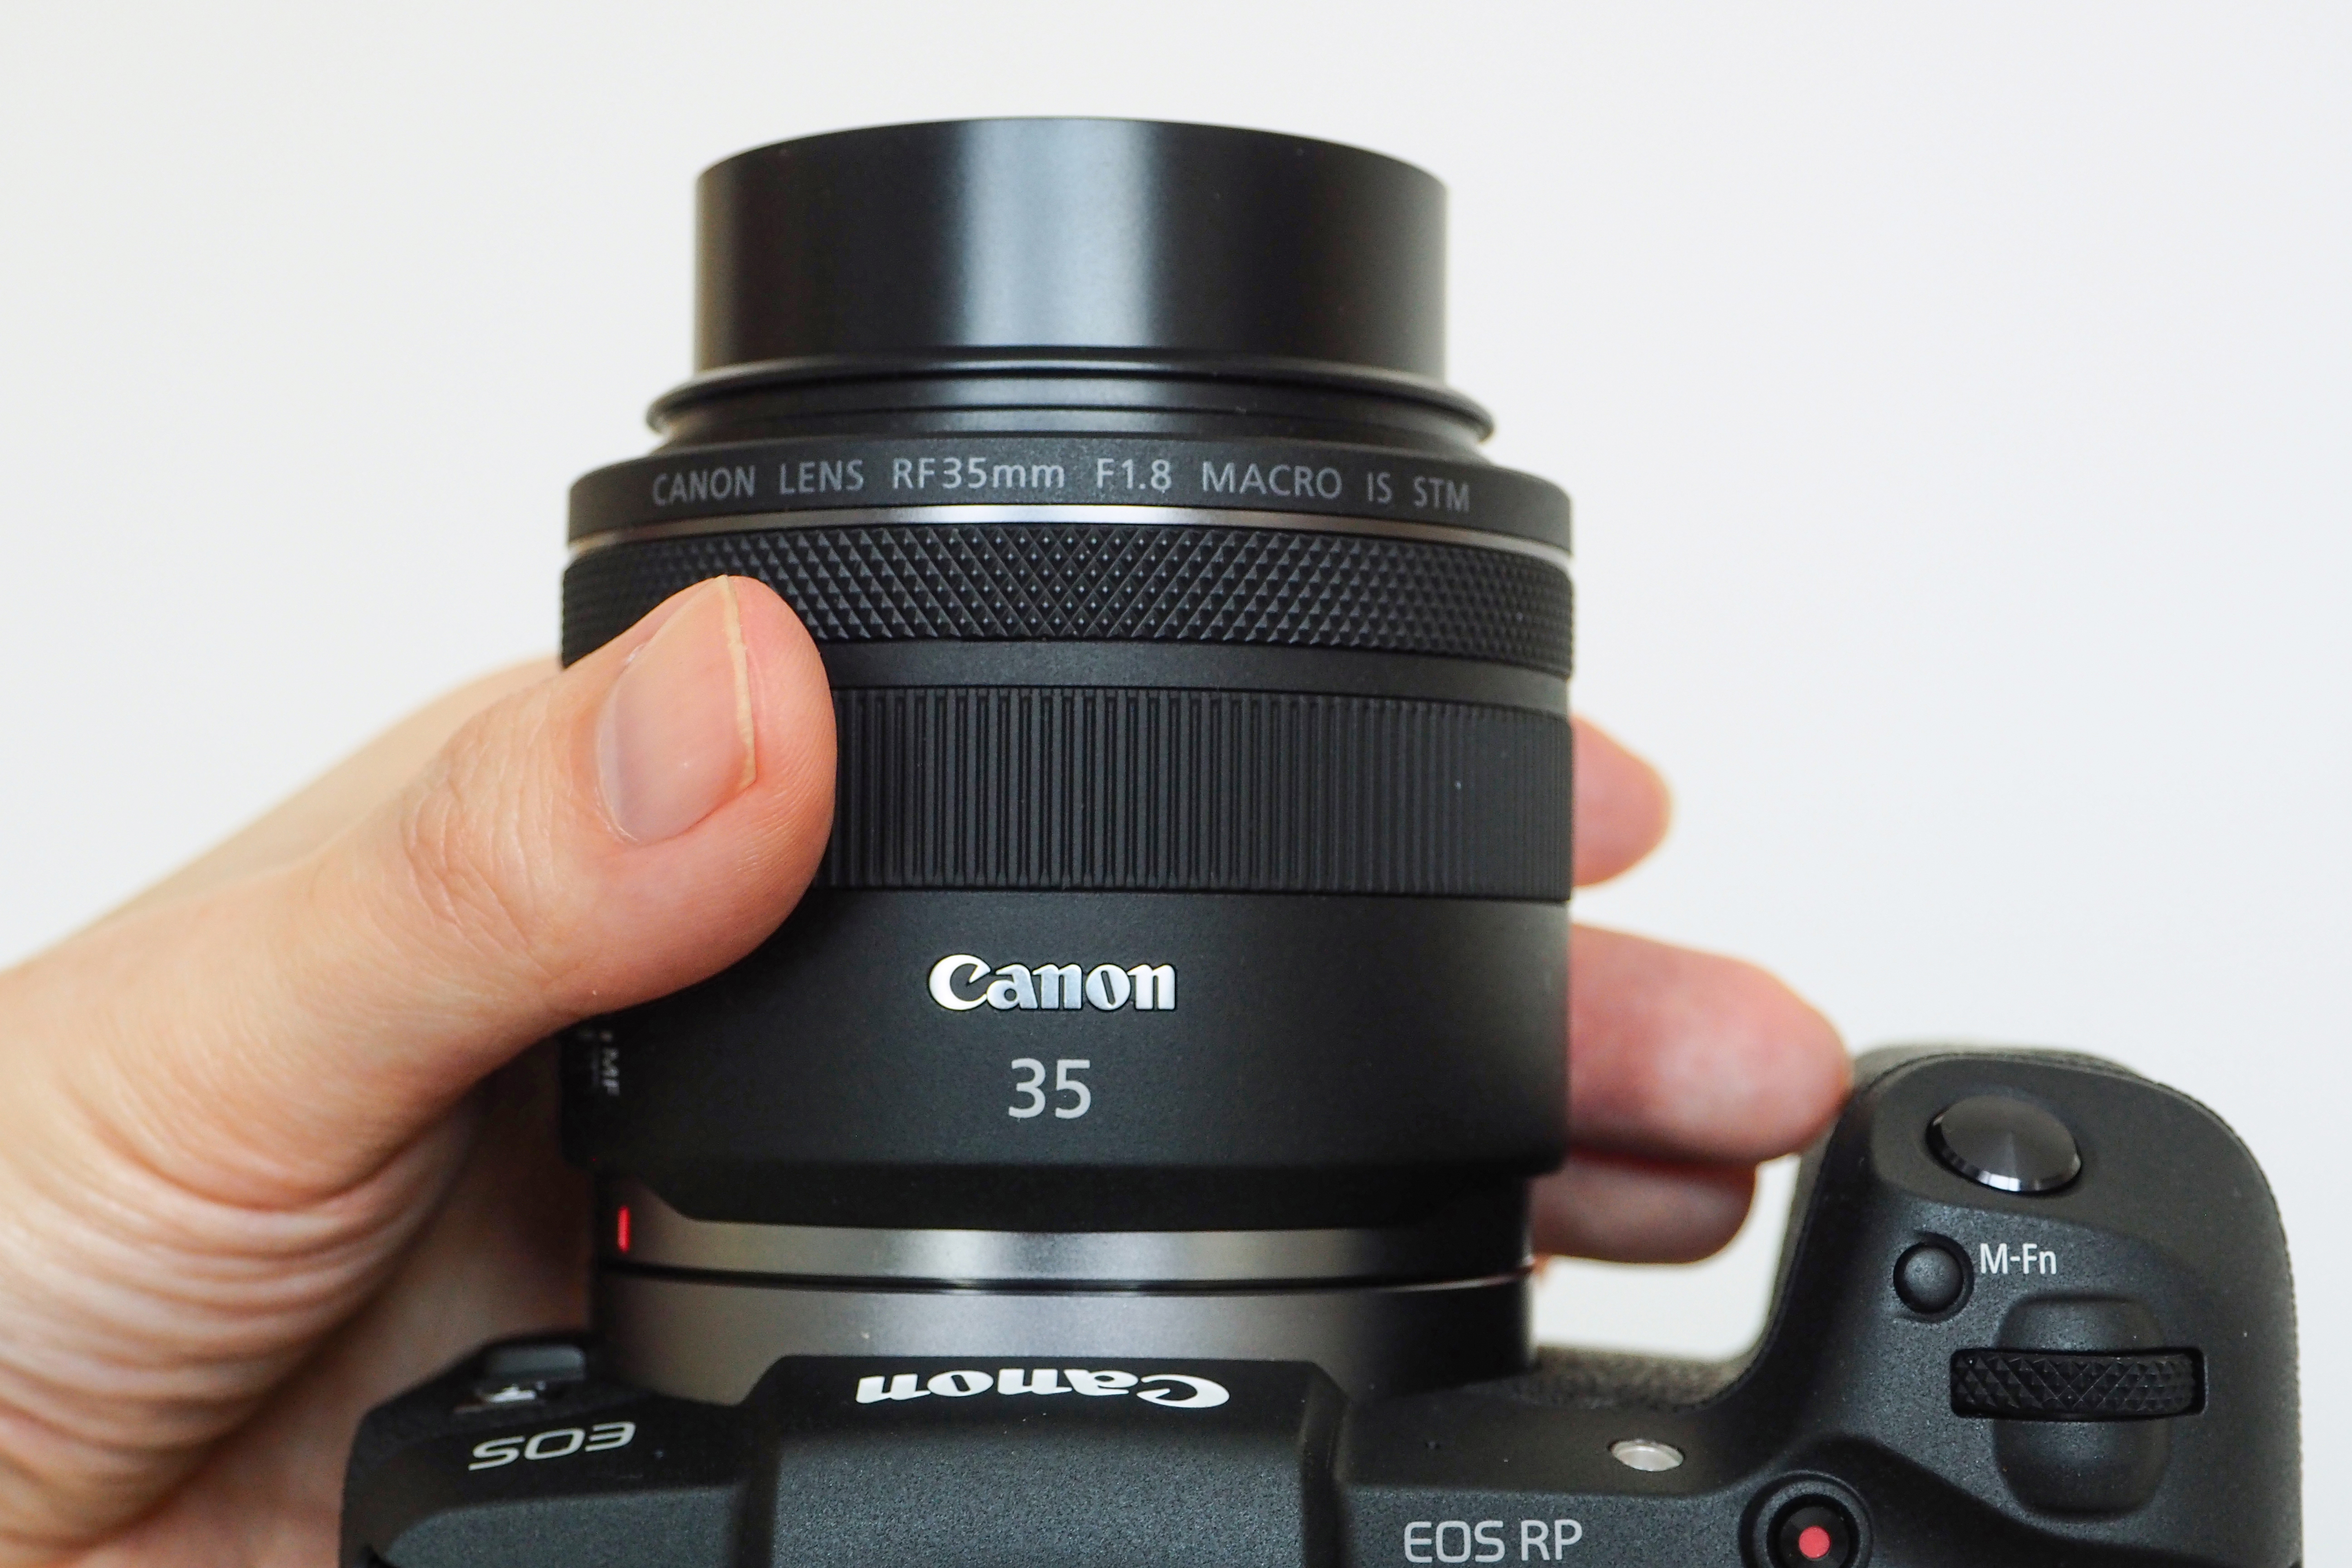
You'll also need a macro lens if you're shooting small! Here we're pairing the EOS RP with with the Canon RF 35mm f/1.8 lens.
02 Handhold if you're brave…
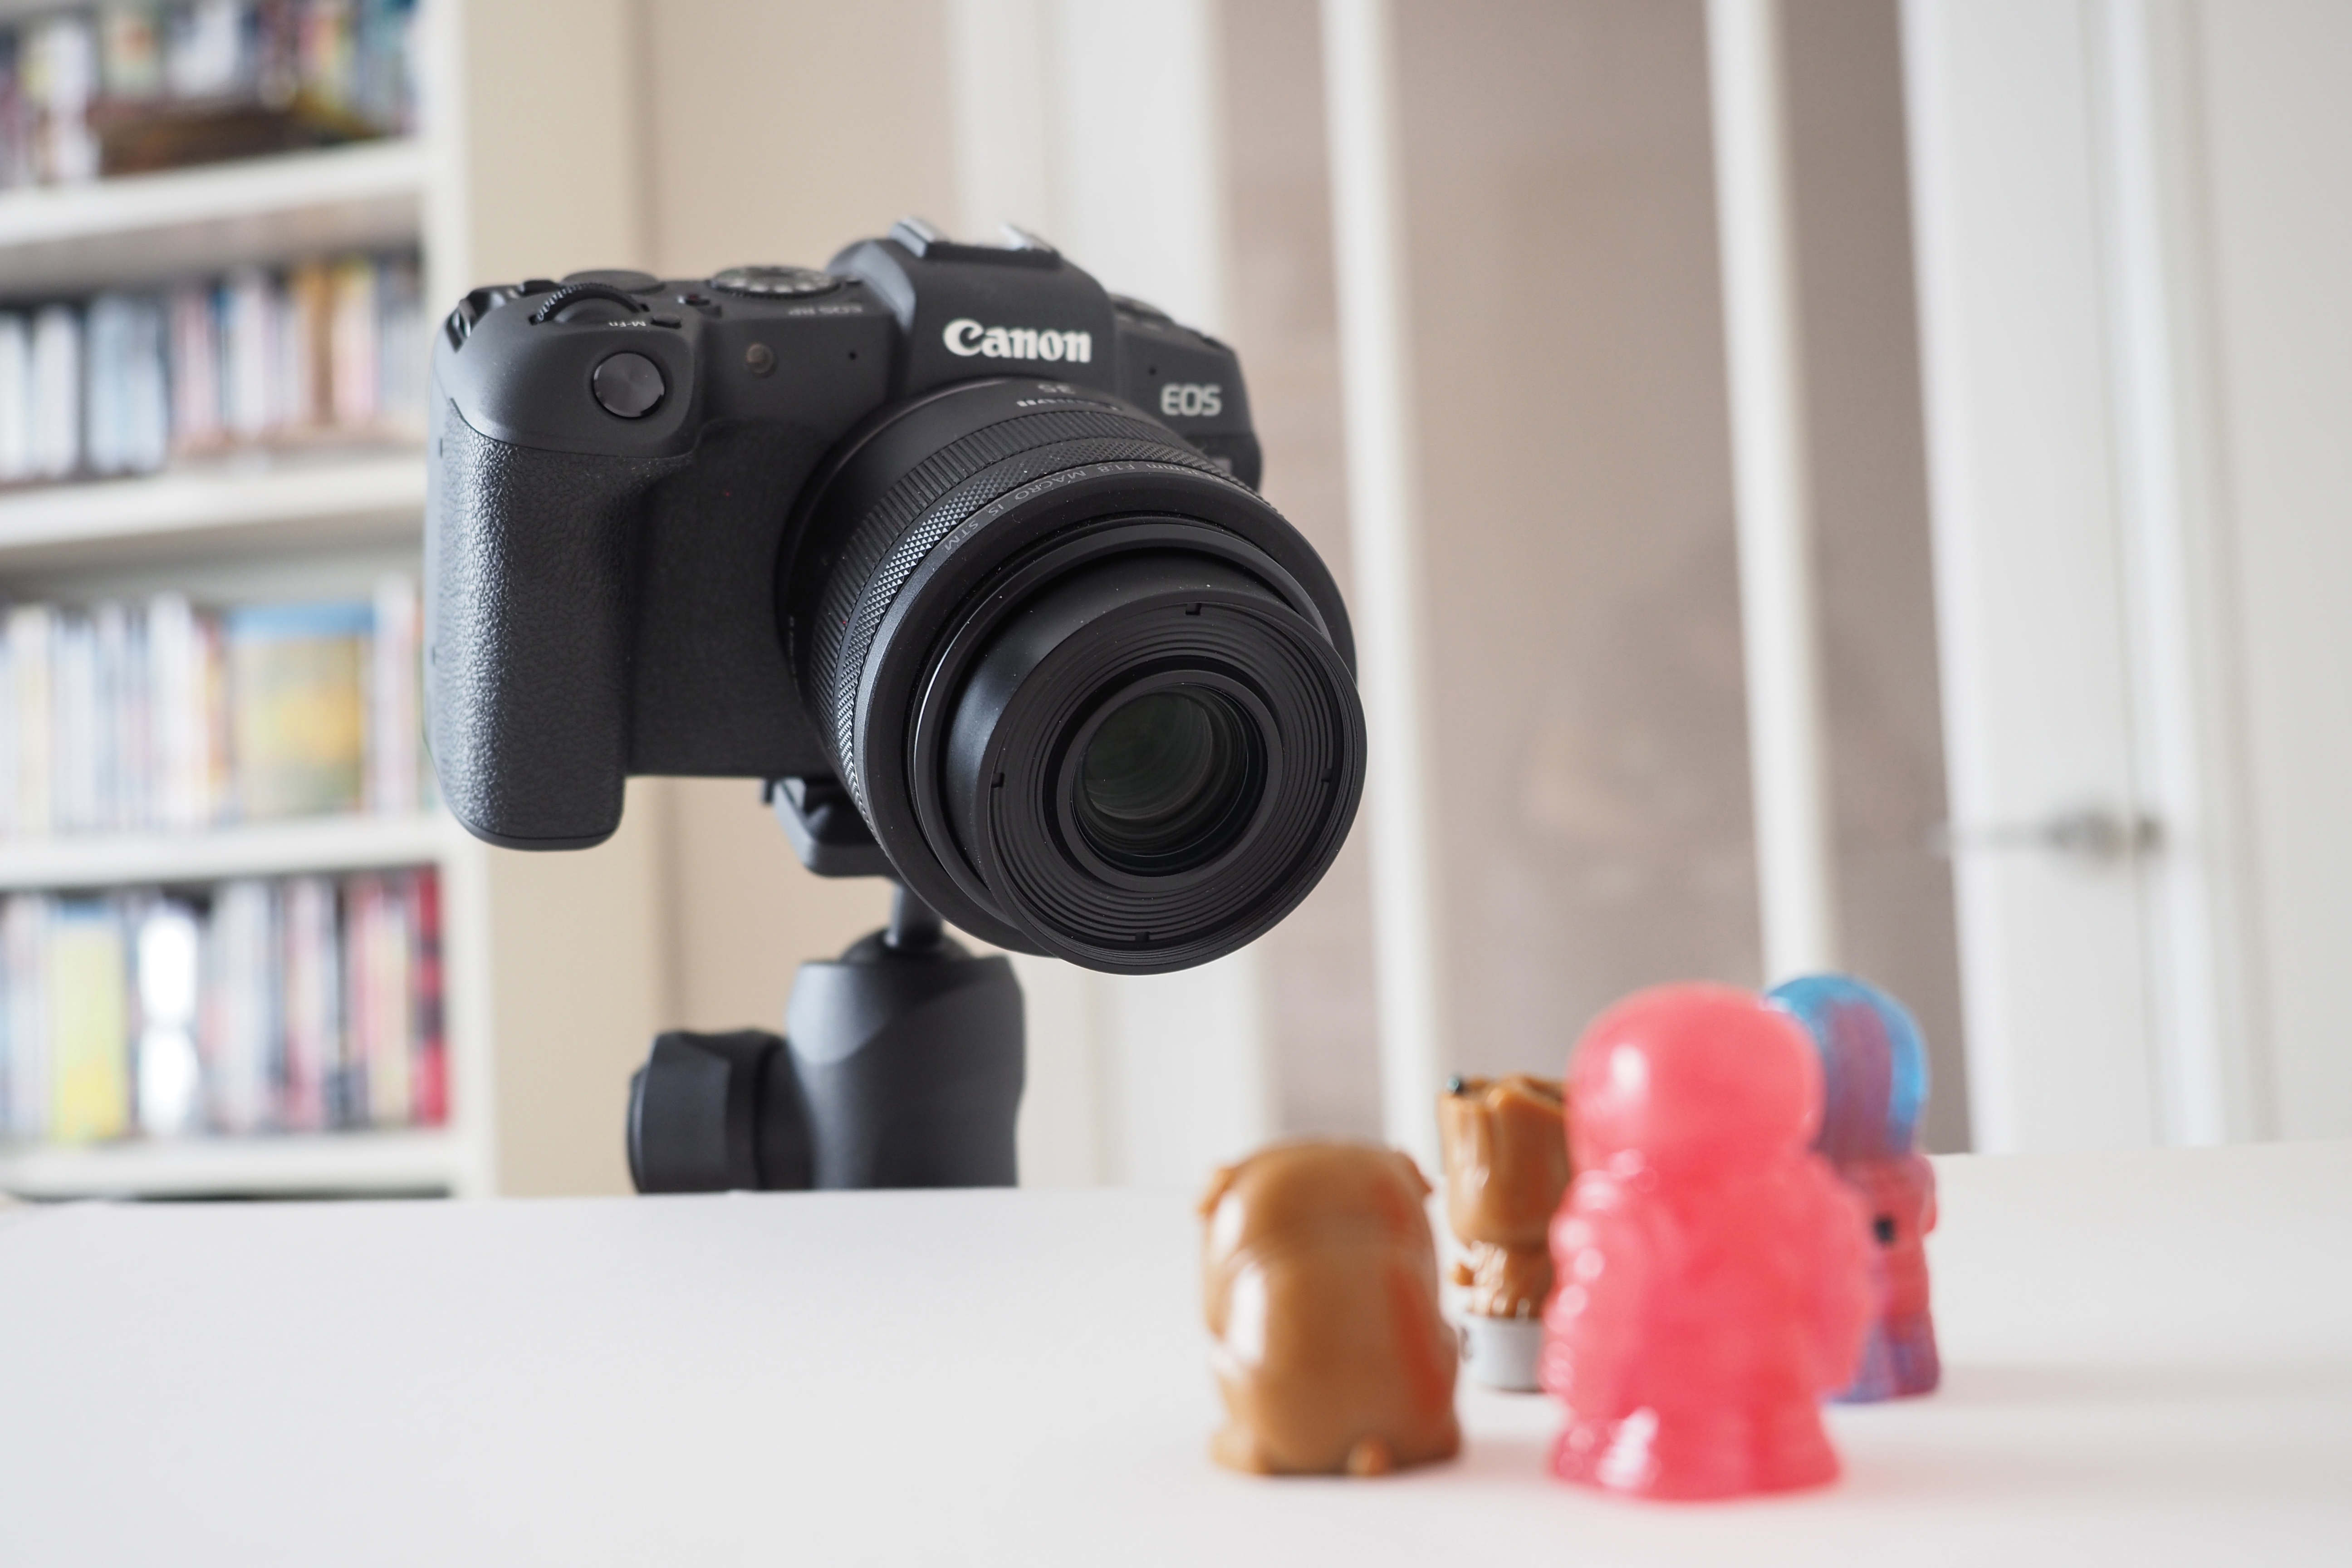
Because focus bracketing relies on compositing multiple images that are identical, apart from the shift in focus, this technique really does require the use of a tripod. That being said, if you have very steady hands (or have a camera with image stabilization) and you are only bracketing a small number of shots, you can try doing it handheld.
Since we shot this photo using just a 10-shot burst (which only took a couple of seconds), with our elbows planted firmly on the table, we had enough stability and there weren’t any major movements between frames.
03 … but a tripod is best
While you can perform this process handheld if you’re only shooting a few frames, we highly recommend using a tripod for stability. If you're shooting a stack of 50 or 100 shots (or more), there's no way you'll hold the camera still enough for the process to work!
04 Shooting settings
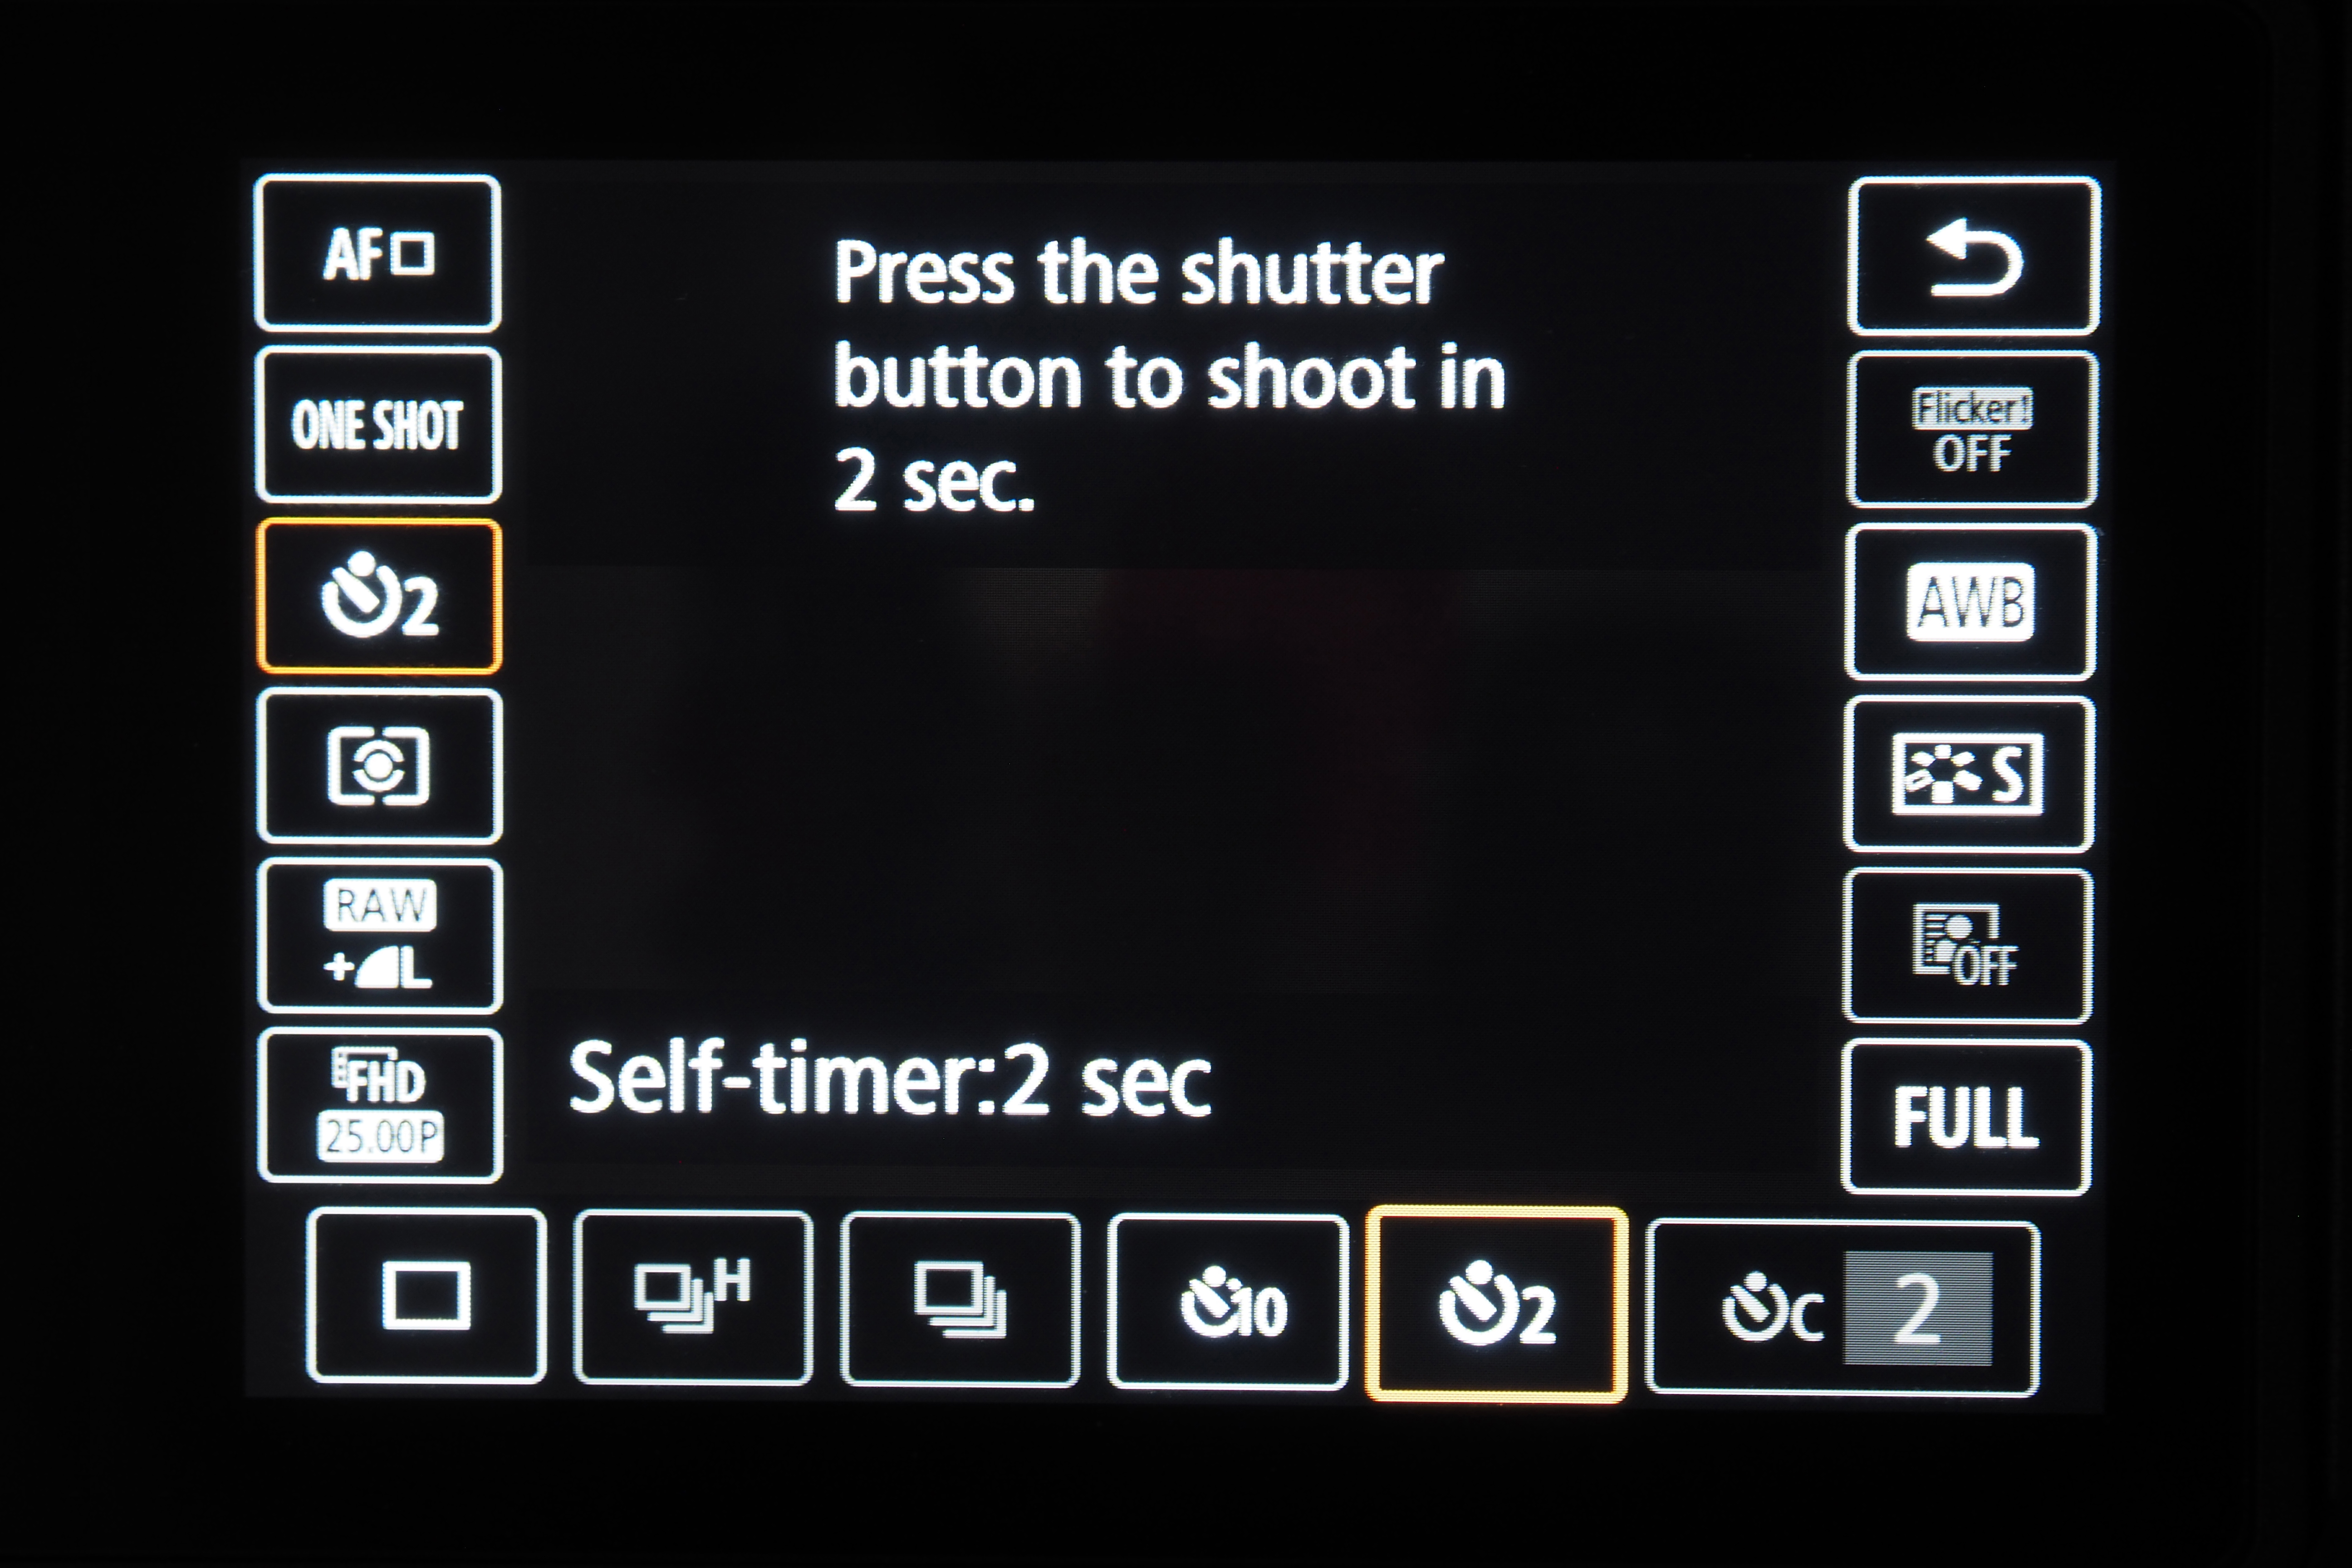
You want granular control over your point of focus, so select single focus points. It’s important to eradicate camera shake as well, so set the drive mode to a two-second self-timer to ensure that there’s no wobble when you depress the shutter.
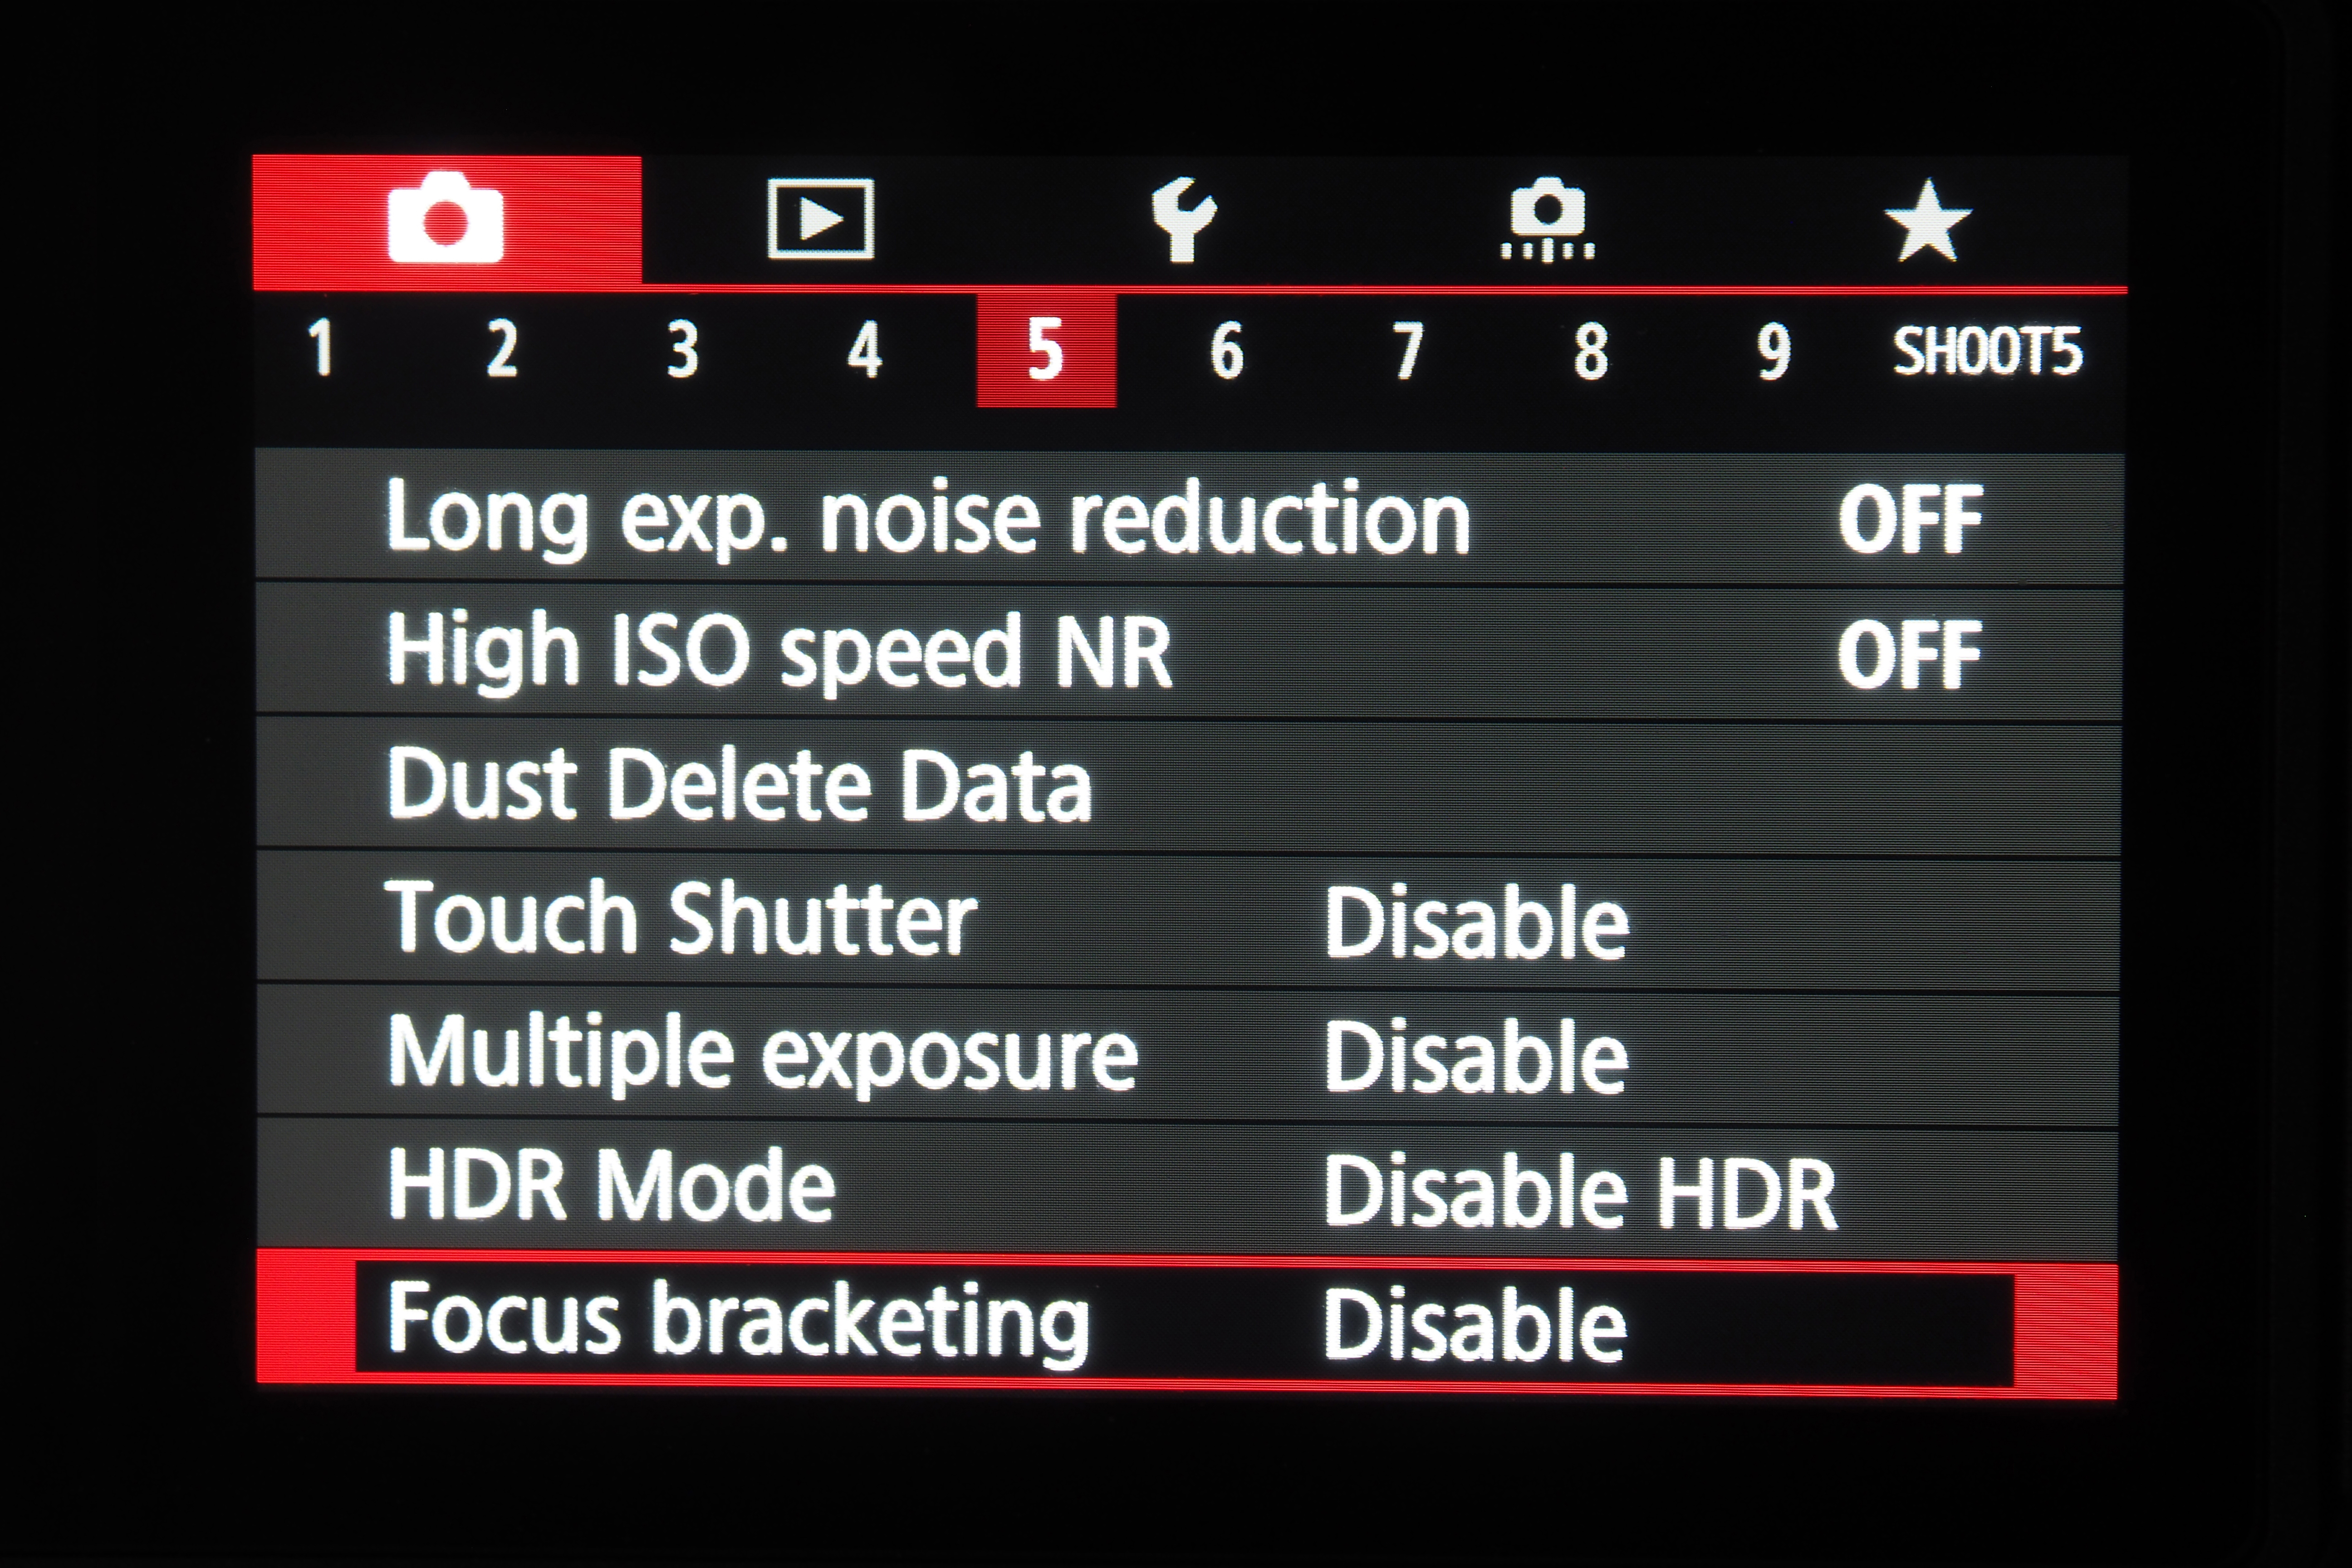
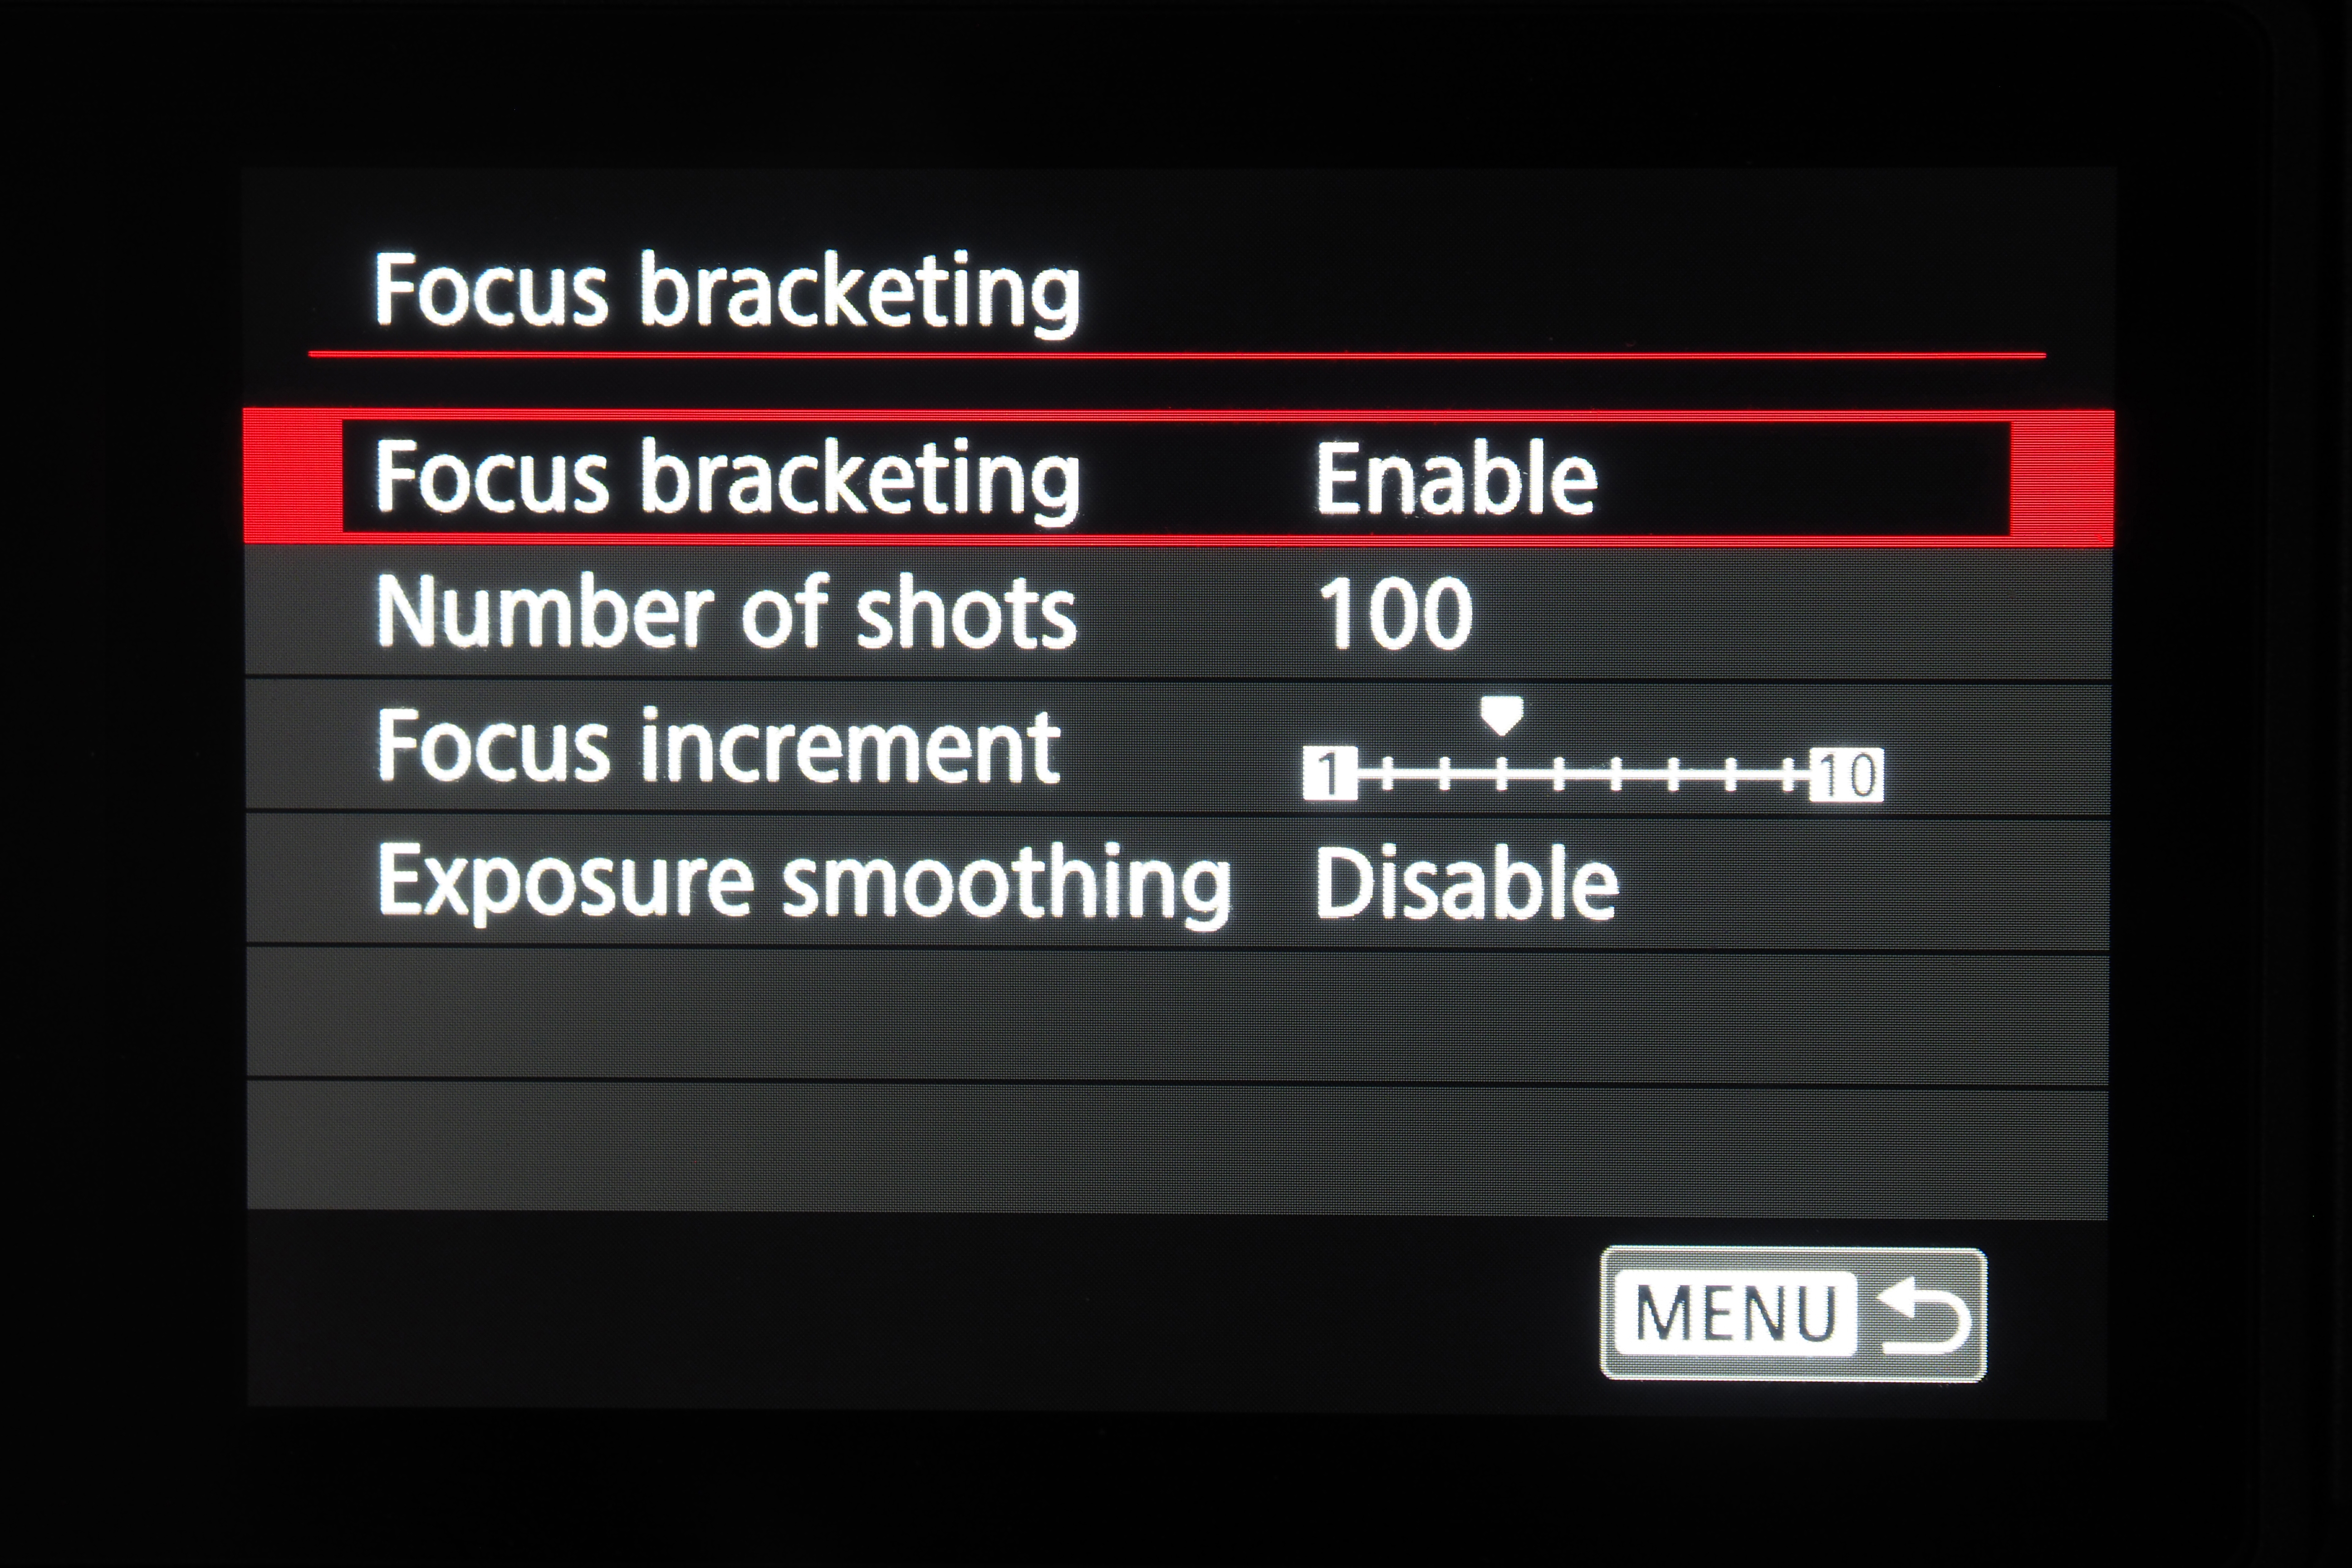
05 Enable bracketing / stacking
Now you need to enable your camera's focus bracketing or focus stacking mode. This will vary depending on your system, so consult your manual (or Google) if you're not sure which menu it's in.
06 Bracketing / stacking settings
After enabling the mode, you'll need to select the number of shots to take – between 20 and 100 should work for most small scenes. The 'Focus increment' setting (or equivalent) adjusts how much the focus shifts between each frame, while 'Exposure smoothing' (if your camera has it) will minimize small changes between shots.
07 Select starting point
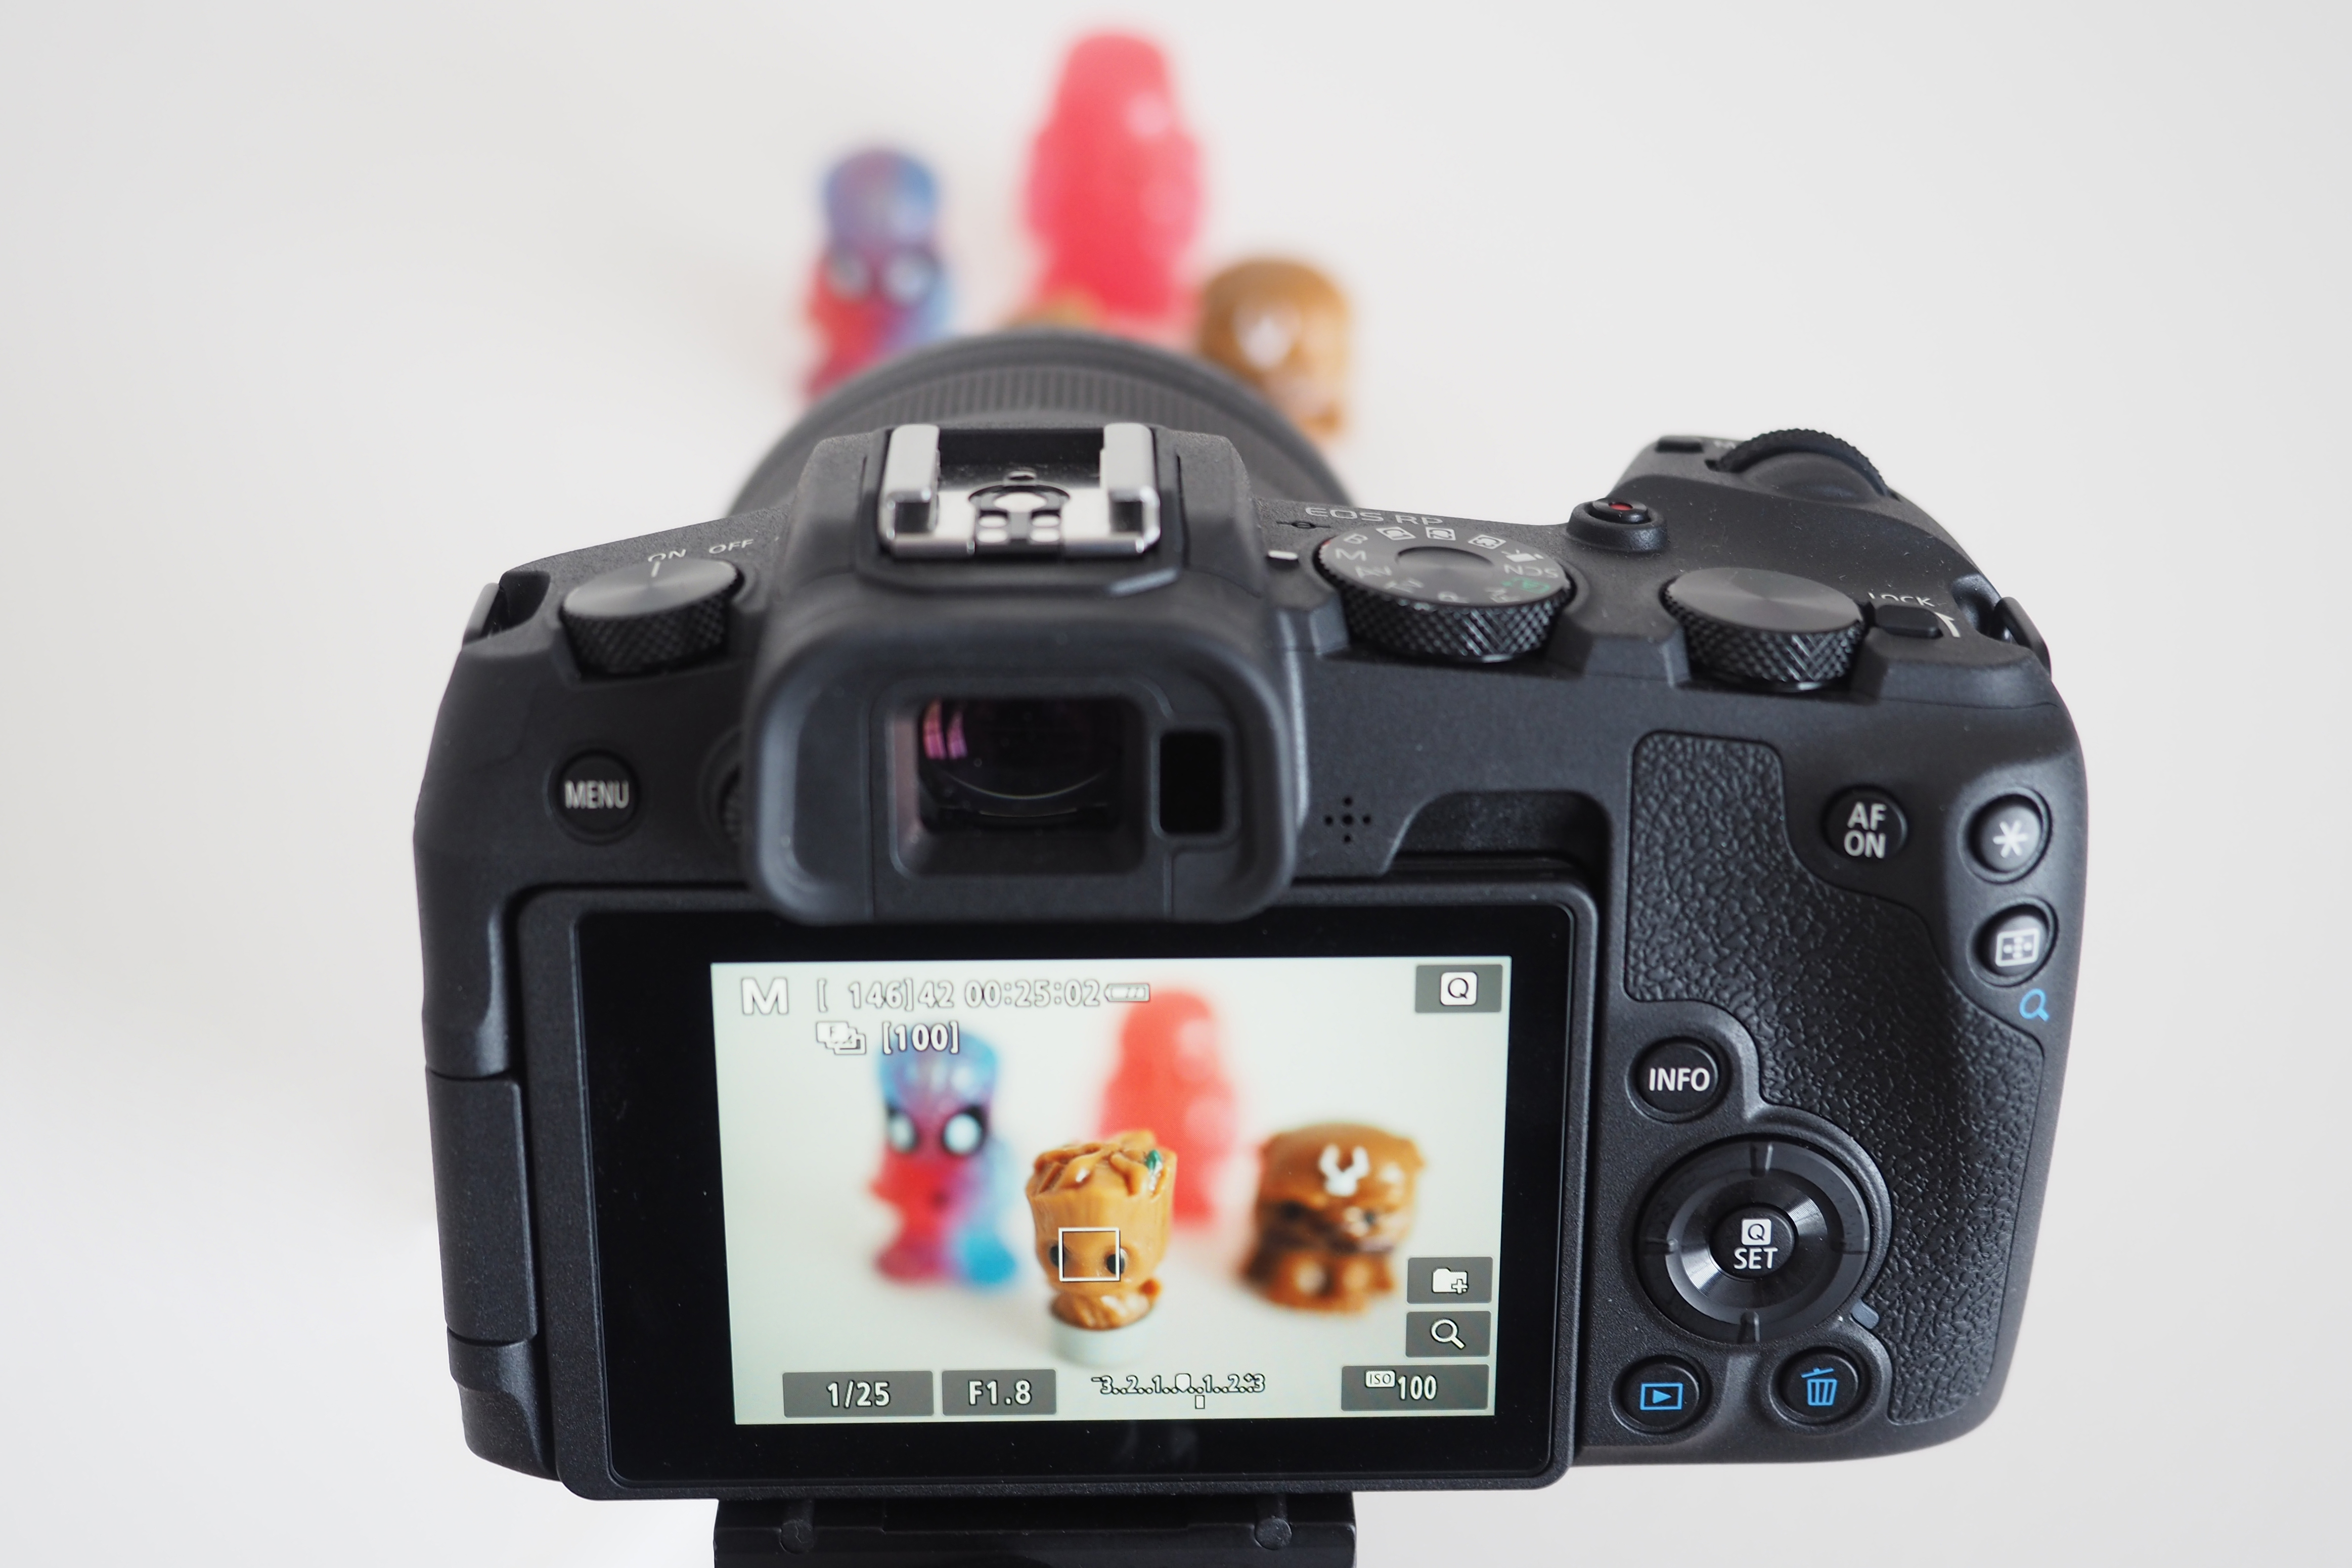
Choose your first point of focus by tapping the screen or using manual focus. The bracketed / stacked image will be in focus from this point onwards, so typically you should choose the part of the subject that’s closest to the lens.
08 Begin bracketing / start stacking!
With your initial focus point set, depress the shutter. The camera will now start taking the chosen number of frames – and the remaining frame count will usually tick down on the screen. Try your best not to move, so that you don't vibrate the subject / floor / tripod / camera while it is capturing!
If your camera has the fully automated focus stacking mode, then the hard work is done – it will composite the images together for you, automatically! However, if your camera features focus bracketing then you'll need to do the compositing yourself…
09 Open your favorite editor (bracketing only)
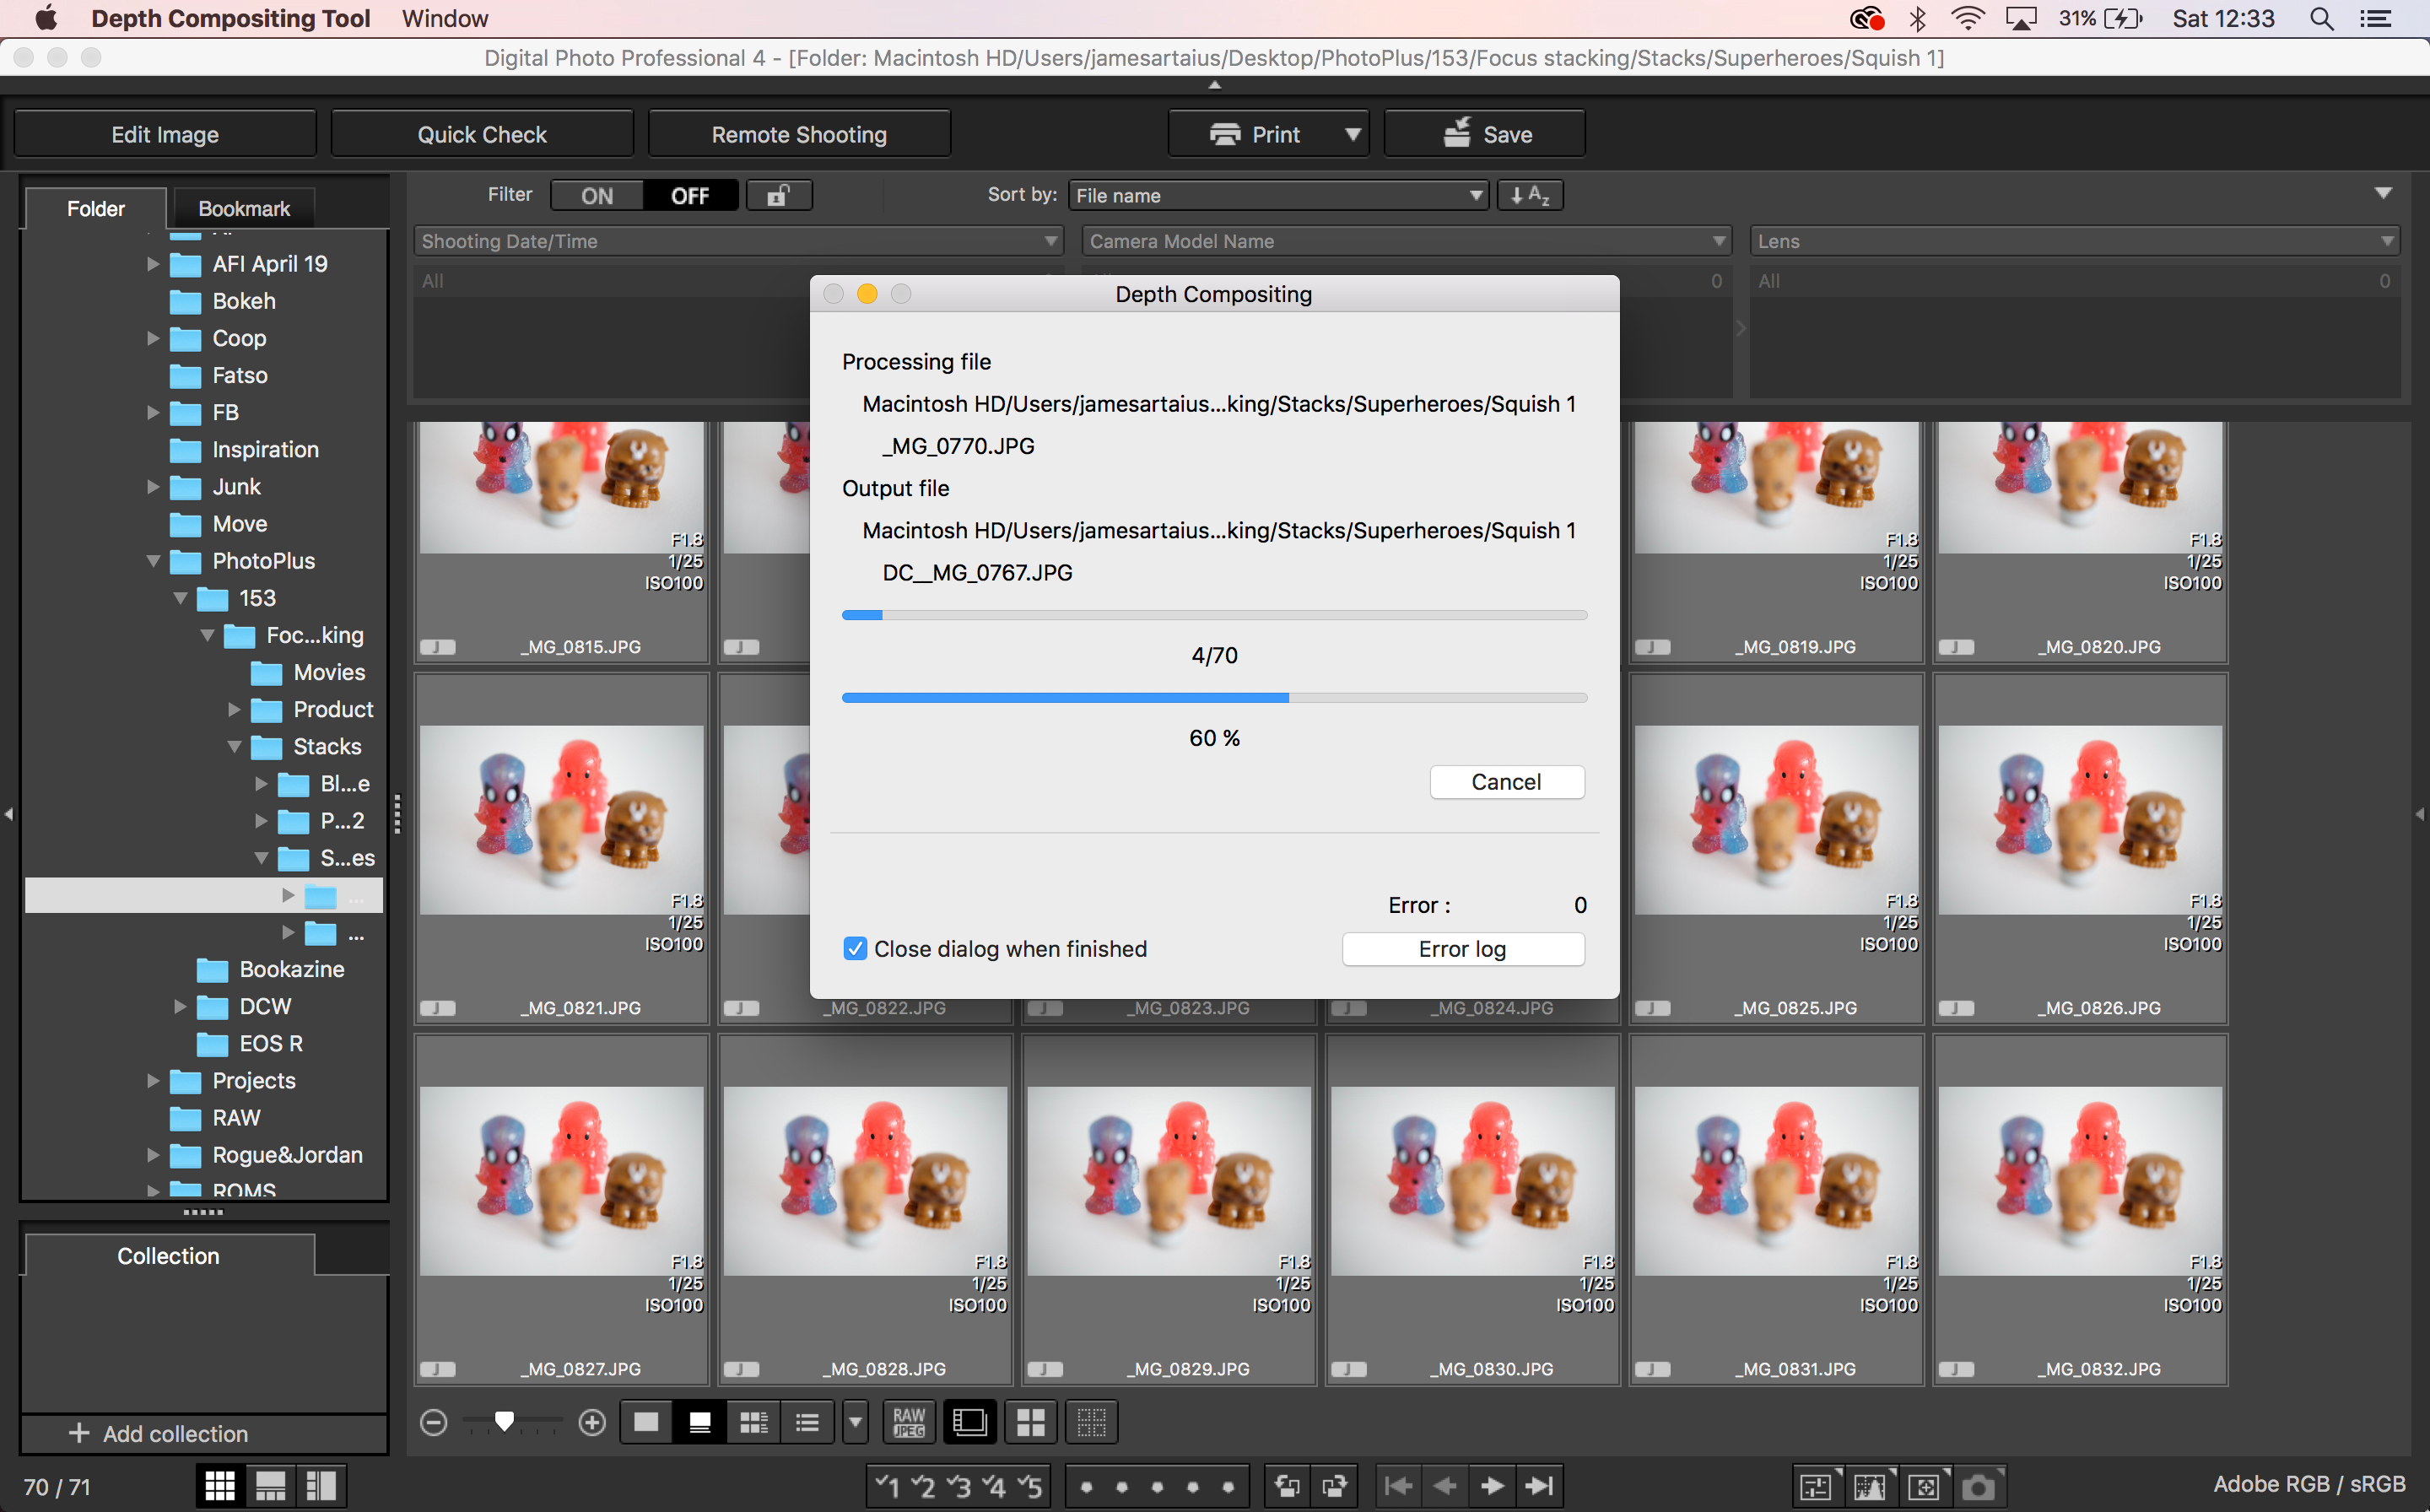
If you need to manually composite your focus bracketed images, you'll need to open them in your preferred photo editing software.
If you're using, for example, a Canon EOS M6 Mark II, you could do much worse than opt for Canon Digital Photo Professional – the Depth Compositing tool is pretty self-guided and delivers good results. So using the manufacturer's native imaging software is a great option.
However, if you'd prefer more optimized results, opening the files in Photoshop will generally yield a slightly superior end result. Check out the video for a walkthrough of the process.
10 Optional tidying
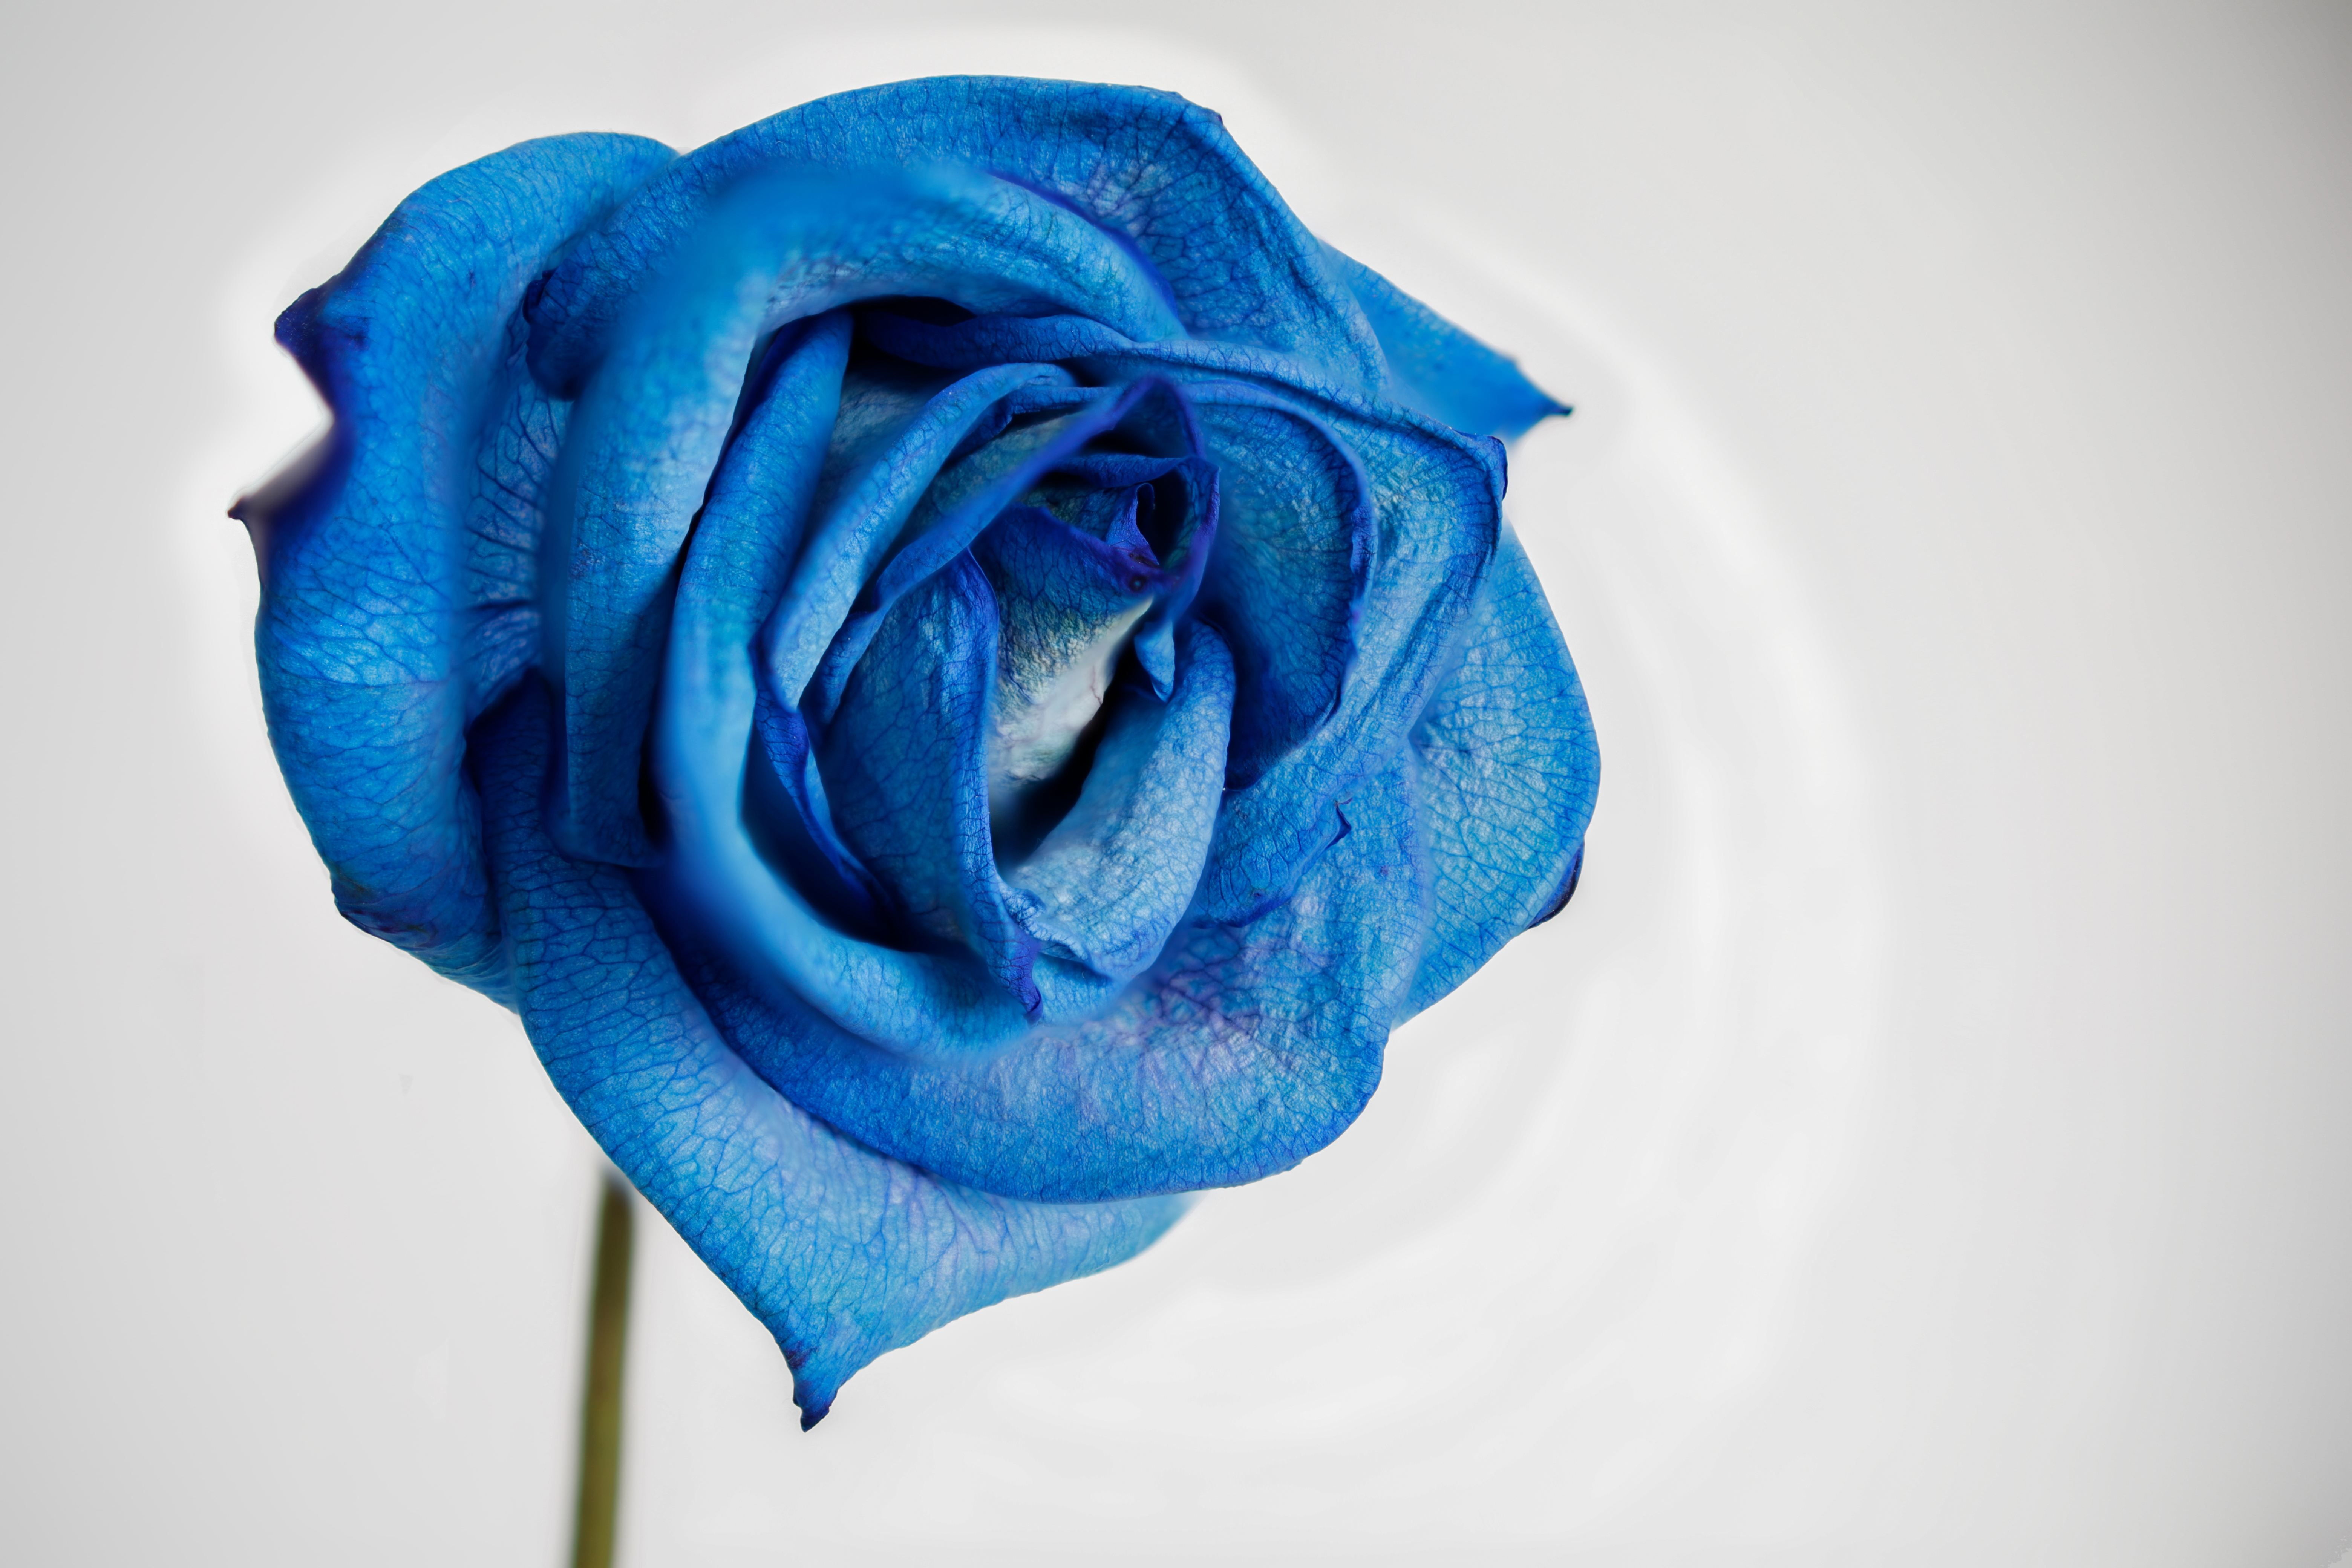
Due to factors such as lens breathing, minor changes in exposure, the number of shots taken, as well as the detail of (and contrast between) your subject and background, the compositing process can sometimes produce minor artifacts as a byproduct of bracketing all the frames together.
This image, for example, was shot with natural light, which subtly changed as the sun went into and out of the clouds during our 100-image bracket sequence. The result is that some unpleasant halos have been produced around the edges of the rose, but thankfully this can be fixed easily using Photoshop's Spot Healing Brush Tool or Clone Stamp.
More videos:
The best macro lenses in 2020: get closer to your subjects than ever before!
How to use extension tubes for low cost-macro photography
Close-up filters: shoot macro photography without a macro lens

James has 25 years experience as a journalist, serving as the head of Digital Camera World for 7 of them. He started working in the photography industry in 2014, product testing and shooting ad campaigns for Olympus, as well as clients like Aston Martin Racing, Elinchrom and L'Oréal. An Olympus / OM System, Canon and Hasselblad shooter, he has a wealth of knowledge on cameras of all makes – and he loves instant cameras, too.

