Use natural lighting effects to introduce drama to your macro photography scenes
Catherine Régnier on how to craft beautiful lighting to create a magical look for your macro and closeup shots
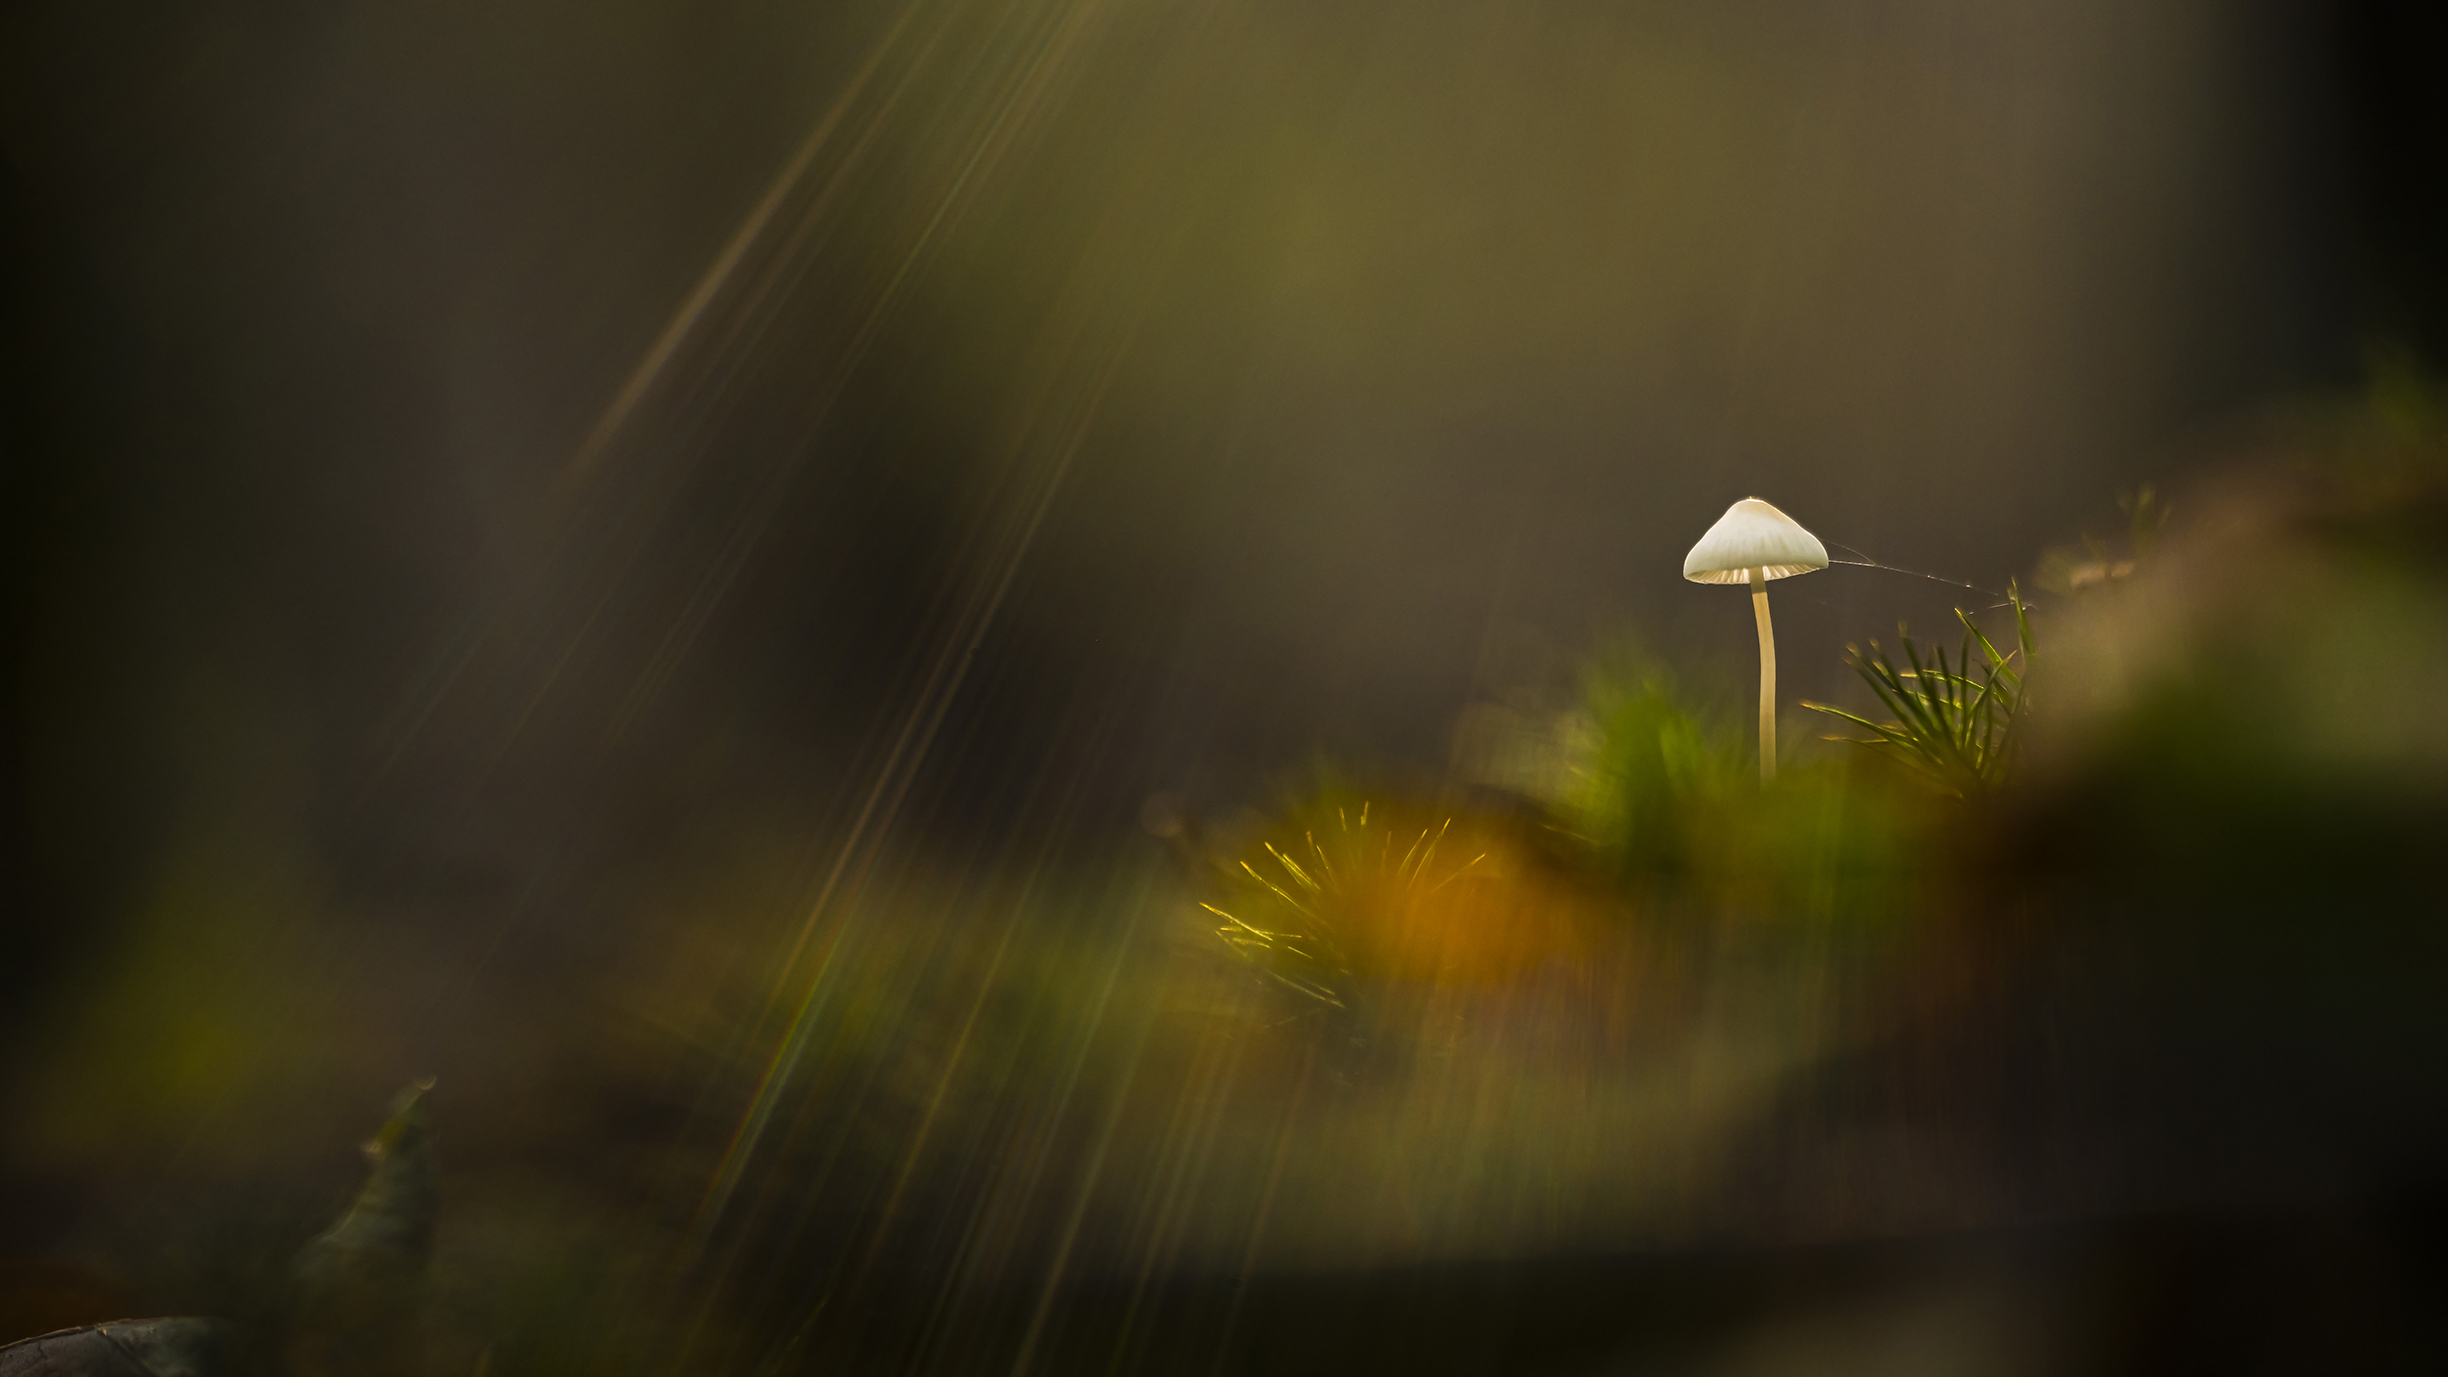
A beautiful play of light is the best way to elevate your closeup images above the ordinary. Unfortunately, this isn’t always easy to achieve in macro photography, especially when you are working with natural light and relying on the weather conditions.
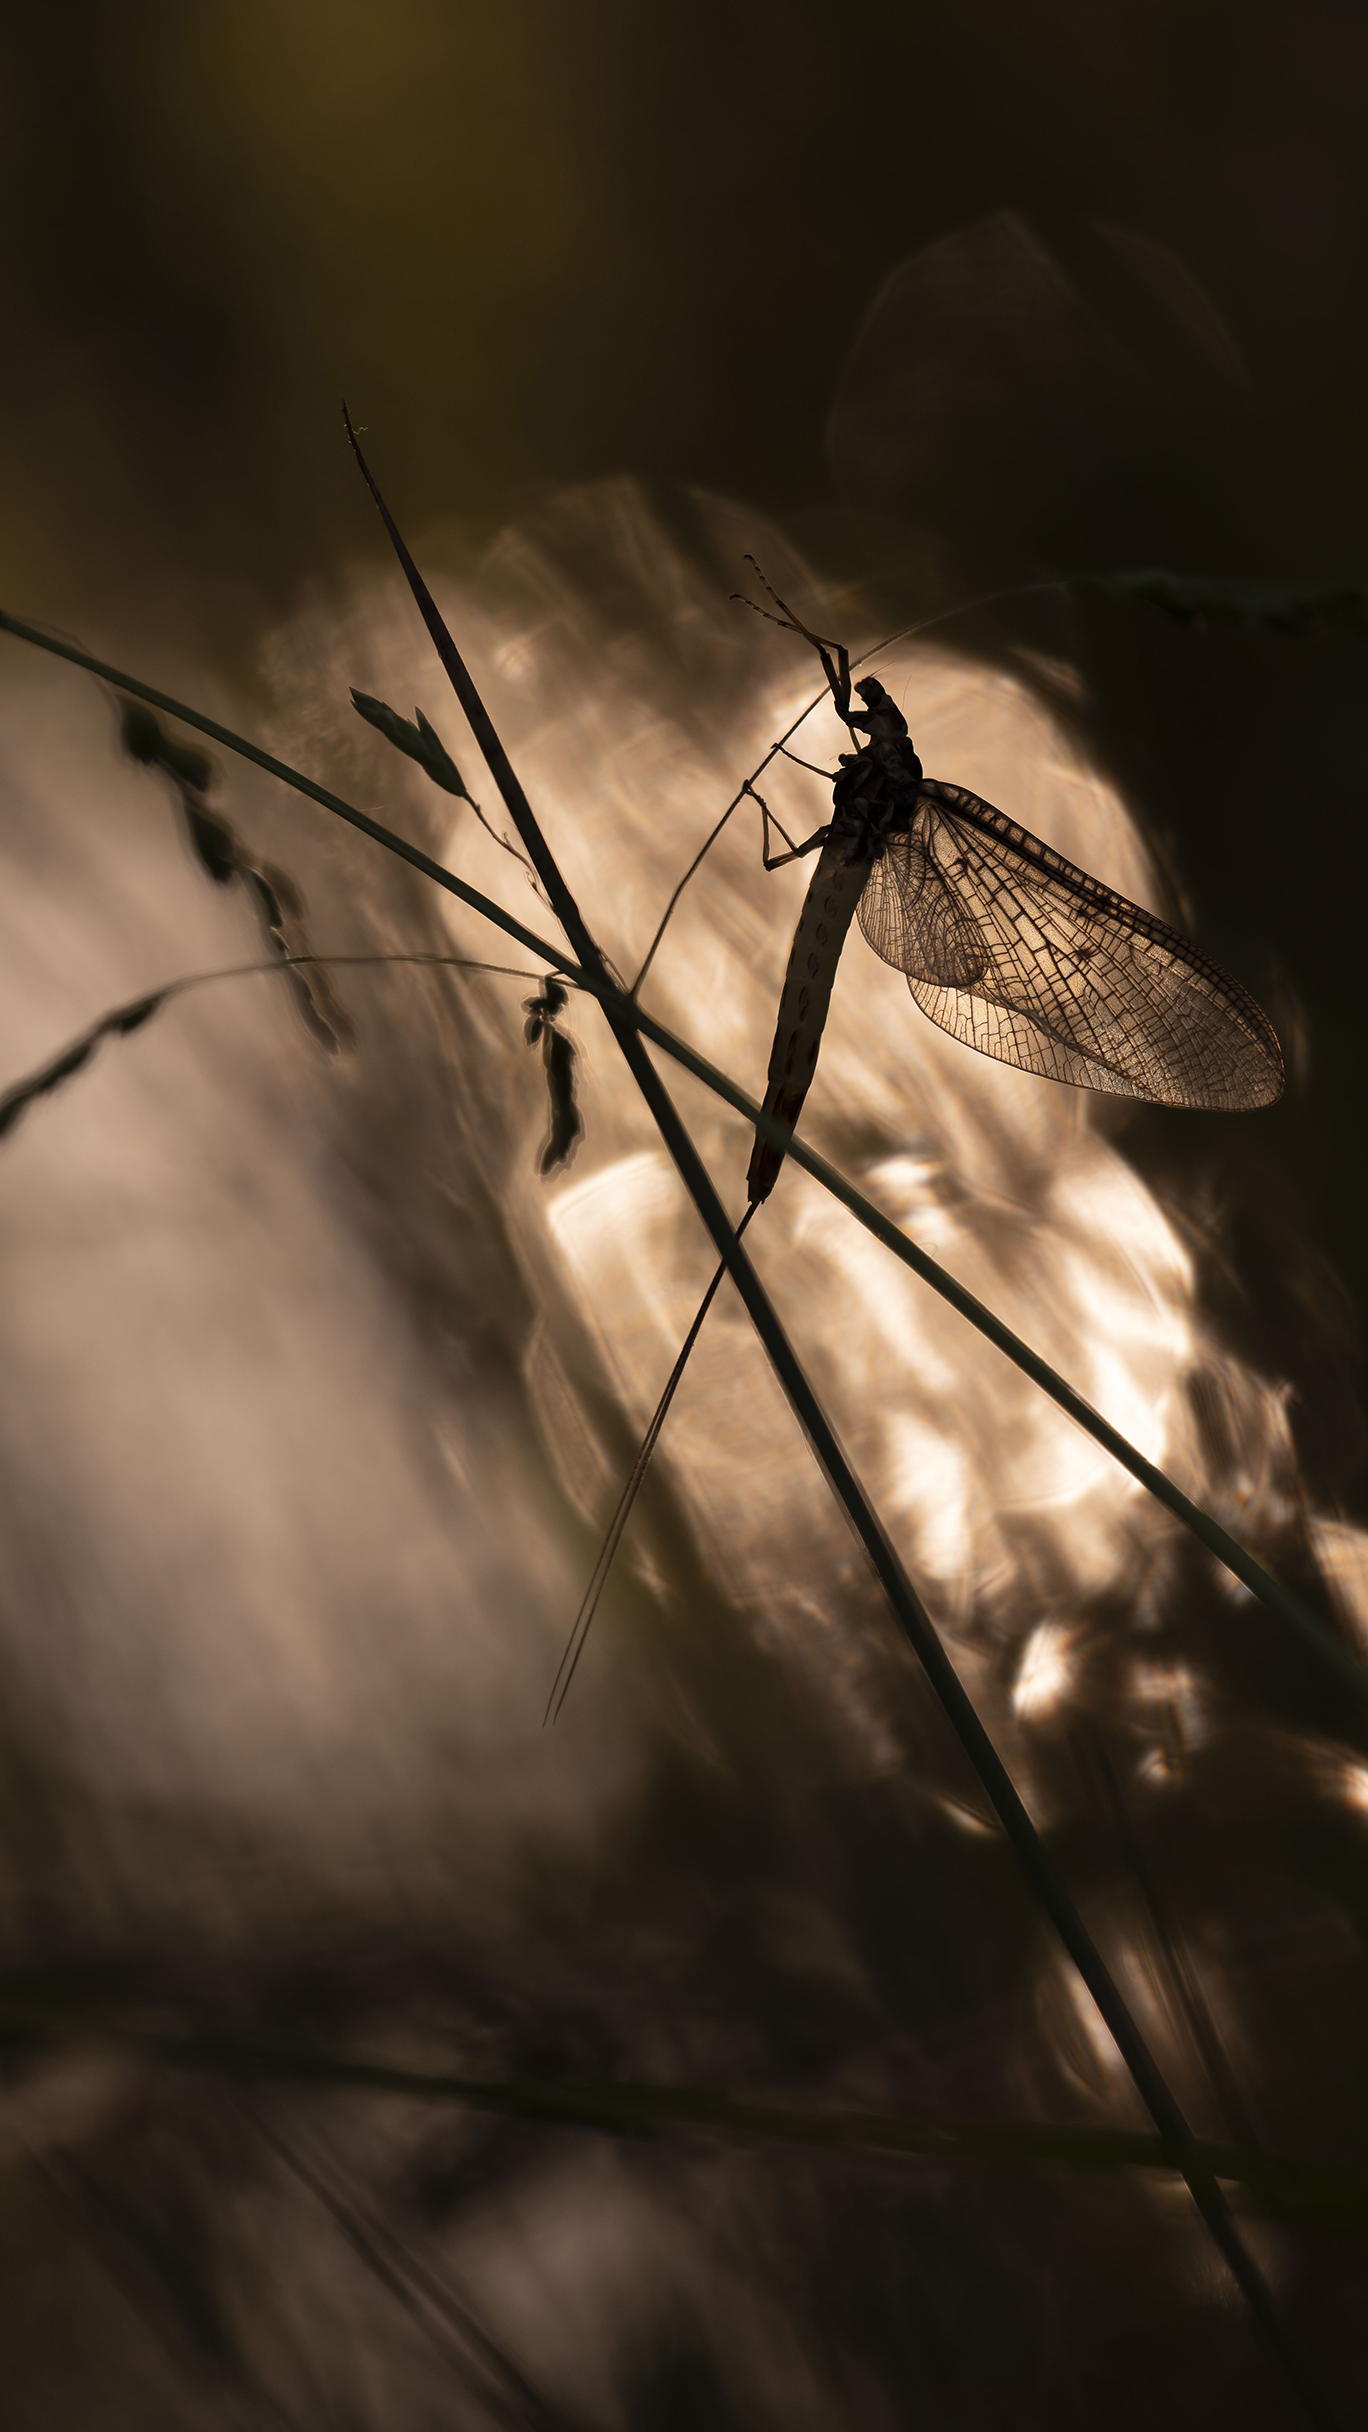
Backlighting, rimlighting and the play of transparencies are all synonymous with sunlight, but what happens when the sun isn’t out in force while you are shooting?
I prefer to include natural lighting effects in my photographs, so I’m always on the lookout for the slightest ray of sunshine when I go out photographing. As much as I can, I try to incorporate this play of light into my composition.
If the weather remains overcast, or even rainy, I still aim to create beautiful bokeh by playing with the light holes in the vegetation in the background. It’s all about making the most of the natural light you have at the time you take your photographs.
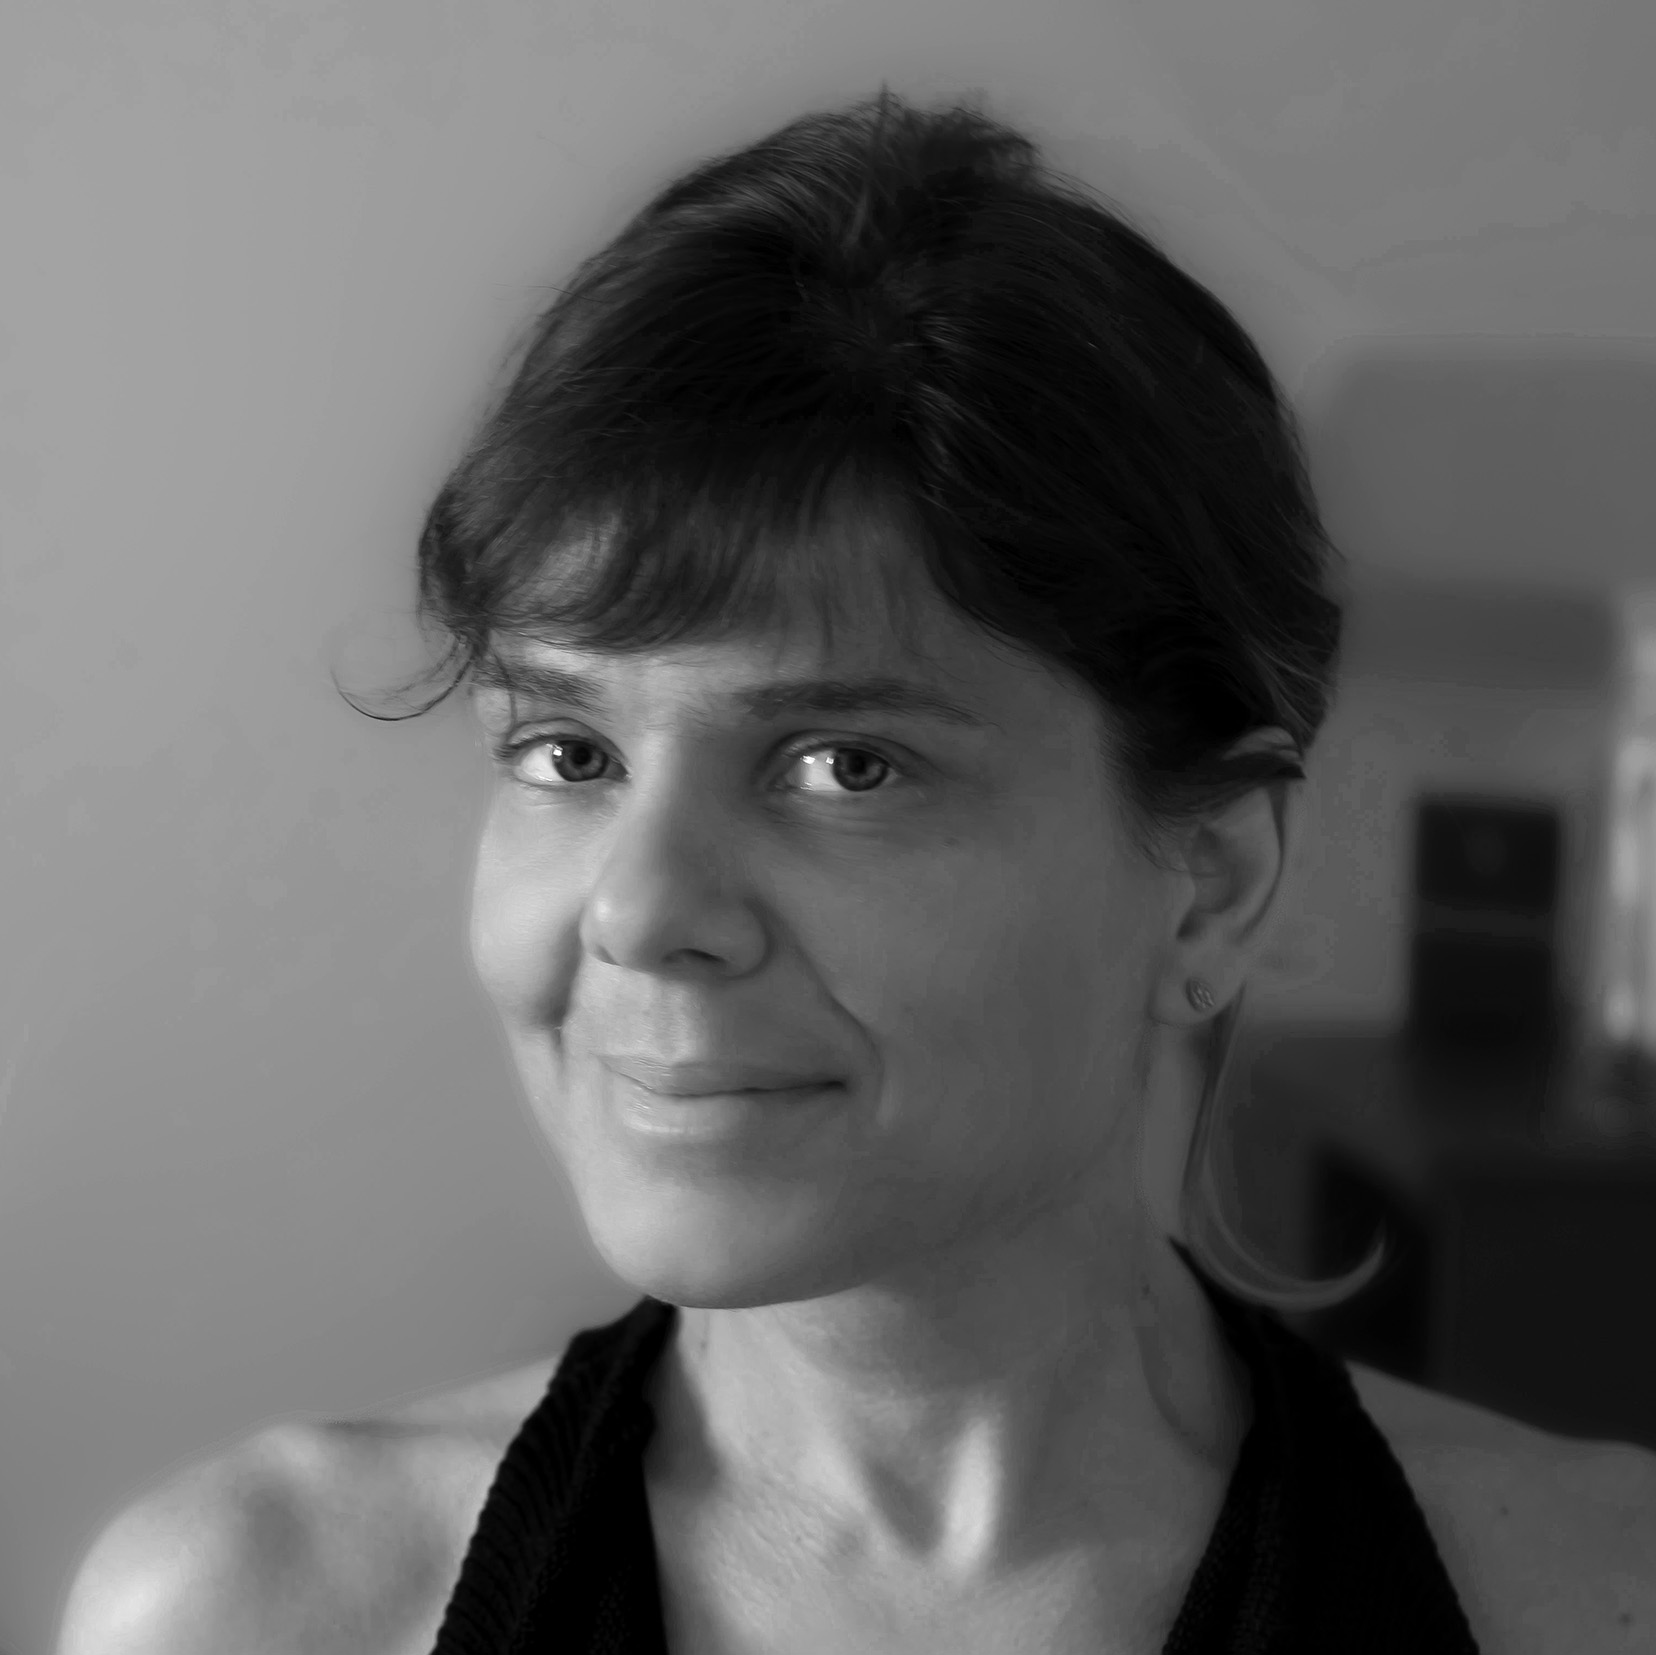
Although she has a background in biochemical engineering, Catherine turned to photography just a few years ago. She has already carved a niche for herself with her magical, dreamy macro images, which have been published in various magazines.
1. Wait for the light
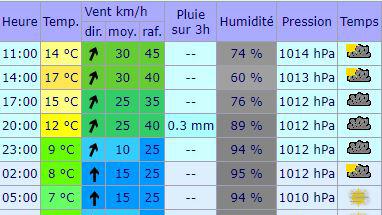
The best times for your shoots are when the sun is out but low in the sky, either just after sunrise or just before sunset. If you’re photographing in places with a gradient, as I do when I go into the woods, you can stagger the times.
2. Choose your subject
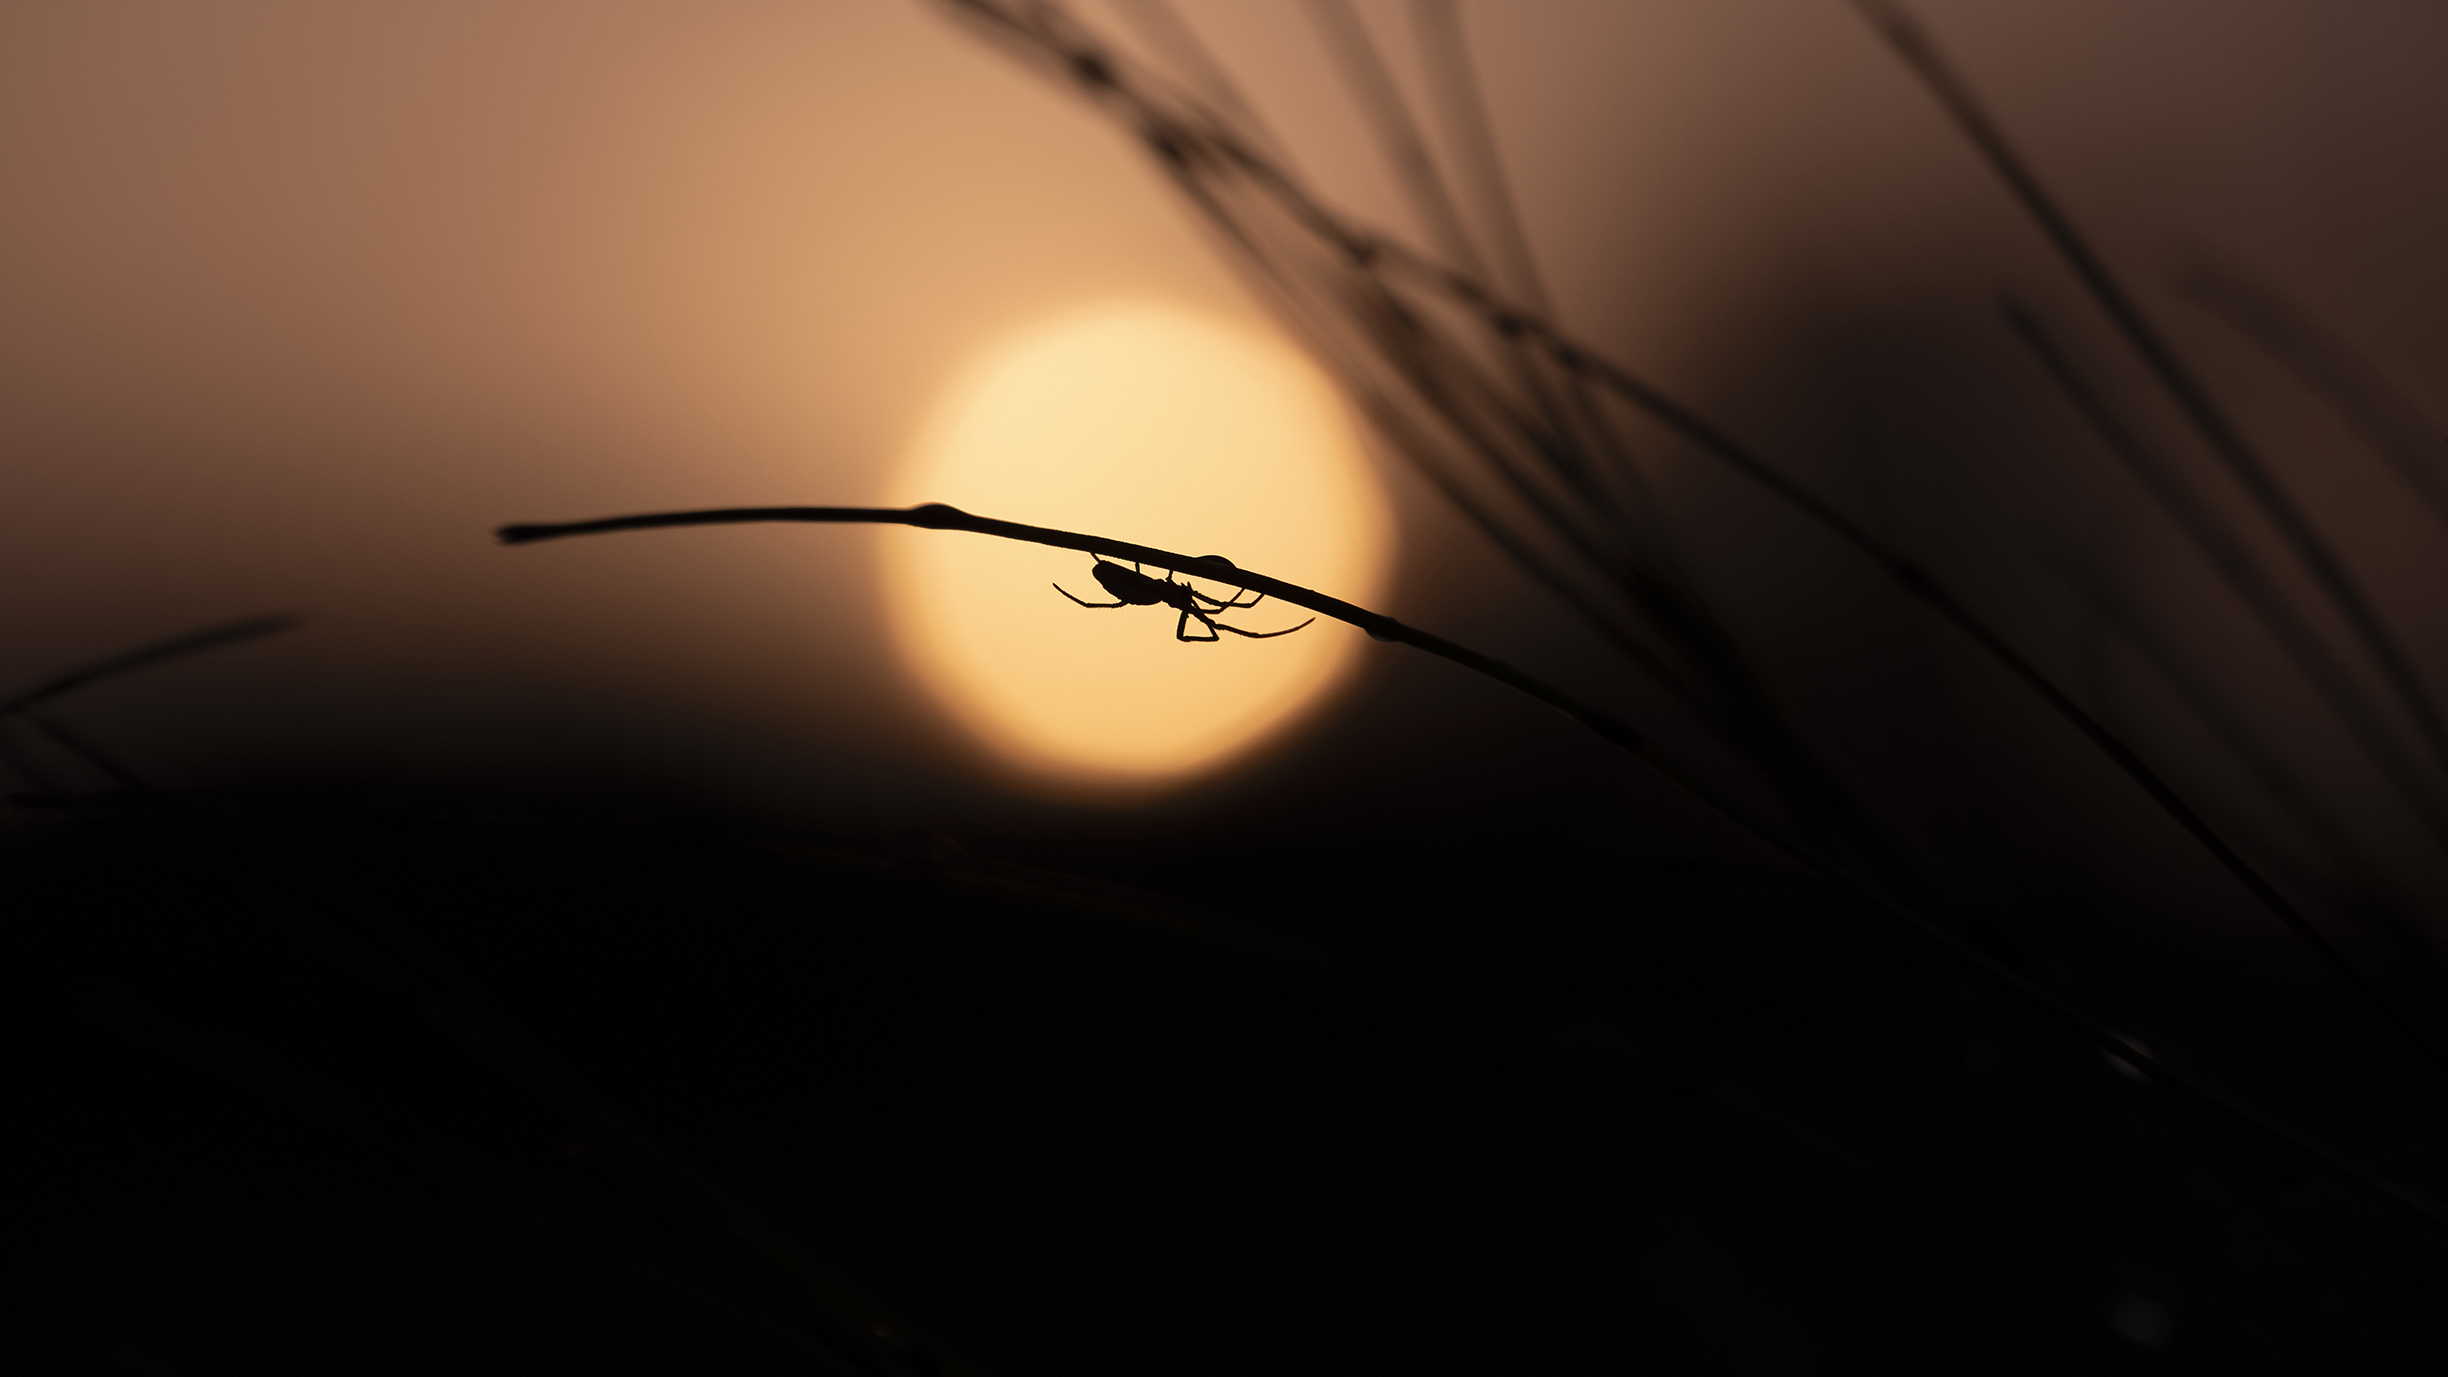
It’s best to shoot against the light so, facing the sun, look for subjects where you can make a simple silhouette. Also, see whether you can shoot golden halos generated by the sun or areas made translucent by the sun’s action.
3. Use screen articulation
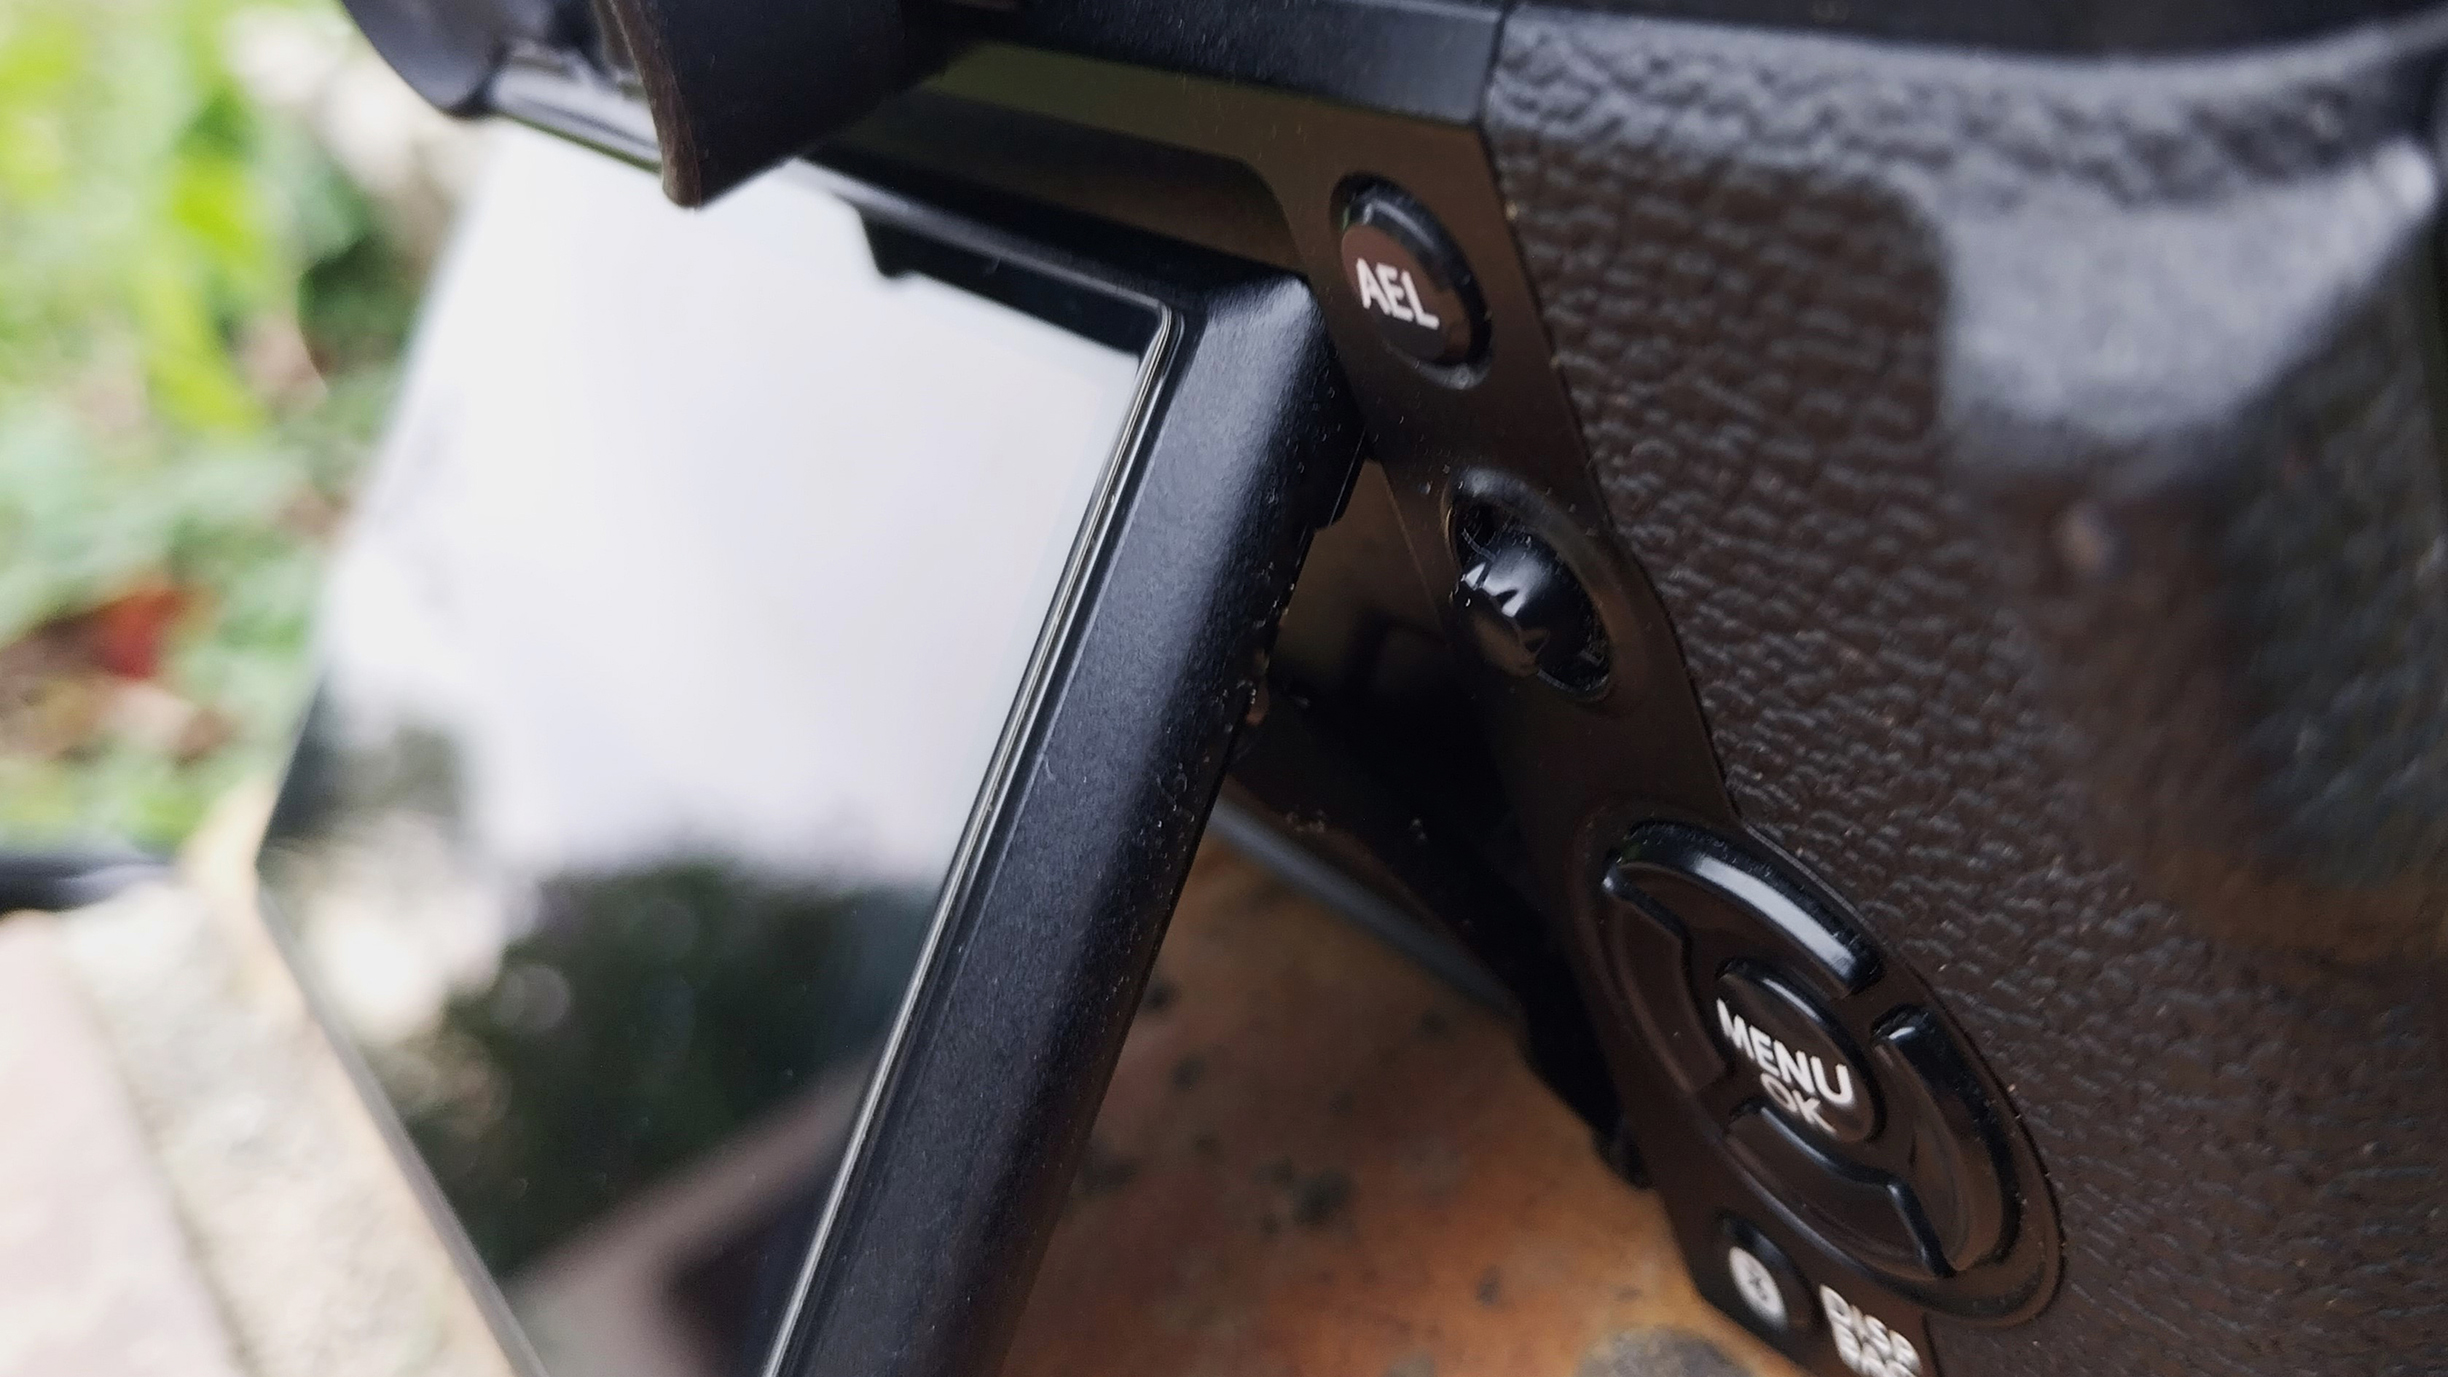
Once you have found your subject, position yourself and move your camera to see if you can include a few rays of sunlight in your composition. Live View on your articulating or tilting screen is useful at this stage.
The best camera deals, reviews, product advice, and unmissable photography news, direct to your inbox!
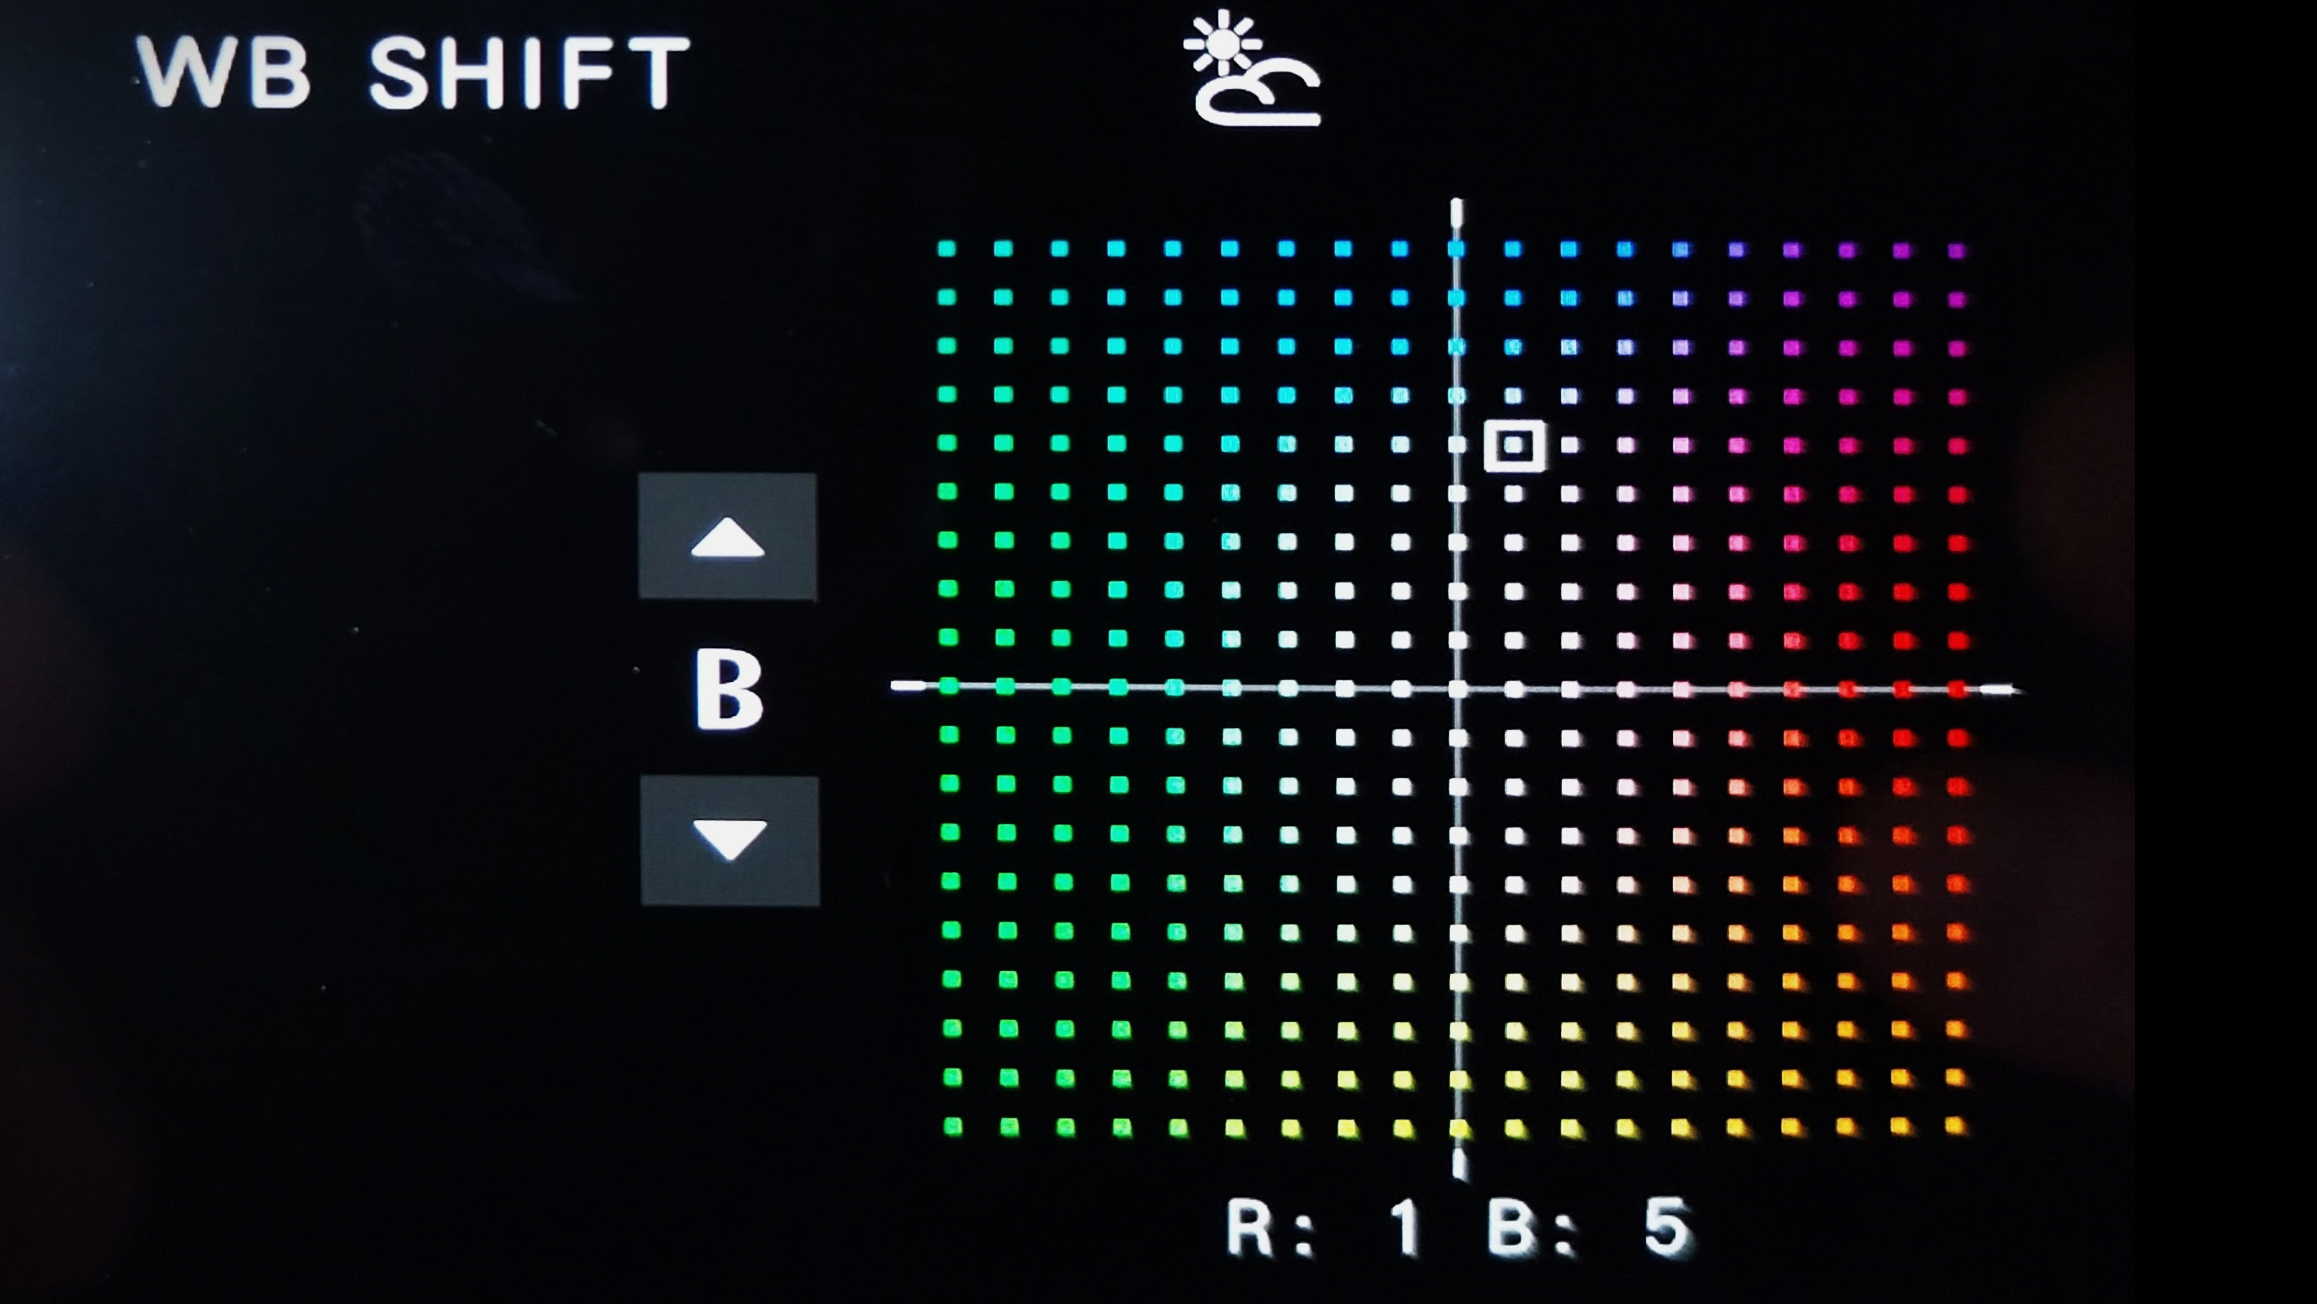
4. Adjust your white balance
I often use the Cloudy Sky white balance, even on sunny days, because I like the way it looks in macro shots. Then, I adjust it manually to obtain the color temperatures that I feel are best suited to my composition.
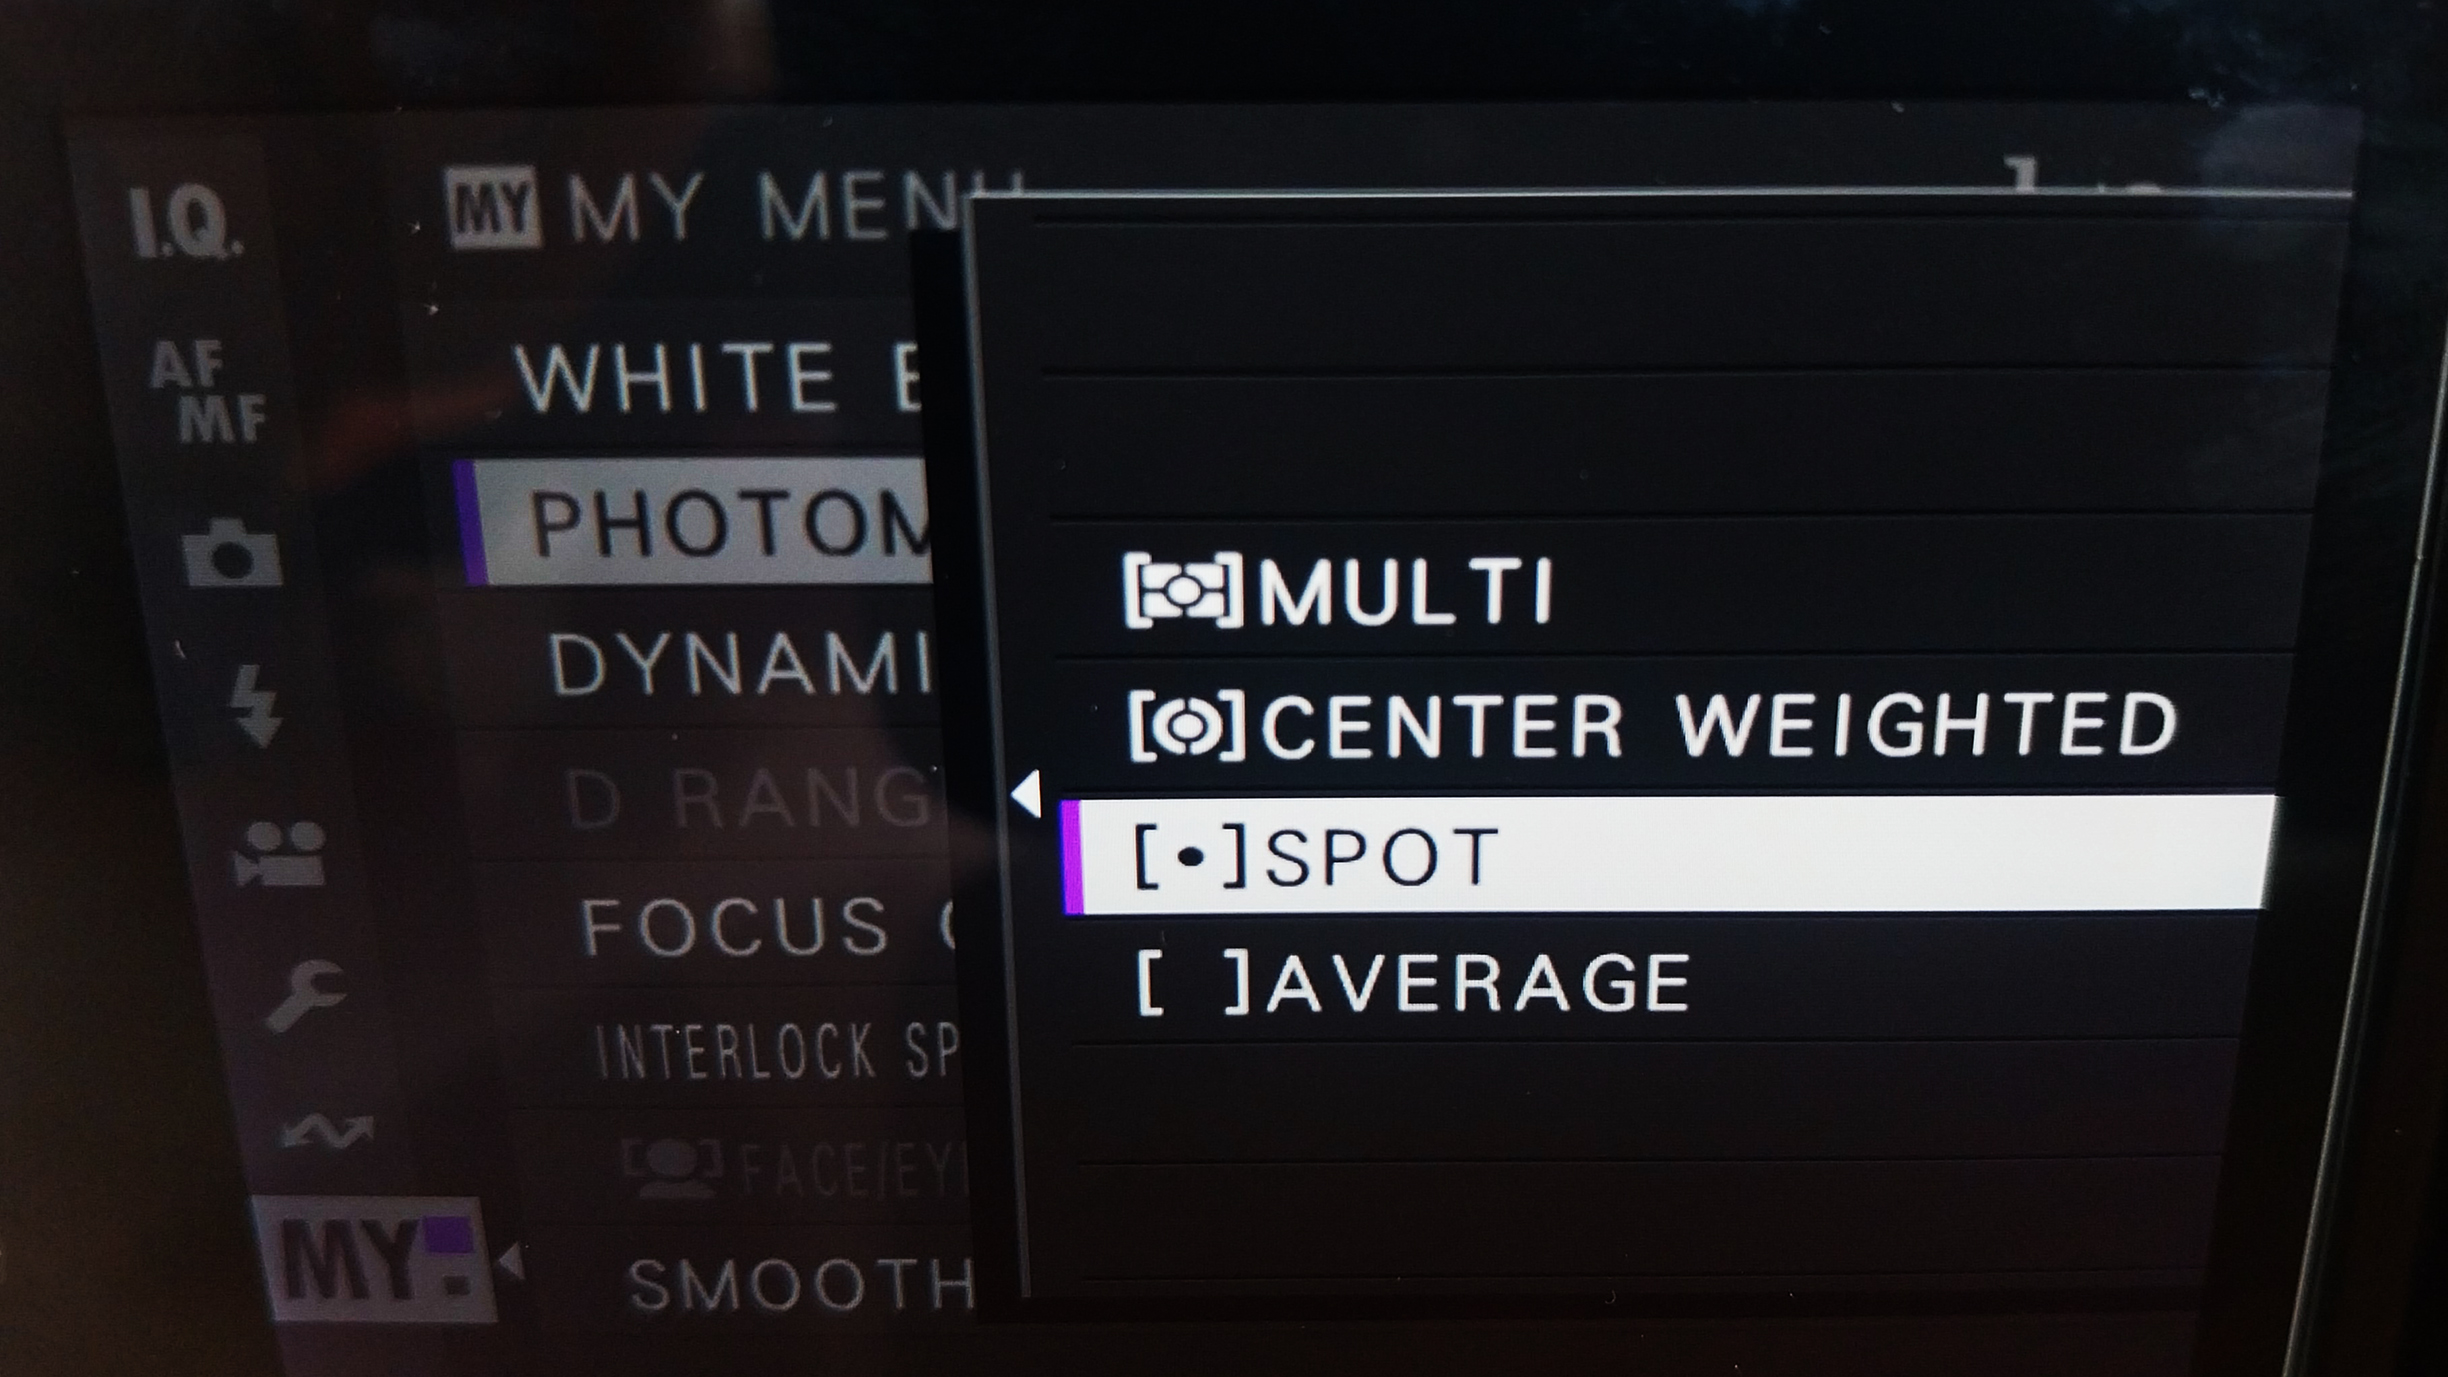
5. Photometry
Spot metering mode is best suited to backlit shots. It avoids burning whites or blacks that need to be recovered afterwards. However, you can also try the multi metering mode, which may also be sufficient in certain light conditions.
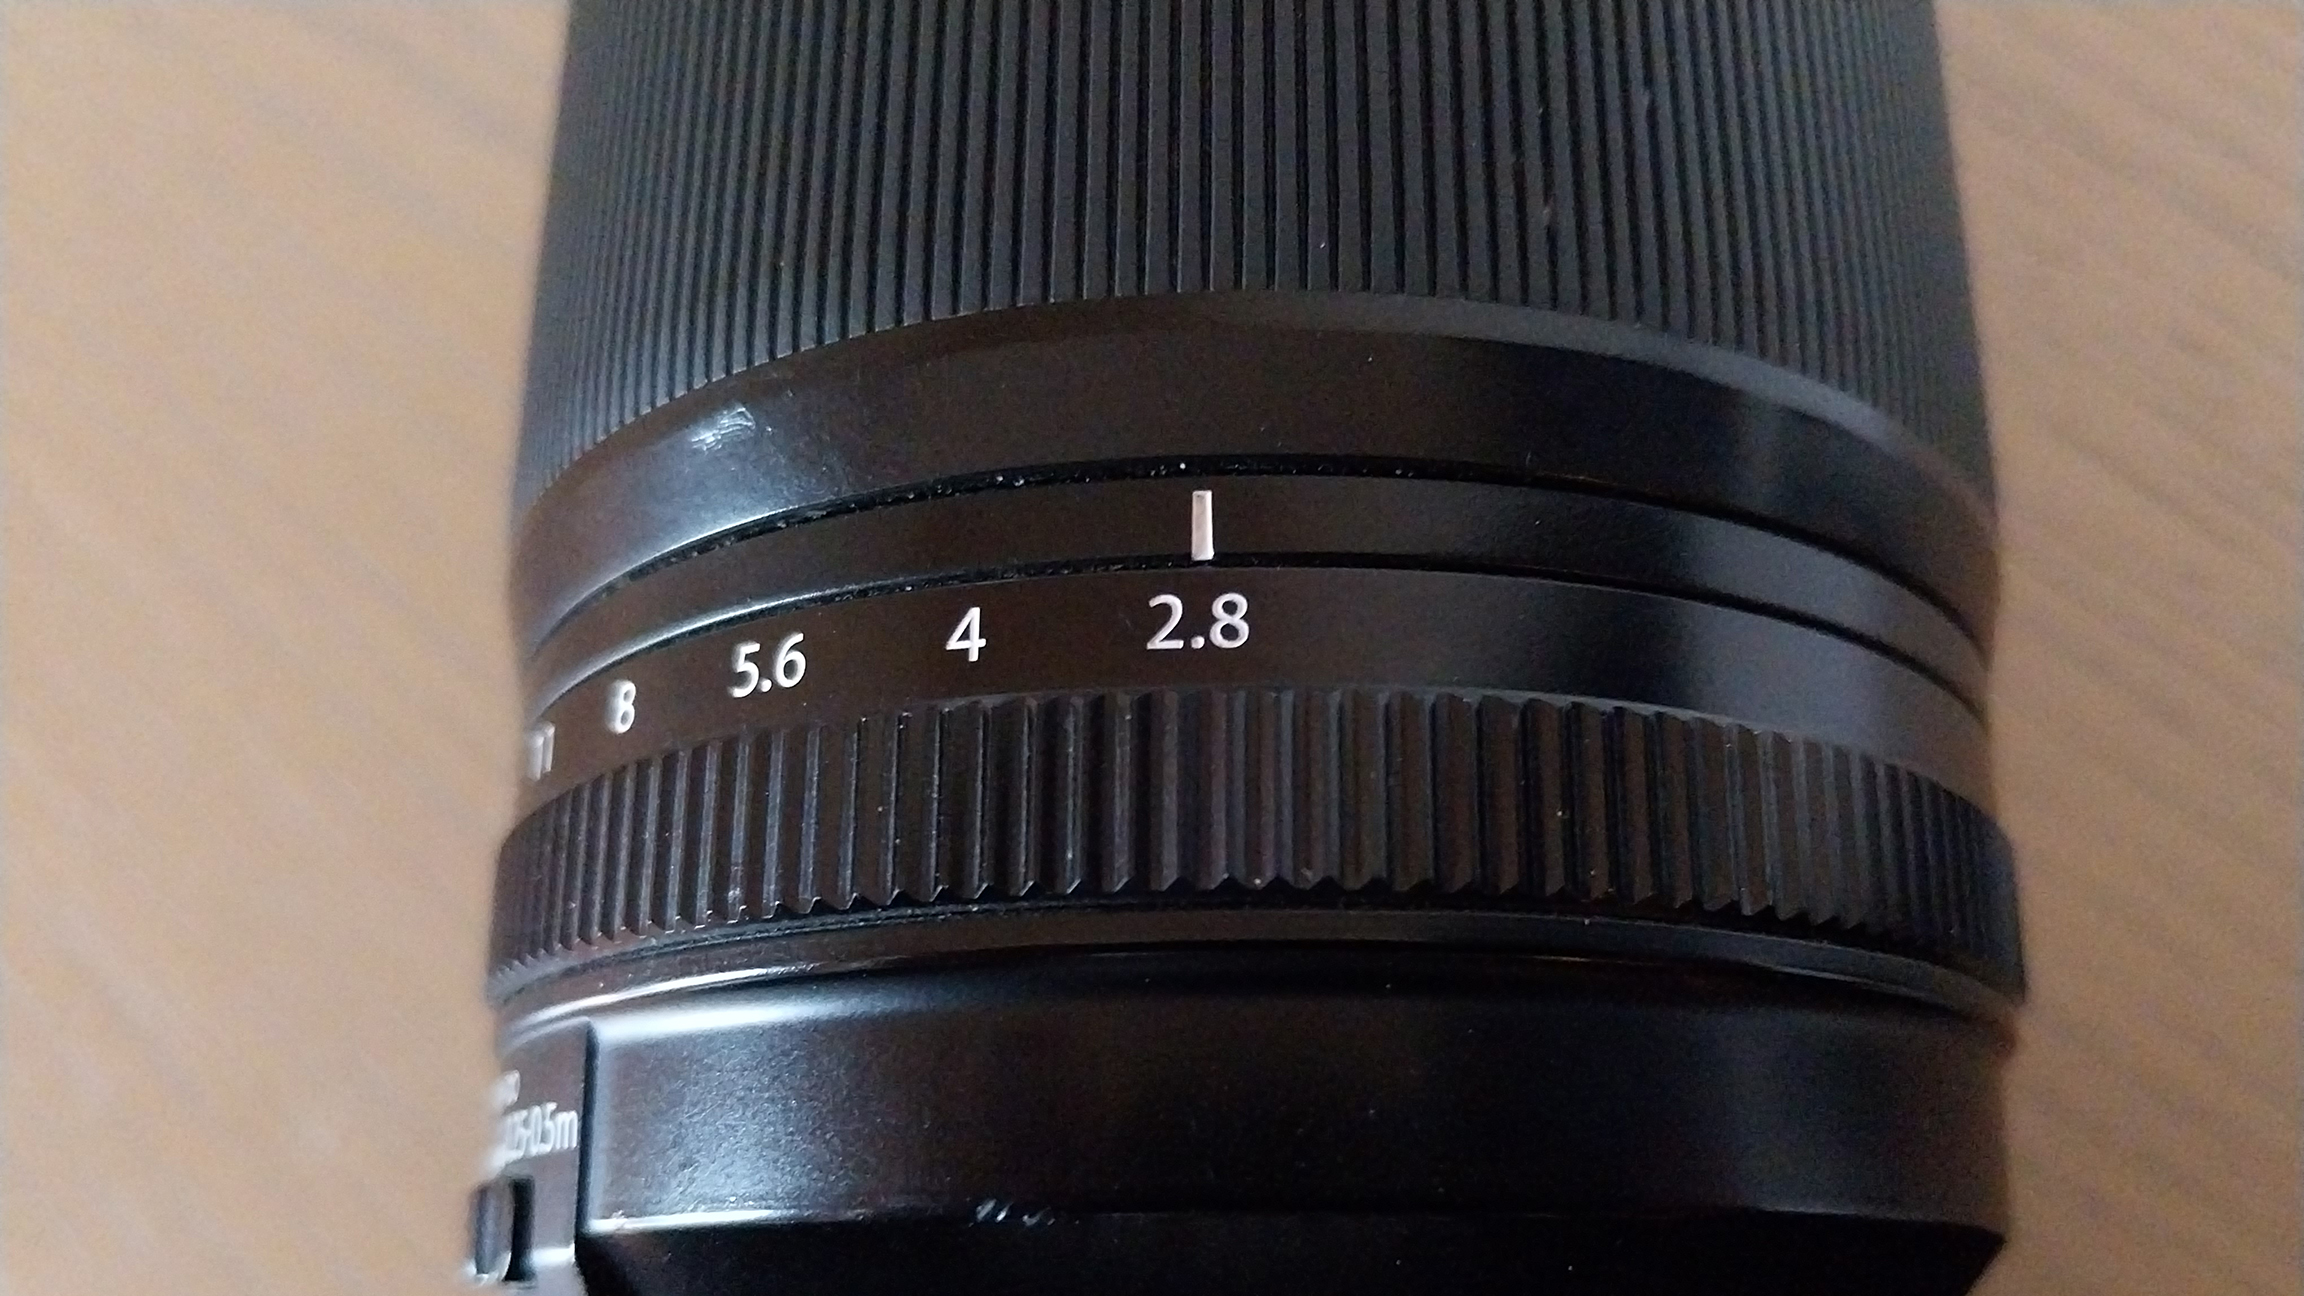
6. Set your f-stop
For dreamy macro photography, I find that larger apertures usually offer the best results. However, depending on the light you want in your shots, closing the aperture down can achieve creative effects too, with stronger bokeh.
You might also like…
If you want to master macro, take a look at the best cameras for macro photography, along with the best macro lenses.
Digital Photographer is the ultimate monthly photography magazine for enthusiasts and pros in today’s digital marketplace.
Every issue readers are treated to interviews with leading expert photographers, cutting-edge imagery, practical shooting advice and the very latest high-end digital news and equipment reviews. The team includes seasoned journalists and passionate photographers such as the Editor Peter Fenech, who are well positioned to bring you authoritative reviews and tutorials on cameras, lenses, lighting, gimbals and more.
Whether you’re a part-time amateur or a full-time pro, Digital Photographer aims to challenge, motivate and inspire you to take your best shot and get the most out of your kit, whether you’re a hobbyist or a seasoned shooter.
You must confirm your public display name before commenting
Please logout and then login again, you will then be prompted to enter your display name.
