Create a photo calendar and make the perfect holiday gift for friends and family
It's easy to create a photo calendar, and we show how it's done in eight simple steps, using the popular photo service Mixbook
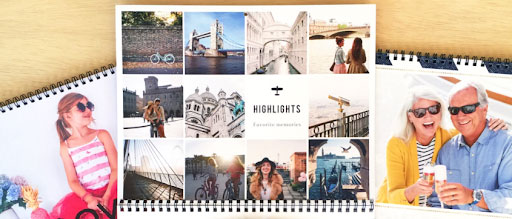
There are lots of online photo services that let you create a photo calendar, and this is how you do it with Mixbook, one of the most popular services out there. Wouldn’t it be great if you could specify the size and layout of your calendar, populate it with your very own digital photos and add all your important dates over the next year, right at the printing stage?
That’s exactly what Mixbook offers with its calendar design tools. There are more than 100 pre-designed themes to choose from, or you can create your calendar entirely from scratch. Adding photos is as easy as dragging and dropping them into place, and you can customize the layout as you go, page by page. There’s no shortage of optional extras, with the ability to add text and stickers to mark special events.
For the purposes of this tutorial, we’ve put on our petrol head and designed a photo calendar based on MotoGP motorcycle racing, with the relevant dates being marked out. Naturally, what you choose for yours is entirely up to you. Let’s get started...
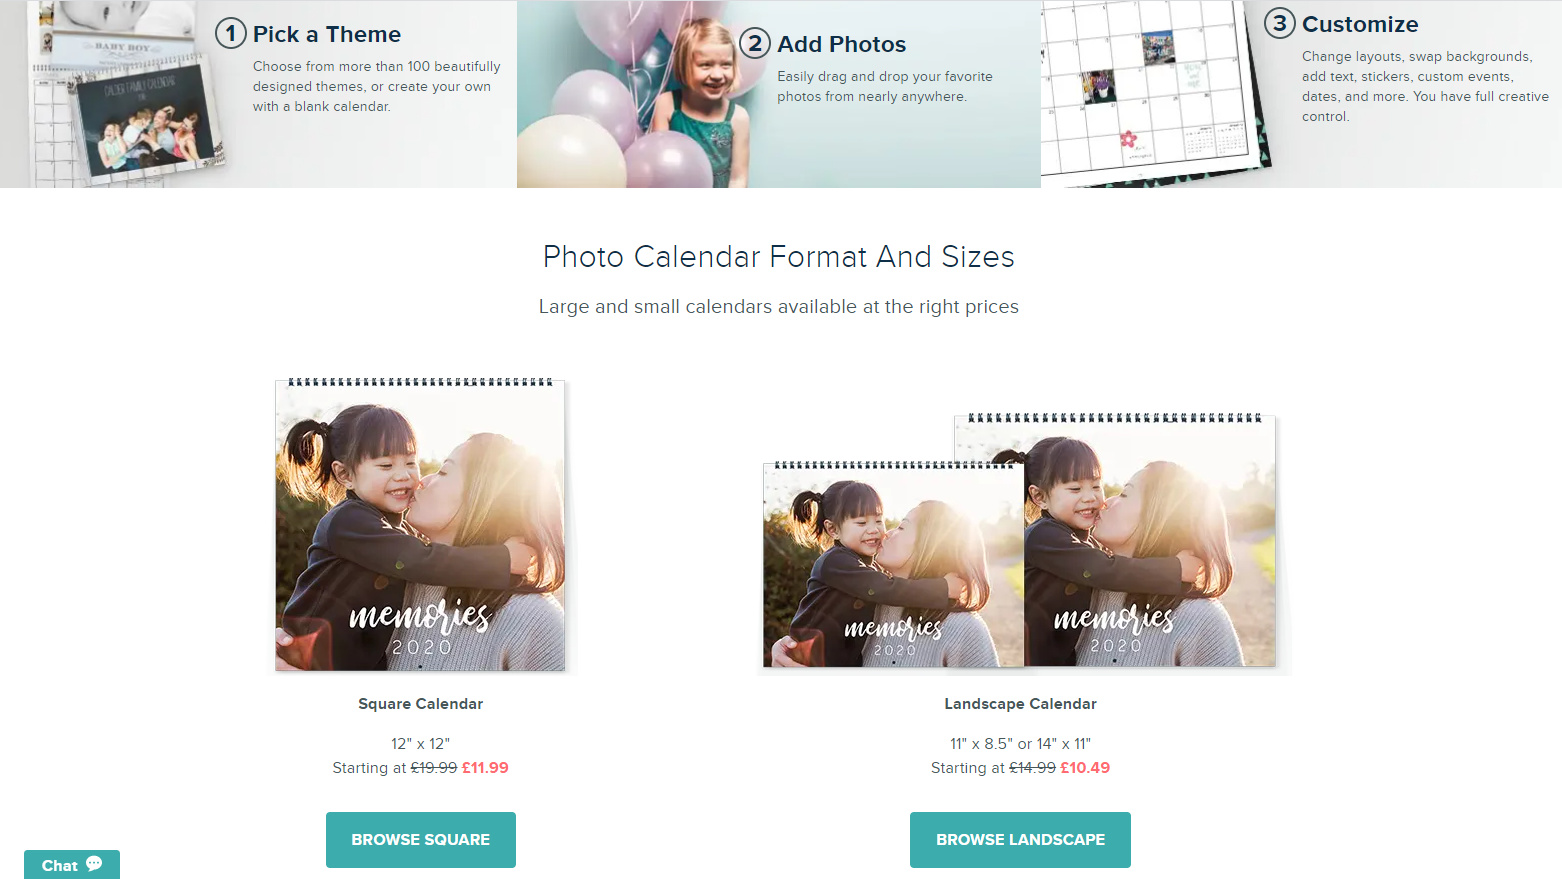
01 Choose the size and style
The first thing to do is to choose the size of your calendar. There’s a square 12 x 12-inch option, plus two landscape-orientation sizes on offer, including 11 x 8.5-inch and 14 x 11-inch. Click on your preferred option to ‘browse square’ or ‘browse landscape’ and you’ll be taken directly to the next stage in the process.
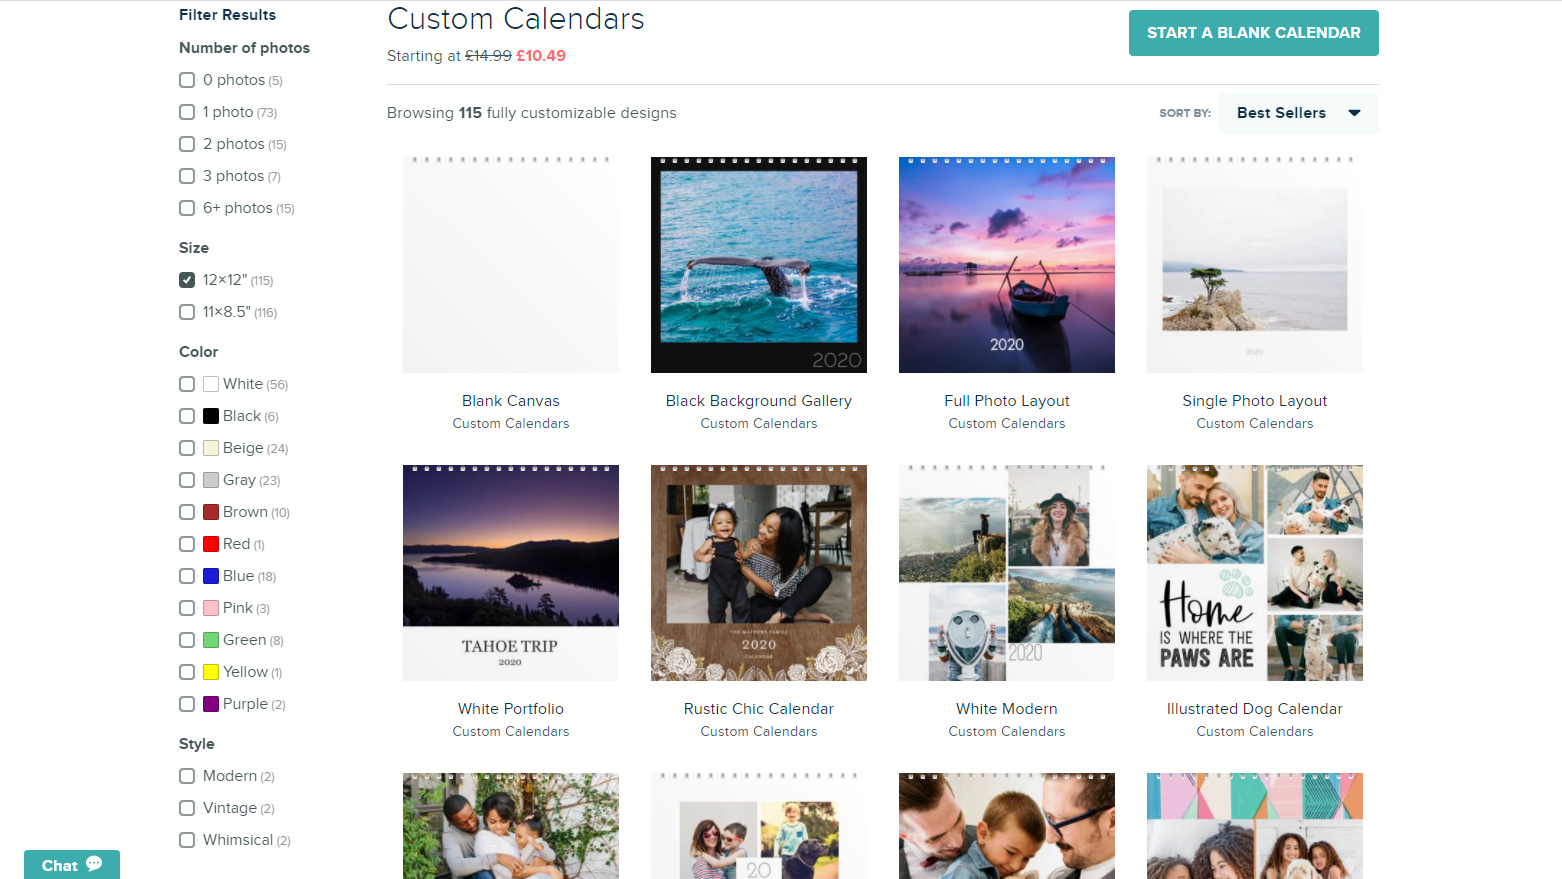
02 Pick a calendar design template
Once you’ve chosen a square or landscape option, you’ll be presented with a wide range of custom calendars. There’s a lot to choose from, but you can narrow your search by filtering the results, with choices of the number of photos on the cover page, the background color and various styles, including modern, vintage and whimsical. Tick the relevant boxes as necessary.
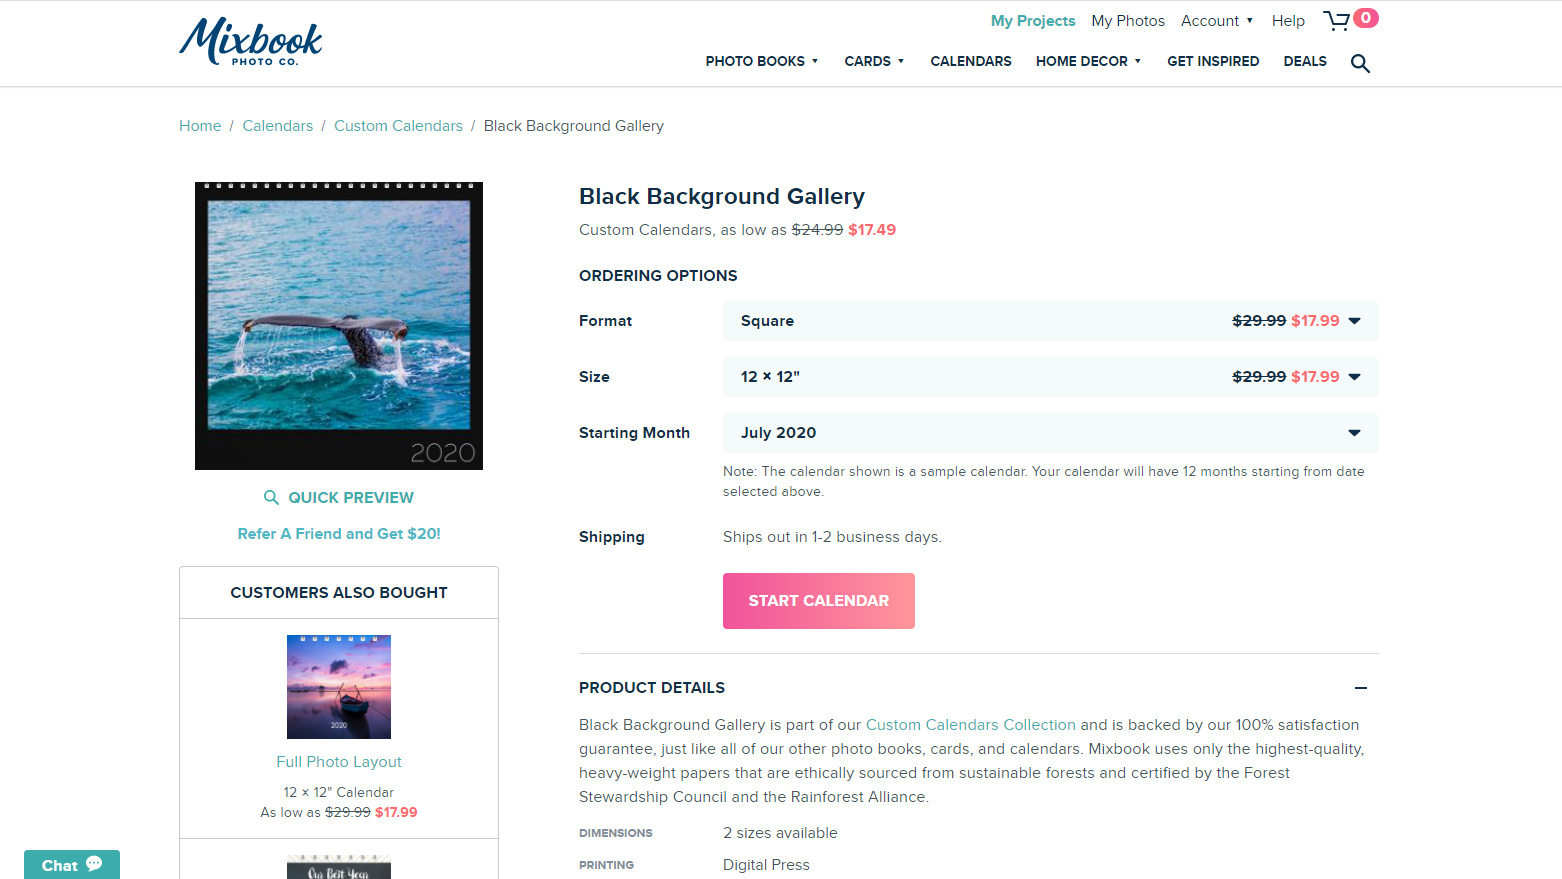
03 Start your calendar on any month!
Buy an off-the-shelf picture calendar and it’ll almost certainly start in the January of any given year. That’s not ideal for our motorsport calendar, especially this year when the start of the season was delayed to July. With a Mixbook calendar, you can ‘start’ the year with any month, which can also be useful if, for example, you’re creating a calendar for the academic year.
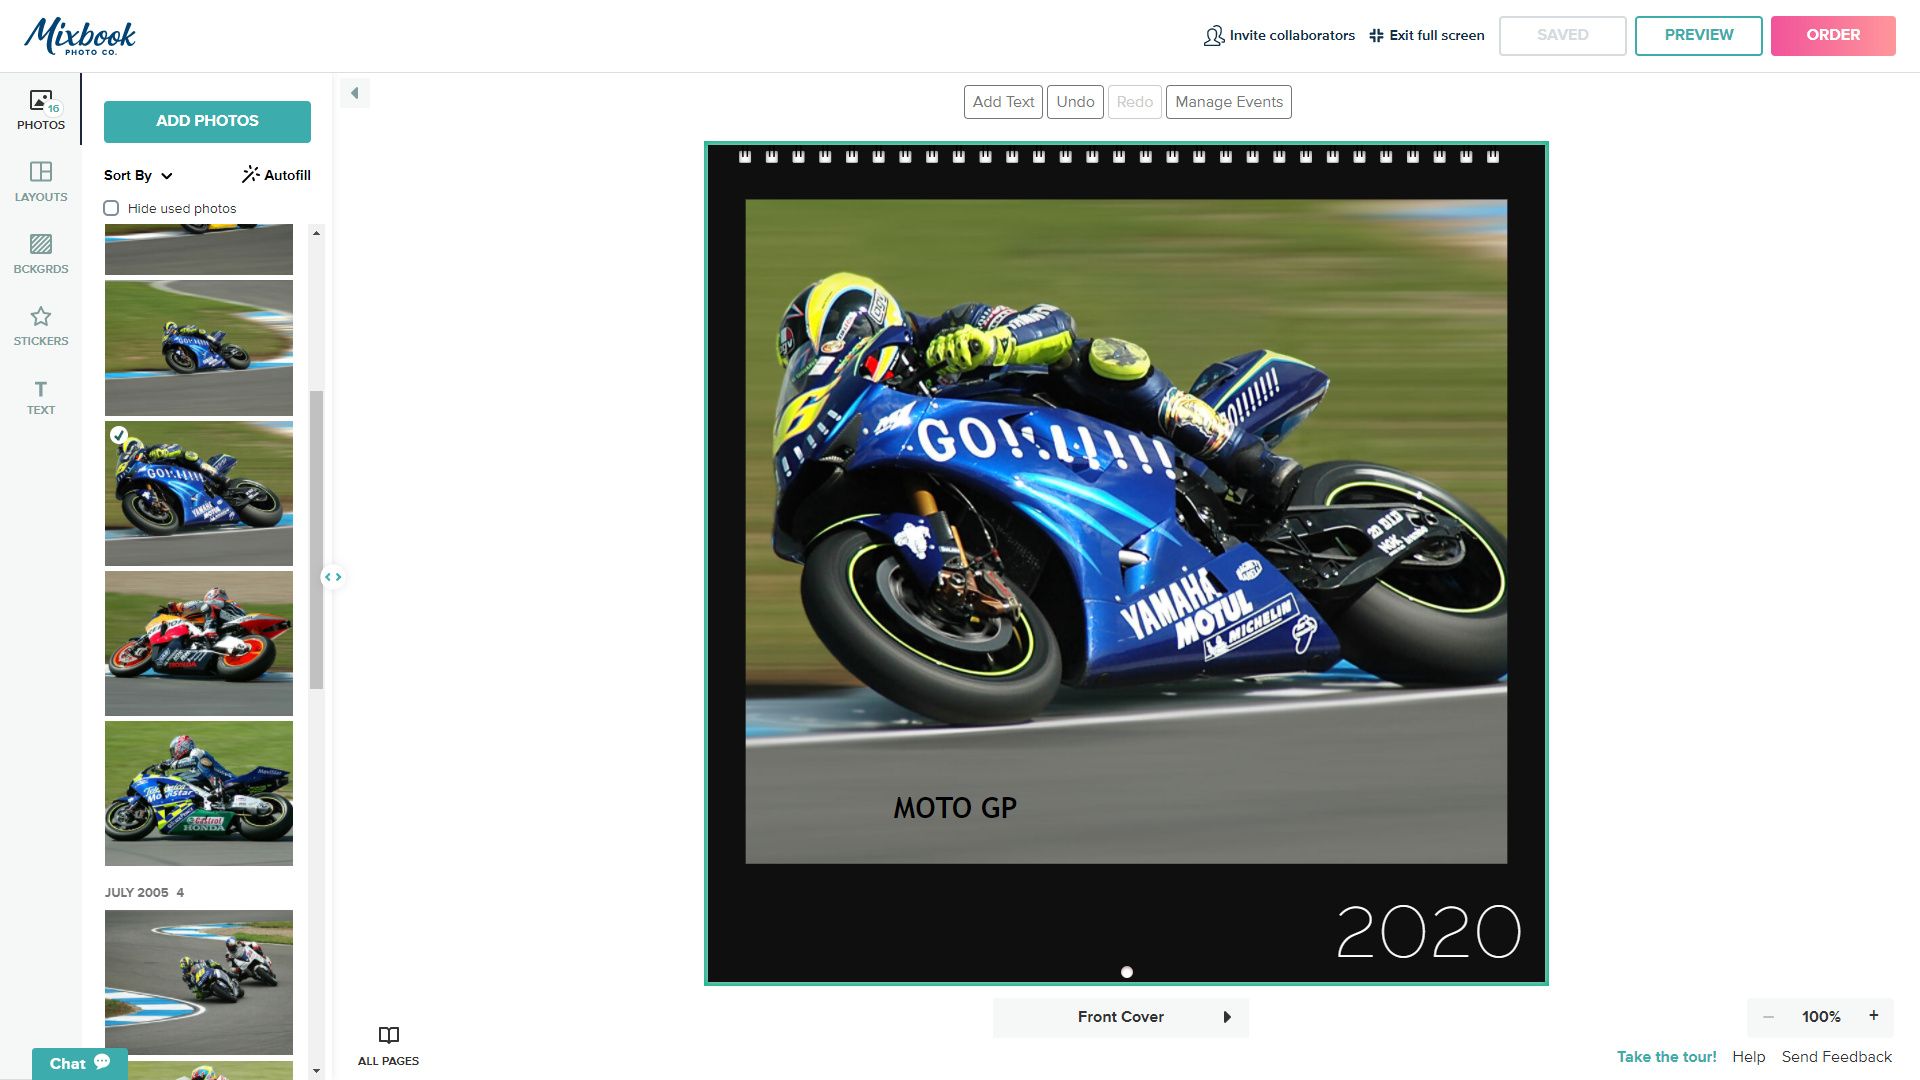
04 Choose your photos
Mixbook makes it easy to add photos from pretty much anywhere. In this case, we’ve added photos from a folder on a computer, but it’s just as simple to add them from a mobile phone or to import them from Facebook, Instagram, Google Photos or SmugMug, for example. Just click the Add photos button and make your choice. From the resulting panel of photos, choose one for your calendar’s front cover.
The best camera deals, reviews, product advice, and unmissable photography news, direct to your inbox!
05 Choose your layouts
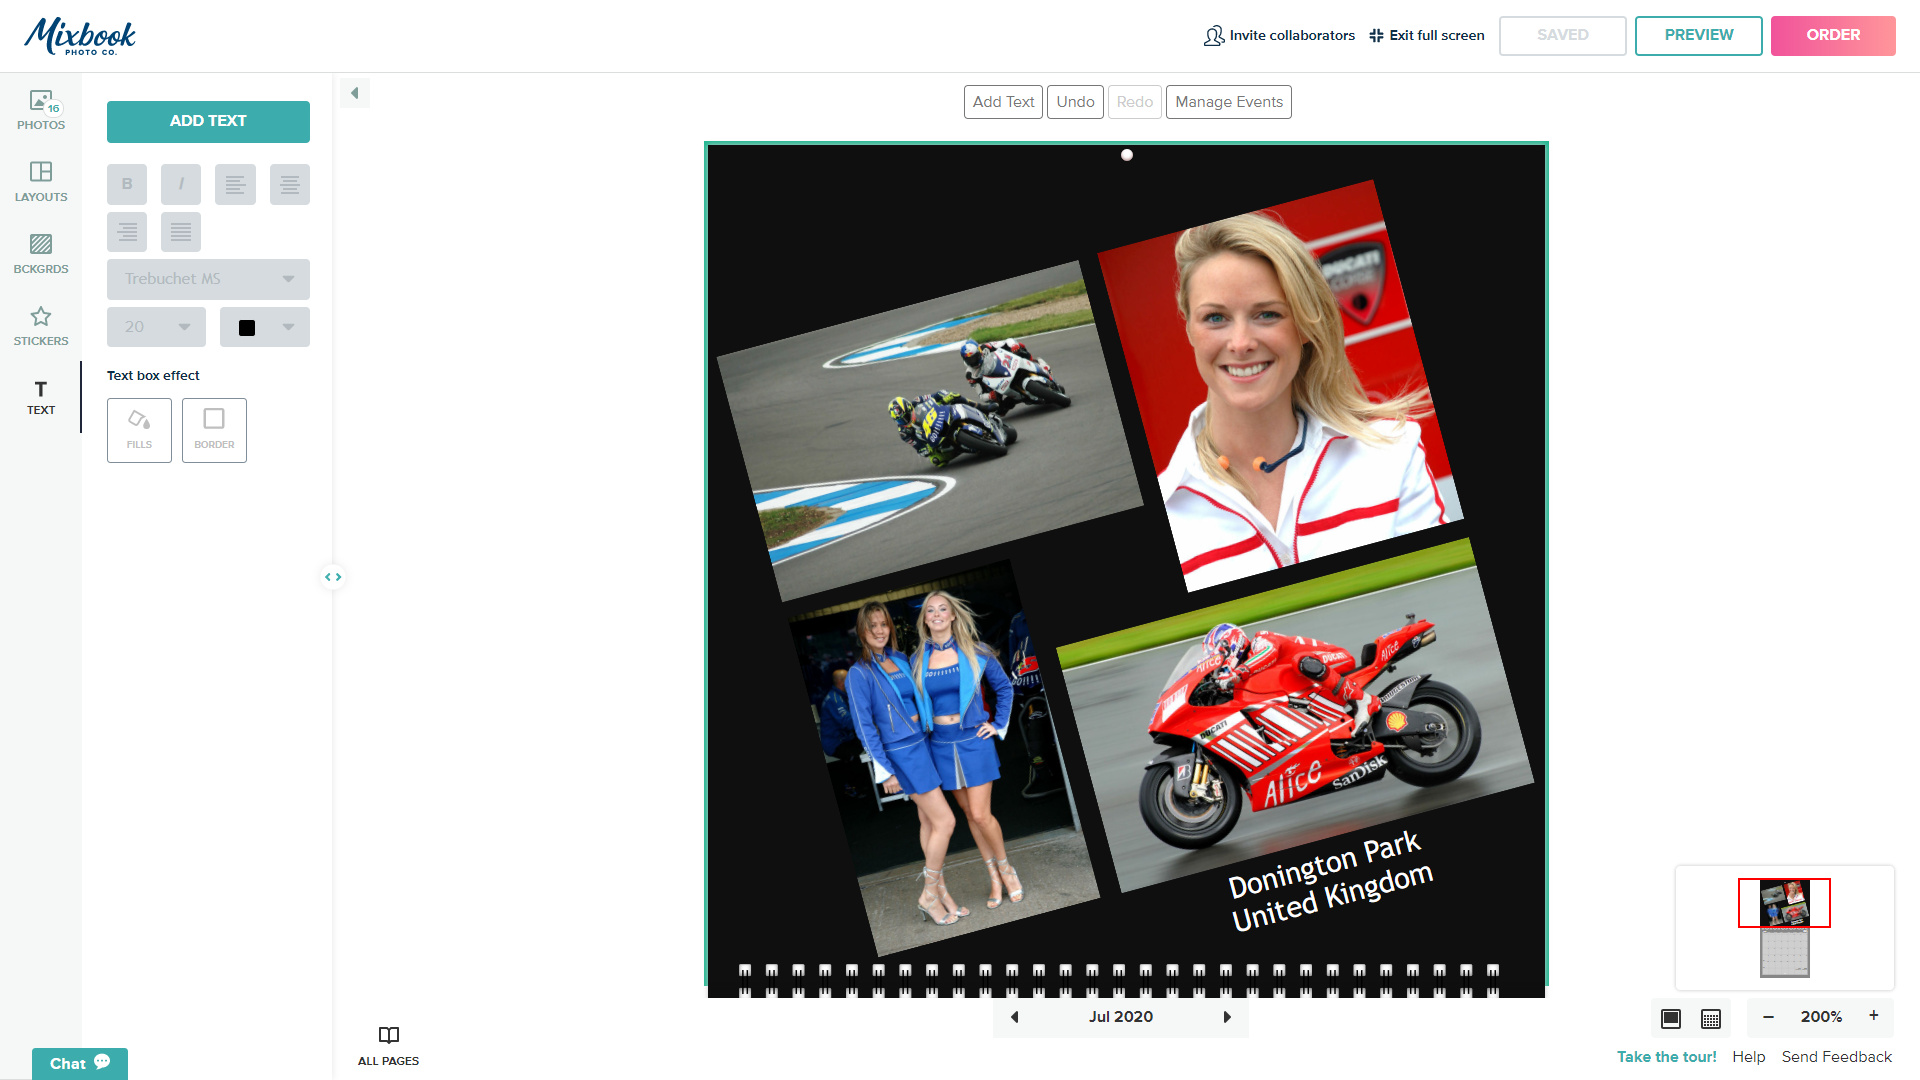
After finishing the front cover, click the arrow to go forward to the first page in your calendar. Because we set ours to start in July 2020, that automatically becomes the first page, with subsequent pages running through until June 2021. Default layouts are shown on each page, or you can choose your own, using the Layouts section shown here on the left. Once you’ve chosen your layout, drag and drop pictures from the Photos panel to fill the template.
06 Add special dates
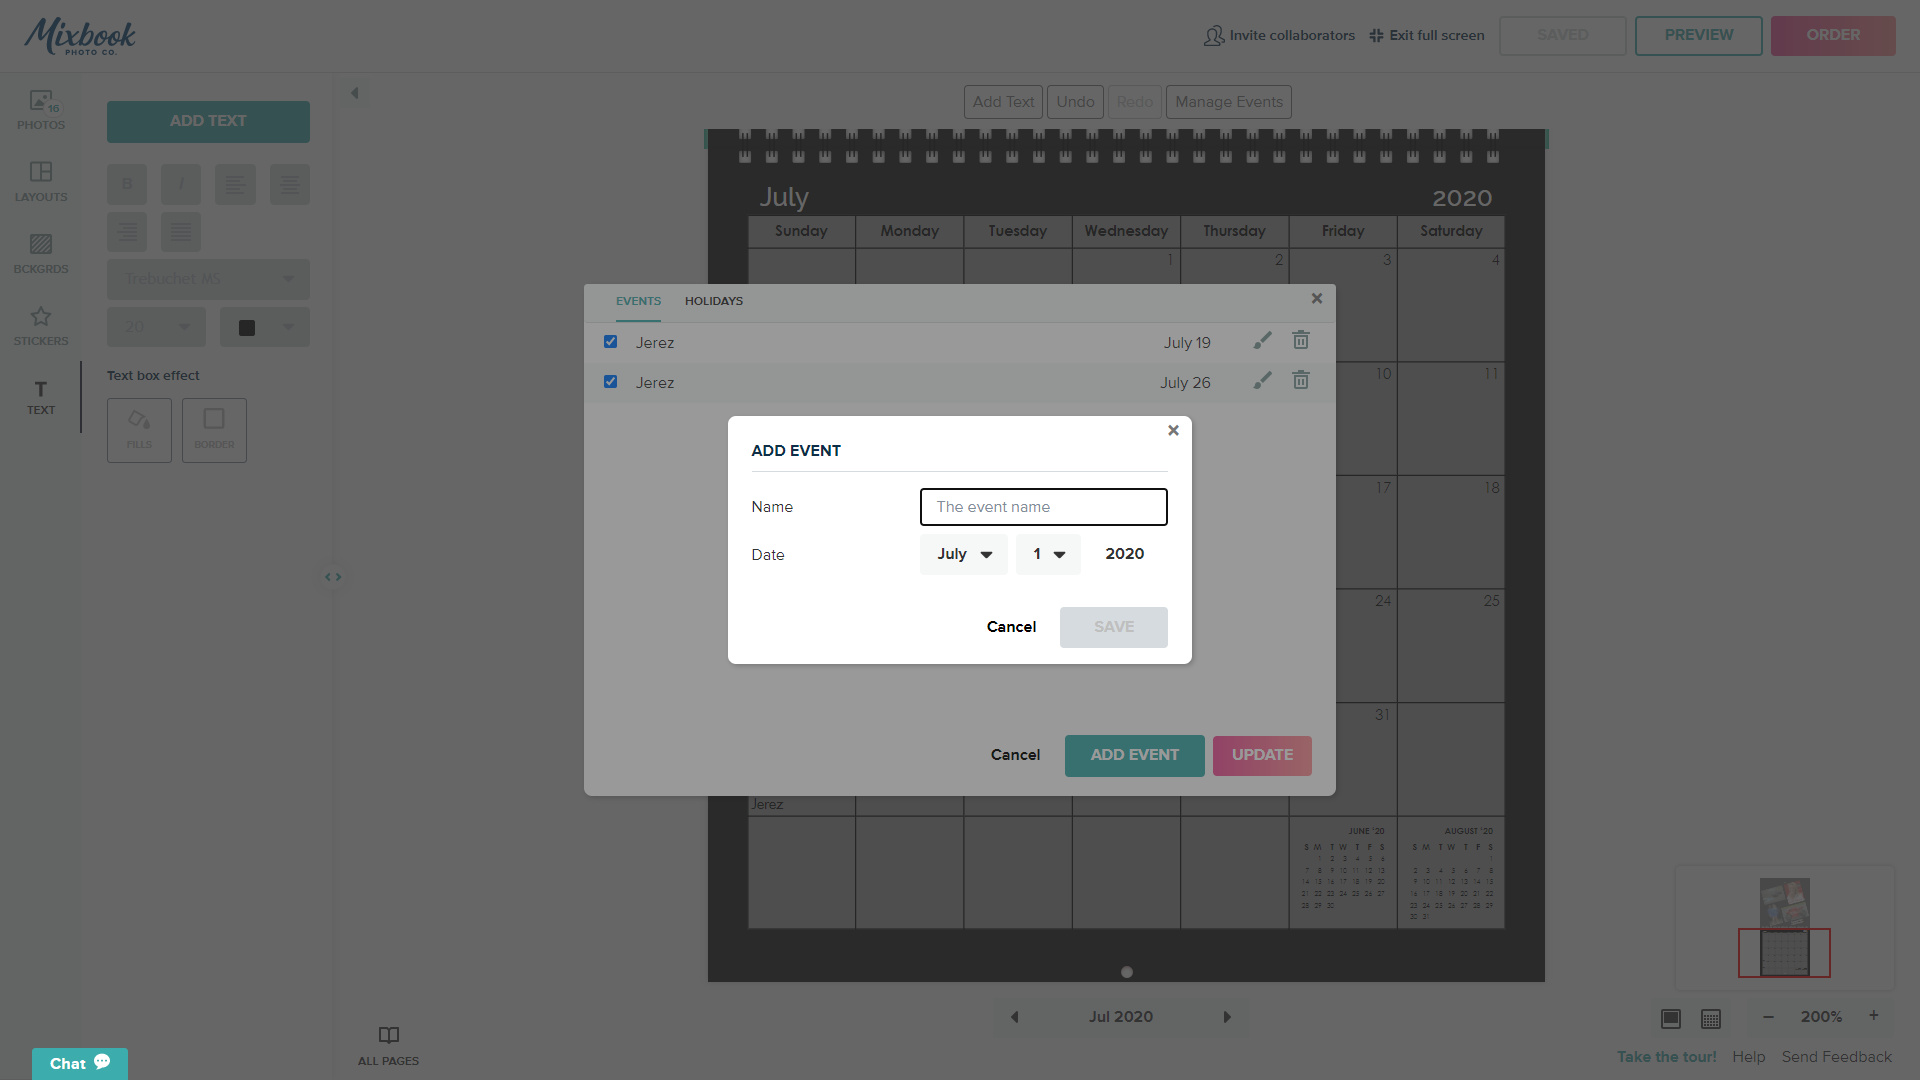
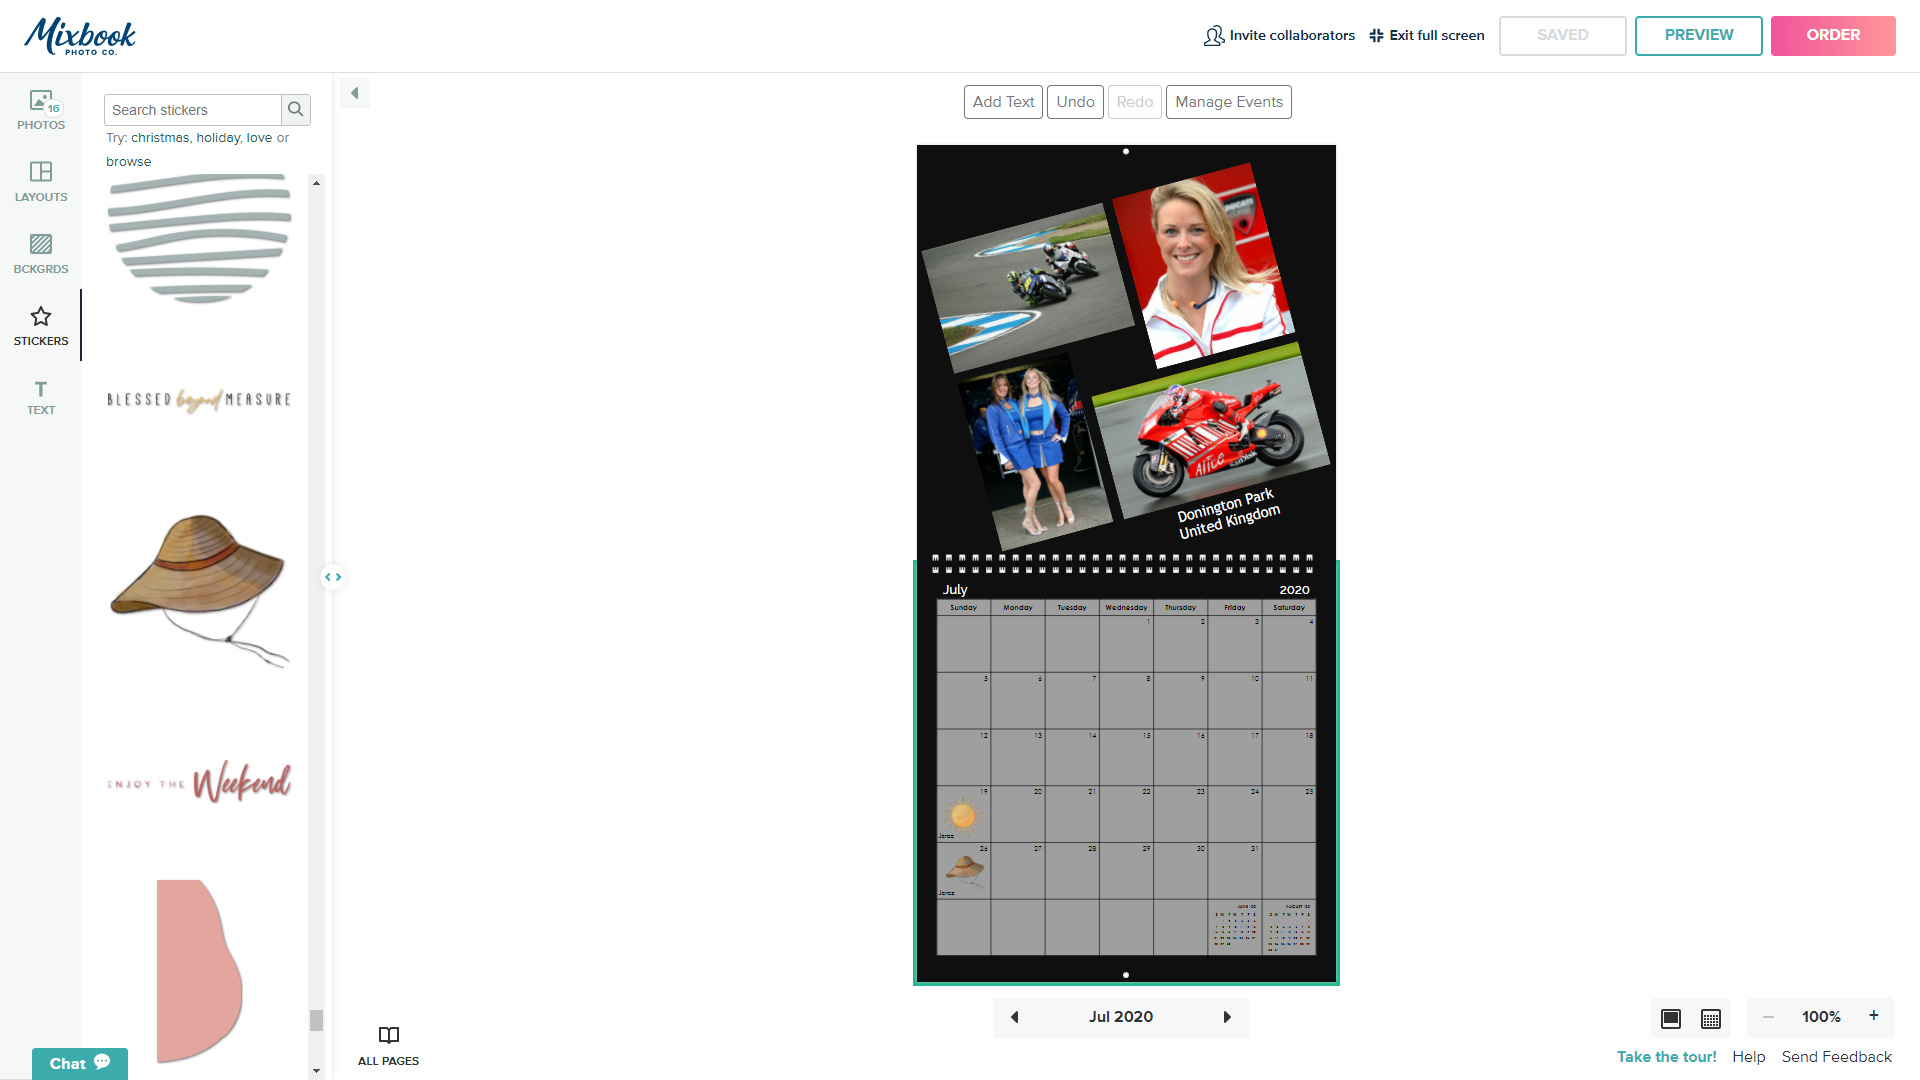
Next up, it’s time to add events and holidays to your calendar. Click the ‘Manage Events’ button and you can add as many as you like. Select either the Events or Holidays tab as required, enter the relevant names and dates, and your calendar will be populated automatically. Here we added two consecutive Sunday race events at Jerez for 19 and 2 July. You can also create addition text boxes if you wish, using the left-hand Text panel.
07 Add some personal touches
We’ve gone for solid black as the background to our calendar pages, but you can choose any color you want for each individual pages, using the Backgrounds section and selecting a color with the additional option of variable opacity. There’s also a huge range of pictorial backgrounds you can choose from, or you can even upload your own. Yet another option is to add stickers, using the Stickers section which is also available on the left of the main design panel. We’ve added a couple for the race dates that we entered.
08 Place your order
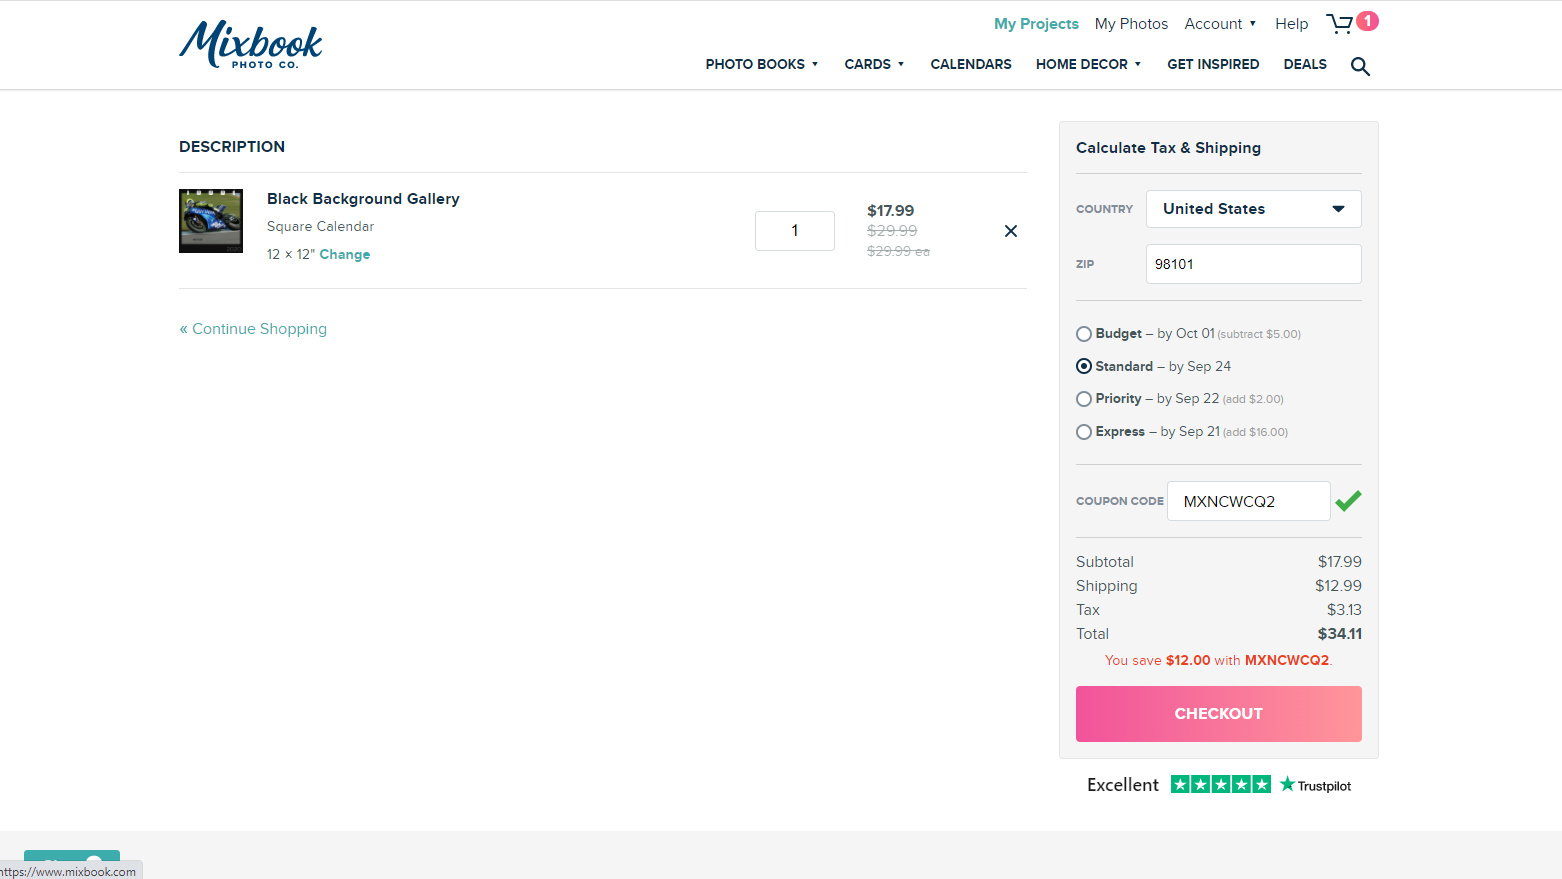
When you’re done, check all of the pages of your calendar and, once you’re happy that everything’s present and correct, click the Order button to add it to your cart. In the Checkout section, you’ll see options for budget, standard, priority and express delivery. With express delivery, you’ll typically get your finished calendar a week later, whereas standard and priority delivery takes between one and three extra days. Budget delivery is naturally cheaper but takes about two and a half weeks.
Read more:
• Best photo calendars
• Best photo books
• Best photo frames
• Best digital photo frames
• Best gifts for photographers
• The best photo printing online
• Best photo albums
• Best photo gifts
Matthew Richards is a photographer and journalist who has spent years using and reviewing all manner of photo gear. He is Digital Camera World's principal lens reviewer – and has tested more primes and zooms than most people have had hot dinners!
His expertise with equipment doesn’t end there, though. He is also an encyclopedia when it comes to all manner of cameras, camera holsters and bags, flashguns, tripods and heads, printers, papers and inks, and just about anything imaging-related.
In an earlier life he was a broadcast engineer at the BBC, as well as a former editor of PC Guide.
