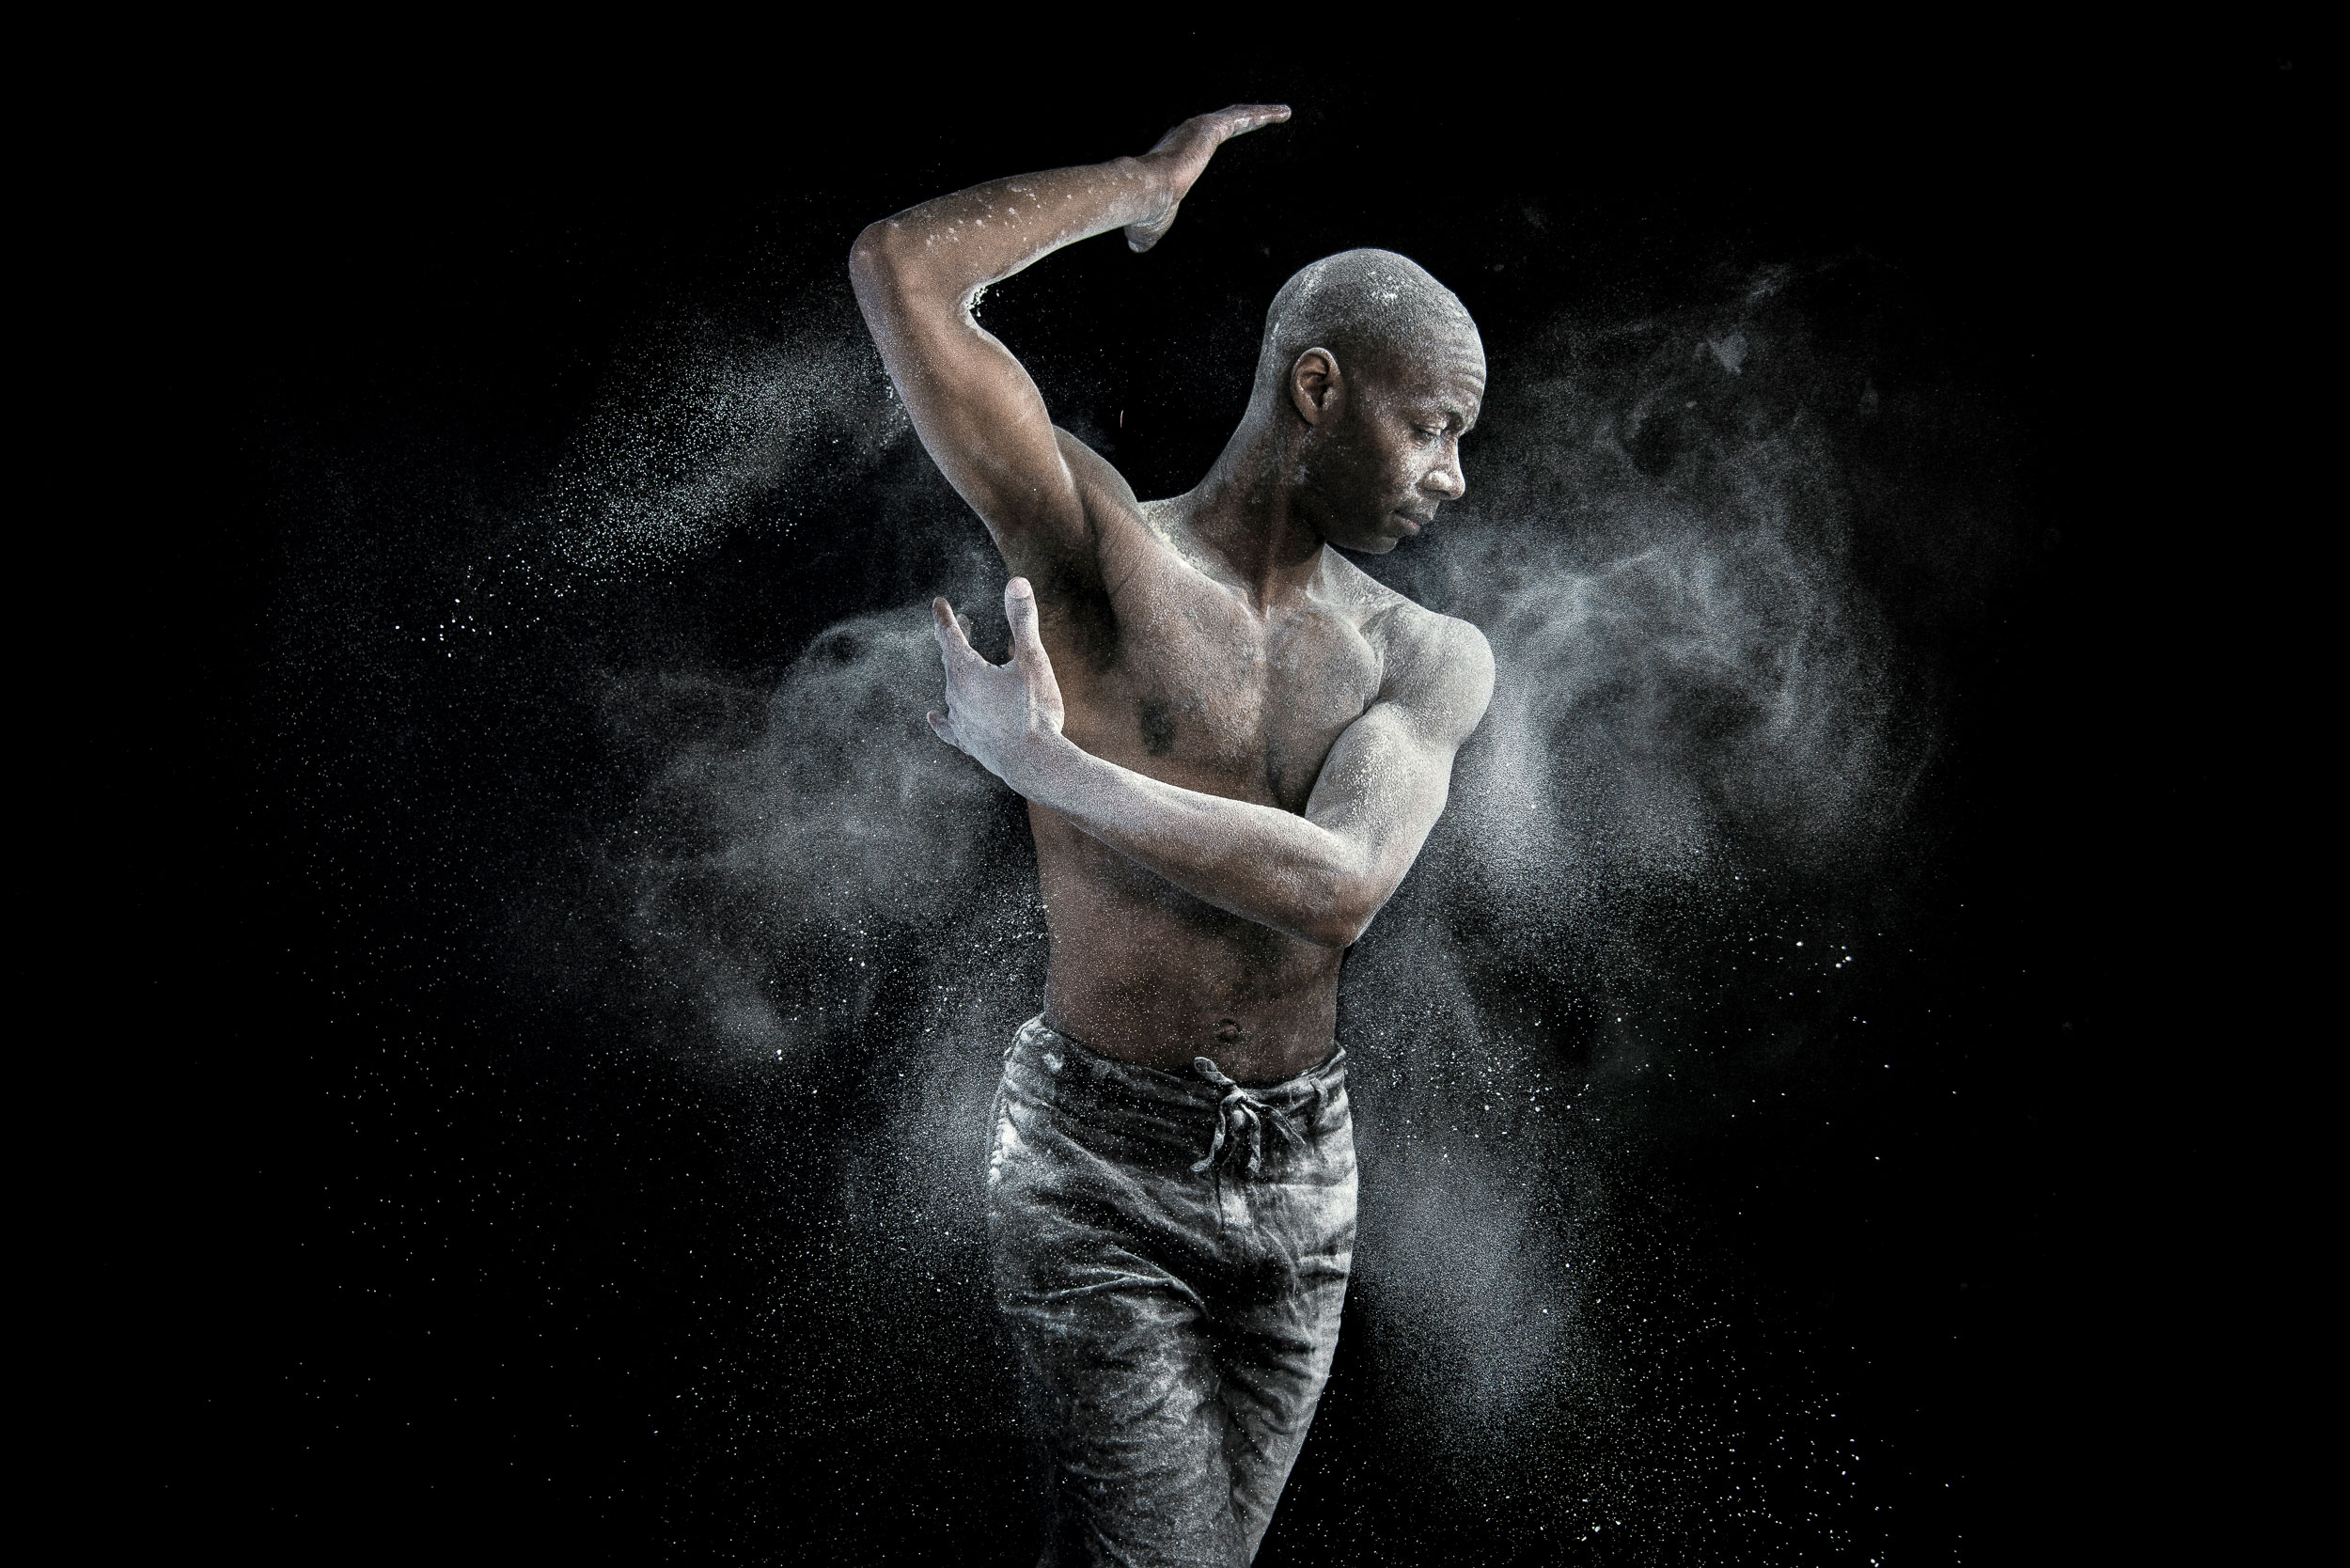
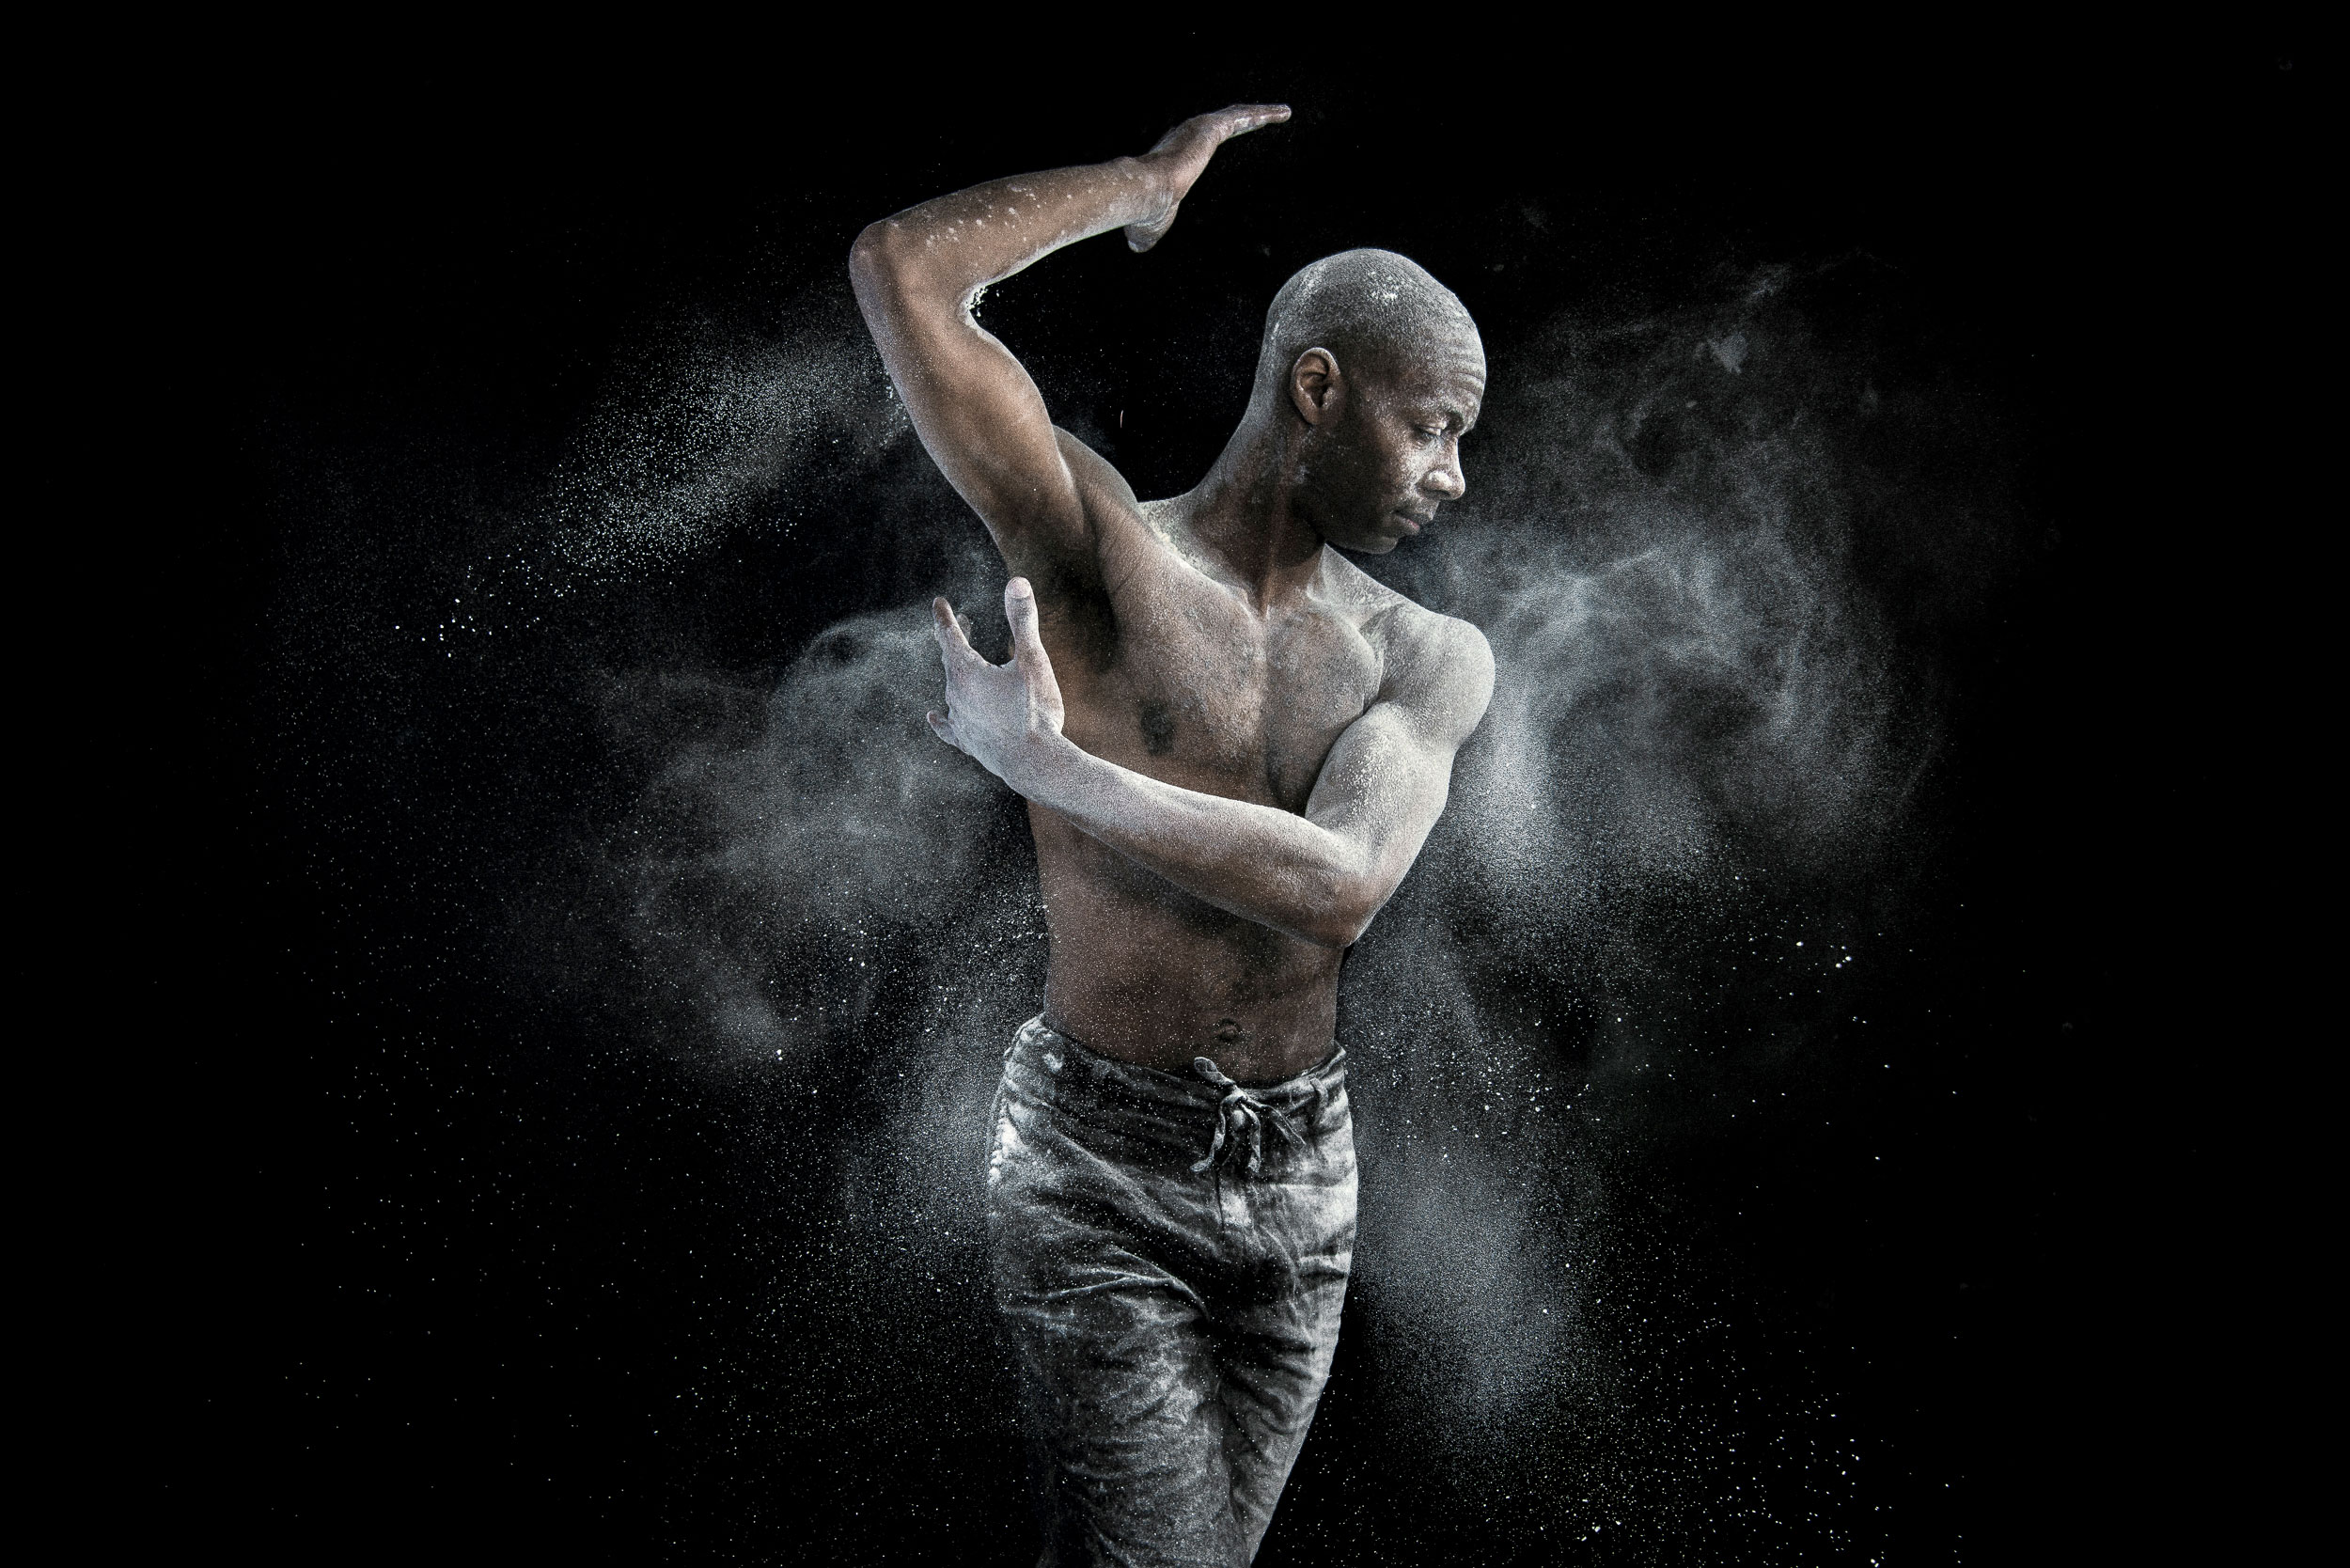
Common photo problems and how to fix them in Photoshop: #4 My photo is out of focus
There are no magic fixes for out of focus photos, but if the focus error is small, you can make a useful improvement

The best camera deals, reviews, product advice, and unmissable photography news, direct to your inbox!
You are now subscribed
Your newsletter sign-up was successful
We see lots of wild claims about software tools and editing techniques that can 'cure' out of focus photos. We file these with the Loch Ness monster and Bigfoot sightings. However, while big focus failures are beyond rescue, it is possible to improve the apparent sharpness of photos with smaller focus errors.
See all 15 instalments
• 15 common photo fixes
Adobe trial downloads
• Download Photoshop
• Download Lightroom
• Download Premiere Pro
Computers and photo editing
• Best photo-editing software
• Best laptops for photographers
• Best desktop computers for photo editing
Photo tips and ideas
• 11 home photo projects
• 44 tips cards to cut out and keep
• Photography tips for beginners
Welcome to the fourth instalment in our a 15-part series on how to fix photo problems in Photoshop, Lightroom and Adobe Camera Raw.
We're guessing that many of you, like us, are currently confined to barracks thanks to the COVID-19 crisis, but we're determined to use our time usefully – in fact, this may be a chance for all of us to learn new techniques and fix up old photos that we never had time for before.
In this instalment we'll show you how to improve a photo which is slightly out of focus. There's no magic, no artificial intelligence algorithms, just some old-school know-how about what makes images appear sharp.
Sharpness... and grain!
The question is, how out of focus is your photo? If it is badly out of focus, it’s probably irreparable, but there are things you can do to improve images where the details are slightly soft (you know, the ones that look sharp on your camera LCD only to turn out soft once you zoom in on them later on).
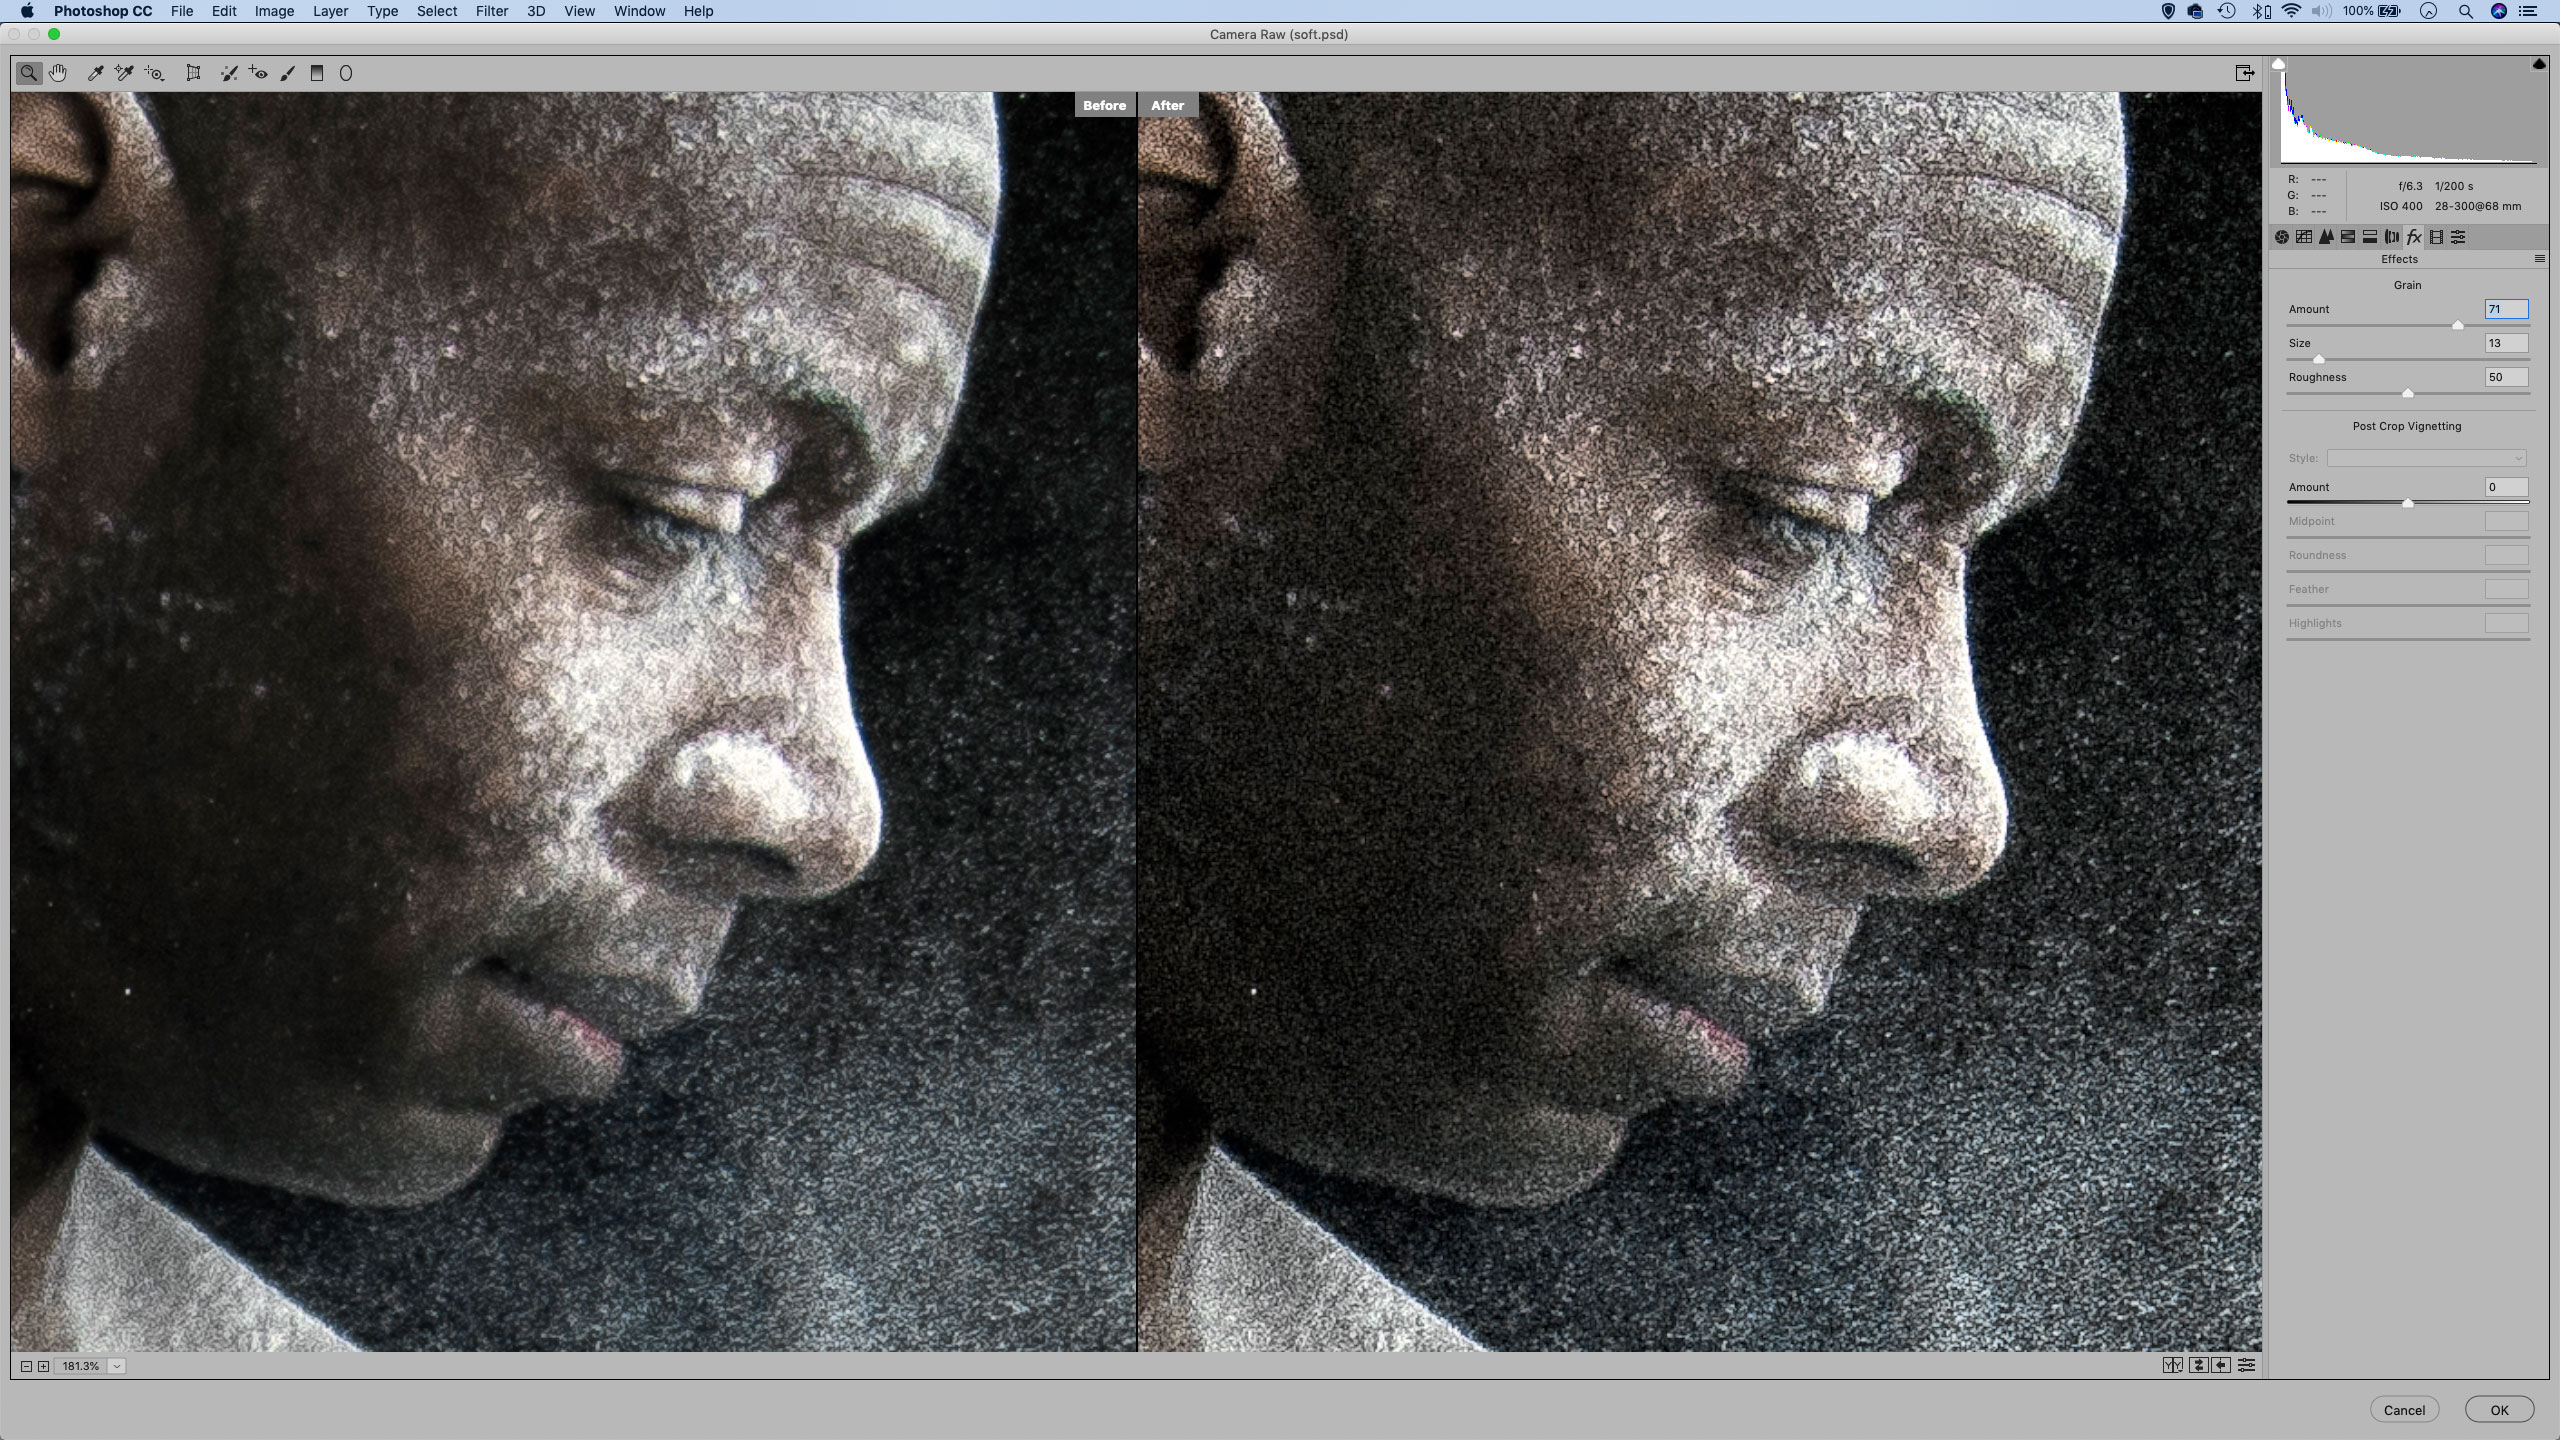
First, try sharpening the details with over-the-top settings; if that fails, you can also try introducing grain, which has the effect of masking the slight softness. Both of these edits can be carried out in Camera Raw. Go to Filter > Camera Raw Filter, then head to the Details Panel to the right to increase Sharpening Amount and Radius. Once you’ve done that, head to the FX panel to increase Grain.
Jargon buster
Sharpening: Sharpening filters can't restore detail that the camera didn't record in the first place. Instead, they create the appearance of sharpness by increasing the contrast around the edges of objects. This is a visual trick that gives the appearance of increased sharpness at normal viewing distances.
The best camera deals, reviews, product advice, and unmissable photography news, direct to your inbox!
Grain: Grain is a phenomenon associated with analog film. It was considered a nuisance at the time, but in this digital age it seems we miss it and we want it back! It is possible to add digitally simulated grain, and this doesn't just give digital photos a 'film' look it also gives them a subtle texture which can help disguise soft detail.
Next instalment: #5 My photo is ruined by camera shake.
If you don't use Photoshop or Lightroom, why not sign up for the trial version? You can use this free for a period of 7 days and then decide which of three Photography Plan subscriptions would suit you best.
The lead technique writer on Digital Camera Magazine, PhotoPlus: The Canon Magazine and N-Photo: The Nikon Magazine, James is a fantastic general practice photographer with an enviable array of skills across every genre of photography.
Whether it's flash photography techniques like stroboscopic portraits, astrophotography projects like photographing the Northern Lights, or turning sound into art by making paint dance on a set of speakers, James' tutorials and projects are as creative as they are enjoyable.
He's also a wizard at the dark arts of Photoshop, Lightroom and Affinity Photo, and is capable of some genuine black magic in the digital darkroom, making him one of the leading authorities on photo editing software and techniques.


