The best camera deals, reviews, product advice, and unmissable photography news, direct to your inbox!
You are now subscribed
Your newsletter sign-up was successful
Watch video: Canon RF 100mm Macro lens tips
Canon released its full-frame mirrorless Canon EOS R four years ago, and while lenses for the new RF mount have steadily trickled out since then, one optic we’d been pining for is a successor to the Canon EF 100mm f/2.8L Macro IS USM.
Many Canon photographers who upgraded to mirrorless continued to use the trusty EF prime with an EF-EOS R adapter, but now we finally have the native Canon RF 100mm f/2.8L Macro IS USM – which comes with a raft of upgrades, including image quality improvements and features such as a 1:1.4 reproduction ratio, spherical aberration control, image stabilization, a focus limiter and much more.
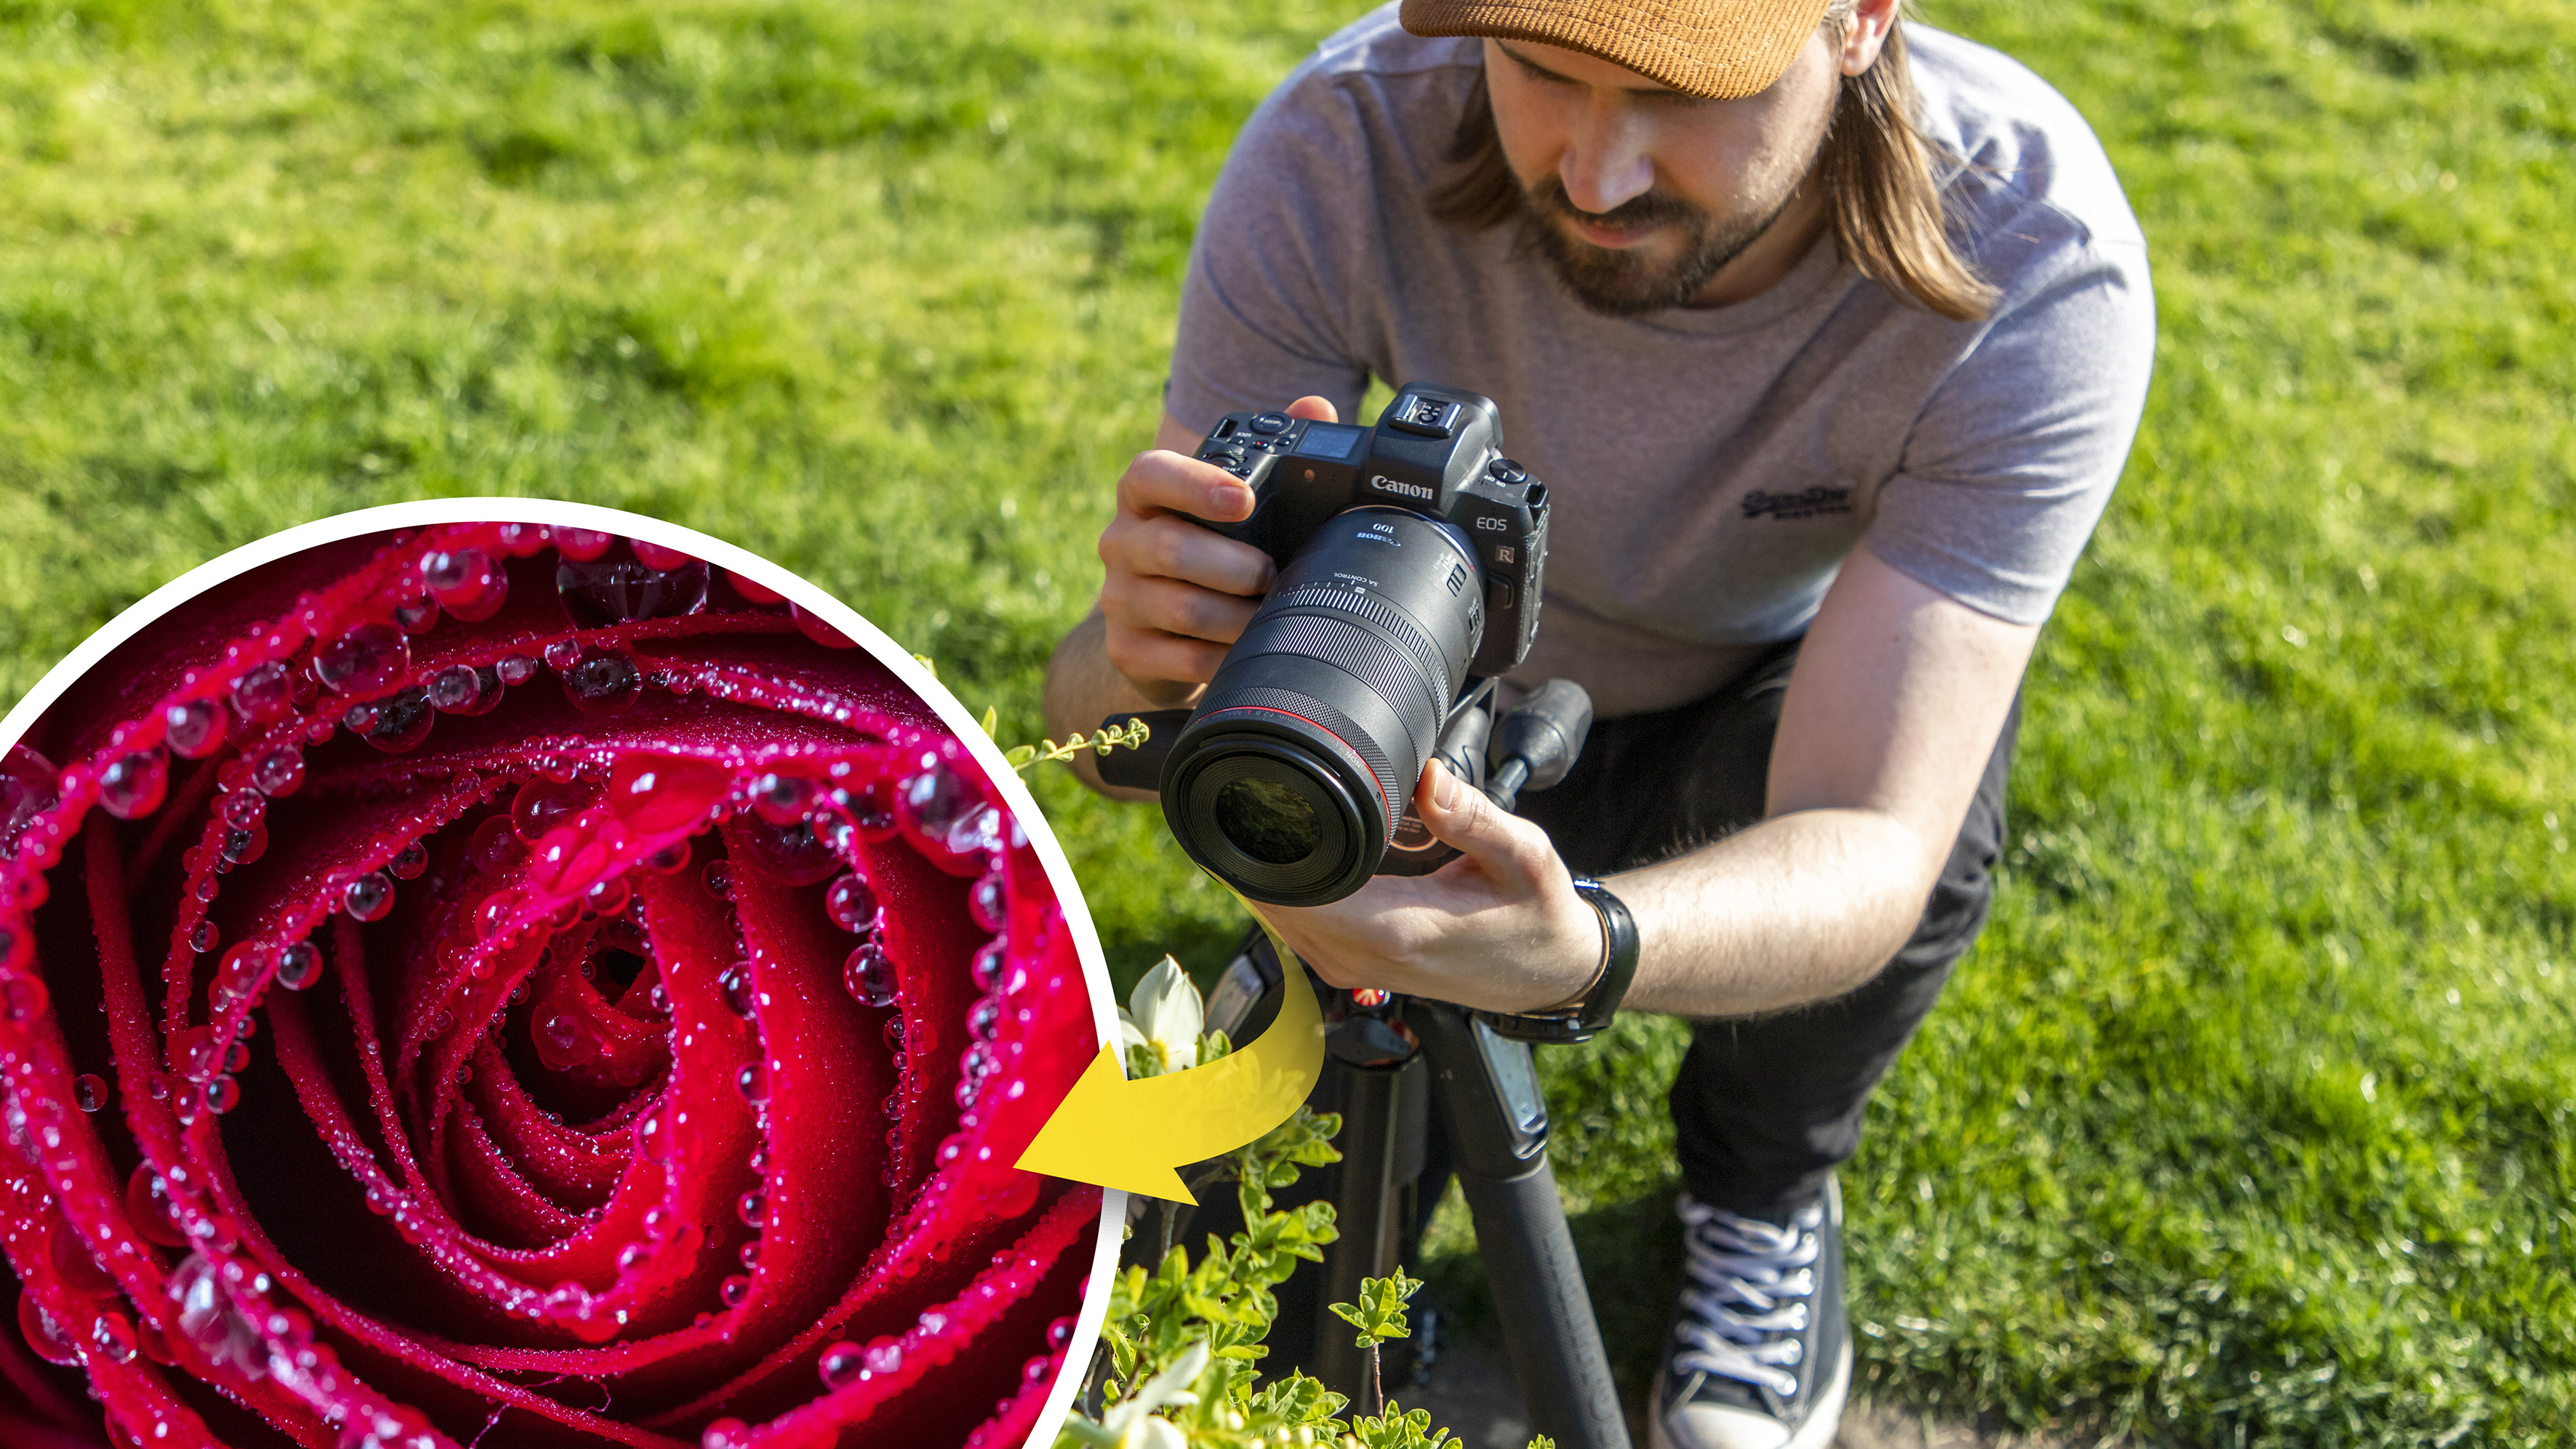
A true macro lens has a reproduction ratio of 1:1, which is called life-size because it means your subject is reproduced at the same size as if it were placed across the sensor of the camera. The RF 100mm Macro not only goes to 1:1 for superb life-size close-ups, but it can go as far as 1:1.4 – so subjects can be photographed at 1.4x their actual size to reveal even more incredible detail.
The lens also features optical stabilization, and if paired with an R system body with IBIS (like the Canon EOS R5 or Canon EOS R6), grants a whopping eight stops of stabilization when shooting handheld – making it ideal for shake-free shots if you don’t have a tripod handy.
Read on to see how you can get the most out of this macro lens on your mirrorless EOS R body…
1. Getting started
Set up your camera on a tripod with the RF 100mm lens attached. Now set the shooting mode to manual to take full control of the settings, and start by dialing in a shutter speed of 1/60 sec, an aperture of f/5.6 and an ISO of 1600. As it gets brighter throughout the day, you need to bring the ISO down and push the shutter speed up to compensate, but always check your exposure on the back of the screen to make sure it looks good and then make any changes if needed.
The best camera deals, reviews, product advice, and unmissable photography news, direct to your inbox!
You also have a focus limiter on the side of the lens barrel, which makes focusing faster if you know that your subject is a specific distance away, and stops the lens from hunting.
2. Use Focus Peaking
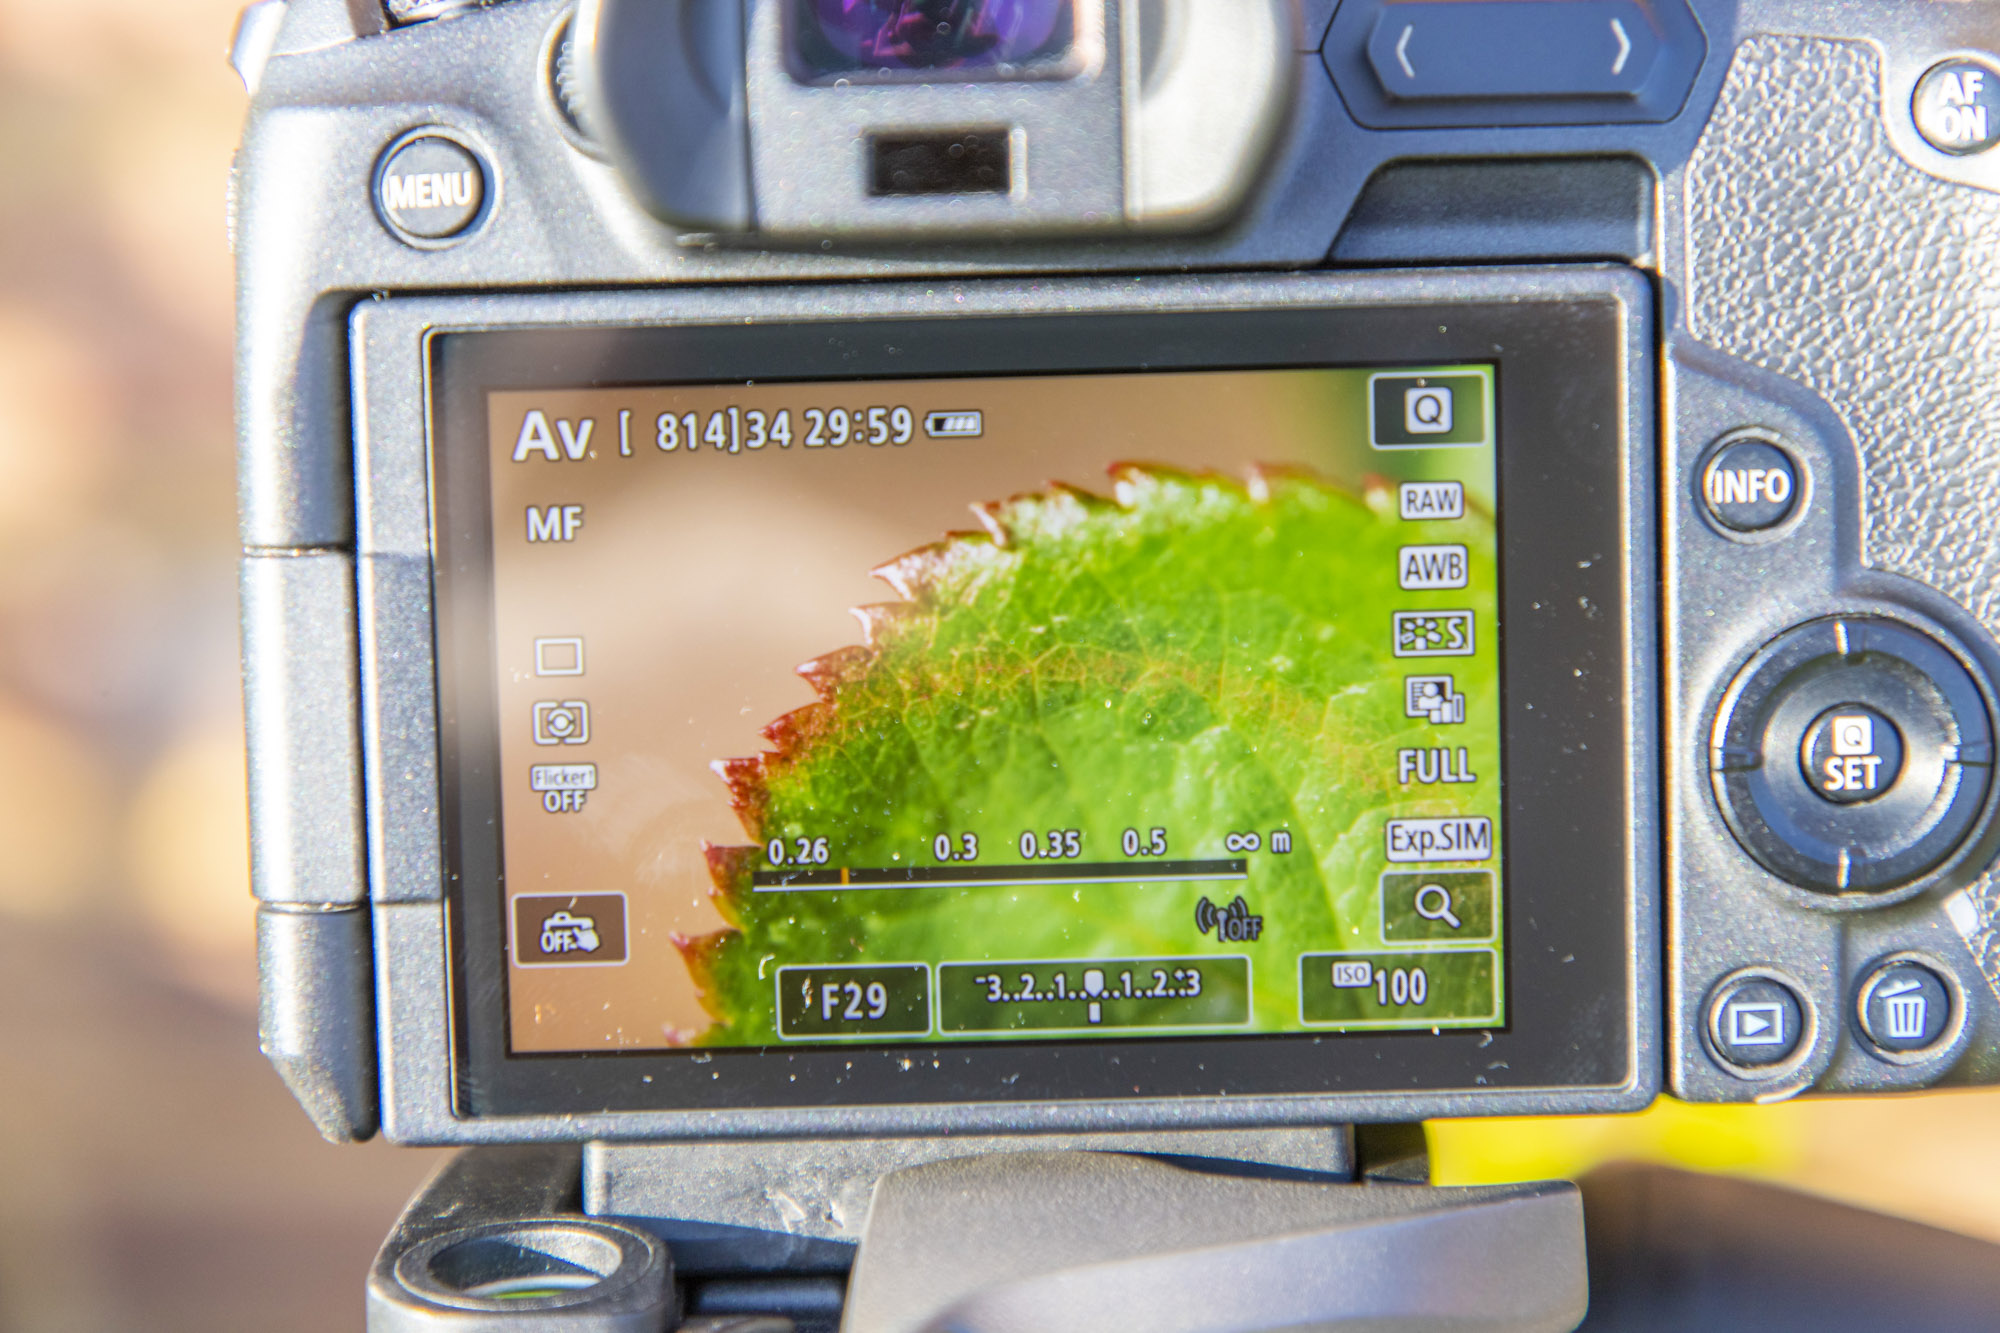
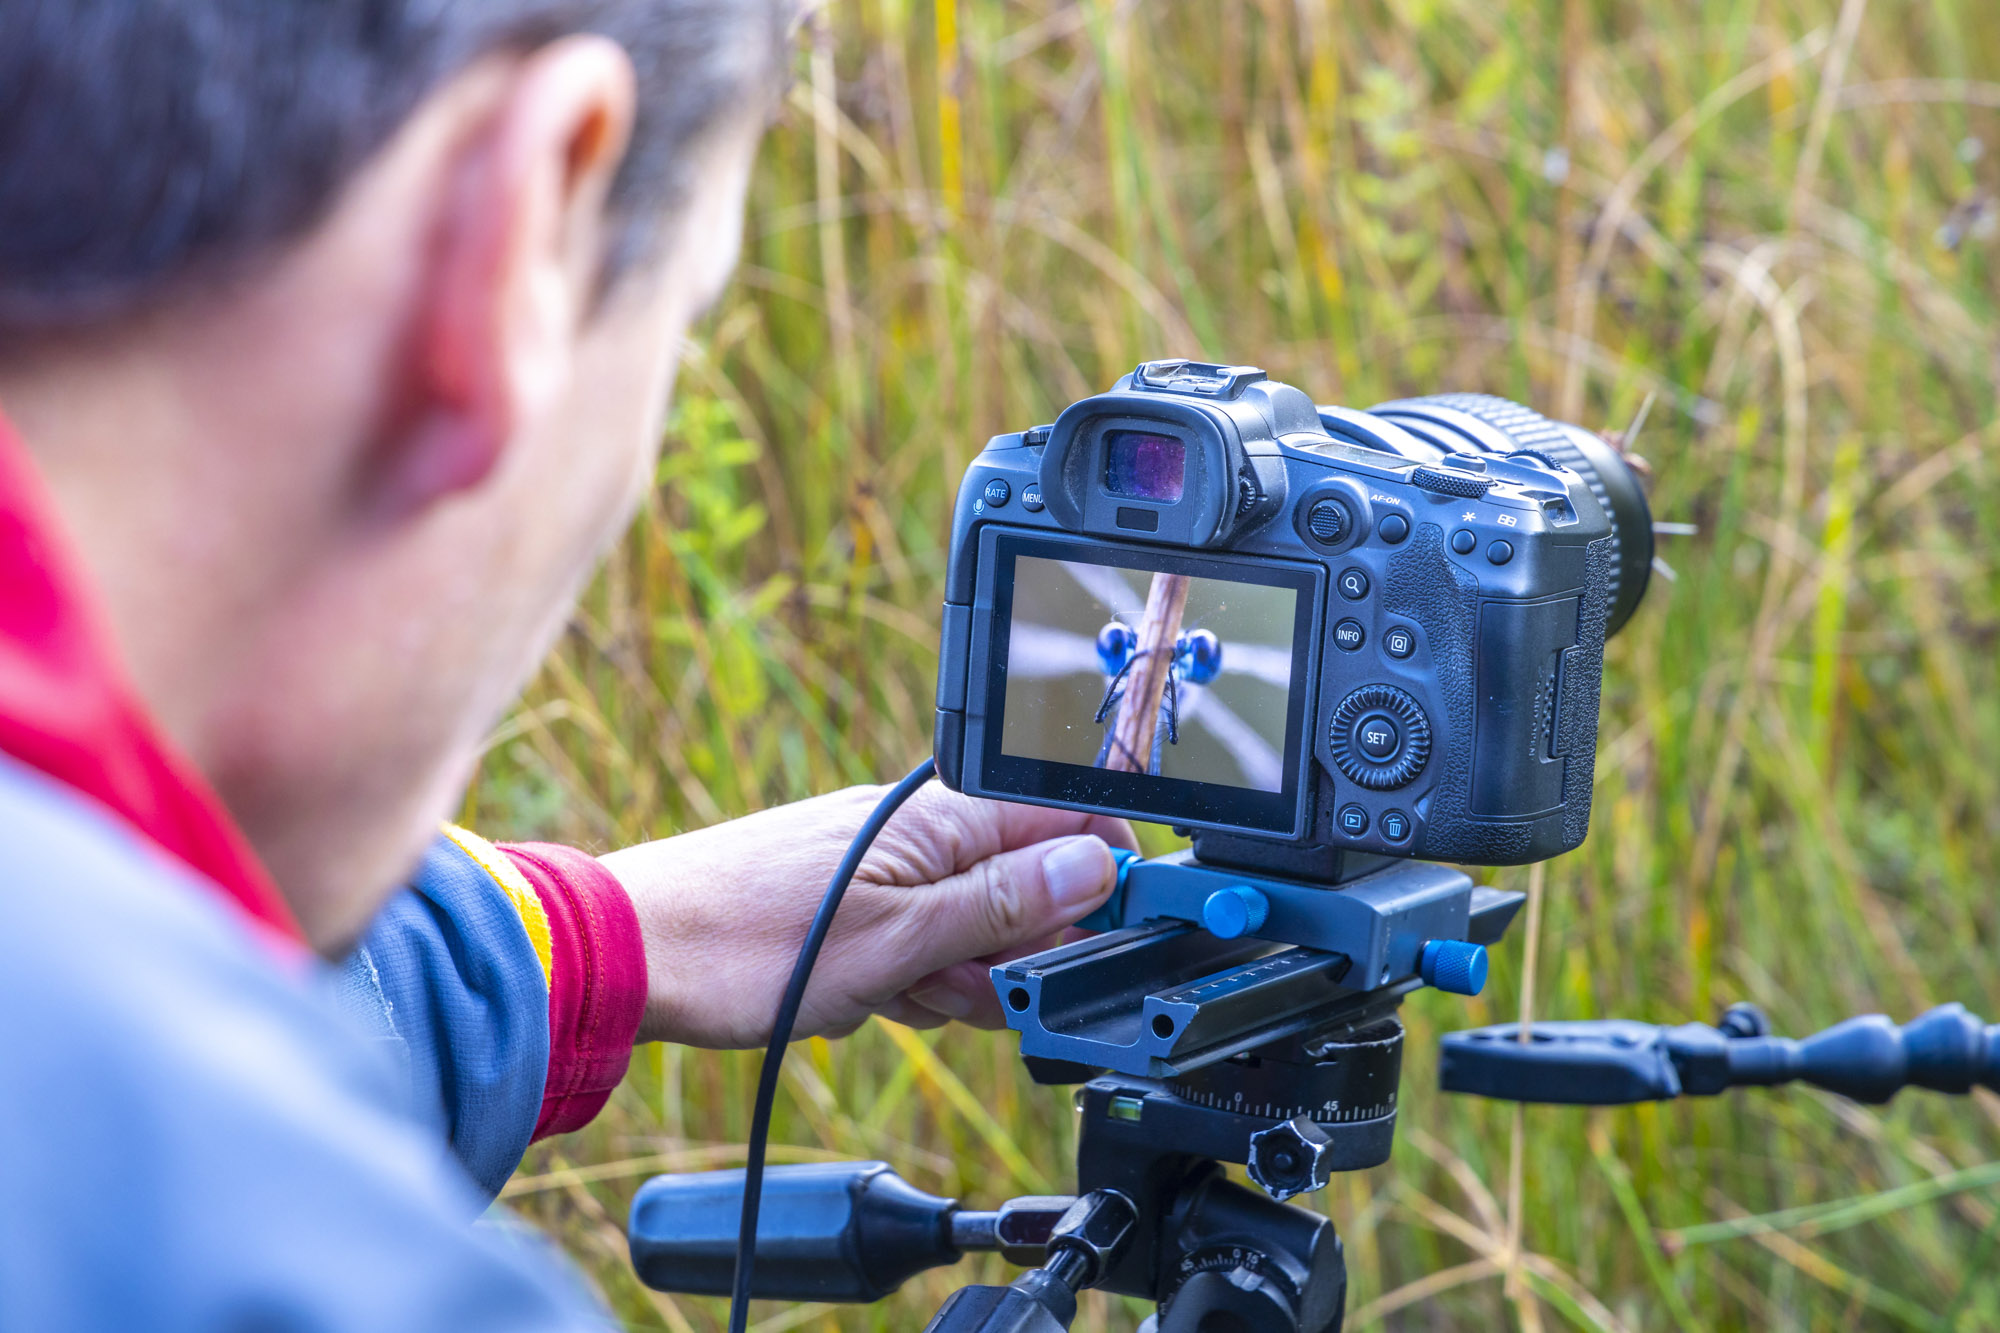
For subjects that are super-close to the lens, it is perhaps easier to use manual focus instead, so the focus limiter doesn’t come into play here. To make manual focus even easier, use the focus peaking option on your Canon EOS R, which shows any in-focus areas as a bright color when composing on the LCD or through the EVF. This is fantastic for making sure that a plant or a butterfly’s eye or antennae are in focus.
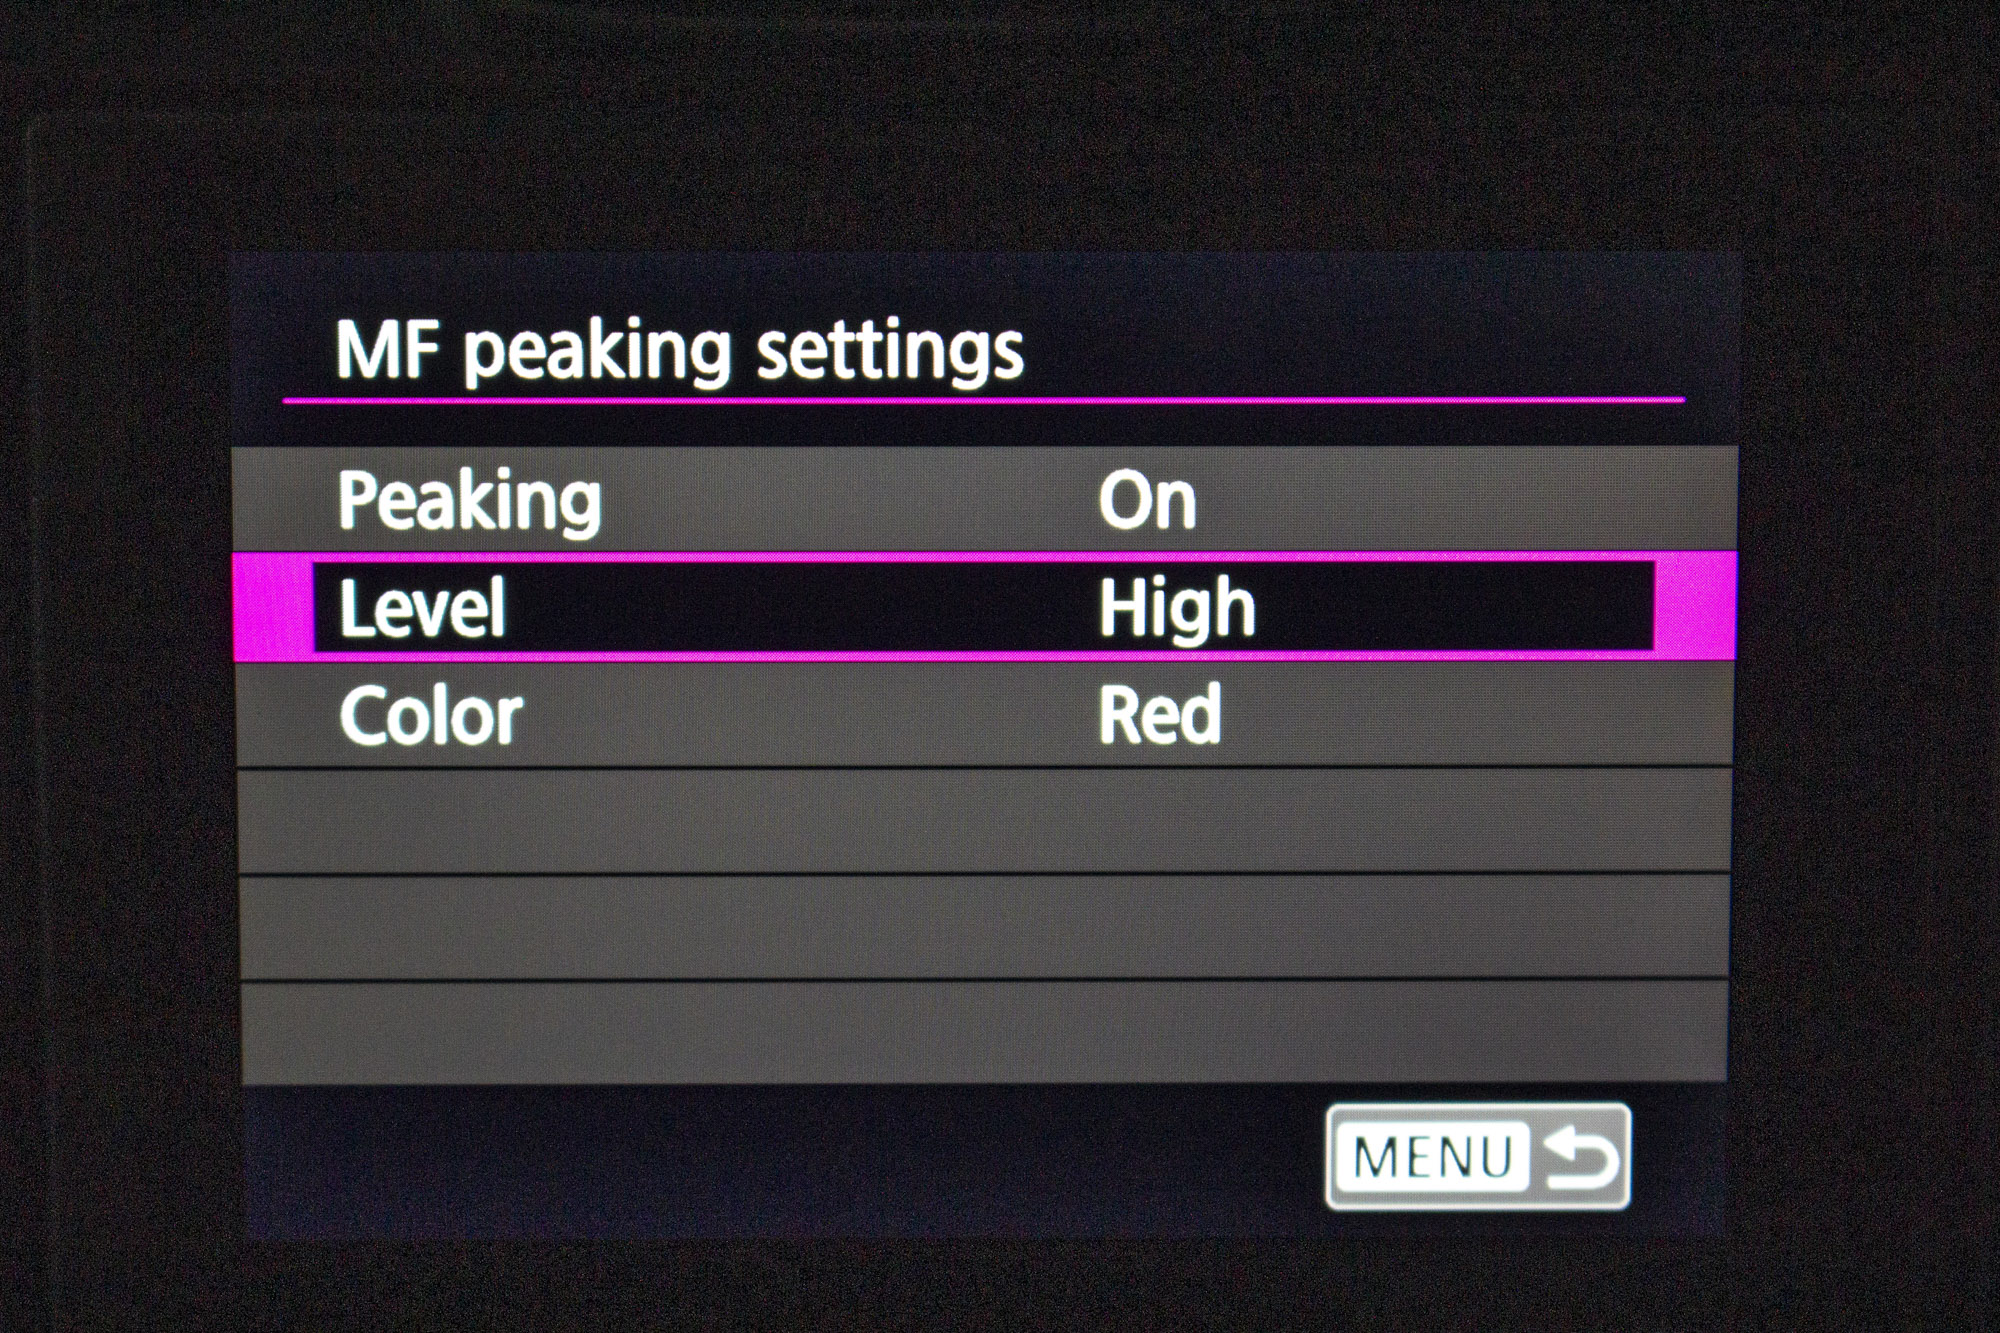
You can customize focus peaking, too. Go into the Menu and scroll over to the AF menu, where you’ll see MF Peaking Settings. Here you need to make sure it is enabled, then set the Level to High or Low. You can also change the color to Red, Yellow or Blue, which is useful if your subject is any of those colors.
3. Spherical Aberration (SA) control
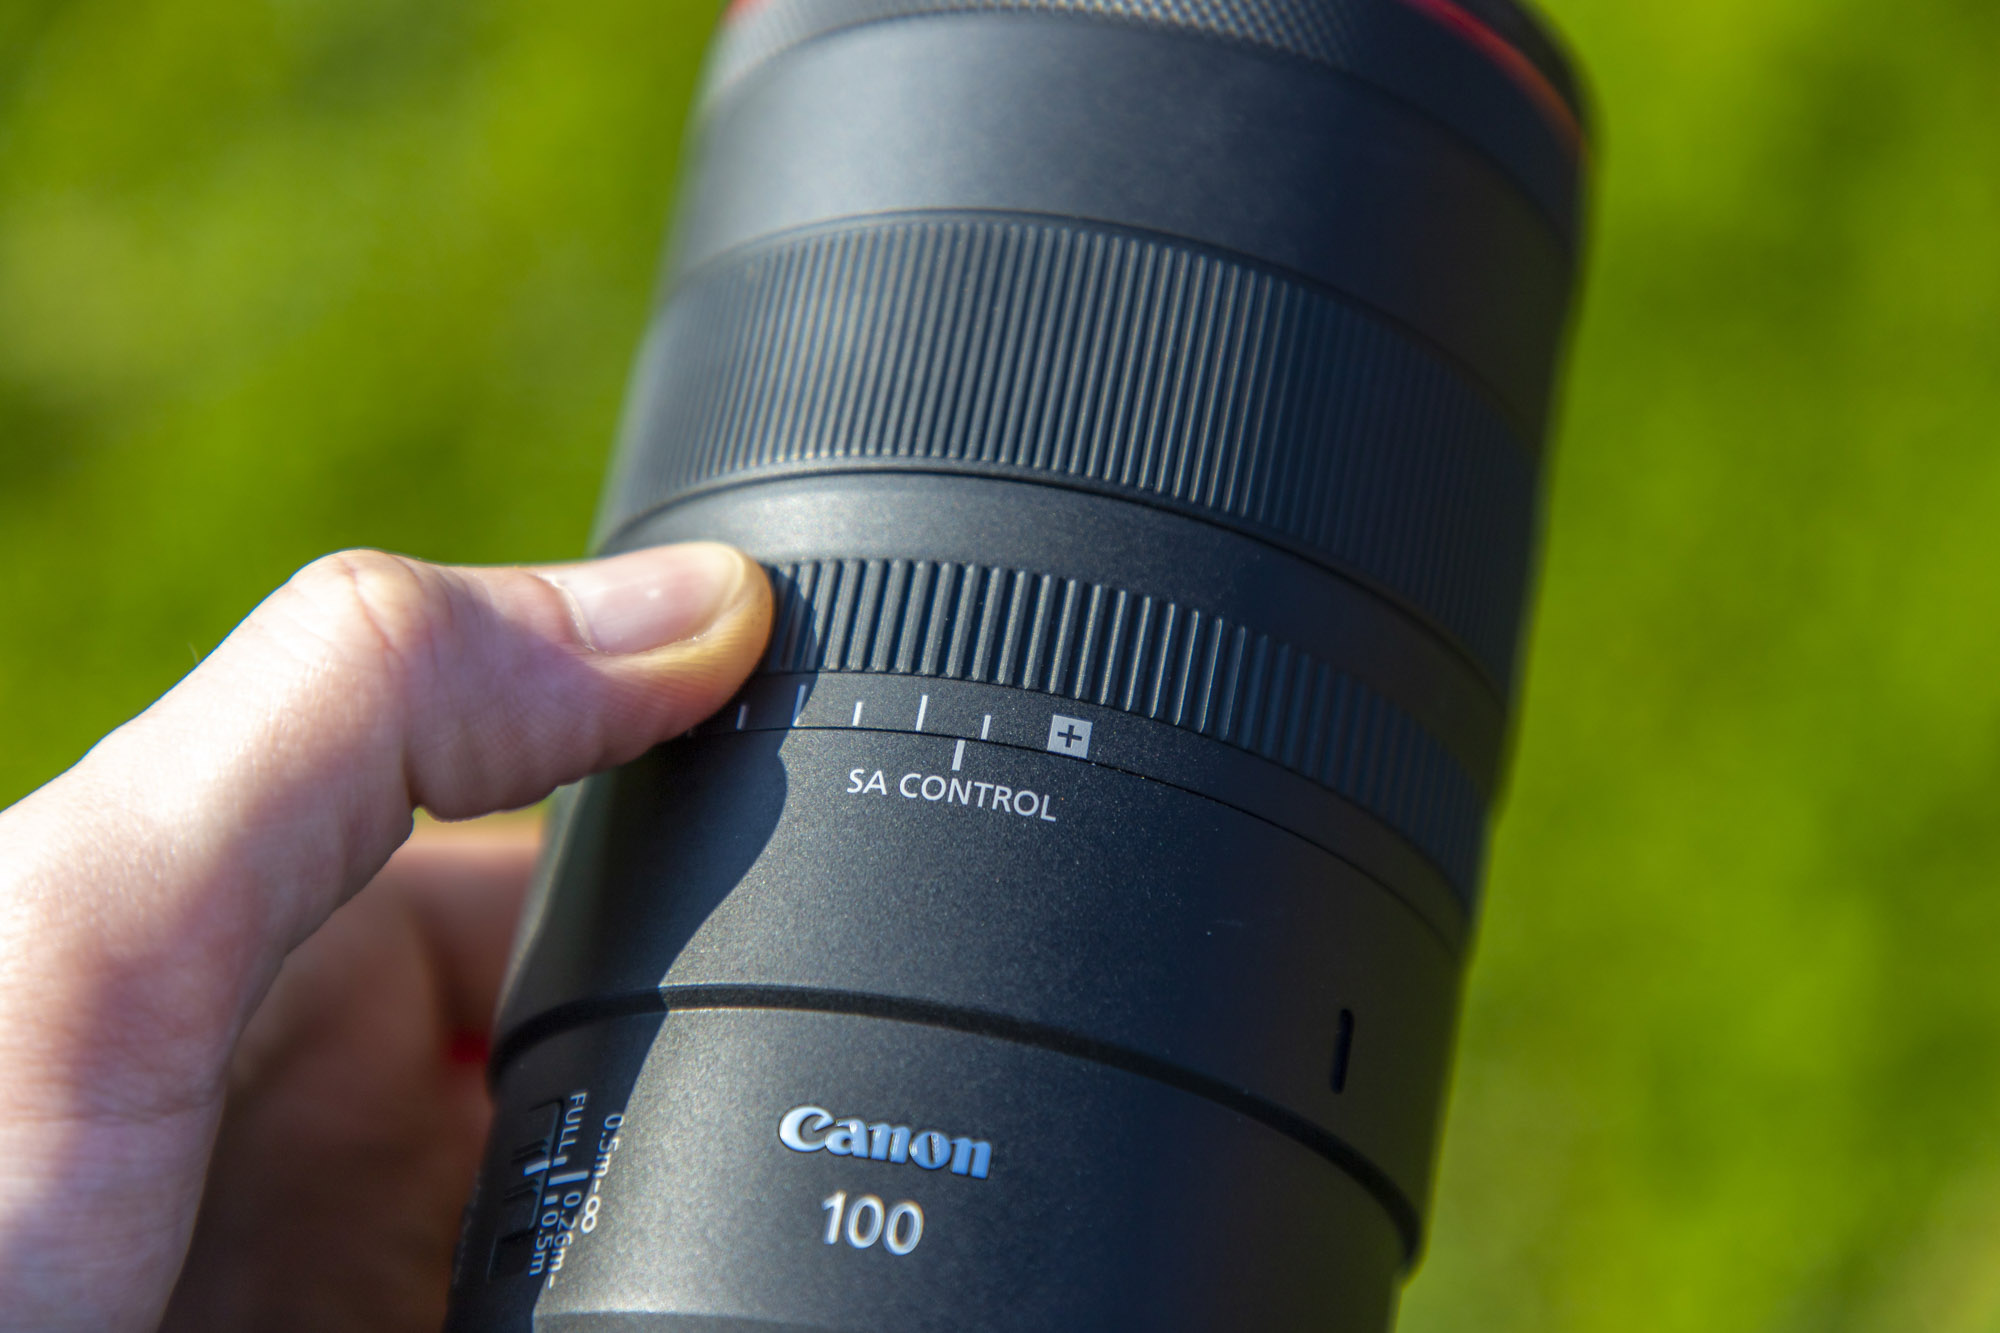
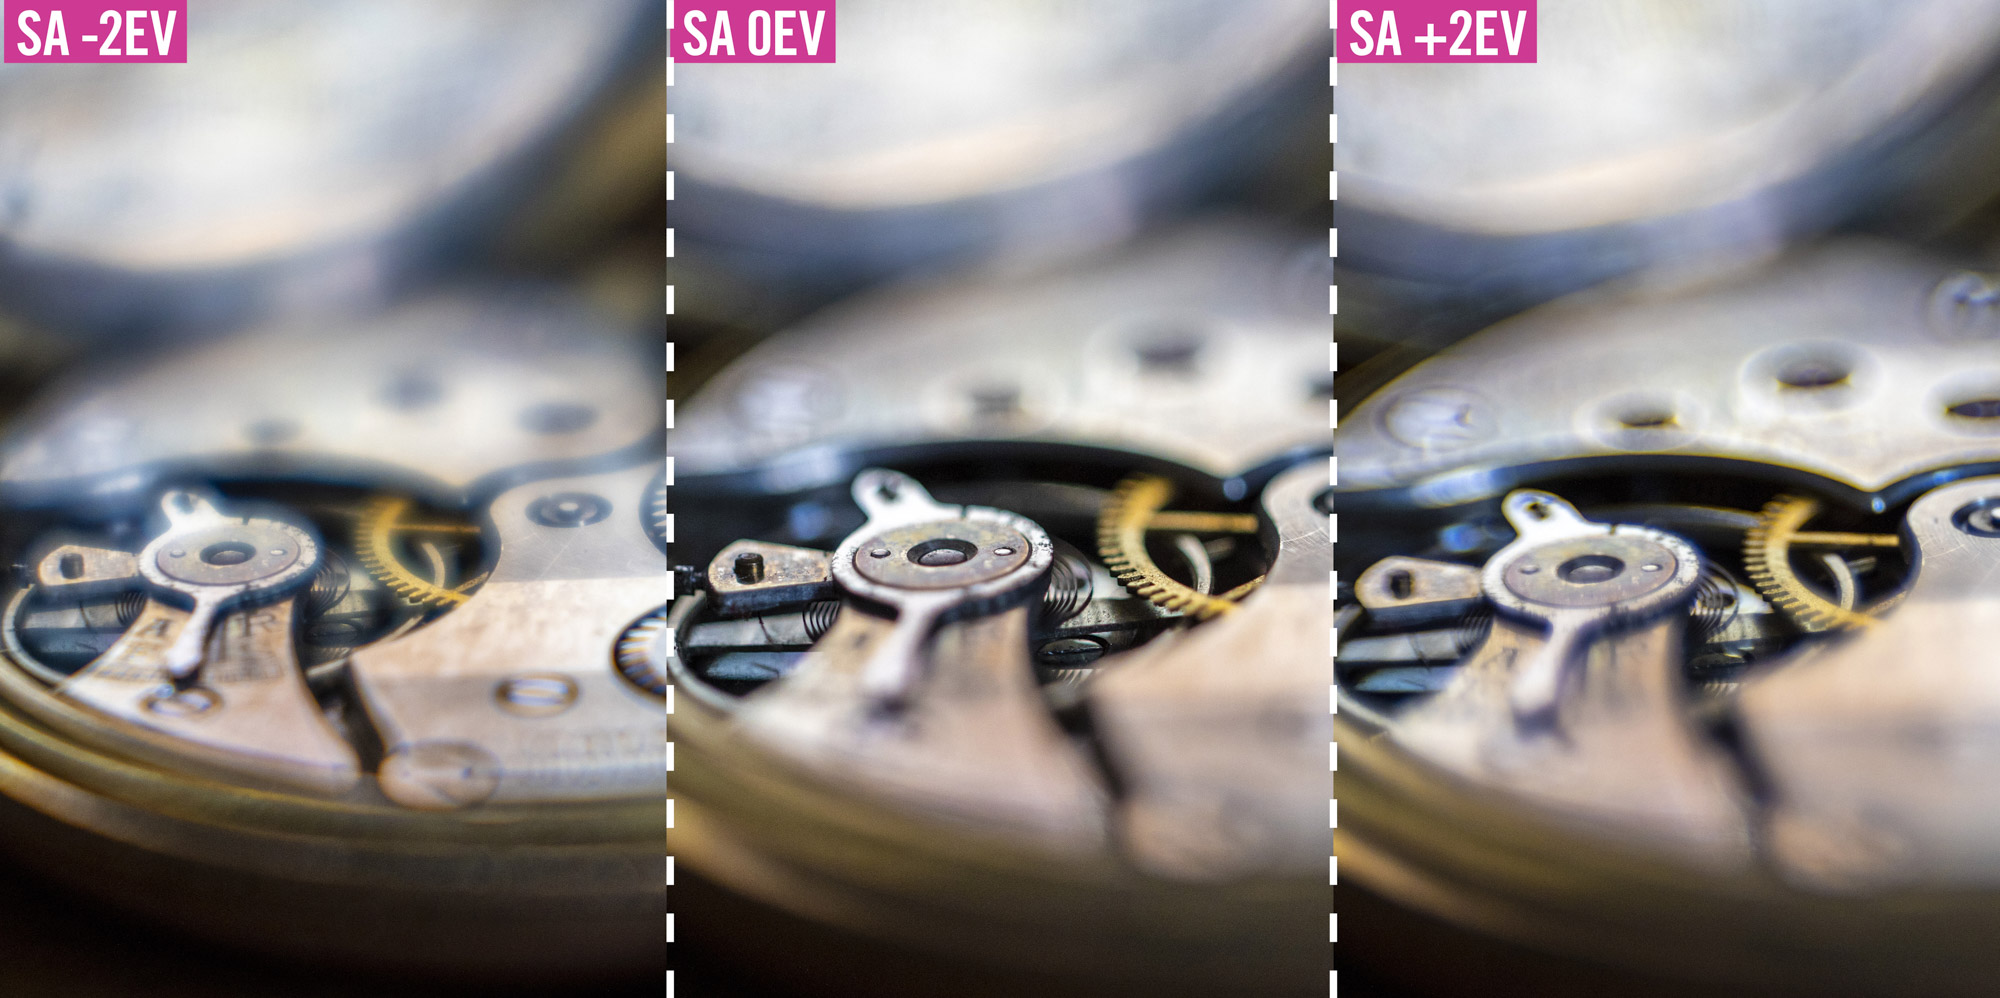
The new Canon RF 100mm F2.8L Macro IS USM lens has a unique feature called SA Control, enabling you to adjust the level of spherical aberration. This is where light rays are reflected and refracted off the curved lens elements and don’t align at a single point.
Being able to alter the amount of spherical aberration in your images makes it possible to change how the background out-of-focus areas in your shot are rendered, giving you more creative options. Canon’s latest feature is certainly unique and worth experimenting with, and enables you to vary the bokeh and add a soft focus effect – but it is possibly more useful when shooting portraits than proper macro close-ups.
4. Get better results with focus bracketing
Some mirrorless cameras, such as Canon’s EOS R5 and R6, have a focus bracketing mode. This mode rapidly fires off a sequence of shots, at 20fps on the EOS R5 and R6, changing the focus distance by a small amount between frames. There are two main benefits to using this mode. One is to increase your chance of placing the focus point exactly where you want on your subject, such as on an insect’s eye.
The other plus is that you end up with a batch of images set to different focus distances and you can merge all of the sharpest parts of each image together in a program such as Photoshop CC using Photomerge, to end up with a single image that is totally sharp from front to back. It’s a powerful feature worth trying if your camera has it.
PhotoPlus: The Canon Magazine is the world's only monthly newsstand title that's 100% devoted to Canon, so you can be sure the magazine is completely relevant to your system. Every issue comes with a disc of video tutorials too.
3 issues for $3 Offer ends 10am, October 3, 2022 (GMT)
Read more:
Best cameras for landscapes
Best landscape photography tips
Best photo editing software
Best photo-editing laptops

In addition to being a freelance photographer and filmmaker, Dan is a bona fide expert on all things Canon and Adobe. Not only is he an Adobe-certified Photoshop guru, he's spent over 10 years writing for specialist magazines including stints as the Deputy Editor for PhotoPlus: The Canon Magazine, Technical Editor for Practical Photography and Photoshop Editor on Digital Photo.


