
As a street photographer, the ultimate goal is to capture candid shots of people who are unaware of your presence. Although this can be challenging, it’s not impossible – and to achieve this, your camera should not draw attention to you. Meaning… ditch your viewfinder!
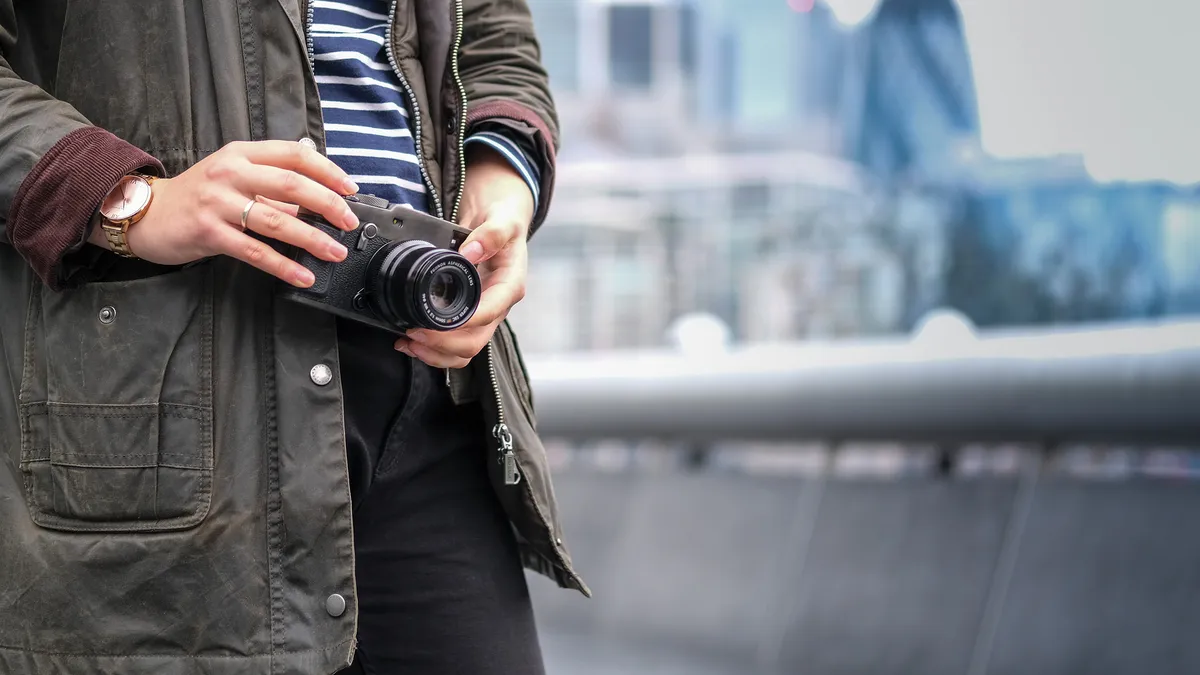
Some may say that compact cameras are the tool for candid street photography, as these small cameras obviously don't draw that much attention to you. So when using a more bulky DSLR or mirrorless camera, blending in with the environment as much as possible is key.
To capture photos discreetly, avoid using the camera’s viewfinder – but not using the viewfinder can make it challenging to take sharp images of people without adjusting the focus.
To remain unnoticed, street photographers often use a technique called 'hip shooting'. The popular methods for this are zone focusing, hyperfocal distance focusing and double distance focusing. Let's explore what you can do to stay unnoticed and discover the different techniques.
Stay quiet
Shoot silently by activating this camera feature

Even when shooting in a busy environment, you should try to minimize the shutter noise. Some other genres, such as wedding photography, also benefit from this feature and many photographers leave it enabled all the time.
Most mirrorless cameras are capable of stealthy shooting and the name of this feature differs depending on the brand or camera model – look for the electronic shutter or silent shutter option. Meanwhile, some DSLR cameras come with a mirror lockup feature to reduce noise.
Nail the focus
Get to know two different photographic approaches to keep the subject sharp
Zone Focusing
- Application: No viewfinder check needed, ideal for shooting from the hip
- Focus: One particular zone
- Vital factors: Aperture, focal length, subject distance
- Result: Sharp subjects in adjusted zone
- Keep in mind: The wider the aperture, the harder it is to control
Double-Distance Focusing
- Application: All-round solution, mainly used in street and landscape photography
- Focus: From one point and onwards to infinity
- Vital factors: Aperture, focal length, subject distance
- Result: Uniform sharpness throughout the frame
- Keep in mind: Needs practice for accuracy
Zone focusing
1. Switch to A

Use aperture priority mode with aperture set between f/5.6 and f/11 and enable the auto ISO function in the menu. Note that the camera will automatically calculate the shutter speed. Keep an eye on the exposure to avoid slow shutter speed and motion blur.
2. Set the zone

To determine the range of focus, some lenses have a marked distance scale. If your lens doesn’t have one, you can use apps such as DoF Table. Here you manually enter information, including focal length and aperture, and the distance to the focus subject will be calculated.
3. Ditch the viewfinder
Now position the camera at the height of your hips. To maximize support, you can use a camera strap to hang it around your neck. Before waiting for a perfect scene to happen, take some test shots and adjust the settings if needed.
Double-Distance Focusing
1. Shoot in M

Switch to manual and select an aperture that isn’t too wide – start at f/8 or f/11 to maintain detail and sharpness. For a scene with pedestrians, a shutter speed of 1/125 sec should be sufficient. Adjust the ISO settings until a balanced exposure is achieved.
2. Measure distance

Switch to your camera’s live view mode to give you more control over adjusting the focus settings. Then focus on the closest element in the image foreground, such as a bin. This will set the lens at the initial focus distance and, for now, blur the background.
3. Refocus

To refocus, adjust the focus window to twice the distance you set in the previous step. For example, if your closest object was 1m away, adjust the focus to 2m. If your lens doesn’t have a focus window, you can use an app to calculate or estimate the distance.
You might also like...
Browse the best cameras for street photography and the best lenses for street photography.

