Stop making macro harder for yourself! Here are 7 hacks to make macro easy
Macro photography can be tricky, but it doesn’t have to be – from reproduction ratios to in-camera focus stacking, here’s how to make life easier
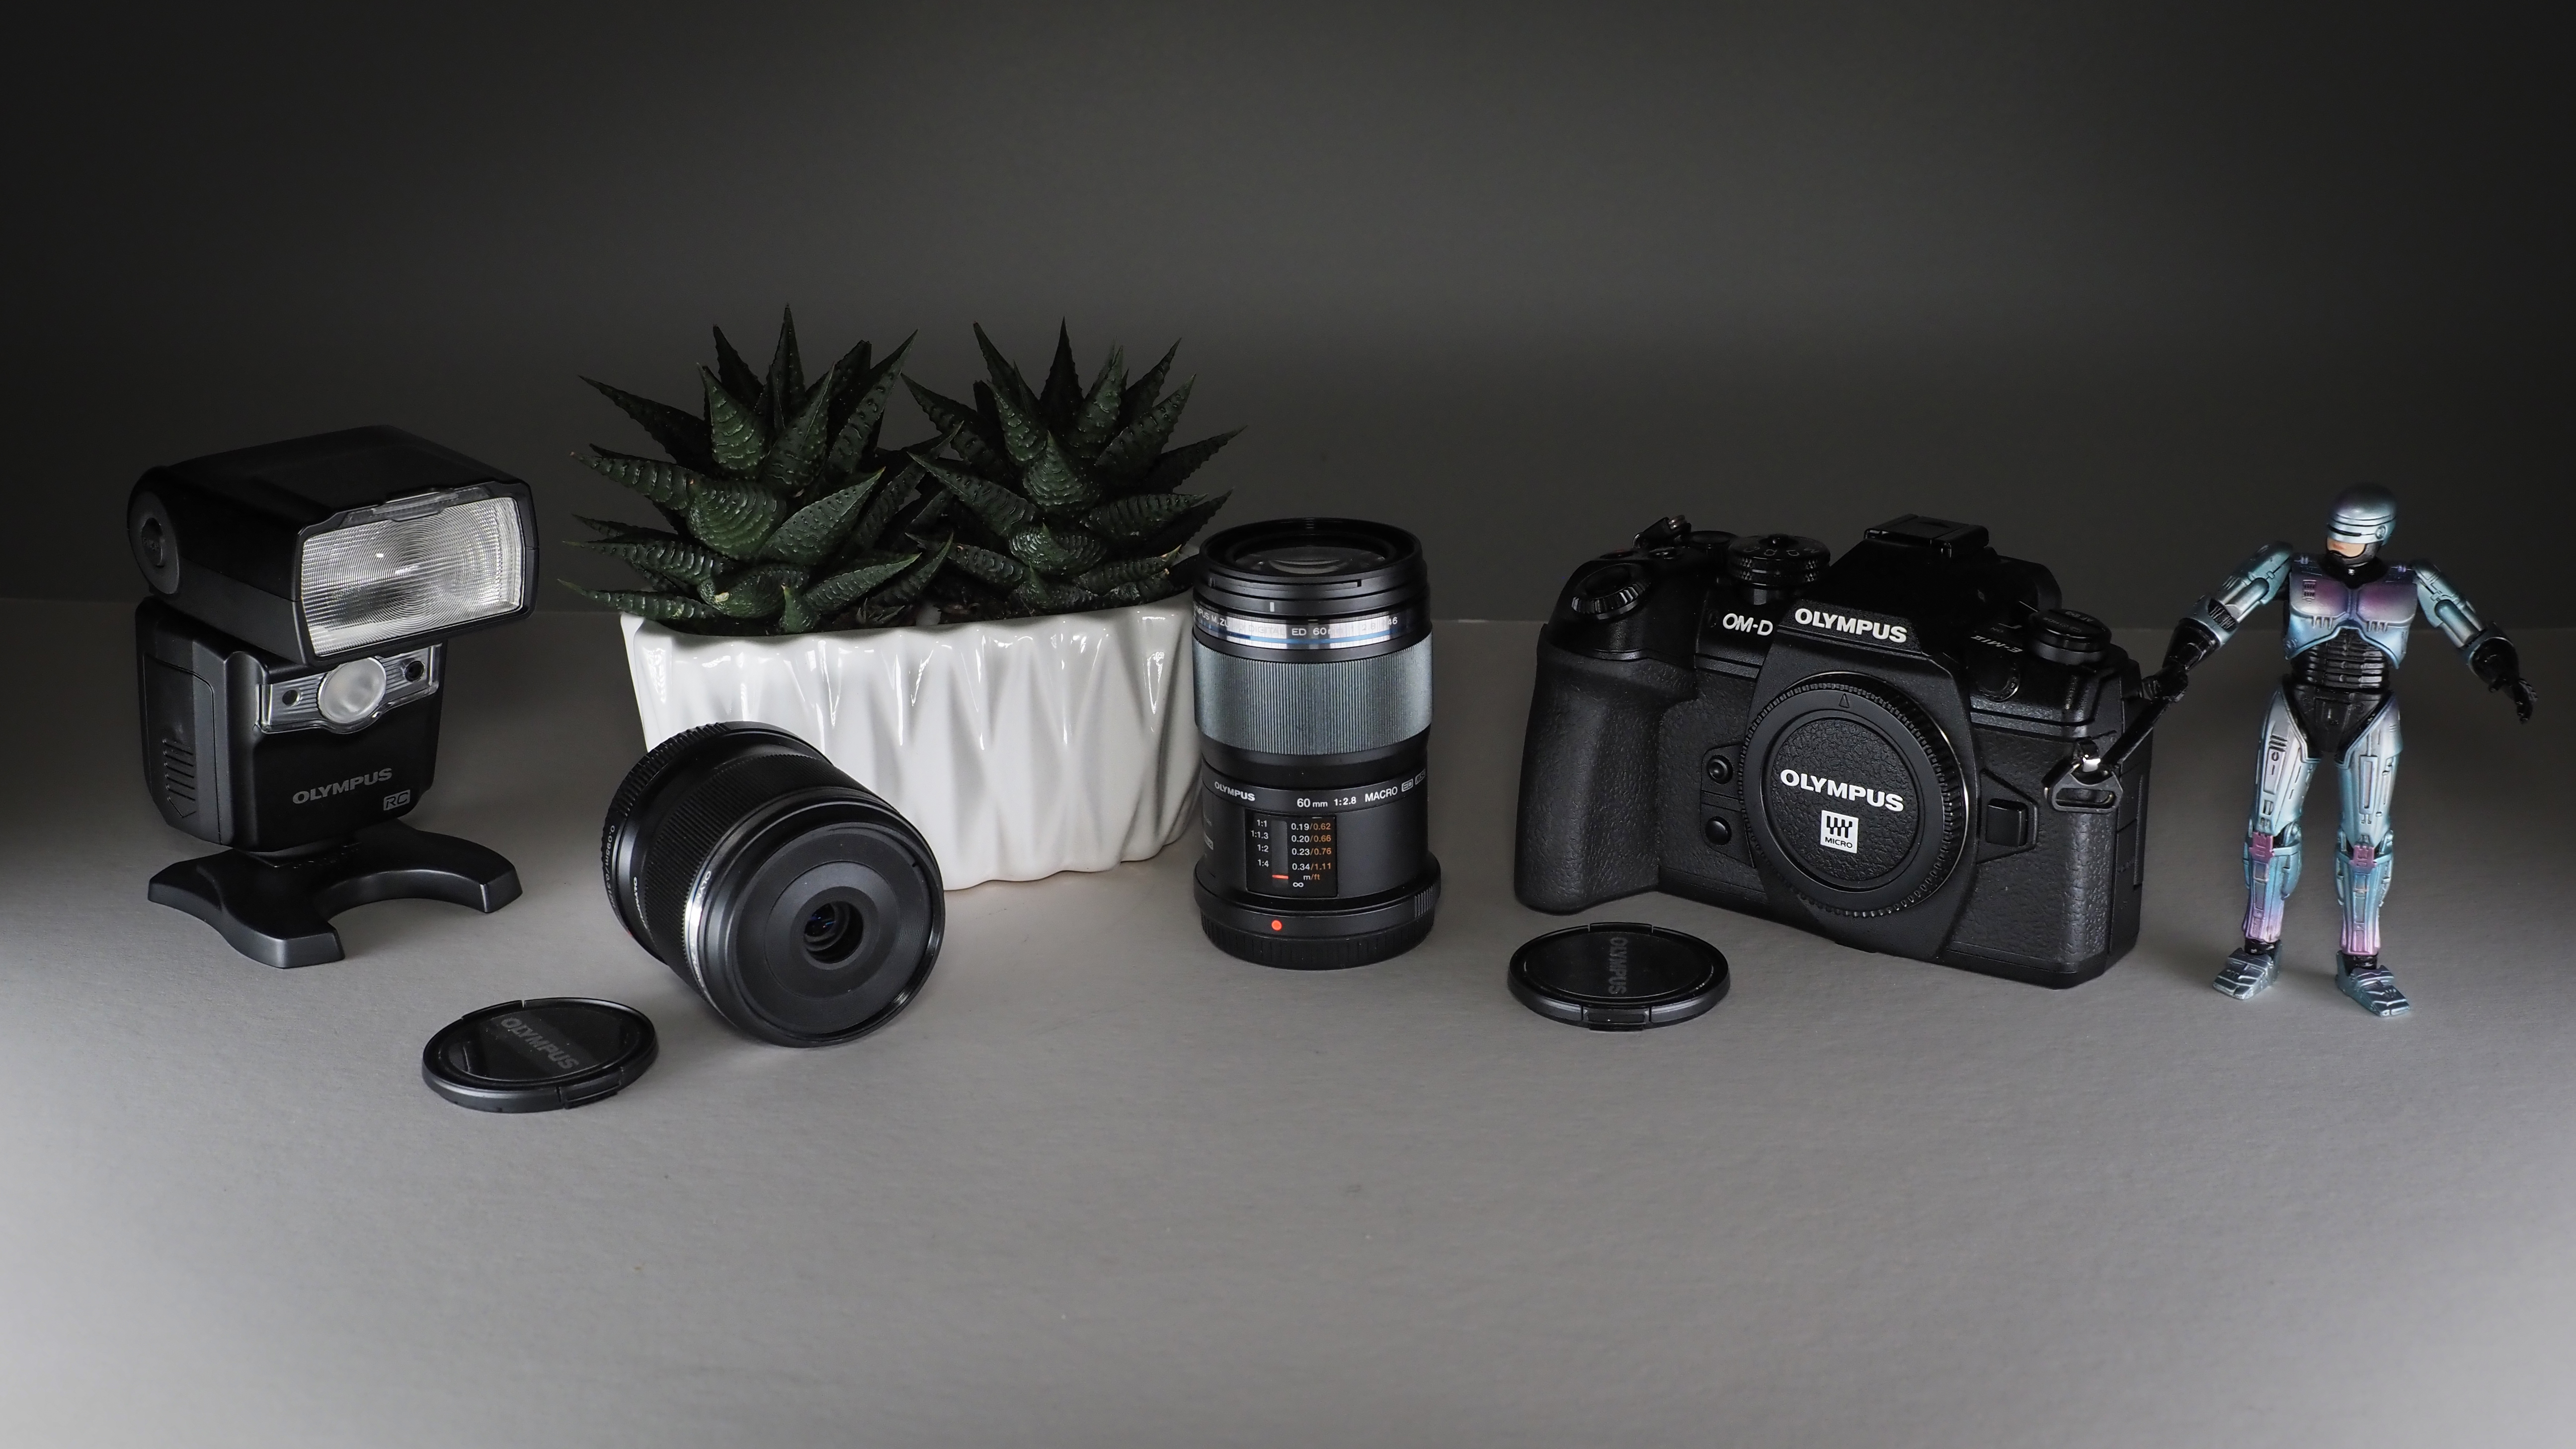
Macro photography is a magical way to capture the world around you. From microscopic views of the natural world to revealing hidden details on man-made items, few genres of photography are quite so immersive as the extreme close-ups made possible by macro.
However, getting great macro shots isn’t straightforward. It takes specialist equipment and, more importantly, specialist knowledge. But macro photography doesn’t have to be hard!
For starters, the right gear needn’t break the bank. By shopping at a used camera specialist like MPB, you can get exactly what you need at a fraction of the price of buying new – and the savings can seriously rack up, whether you’re looking for a great macro lens or a camera with specific macro-friendly features.
As ever, though, the right gear is no good without the right ideas. So rather than wrestling with your kit, here are some helpful hints and hacks that will make macro photography easy…
Pick the right lens

If you want to take macro photographs, you’ve probably already figured out that you need a macro lens. But what kind of macro lens? They’re not all the same, and there are a couple of important factors to consider.
First of all, you need to think about reproduction ratio. This tells you the amount of magnification that a lens will provide, by describing the size of a subject’s image on your sensor in relation to the subject’s actual life size. A lens with a 1:1 ratio is a true macro lens, and will render your subject with life-size magnification.
The higher the ratio, the larger your subject will be reproduced on your camera sensor. For example, a lens with a 2:1 ratio will capture a photograph of your subject at double its actual size (sometimes described as 2x magnification).
Conversely, a lower ratio means your subject will be reproduced at smaller than life size. Anything smaller than a 1:1 ratio isn’t technically a macro lens, though some lenses describe themselves as macro even with a 1:2 ratio (0.5x magnification, or half the real-life size of your subject – so these lenses are sometimes described as “half macro”).
The other thing to be aware of when it comes to macro lenses is the focal length – and, consequently, the working distance. Most people prefer lenses in the 100mm range, as this gives you plenty of space between you and your subject – ideal if you want to add supplemental light to your scene, or if you need to stay far enough away not to disturb living creatures. The shorter the focal length, the less space you’ll have to work with.
Try a tube
The thing is, macro lenses can be very expensive – and if you’re experimenting with macro for the very first time, you may not want to dive in right away. The best way to buy macro (or indeed any) lenses is to shop at MPB, where you can save hundreds on a lens compared to buying it brand new.
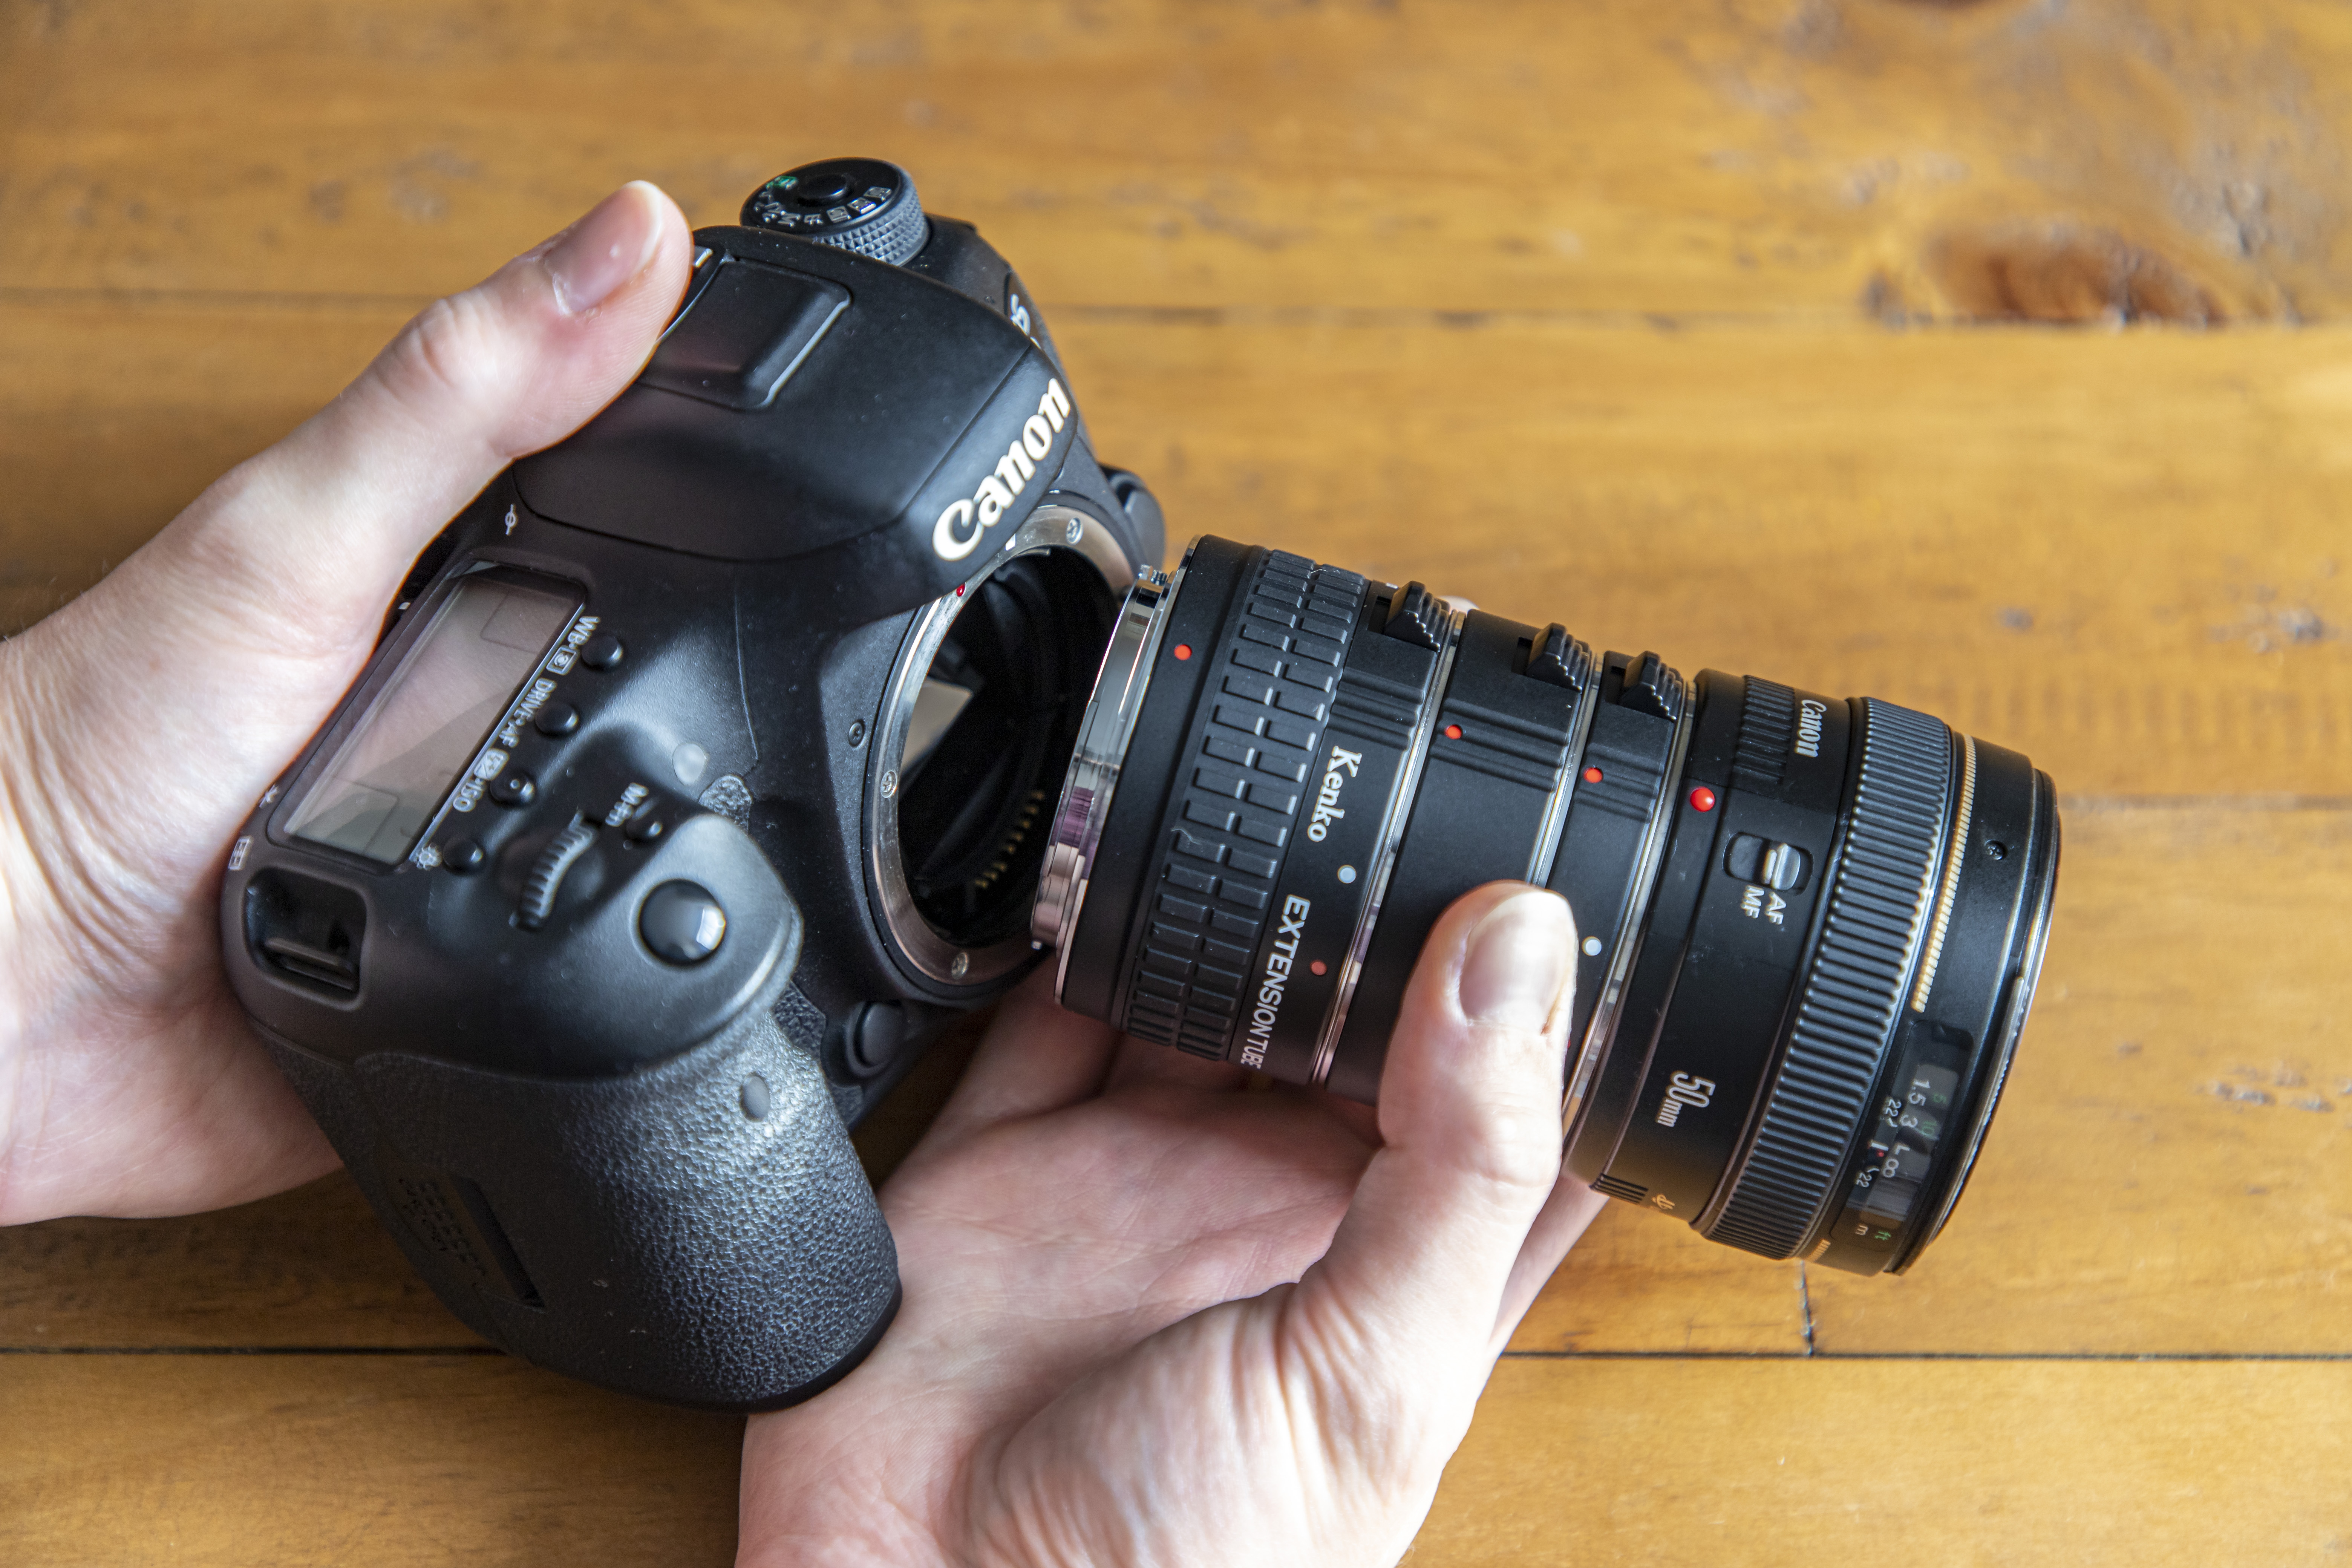
However, if you want the most affordable way to shoot macro, you can actually adapt your existing lenses using a cost-effective tool: an extension tube. These clever little add-ons fit between your lens and the camera – and by increasing the distance between them, they increase the magnification and close-focusing capabilities of your optics.
It’s quite unusual to find extension tubes made by camera manufacturers themselves, though they do exist. But it’s better value to invest in a set of extension tubes from a third-party manufacturer; for example, the Kenko DG AF Extension Tube set features 12mm, 20mm and 36mm tubes so you can fine-tune the amount of extension you need.
Shoot with smaller sensors
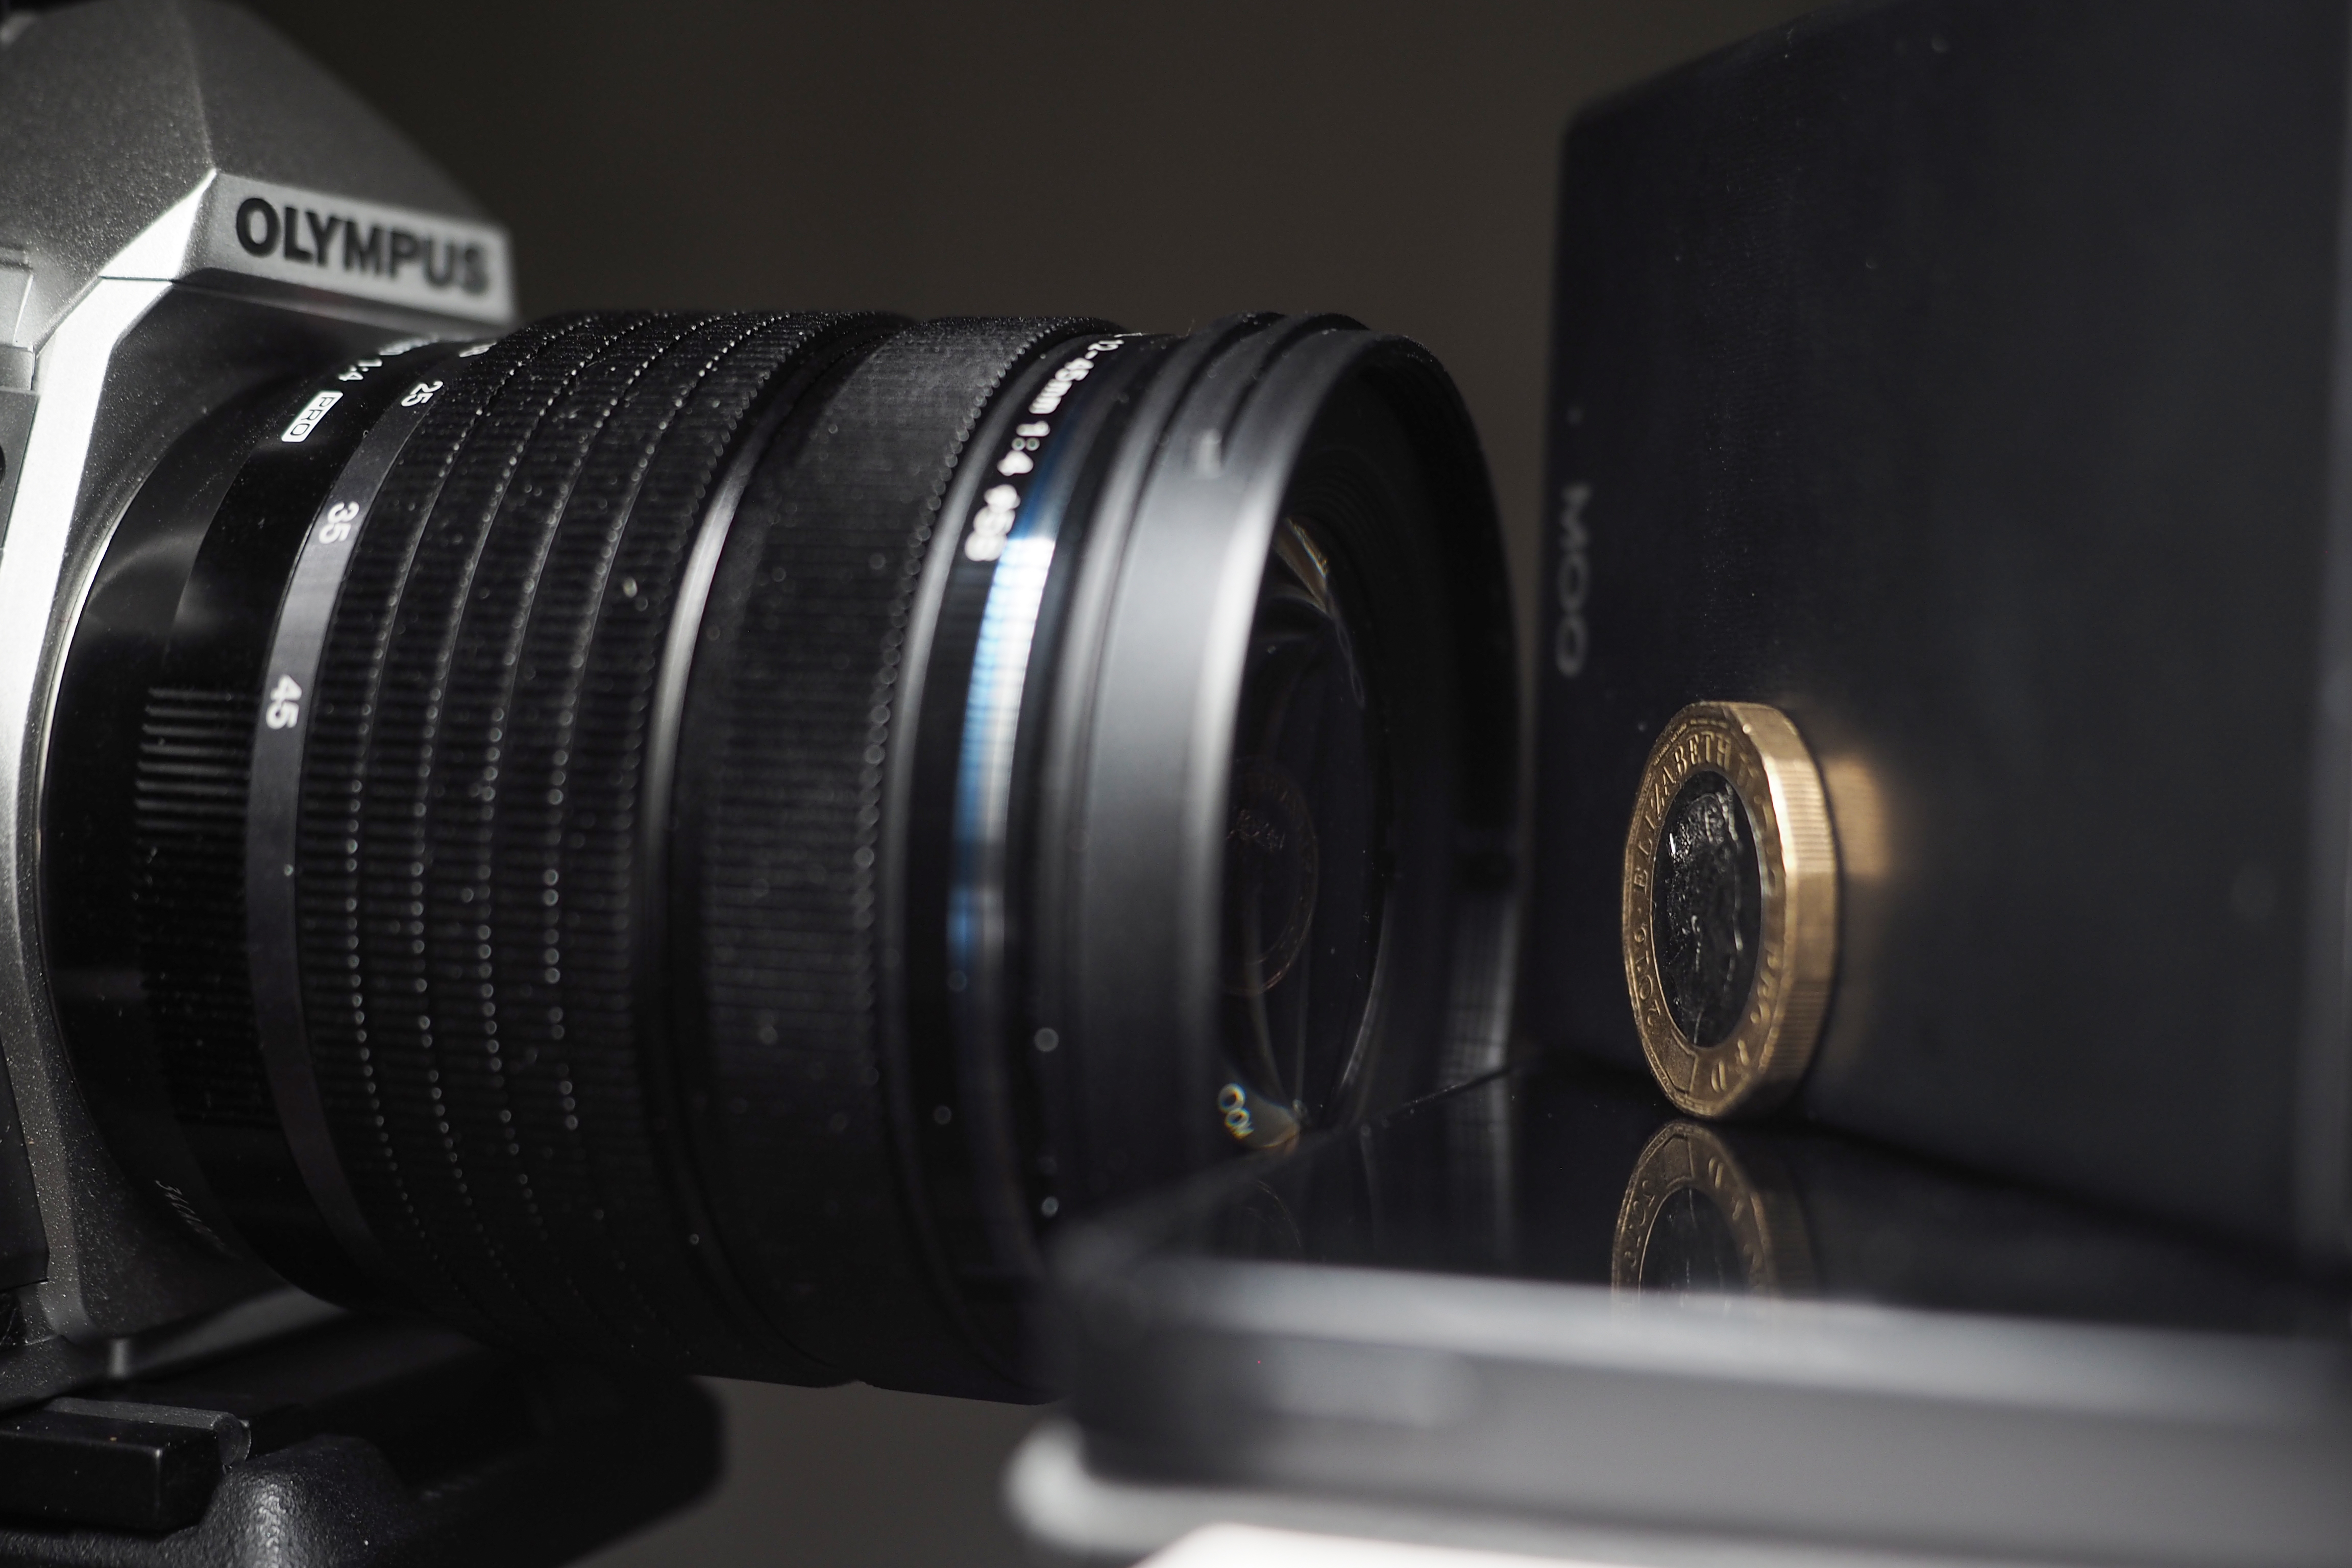
Manufacturers have done a good job convincing us that full-frame cameras are the best. However, while a full-frame image sensor is fantastic for many genres, when it comes to macro photography a smaller sensor makes life much easier. That’s because the smaller a sensor is, the greater depth of field it can record.
If you’re shooting portraiture, larger sensors with their shallow depth of field are ideal because you only want a narrow plane of focus. However, in macro photography this works against you! Achieving depth of field is inherently difficult because, the more you magnify your subject, the less will be in focus.
Therefore, one of the greatest macro photography hacks is to shoot with a smaller sensor format like Micro Four Thirds (MFT). Using one of these cameras, twice as much of your subject will be in focus compared to a full-frame camera at an equivalent focal length! This can enable you to get great macro shots straight out of camera – and you may be able to skip complex stacking techniques altogether.
Streamline your stacking
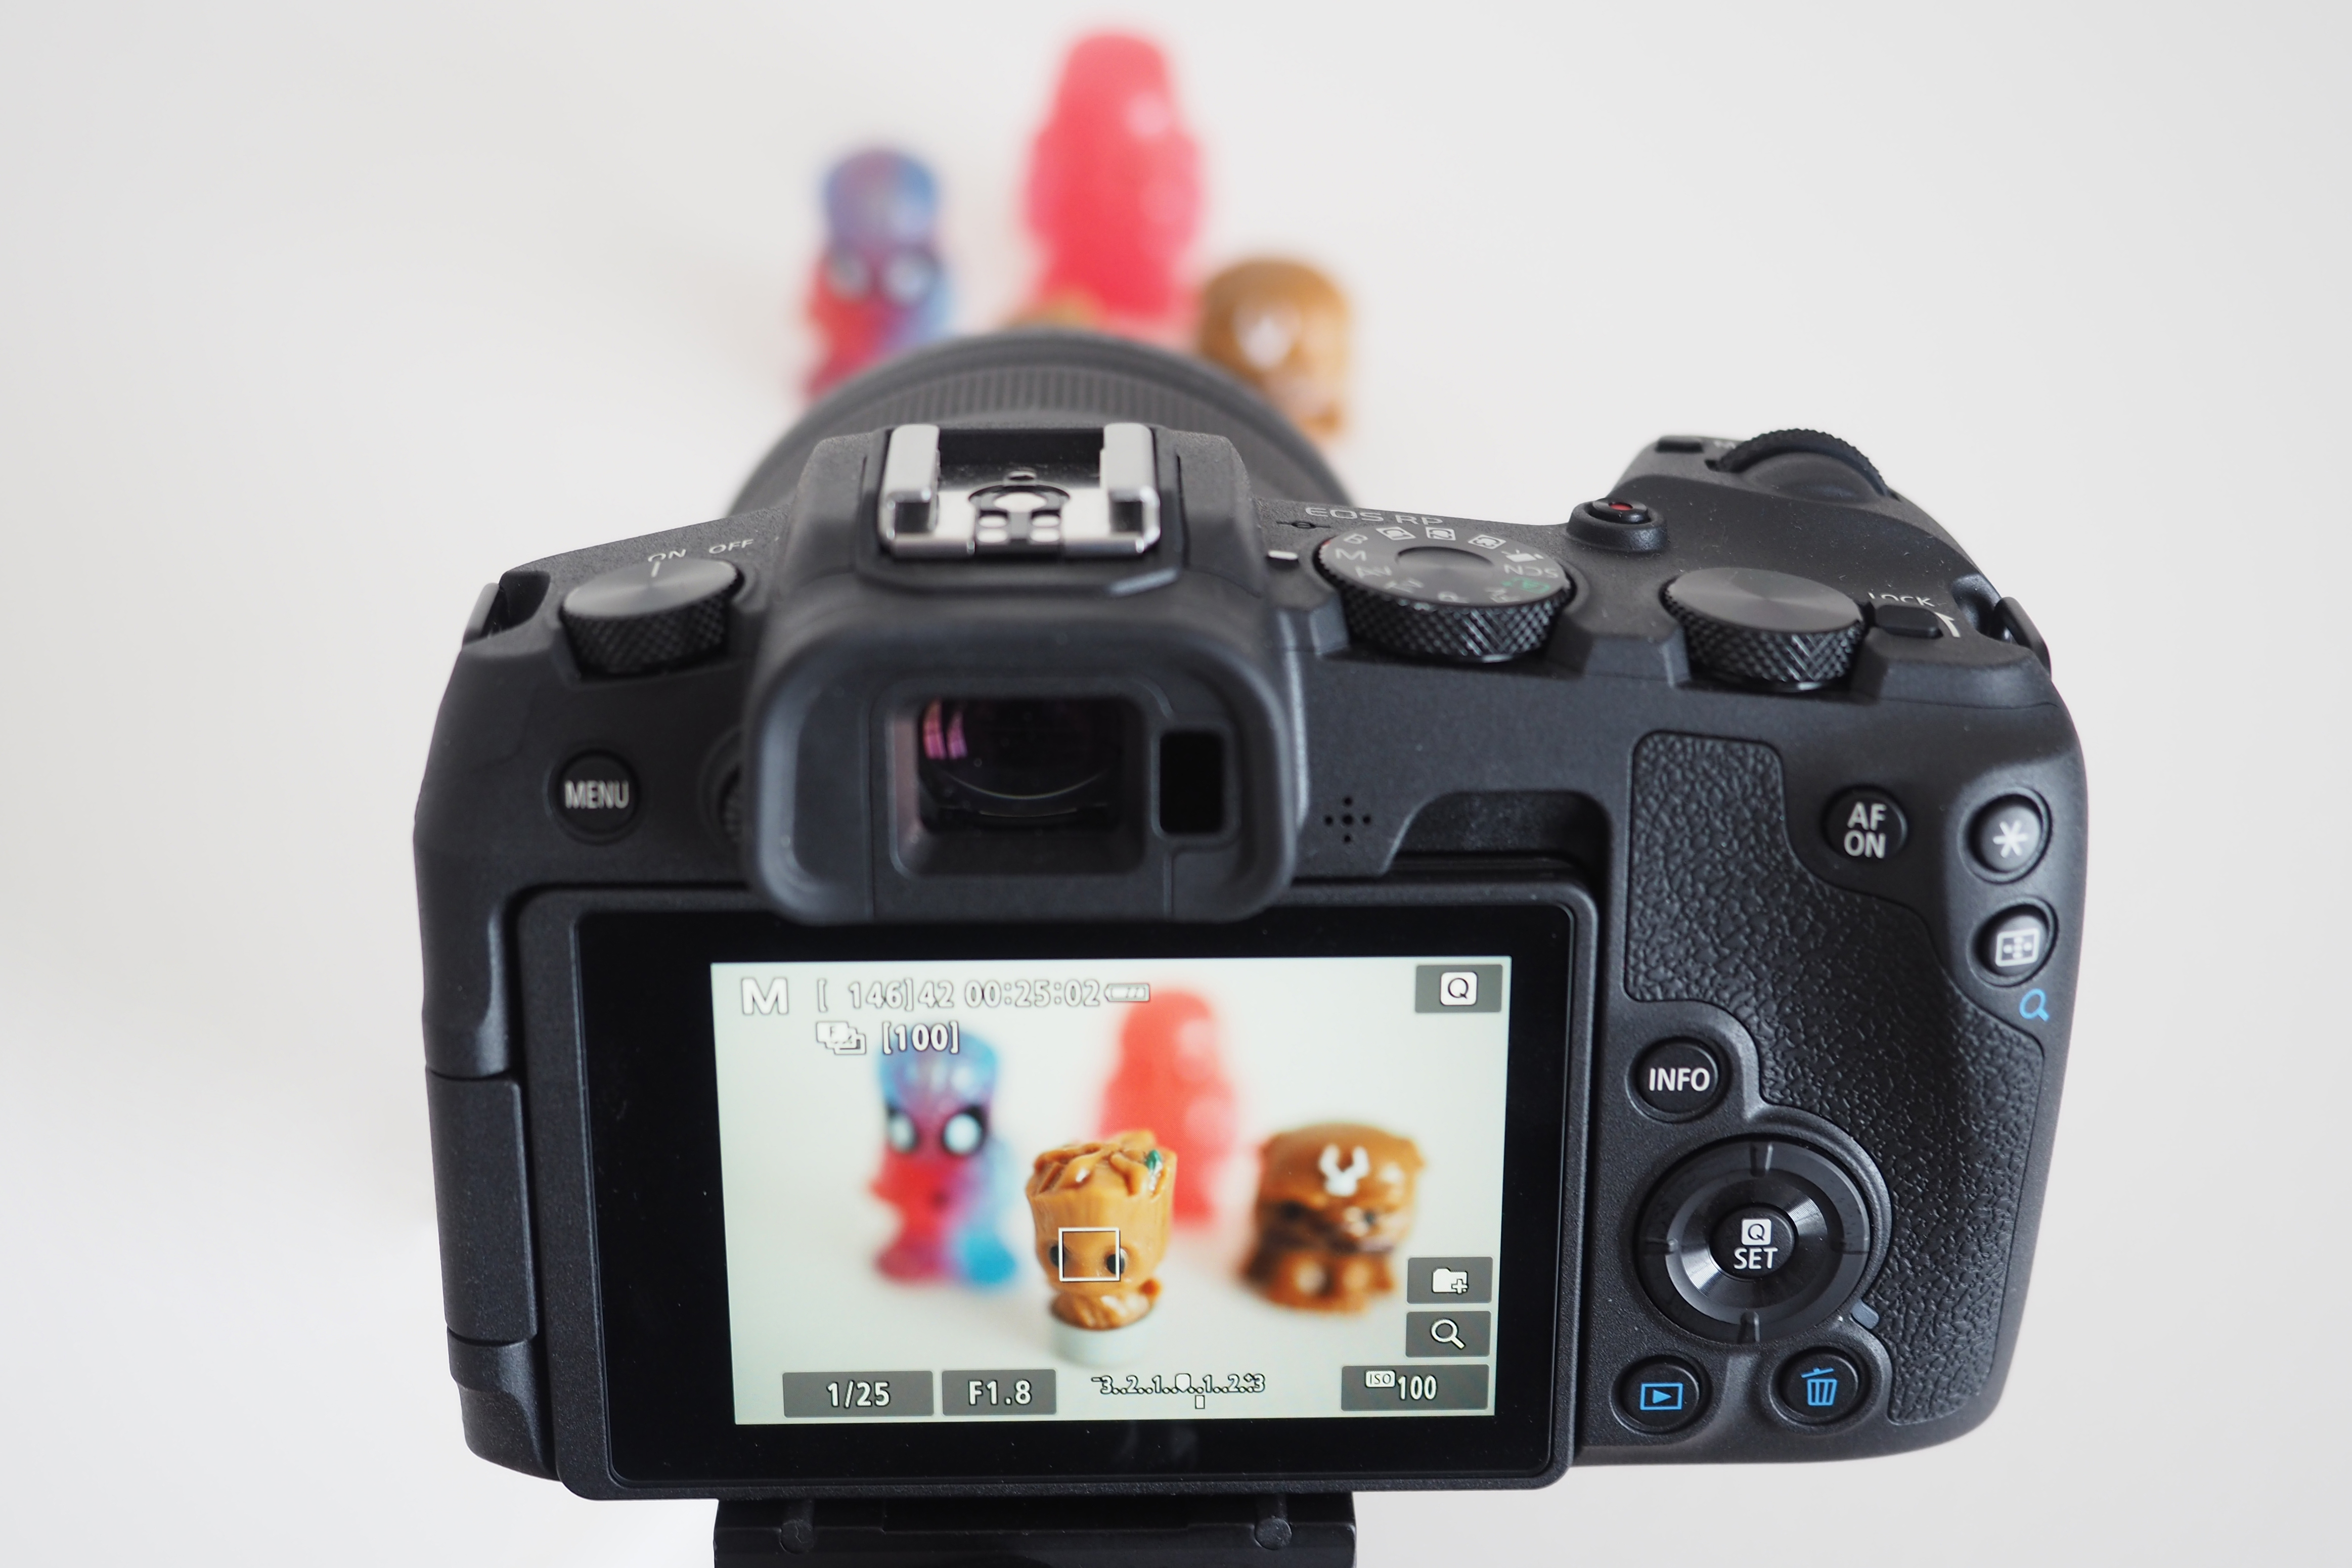
Because depth of field in macro photography is so thin, you’ll generally need to take multiple images across multiple planes of focus and “stack” them together afterwards in software like Photoshop. This can be a laborious proces of incrementally shifting focus and then taking shot after shot, and requires anywhere from half a dozen to hundreds of individual exposures.
There are, however, some specialist camera functions that can streamline or even replace this process entirely. First is focus bracketing, which enables the camera to automate the process of shifting focus and taking shots between them. By entering information such as the number of exposures and the shift in focus between them, the camera captures the shots for you – then all you need to do is composite them all together in post production. Full-frame cameras like the Sony A7R V and MFT bodies like the Panasonic Lumix G9 and G9 II can perform focus bracketing.
One better, though, is focus stacking – a feature that is quite rare, but is incredibly useful! With this mode, your camera will bracket the multiple images for you and then automatically stack them together into a single image – all in-camera, no need for post-production. Certain APS-C Canon bodies, like the Canon EOS R7 and R10, and MFT cameras from OM System, like the OM System OM-1 and OM-1 Mark II, can focus stack.
Go manual
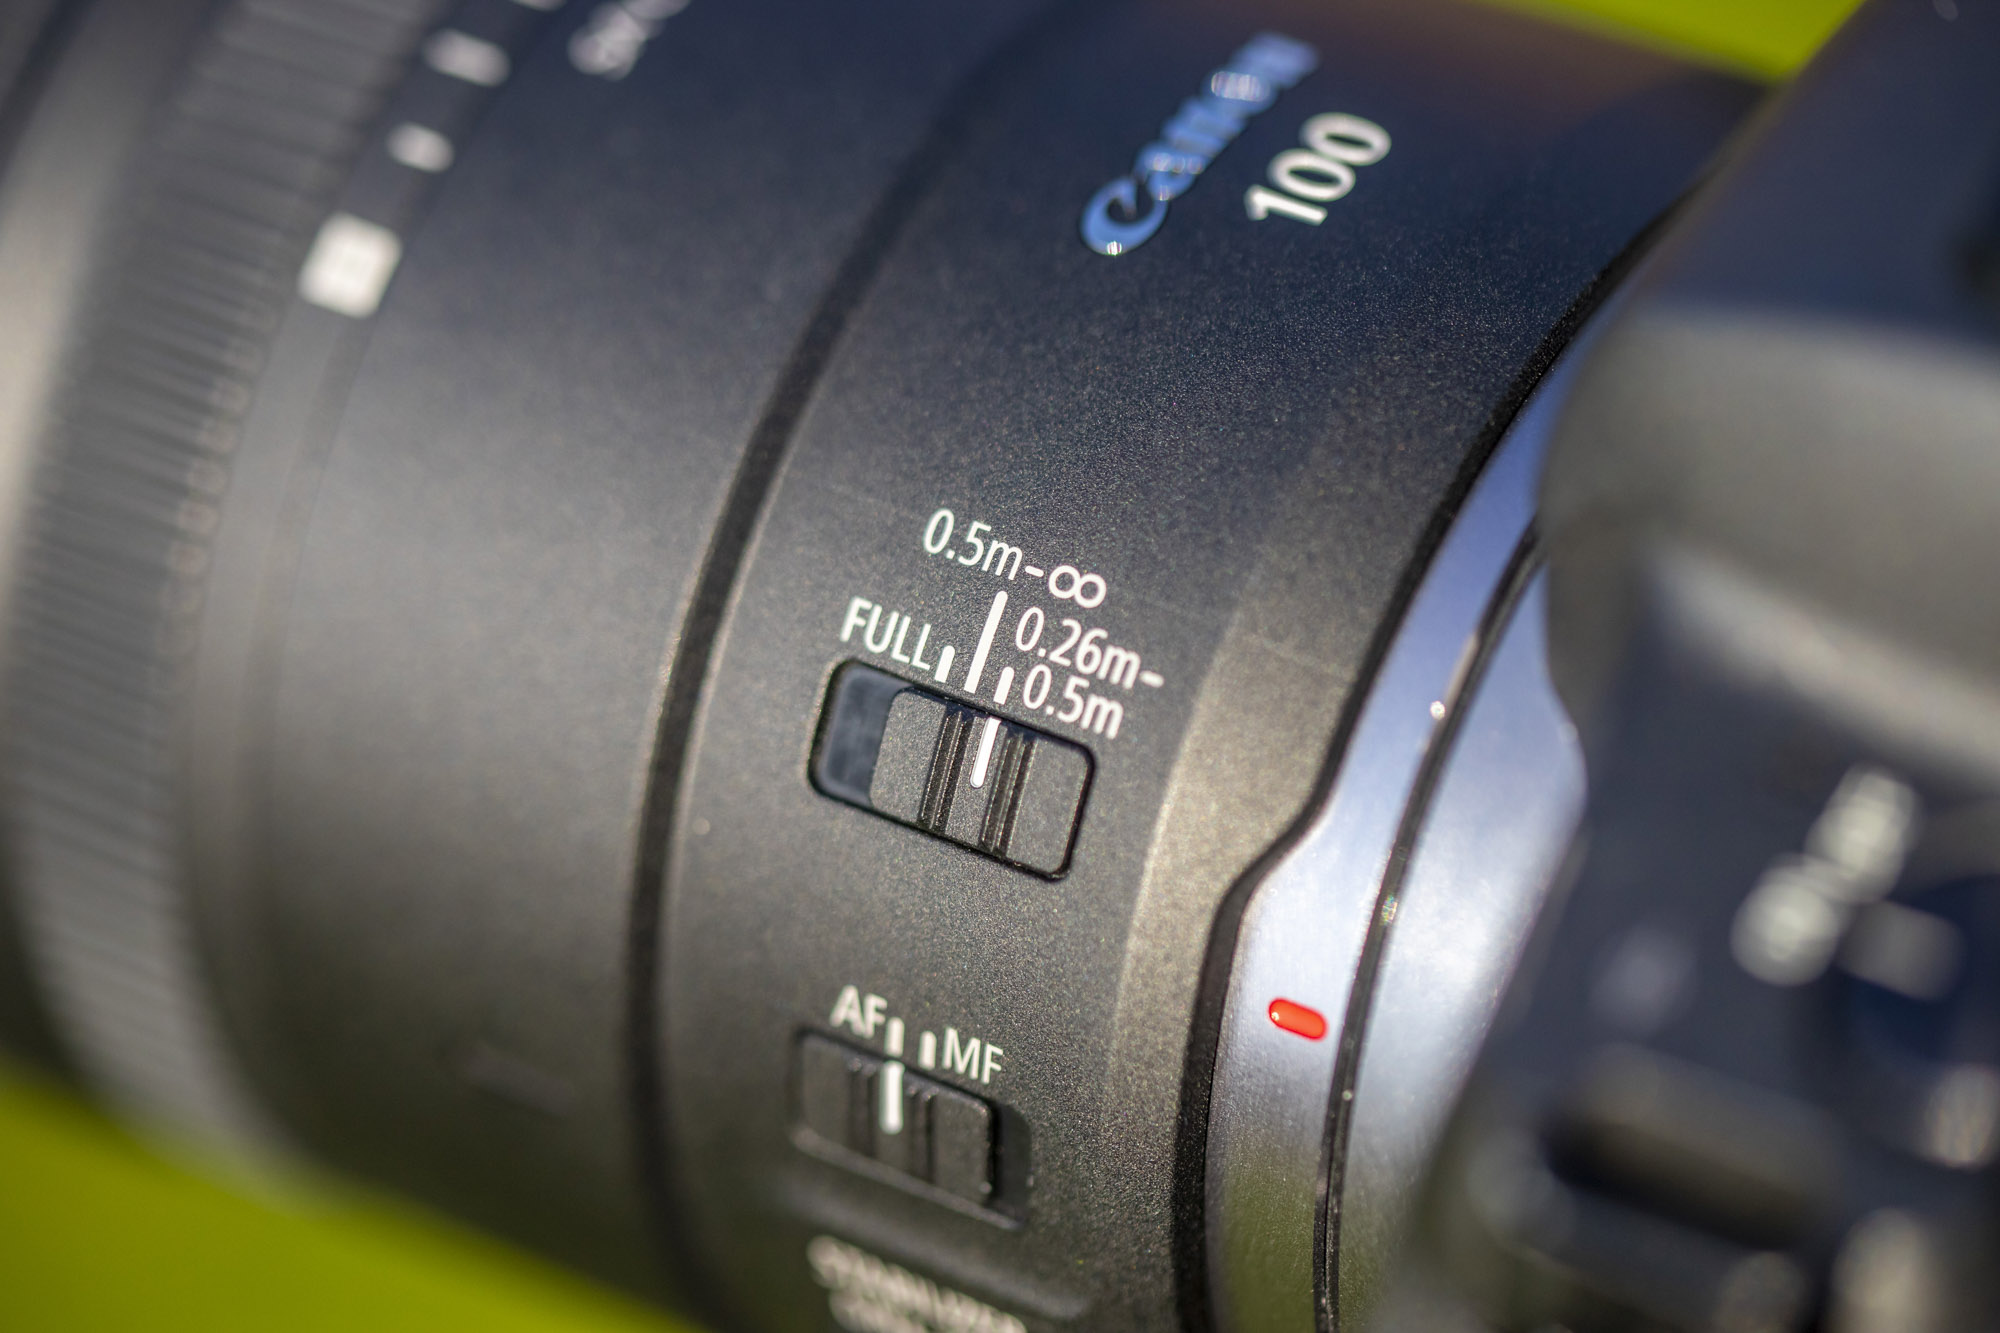
Modern autofocus is so good that you can rely on it for almost everything – but when it comes to macro, it’s actually better to switch it off. Autofocus systems employ contrast detection to determine focus, a process that requires moving the lens back and forth along the focus plane.
While this works fine when photographing regular-sized subjects, the increased magnification for smaller subjects means that AF systems struggle to find the point of focus – resulting in your lens often moving back and forth and “hunting” forever, unable to tell what to lock onto.
Many macro lenses have a focus limiter switch, which enables you to restrict the focus mechanism within specific distances to prevent endless hunting. However, the best practice is to switch off the AF completely and go into manual focus. This makes it quicker and easier to focus on precisely the fine details you want… and it also means you won’t have to worry about the autofocus deciding that it wants to focus on something different!
Peak performance
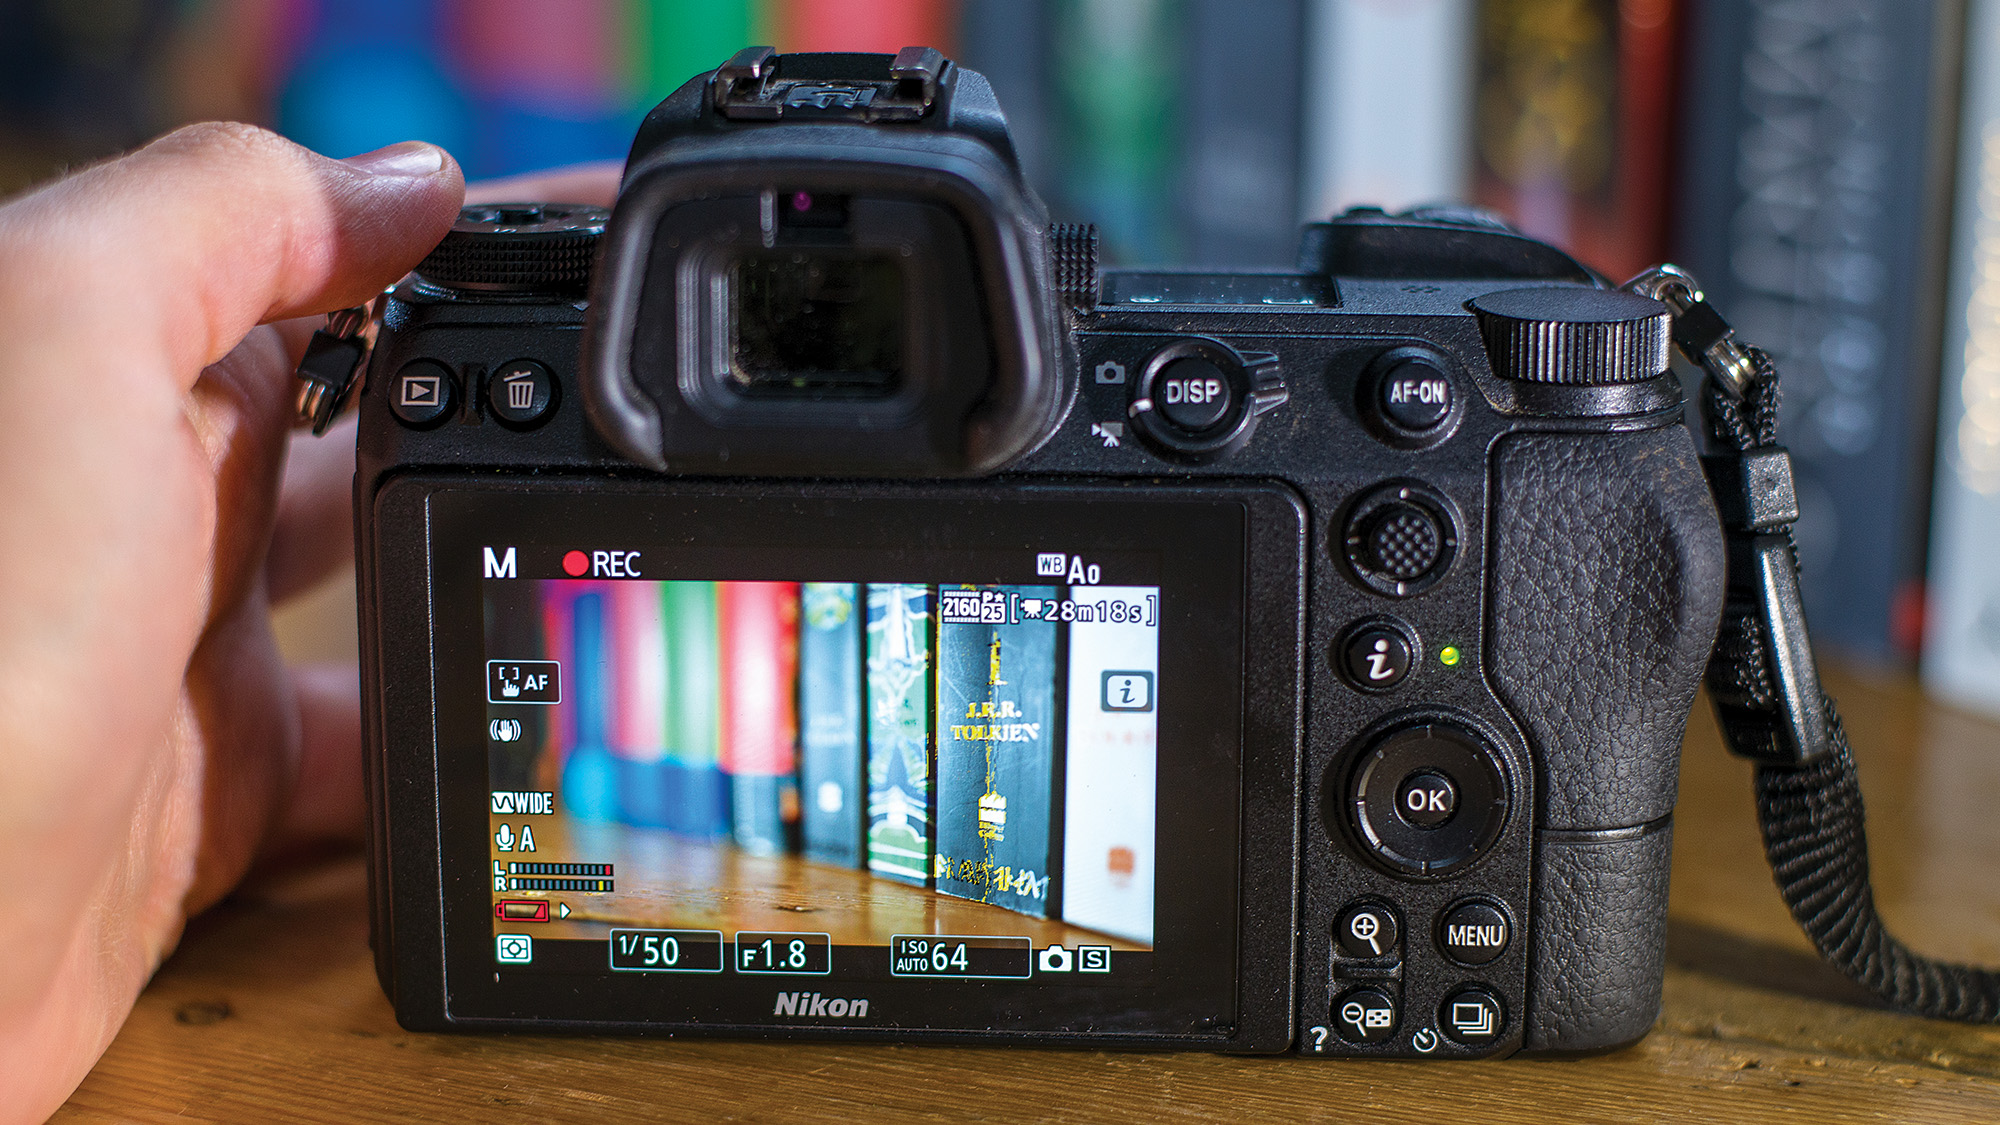
When it comes to macro, your plane of focus is so fine that you have to be absolutely pinpoint precise – something that can be tricky when focusing manually. Even if you have fantastic eyesight, the resolution of electronic viewfinders and rear LCD screens can often make it look like you’ve nailed focus when in fact you haven’t.
The solution is to turn on focus peaking, which will highlight your plane of focus in a specific color so that you can tell exactly what’s going to be sharp. Not all cameras have this function, but it’s becoming more and more common; many mirrorless cameras have it, and even some DSLRs. If you’re intending to shoot macro, it’s definitely worth investing in one that has it!
If your camera does, you can usually customize the color that highlights the focal plane. Going for a strong color like red or yellow is often the best bet, but obviously choose the one that’s most visible on the subject you’re shooting.
Stay steady

More than any other kind of photography, macro photos require rock-solid stability when you take your shots. Macro doesn’t just magnify your subjects; it also magnifies your camera shake! Even micro-movements register as blurry images, so you need to do everything possible to keep your camera steady.
The most obvious thing you can do is to mount your camera to a tripod. Not only does this keep it completely stable, it also means that you have greater freedom over your exposure settings – so you can shoot at slower shutter speeds without worrying about shaky hands. Plus, using a tripod makes it much easier to compose a delicate small scene.
However, there are some instances where you need to shoot handheld – though this is definitely macro photography on hard mode! You can mitigate camera shake with fast shutter speeds and using flash, but generally speaking the only way you should even attempt handheld macro is with a camera that has in-body image stabilization (IBIS).
This technology uses gyroscopes and magnets to stabilize your camera’s sensor and compensate for camera shake. If you’re going to go handheld, make sure you have a camera with IBIS!
The best camera deals, reviews, product advice, and unmissable photography news, direct to your inbox!

James has 25 years experience as a journalist, serving as the head of Digital Camera World for 7 of them. He started working in the photography industry in 2014, product testing and shooting ad campaigns for Olympus, as well as clients like Aston Martin Racing, Elinchrom and L'Oréal. An Olympus / OM System, Canon and Hasselblad shooter, he has a wealth of knowledge on cameras of all makes – and he loves instant cameras, too.

