Landscape photography composition: cheats to create effective frames
Bend the rules of composition to get points of interest, leading lines and interesting foregrounds in your frame
The best camera deals, reviews, product advice, and unmissable photography news, direct to your inbox!
You are now subscribed
Your newsletter sign-up was successful
Watch the video: cheat at composition in landscape photography
In this project we’re talking composition in landscapes – but this isn’t going to be just another straightforward guide to the rules of composition, and there will be no mention of the rule of thirds. Instead, we’re going to employ one of the best landscape photography tips: we're going to cheat a bit.
Now, hear us out! Composition and framing are essential skills, especially for landscape photography. In essence, a strong composition is about arranging the elements in front of you into a smooth frame. Normally this is done by careful choice of camera angle lens and perspective, but here we’ll look at a few ways in which we can do creative landscaping to aid our framing.
On a stormy grey day, like the one we were met with on our trip to the south coast of England, we couldn’t rely on beautiful light or a glorious sky. When faced with dull skies and flat light, a strong composition becomes even more vital. Our plan was to produce a range of landscapes that each adhere to a different compositional rule – creating a frame within a frame, engineering a point of interest, finding a leading line, and composing for an interesting foreground.
Of course, a more natural approach to landscape photography is always best, but there might come a time when a little artifice will serve you well – even if faking isn’t your thing, it still helps enormously to get to know the powerful compositional rules we’ll explore here…
• Landscape photography tips and techniques
Composition cheats: leading line
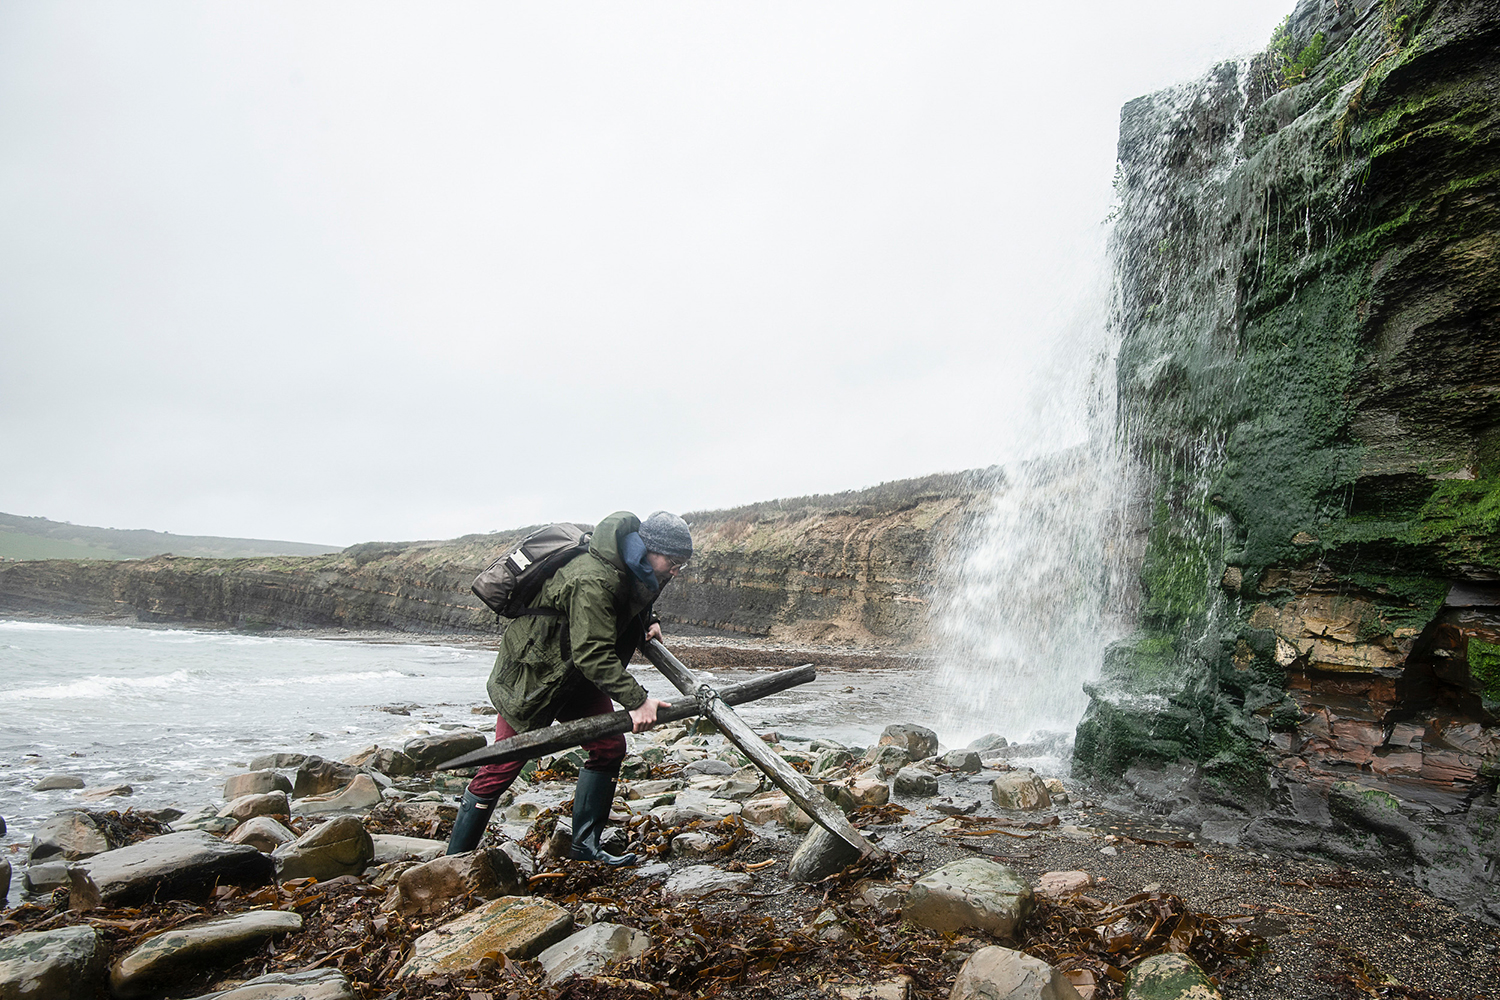
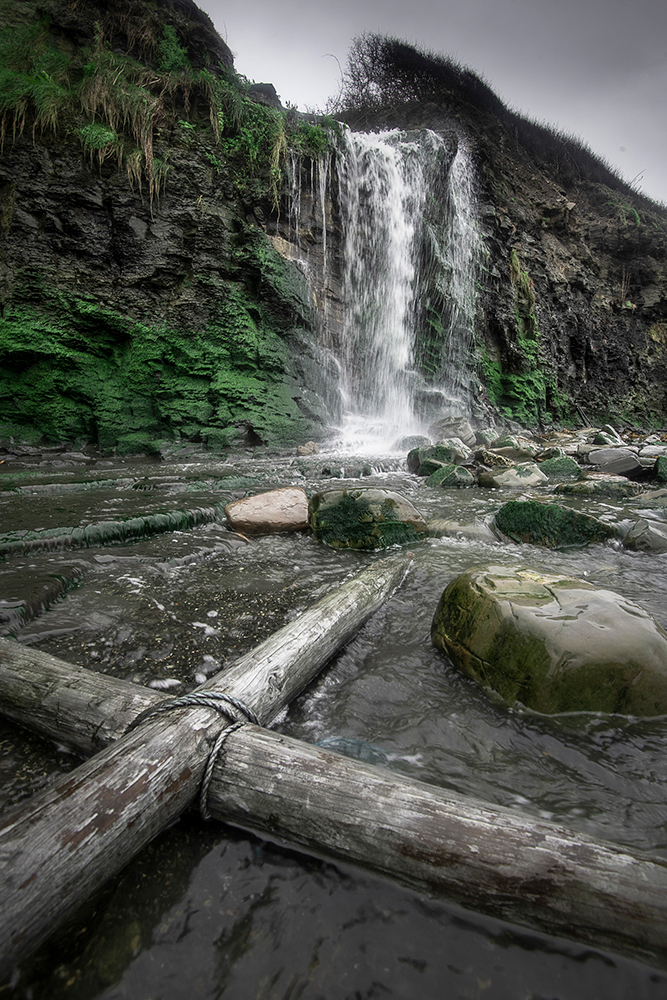
This involves framing the scene to include natural lines that run through it. This could be a road, a wall, a river or any other feature that forms a line through the shot. These can help provide structure to the frame by leading the eye through the scene. No natural line? Make one! We used some driftwood to form a line. By using a wide angle lens and a low camera angle, we’re able to compose the wood in the lower half of the frame and exaggerate the perspective, creating a line that leads the eye towards the waterfall.
The best camera deals, reviews, product advice, and unmissable photography news, direct to your inbox!
Exposure: f/11, 1/50 sec, ISO320
Composition cheats: Point of interest
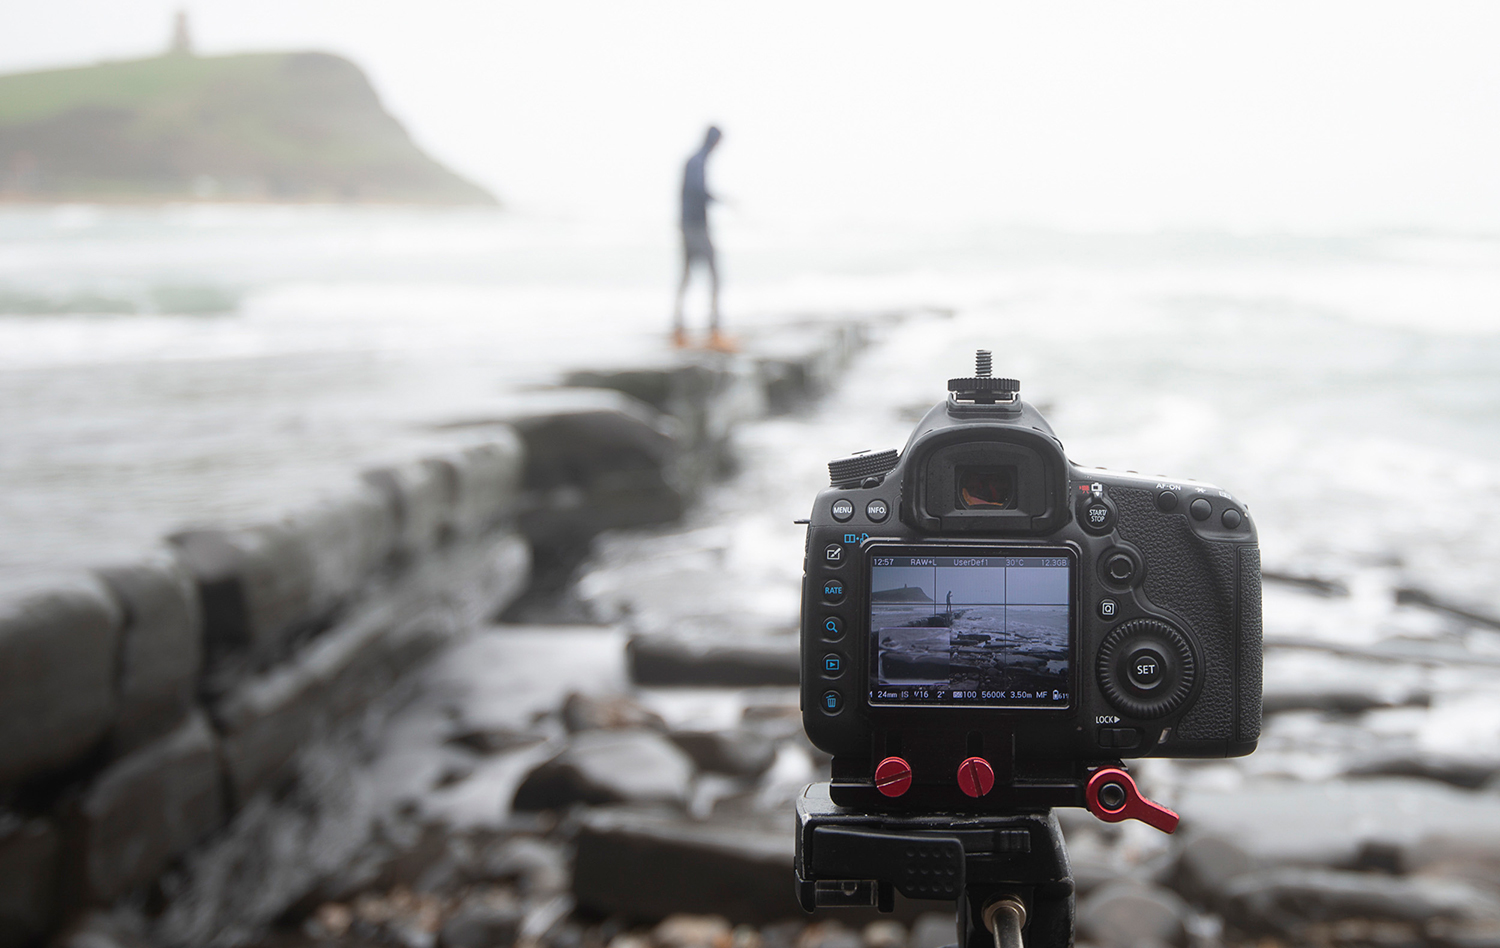
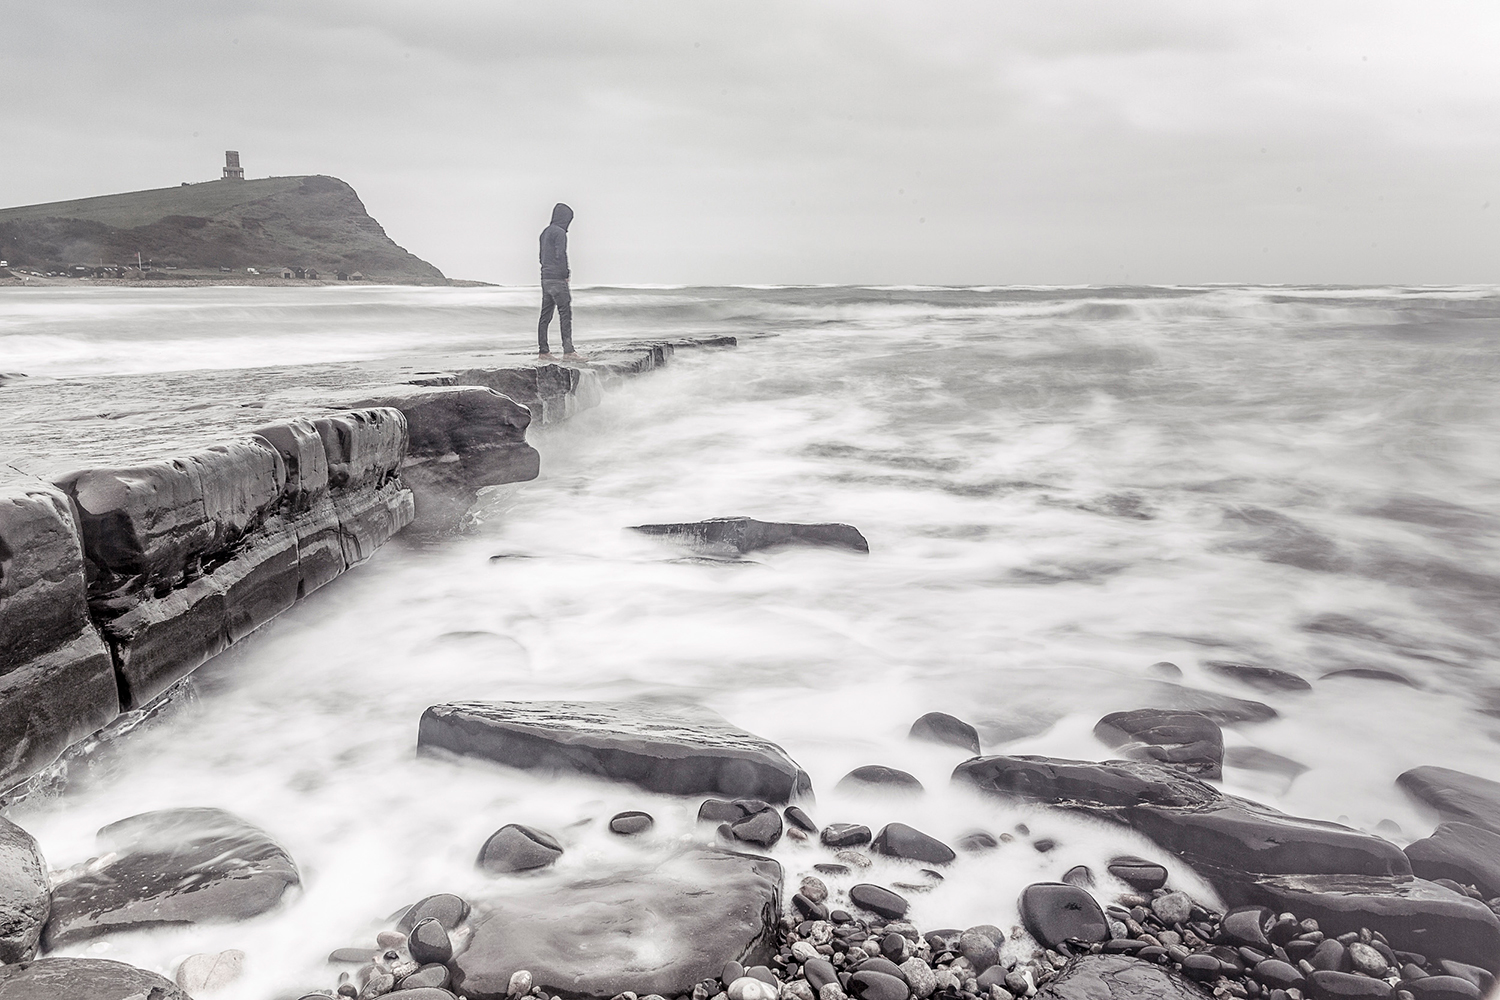
All shots should have a point of interest. It could be anything: a tree, a rock, a person. The key thing is to compose the scene so the point of interest stands out. This way, it becomes the first thing that draws the viewer’s eye. Here the stormy seas and grey skies have atmosphere, but there’s little to hold the attention. So, to create a point of interest, we stepped in front of the camera. To add to the mood we’ve used a tripod and a 6-stop neutral density filter, which allows us to extend the shutter speed to 2 secs, resulting in blurred motion over the water.
Exposure: f/16, 2 secs, ISO100
Step by step: build a scene in Photoshop
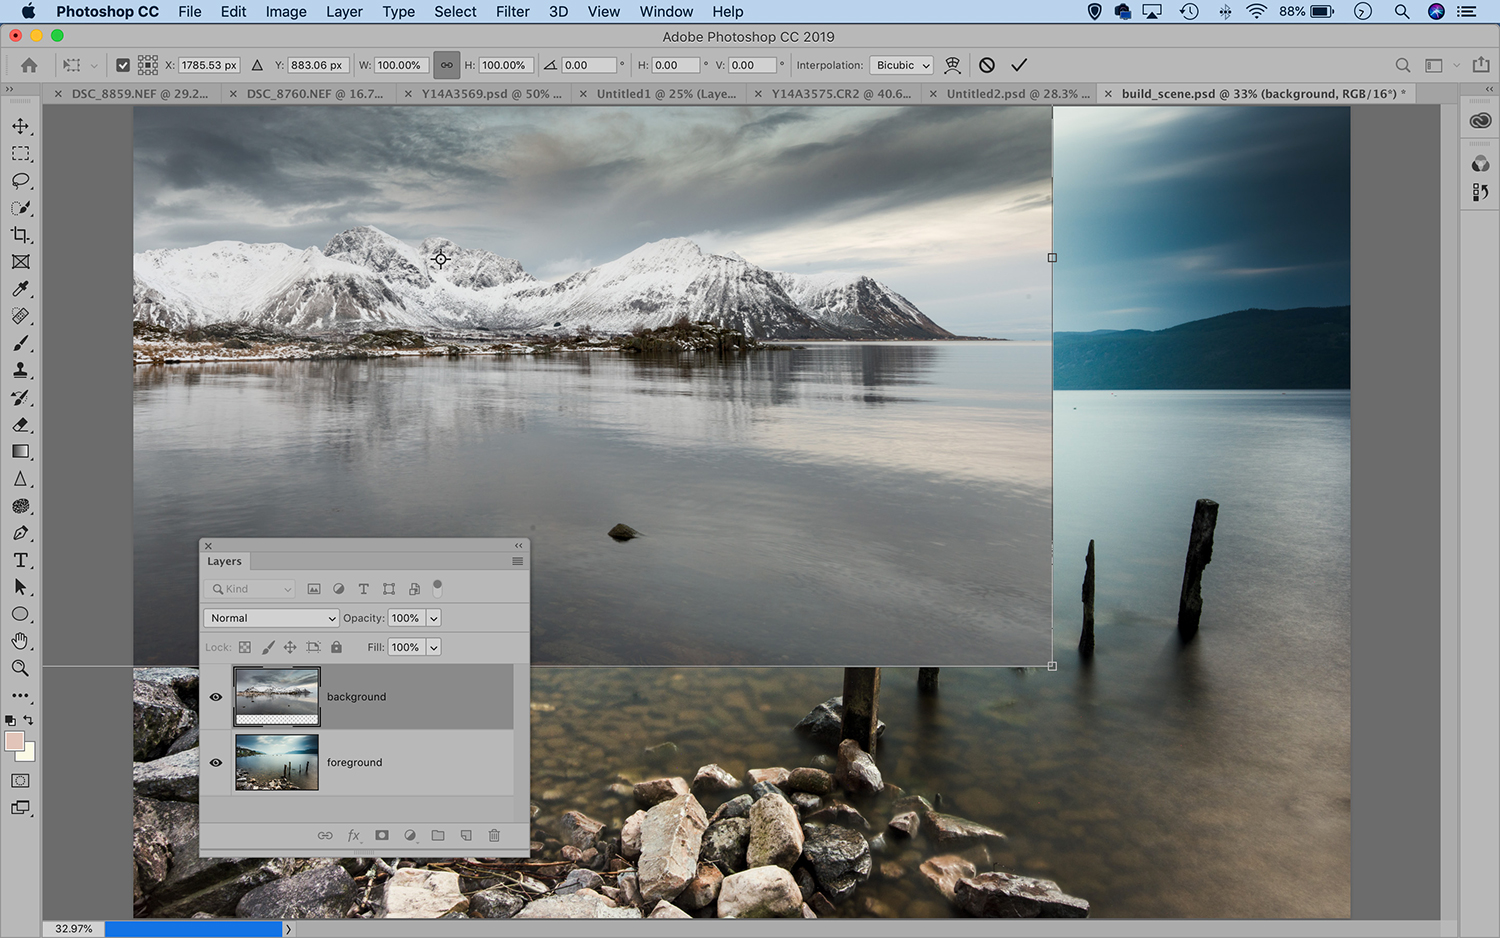
01 Copy and paste
First, chose two images that match in terms of lighting and perspective – this’ll make it easier to blend together. Begin by opening them up into Photoshop, then go to the background image, press Cmd/Ctrl+C to copy and switch to the other image and press Cmd/Ctrl+V to paste.
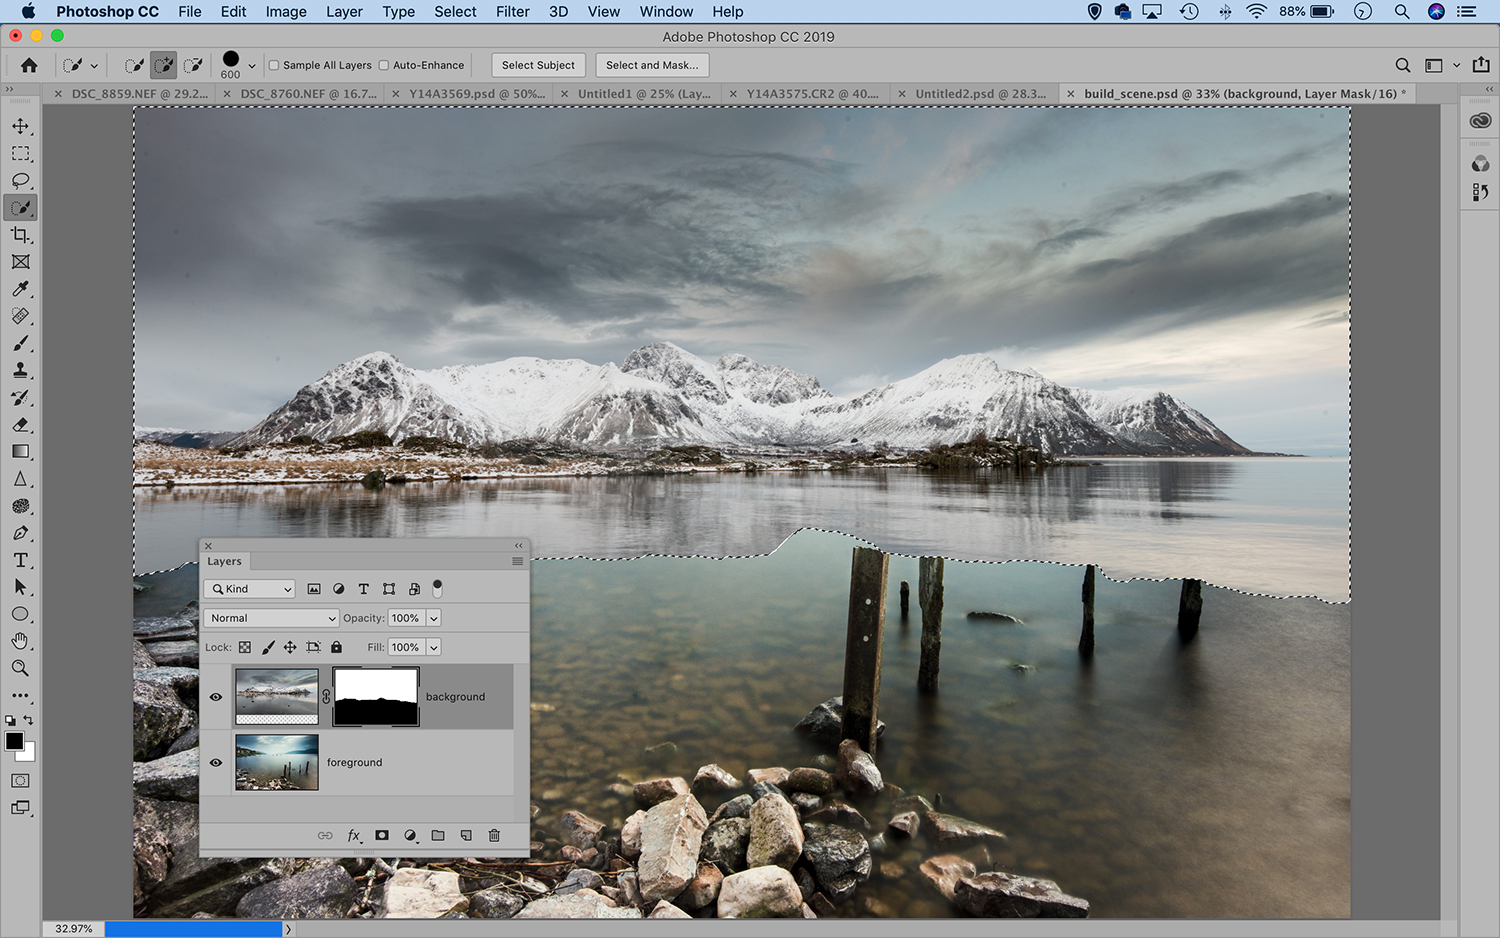
02 Transform and select
Press Cmd/Ctrl+T to transform the newly added photo, then position it. If you need to resize, drag the corner points. Hit Enter to apply. Next grab the Quick Selection tool and paint to select the part of the layer you want to keep visible, then click the Add Layer Mask icon to hide the rest.
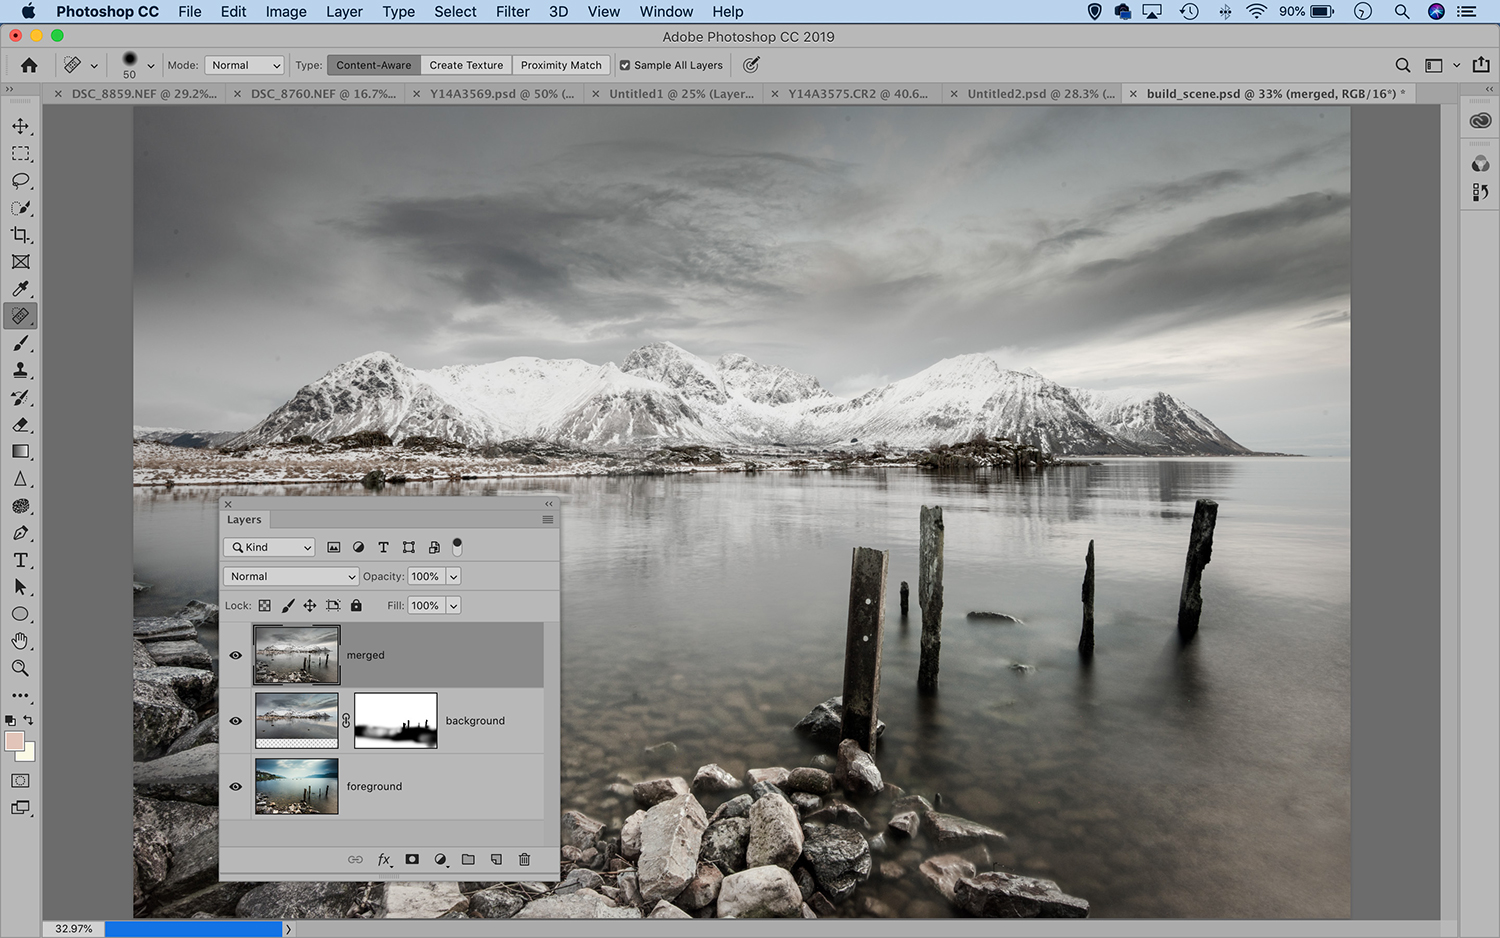
03 Mask and tone
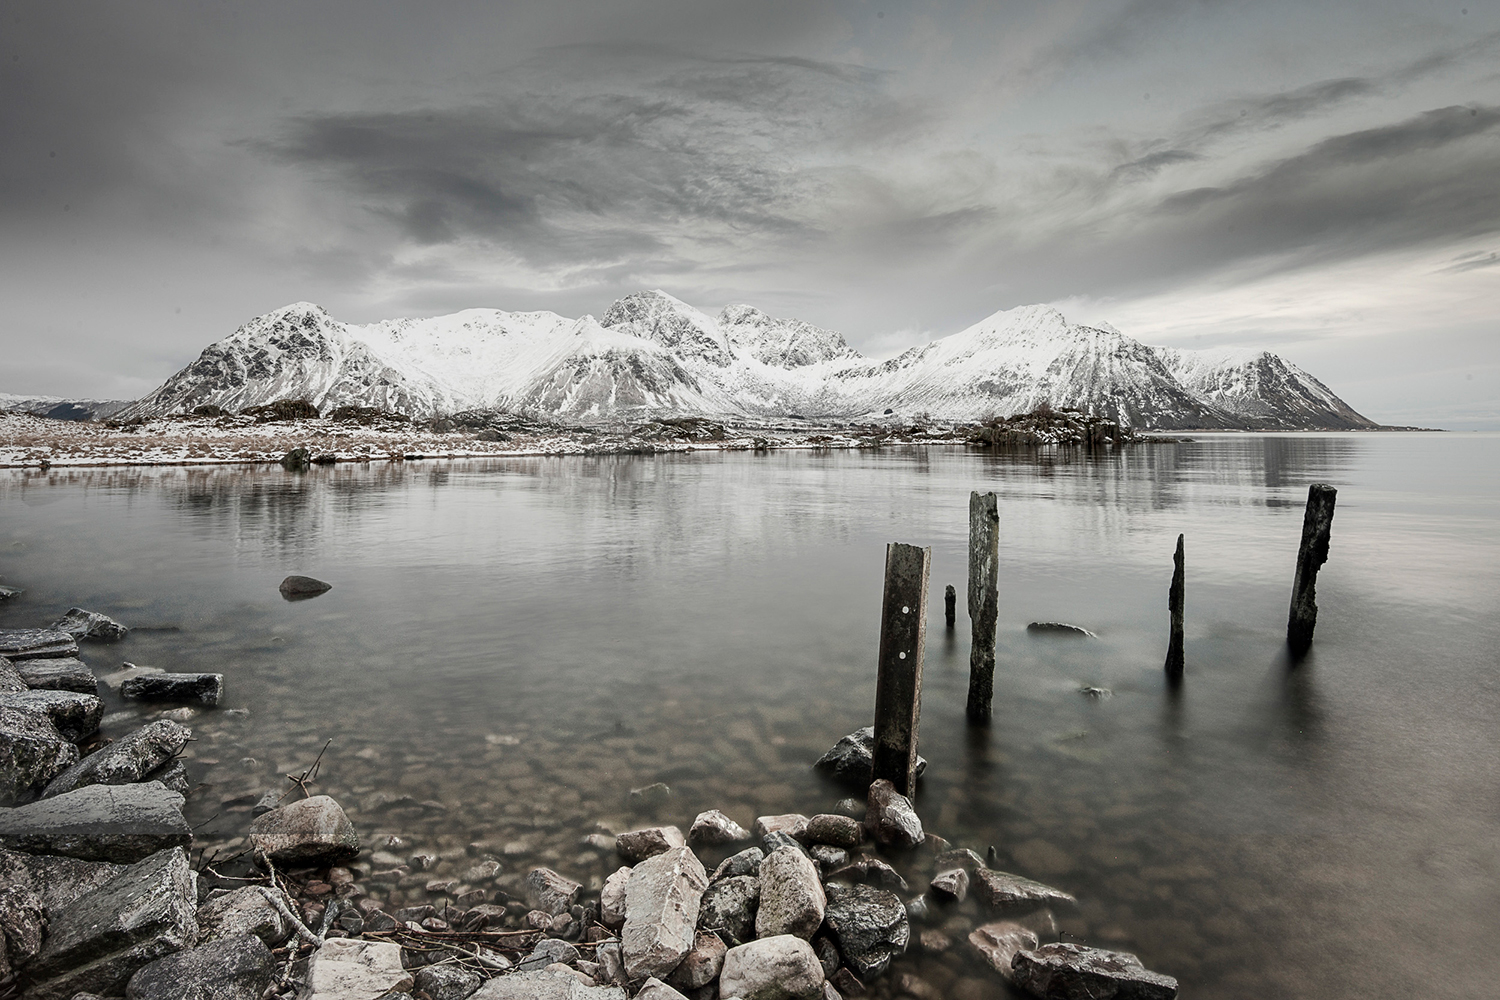
Highlight the mask thumbnail on the top layer, then grab the brush tool and – using a soft-edged brush tip – fine-tune what is visible by painting with either black to hide, or white to reveal parts of the layer. Finally, merge the layers and apply final tonal and color tweaks to finish the photograph.
More videos:
147 photography techniques, tips and tricks for taking pictures of anything
Landscape photography composition: fill the frame with a wide angle lens
Northern Lights photography: tips and techniques for stunning images
How to use an ND graduated filter for stunning landscape photography
The lead technique writer on Digital Camera Magazine, PhotoPlus: The Canon Magazine and N-Photo: The Nikon Magazine, James is a fantastic general practice photographer with an enviable array of skills across every genre of photography.
Whether it's flash photography techniques like stroboscopic portraits, astrophotography projects like photographing the Northern Lights, or turning sound into art by making paint dance on a set of speakers, James' tutorials and projects are as creative as they are enjoyable.
He's also a wizard at the dark arts of Photoshop, Lightroom and Affinity Photo, and is capable of some genuine black magic in the digital darkroom, making him one of the leading authorities on photo editing software and techniques.
