Northern Lights photography: tips and techniques for stunning images
How to seek out and photograph the Aurora Borealis in the Arctic
The best camera deals, reviews, product advice, and unmissable photography news, direct to your inbox!
You are now subscribed
Your newsletter sign-up was successful
Watch the video: Northern Lights photography
This is one of Mother Nature’s greatest displays; a dazzling curtain of greens and pinks that dances across the night sky. The question is, how easy is it to photograph the Northern Lights?
Well, in terms of technique it’s not difficult at all – you simply need a tripod and a camera that performs well at high ISOs. It’s actually sighting the aurora that proves more tricky. On our five-day trip to Norway we saw the aurora twice, while others we spoke to had seen just one faint display in two weeks. The elusiveness is part of the appeal, and makes a sighting even more special. So here are some photography tips to increase your chances of success.
The aurora may occasionally be spotted in Scotland or even further south, but the best chance of seeing the Northern Lights is within what’s known as the auroral oval – a crown atop the planet that encompasses destinations like Iceland, Norway, Sweden, Canada and Alaska. Not only are you more likely to catch a glimpse of the aurora, you’re also spoilt for choice in terms of beautiful landscapes and mountains to include in the frame.
With improving air links and infrastructure, it’s easier than ever to organize a trip. The Aurora Borealis is most active between September and April. The long nights of December and January offer the most hours of darkness, while early spring may appeal if you want longer daylight for other activities. For intrepid travellers there’s also the Aurora Australis – the Southern Lights. There are fewer destinations, however, unless you feel like camping on Antarctica!
Planning an aurora chase
Step 1: Check the KP index
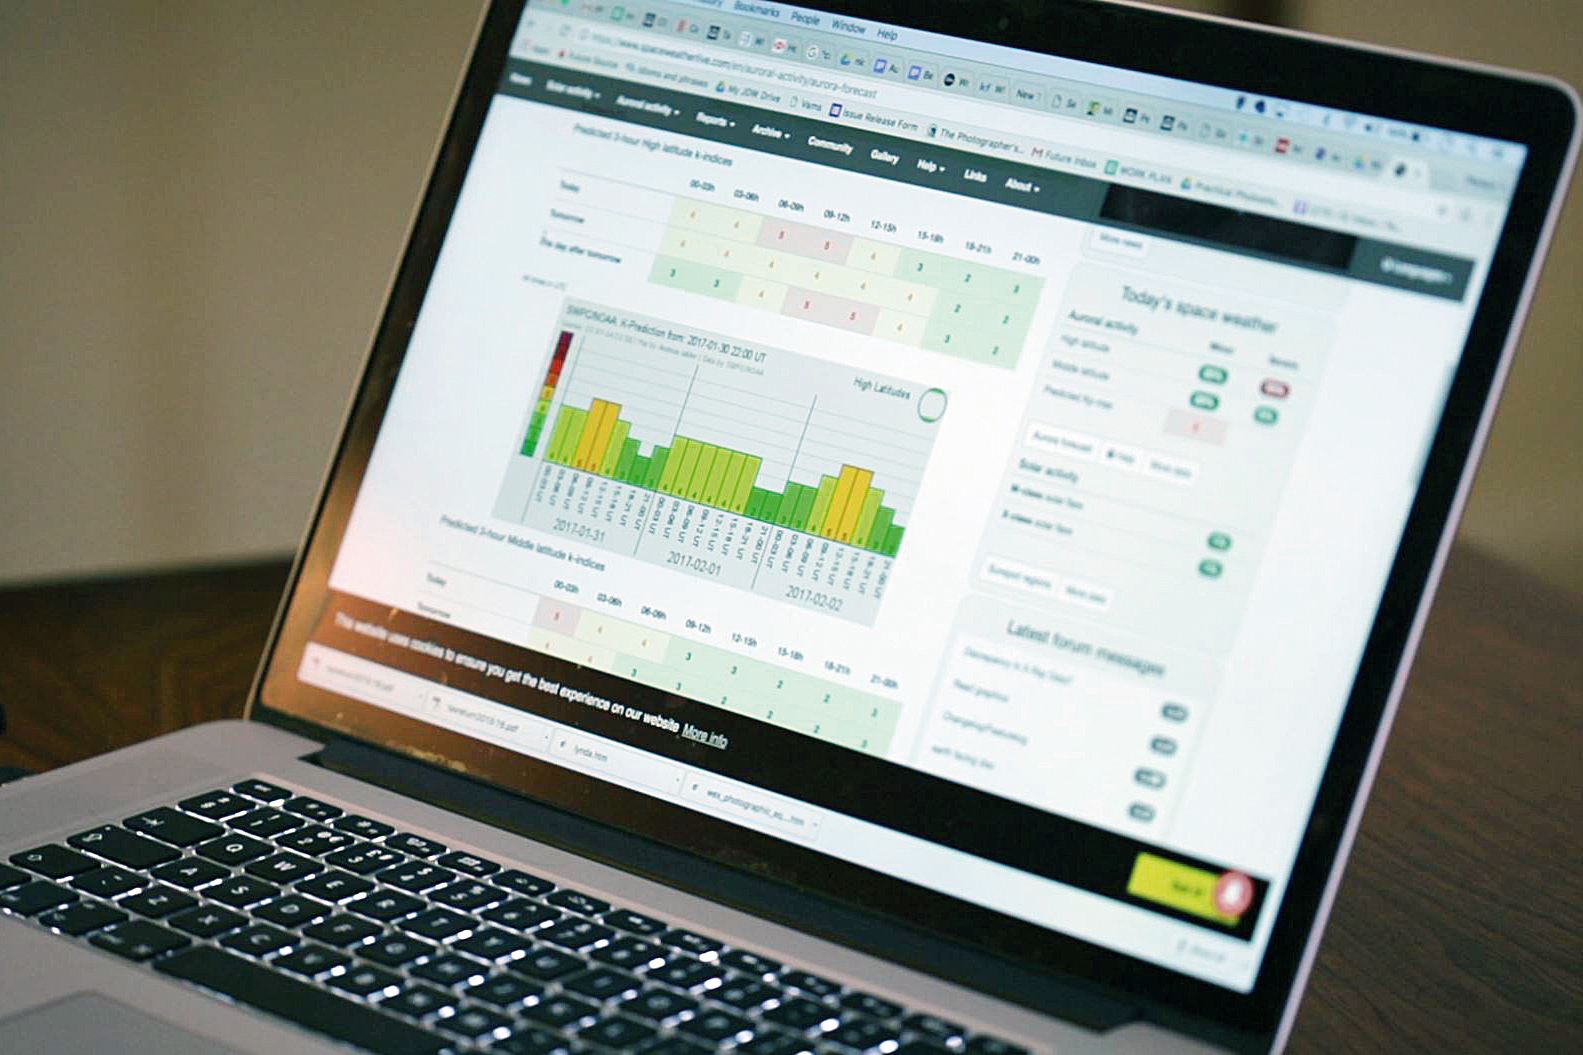
Geomagnetic activity can be predicted – to an extent – by a site like www.spaceweatherlive.com. The KP index defines aurora activity on a scale of 0 to 9, with anything above KP5 being classified as a geomagnetic storm. You won’t see anything when it’s under KP2.
Step 2: Follow the forecast
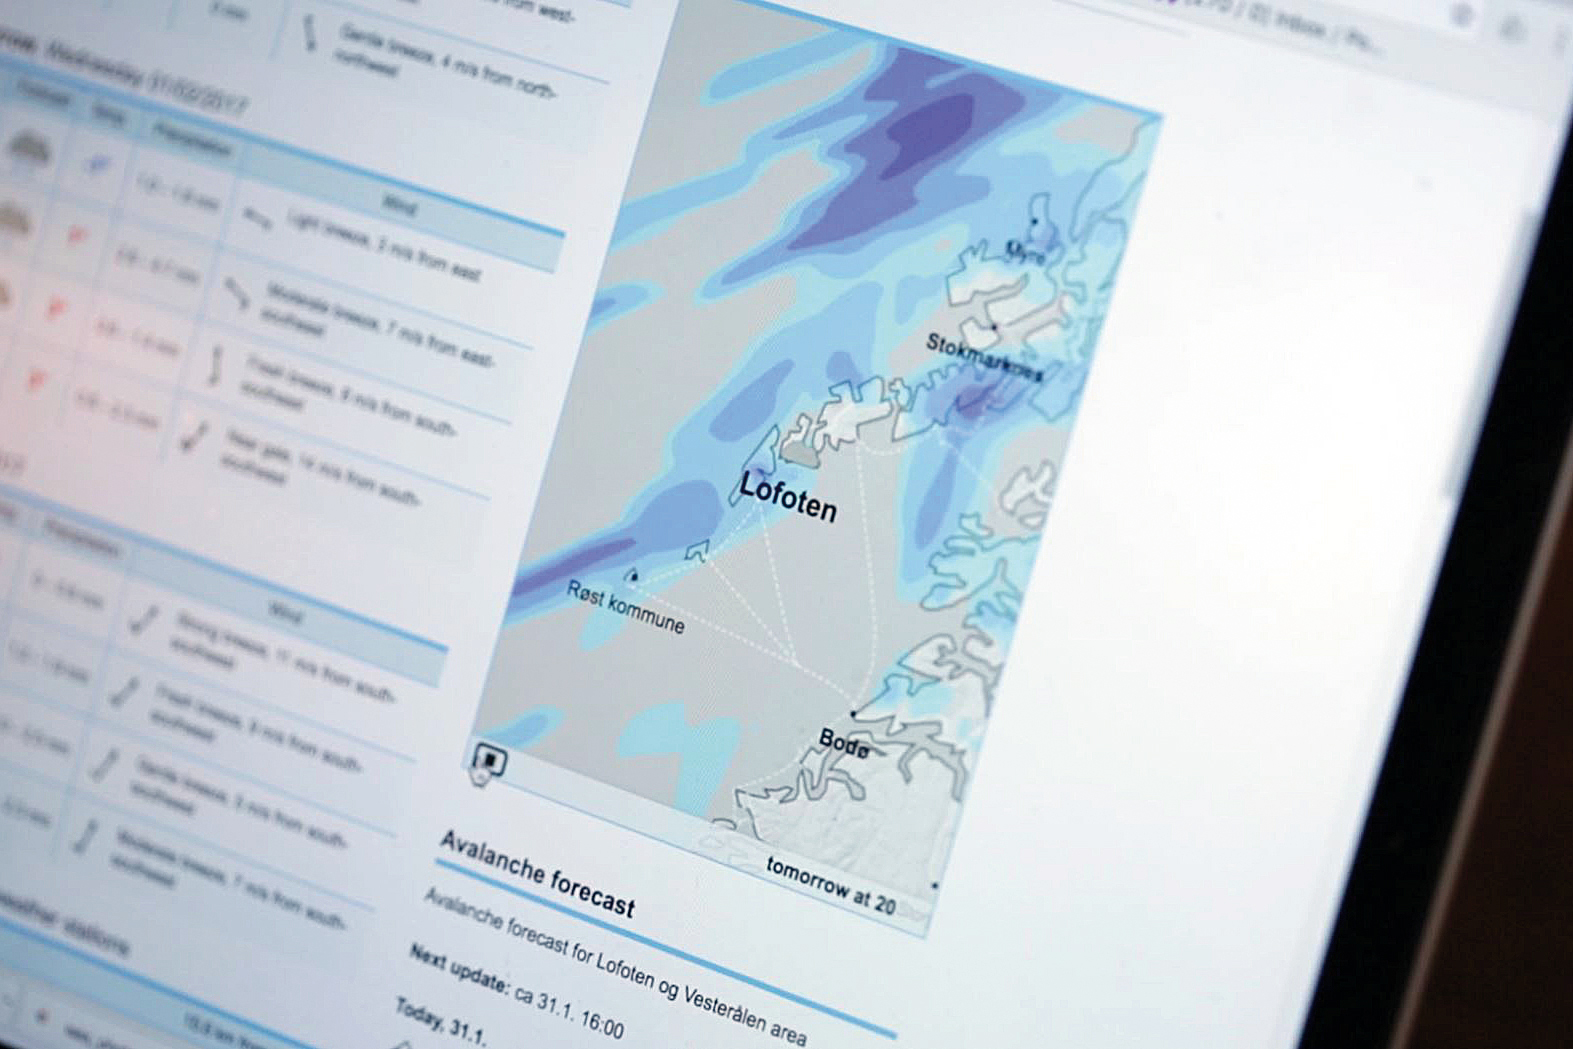
The skies need to be at least partially clear. If there’s cloud, rain or snow then there’s little chance of seeing anything, so check local cloud maps. Keep in mind that, in the far north, weather can be unpredictable, with storms one moment, clear skies the next.
The best camera deals, reviews, product advice, and unmissable photography news, direct to your inbox!
Step 3: Look to the north
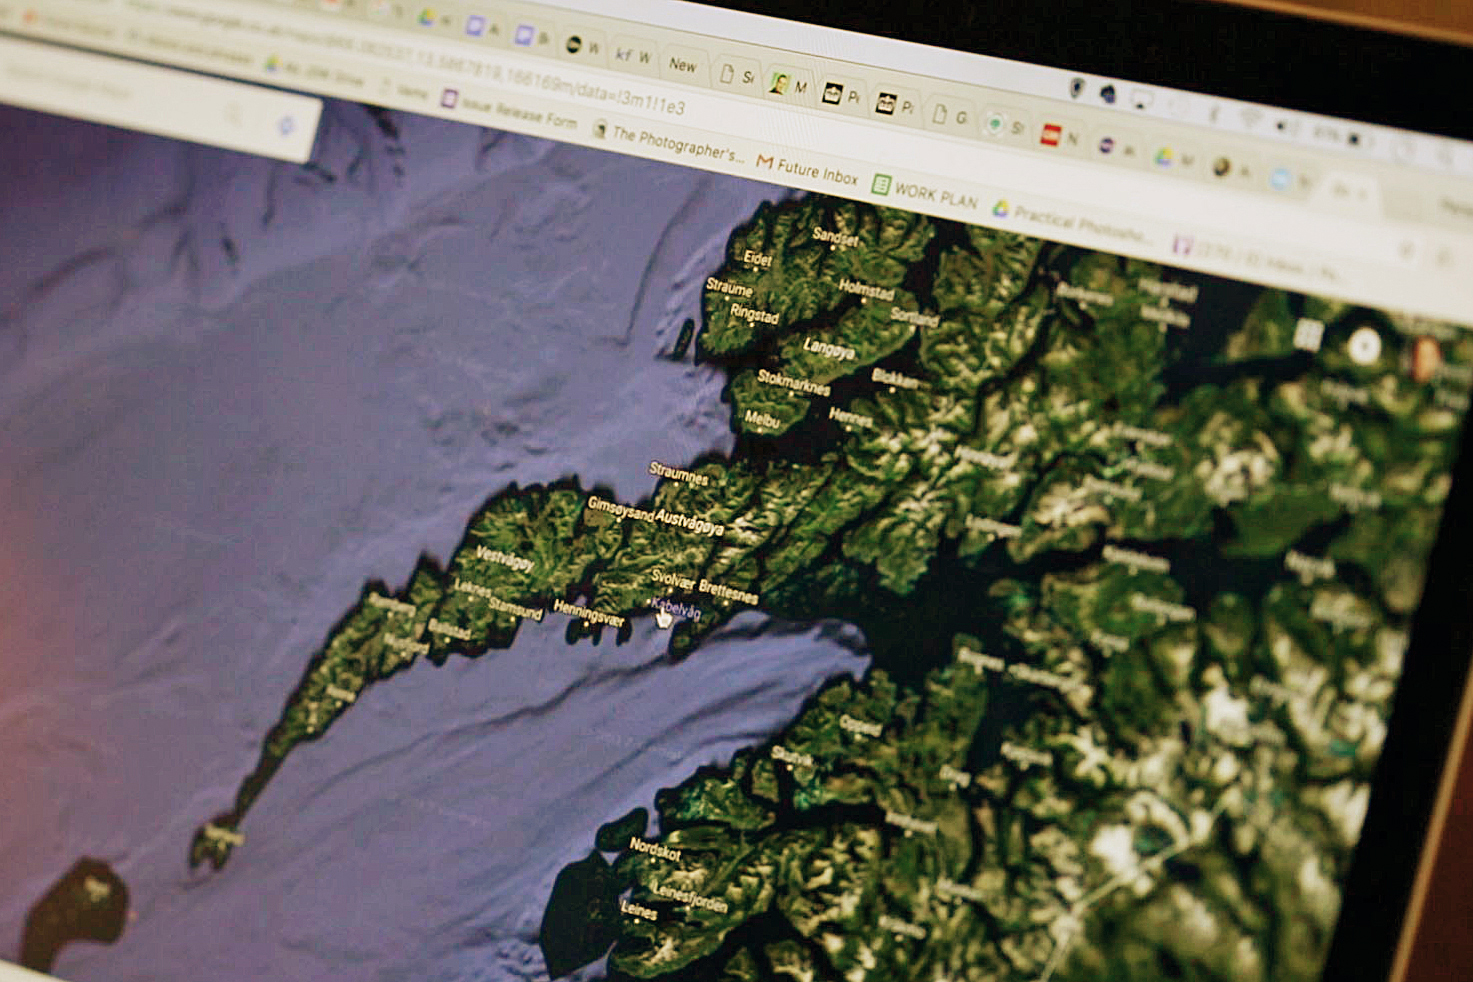
You need to think carefully about your position. You’re unlikely to see the aurora directly overhead unless you’re at a very high latitude. It’s more likely you’ll see it in the northern portion of the sky, often along the horizon. So scout out a clear view in that direction.
04 Snap and check
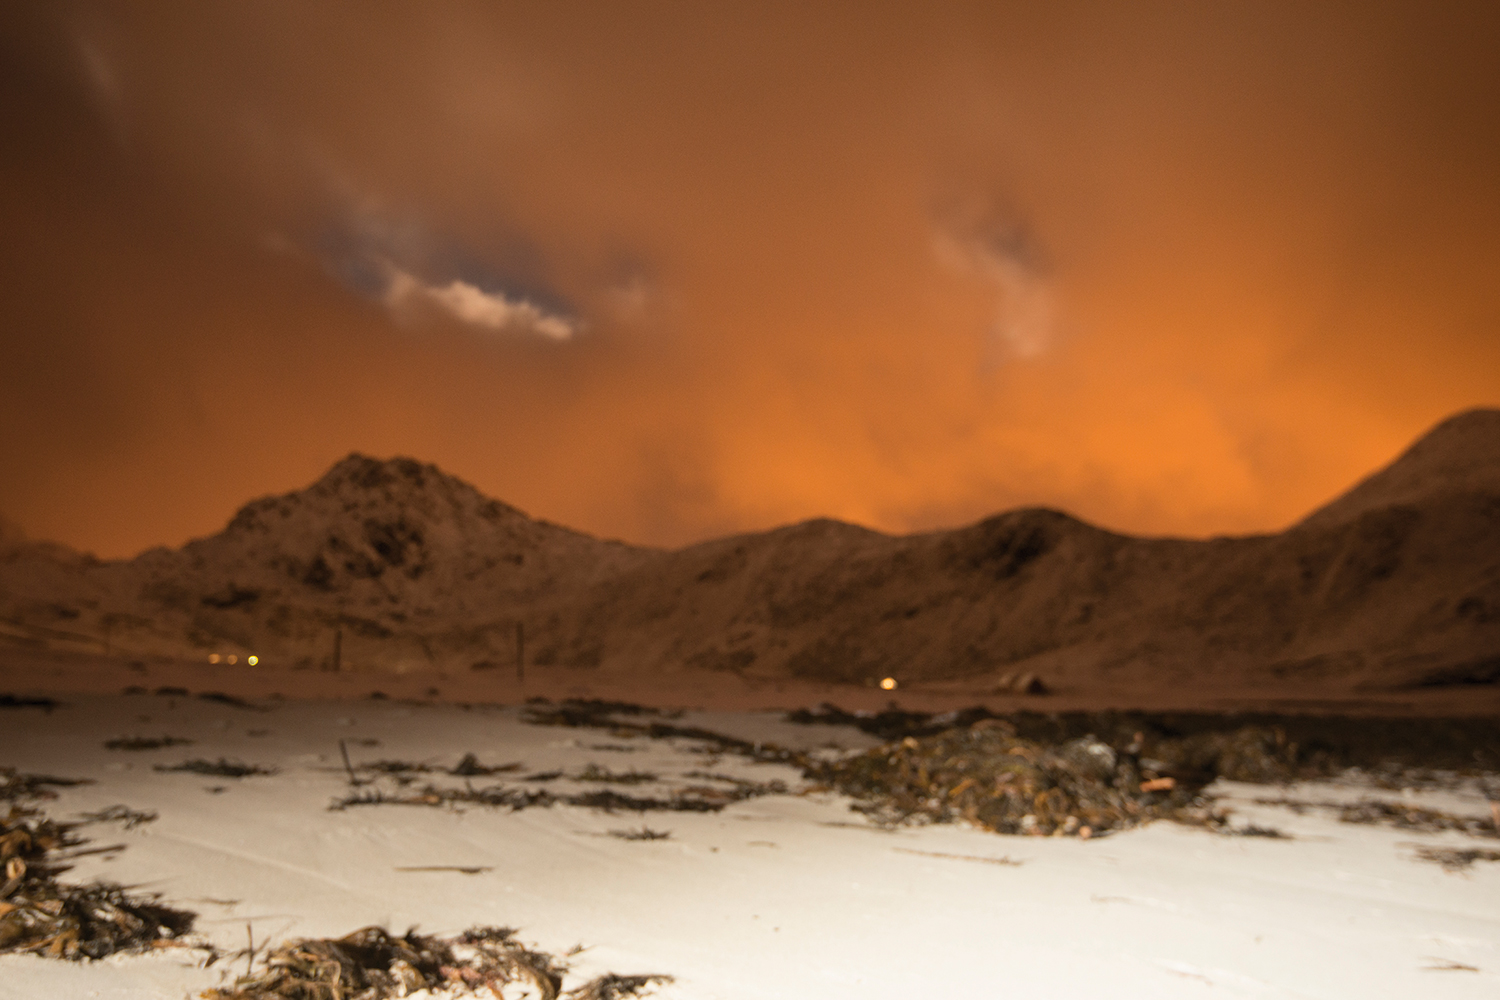
If the aurora is weak it can look deceptively similar to clouds, especially to the naked eye. Luckily your camera is more sensitive. If unsure, take a quick snap using a very high ISO then check your screen for green – here we were fooled by light pollution!
Composition: framing the Northern Lights
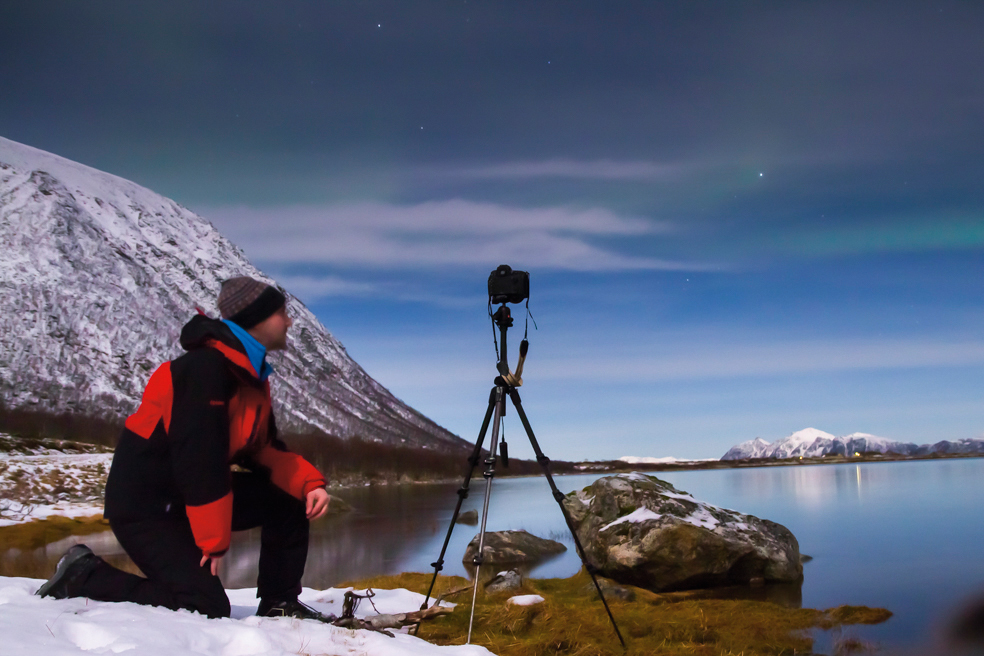
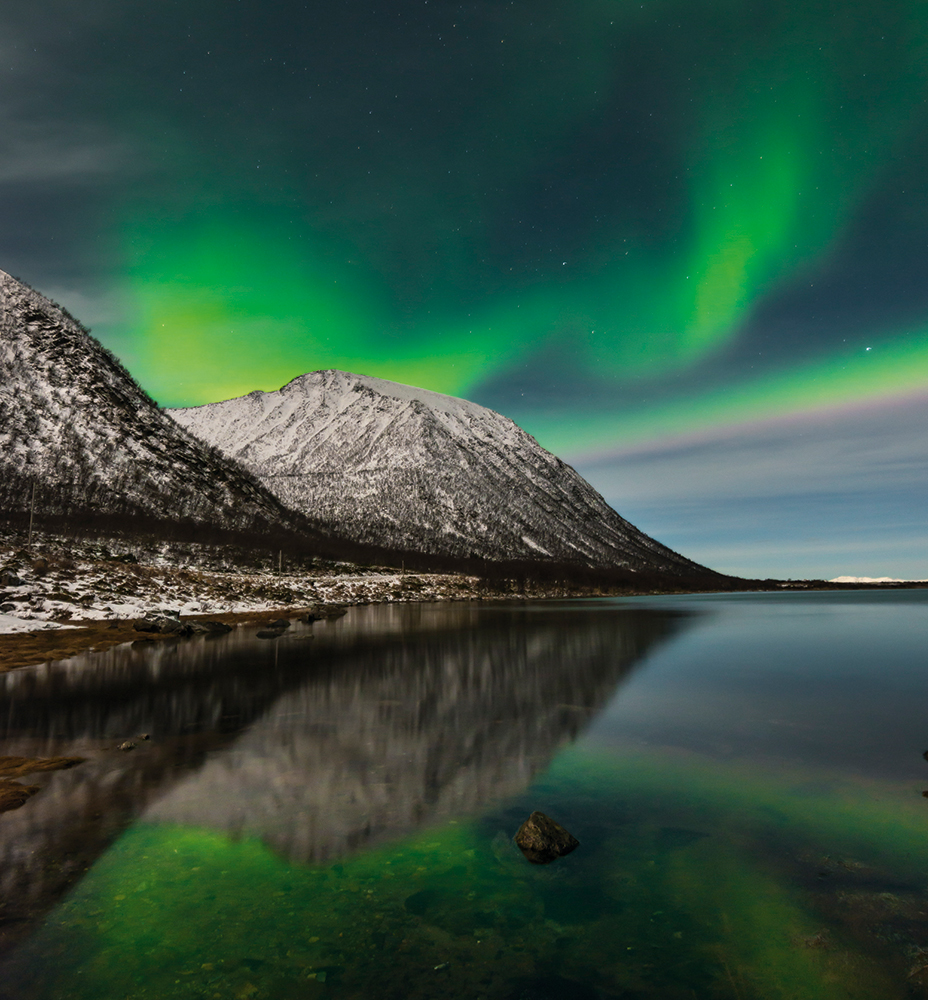
As we’ve seen, you can head to a high latitude, and check the solar and cloud forecasts, but essentially, an aurora sighting is still largely down to chance. One thing you can control, however, is composition. On our trip we earmarked likely locations that had a clear view northwards, like beaches and lakes, then we drove around these spots after dark (on a shooting trip like this, a car becomes your home from home).
The display is beautiful, but, like a glorious sunset, it needs context. Framing mountains, trees or buildings in the foreground provides this. We were also lucky that the moonlight lit up the land for our trip.
Camera settings for Northern Lights
Using a tripod, set the camera to Manual mode and use a wide aperture, such as f/4 or f/2.8, and a reasonably high ISO, like 800. Set a shutter speed of 10 secs to begin with, then simply vary the shutter speed until the exposure looks correct.
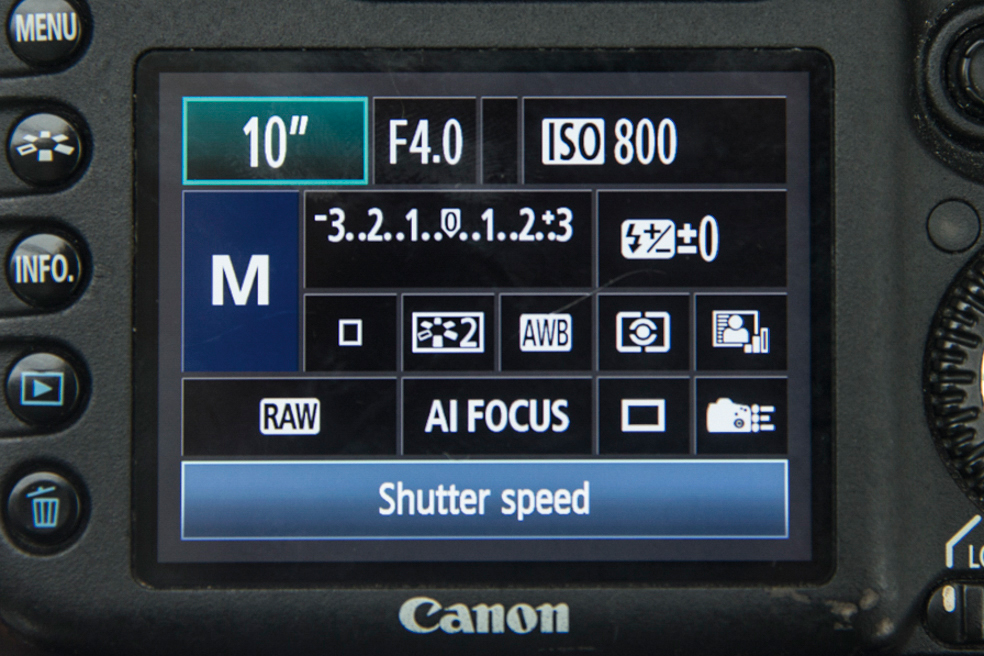
For fast-moving aurora an exposure length more than 10 secs may blur out detail like this. If so, speed up the shutter and increase the ISO to 1600 or more. If it’s moving slowly you’re free to lengthen your shutter speed and lower ISO for better image quality.
Photoshop editing tips for the Northern Lights 1. Reduce long exposure noise
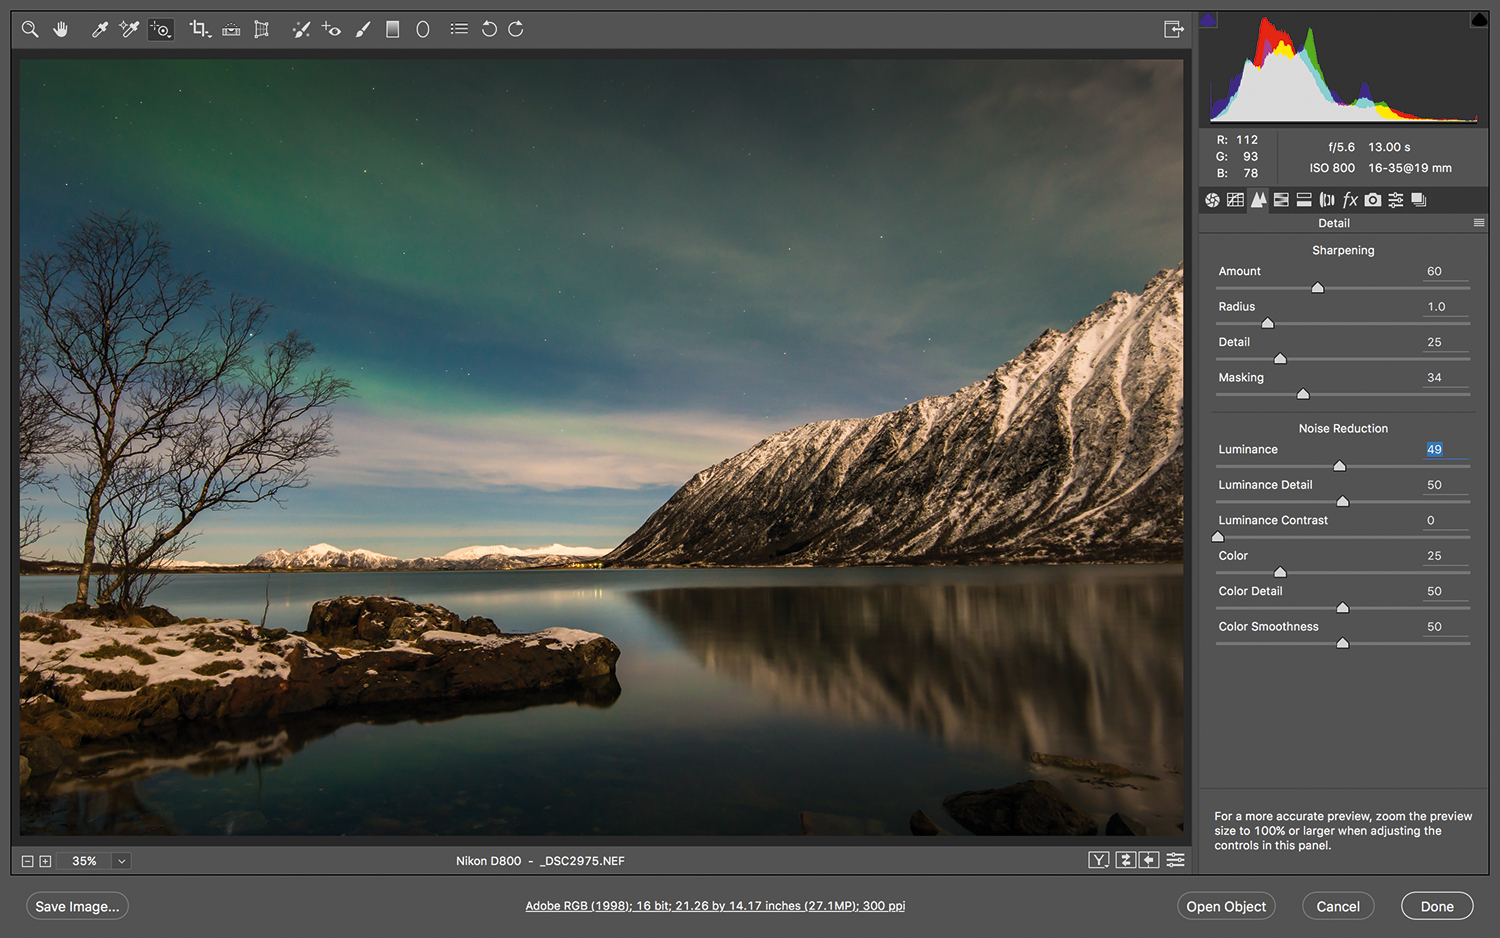
Make sure you shoot Raw as this gives you greater headroom for editing your aurora photos. Begin by reducing image noise, which is often prominent in long-exposure night photos, in Camera Raw’s Detail panel. Increase Luminance Amount until the noise lessens.
2. Boost the greens
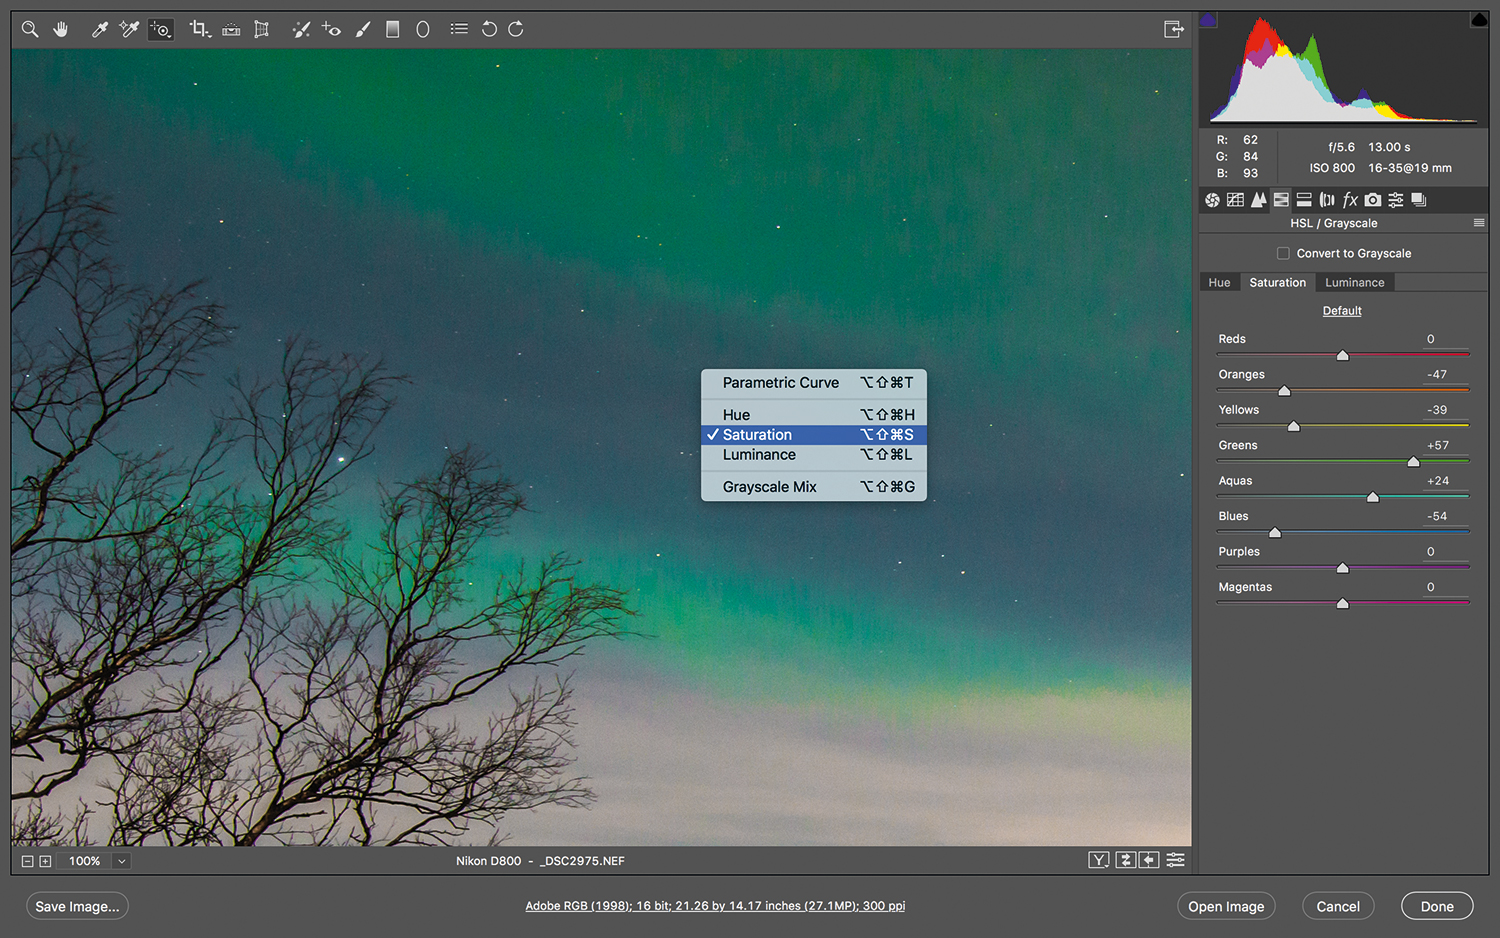
If the aurora looks weak, try increasing Vibrance in the Basic panel. To take it further, grab the Targeted Adjustment tool, right-click and choose Saturation, then drag upwards over the greens to increase saturation. If other colours are looking too intense, drag down over them.
3. selective enhancements
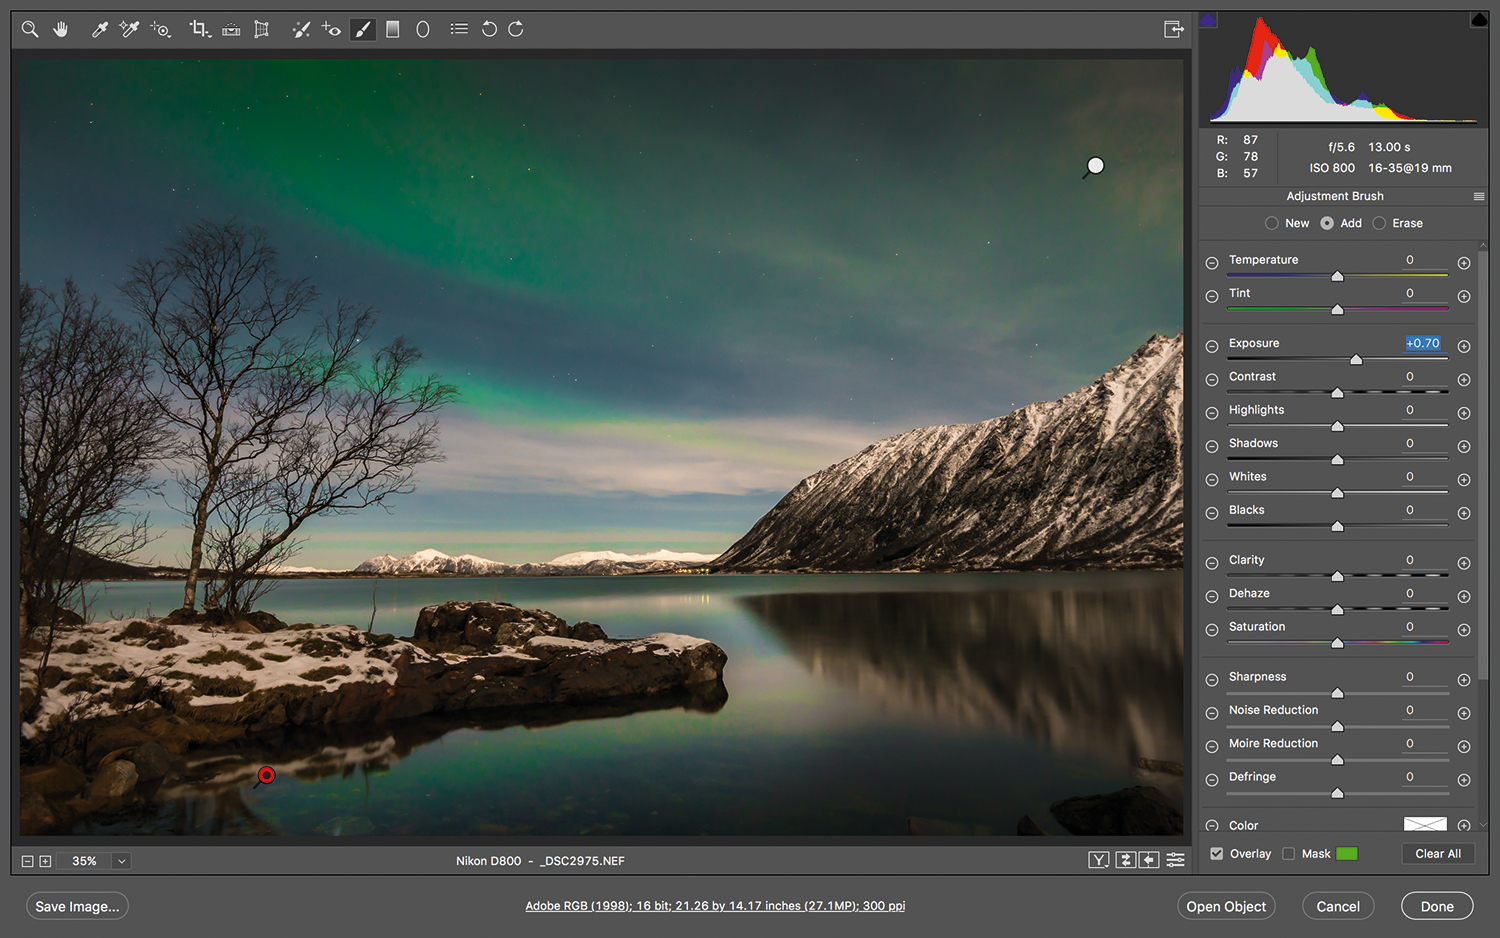
Areas of night photos may need selective tweaks to bring out detail, like the reflection in the lake. Grab the Adjustment Brush, click the plus next to Exposure to load the brush with a brightening effect, then paint over areas to lift them. You can add selective saturation in the same way.
More videos:
147 photography techniques, tips and tricks for taking pictures of anything
How to use an ND filter for slow-shutter-speed seascapes
Sunset photography: tips and settings for perfect pictures
How to use an ND graduated filter for stunning landscape photography
The lead technique writer on Digital Camera Magazine, PhotoPlus: The Canon Magazine and N-Photo: The Nikon Magazine, James is a fantastic general practice photographer with an enviable array of skills across every genre of photography.
Whether it's flash photography techniques like stroboscopic portraits, astrophotography projects like photographing the Northern Lights, or turning sound into art by making paint dance on a set of speakers, James' tutorials and projects are as creative as they are enjoyable.
He's also a wizard at the dark arts of Photoshop, Lightroom and Affinity Photo, and is capable of some genuine black magic in the digital darkroom, making him one of the leading authorities on photo editing software and techniques.

