How to prepare for low-light and night photography
From choosing a lens to knowing how to operate your camera with your eyes closed, here's how to get ready for dawn, twilight and total darkness
The best camera deals, reviews, product advice, and unmissable photography news, direct to your inbox!
You are now subscribed
Your newsletter sign-up was successful
Image: CC0 Creative Commons
Photography is only about collecting light, and if you're planning to shoot when there's not much of it around, you're going to have to plan ahead.
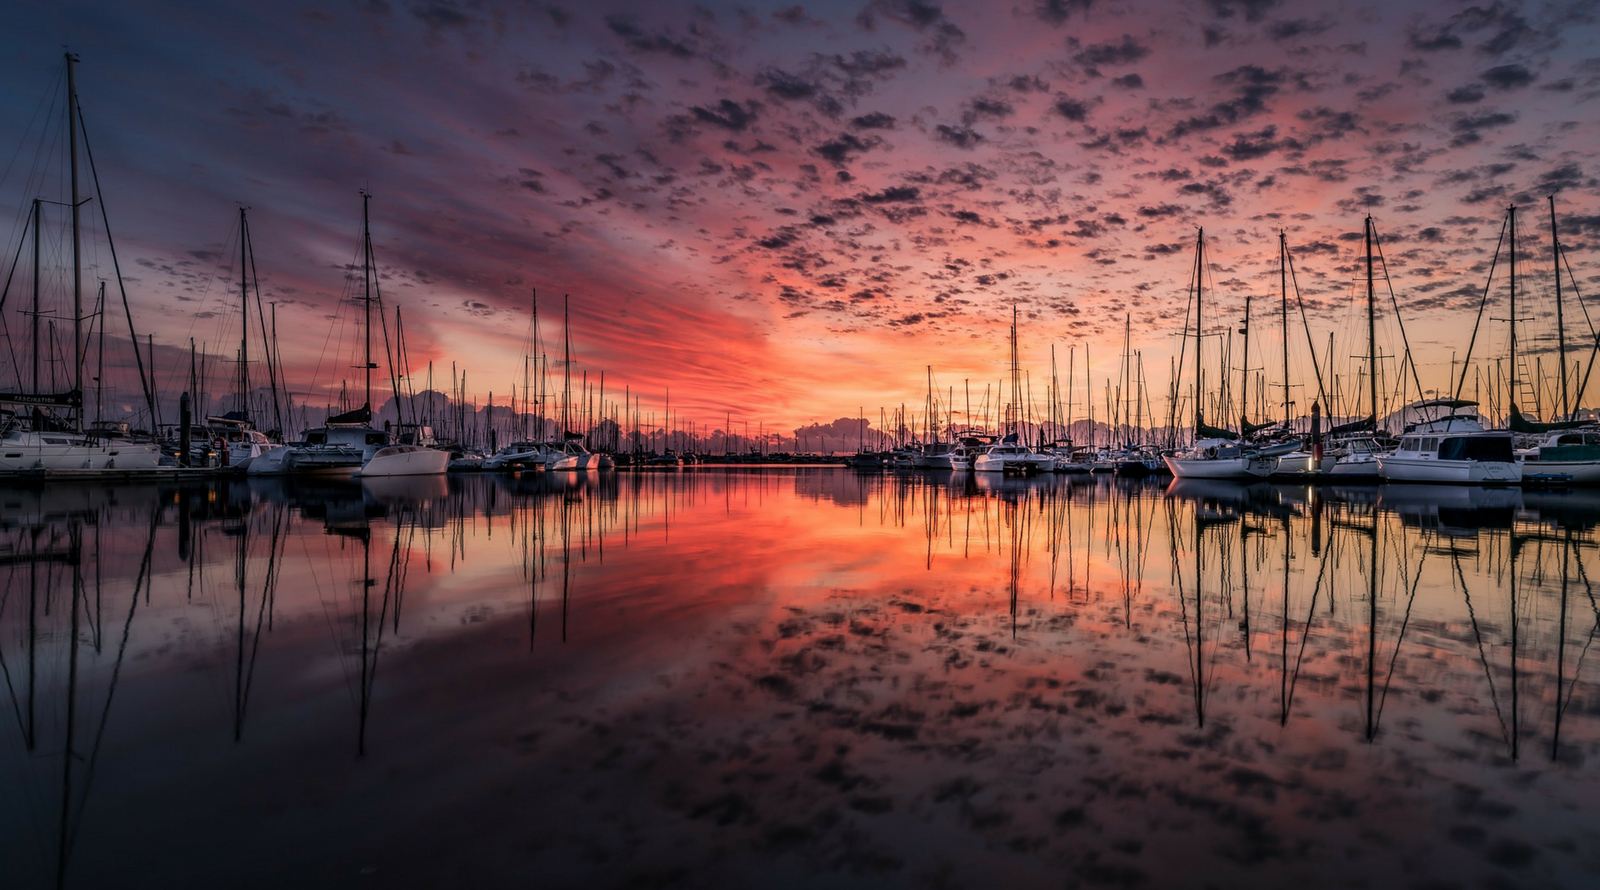
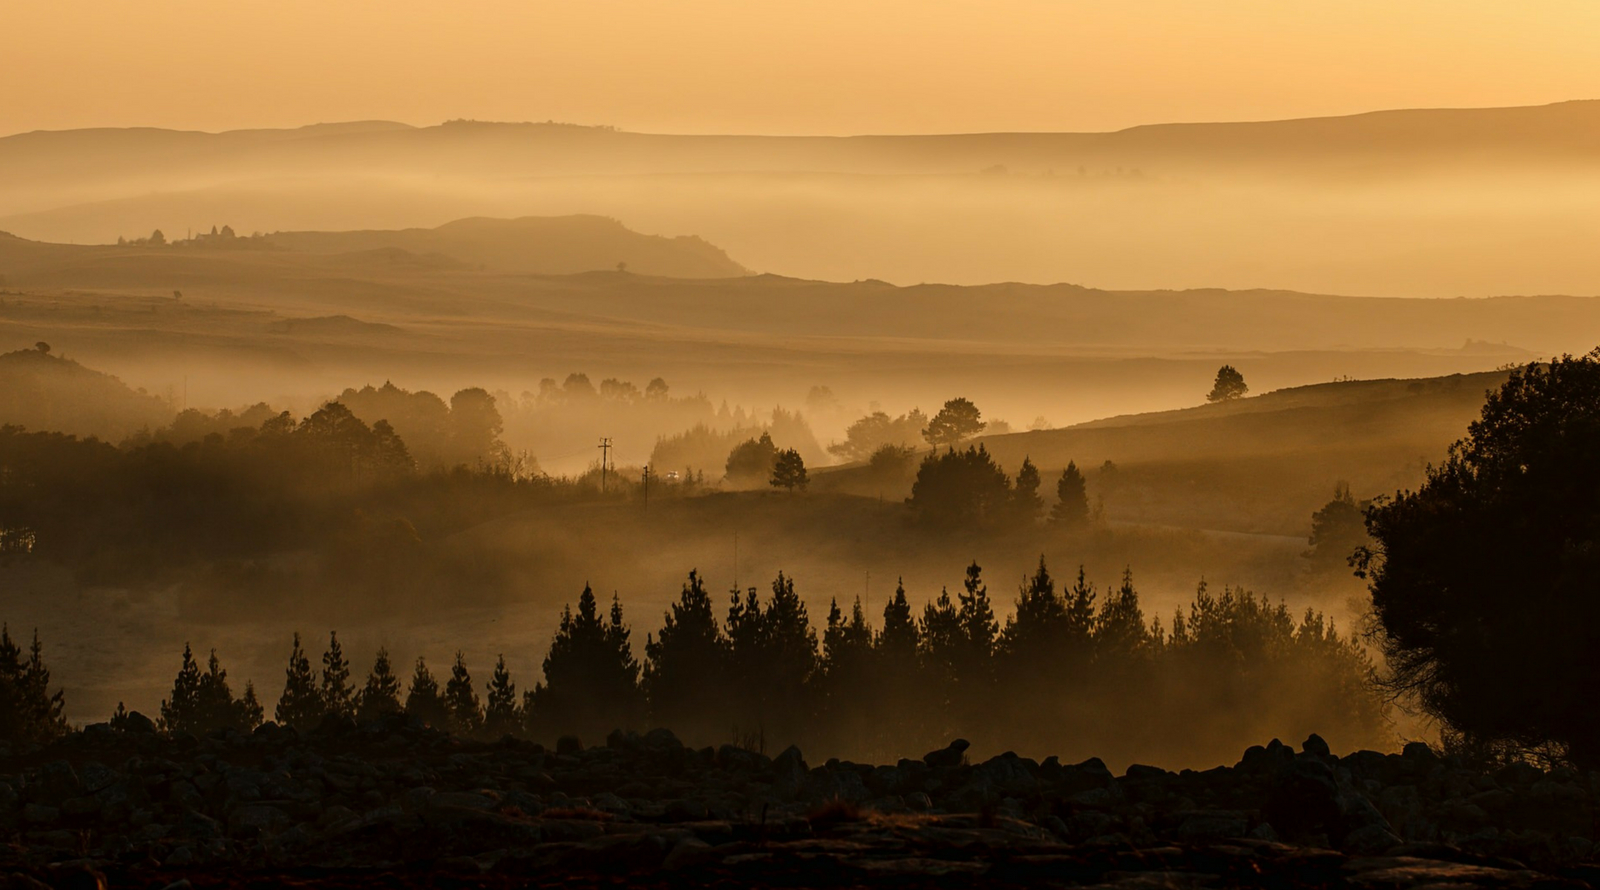
It's worth the effort; many of the most unusual, creative and inspiring shots you've seen have been taken in conditions that lack light, from a misty sunrise or an inspiring landscape at dusk to long-exposure images of both 'milky water' and the Milky Way at night.
Shooting in low-light conditions is challenging, but also hugely creative and rewarding. Here's how to prepare.
Choosing a camera and lens
When choosing a camera and lens for this kind of photography, two things are particularly important: aperture and ISO.
The aperture determines how much light reaches the camera's image sensor, and is expressed as an 'f' stop. The lower the number, the more light is collected at a given shutter speed, but that down to the lens you decide to use. While all lenses can handle a middling setting like f/11, few get down to f/2.8, which is where decent images of the night sky become possible.
• See also Best light-light cameras
The best camera deals, reviews, product advice, and unmissable photography news, direct to your inbox!
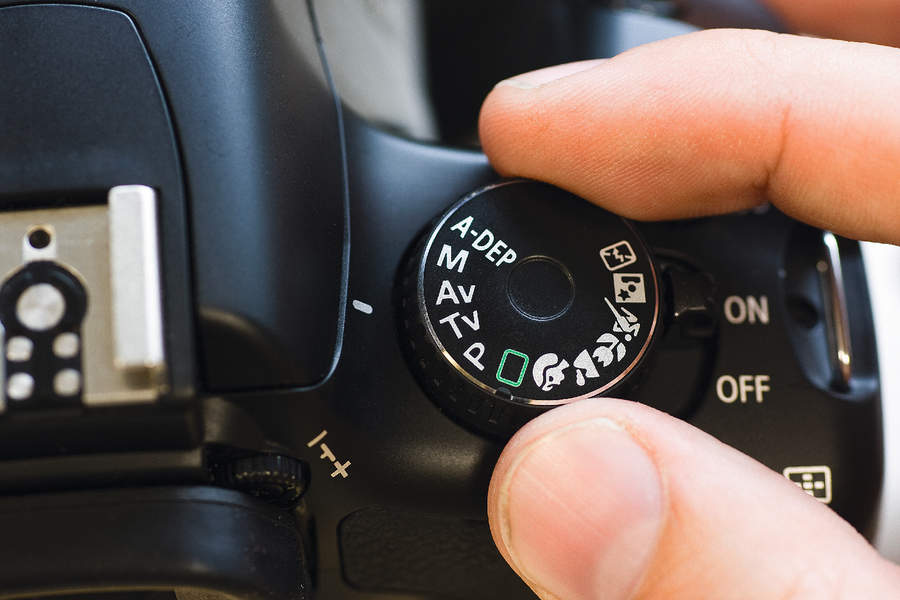
ISO – the light sensitivity of the camera’s imaging sensor – is also critical to low-light and night sky photography. Entry-level DSLR and mirrorless cameras tend to produce images that have more picture noise when faced with low-light or night conditions. For shots at dusk, you're likely going to be using the aperture-priority mode, thereby experimenting with both shutter speed and high ISO settings.
If you're going to be taking images of the night sky, try to get a full-frame DSLR camera. These have a relatively large image sensor, which collects more light than smaller ones, and so can used more effectively at high ISO settings. In other words, you’ll be able to collect more light without image noise becoming an issue.
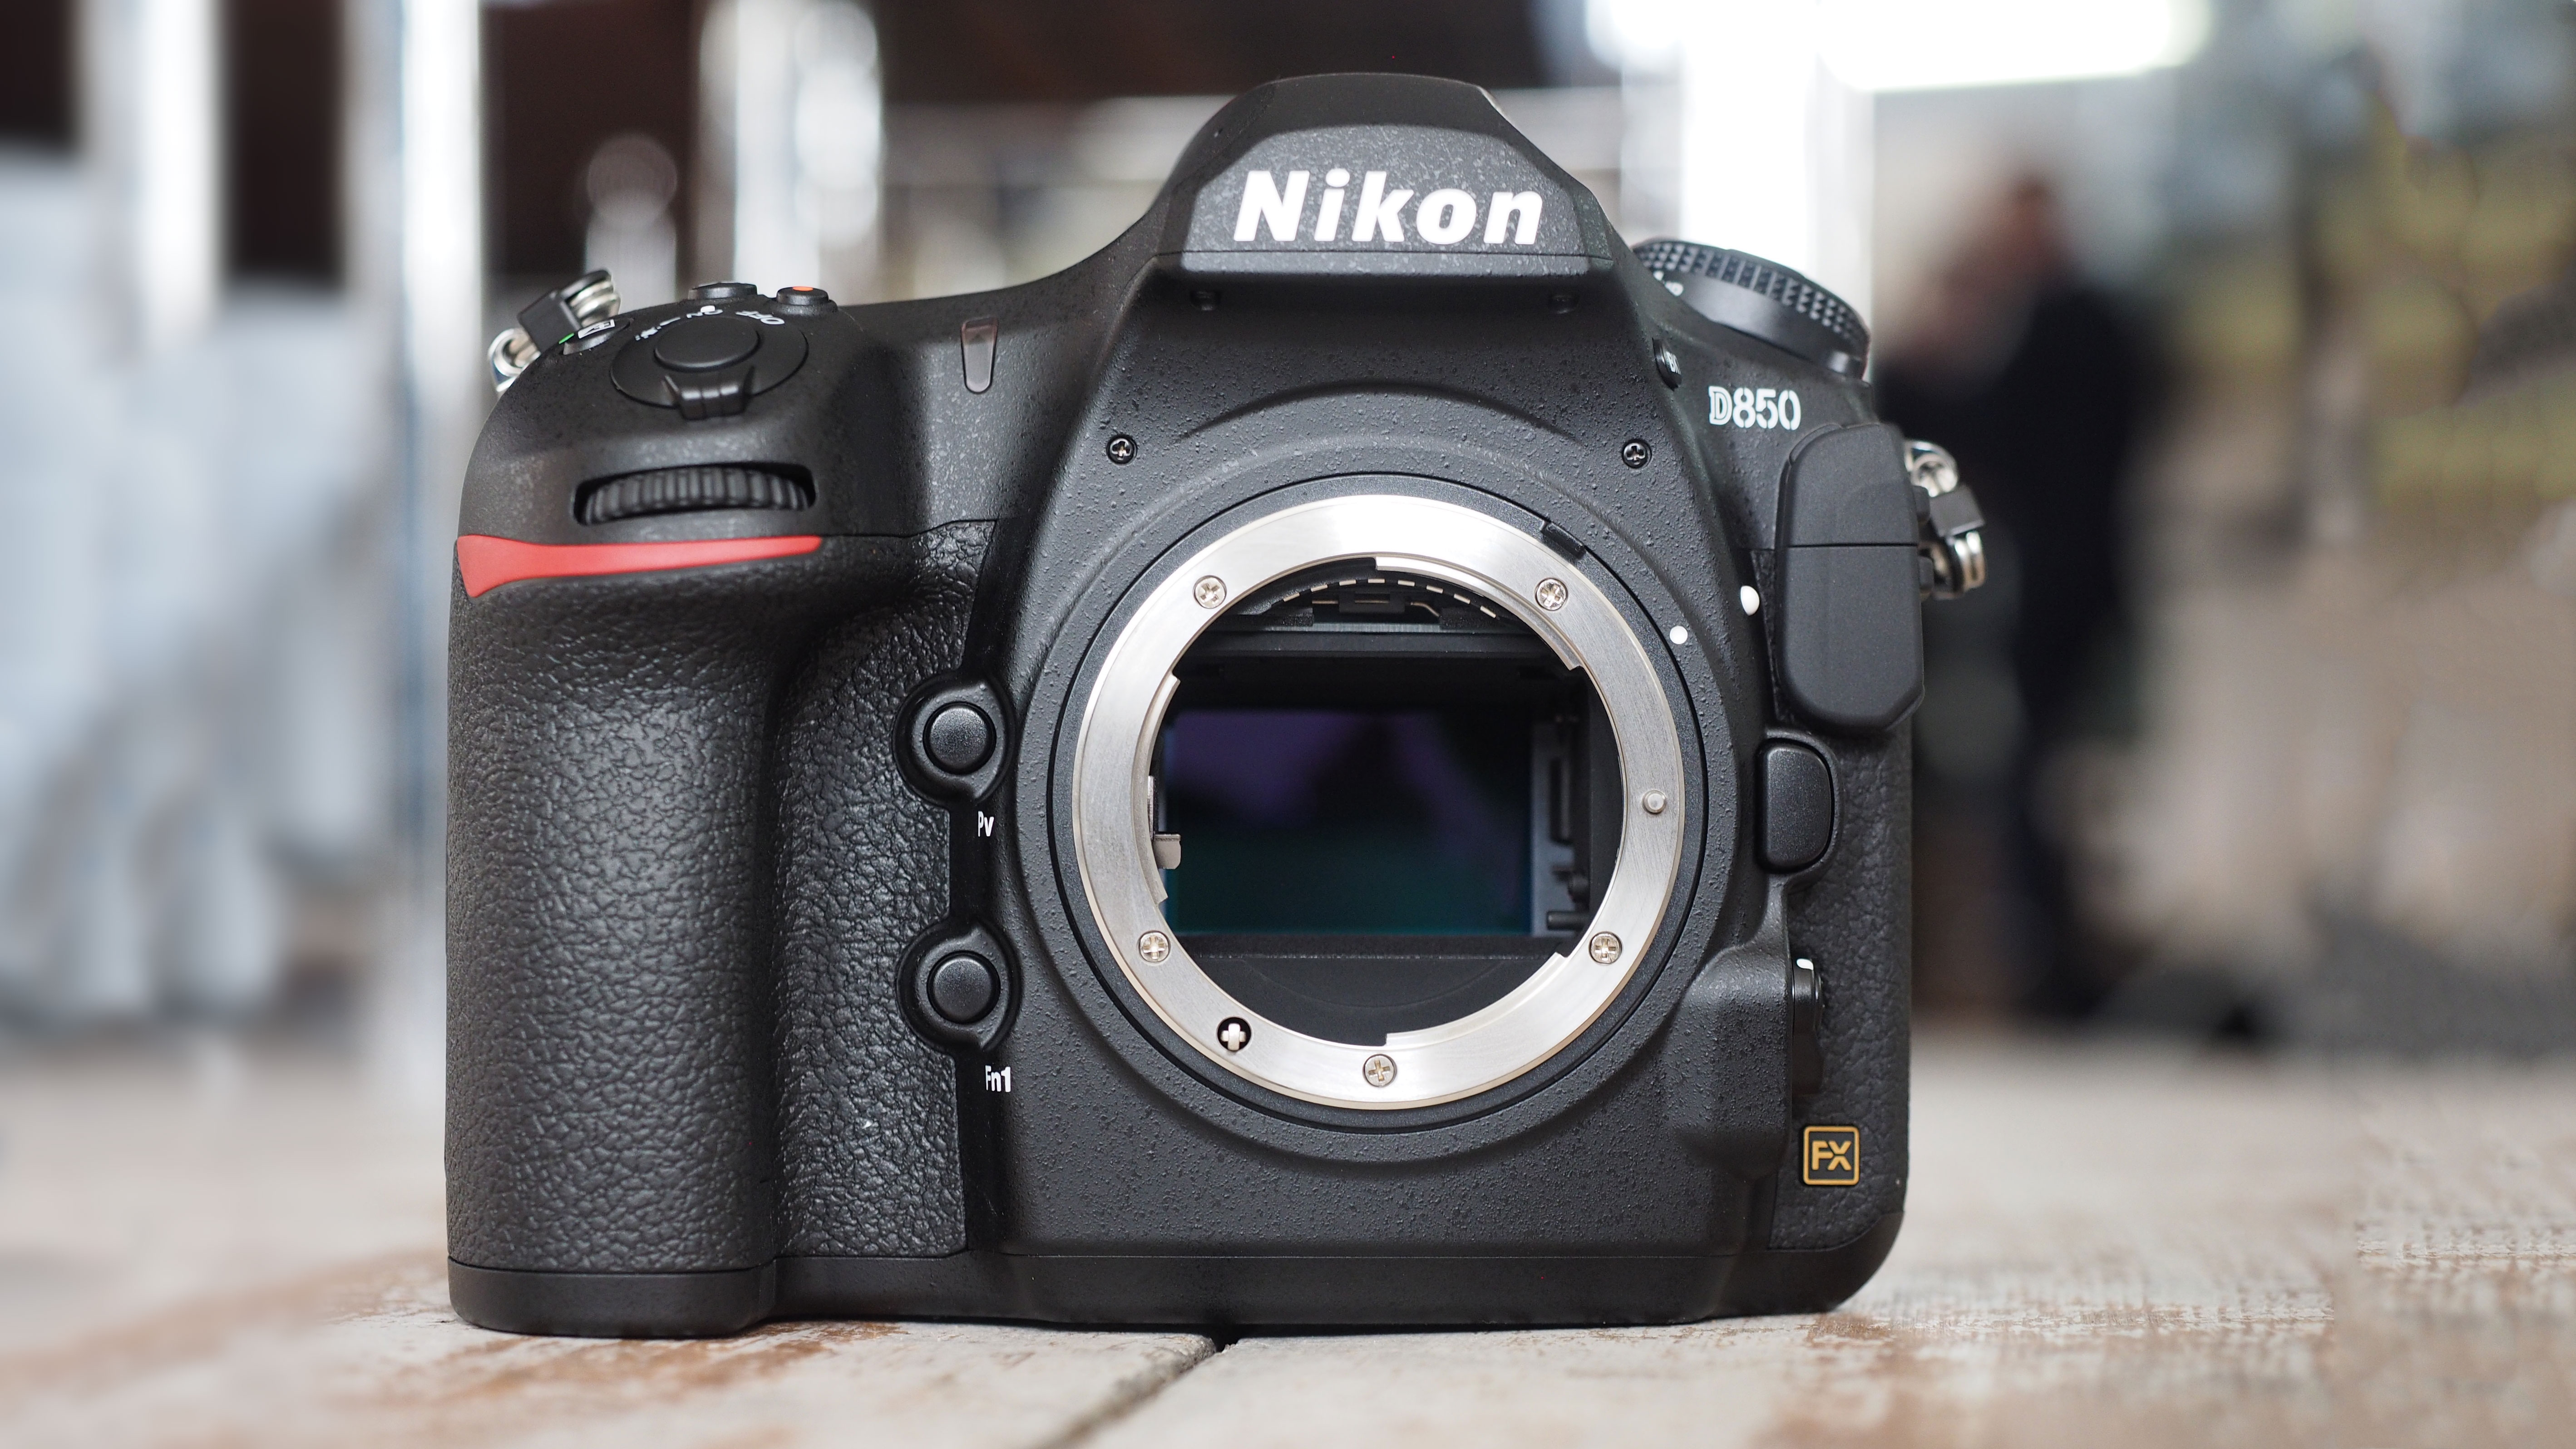
Just as important in getting good low-light or night photos is the shutter speed; how long the image sensor is exposed to light. Most manual cameras will allow you to open the shutter for at least 30 seconds, which is more than enough for most low-light images. However, for specialist night sky pictures, you may have to engage a 'bulb' mode, which opens the shutter for as long as you want.
Equipment and accessories you'll need
It pays to pack a few essentials when you’re heading out on a shoot in low-light or dark conditions, both for safety and stability.
Torch
Something you're definitely going to need for your low-light or night-photography shoot is a torch or flashlight, both for finding a position at night or before sunrise, or for exiting an area safely after the sun has set. However, when the light levels drop it's also useful for illuminating a subject to autofocus on it. Choosing the best head torch keeps it hands-free.
Tripod
Since you'll be opening the shutter on your camera for long periods – and certainly longer than maximum for handheld shots – a vital ingredient in low light and night photography is stability. That makes a sturdy tripod an essential part of your photography gear.
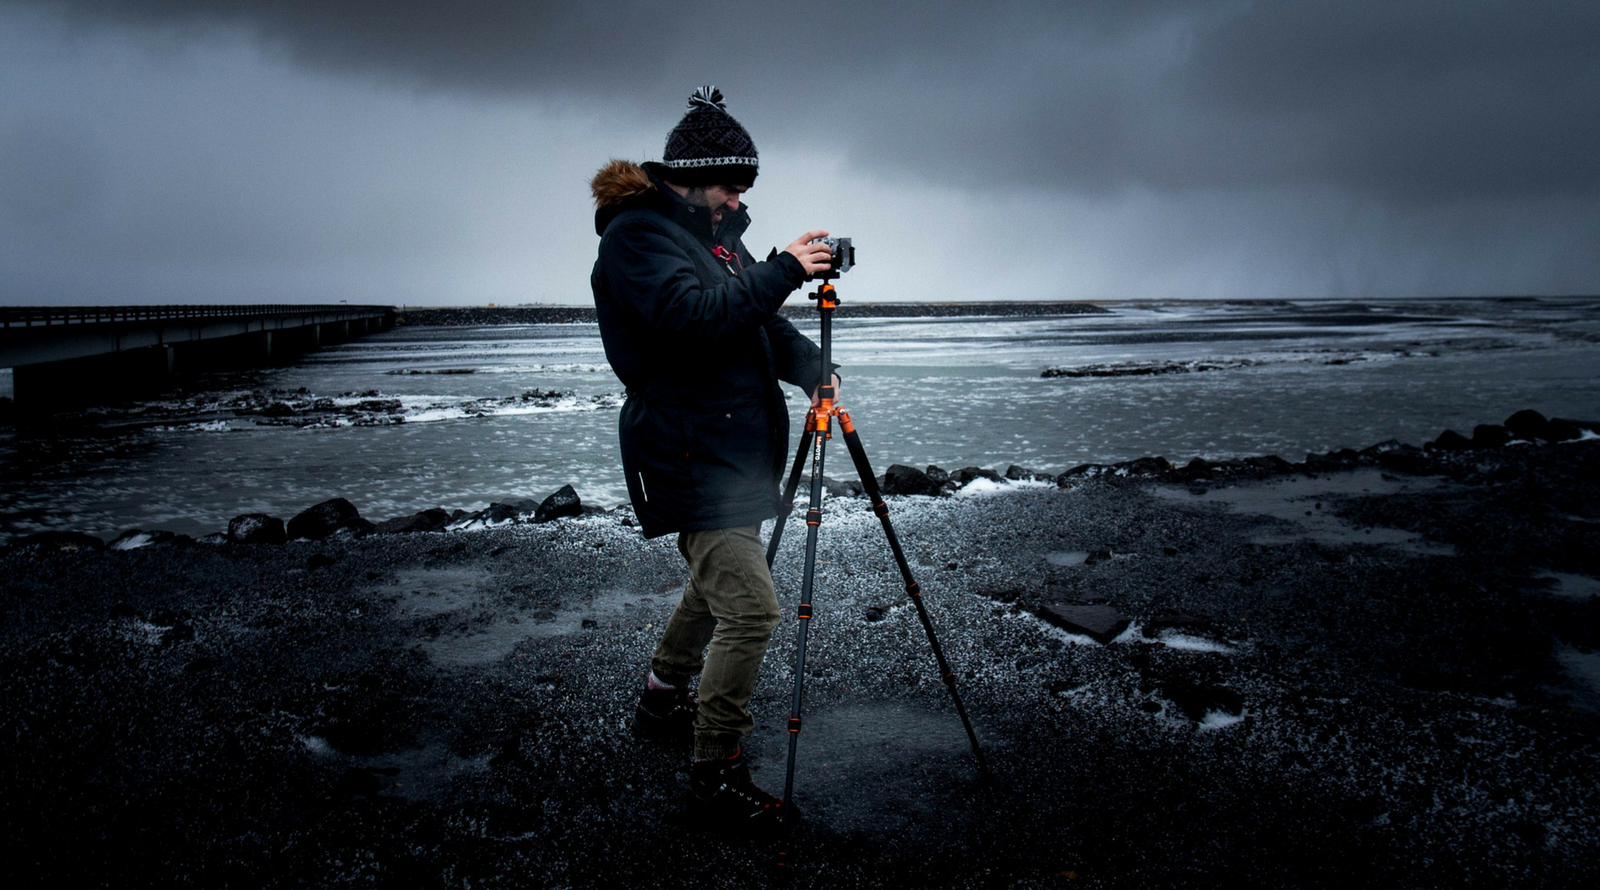
Choosing a tripod is not easy, especially if you plan to travel abroad and need to keep weight to a minimum. It's tempting to choose a super-light travel tripod, though as well as being made of lightweight materials such as aluminium or carbon fibre, they do tend to be rather short at around 105cm/41in.
Read more: The best travel tripods right now
That can make it tricky to look through your camera's viewfinder without constantly bending over or kneeling on the floor. Although a tripod is primarily for keeping your camera steady, and not for your comfort, in calm conditions it's always best to make your camera easier to adjust. A tripod that fully extends to about 132cm/52in will be tall enough for most people.
Bag or backpack
There are various ways of maximising stability. Once all the leg sections of your tripod have been locked in place, extending the centre column should only be done in still conditions. If there is wind, using that column can introduce vibrations.
If there's a small hook on the underside of the centre column, use it; hanging a backpack by its carry handle will increase stability. However, while this is very useful in windy conditions, make sure the bag is relatively heavy because otherwise a gust of wind can cause the bag to strike the tripod legs.
Cable release or wireless remote
There are two more pieces in the jigsaw of tripod stability. The first is to use a cable release or a wireless remote (or a camera’s self-timer) to prevent the physical depressing of the shutter-release button introducing camera shake. The second is even simpler; don't kick your tripod while your camera’s shutter is open. That might sound silly, but it's easy enough to do in total darkness. If you're an hour or two into shooting a star-trail, that’s an all-too-easy way to ruin a night's work. When your camera’s shutter is open, stand well back.
SD cards and spare batteries
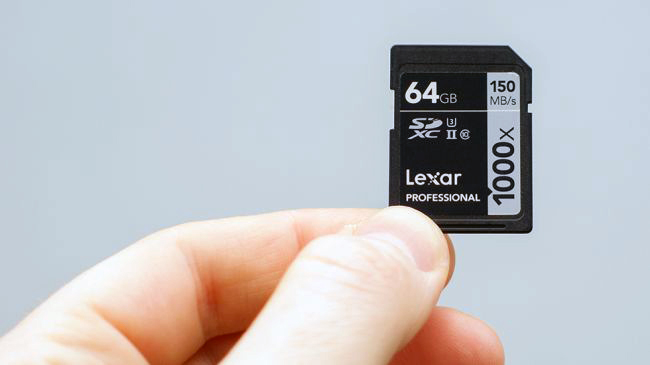
Since you'll likely be using high ISO settings, there's a good chance that your images will feature some picture noise. Although it's time-consuming, Photoshop or a similar program can be used to clean up images, but only if you shoot in Raw rather than JPEG. That means collecting a whole lot more data, so pack extra SD cards on any low-light shoot. It's also worth bringing a few spare batteries, especially if it's cold, since low temperatures tend to reduce battery life.
Planning a low-light shoot
Know where you want to go, and go there at the correct time to make use of changing light conditions. Lower light levels are why photographers often prioritise being in a landscape during the so-called blue hour just before sunrise and just after sunset.
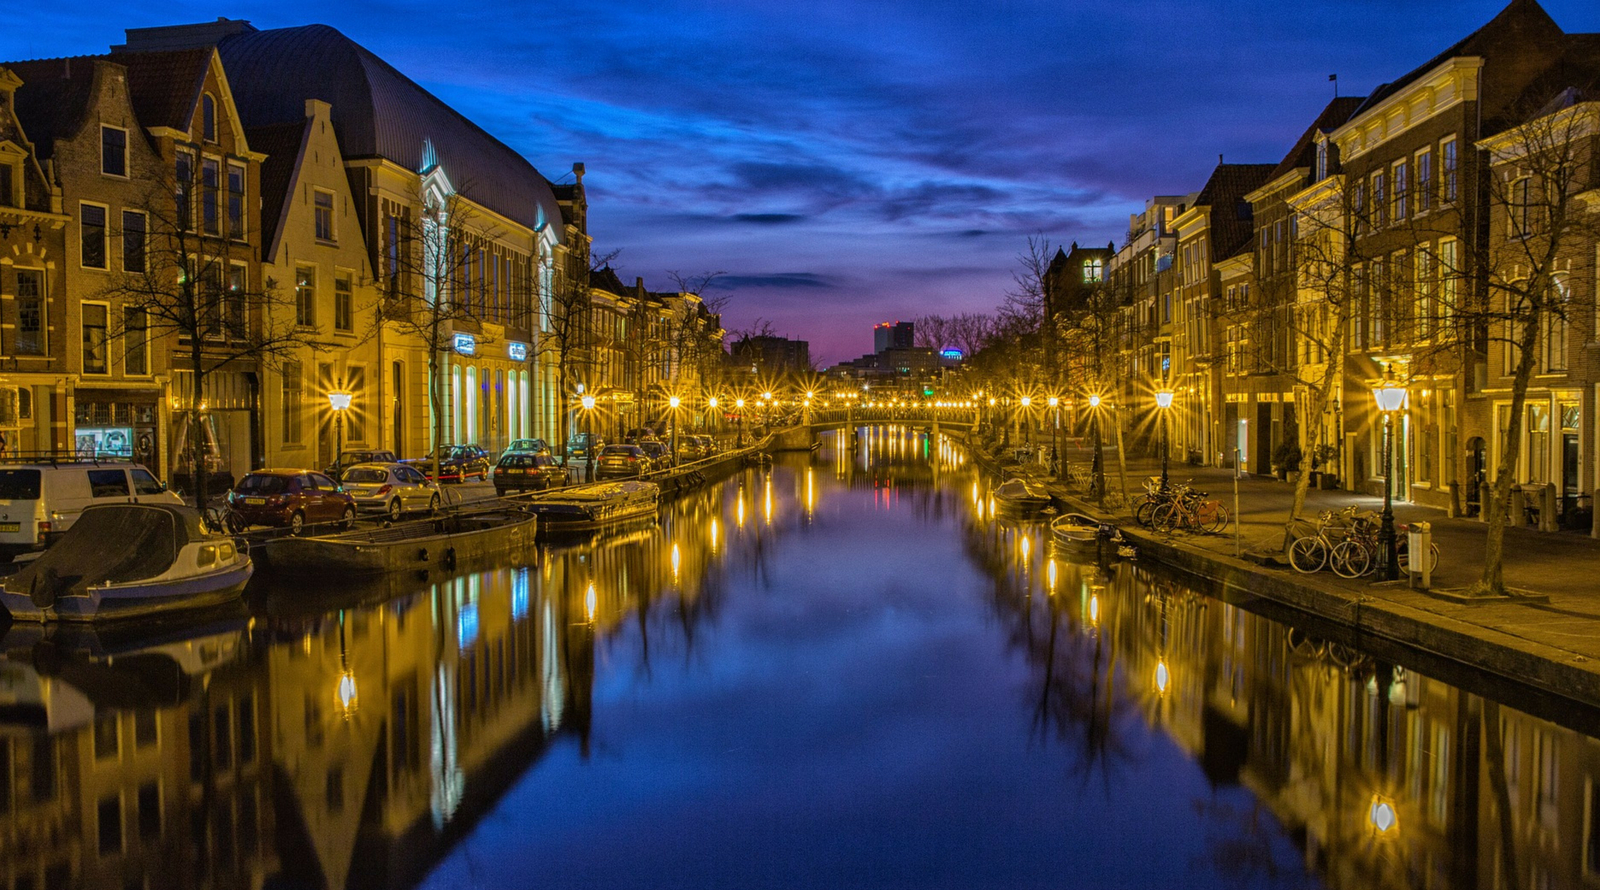
Whether you arrive before sunrise or leave after sunset, it's likely that you're going to be conducting some of your work in total darkness. This means you need to have familiarised yourself with your shooting location in advance. Visit during daylight hours to scope out some potential shots and locations for your camera, taking along a compass if necessary so you know where the sun will rise and set.
Read more: How to photograph during the blue hour
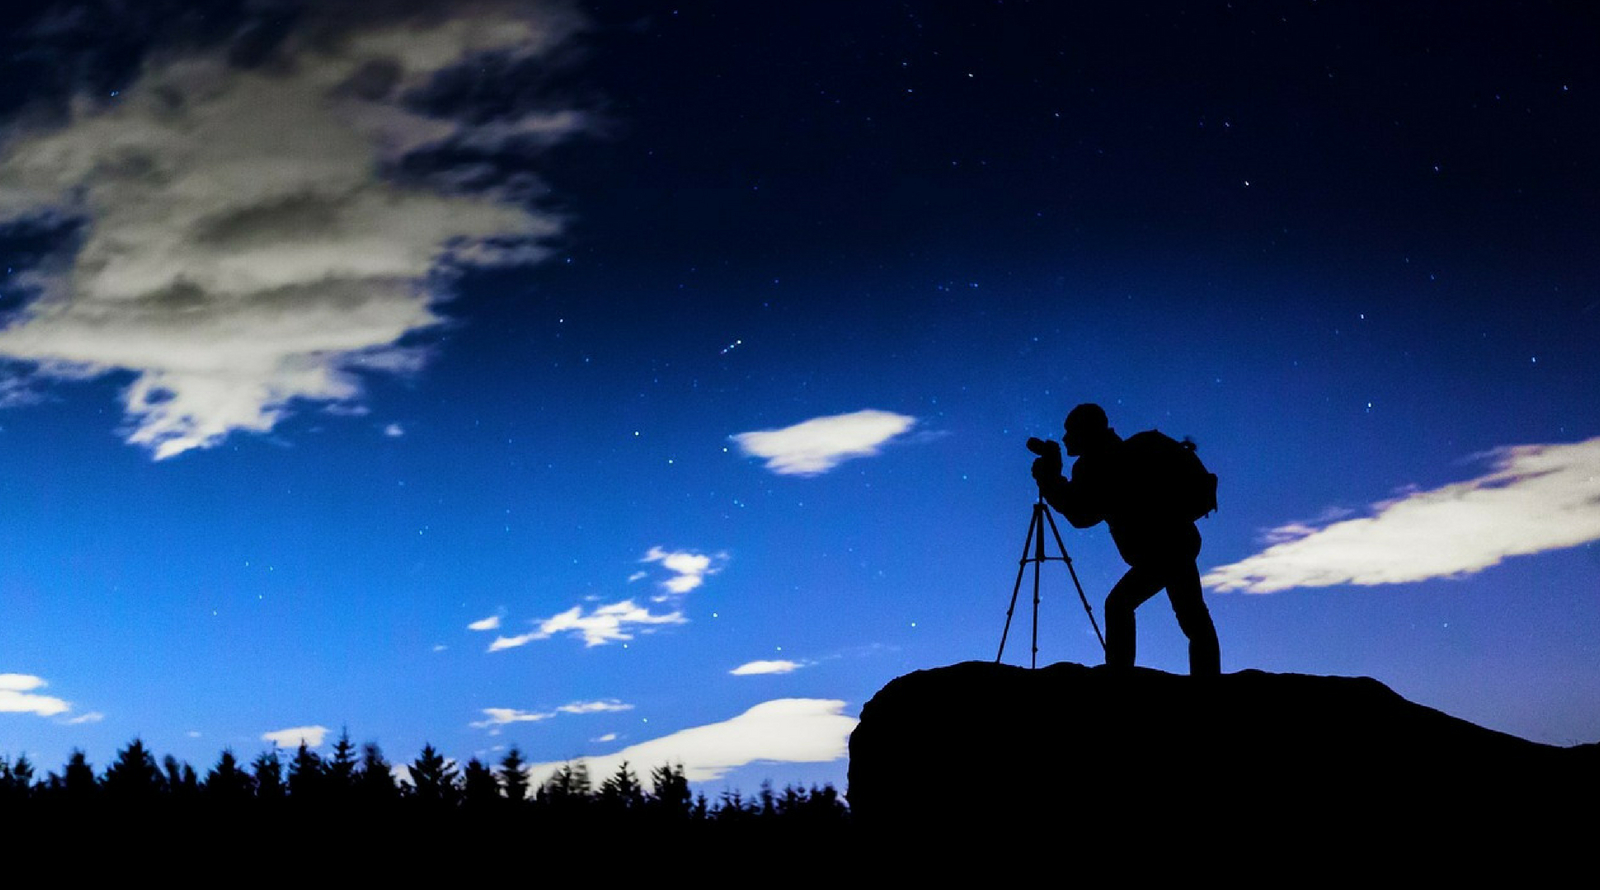
Planning a night shoot
During a night shoot, you may want to capture the Milky Way. From the northern hemisphere it's only possible to photograph it in spring (after midnight) and summer (before midnight), when its bright core is visible in the south-eastern sky.
Read more: 10 quick tips on how to get started with astrophotography
Moonlight can make a huge difference to light levels in any location and whatever time of night, so consider the moon phase well in advance. For example, a long exposure taken during a full moon can look as bright as daylight – but with added bright stars visible (which can be a lovely effect) – whereas a new moon guarantees completely pitch black night sky.
If you want to create a star-trail long exposure or composite image that shows the rotation of the Earth against the night sky, you need to know where Polaris is. Because Earth’s axis points to it, all the stars in the northern hemisphere appear to rotate around this North Star, which is due north. That means you'll have to point your camera to the north if you want to create a circular pattern. Point south and the star’s trails will form curved lines.
Read more: How to capture star trails
For working out when to get in position, the Blue Hour Site is useful, as is The Photographer’s Ephemeris (TPE), which allows you to see exactly how light will fall for any location. The Sky Live app at is great for finding out sun and moon rise and set times, as well as stargazing conditions (ie the chance of clear skies).
Read more: 15 of the best photo apps: top editing apps for iOS and Android devices
Also useful for night sky photography are the Light Pollution Map and Dark Site Finder for finding good locations away from light pollution. For finding Polaris, the Milky Way and for identifying constellations, any planetarium app will do, with the Stellarium website and Stellarium app both free and reliable.
Preparing for a night shoot
Dawn, dusk and night time shoots mean lower temperatures, so wrap up warm and, perhaps most importantly, bring thin gloves that allow you to operate the camera easily.
It also pays to think about the temperatures your gear is being exposed to. Lenses can fog up easily when taken between warm and cold conditions, so once your gear is outside, leave it there. If you bring it inside into a warm room after the shoot, leave everything in your camera bag so it can warm up slowly.
Read more: Why landscape photography should always start with a map, a watch and a compass
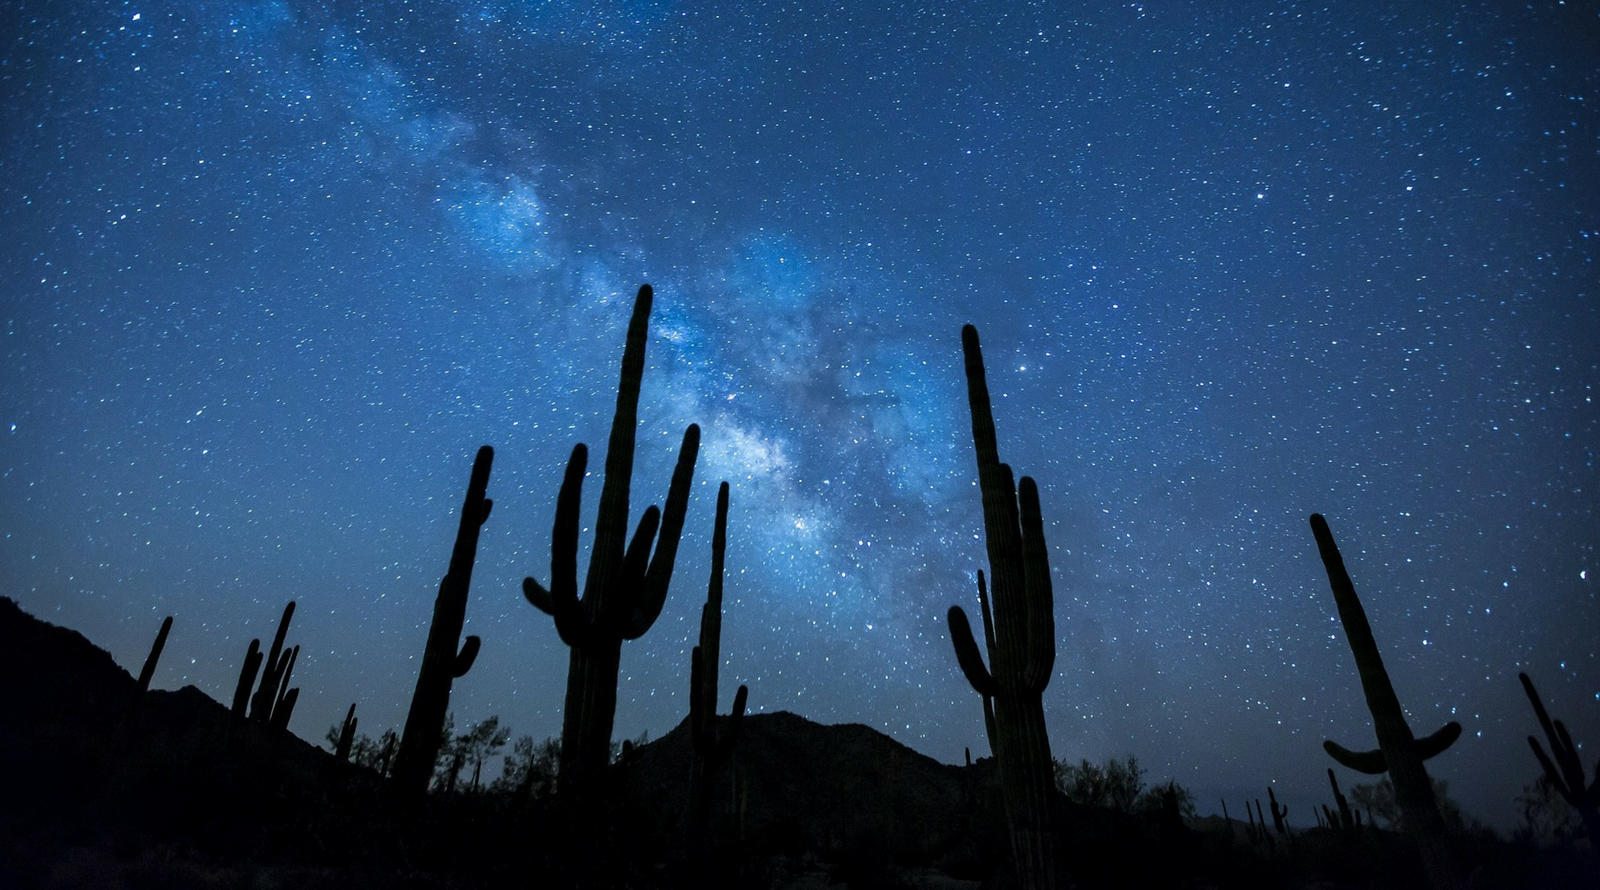
It may seem like a strange skill to master, but knowing how to operate your camera in the dark without looking at it can make your life a lot easier when you're taking photographs in the darkness. It makes a huge difference when you're trying to photograph something fleeting, such as the aurora borealis or Northern Lights.
When they appear suddenly in the sky above you, or make interesting shapes that last just a few seconds, you need to be able to adjust your ISO and shutter speed as quickly as possible without having to fumble for a torch. If you don't know exactly where the essential dials and menu options before you go on a night shoot, you can practice at home by simply sitting in a dark room with your camera (you can also try making adjustments with your eyes closed).
Although adjusting your ISO and shutter speed are the most important at night, it's very helpful to know how to dim the brightness on your camera's LCD screen. That simple act will prevent glare and save your night vision, and therefore allow you to operate your camera more easily and use the viewfinder.
Read more: The beginner's guide to photographing the night sky

Jamie has been writing about photography, astronomy, astro-tourism and astrophotography for over 20 years, producing content for Forbes.com, Space.com, Live Science, Techradar, T3, BBC Wildlife, Science Focus, New Scientist, Sky & Telescope, BBC Sky At Night, South China Morning Post, The Guardian, The Telegraph and Travel+Leisure.
As the editor of When Is The Next Eclipse and author of A Stargazing Program For Beginners, he has a wealth of experience, expertise and enthusiasm for astrophotography, from capturing the Northern Lights, the moon and meteor showers to solar and lunar eclipses.
He also brings a great deal of knowledge on action cameras, 360 cameras, AI cameras, camera backpacks, telescopes, gimbals, tripods and all manner of photography equipment.
