Why landscape photography should always start with a map, a watch and a compass
It pays to know the time, the direction of the sun and the moon, and the cardinal points when planning a shoot
The best camera deals, reviews, product advice, and unmissable photography news, direct to your inbox!
You are now subscribed
Your newsletter sign-up was successful
Image: © Westend61, Getty Images
Landscape photography can be about luck. Some of your greatest images may have been something you noticed quite suddenly, such as a reflection, a fleeting cloud formation, or an unexpected wildlife sighting. However, for every surprise photo, there are dozens more shots that are well-planned and thoroughly thought-out using a map, a watch and a compass – sometimes years in advance.
How? Because light, and the way it falls on our planet and affects how our surroundings look, can now be predicted down to the second. Whether it's the sun or the moon, knowing the movements of both – and how they affect what light will be visible – drastically affects the possibilities for photography.
Great landscape photography can involved a lot of walking, so you might want to check out our list of best camera backpacks!
Which direction does your subject face?
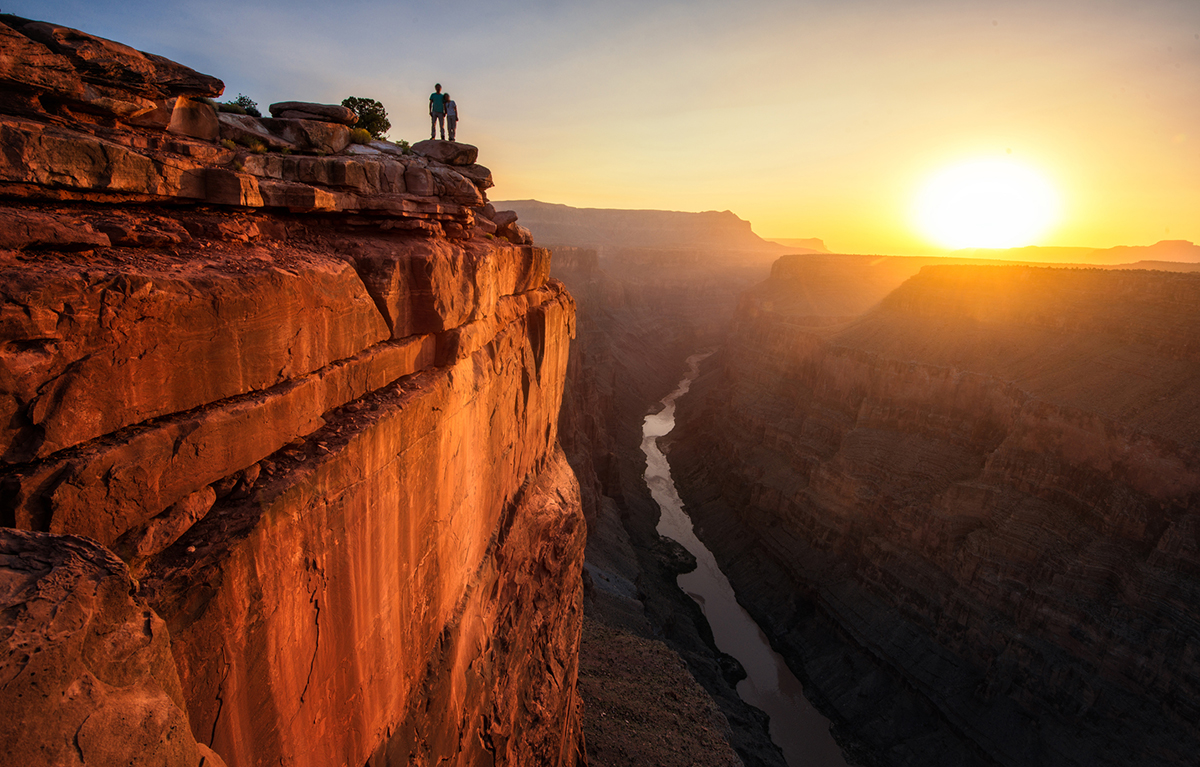
This is the fundamental question that you have to ask before attempting any shot. Turning up at dawn to photograph a canyon wall being slowly lit up by a sunrise will be a complete waste of time if the canyon wall you're aiming at faces west.
So, for a sunrise shoot, you need to be on the eastern side of a subject that faces east. Only then will it be enveloped in the soft light of dawn. However, if you're going for the actual sunrise itself, you need to face east, and have an interesting landscape before you.
At sunset, of course, everything is turned on its head. Those last few rays of sunlight will only hit subjects facing west, so you need to be on the western side of your subject, and point your camera east. To capture sunset itself, you need a low horizon to the west. Simple? Perhaps, but it’s incredibly important to think about all of this in advance if you’re after a specific photograph.
The best camera deals, reviews, product advice, and unmissable photography news, direct to your inbox!
Consult maps and take a compass
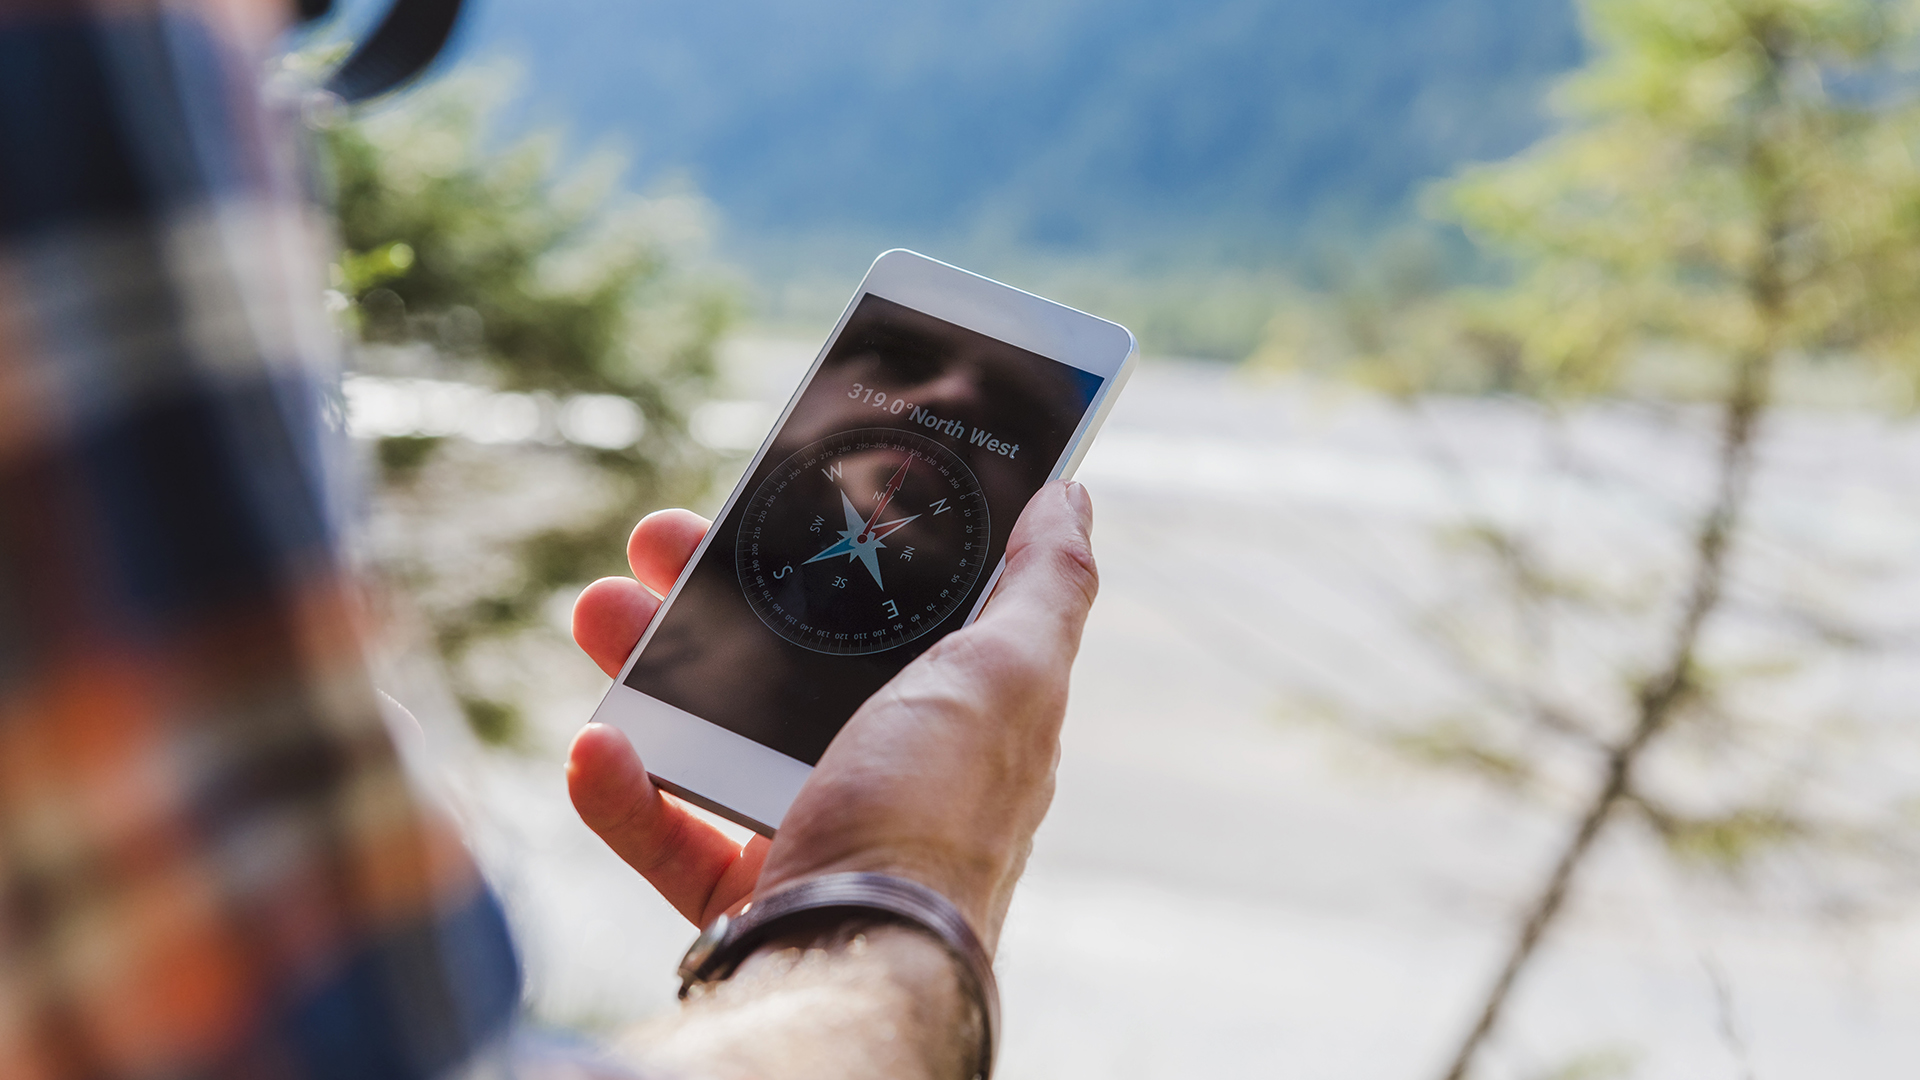
Have you got a compass in your camera's kit bag (not counting that digital app on your smartphone that's prone to needing constant recalibration)? You should get one, because knowing your cardinal points when you're in a new environment can be critical.
You don't have to use paper maps and an old rusty compass, but you should pick your digital resources carefully. Google Maps and Google Earth might be useful for navigating to a place to park your car, but the sun and moon’s exact rise and set points differ throughout the year.
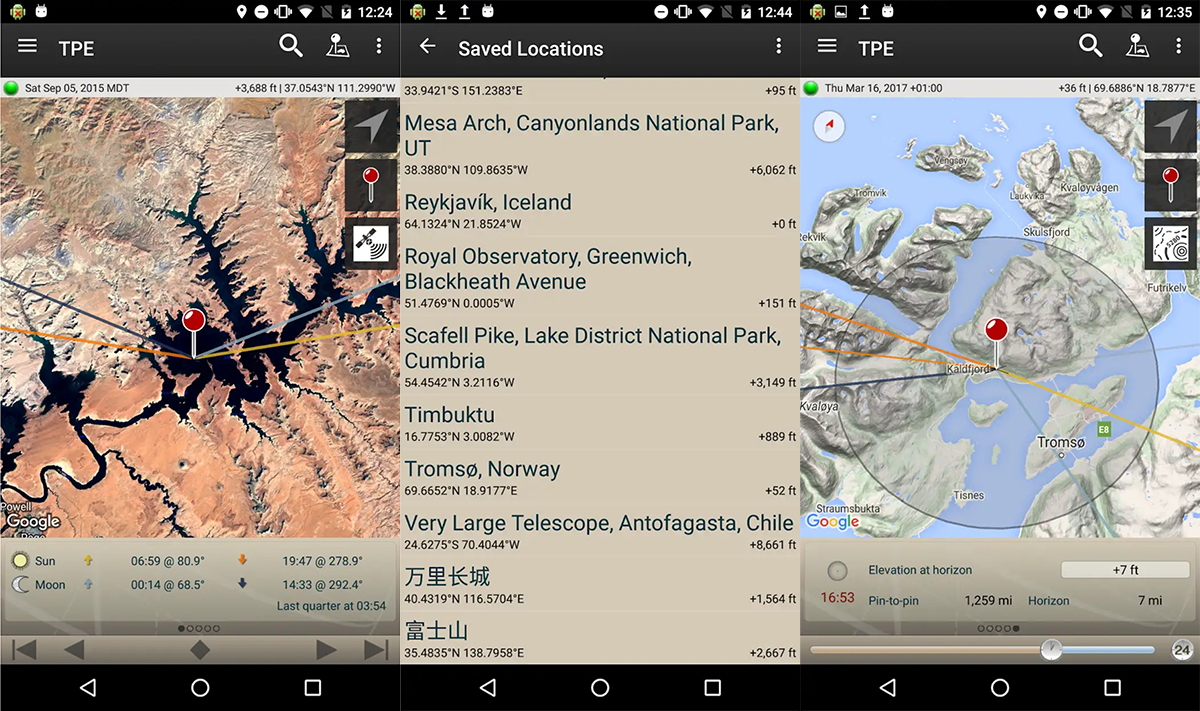
Cue two online resources/phone apps that help immensely, The Photographer's Ephemeris (TPE) and PhotoPills. They show exactly how light will fall on the land for any location on Earth, showing the exact sunrise and sunset (and moonrise and moonset) points, and even geodetic data on exactly when they will be viewable just above, say, a mountain range.
Why is it important to plan shots?
It's likely that you have a few places and times in mind when you had great light, but also remember that the time of year is as important as the time of day.
As well as helping you to plan more shots more accurately, taking such a detailed approach to your environment can occasionally reveal a secret shot. For example, for a couple of minutes on two or three successive days during late February each year, light from a setting sun shines through the Yosemite Valley and causes the water flowing over Horsetail Falls to glow yellow, orange and even red. It looks like fire.
Understanding sunrises and sunsets
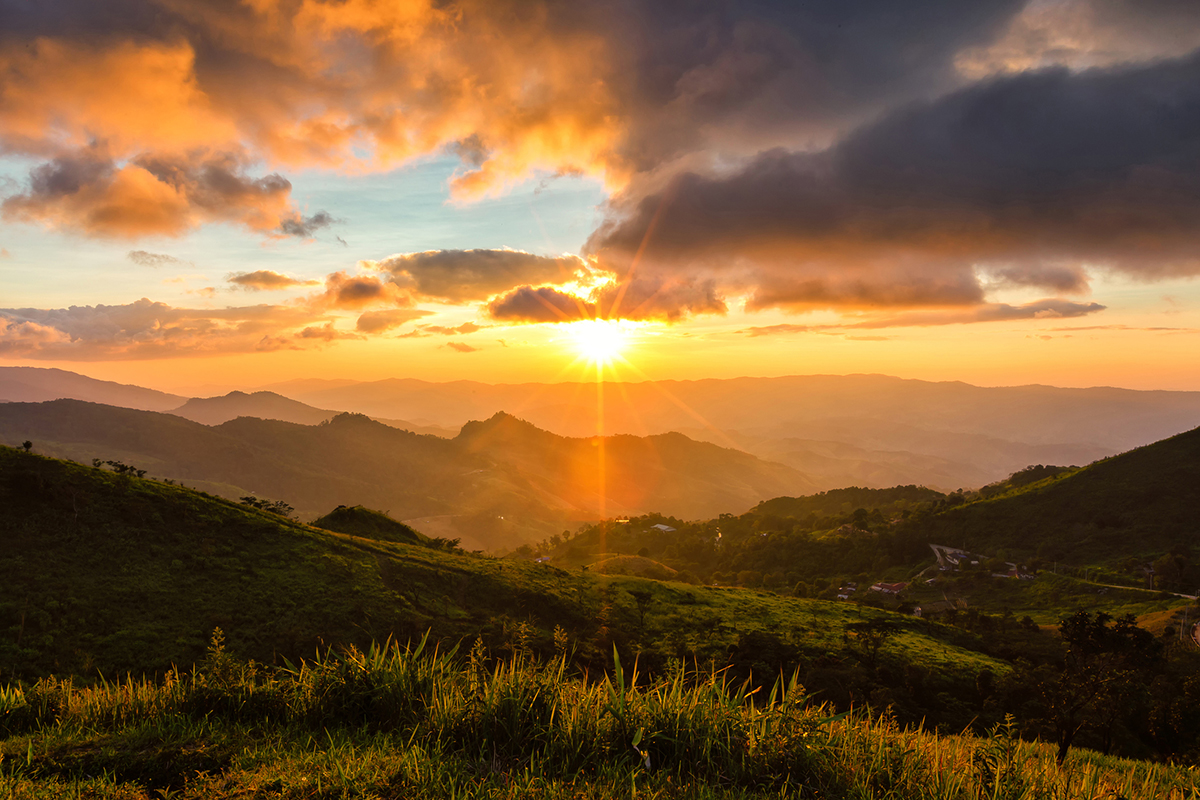
If you're photographing a sunrise, be quick about it. In fact, you should probably be looking the other way because of how the sun can suddenly light-up a landscape.
Whatever your subject is, knowing how sunrises and sunsets work can pay dividends. Each day begins with a sunrise in the east and ends with a sunset in the west, both dramatic phenomenons in themselves that many a photographer has purposely captured.
But let's go back to absolute basics and reassess the meaning of the phrases sunrise and sunset. Neither of them actually exist. The sun never rises or sets; instead, the Earth rotates constantly, so the sun only appears to travel across the sky from east to west. That information alone means that Earth is rotating from west to east. Simple, yes, but it’s a revelation for many people.
What does change is the sun's light, and more specifically, its angle. Even that is very specific to where you are on the planet, and what time of year it is. That's because Earth rotates at an angle of 23.5º, which gives us seasons. It also causes the sunrise and sunset points – their exact place on the horizon – to change considerably, depending on the time of year.
All of this makes it very difficult to know in advance without some help from planning resources like The Photographer's Ephemeris (TPE) and PhotoPills. They’re really useful if you want to plan a photograph of the sun setting between two mountains or buildings, essentially showing you where you need to put your camera – and when.
Finding north at night
If you arrive in a location to shoot the sunrise and the following golden hour, a quick glance of your compass will tell you the general direction in which the sunrise is going to occur. At night there’s another, more manual way of finding the cardinal points, and a good reason for doing so.
Read more: How to photograph during the golden hour
It’s all about finding the one star that appears never to move. First, find the Plough, that saucepan-shaped constellation, which is always visible in the northern hemisphere (terrain allowing). Locate the two stars on the outside of the saucepan's bowl, called Dubhe and Merak. Now draw a line from Merak (at the bottom of the bowl) through Dubhe, and go five times the distance to the next bright star. That's Polaris, known as the North Star because it appears to sit directly above the North Pole. Find Polaris and draw an imaginary line to the horizon, and you have found North.
That works because Earth's axis points straight at Polaris. So it also follows that it gets higher above the northern horizon the further you are away from the equator. If you're at the equator, Polaris will appear on the northern horizon, and at the north pole, it's directly above. Hold a hand at arm’s length, and stretch the index finger and little finger as far apart each other as possible. you can. The span is 15°, which is your latitude on the planet.
That information is hugely important if you want to want to shoot star-trails since Polaris does not move. That's why star-trail photographers tend to work in latitudes around the equator, where Polaris is lower in the sky, so it’s easier to frame a star-trail around a building or a mountains (in the UK, Polaris is 51° in the sky – very high – so you have to work harder to create eye-catching star-trail compositions).
Night photography and the Milky Way
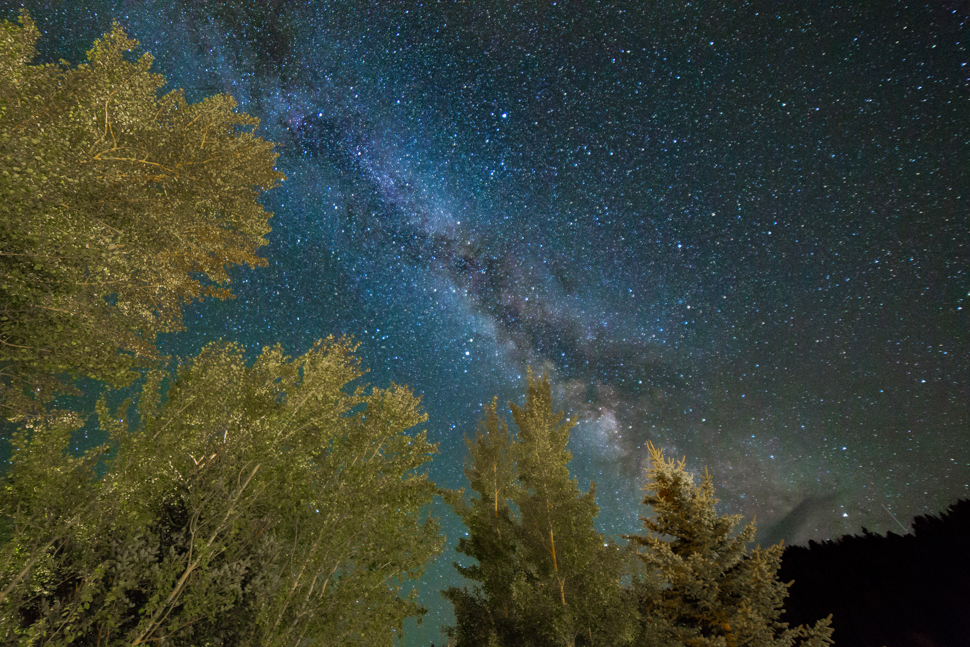
That dreamy Milky Way or northern lights shot you always wanted to capture will probably elude you unless you first think about the moon.
Photographers have a love-hate relationship with the moon because of its vastly different brightness at different times of the month. When the moon is full, it may be a beautiful disc, but it’s extremely bright, and it's impossible to expose for both your surroundings and the full moon during the night.
So, if you do want to capture stars or the northern lights using long exposures, always carefully plan your trips to dark sky destinations. Be sure to avoid the week before a full moon and three days afterwards, when there's a lot of moonlight.
Of course, that may be an important part of a photograph (perhaps of a full moon reflecting off a lake), but just be sure to know in advance what to expect. For example, the Milky Way is best photographed between June and September, when it's high in the sky soon after dark, but only when the moon is down.
The 29-day wait: moonrises and moonsets
The complete opposite is true just once a month when the Full moon peeks up over the eastern horizon. During a short window of about 10 minutes, this is the only time in the moon's 29-day orbit that the entire disc is visible rising behind a landscape that is still partly illuminated during the blue hour. Crucially, the moon is a muted orange turning pale yellow as it rises, so it's possible to expose for both the moon and the surrounding landscape. Soon after, the moon is up, and too bright to look at.
Read more: How to photograph during the blue hour
The same is true at sunrise the following morning, when the moon sets in the west in near identical photographic conditions. Since the moon then rises and sets 50 minutes (or so) later the following night, you have to wait 29 days for your next opportunity.
All of this goes to show that if you know what you're looking for, what’s happening with the sun and moon, and how the landscape itself is going to make a difference – and you do your research – some of nature's greatest (and most predictable) events are there for the taking.
Read more: 147 tips for taking pictures of anything

Jamie has been writing about photography, astronomy, astro-tourism and astrophotography for over 20 years, producing content for Forbes.com, Space.com, Live Science, Techradar, T3, BBC Wildlife, Science Focus, New Scientist, Sky & Telescope, BBC Sky At Night, South China Morning Post, The Guardian, The Telegraph and Travel+Leisure.
As the editor of When Is The Next Eclipse and author of A Stargazing Program For Beginners, he has a wealth of experience, expertise and enthusiasm for astrophotography, from capturing the Northern Lights, the moon and meteor showers to solar and lunar eclipses.
He also brings a great deal of knowledge on action cameras, 360 cameras, AI cameras, camera backpacks, telescopes, gimbals, tripods and all manner of photography equipment.
