Watch video: How to photograph one-off special events
Whether it’s the Blue Angels flying overhead at an airshow, the sun rising spectacularly over an amazing landscape, or the bride and groom being showered with confetti at a wedding, we often face a lot of pressure to capture that perfect moment. In our case, we wanted to photograph the famous Jacobite, also known as the Harry Potter train or Hogwarts Express, passing over the Glenfinnan viaduct in Scotland.
In this project, we’ll show you all the tips and tricks we used to plan, shoot and edit the photos. You’ll discover how going the extra mile with your planning can pay off and deliver a postcard-perfect picture, and you can bring these skills to any important event you need to shoot.
• These are the best telephoto lenses around right now
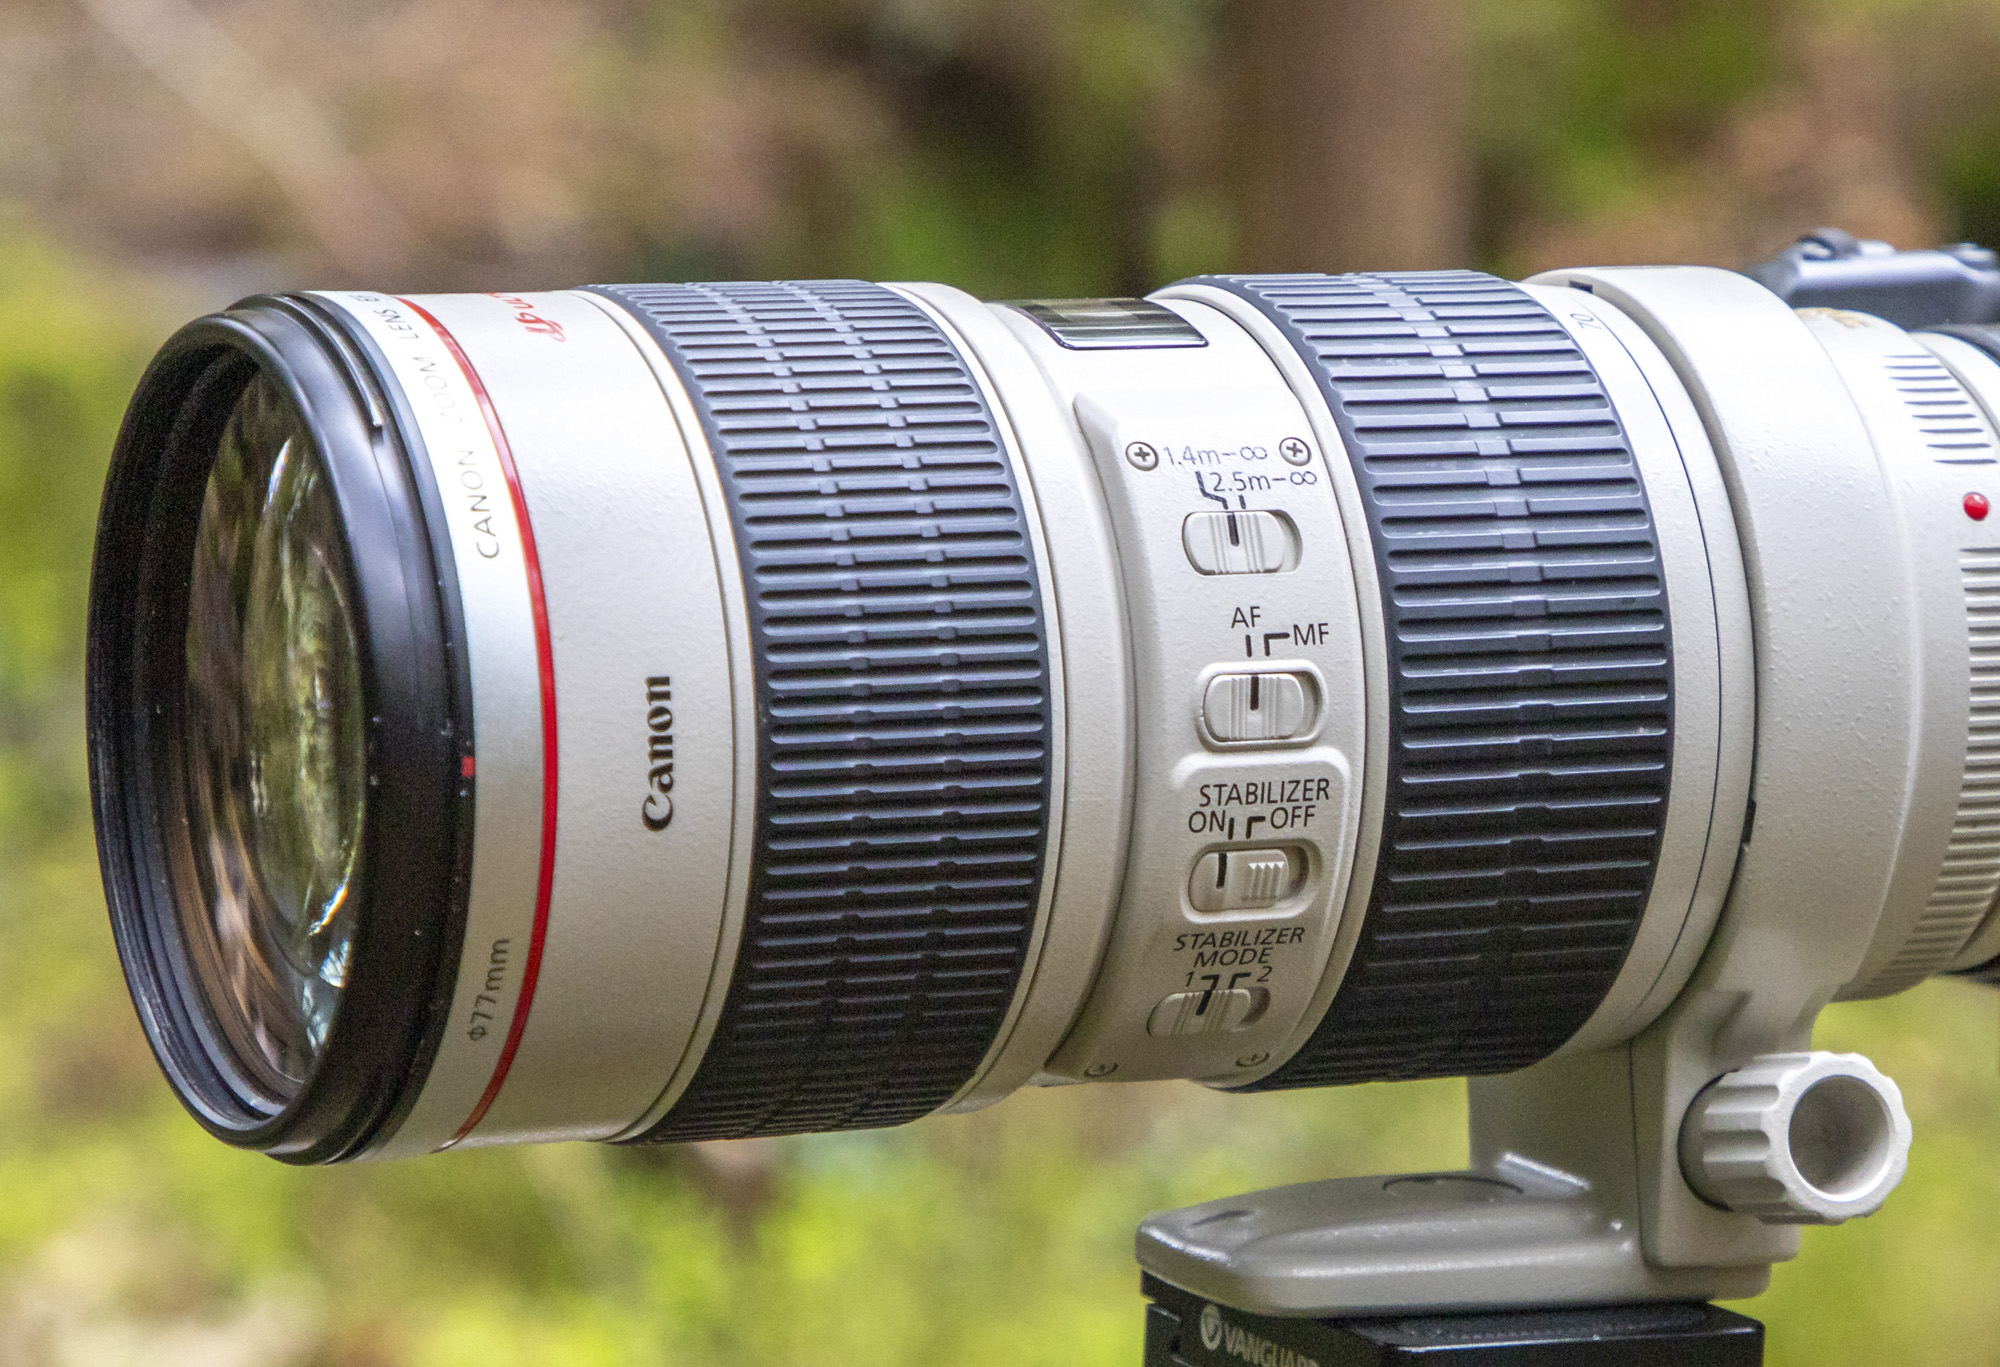
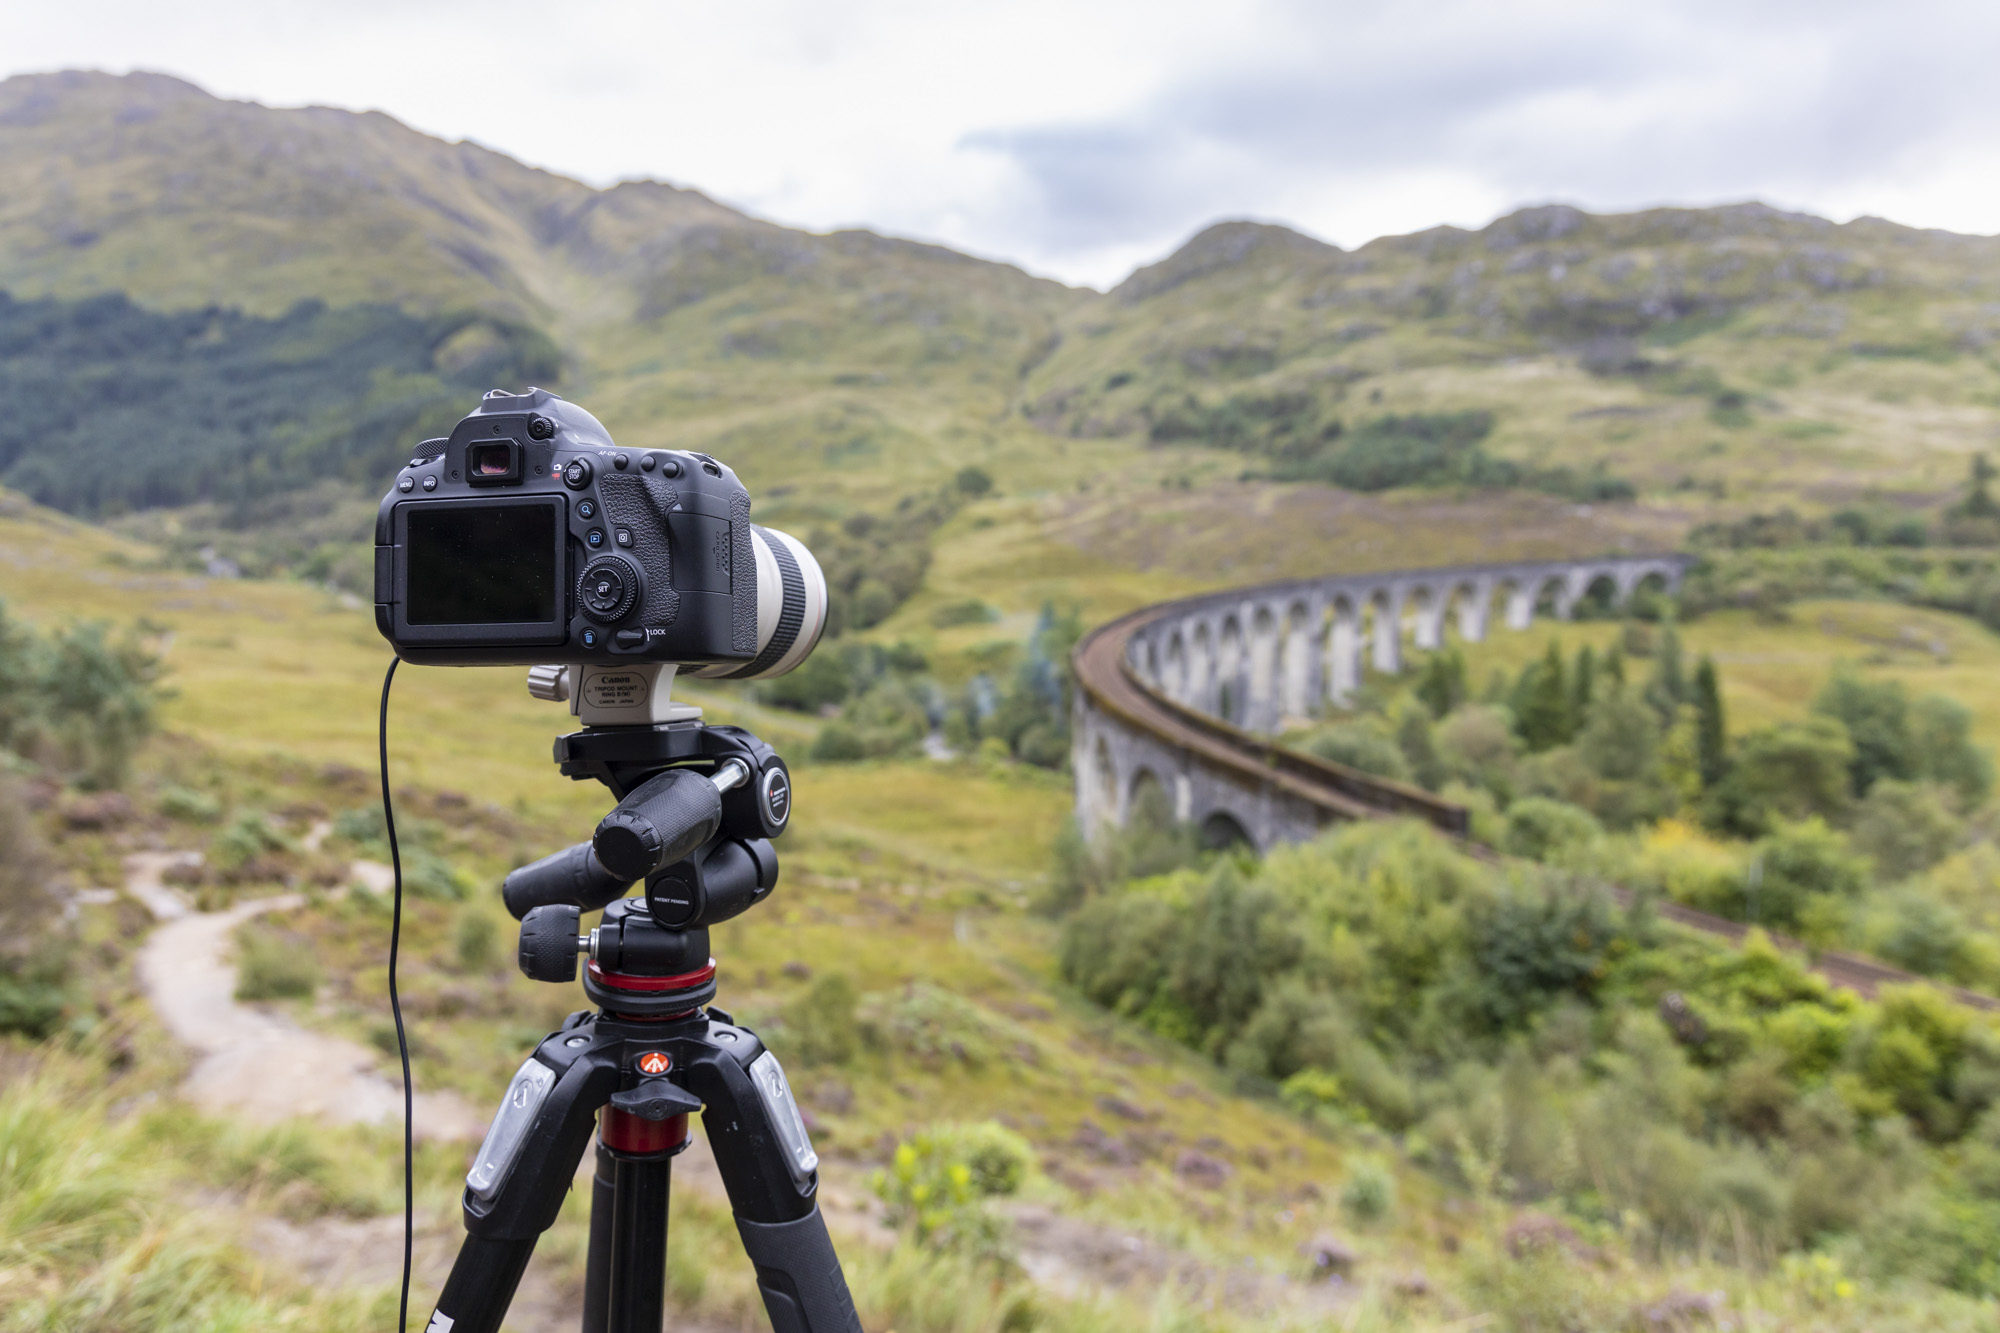
The equipment you use will, of course, vary depending on your subject matter. A wide-angle lens made the train too small, so it’s always wise to have a good selection of glass to hand. We used a Canon EF 70-200mm f/2.8L IS USM telephoto zoom and fixed it to a sturdy tripod using its foot collar.
If you’re interested in shooting the Jacobite at the Glenfinnan viaduct yourself, park at the Glenfinnan Visitor Centre National Trust car park and a short ten-minute walk uphill takes you to the viewpoint from which we shot. The 10:15 train leaving Fort William gets into Mallaig at 12:26, so we suggest arriving at Glenfinnan at 11:00 so you have plenty of time to get set up before the train steams past. Note that the train only runs from early April and late October.
1. Get set up
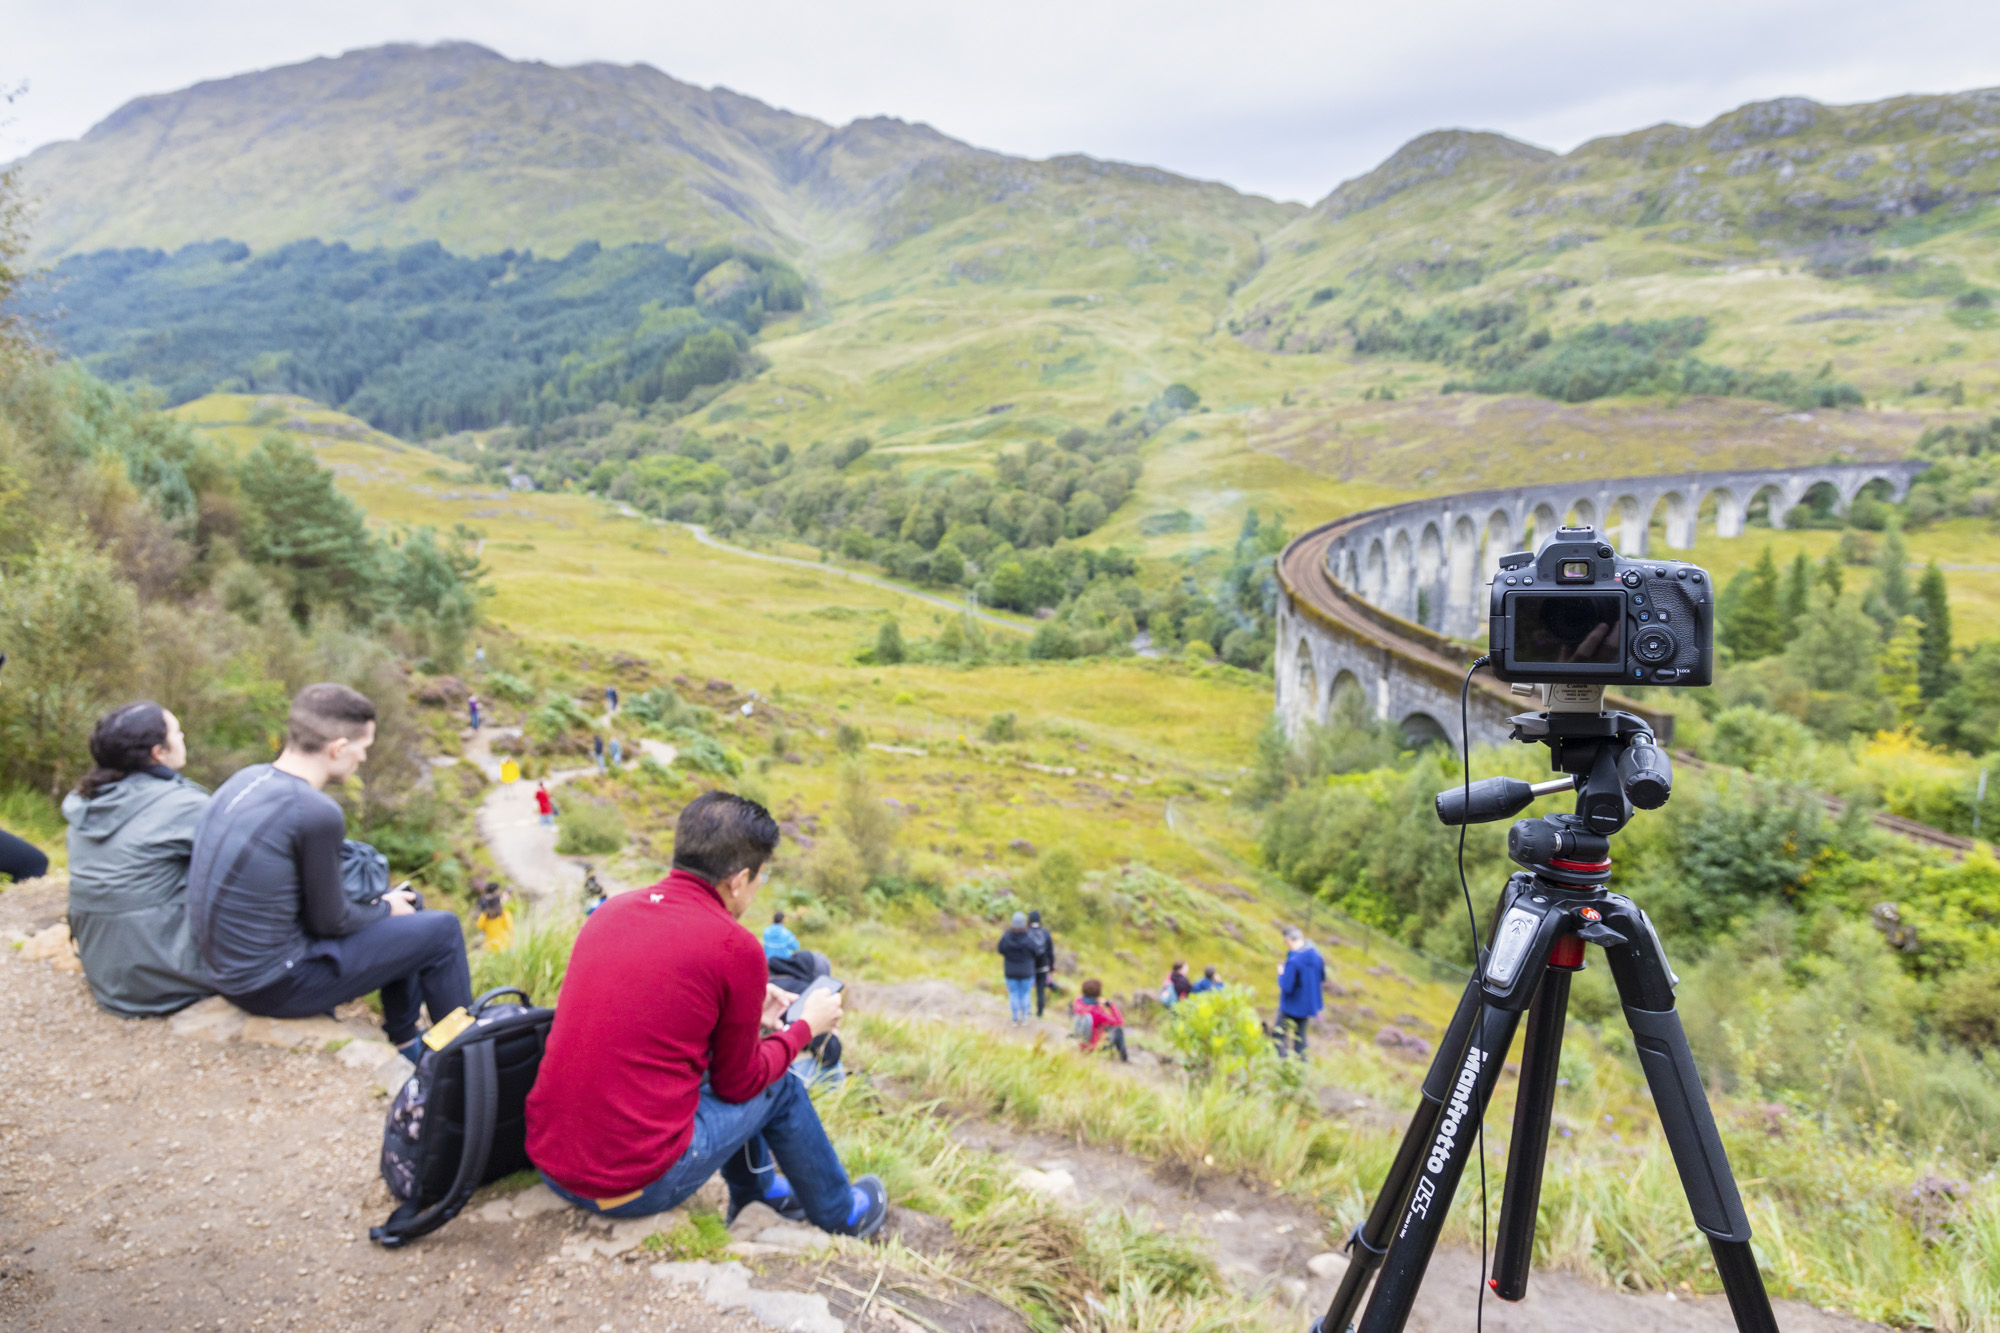
To catch the famous Jacobite ‘Harry Potter’ train, we researched at what time it would be arriving and from which direction, as we wanted to see it approaching us rather than reversing down the tracks (which would make the steam look odd). As with any popular destination or event, it is vital that you get there early.
The best camera deals, reviews, product advice, and unmissable photography news, direct to your inbox!
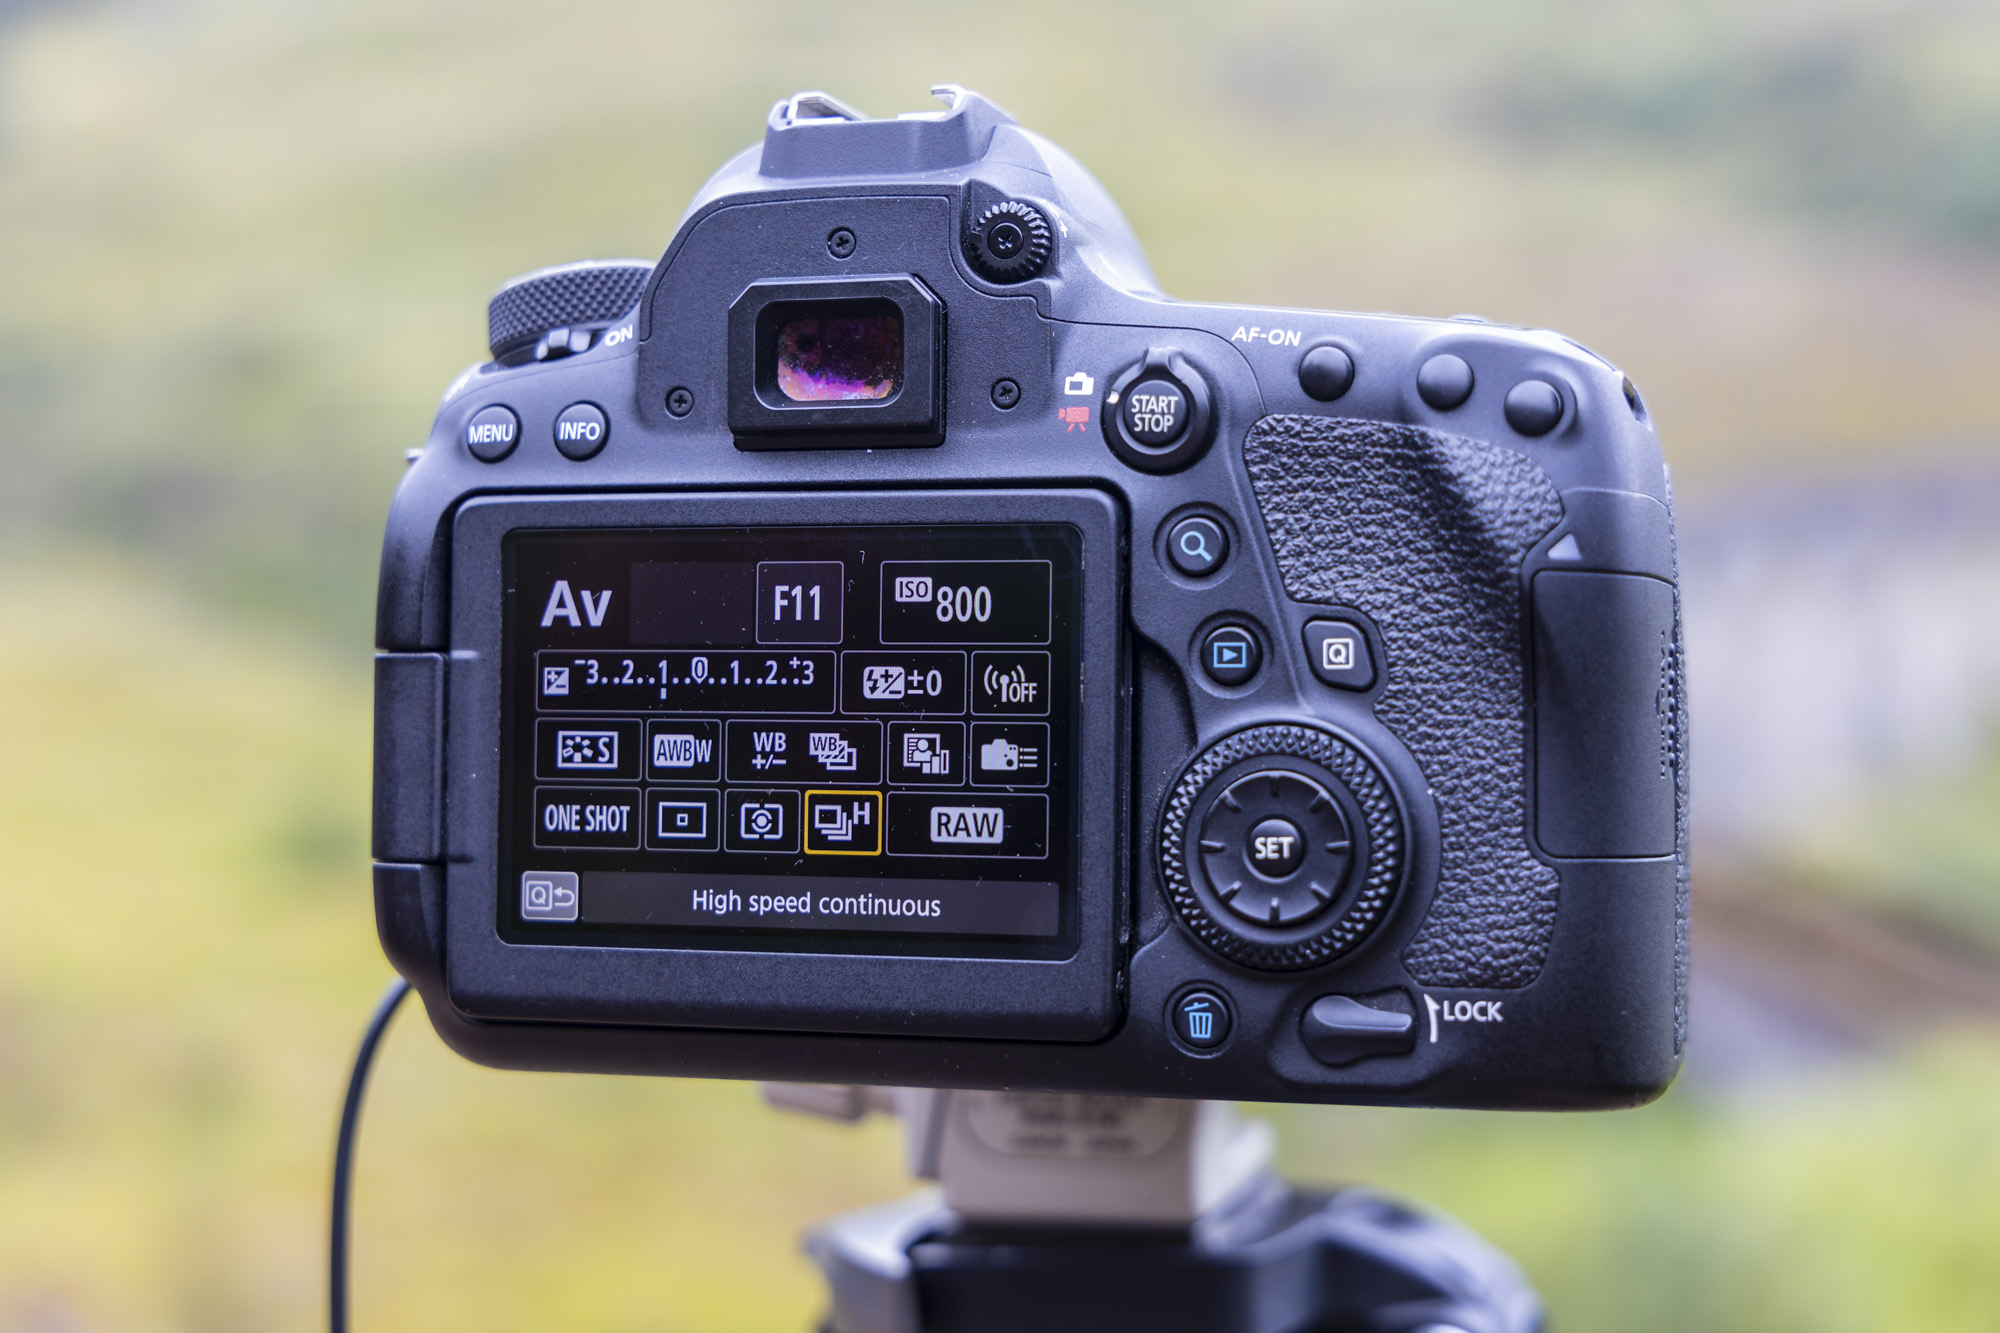
Take a tripod with you so that you can stake your claim in the ground. We also shot from as high up the bank as we could, to cut down on as many people appearing in our foreground as possible. We set up our Canon EOS 6D Mark II with a 70-200mm lens on a tripod and switched on the High Continuous Burst mode as well as RAW shooting for the best image quality.
• Best tripods for photography
2. Prefocus first
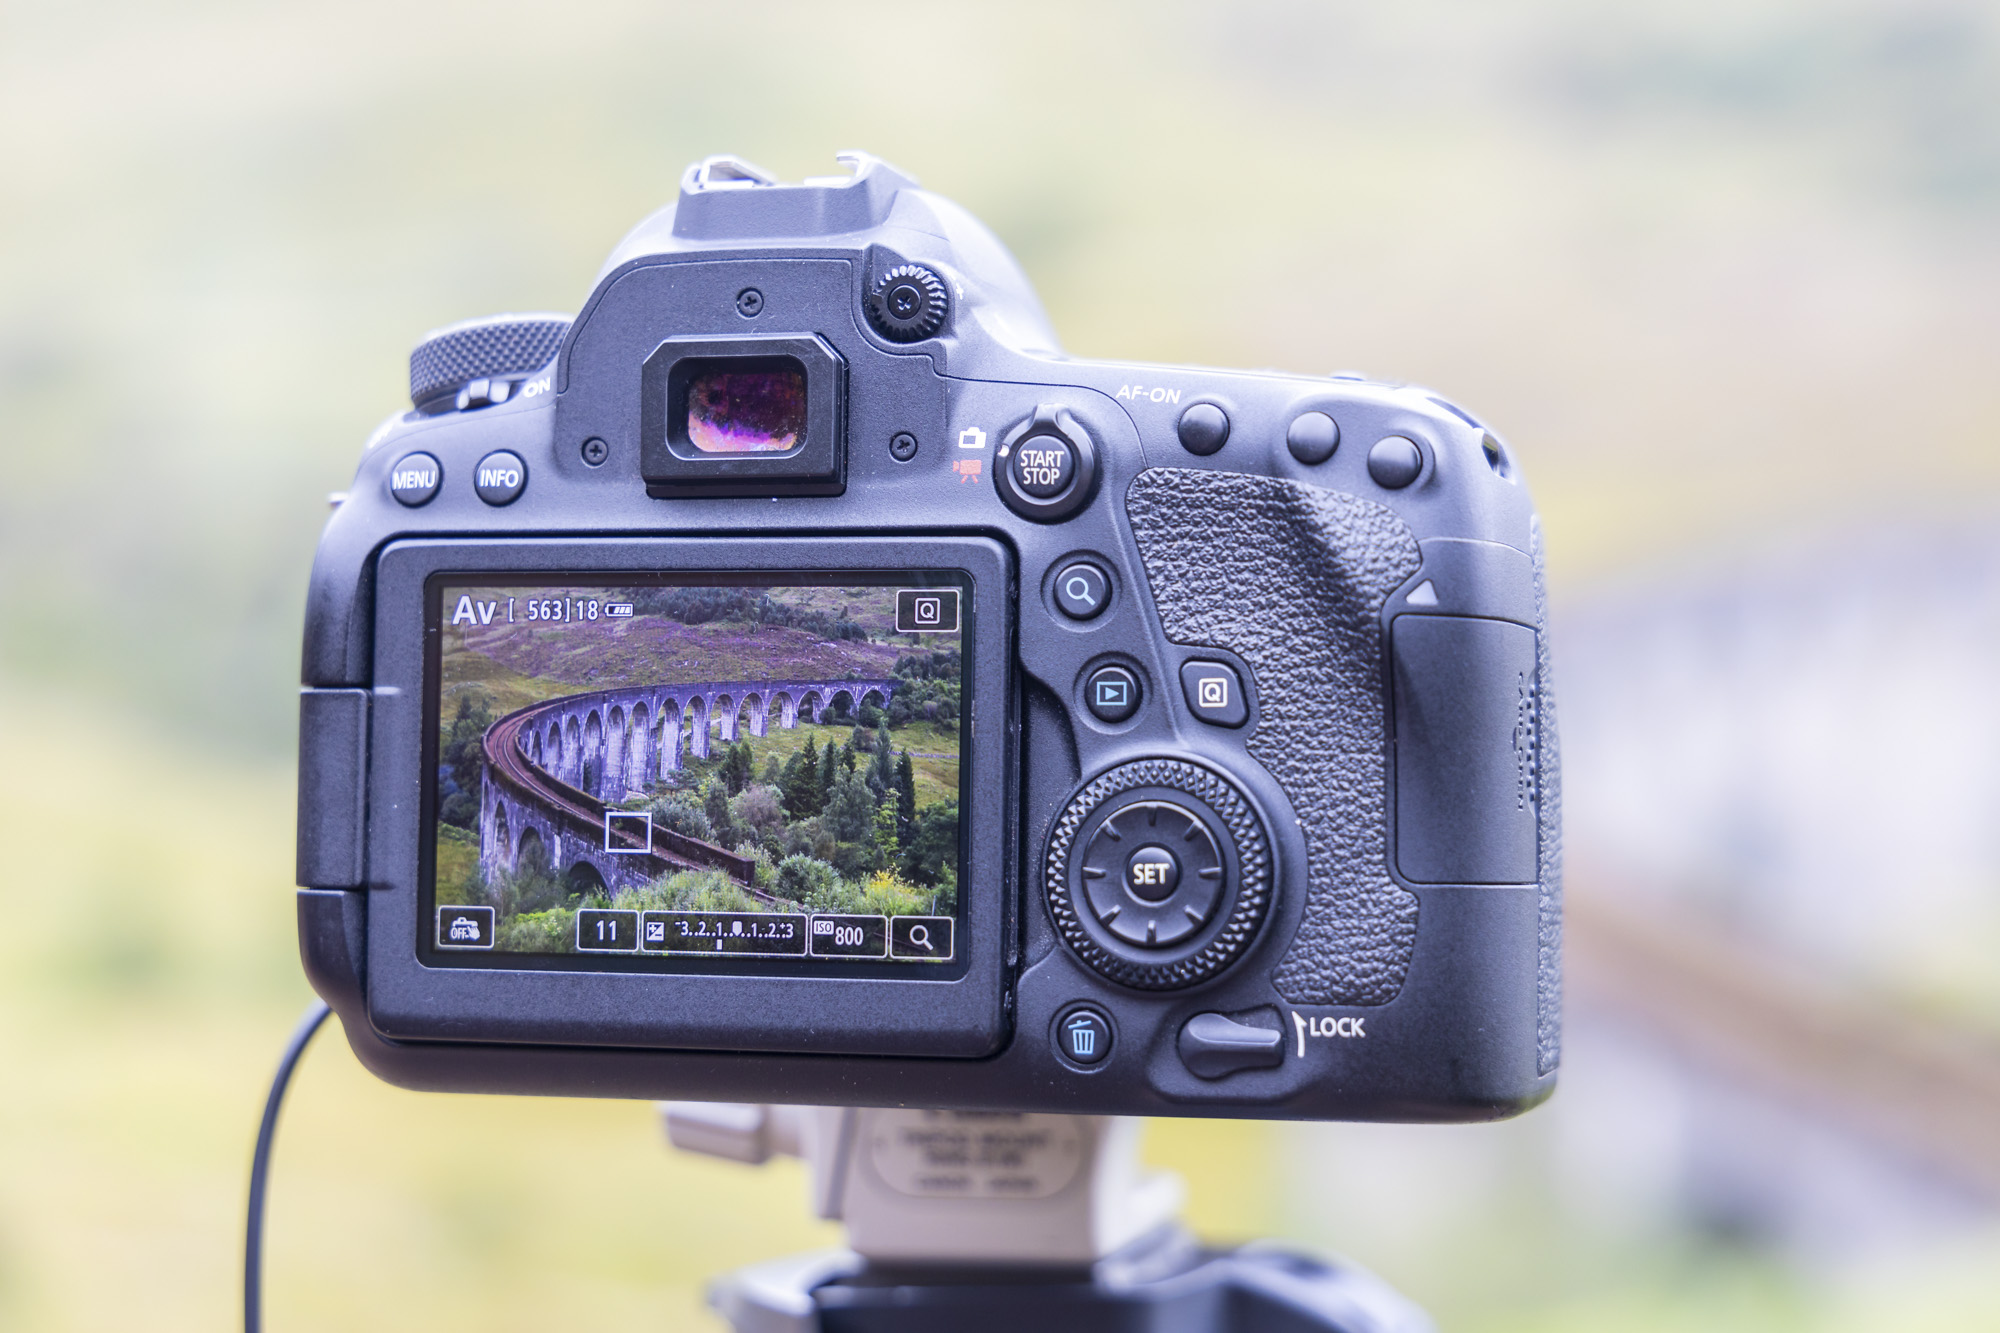
Once you’re set up, with plenty of time in hand before the event is due to happen, it’s time to set the focus – so that there’s one less thing to worry about when you’re shooting as the train steams past. We used an aperture of f/11 to give us great depth of field throughout the scene, so that the whole railway track and train and carriages would be acceptably sharp. We used single-point AF and positioned the focus point over the train track about a third of the way into the frame, for optimum sharpness.
You can then switch to MF to lock the focus and switch off any IS, which may introduce blur on a tripod. Now boost the ISO until you get a fast shutter speed of 1/200 sec or faster – a slower shutter speed would result in a blurry train.
3. Take the shot
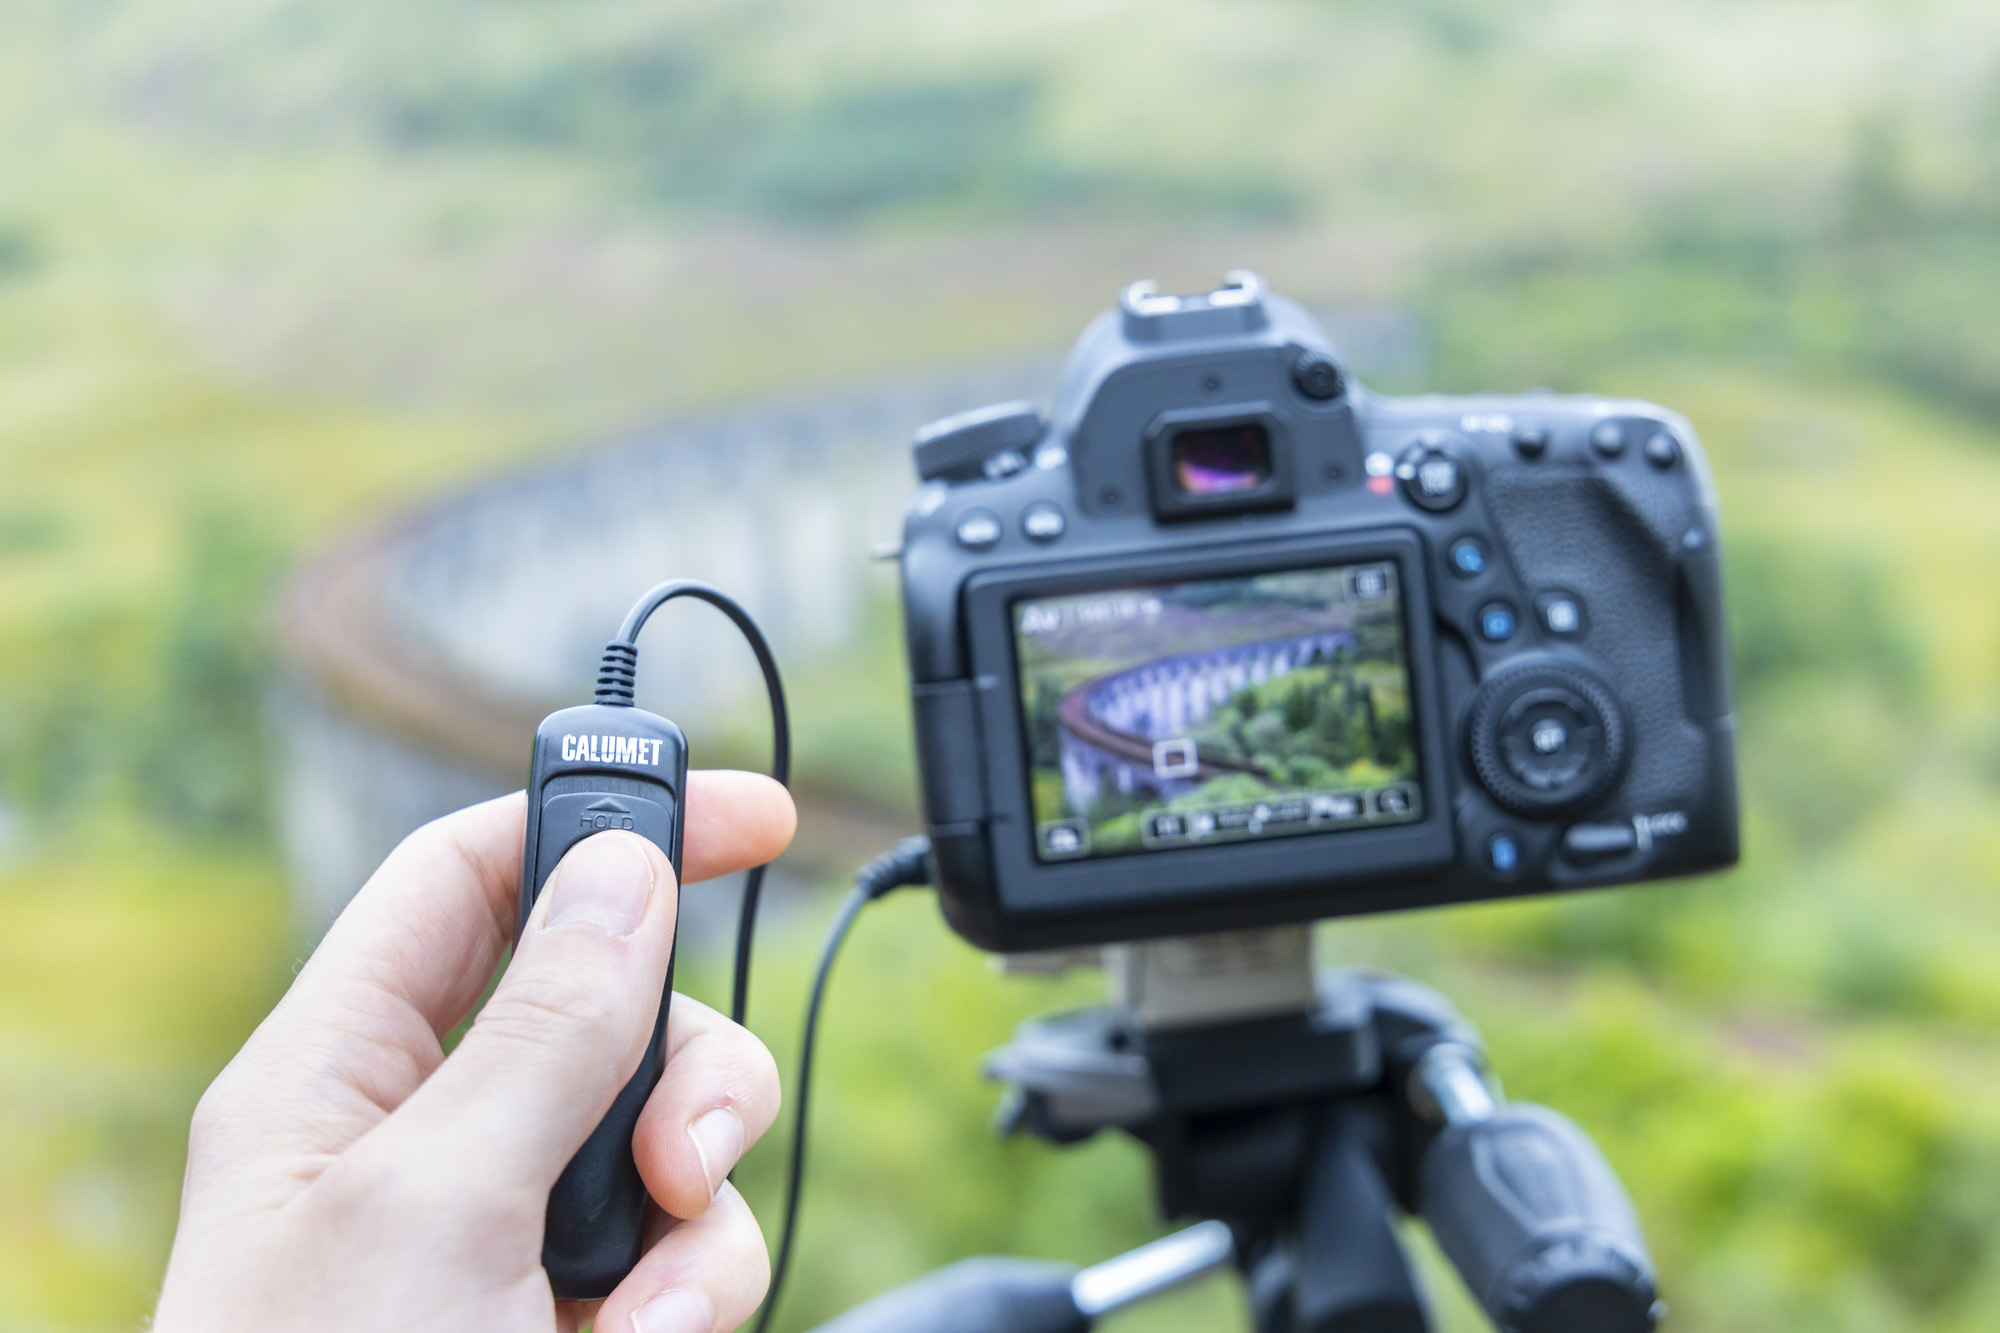
About half an hour before the train arrived, the landscape was lit up with some beautiful light – but, sadly, no train. We took this ‘blank’ frame anyway and we’ll make good use of it in the next step when we come to edit the images. Without adjusting the composition, we waited for the Jacobite to arrive, then used a shutter release cable to fire the shots remotely without accidentally nudging the camera, which could introduce camera shake – not ideal when we only have one chance to capture the moment.
A shutter release cable can be plugged in to your camera and locked down, so that the camera keeps firing while the train moves along. We did this so we could fire off some wide compositions on a second camera body.
4. Edit in Photoshop
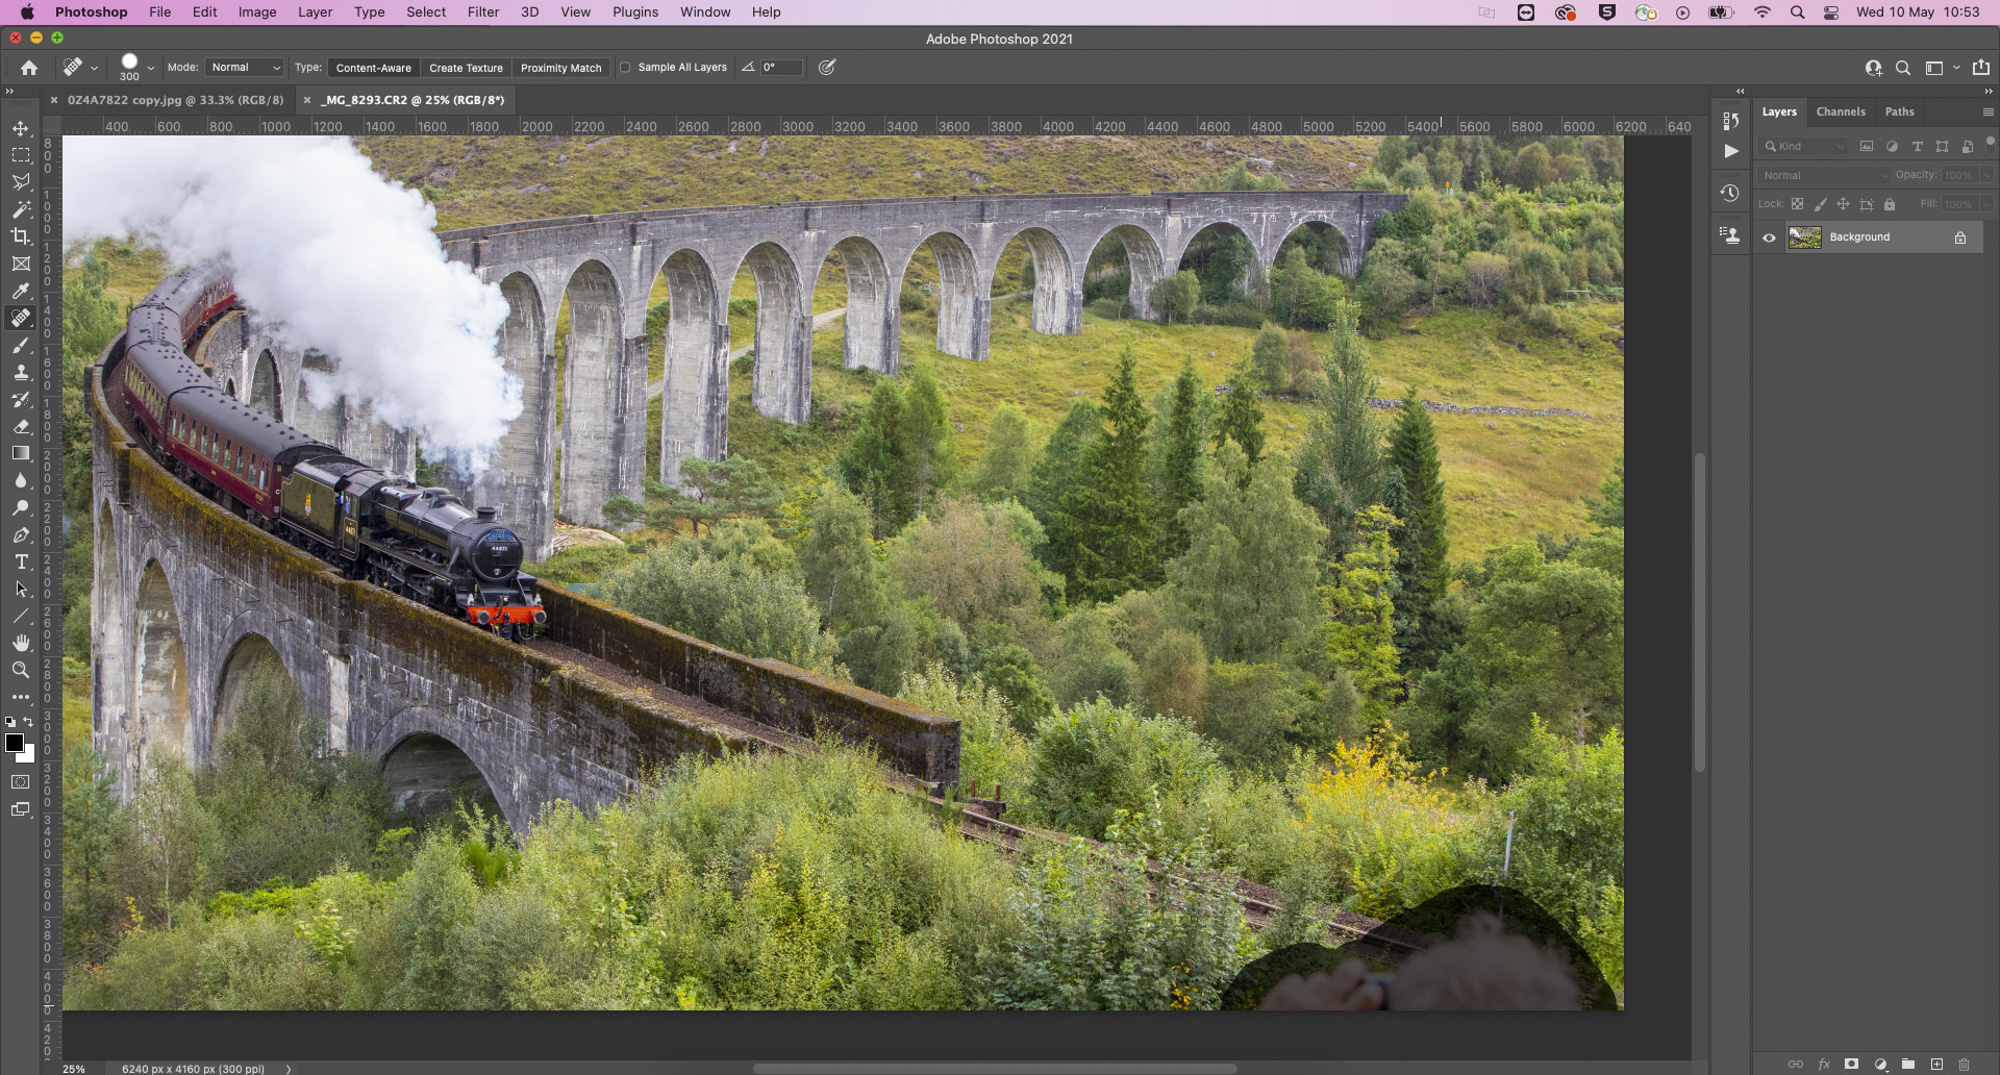
In some of our shots, a tourist’s head was just creeping into the bottom of the frame, so with our image open in Photoshop we quickly went over these areas with the Spot Removal Tool to tidy these areas up and remove him.
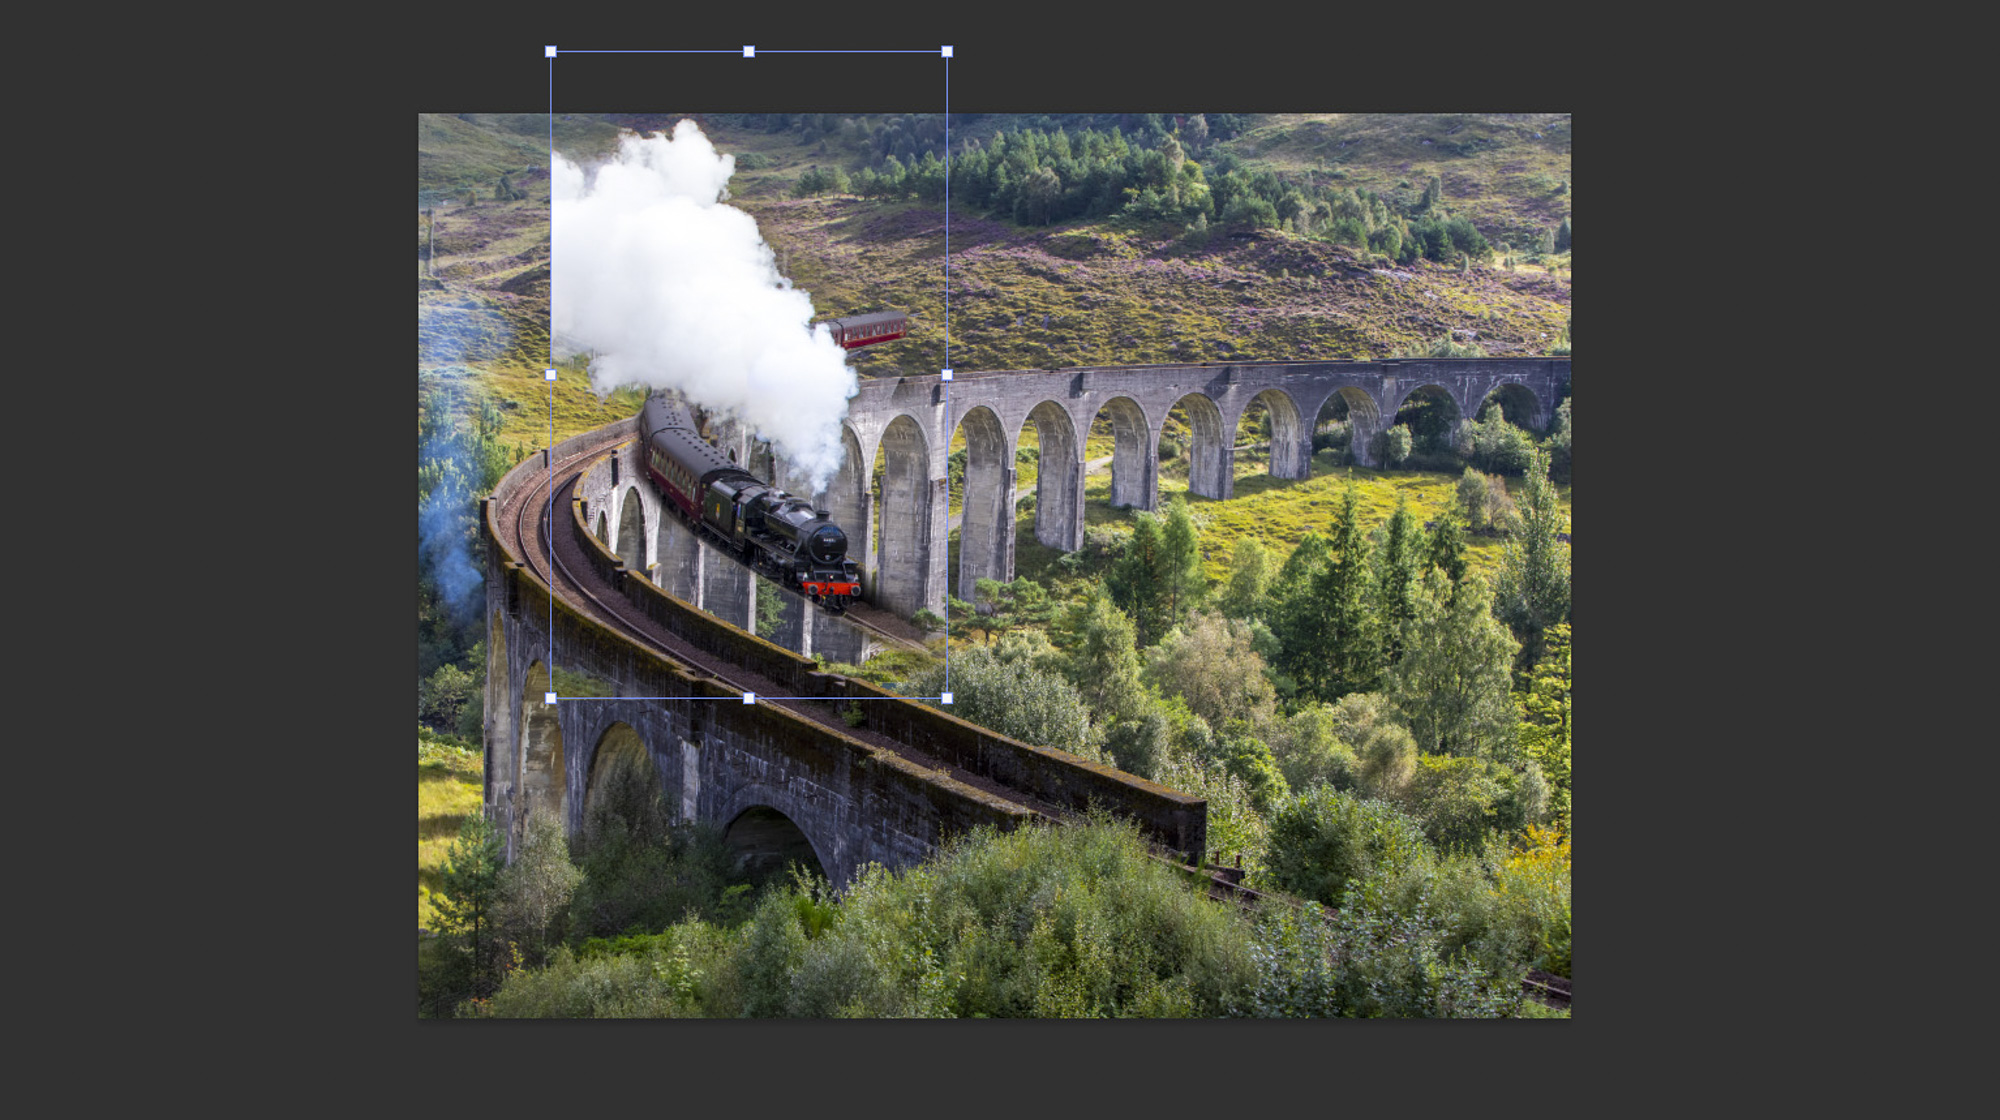
We also had a ‘blank’ frame of the bridge with gorgeous sunlight, as well as the image of the train, which had rather flat light, and we wanted to combine the two. So, we opened the train picture and hit Ctrl/Cmd + A to select it, Ctrl/Cmd + C to copy it, and then opened our blank frame and hit Ctrl/Cmd + V to paste it in. We then used the Move Tool to position it, so it looks like it’s sitting on the train tracks. Click the Add Layer Mask icon and use a soft black Brush Tool to mask off everything but the train and steam.
PhotoPlus: The Canon Magazine is the world's only monthly newsstand title that's 100% devoted to Canon, so you can be sure the magazine is completely relevant to your system. Every issue comes with downloadable video tutorials too.
Check out the best cameras for landscape photography, as well as our landscape photography tips to get the most of your scenic shots.

In addition to being a freelance photographer and filmmaker, Dan is a bona fide expert on all things Canon and Adobe. Not only is he an Adobe-certified Photoshop guru, he's spent over 10 years writing for specialist magazines including stints as the Deputy Editor for PhotoPlus: The Canon Magazine, Technical Editor for Practical Photography and Photoshop Editor on Digital Photo.
