Common photo problems and how to fix them in Photoshop: #14 My black-and-whites look flat and dull
Black and white photography thrives on contrast, though sometimes you can have too much of a good thing...

The best camera deals, reviews, product advice, and unmissable photography news, direct to your inbox!
You are now subscribed
Your newsletter sign-up was successful
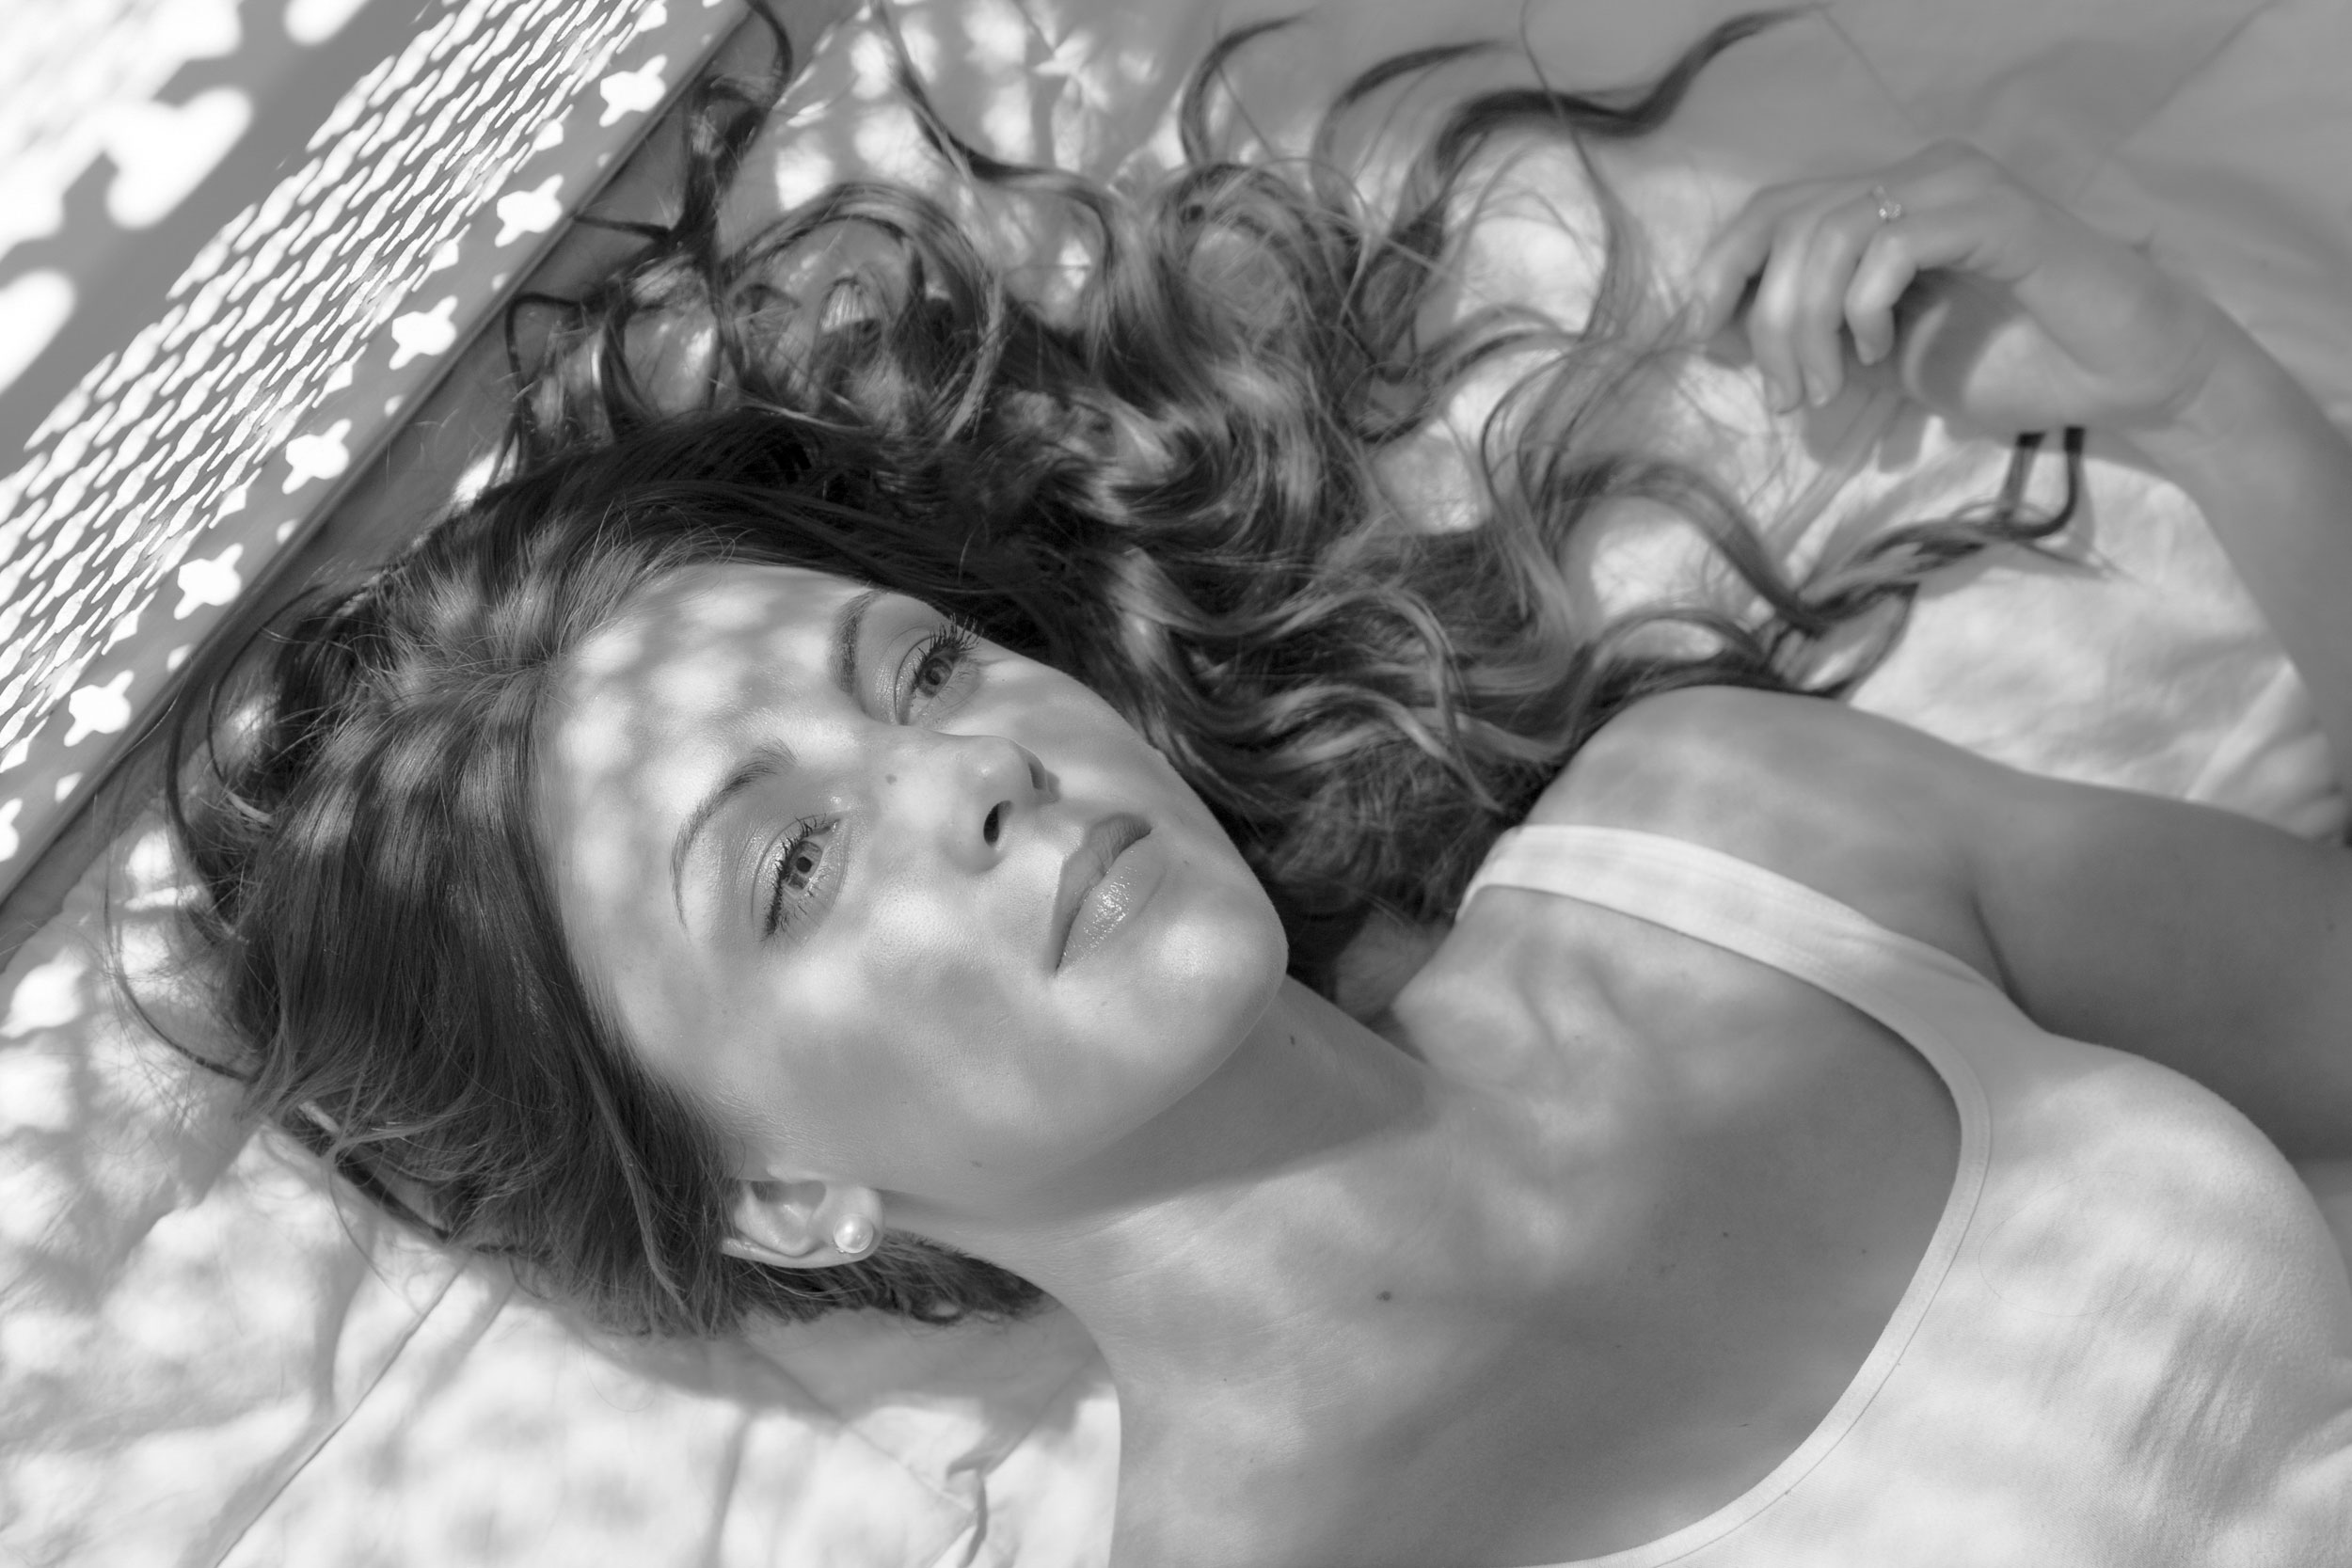
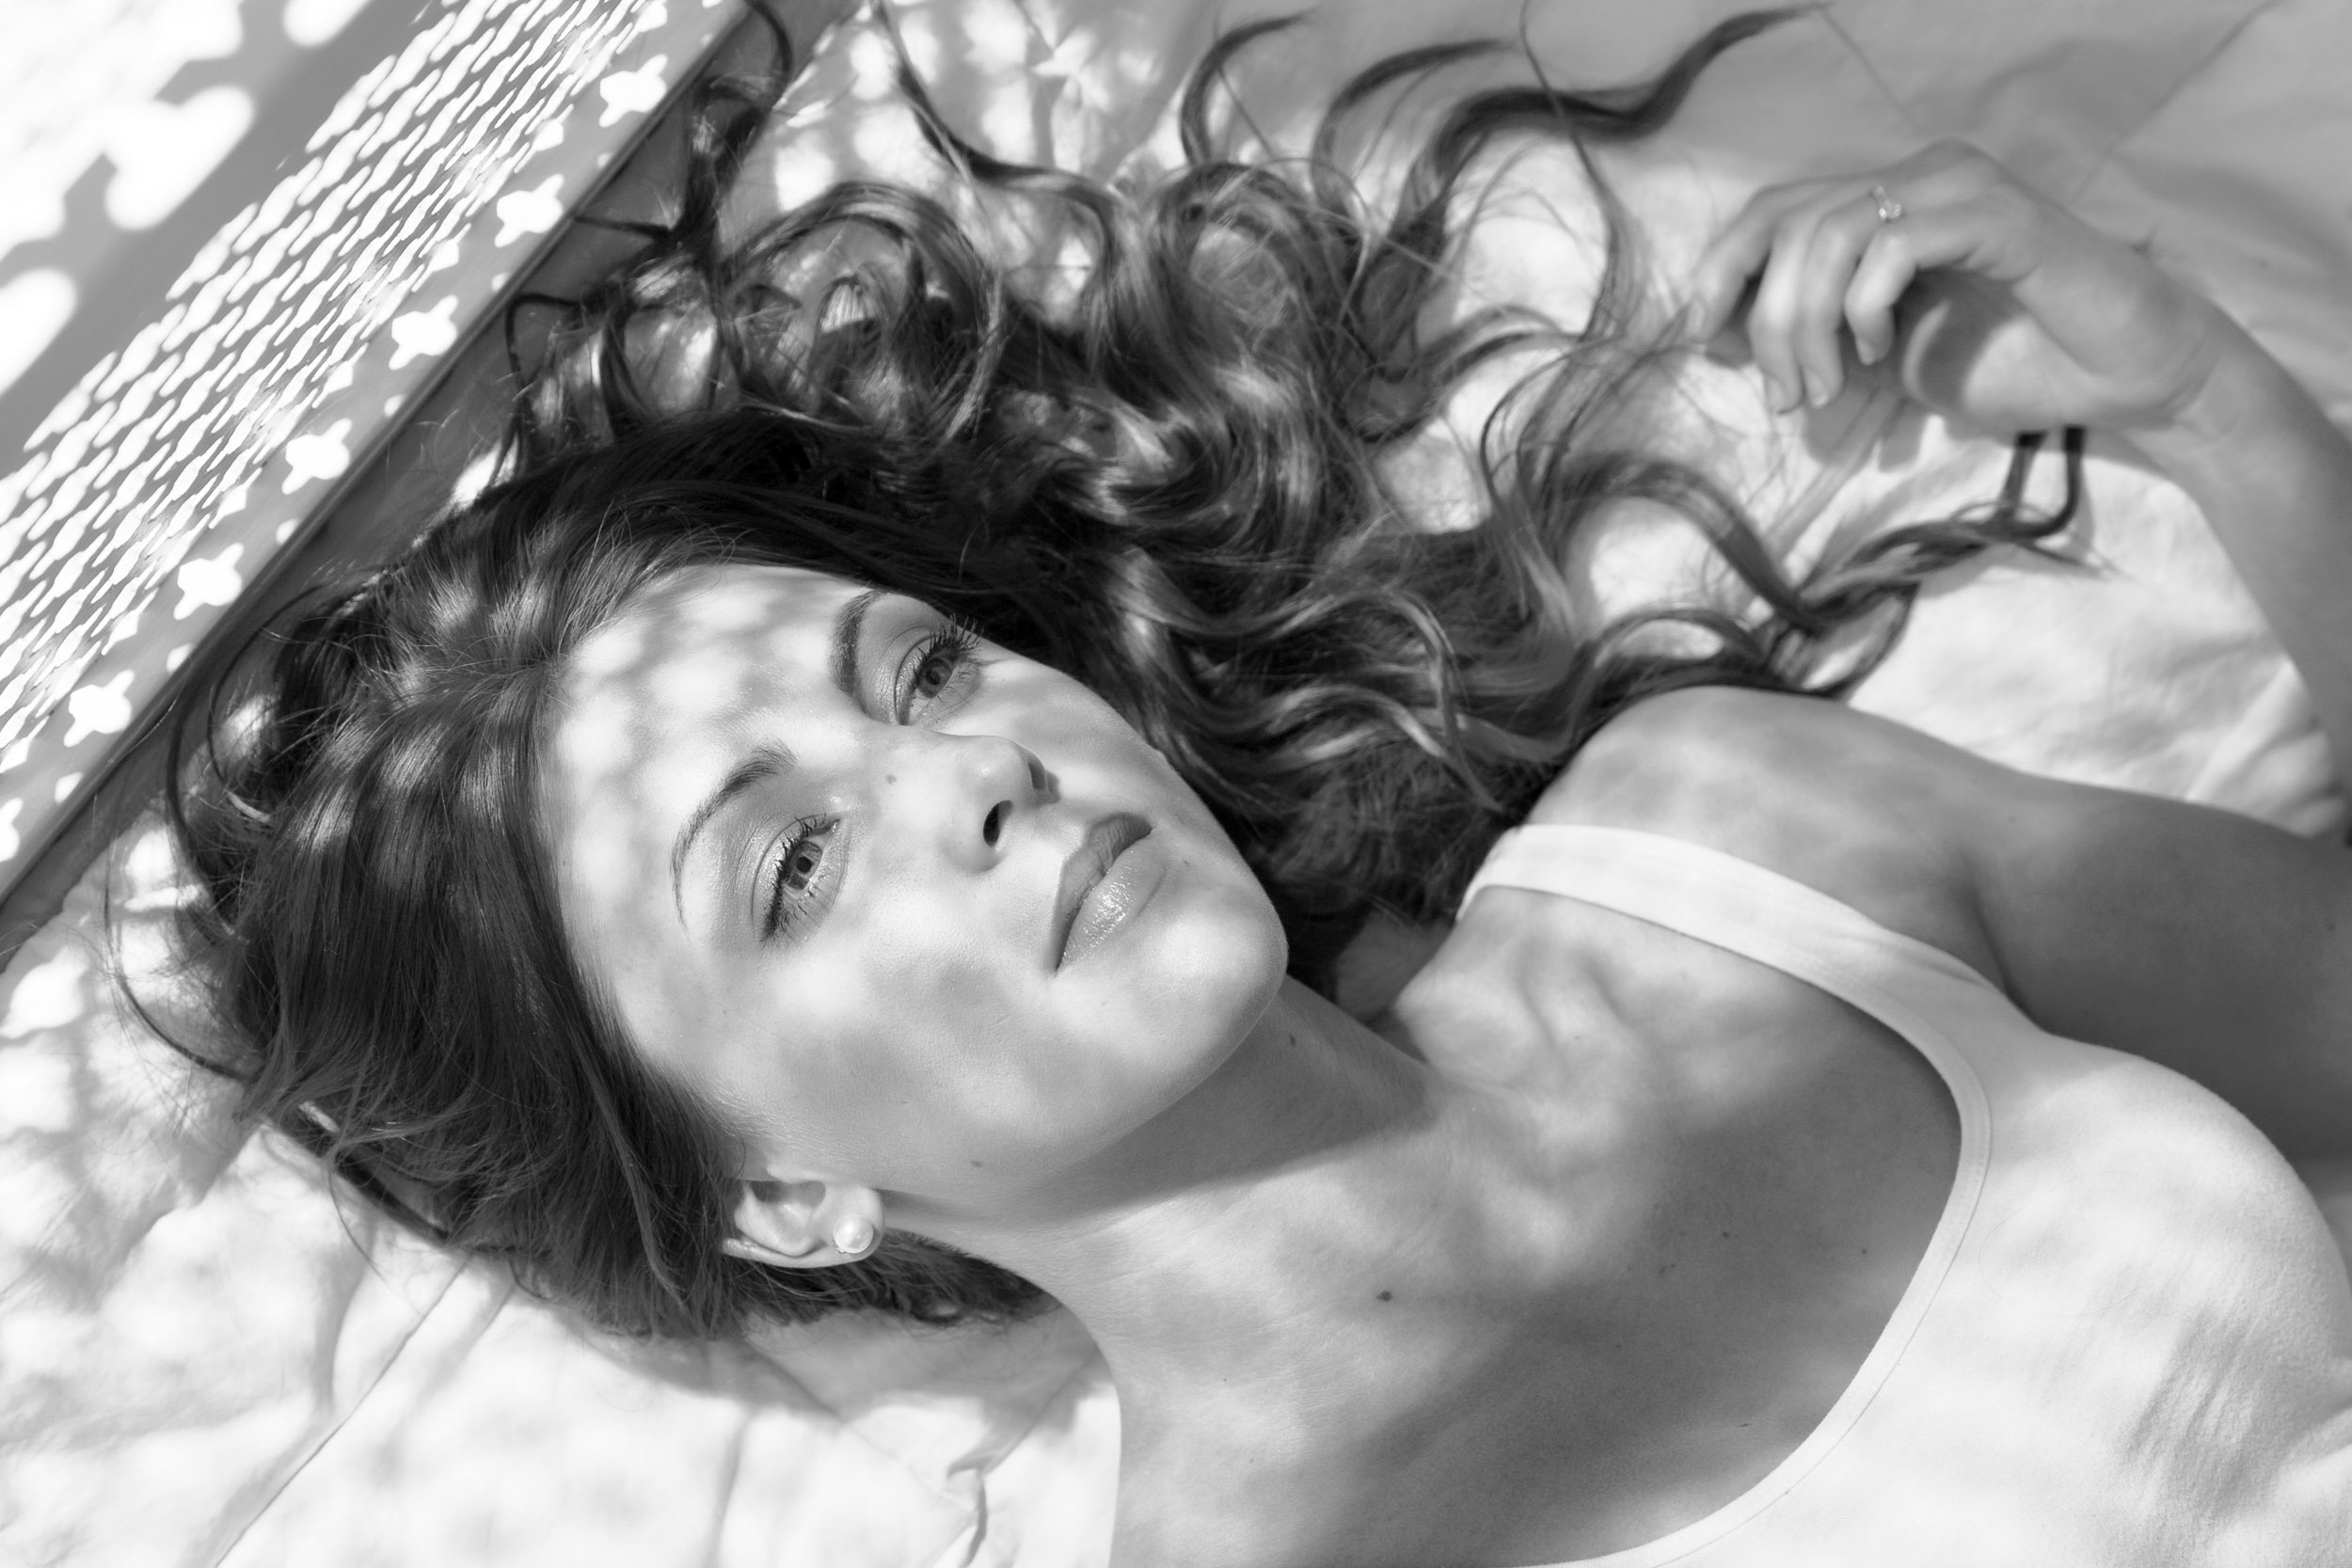
Black and white photography can have a power and a compositional strength that's difficult to achieve in color, and yet simply converting a color image to black and white is rarely enough, as the results typically look rather flat. This is where you need Photoshop.
See all 15 instalments
• 15 common photo fixes
Computers and photo editing
• Best photo-editing software
• Best laptops for photographers
• Best desktop computers for photo editing
Photo tips and ideas
• 11 home photo projects
• 44 tips cards to cut out and keep
• Photography tips for beginners
Adobe downloads
• Download Photoshop
• Download Lightroom
• Download Premiere Pro
Welcome to the 14th instalment in our 15-part series on how to fix common photo problems in Photoshop, Lightroom and Adobe Camera Raw.
If you're stuck at home waiting for the coronavirus crisis to pass, like we are, then we thought you might be glad of some photo-fixing tips and ideas that you can try out on your back catalog of images. Very often it doesn't take much to turn a so-so picture into something special, and our series is designed to help you do just that, by tackling a whole series of relatively minor flaws that can prevent a good image from being great.
Article continues belowIn this instalment we'll tackle a regular disappointment for photographers taking their first steps in black and white. If black and white is meant to be such a powerful medium, why is it that converted color photos so often look flat and boring? It's because black and white relies on powerful contrast, and this is how you can add it back in.
Curves and Color Range selections
Removing the color from a photo can sometimes leave it looking flat and lifeless. But one of the great things about black-and- white is the amount of contrast and punch you can get away with adding, which is far more than would look natural with a color photo.
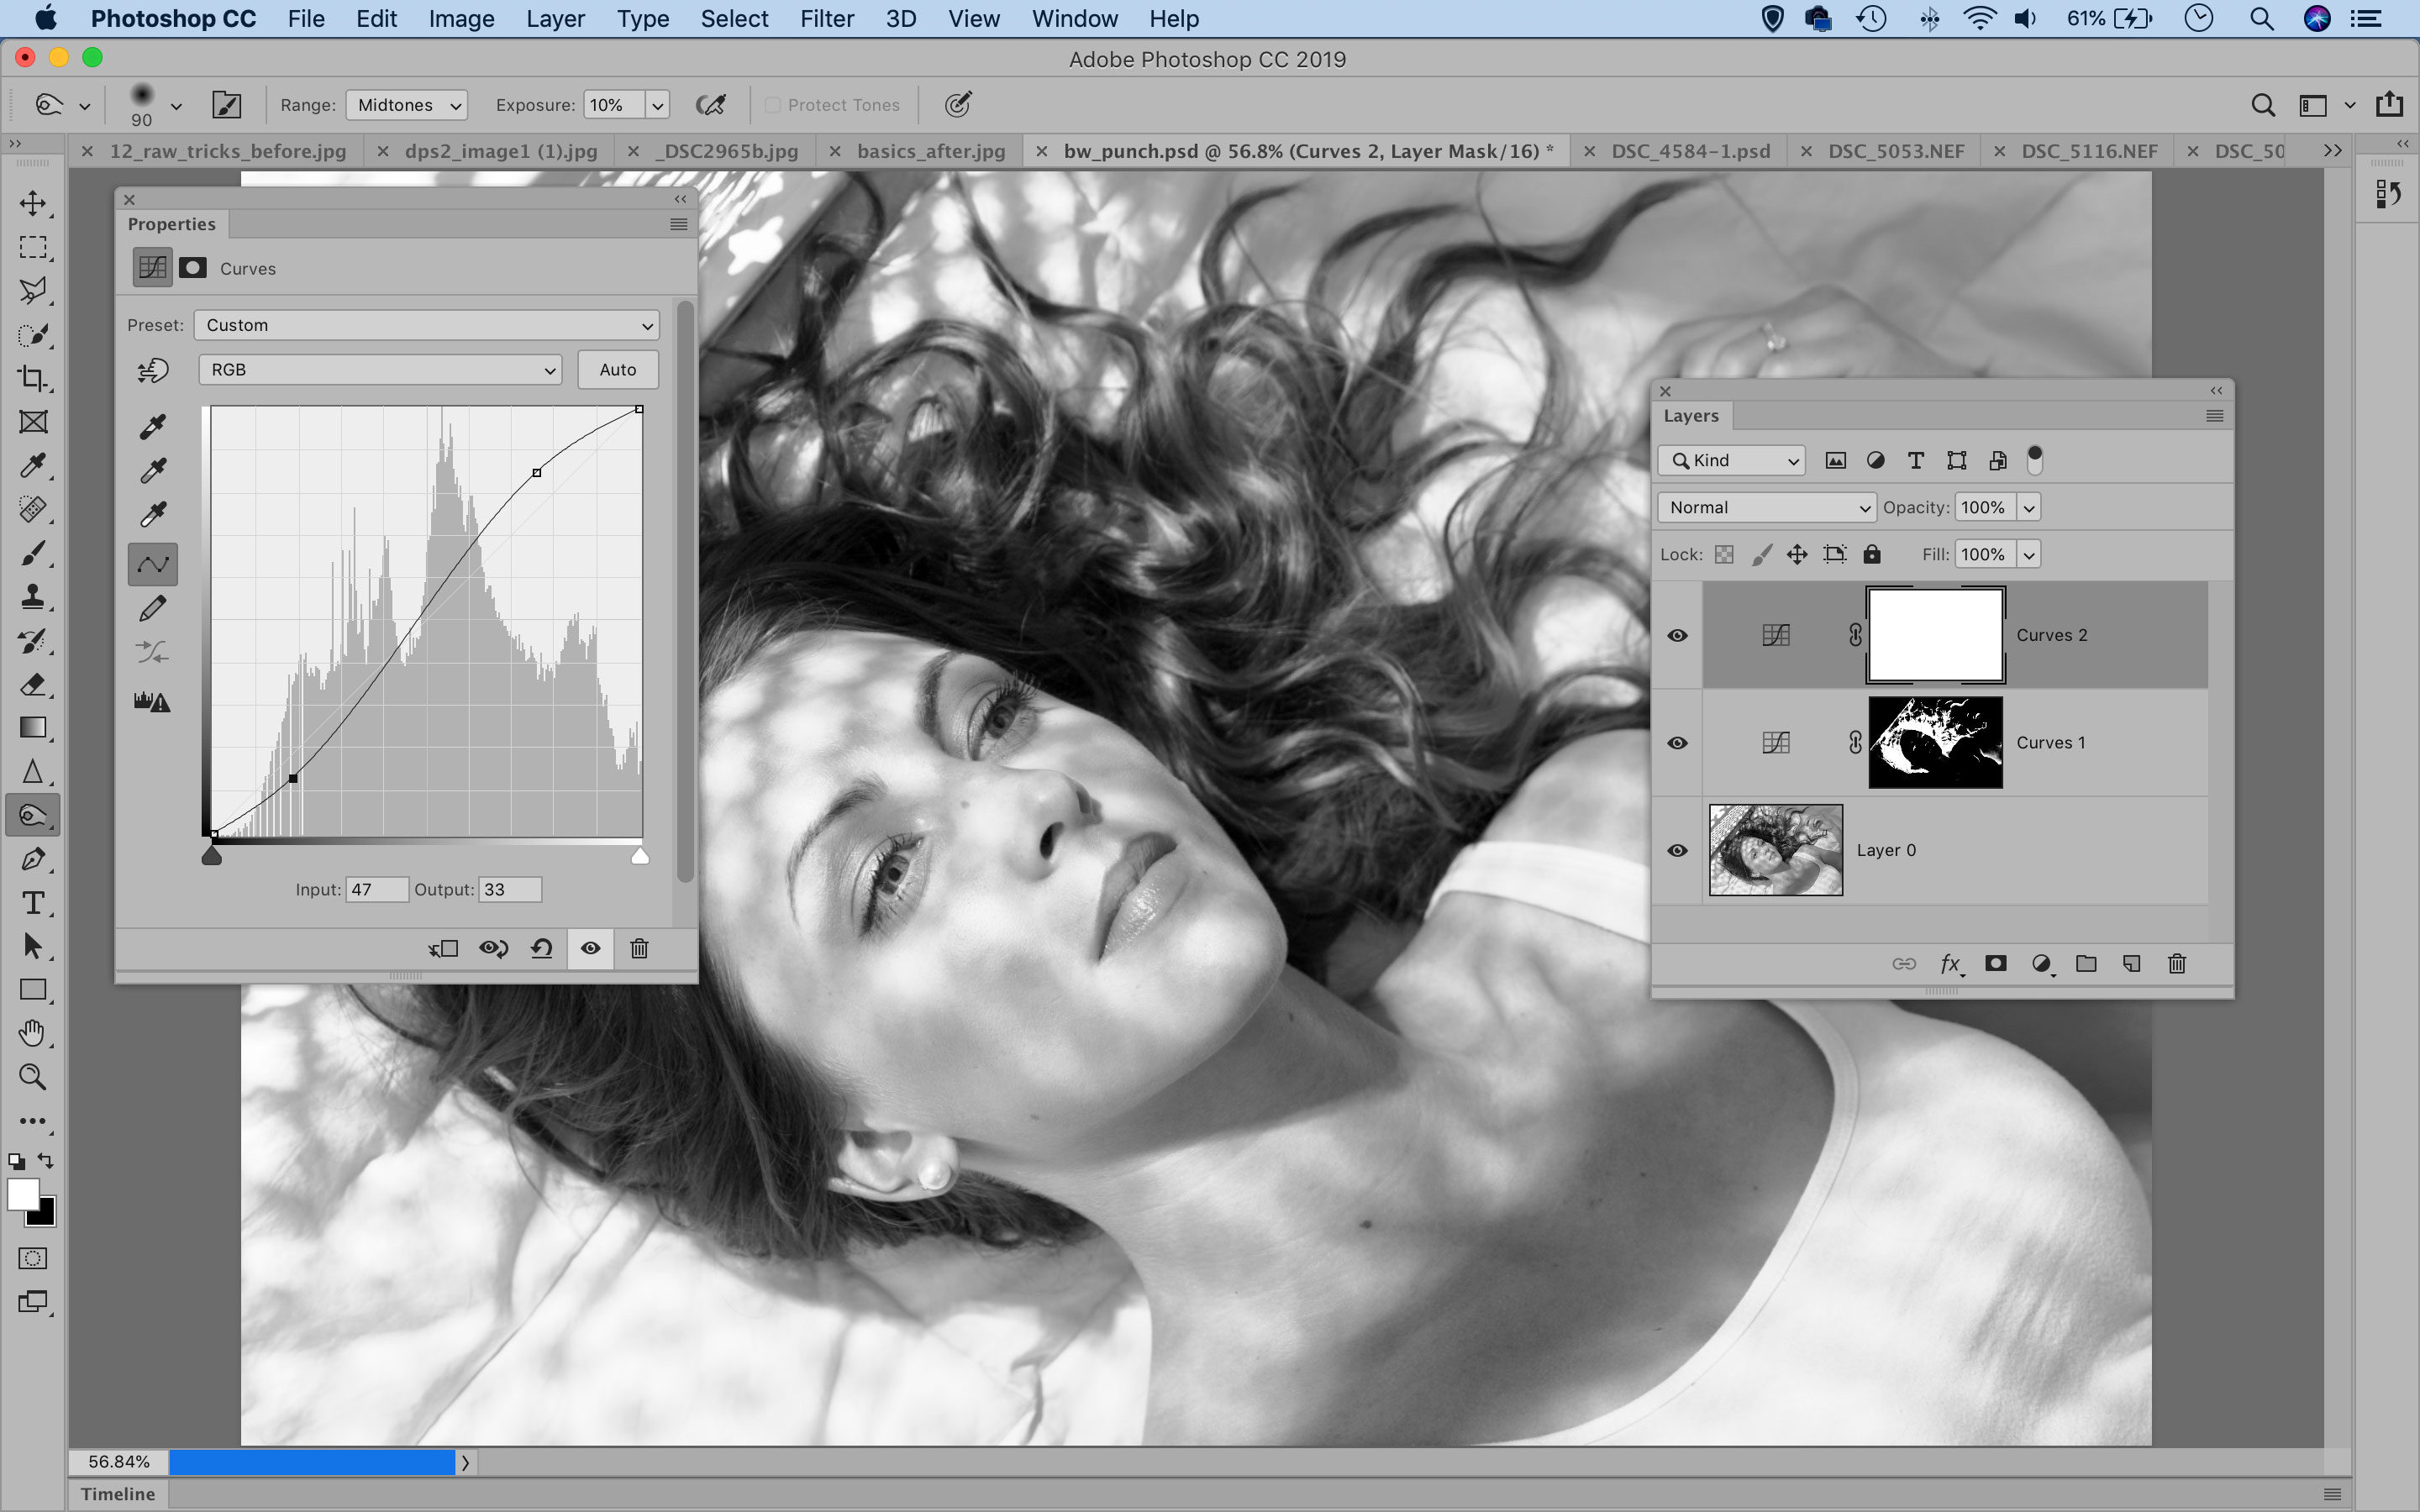
The simplest way to boost a dull black and white is with Curves. Make a Curves Adjustment Layer and plot an S-shaped curve by dragging one point upwards near the top of the diagonal line, a second point downwards near the bottom, and a third in the middle to control the brightness of the midtones.
This adds contrast, but on occasion parts of the shadows can go too deep. If this happens, try highlighting the layer below, then go to Select > Color Range. Choose Shadows from the presets, then adjust the range. Click OK, then highlight the mask thumbnail on the Curves layer. Your Color Range selection will still be active, so you'll only be editing the shadow ares in the layer mask.
The best camera deals, reviews, product advice, and unmissable photography news, direct to your inbox!
Now grab the Brush Tool, press 2 for 20% Opacity and paint with the foreground color set to black to gradually reduce the effect of the Curves layer in the darkest parts of the picture. Because you've selected only the shadows, your brush strokes won't affect other parts of the picture even if they stray outside the selection boundaries.
Jargon buster
Color Range: This is a Photoshop selection option that creates a selection based on tonal or color values in the picture – rather than you manually creating a selection yourself. This can be extremely useful for many selective image adjustments.
Selection: An area of a picture marked out for adjustment – only the parts of the picture within the selection will be modified. Selection outlines are marked by a dotted outline often called 'marching ants'. Photoshop has many different selection tools.
Brush Tool: A freehand brush used for many different tasks in Photoshop, such as modifying a selection or mask, painting colors over an image or painting image effects over specific areas. You can change the size of the brush, its softness and is opacity.
Next instalment: #15 My sunset photos look insipid
If you don't use Photoshop or Lightroom, why not sign up for the trial version? You can use this free for a period of 7 days and then decide which of three Photography Plan subscriptions would suit you best.
The lead technique writer on Digital Camera Magazine, PhotoPlus: The Canon Magazine and N-Photo: The Nikon Magazine, James is a fantastic general practice photographer with an enviable array of skills across every genre of photography.
Whether it's flash photography techniques like stroboscopic portraits, astrophotography projects like photographing the Northern Lights, or turning sound into art by making paint dance on a set of speakers, James' tutorials and projects are as creative as they are enjoyable.
He's also a wizard at the dark arts of Photoshop, Lightroom and Affinity Photo, and is capable of some genuine black magic in the digital darkroom, making him one of the leading authorities on photo editing software and techniques.


