The best camera deals, reviews, product advice, and unmissable photography news, direct to your inbox!
You are now subscribed
Your newsletter sign-up was successful
Architecture photography is a fantastic way of finding new spots around your favorite cities and taking incredible imagery of quaint old buildings, towering skyscrapers, places of worship, cobbled streets and much more.
It's a great way to get out with your camera, whether you're photographing your hometown or away on a day trip visiting an interesting city. You'll want to keep your eyes peeled for interesting views and angles of buildings, and you'll also like want the best travel camera and the best lenses for street photography.
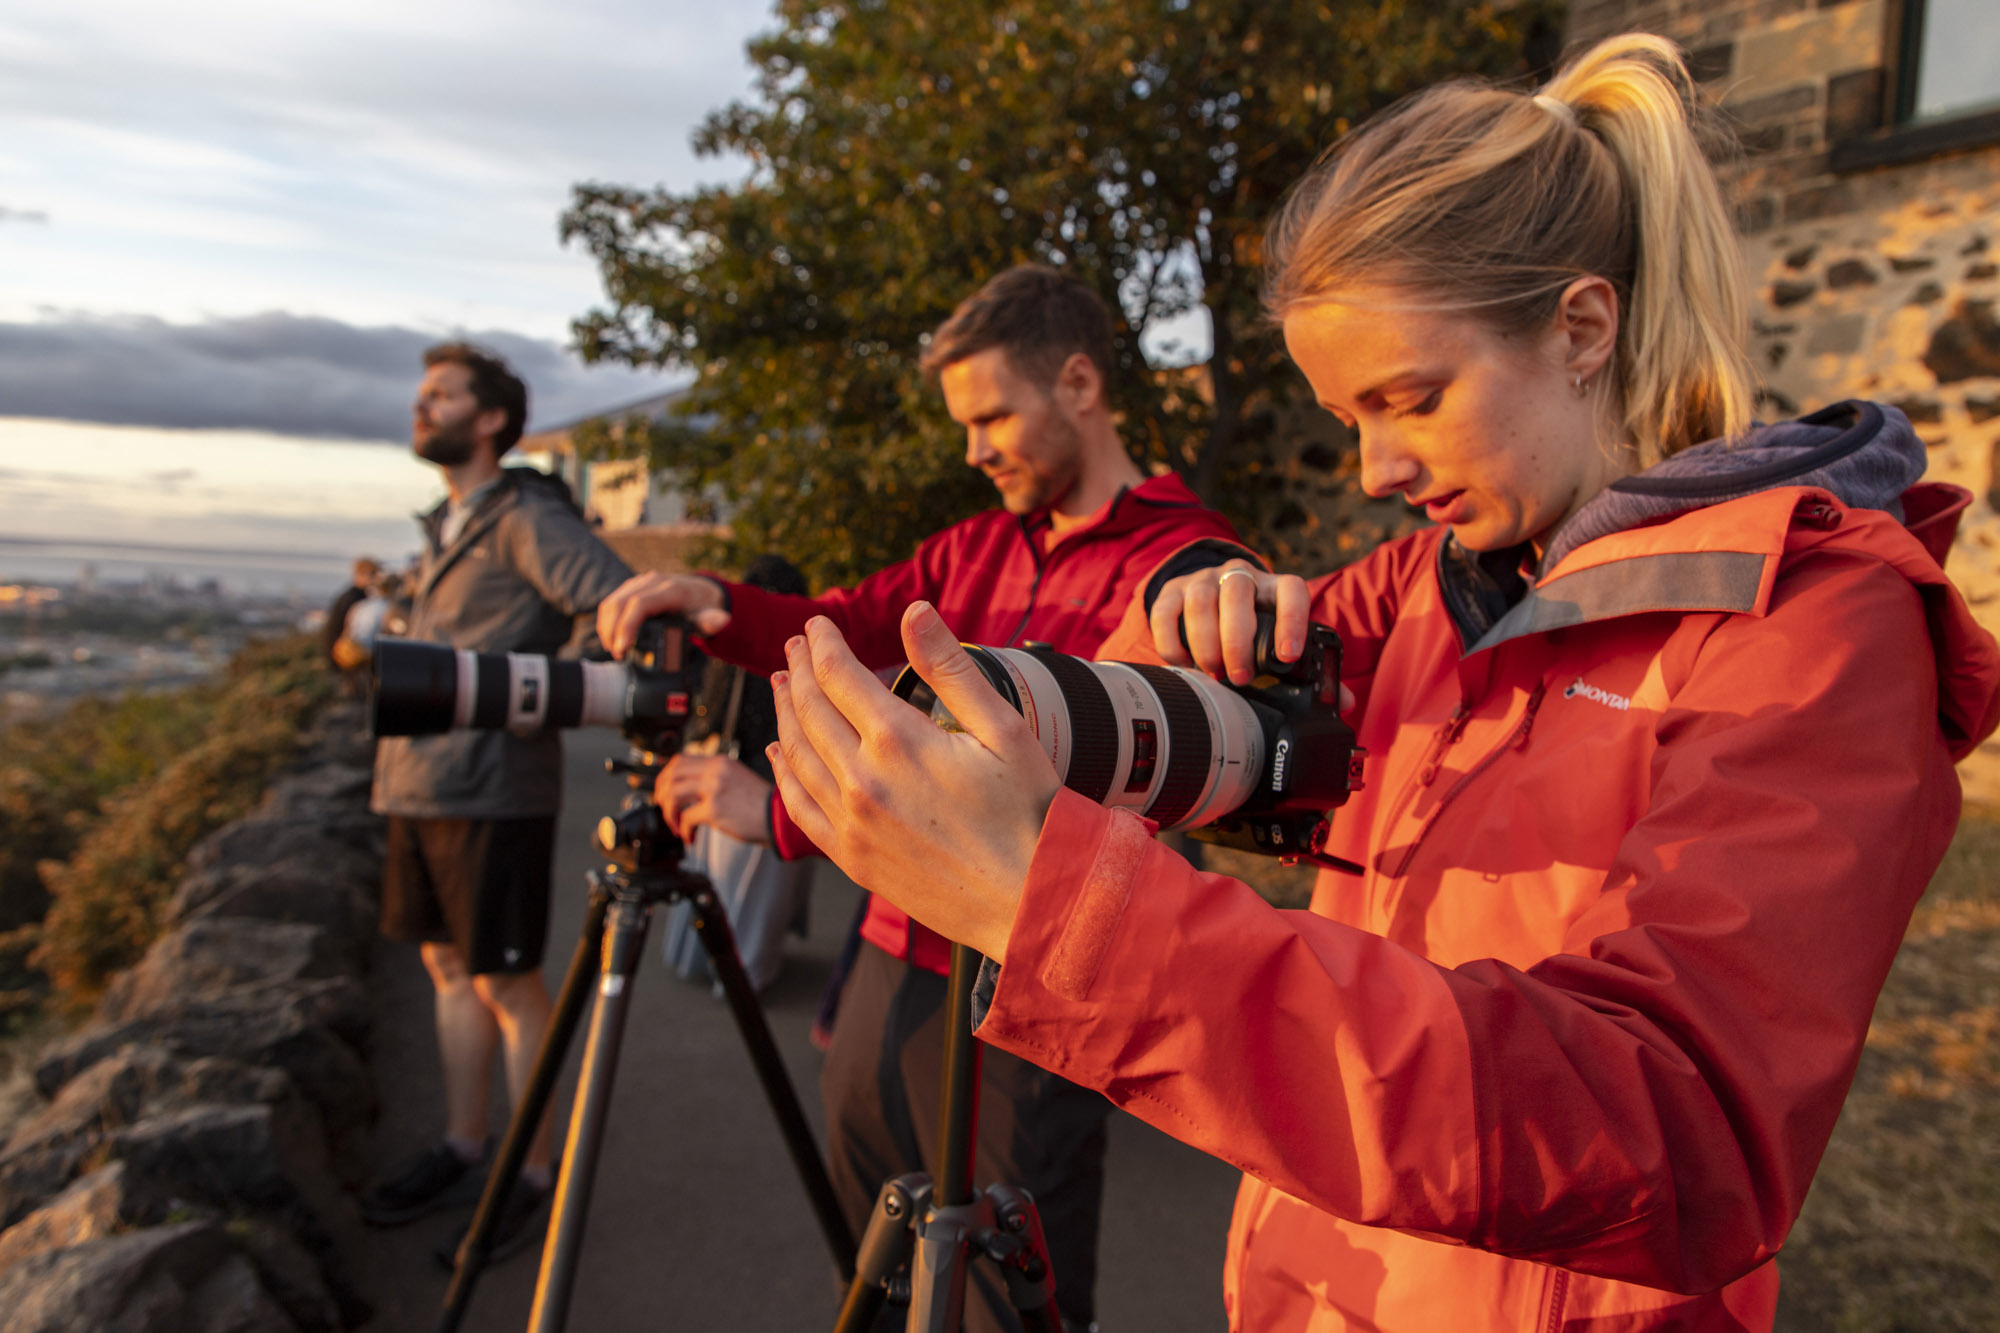
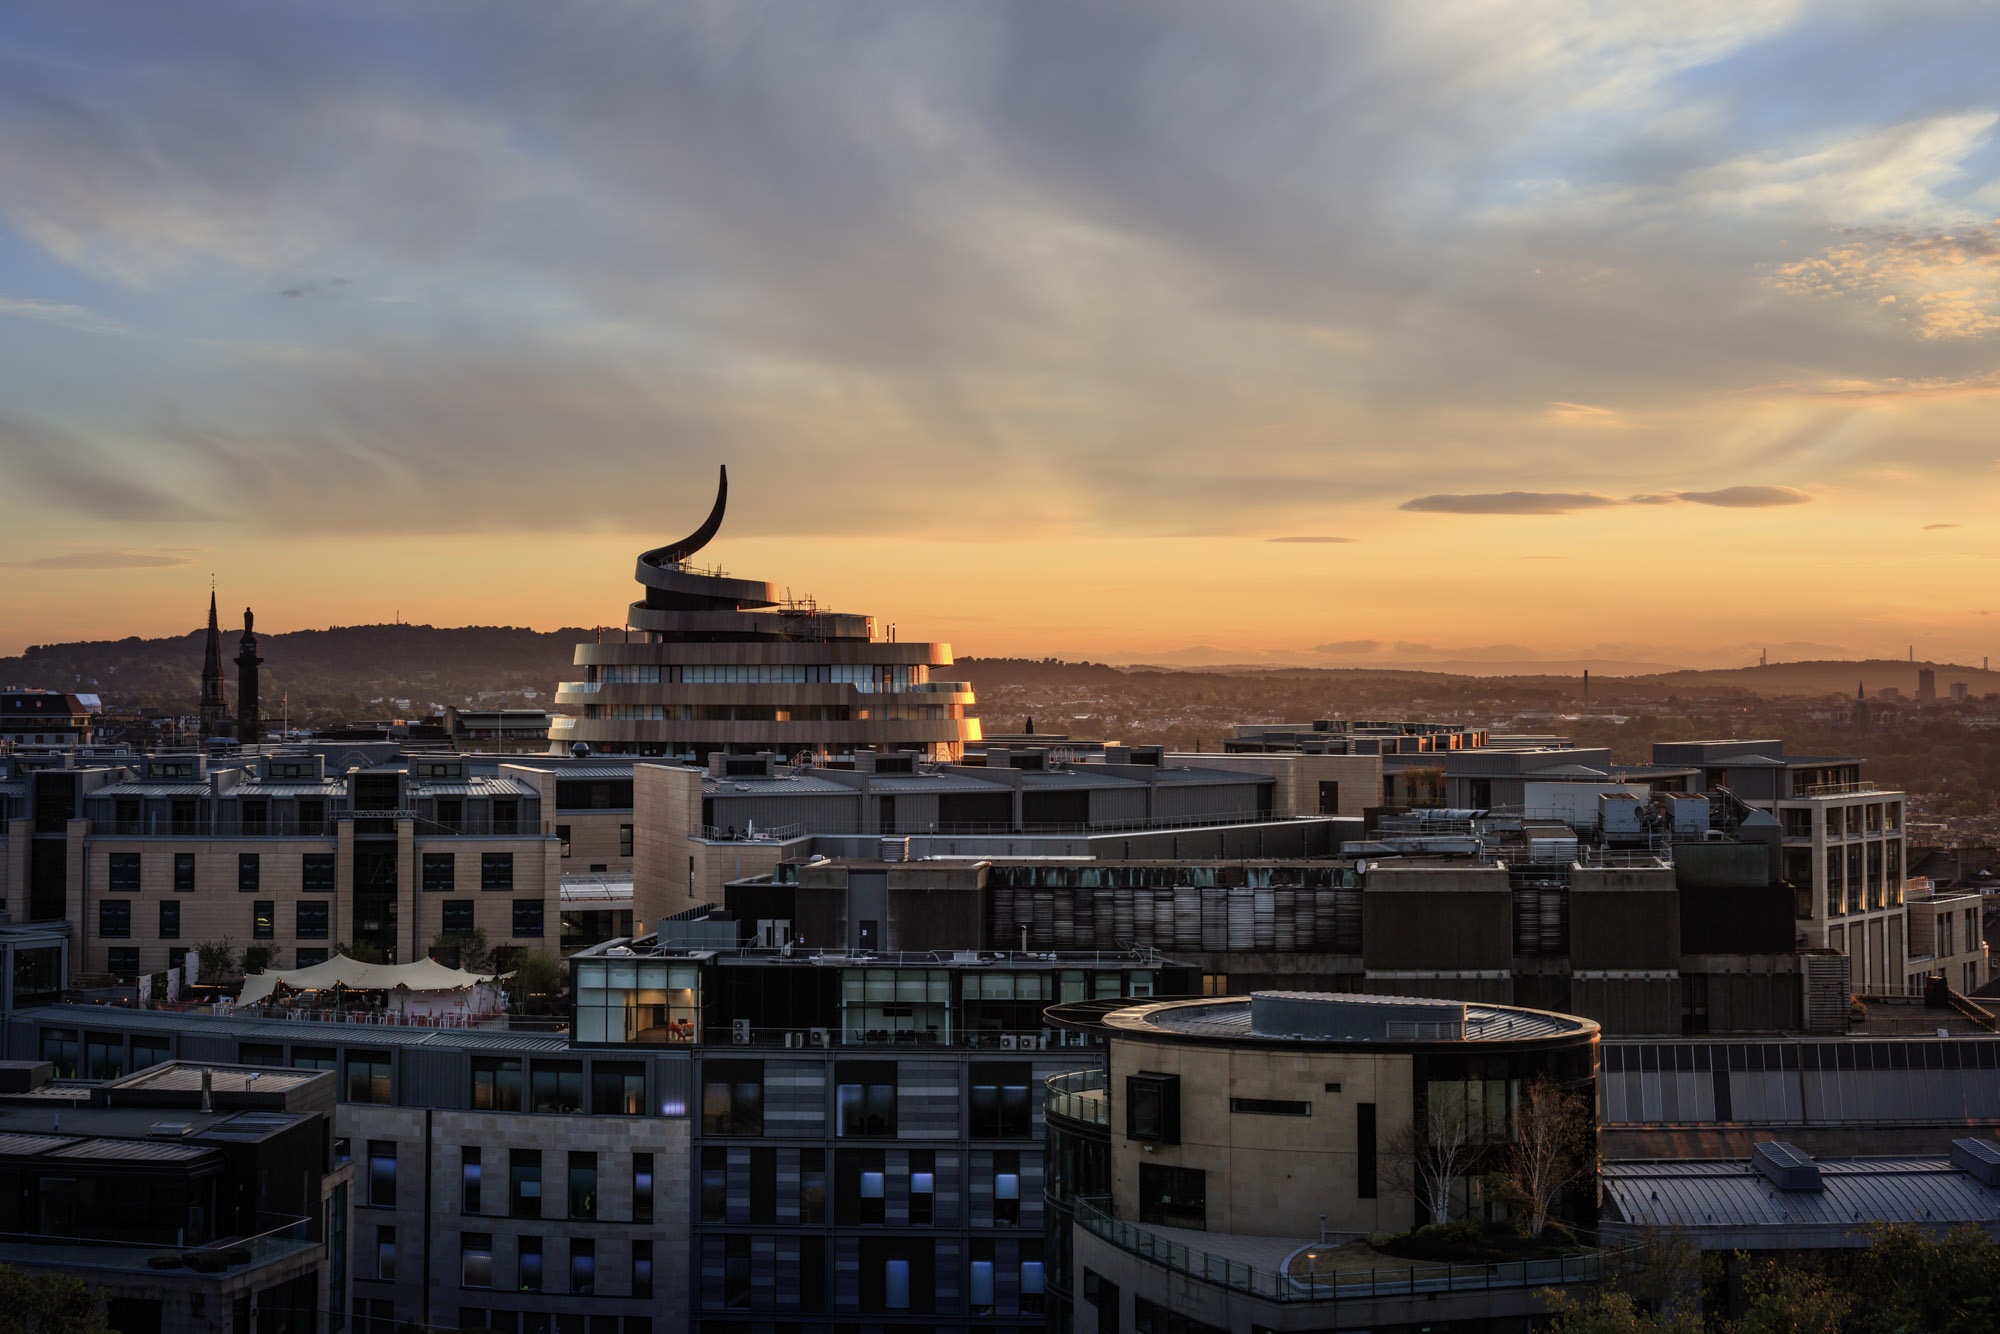
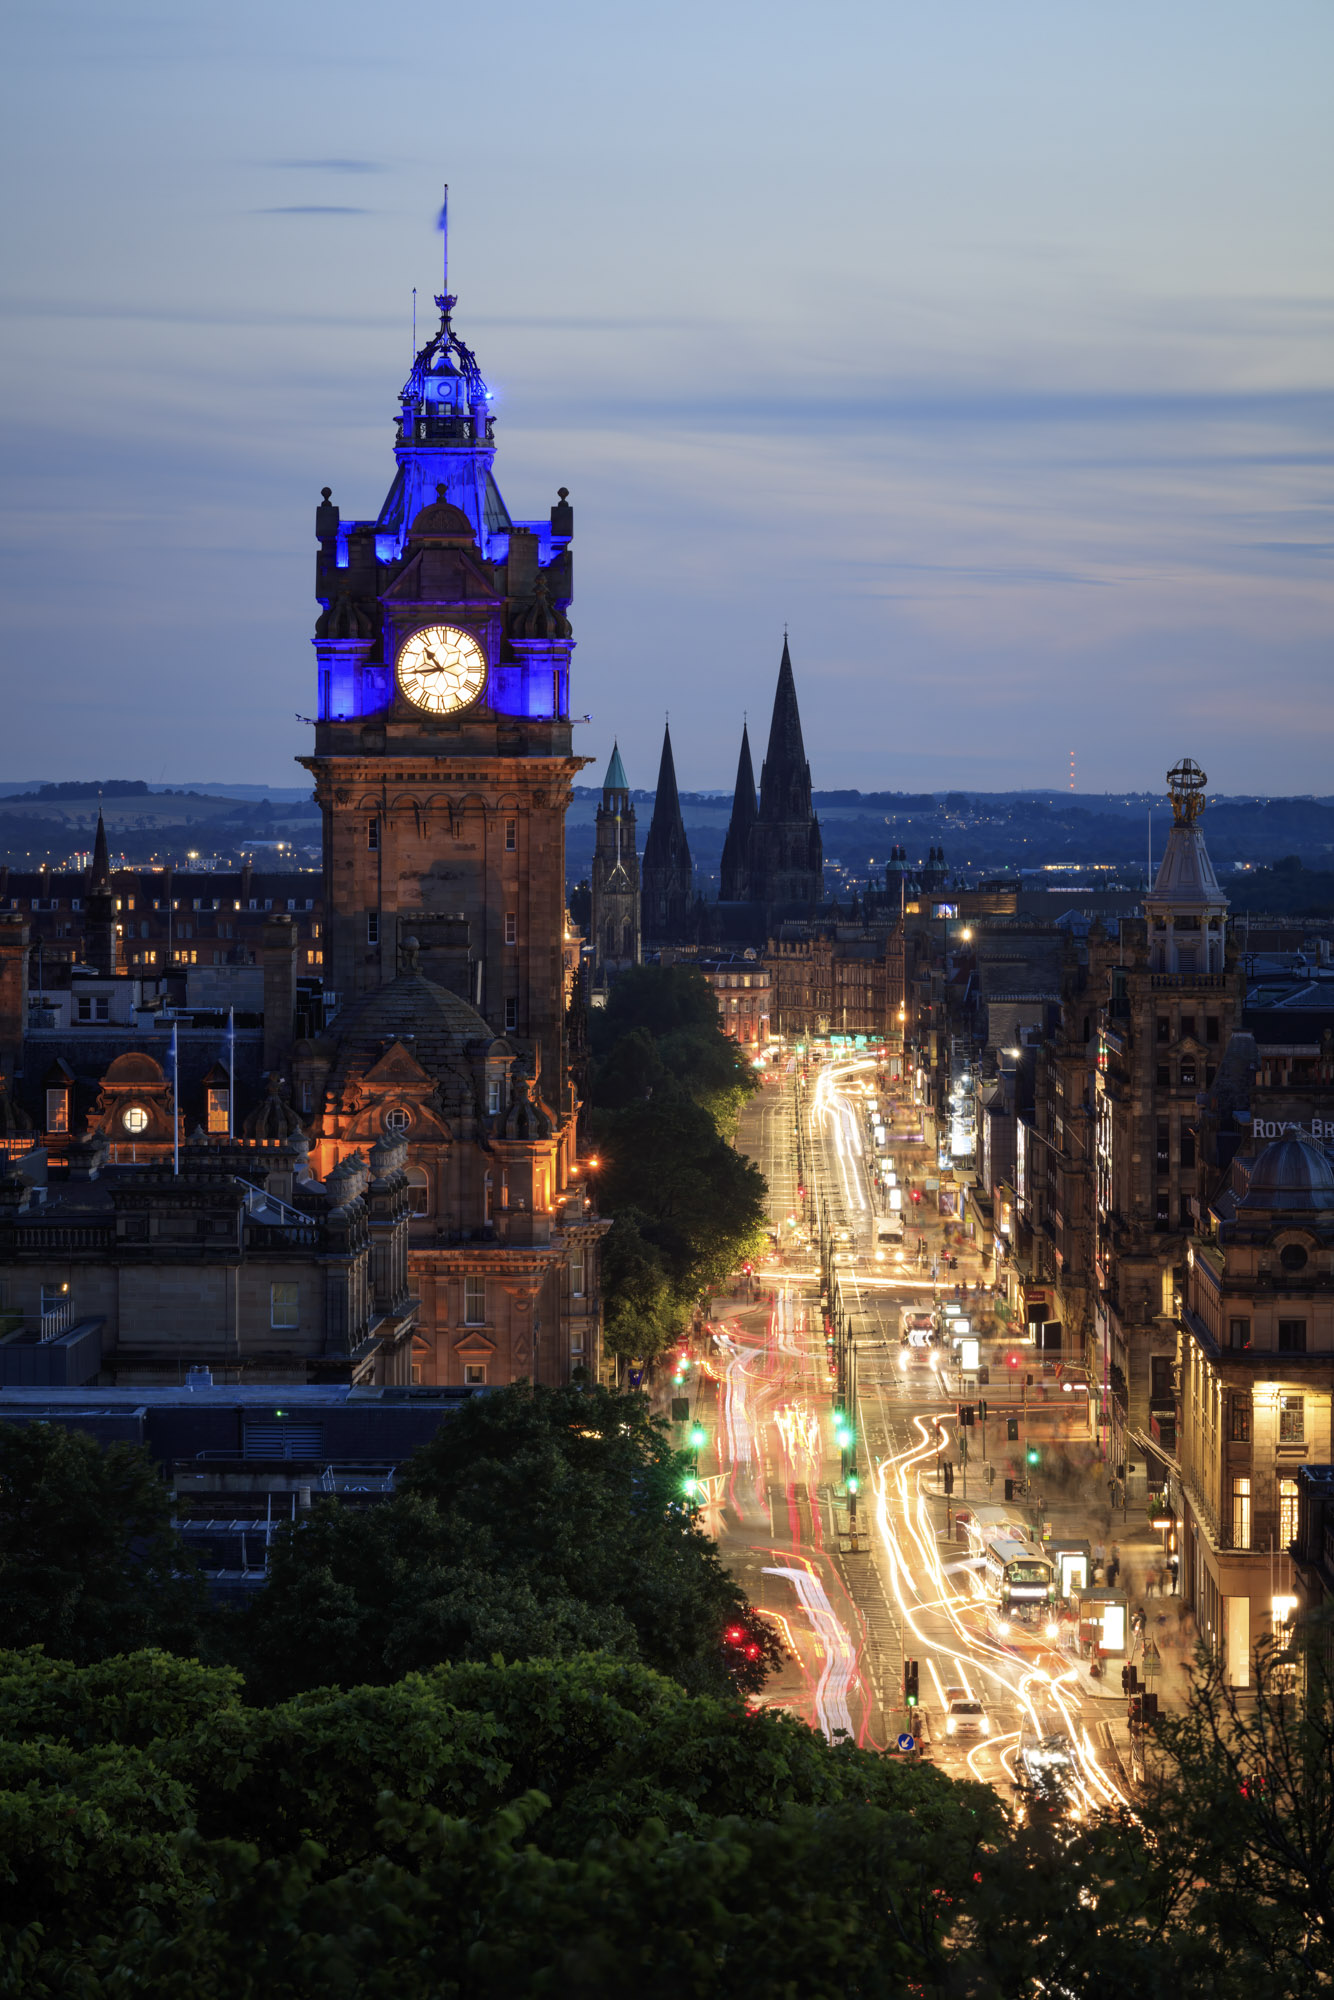
Taking great city shots can be a bit trickier than might first seem and that's why this month we teamed up with a reader of PhotoPlus: The Canon Magazine, Zoe Kirkbride, for a masterclass in cityscape photography with Canon pro Adam Bulley in the magical city of Edinburgh, Scotland.
• These are the best places to visit in Scotland for photography
Adam is a professional landscape photographer based in Edinburgh. Over the years, he’s discovered some fantastic spots to take photographs and regularly runs photography workshops in Edinburgh, teaching others the skills he’s learned over the years at some of the most photogenic Scottish locations. We met up with him in the early evening to capture the magical city transforming from day to night.
1. Starting settings
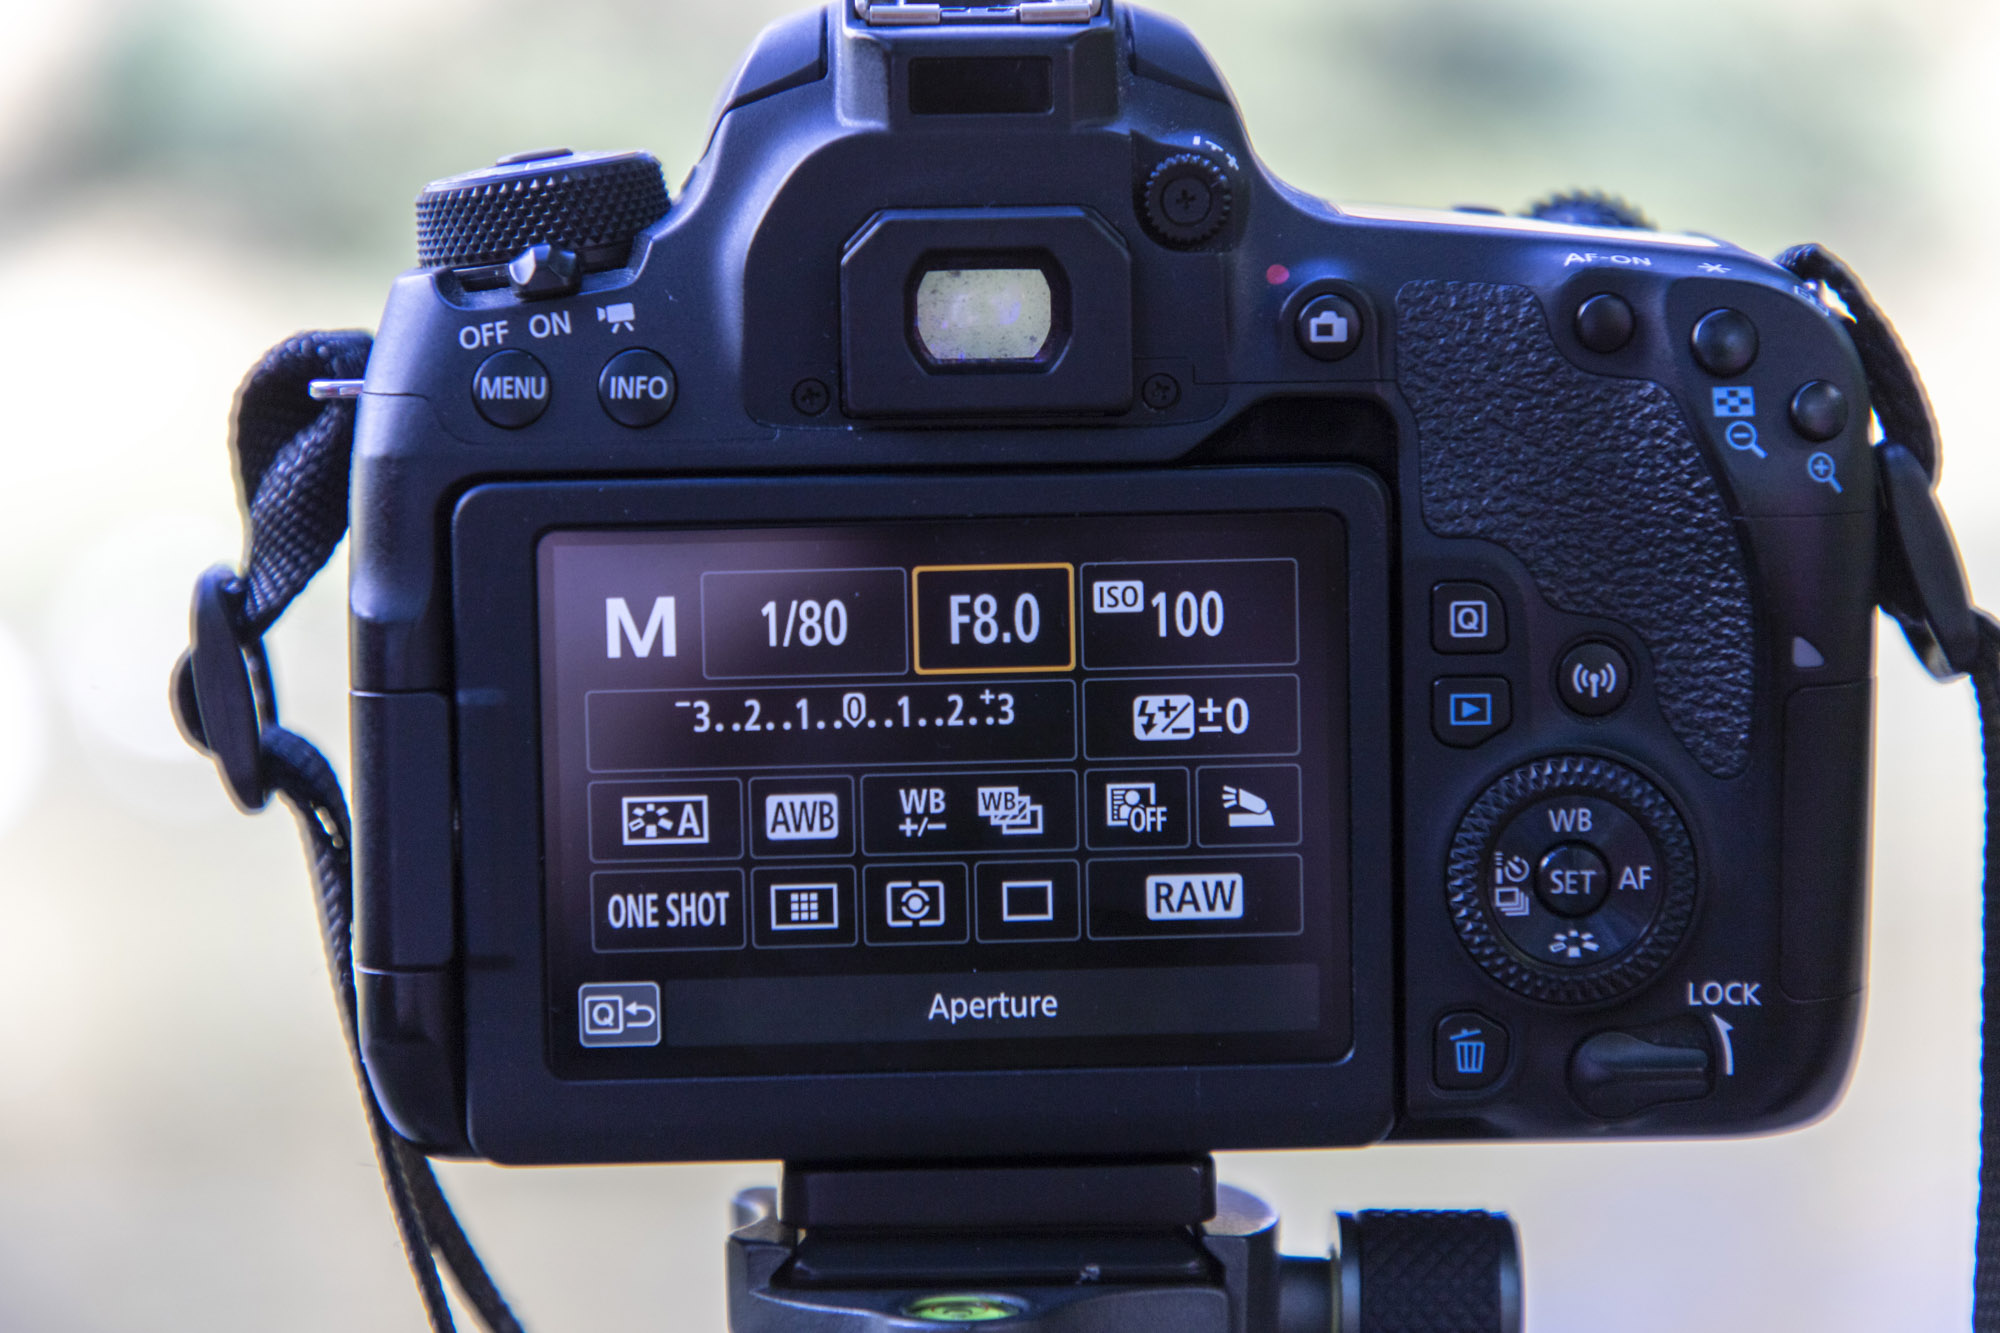
Using the Manual exposure mode, Adam set Zoe’s camera to begin with an aperture of f/8 for good depth of field throughout the scene; f/8 is also often one of the sharpest apertures to use on many lenses. He set the ISO to 100 as it was daylight and there was plenty of light available; this low setting would also ensure the best image quality. This only left the shutter speed, which was set to around 1/80 sec using the histogram as a guide, though this setting would be changed if images appeared too bright or dark.
2. Electronic level
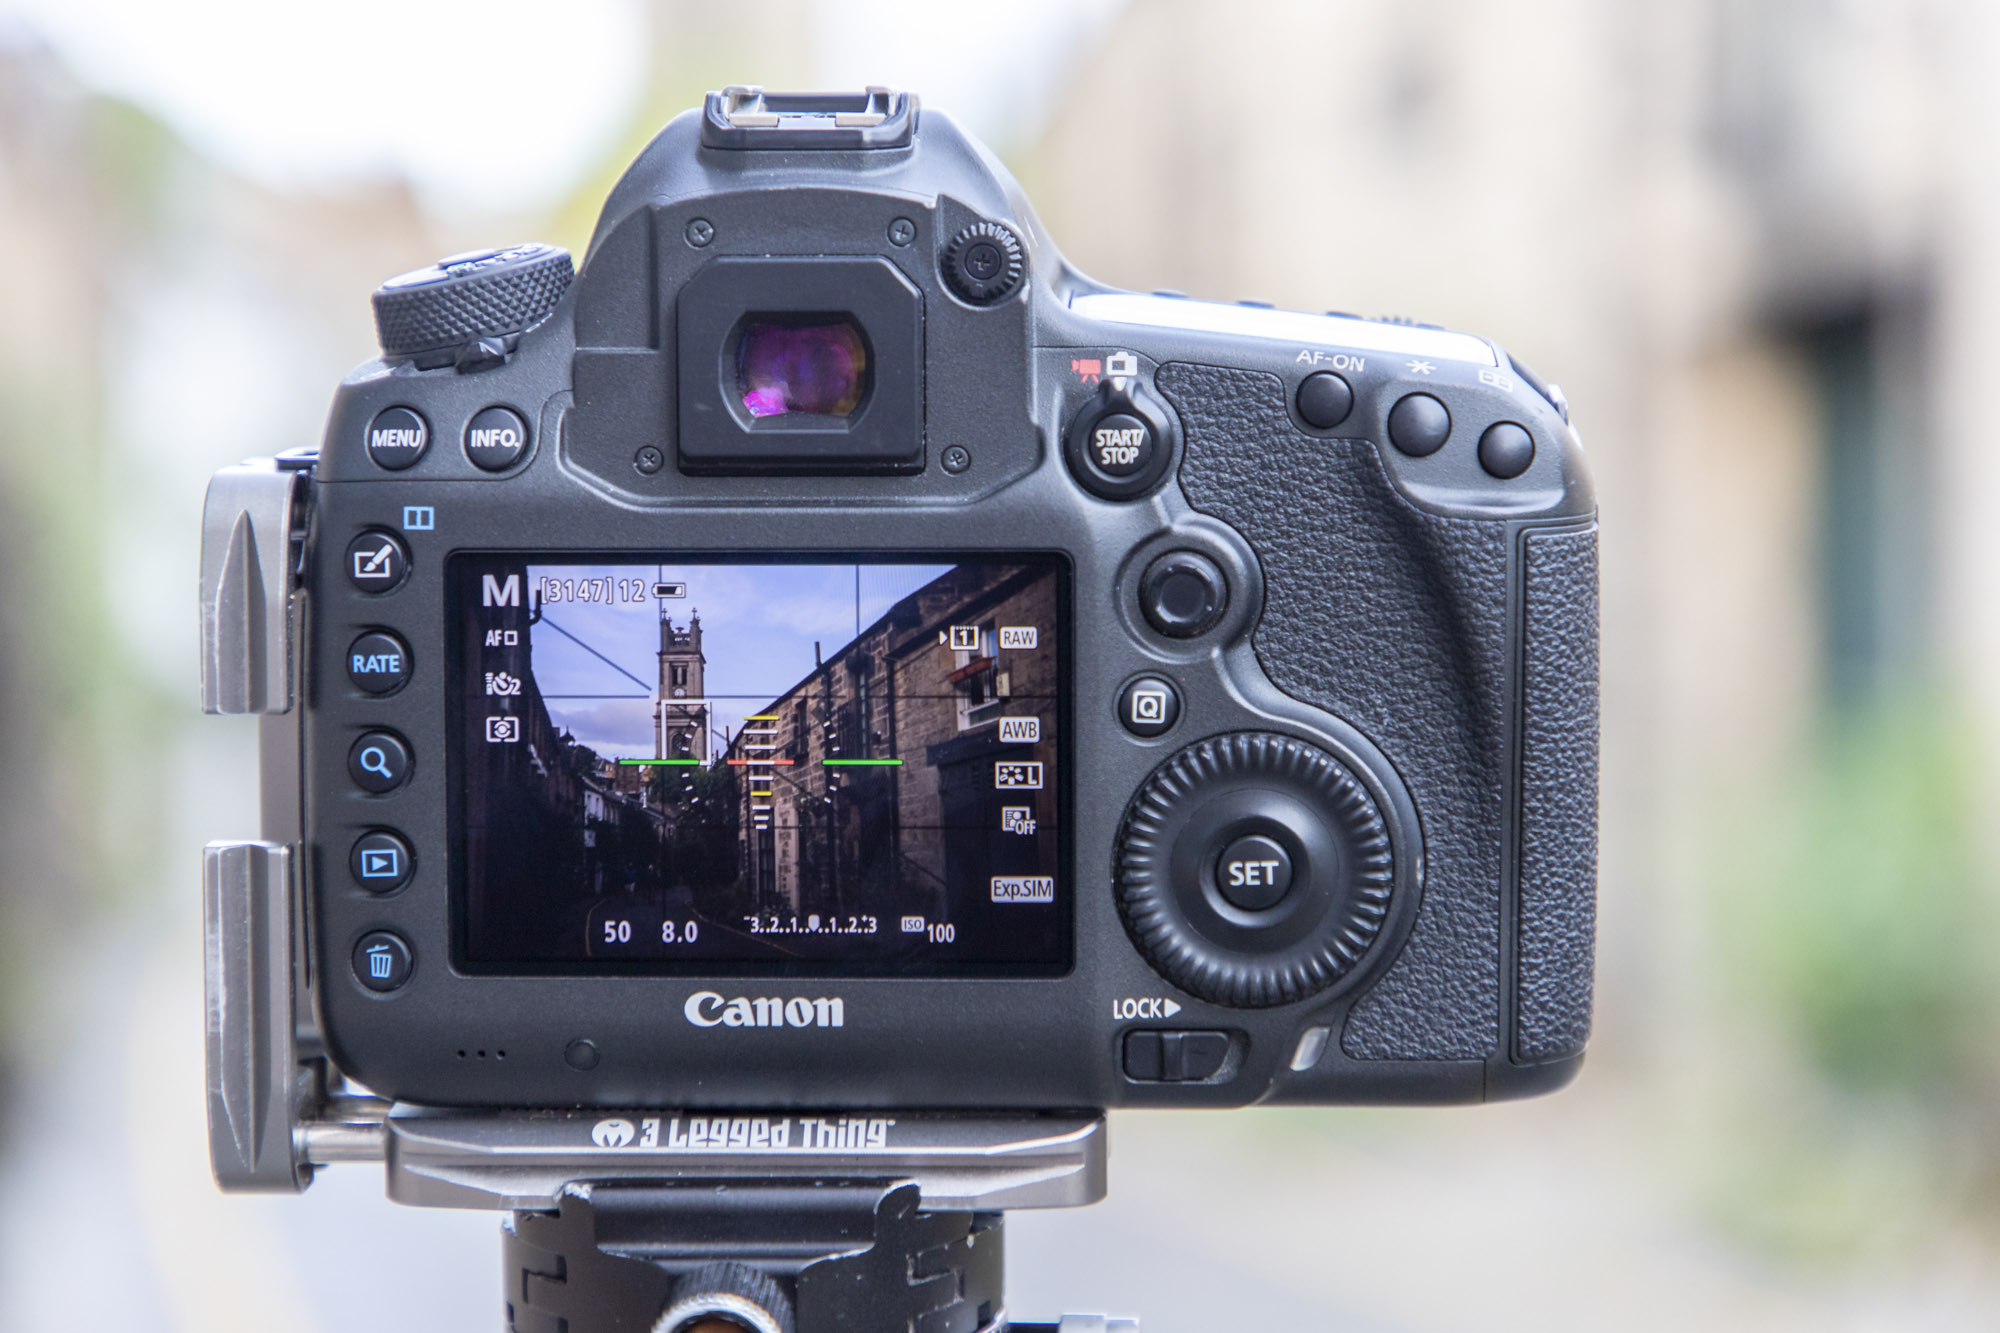
A wonky horizon is the first thing the viewer will spot when looking at your cityscapes and landscapes. Luckily, most Canon cameras come with a built-in electronic spirit level that you can use to straighten up your photographs. It works great in Live View, too, because it’s overlaid on top of your image. Pressing the Info button a few times usually activates the electronic level and you see the line turn green when your composition is totally horizontal, so give it a go!
The best camera deals, reviews, product advice, and unmissable photography news, direct to your inbox!
3. Wide-angle zoom lens
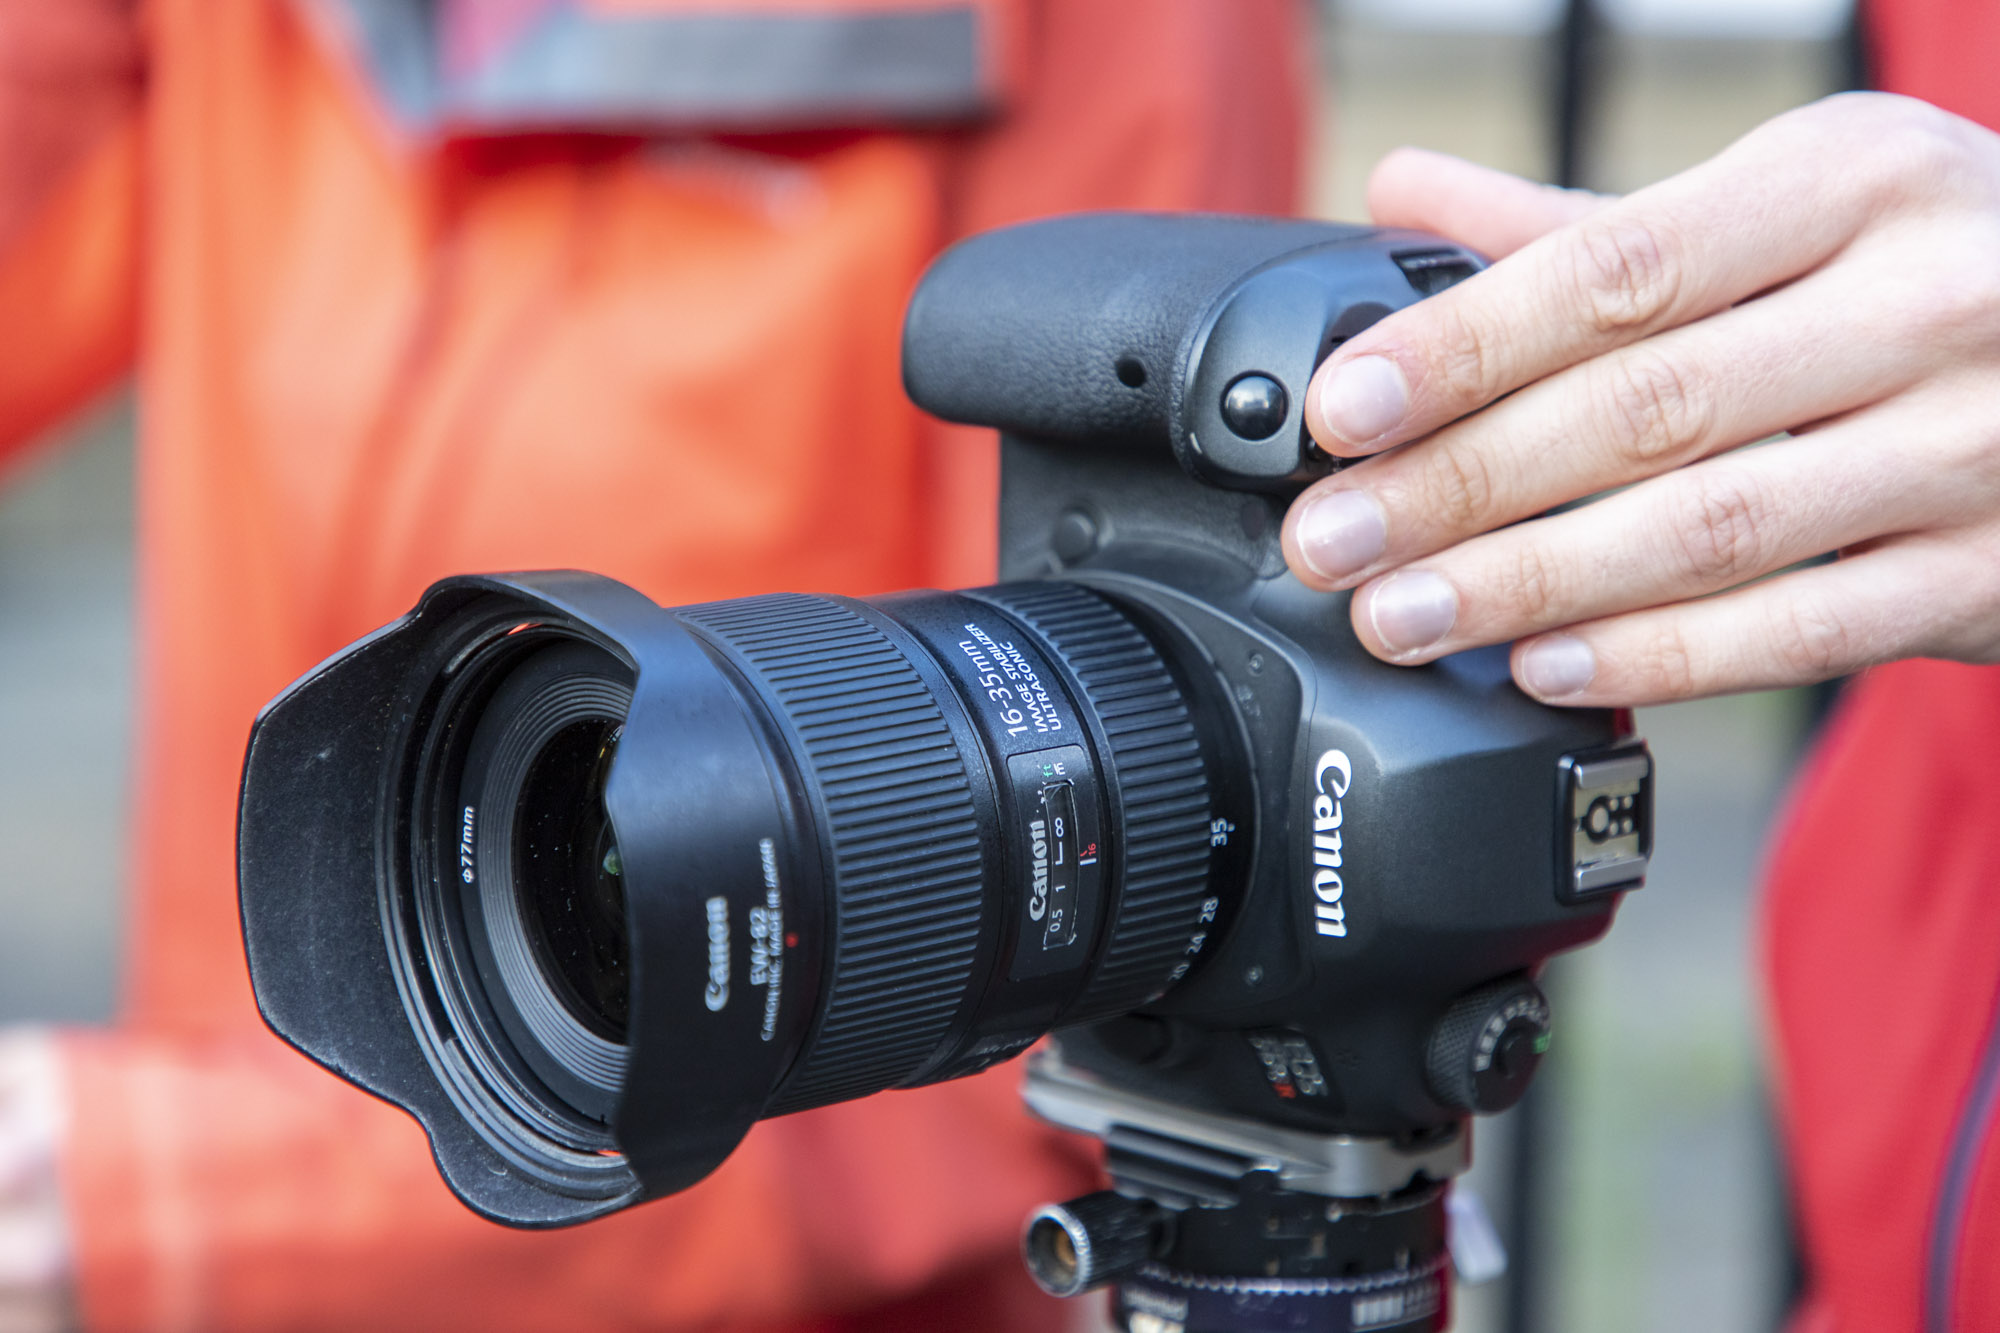
Adam uses a wide-angle focal length on his Canon EOS 5DS R with his Canon EF 16-35mm f/4L IS USM and Sigma 14mm f/1.4 DG HSM Art lenses. Anything wider than 50mm on a full frame is considered a wide angle, and focal lengths such as 14mm or 16mm are considered super-wide, enabling you to squeeze even more of the scene into your composition. On APS-C sensor Canons like Zoe’s EOS 77D, a lens such as an EF-S 10-22mm is more equivalent to a 16-35mm lens, due to the 1.6x crop factor.
4. Highlight alert
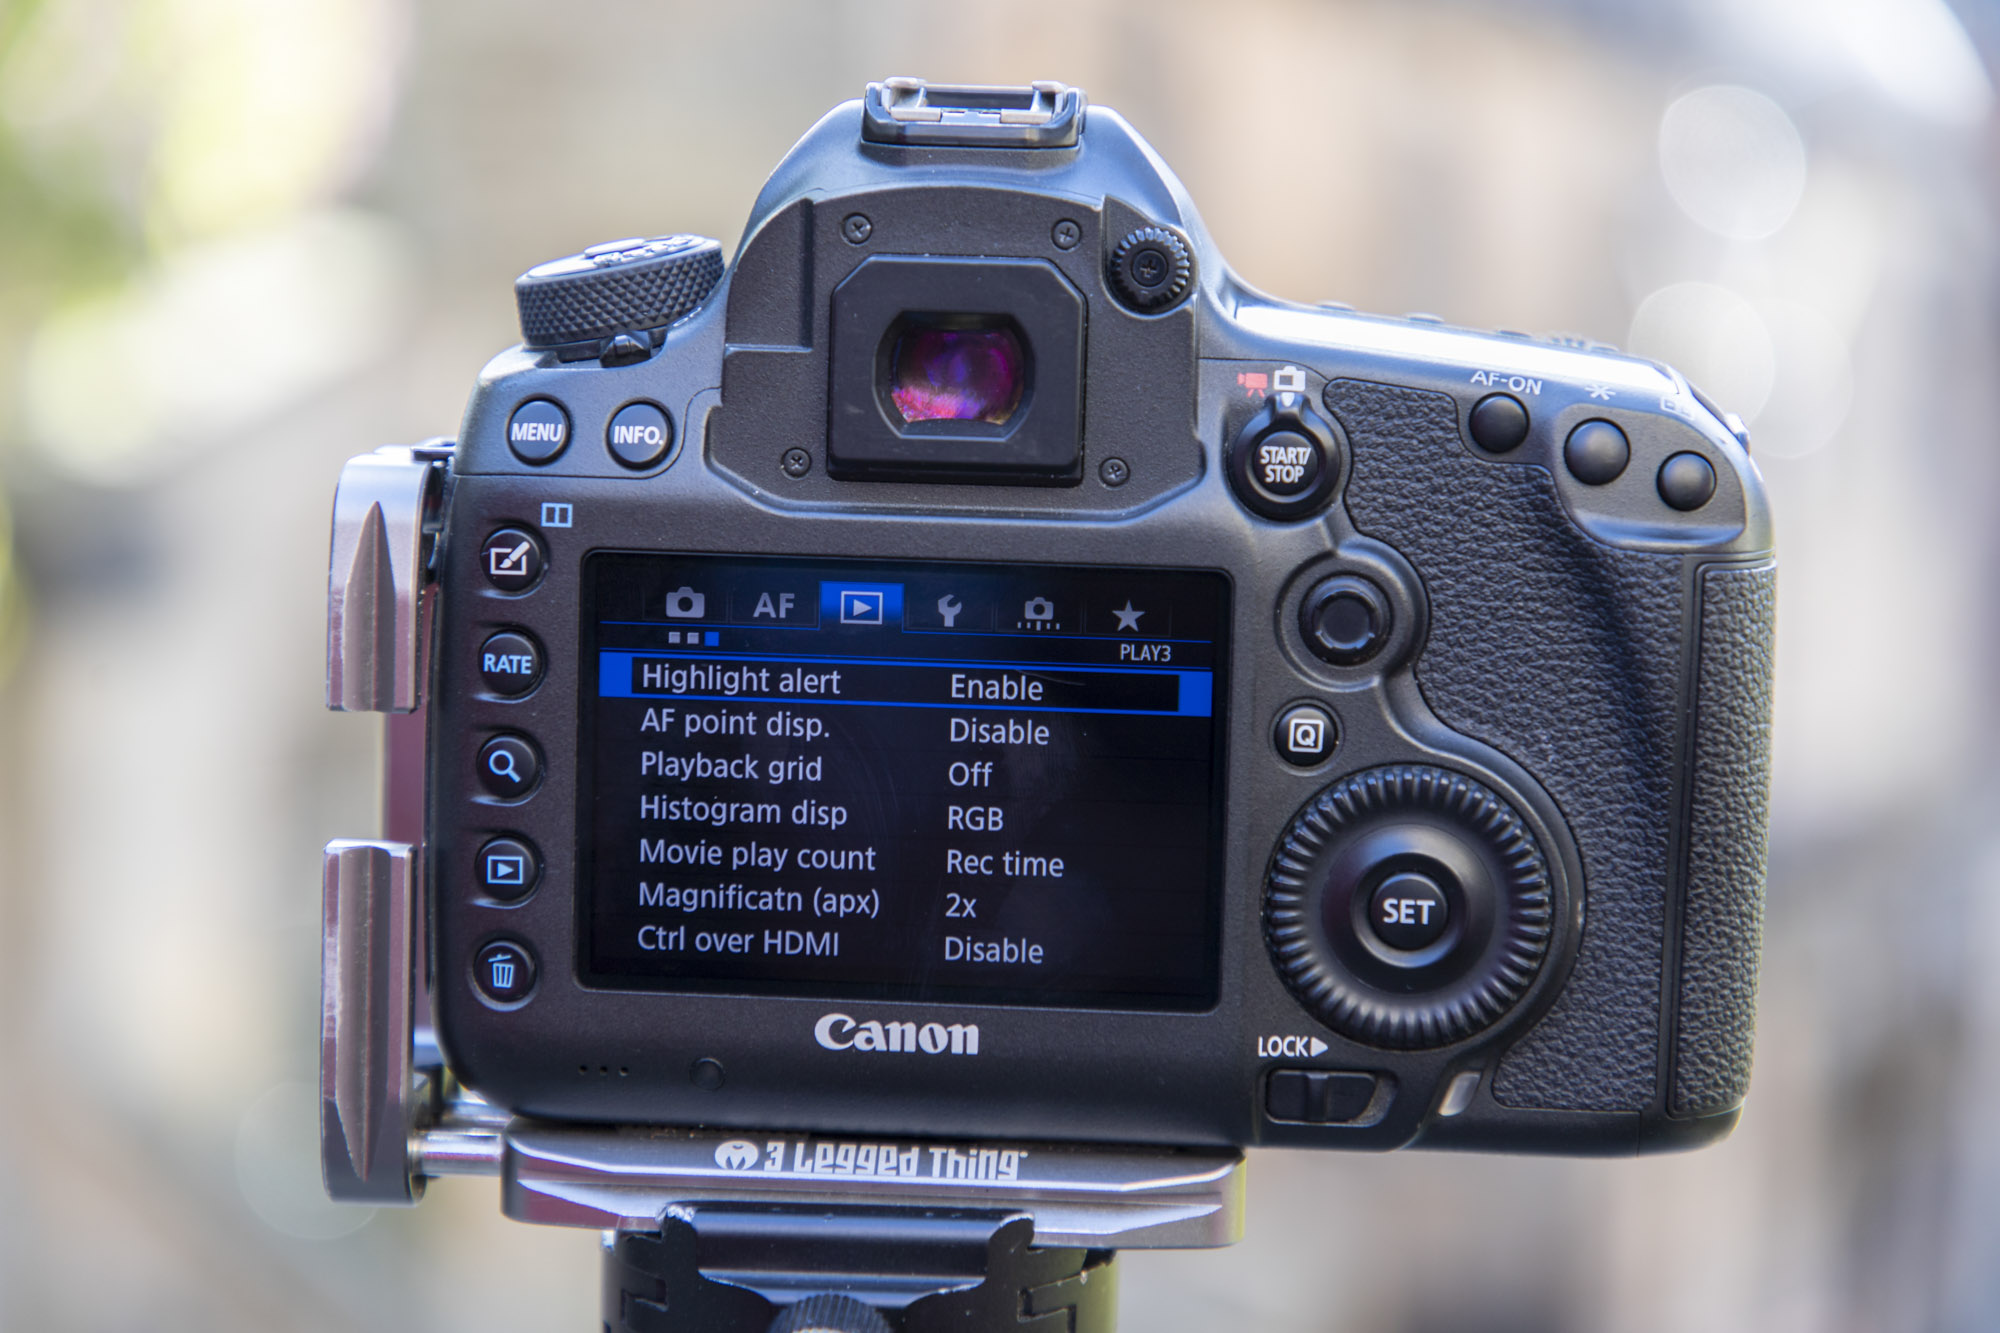
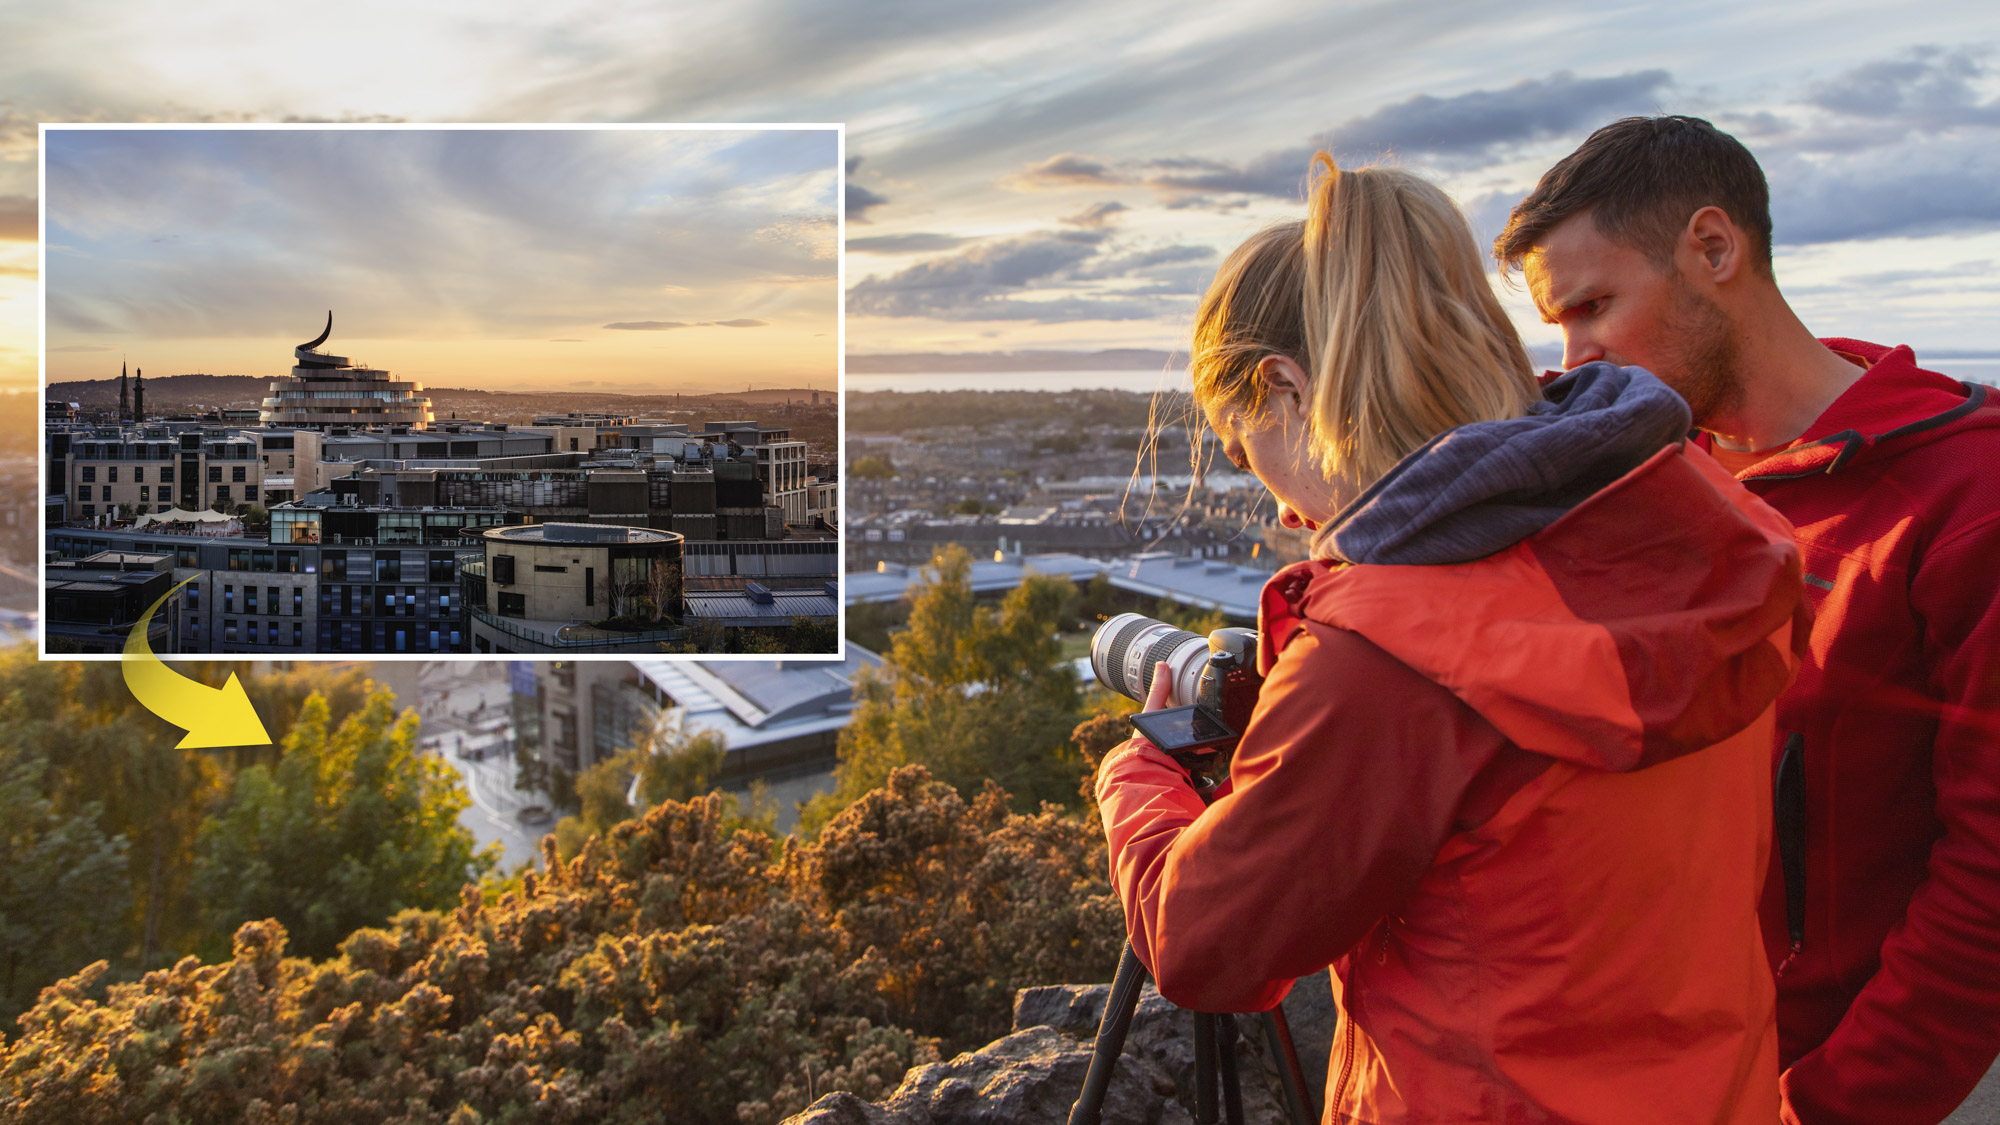
Adam enabled the Highlight Alert on both his and Zoe’s cameras, which gives a visual cue if any bright parts of your images, such as skies, have clipped to pure white. This means the image plays back briefly on the screen and any burned-out areas flash black momentarily, so you know data has been lost in this part and you can adjust your camera settings accordingly to underexpose and retain the sky detail in the next frame.
5. Look for lead-in lines
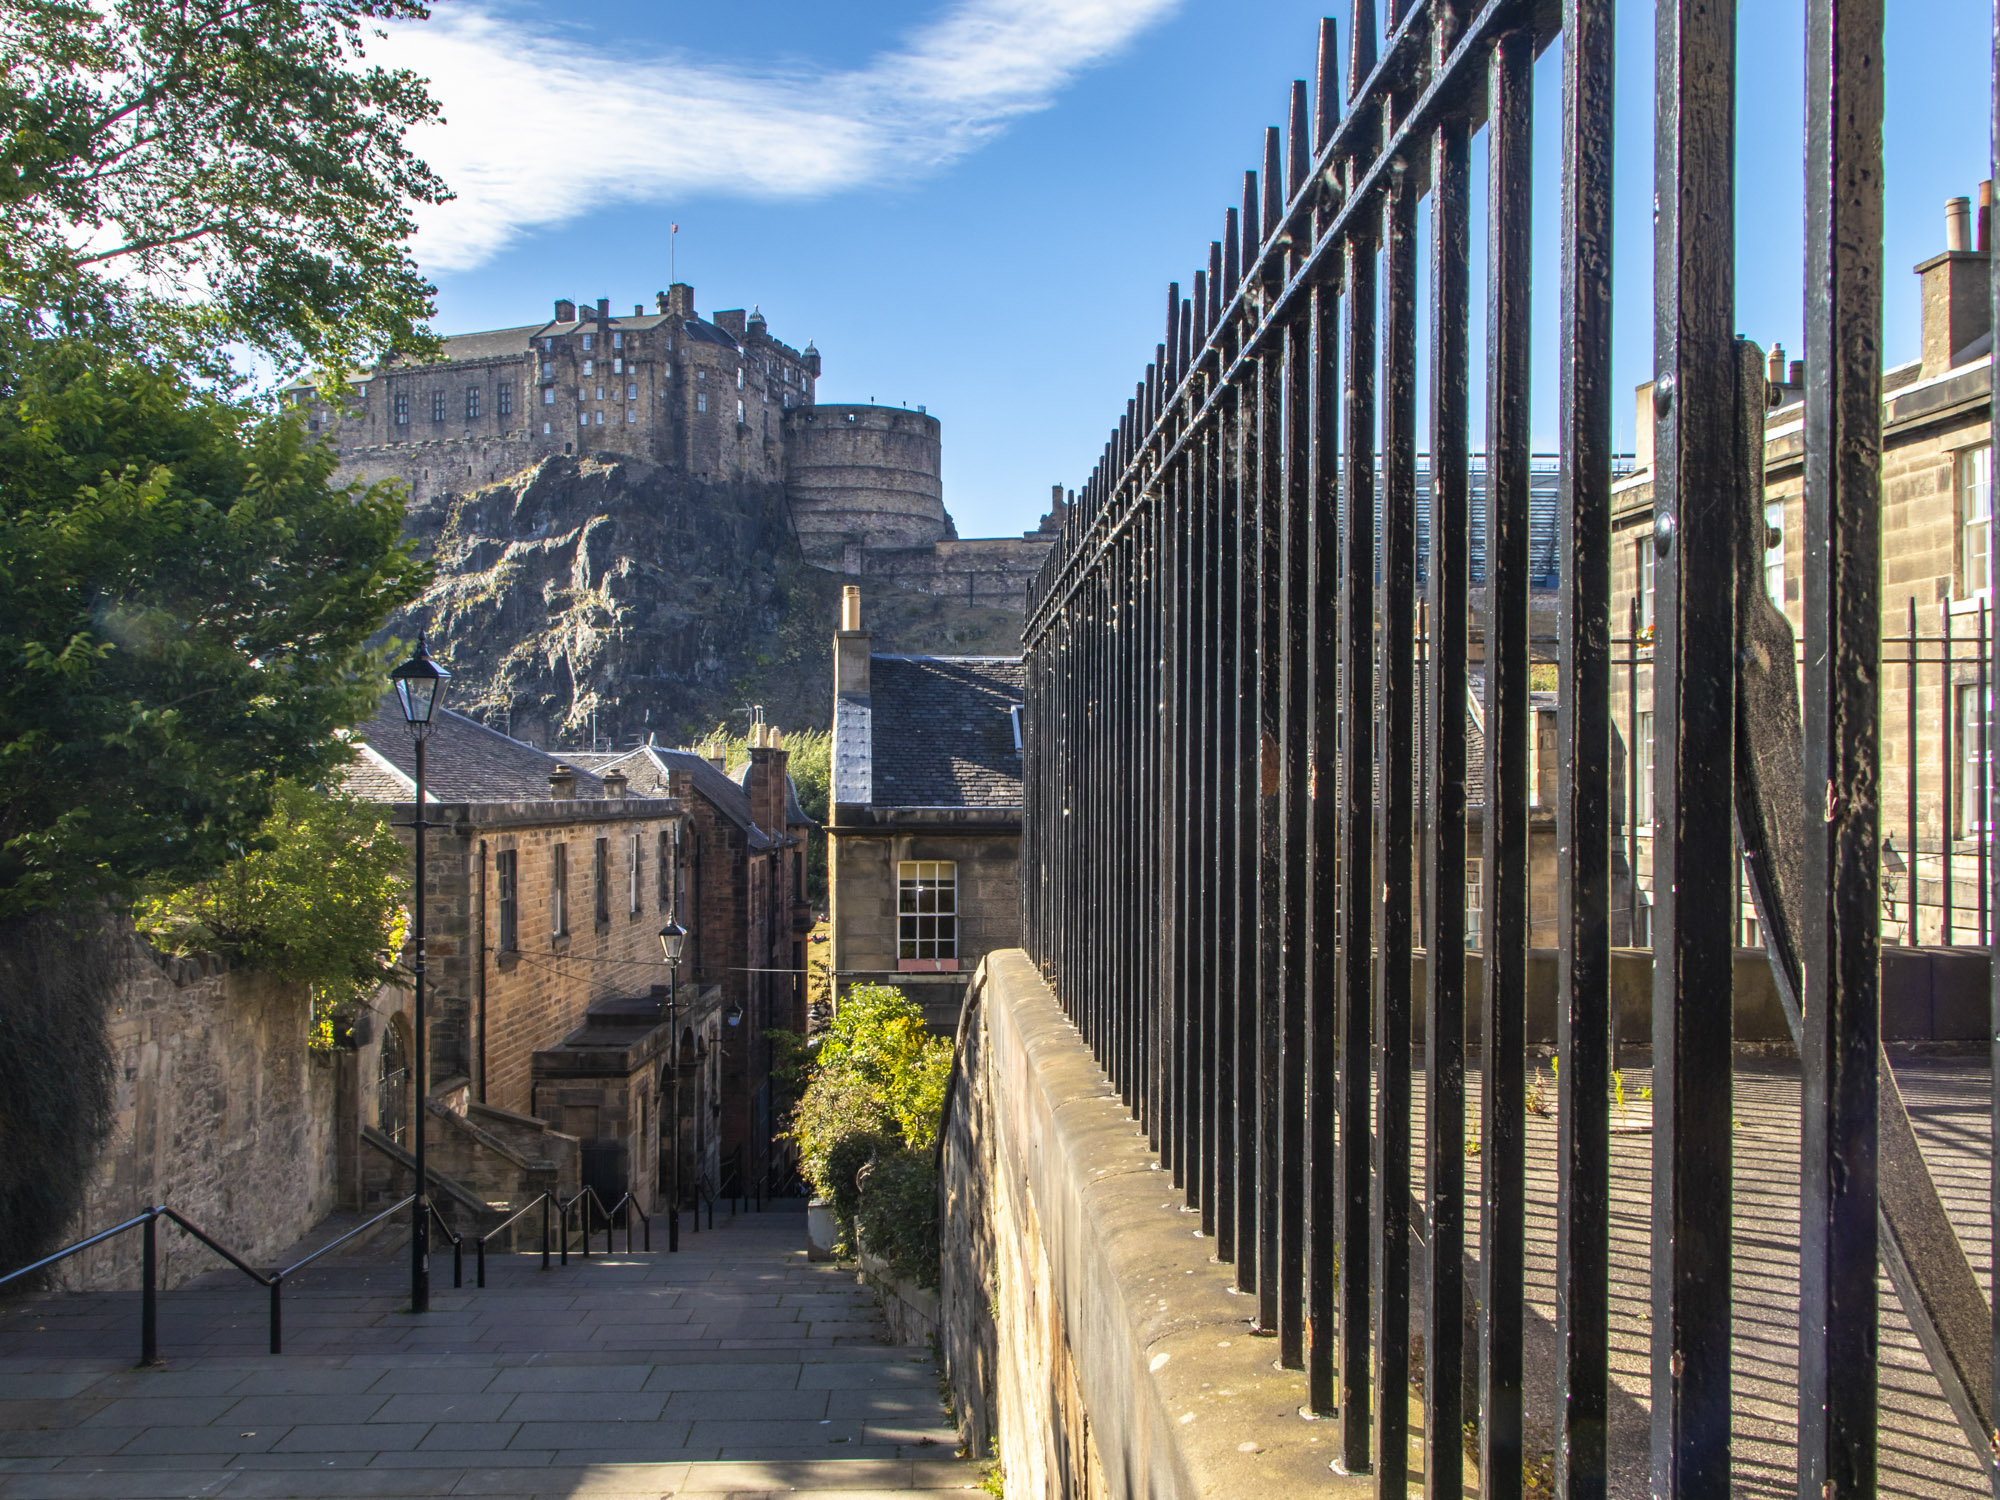
Get creative with your composition setups. In this image, Adam got as close to the railings as possible to include them in the frame and add some strong foreground interest as well as using the lead-in lines from the fence to pull the eye into the frame towards the middle of the image. Look out for lead-in lines when composing your cityscapes and use them to point the viewer’s eye towards an important focal point in your scene.
6. Expand your dynamic range
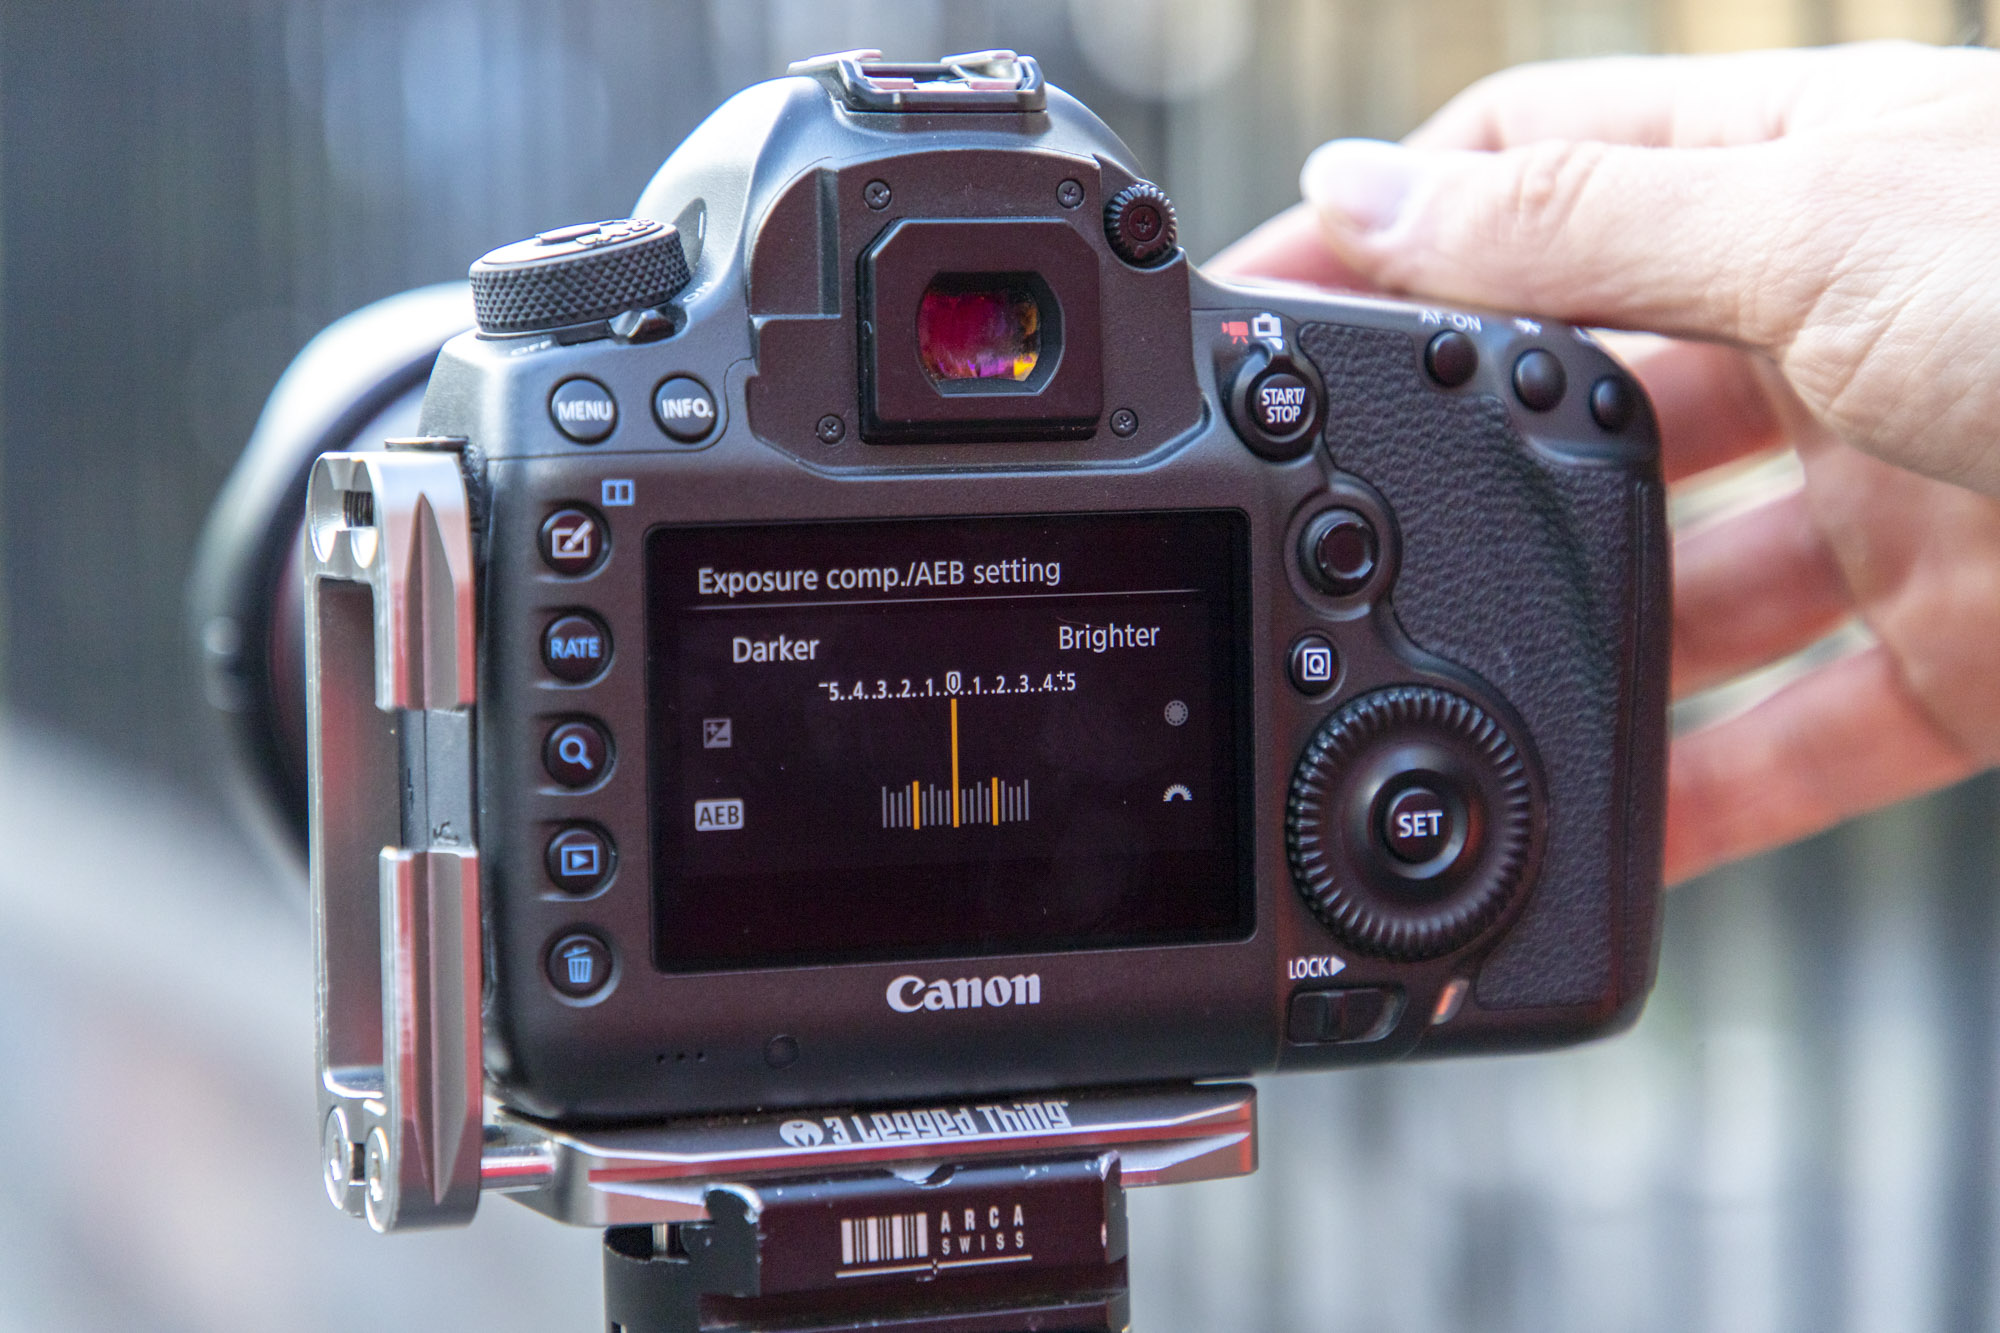
Even the best cameras can struggle to capture a full range of tones in a single image, often leading to highlights in the skies being blown out or deep shadows becoming totally black with no detail. The solution is to create a High Dynamic Range (HDR) image, by using the Auto Bracketing feature on your Canon to take multiple exposures, both over and underexposed. You can then merge them together in software to create a single image with a wider range of tones, from bright highlights to rich shadows.
7. Telephoto zoom lens
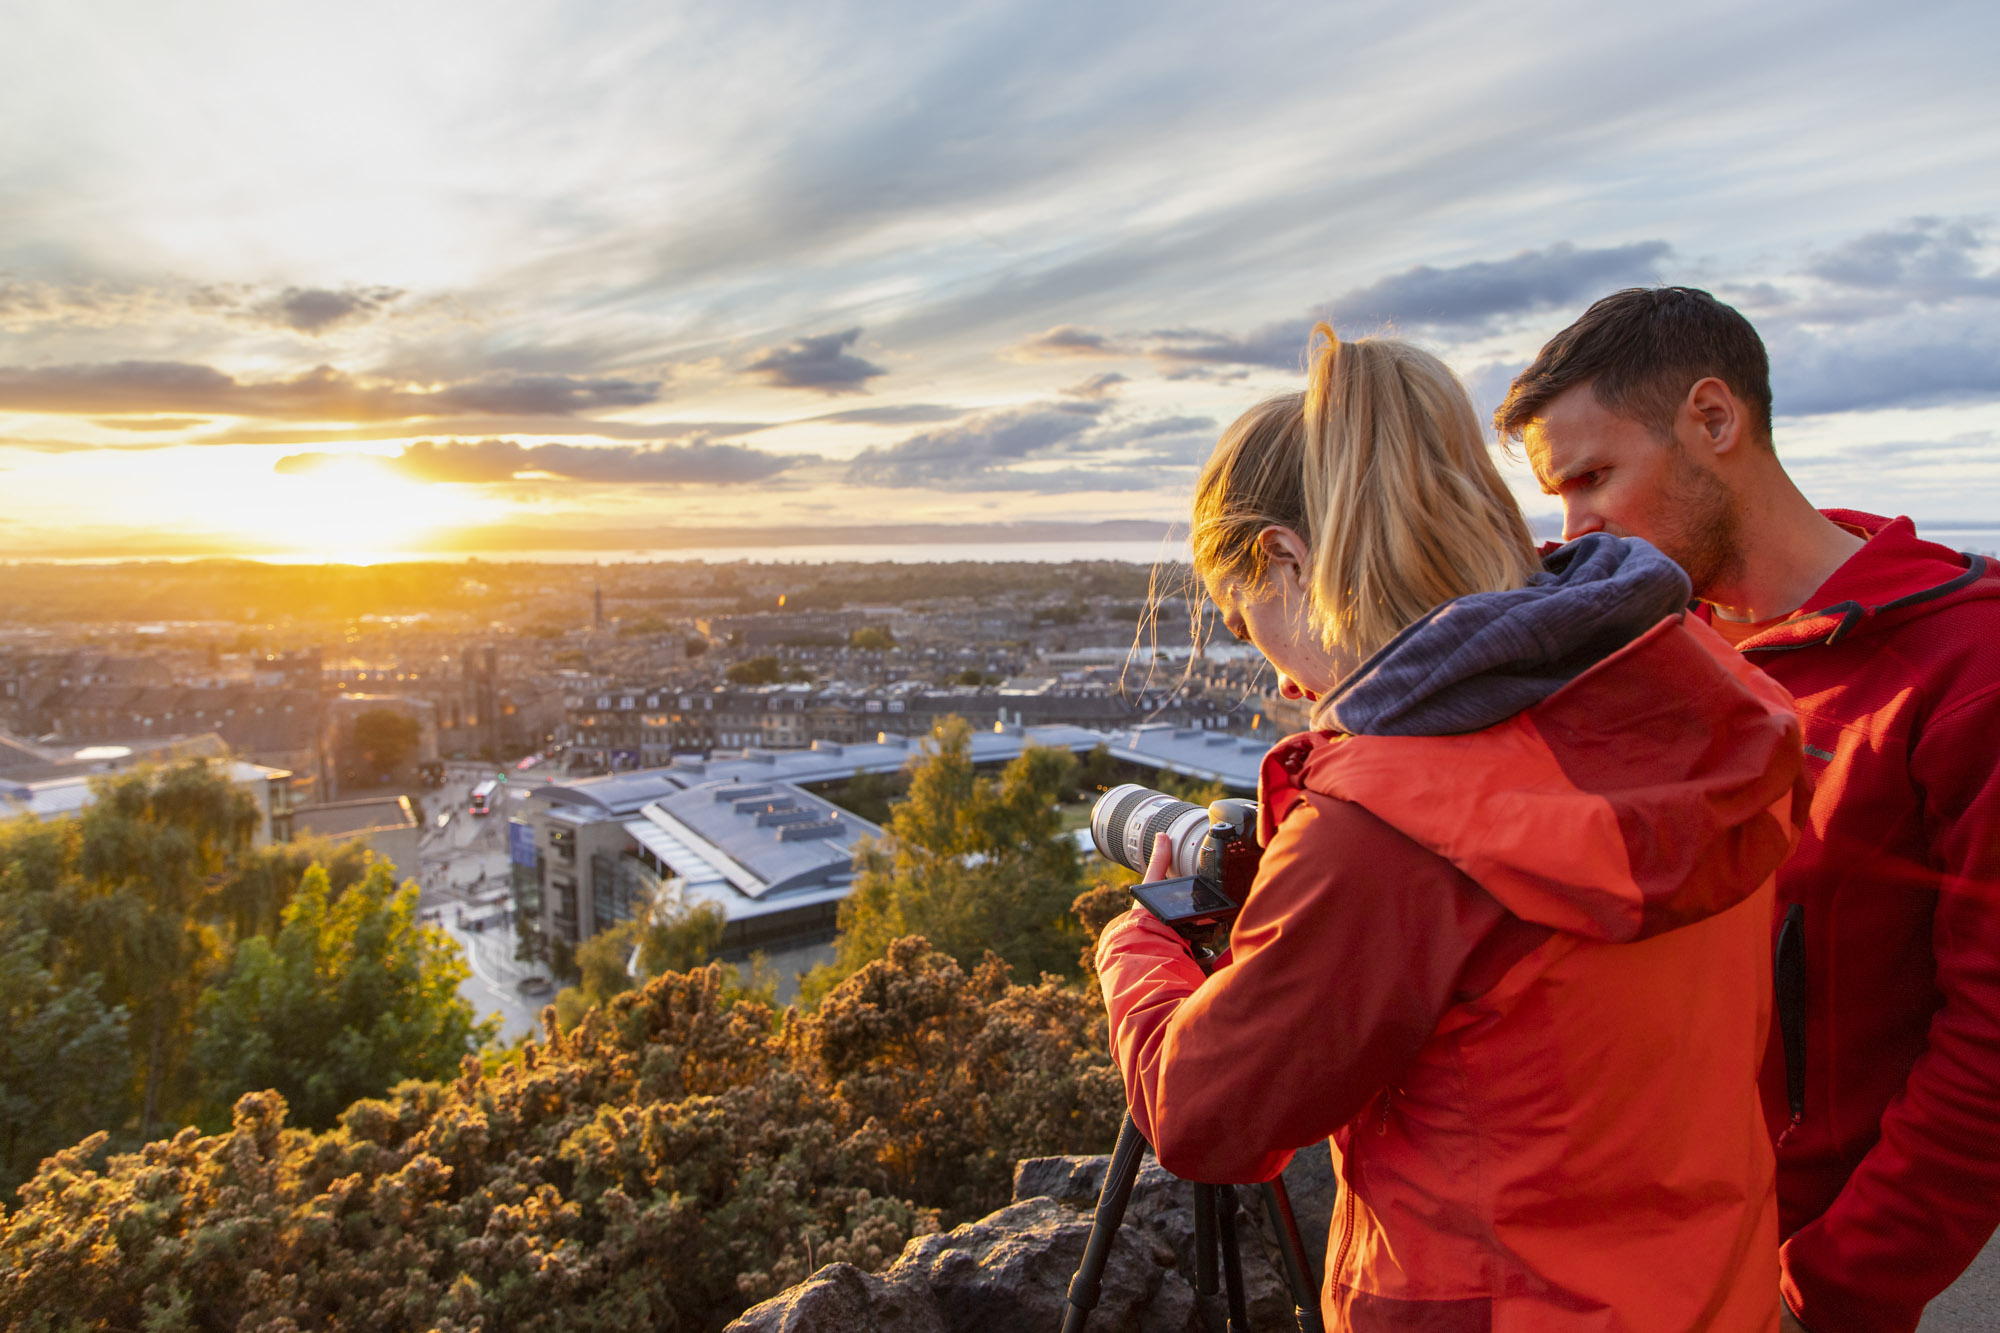
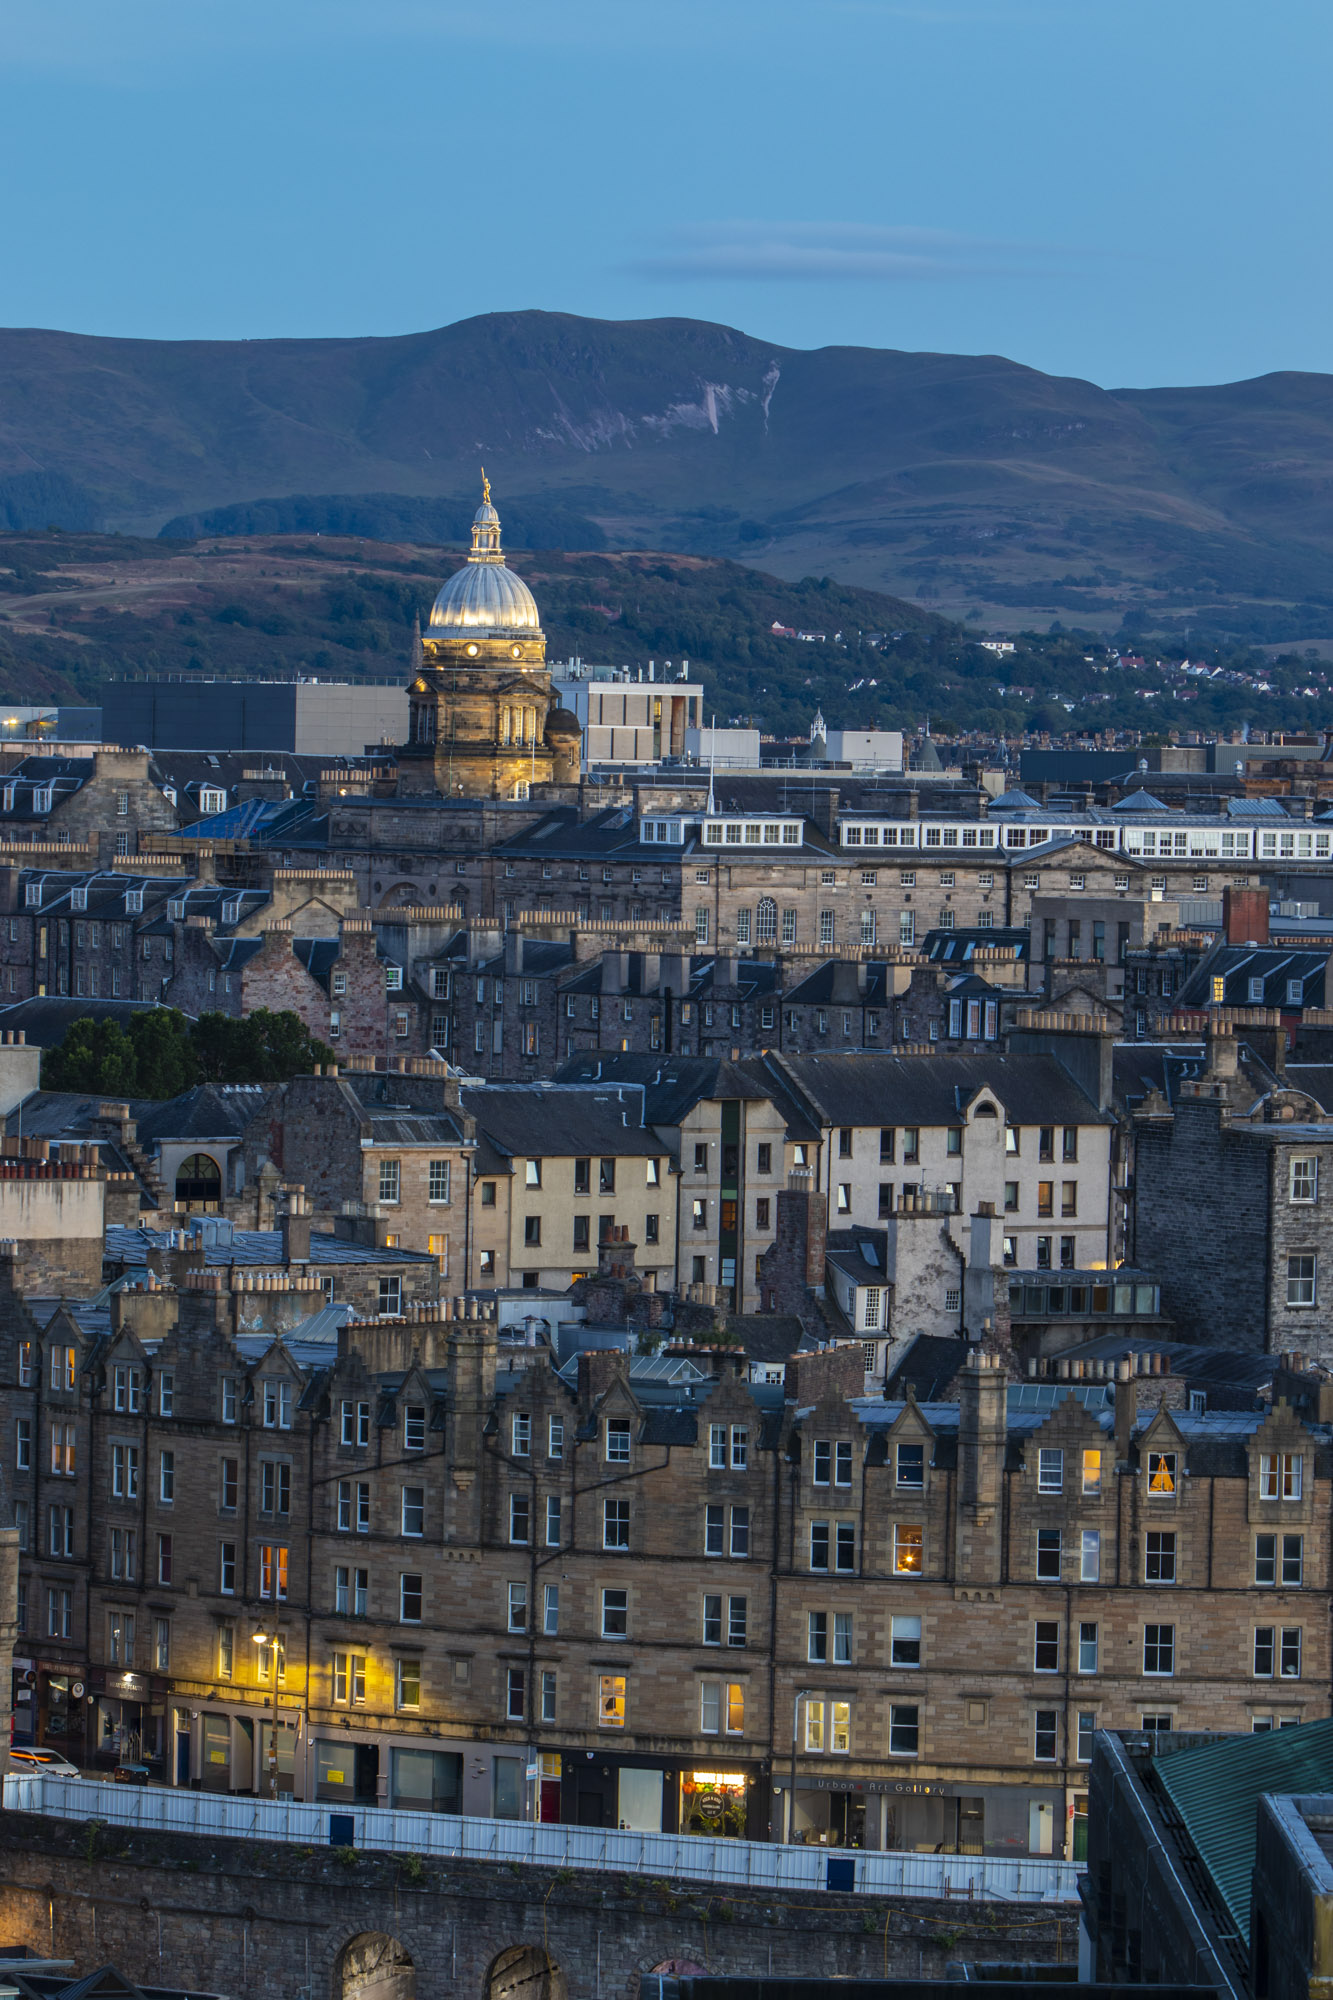
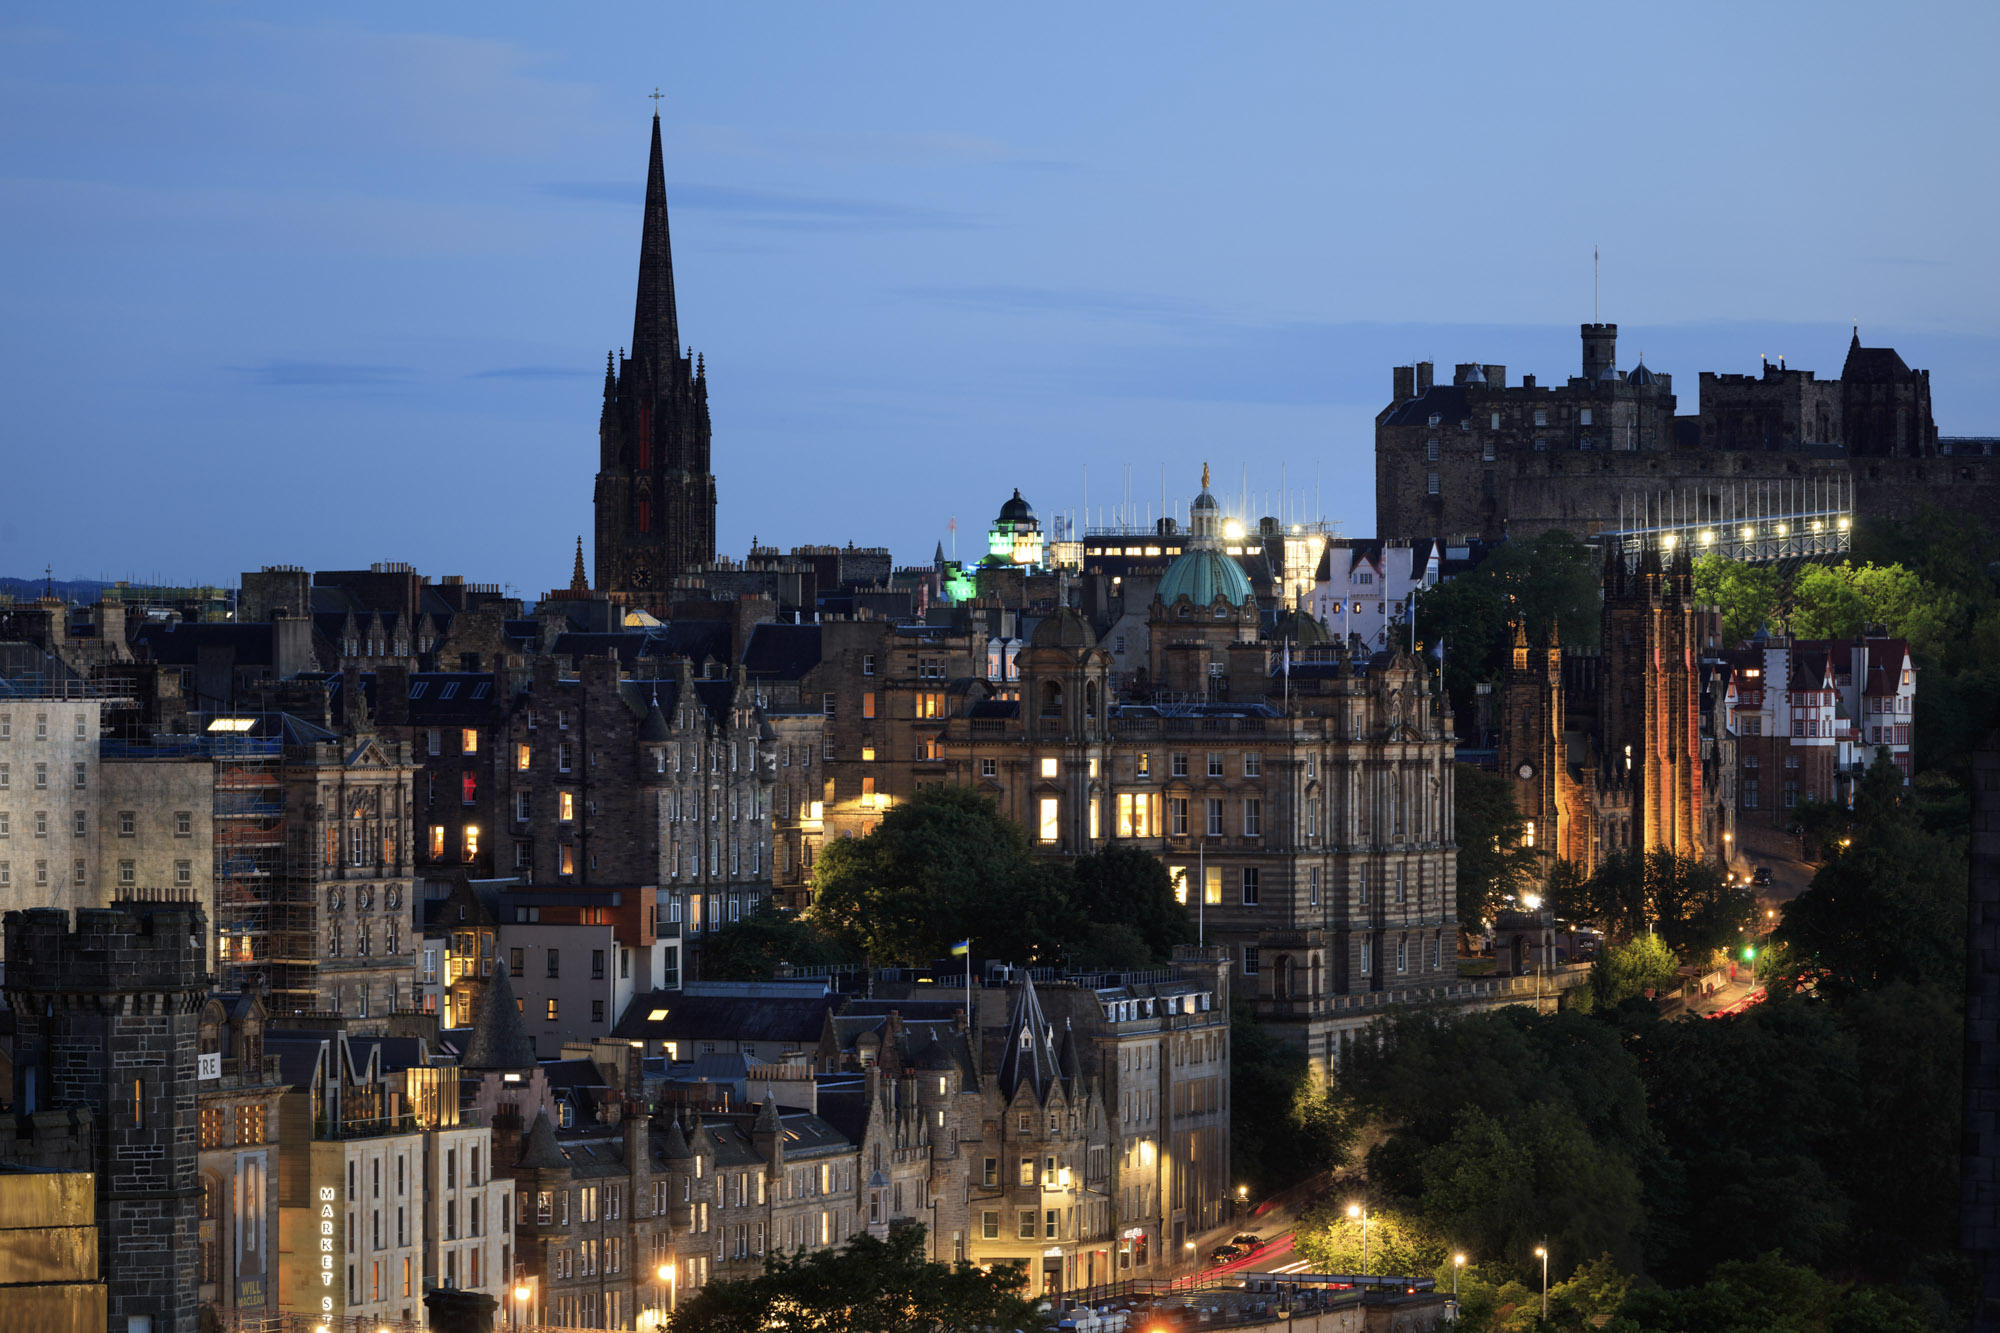
Adam prefers to use telephoto lenses over wide-angle ones as they compress the perspective, so your focal point doesn’t become lost like it would in a composition that was too wide. He uses the Canon EF 70-200mm f/4L IS II USM with his Canon DSLR, although he also has a Canon RF 800mm F11 IS STM that he uses on his mirrorless EOS R5 when he needs a super-long telephoto lens.
8. Take a picture of your hand for panoramas and HDRs
When taking a series of shots that you’d like to merge together in software, whether it’s for a panorama or HDR, it’s a great idea to take a picture of your hand at the start and end of your sequence. This gives a clear reference point when you come to edit the photos later on, and you can quickly select all of the images bookmarked by your hand images so you can find and edit them fast.
9. Try shooting low to the ground
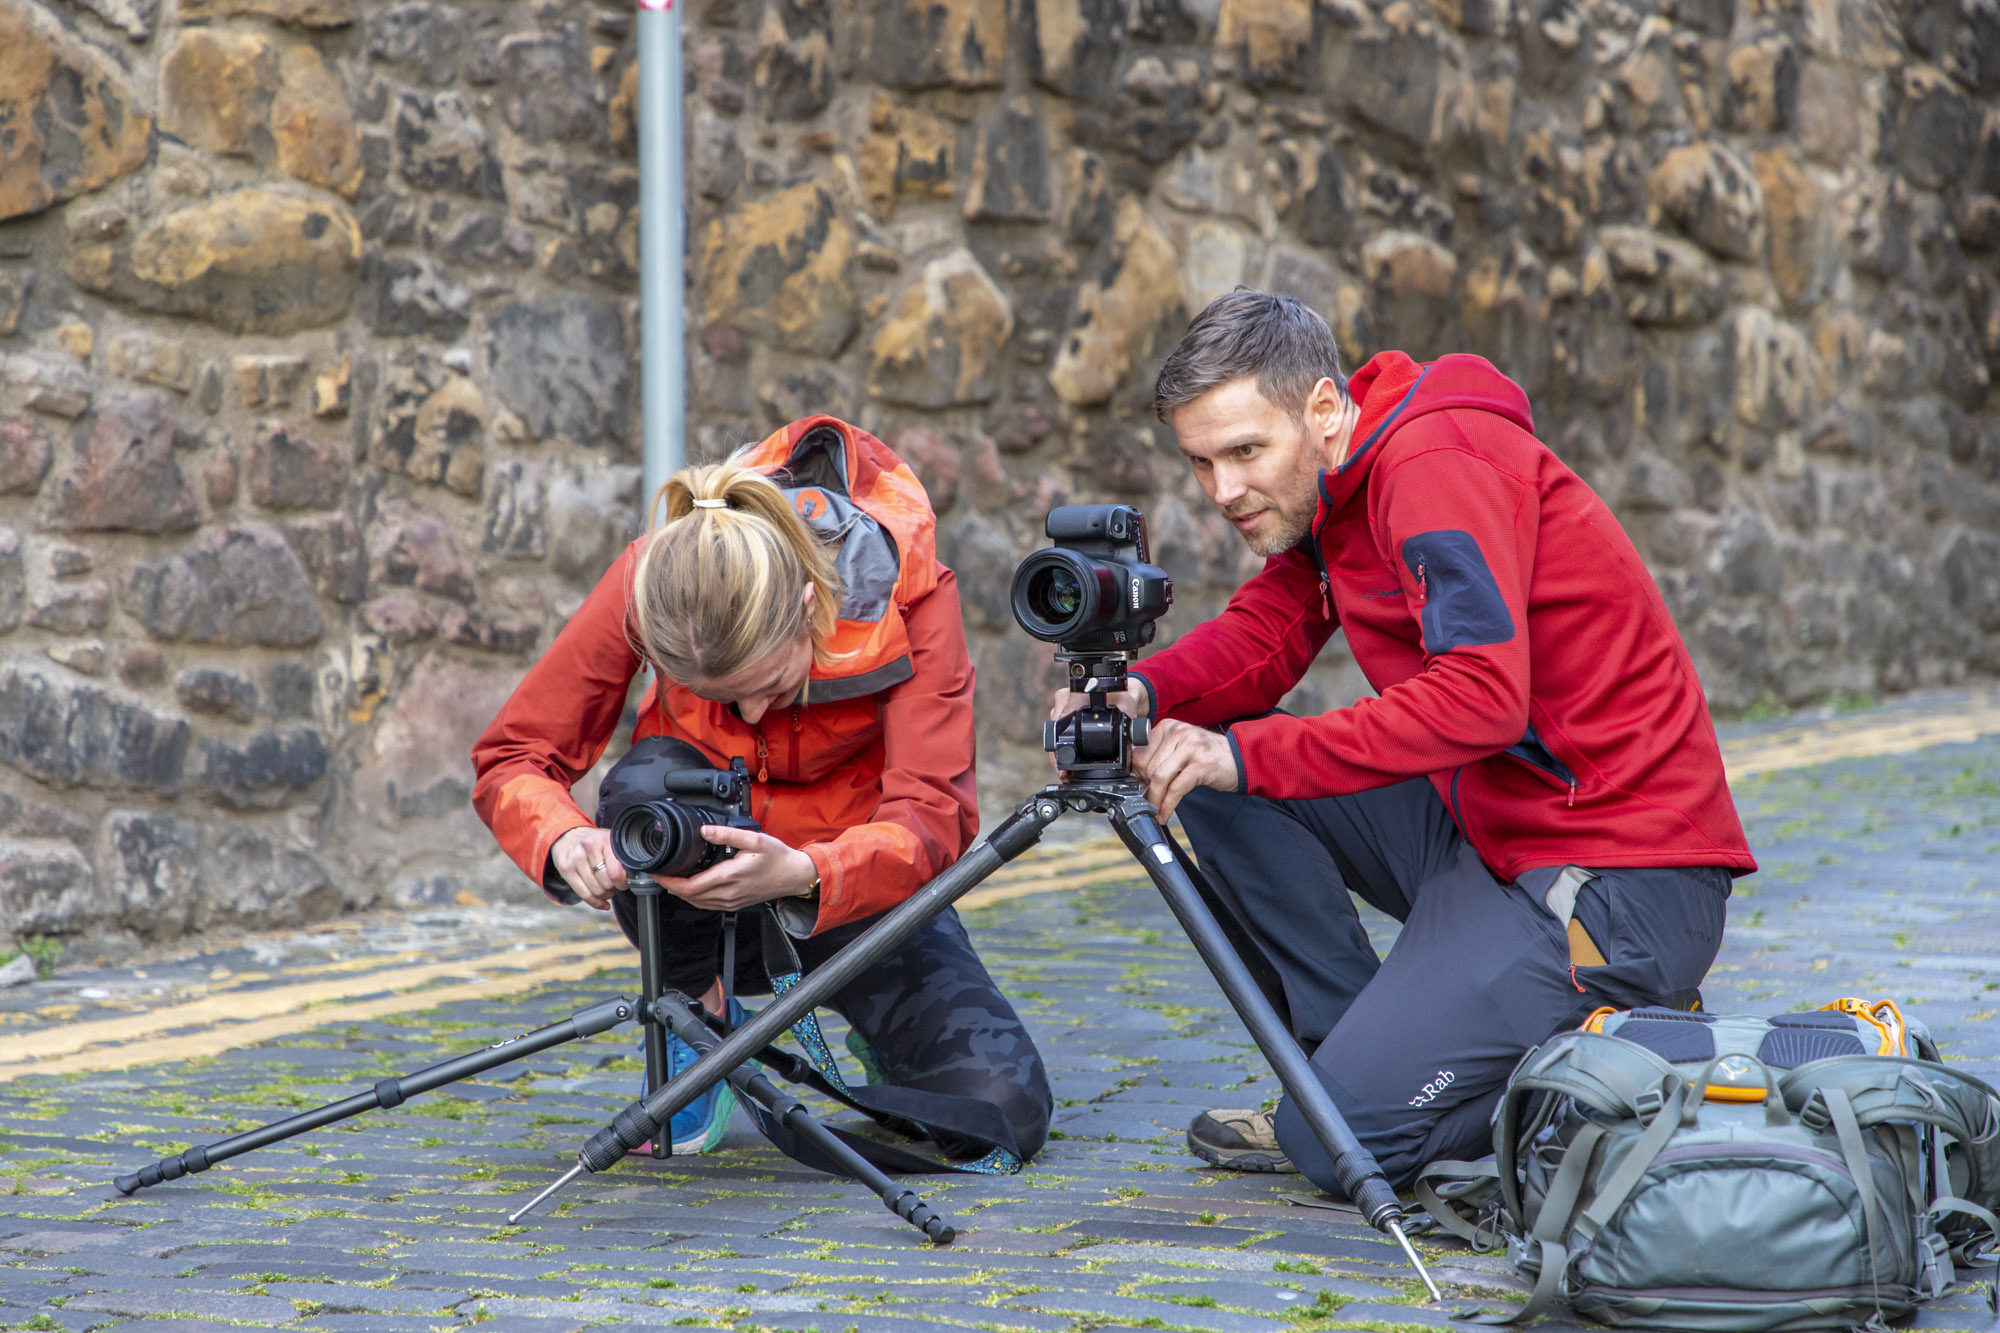
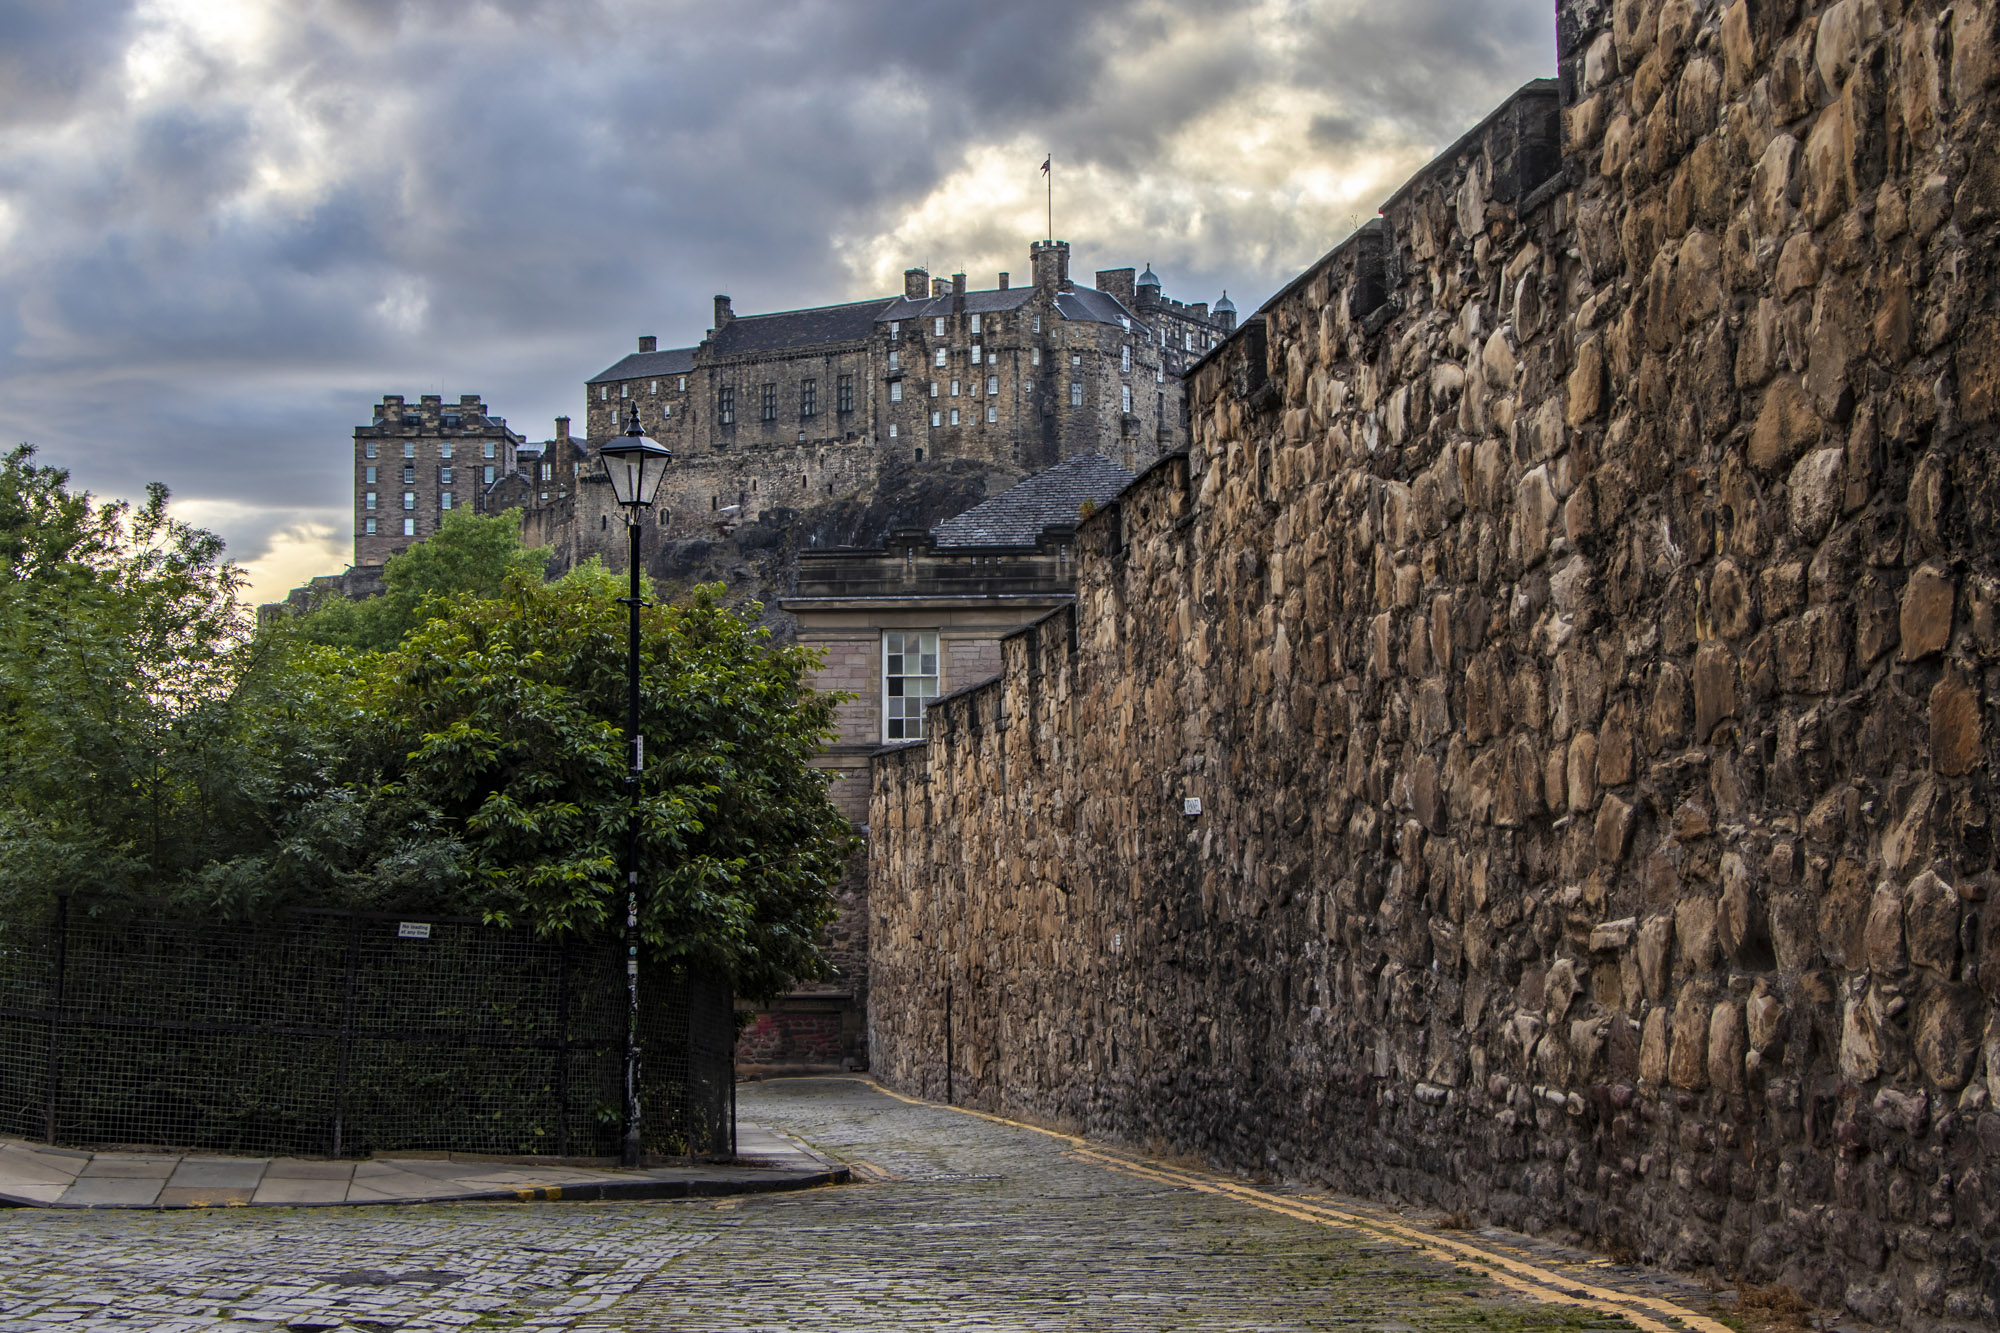
Don’t just take shots at head or waist height – pro tripods have different leg angles that you can set to get lower to the ground. This can create a more dramatic low-angle perspective and make foreground interest, such as cobbled streets, more prominent in your composition. Some tripods even have reversible or short centre columns so you can get even closer to the ground.
10. Professional L-bracket
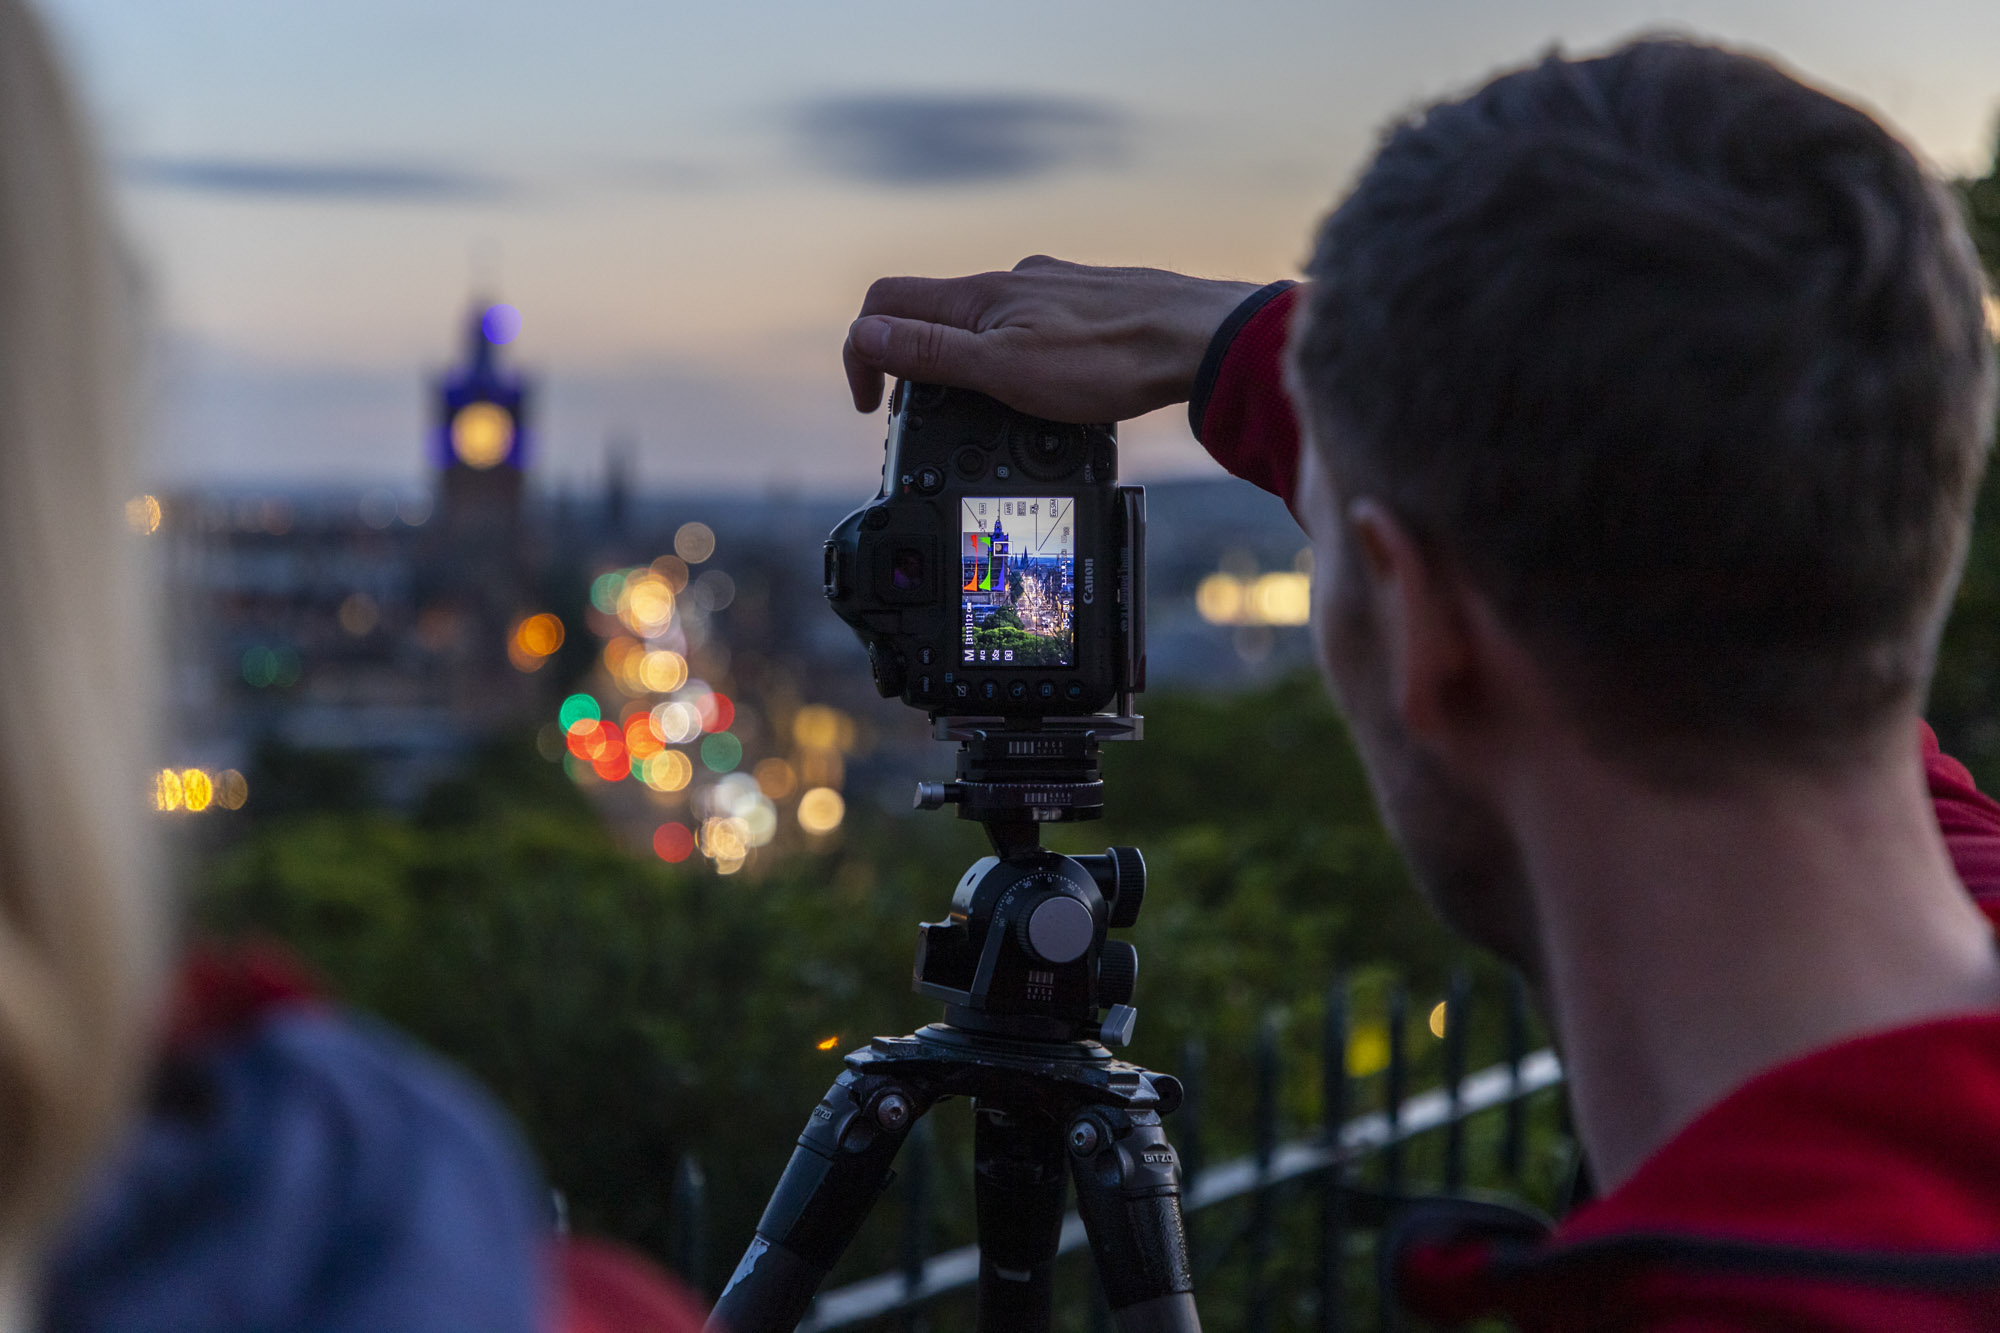
Adam uses an Ellie L-bracket from 3 Legged Thing on his camera. His L-bracket fits onto the base and around the side of his camera, and there is an Arca-Swiss mount on both, which enables him to easily switch from landscape to portrait orientation without adjusting his tripod head. Not only does this make composing his shots a little faster, but it also ensures the tripod is properly balanced, with the weight of the camera and lens always centrally above the tripod.
If you're really into cityscape photography, you'll want to check out the best tilt-shift lenses for architecture. Adam uses a Canon EOS R5. To see his stunning portfolio or to book a workshop visit his website.
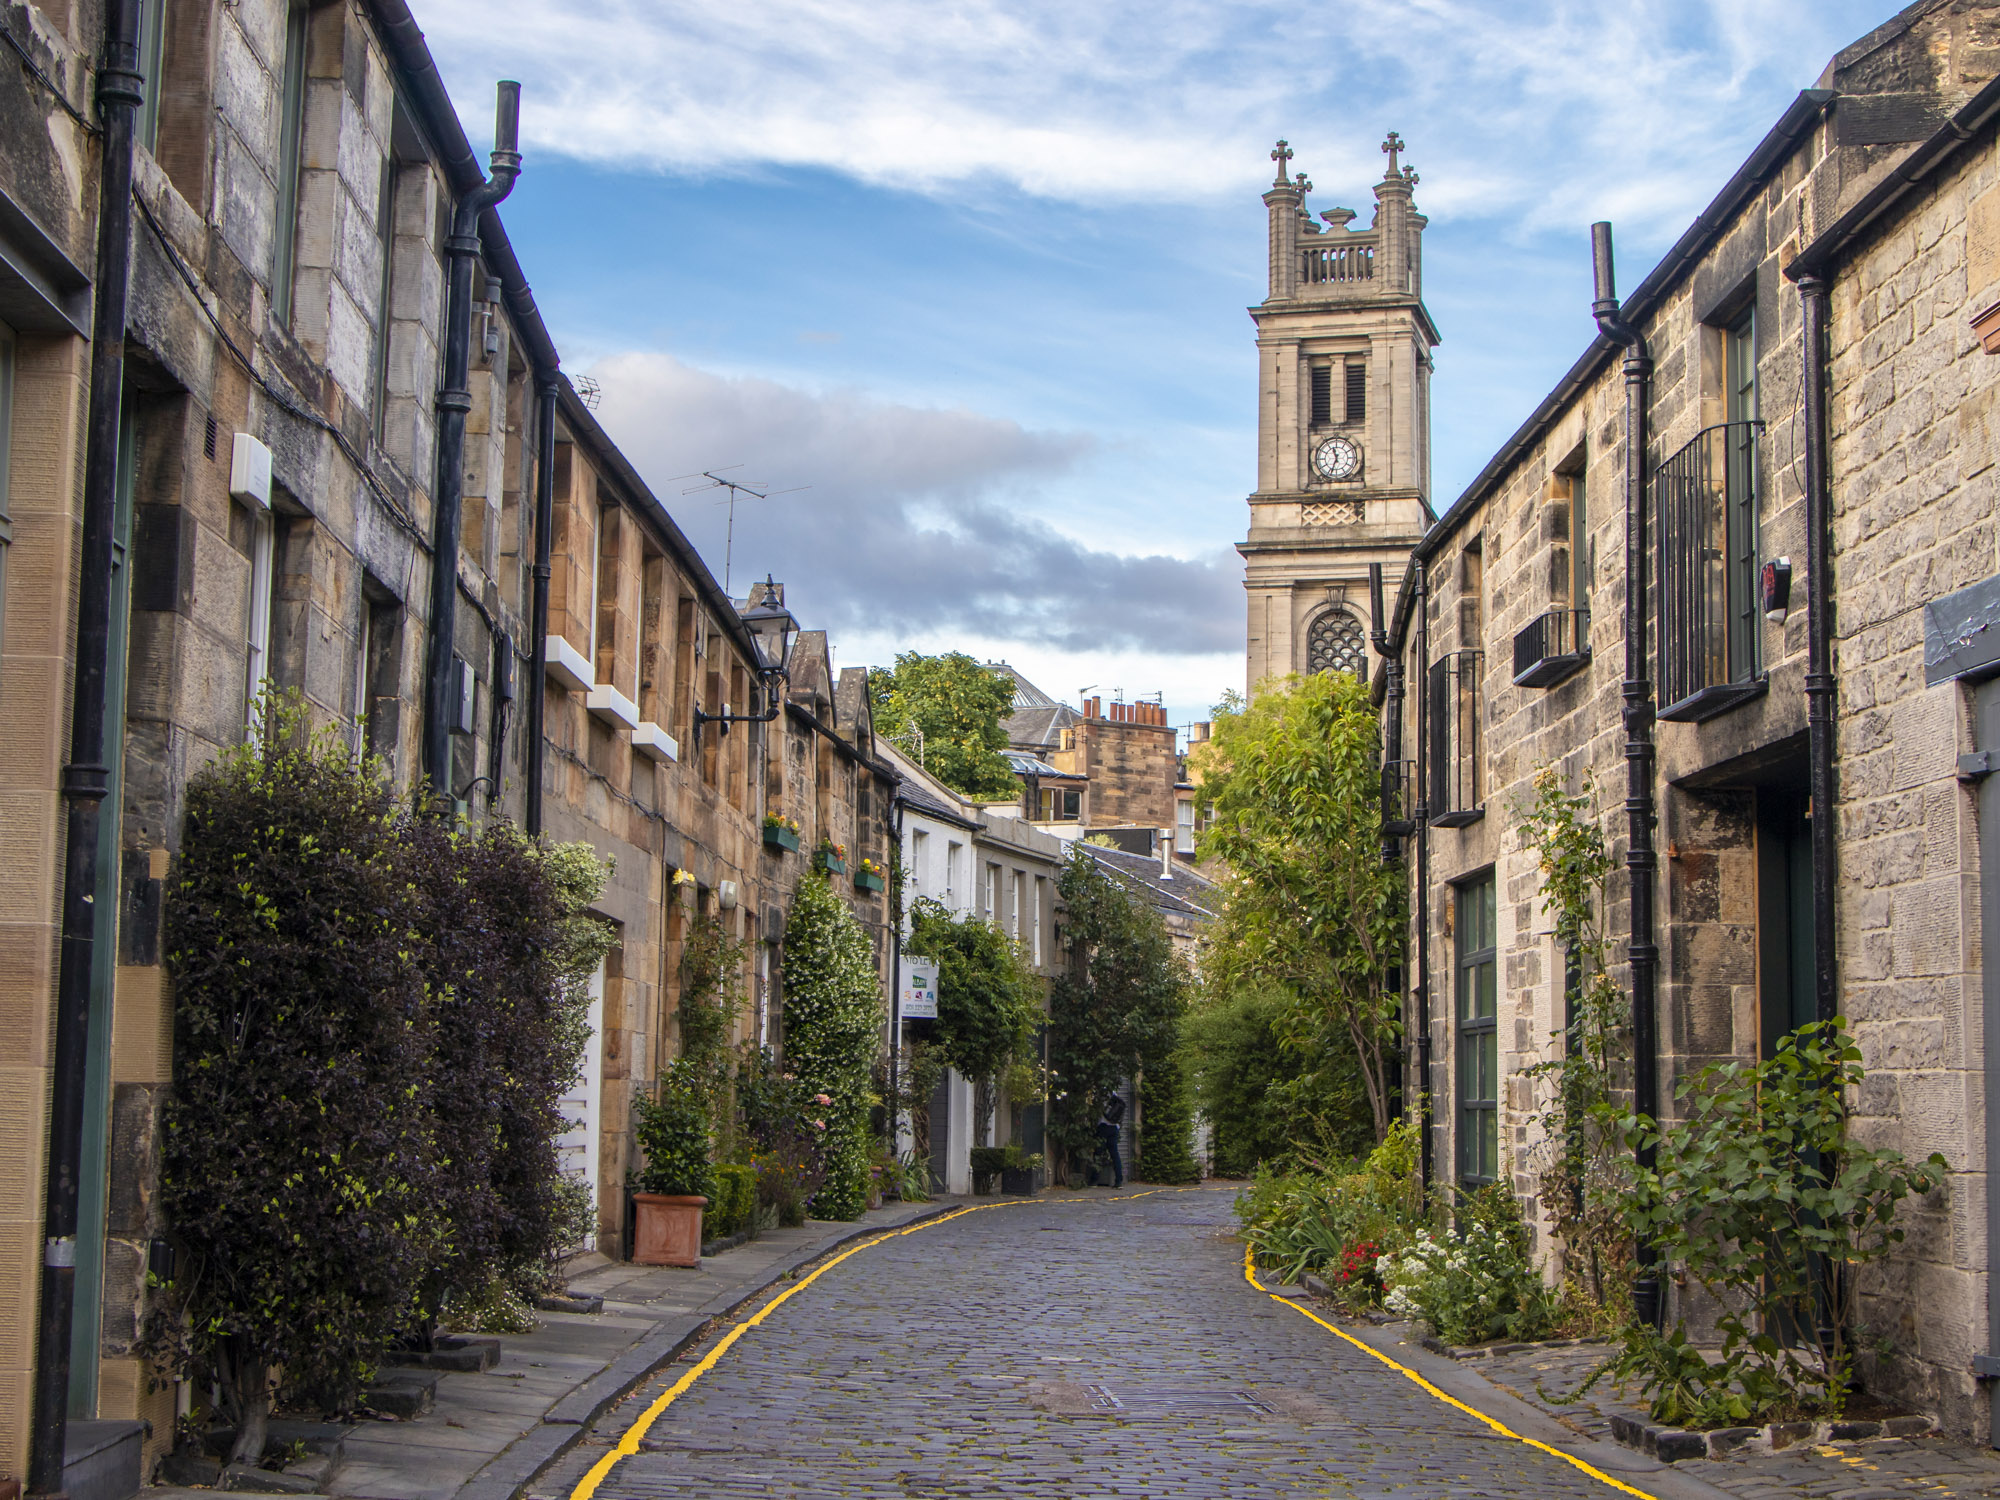
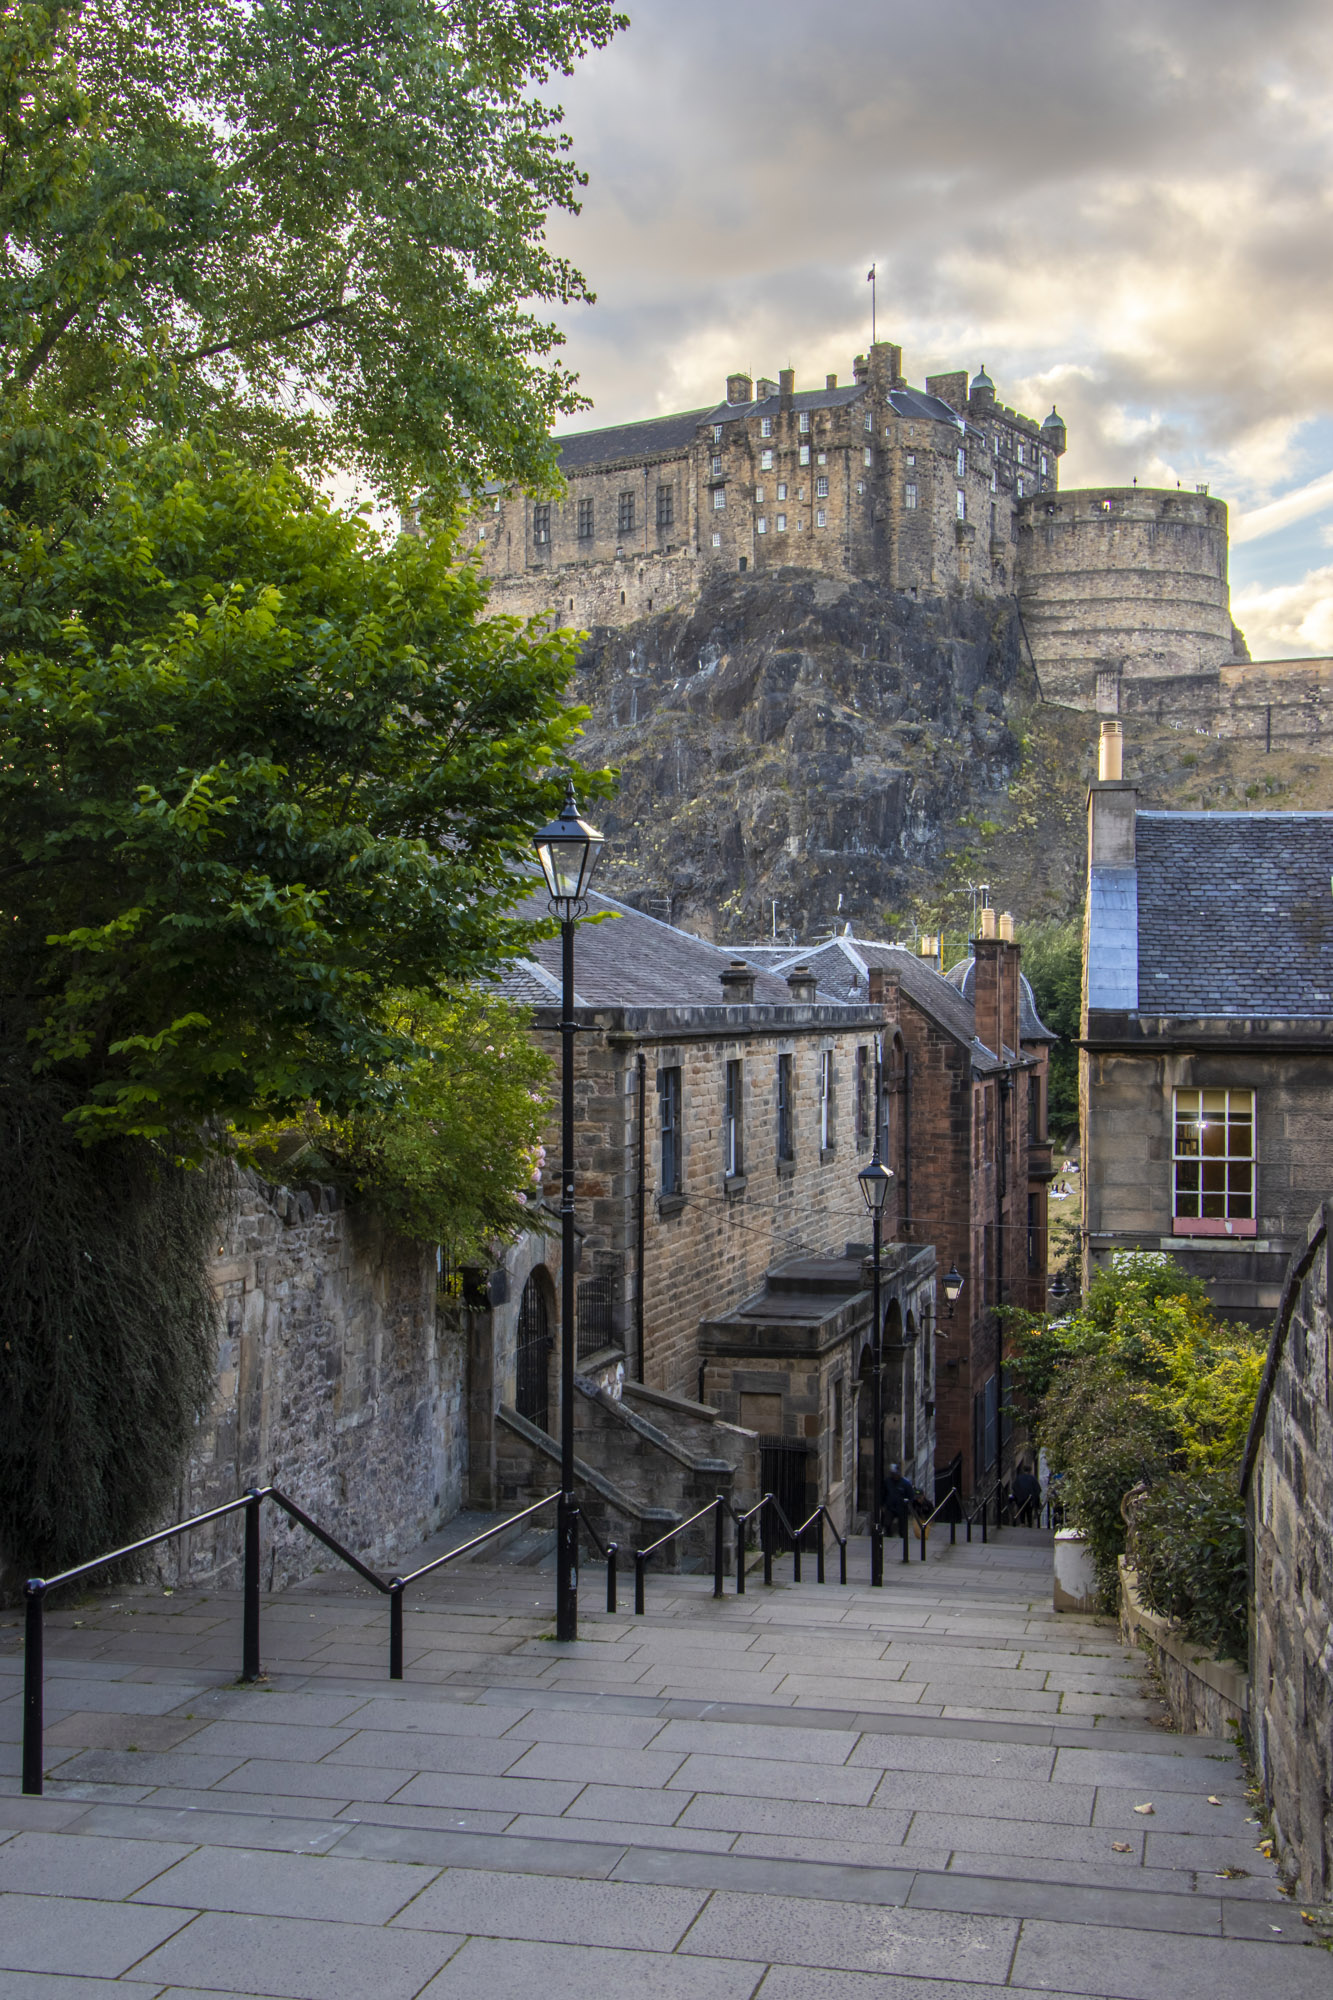
PhotoPlus: The Canon Magazine is the world's only monthly newsstand title that's 100% devoted to Canon, so you can be sure the magazine is completely relevant to your system. Every issue comes with downloadable video tutorials too.

In addition to being a freelance photographer and filmmaker, Dan is a bona fide expert on all things Canon and Adobe. Not only is he an Adobe-certified Photoshop guru, he's spent over 10 years writing for specialist magazines including stints as the Deputy Editor for PhotoPlus: The Canon Magazine, Technical Editor for Practical Photography and Photoshop Editor on Digital Photo.
