Shadowplay! Craft three unique portrait looks at home with our easy one-light camera setups
Try out these easy one-light black and white portrait set-ups you can follow at home with basic equipment
The best camera deals, reviews, product advice, and unmissable photography news, direct to your inbox!
You are now subscribed
Your newsletter sign-up was successful
Portraiture can at times feel like a bit of a dark art. There's so much jargon and little pieces of equipment to get up to speed on, from flashes to guide numbers, and lighting modifiers to triggers. It can be difficult to know where to start!
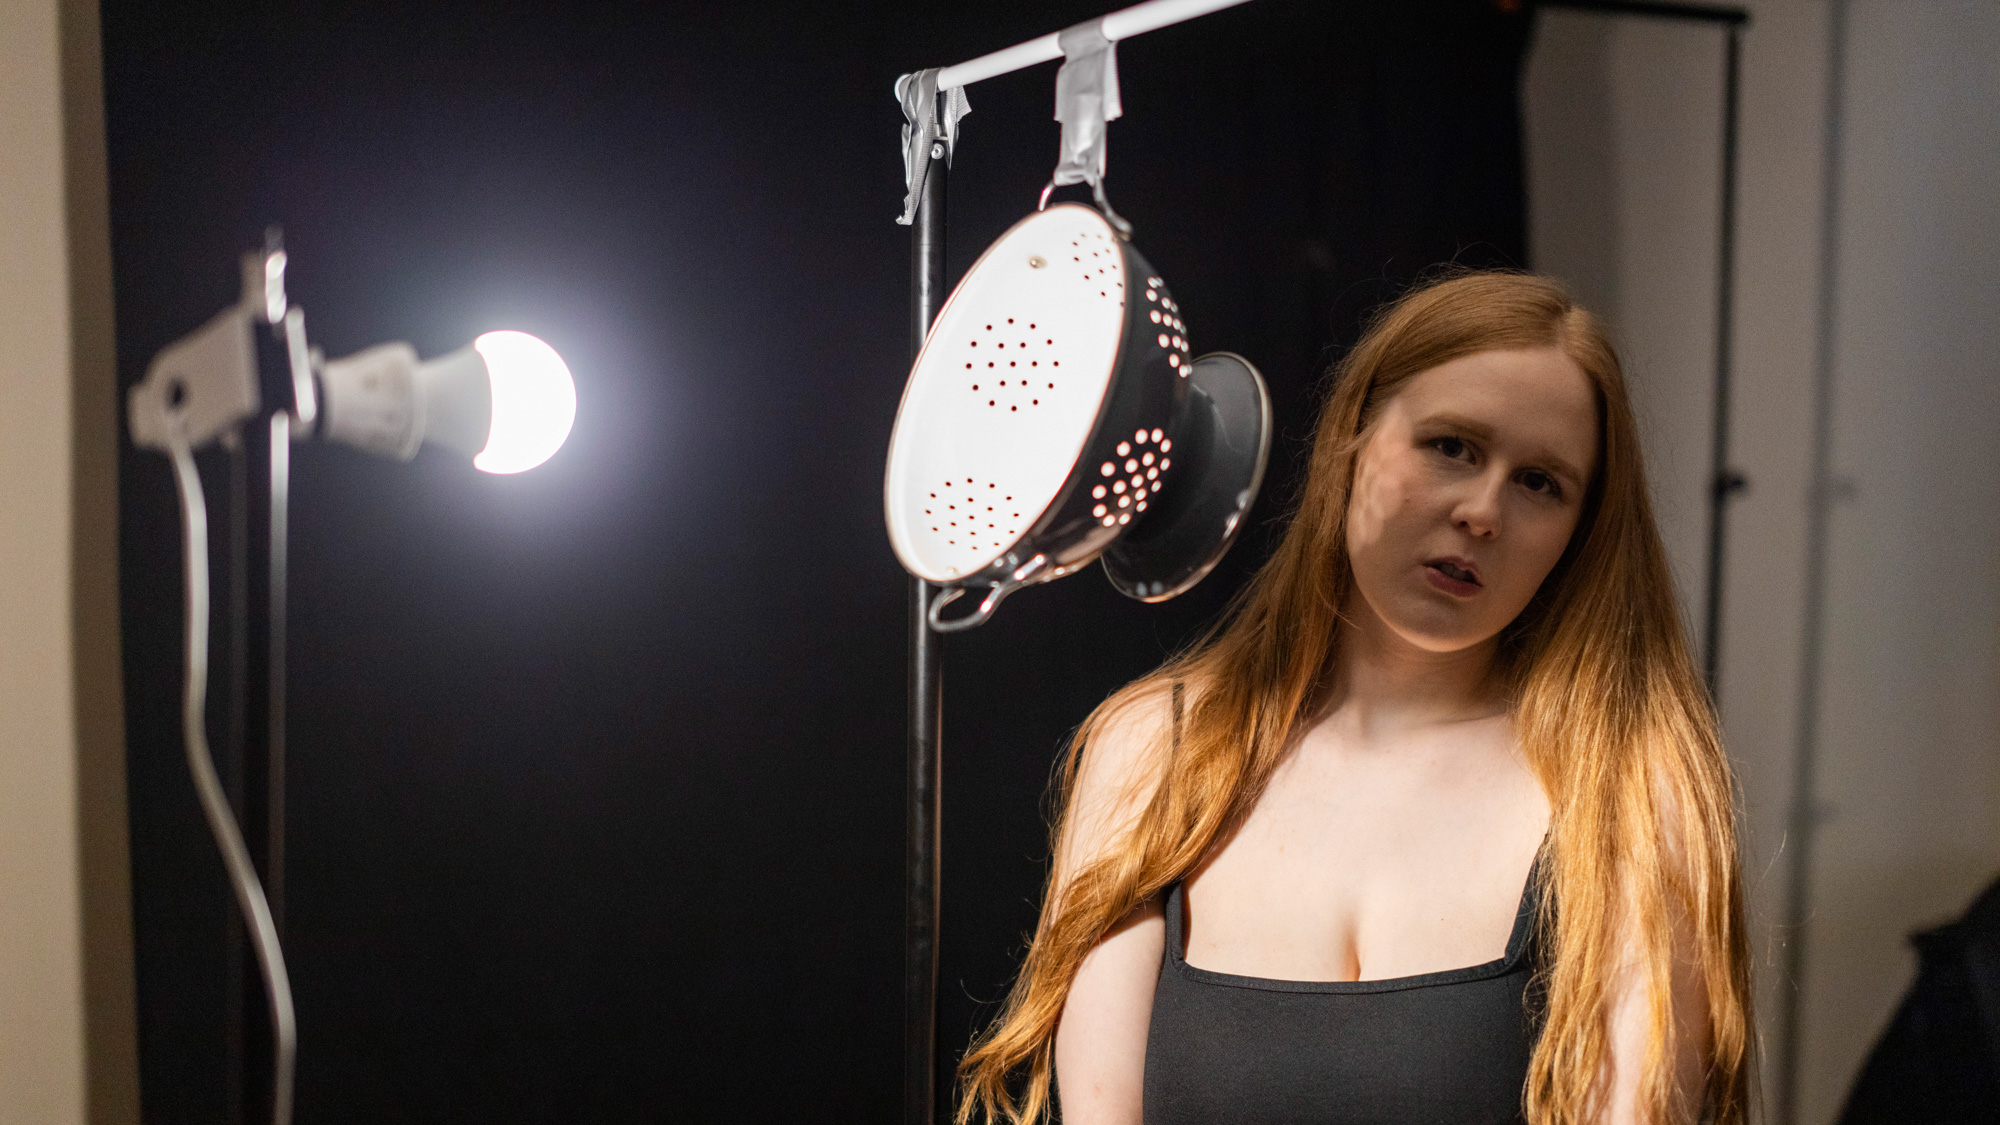
That’s why we're taking portraits back to basics, using a single continuous light bulb to achieve three completely different looks. You can take these shots at home with a basic setup. You'll need a dark background, a few lightstands, a curtain pole, and then a few extra props that we run through below.
The three techniques we cover in this project are the perfect place to start with artificial light in a studio setting, as we're using constant lighting. This is different from flashguns, which don't have a modelling light, so it will be much easier to tweak the lighting and get the shadows falling on your model precisely where you need them to. Let's get to it!
1. Camera set-up
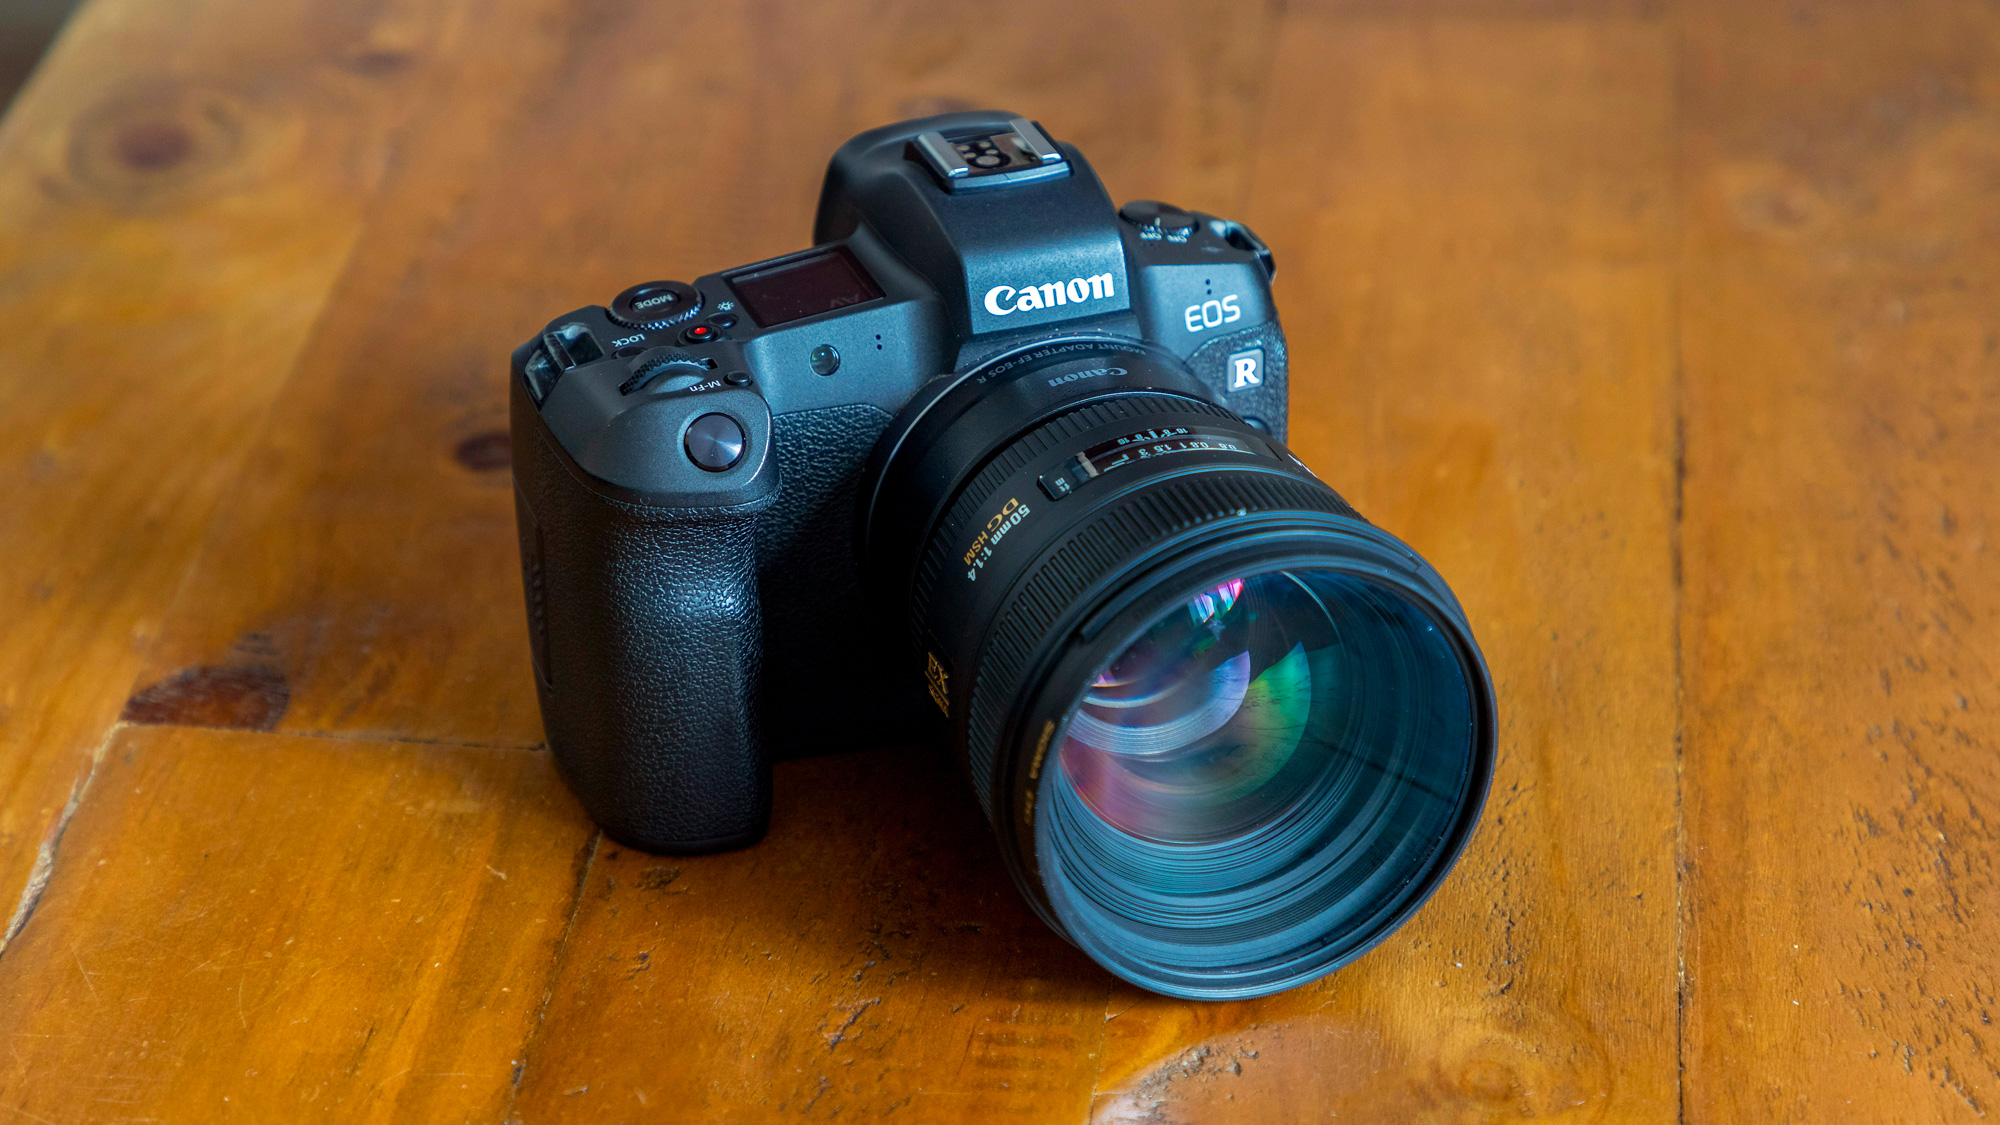
All of the techniques we shot here use a one-light set-up, and you can keep things simple with a continuous light, or go as complicated as you like with flash. A 50mm lens is ideal as they're affordable and also have a super wide apertures, which make it easier to work with constant lights.
Our simple set-ups look great in black and white, so it's worth using your Canon's Monochrome Picture Style to see your desaturated scene in real-time using the live view. Just be sure to shoot in your Canon's RAW format so that you retain the color information.
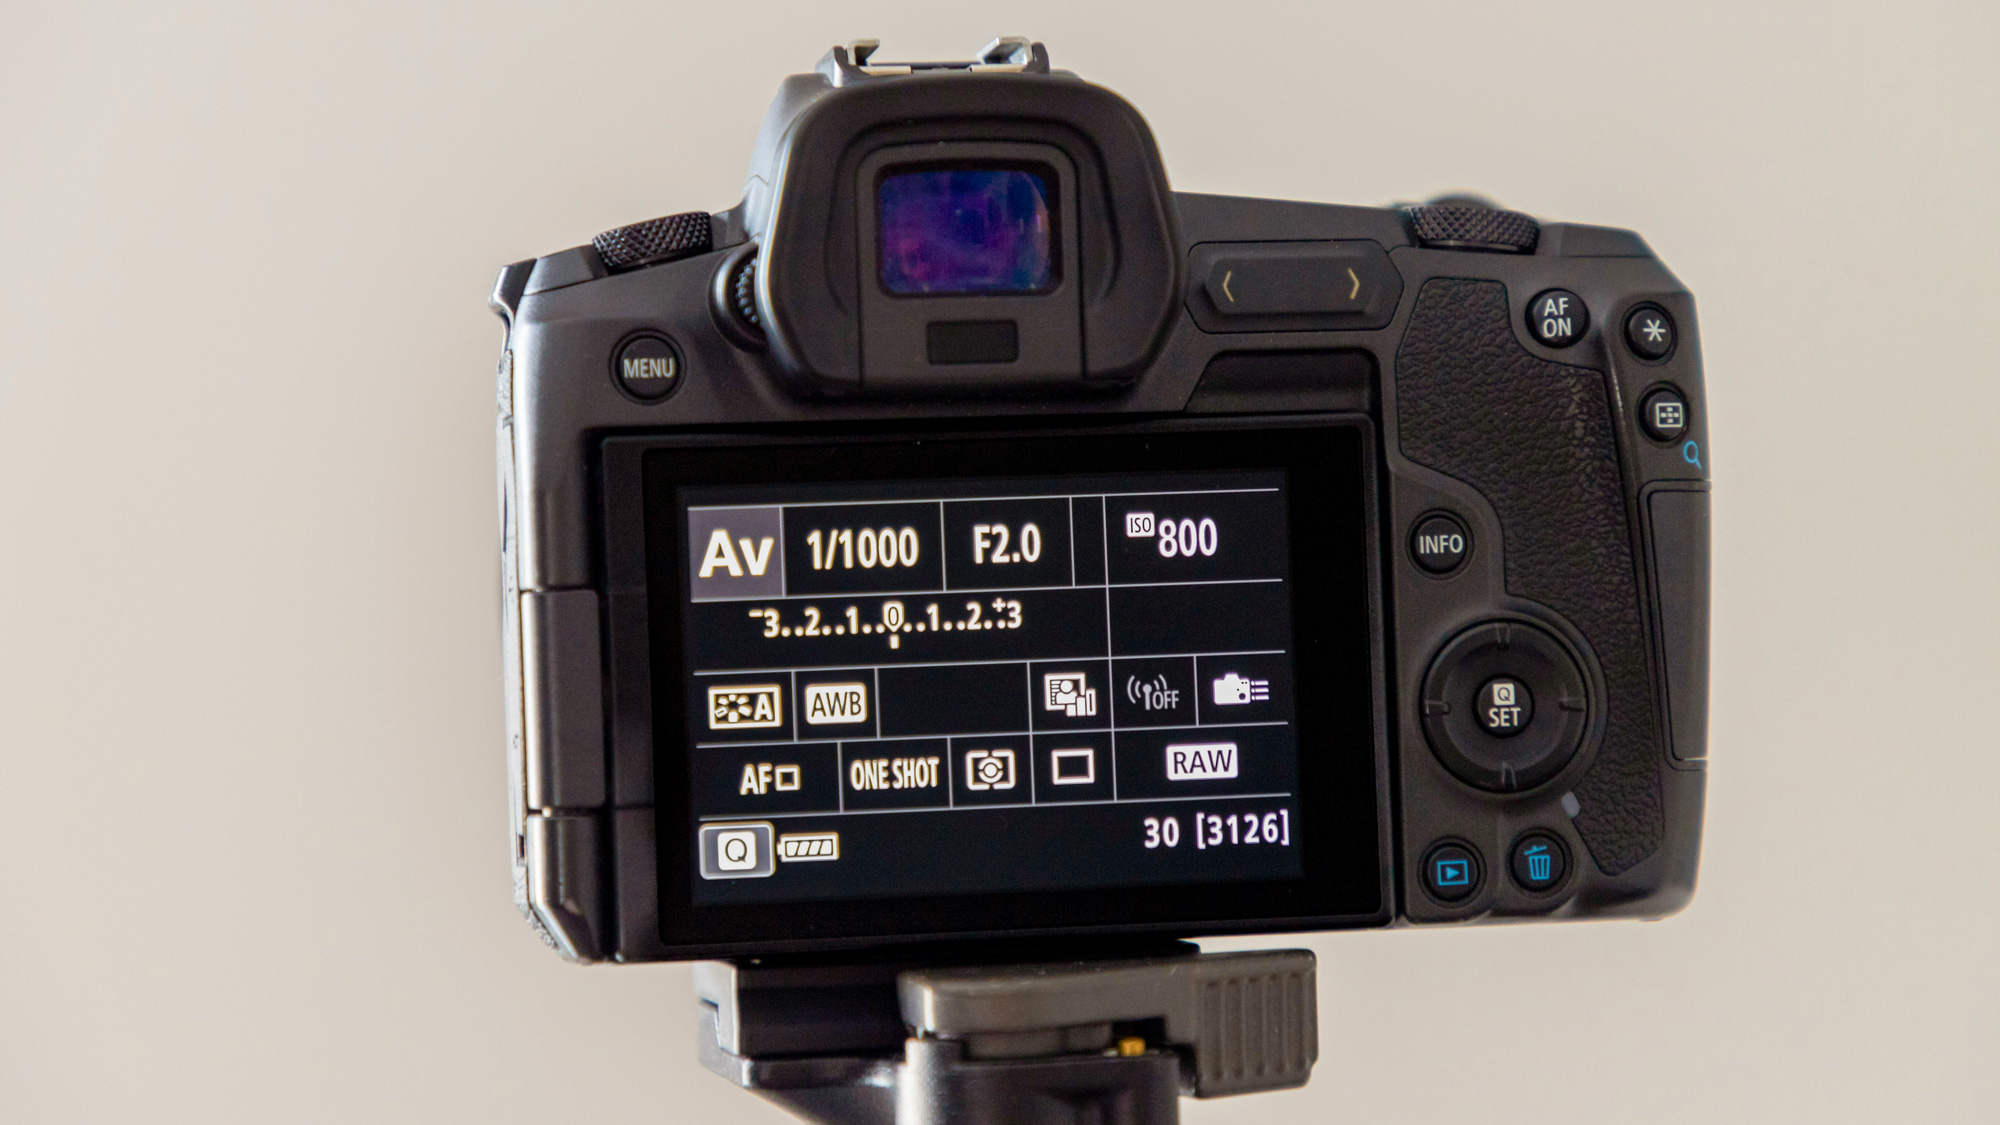
Good settings to get started are Aperture Priority (Av) mode with an aperture of f/2 and ISO of 800 to achieve a fast shutter speed.
2. Set-up 1: Fabric fantastic!
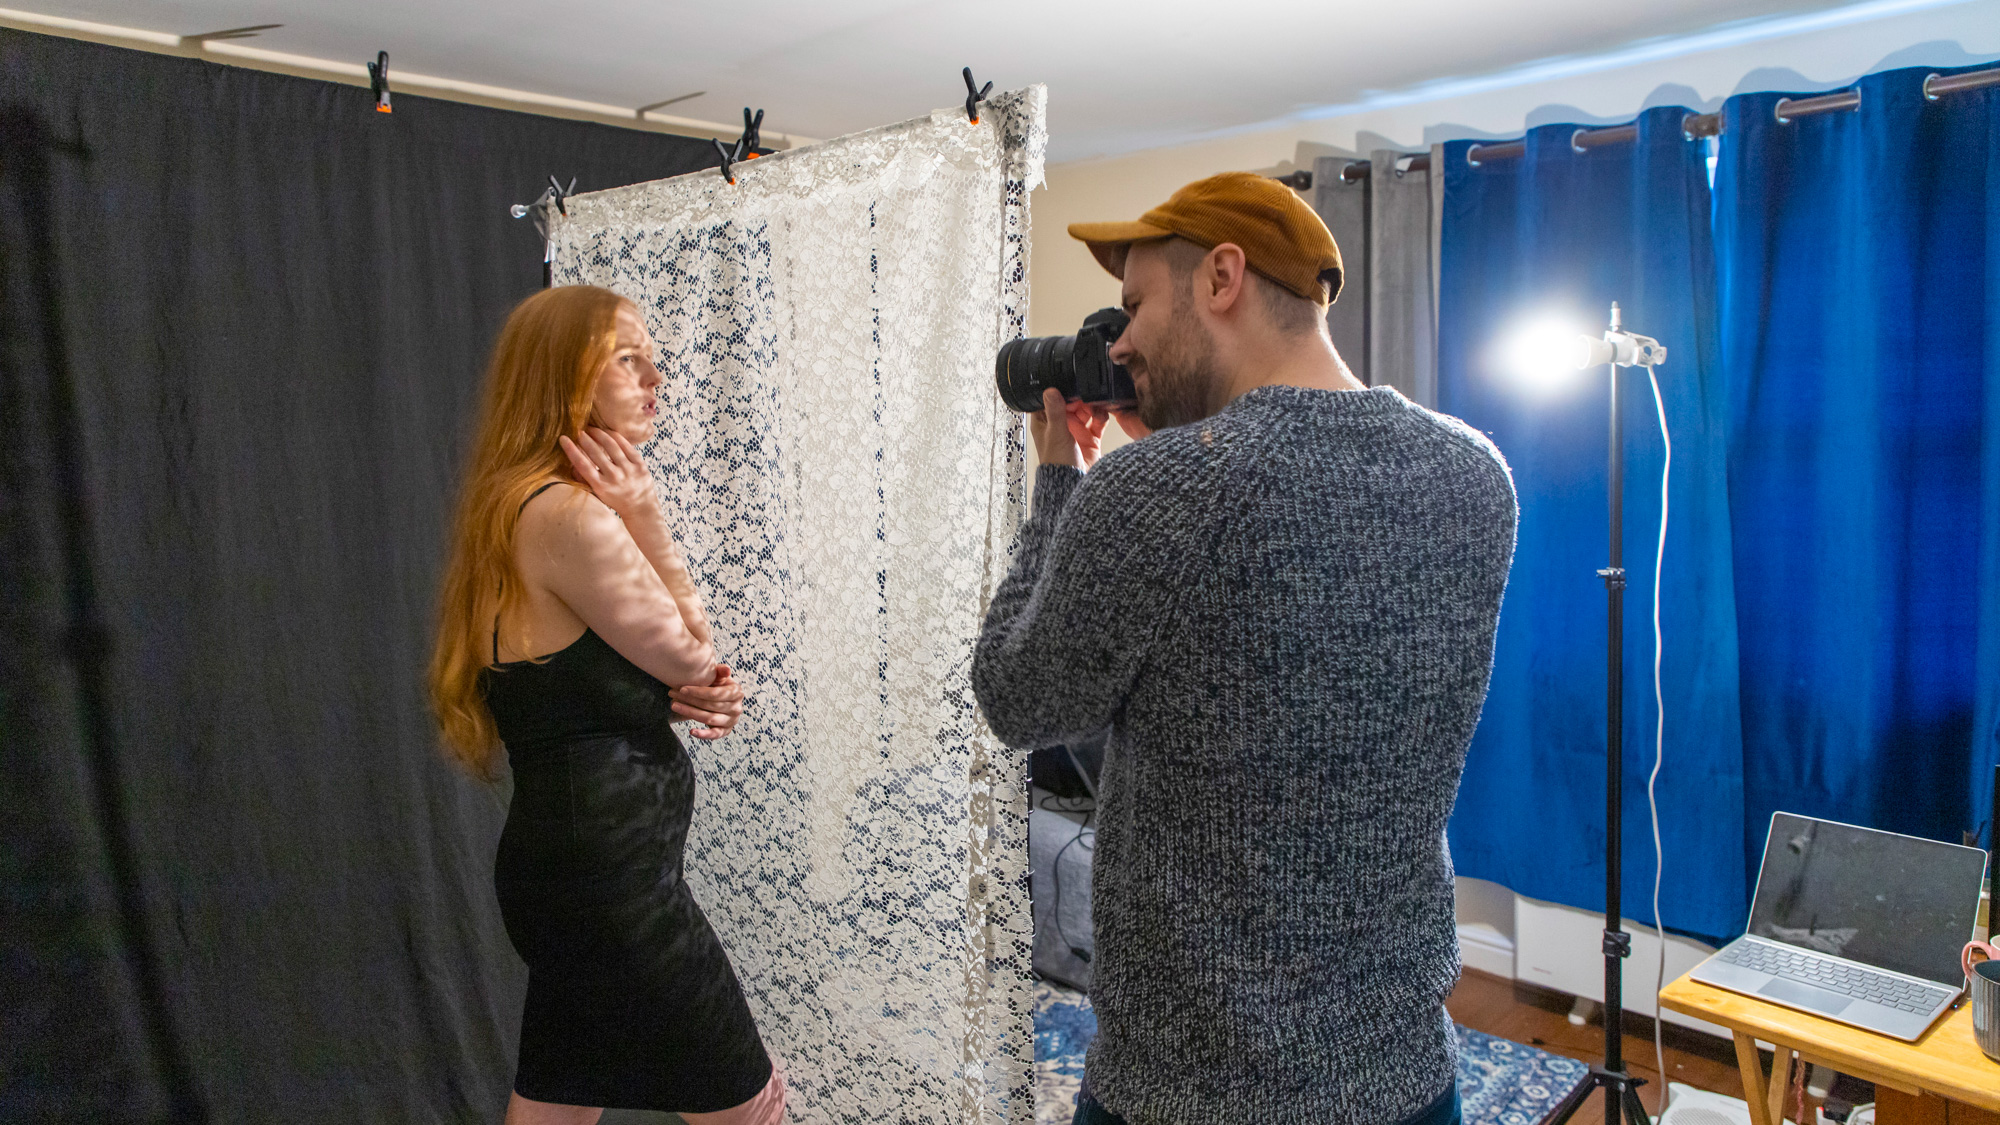
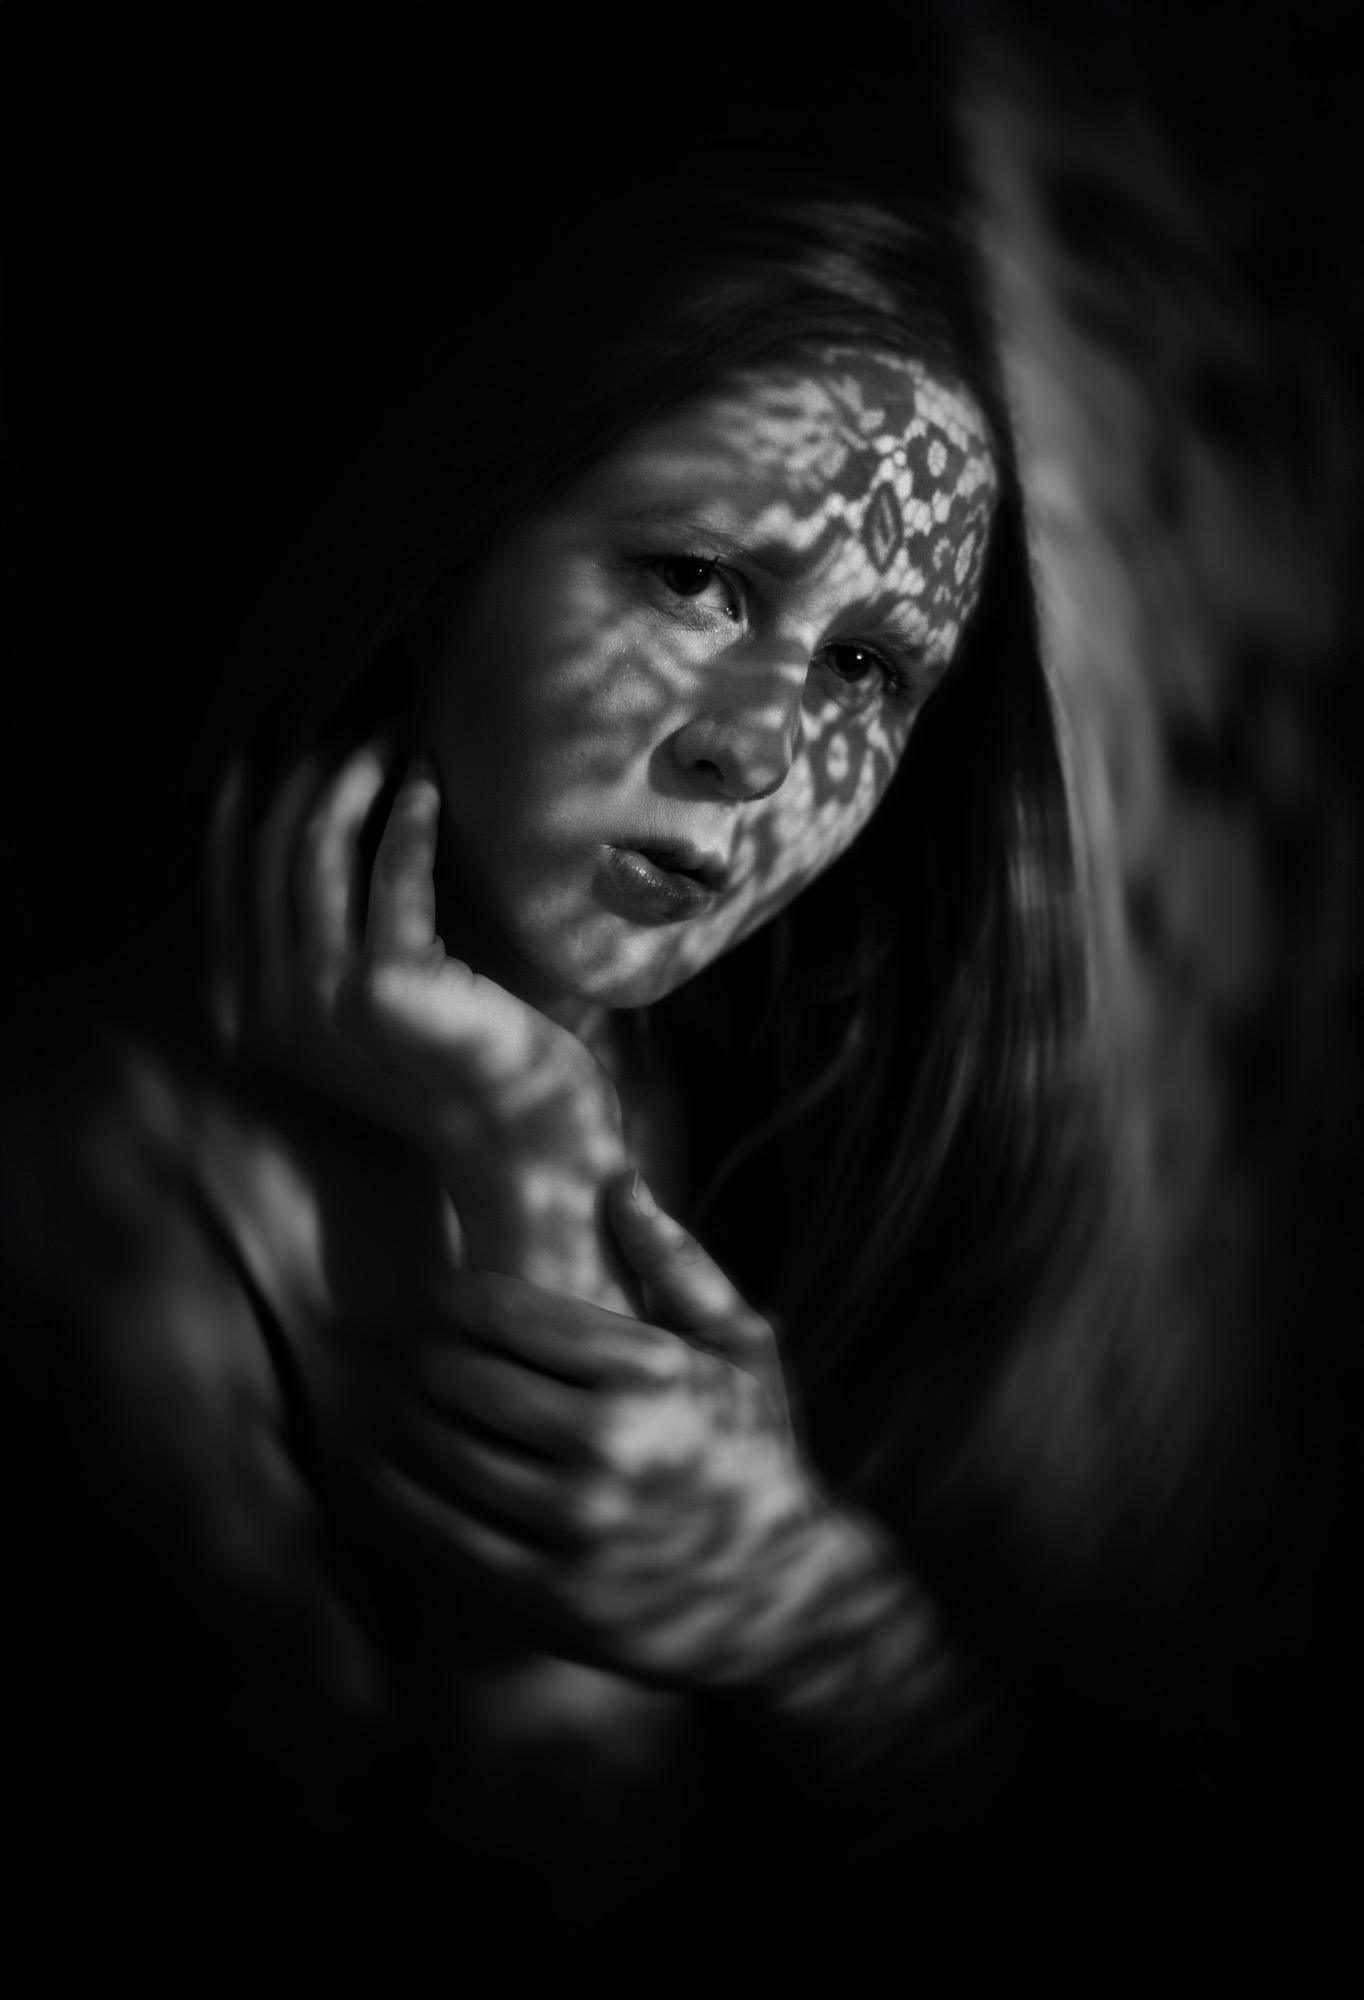
For our first technique we set up two budget lightstands and used some duct tape to secure a curtain pole between them at the top which we could drape over a netted curtain with a pattern we could project onto our model's face, you could of course use a background stand if you have one, but the curtain pole method works well if you're on a tight budget.
The best camera deals, reviews, product advice, and unmissable photography news, direct to your inbox!
A single continuous light was set up on the other side of the fabric – we turned off all other room lights and closed the blackout curtains to reduce light spill from outside. For camera settings, we went with aperture priority (Av) mode with a wide aperture of f/1.8 and boosted the ISO until we got a shutter speed of at least 1/250 sec.
The shadows you cast are affected by a number of different variables. You'll need to fine-tune all of them to get the shadows looking just right in your portraits. Moving the light closer to your subject and the fabric results in softer, blurry shadows, while moving the light source further away will render the shadow much sharper and more defined. If your model is close to the fabric, you'll see more detailed shadow patterns from the fabric too.
3. Set-up 2: Film noir
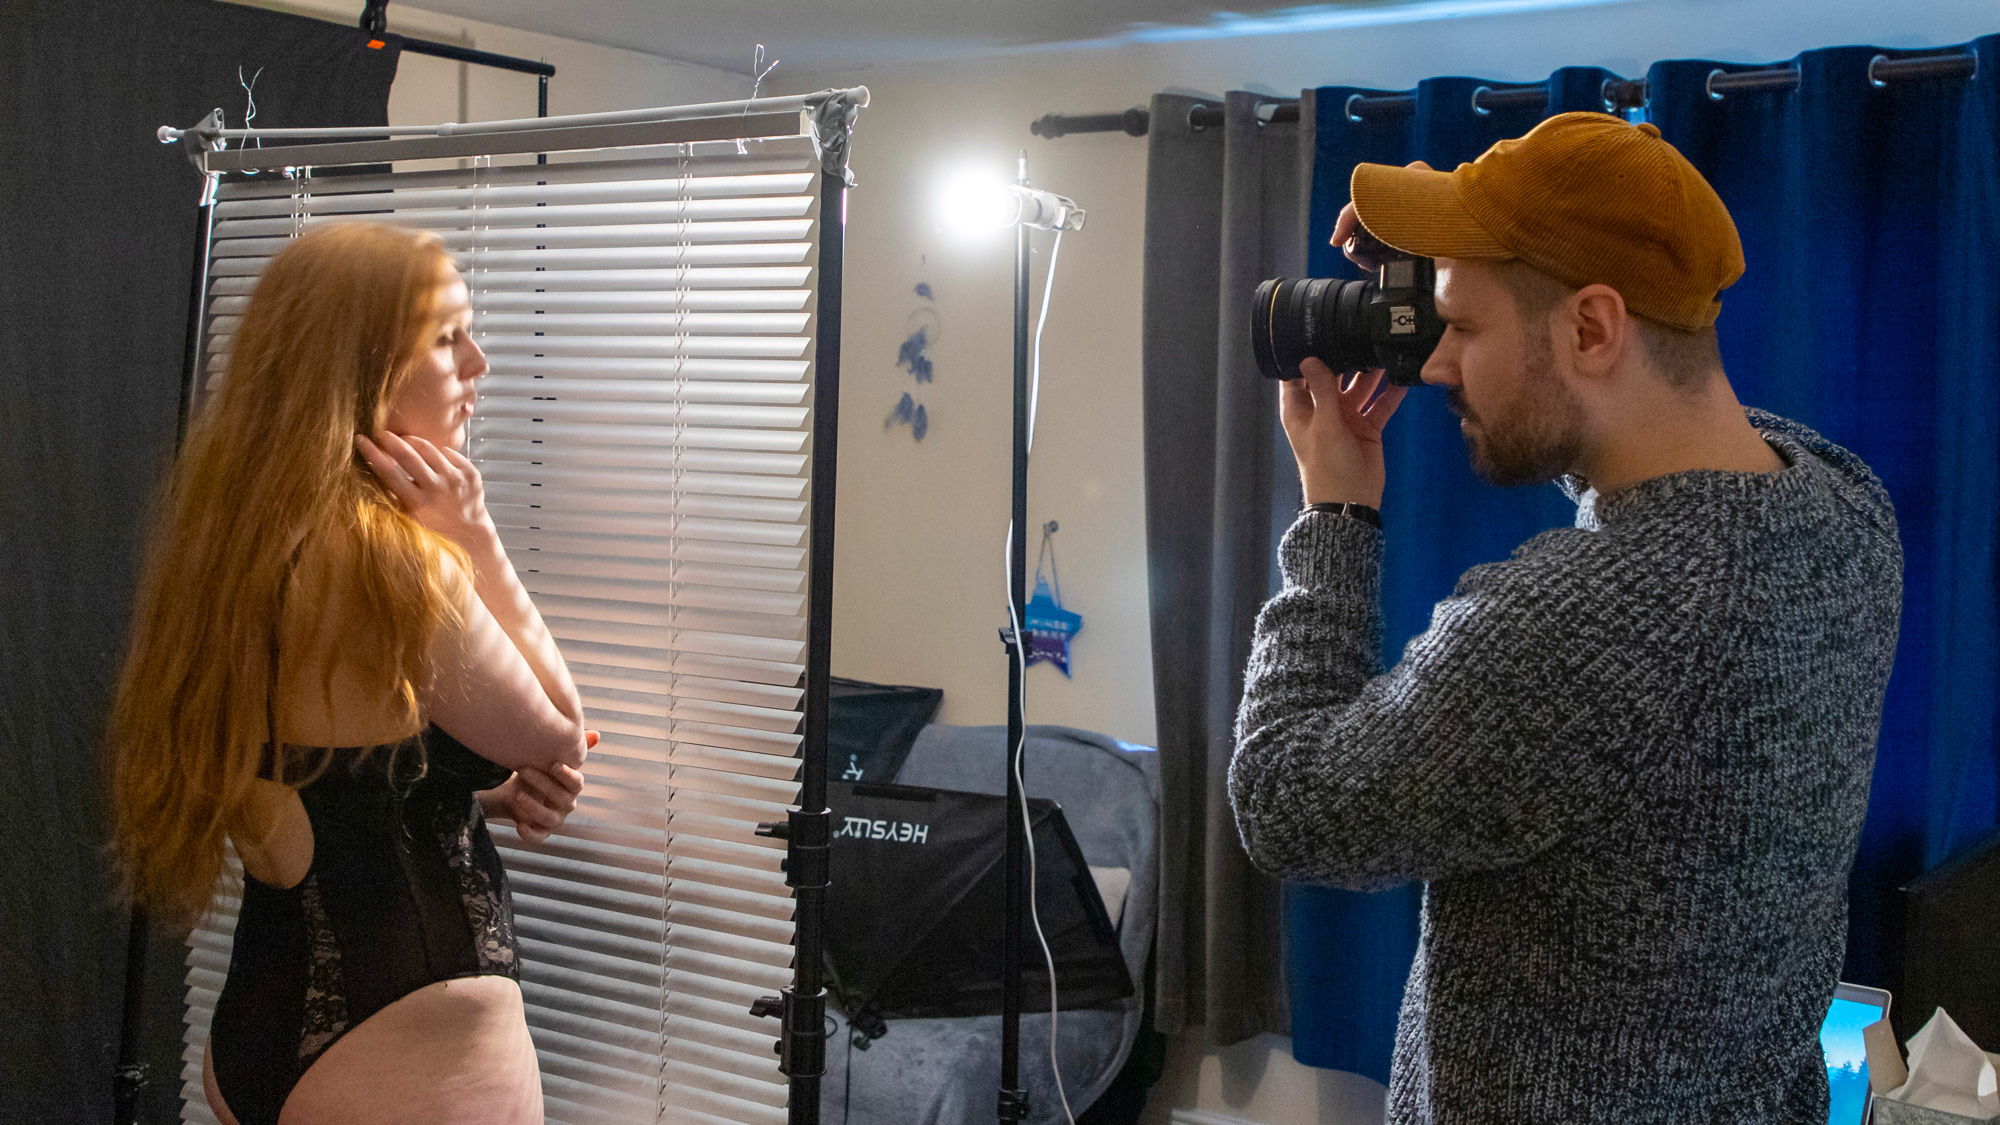
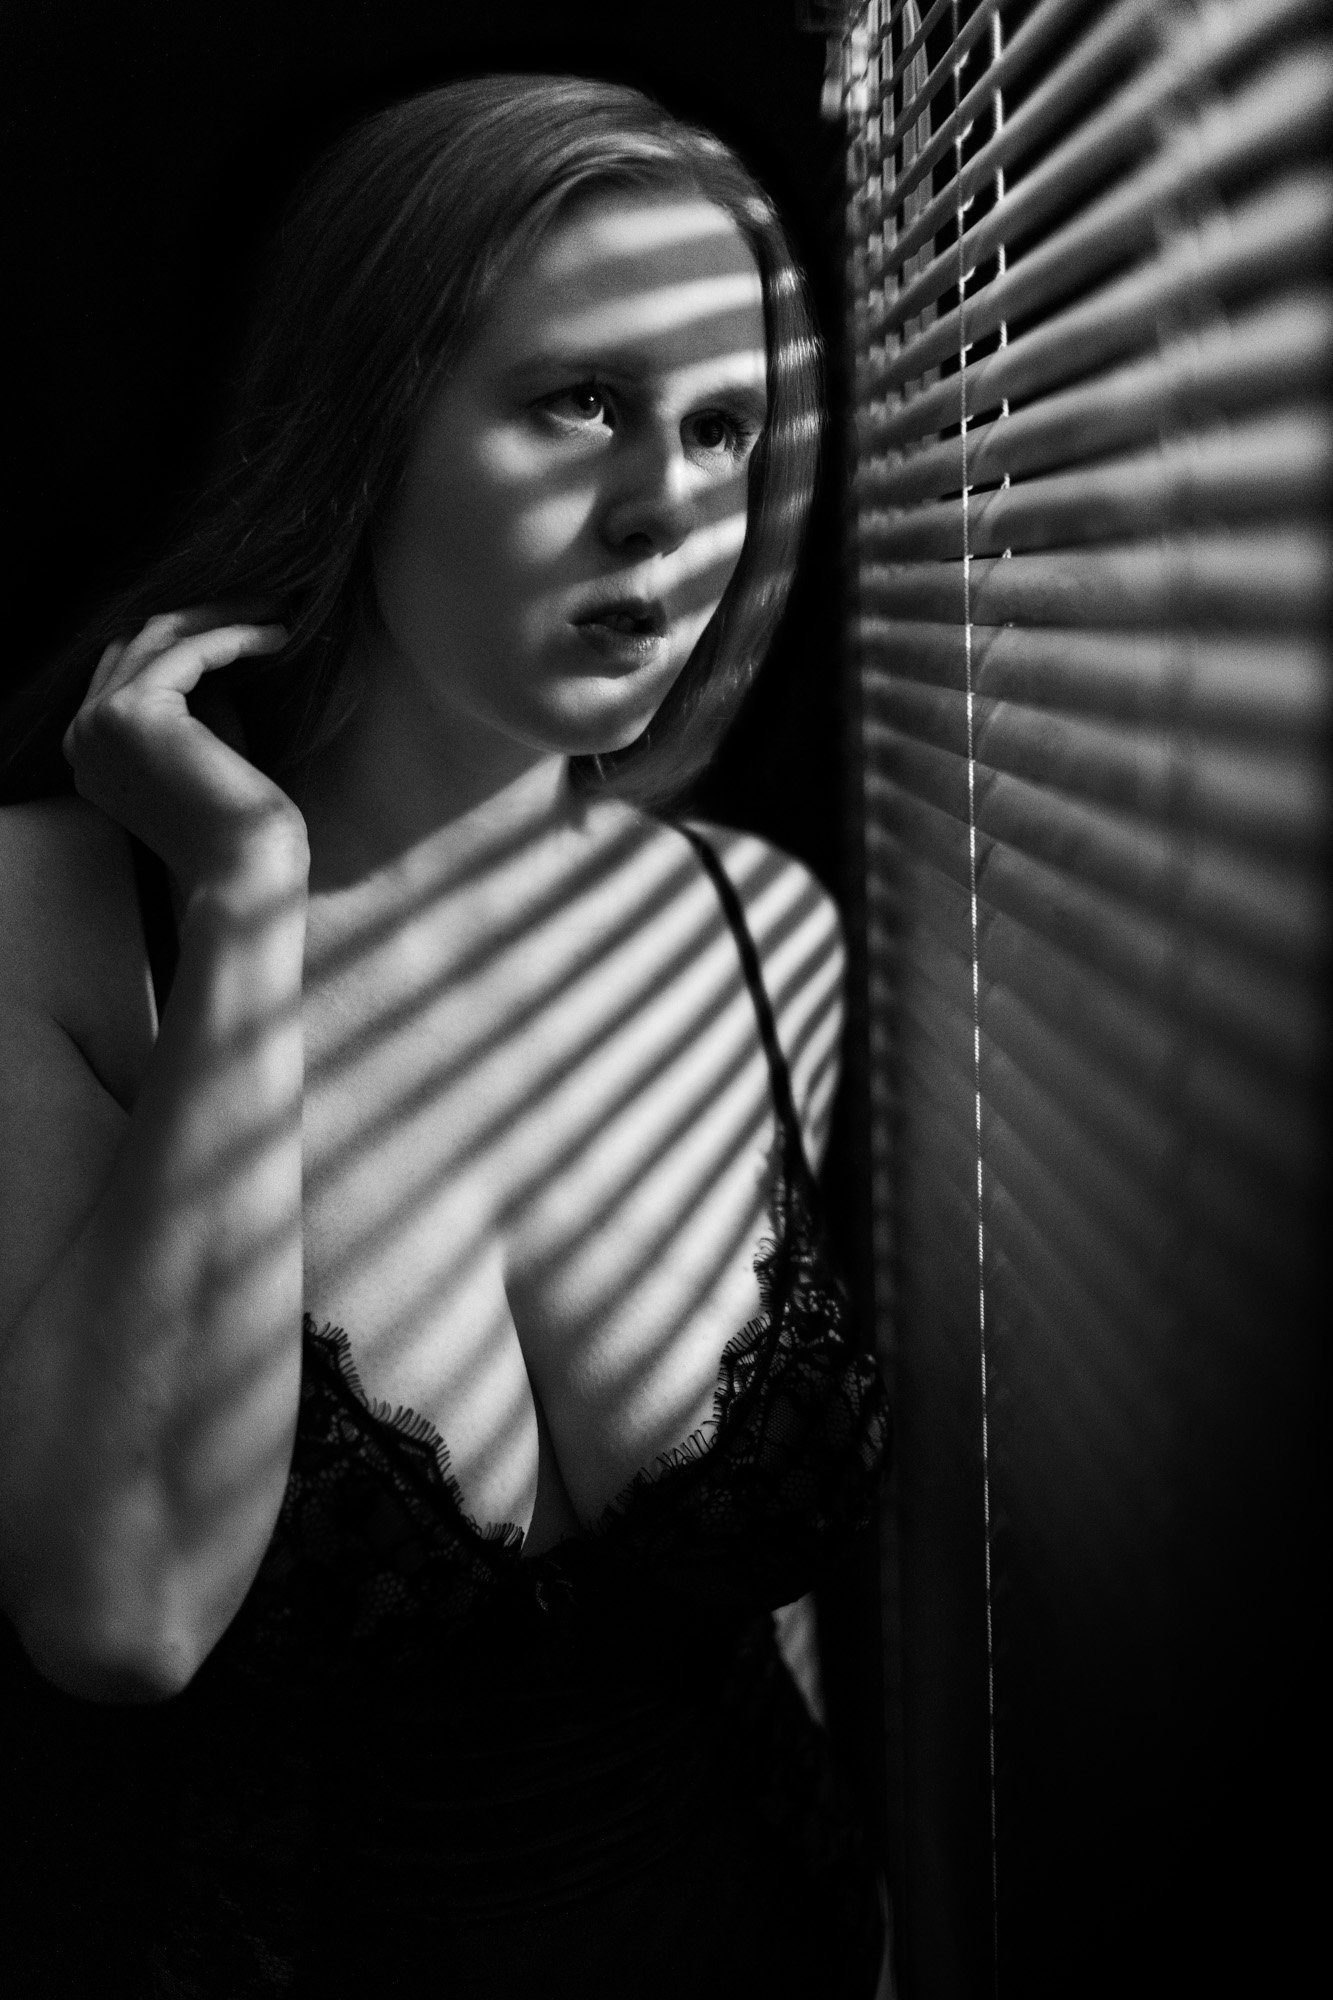
For our next simple setup, we asked our model to change outfits, and this lingerie helped add a little variety and make the portraits look different from the others. We wanted to go for a film noir style to make it look like she was looking through blinds.
A venetian blind was hung to our curtain pole using a few bits of picture hanging wire. Our continuous light was then set up on the other side of the blinds to produce shafts of light coming through the slats. We then experimented with the distance of the model to the blinds, the distance of the light to the blinds, and also changed the angle of the slats; as these tweaks all changed the appearance of the shadows until we had it just right.
To stop your light spilling onto a part of the frame that you don't want it to, you'll need to 'flag' it. This means blocking the light off, with anything from a set of 'barn doors', to the black side of a reflector, or even taping cardboard around your light to sculpt it onto the specific place you want. For our film noir set-up, we wanted a thin slice of light to come through the blinds, without the light spilling onto the black background, which we wanted to keep dark for maximum contrast.
4. Set-up 3: Rinse and repeat!
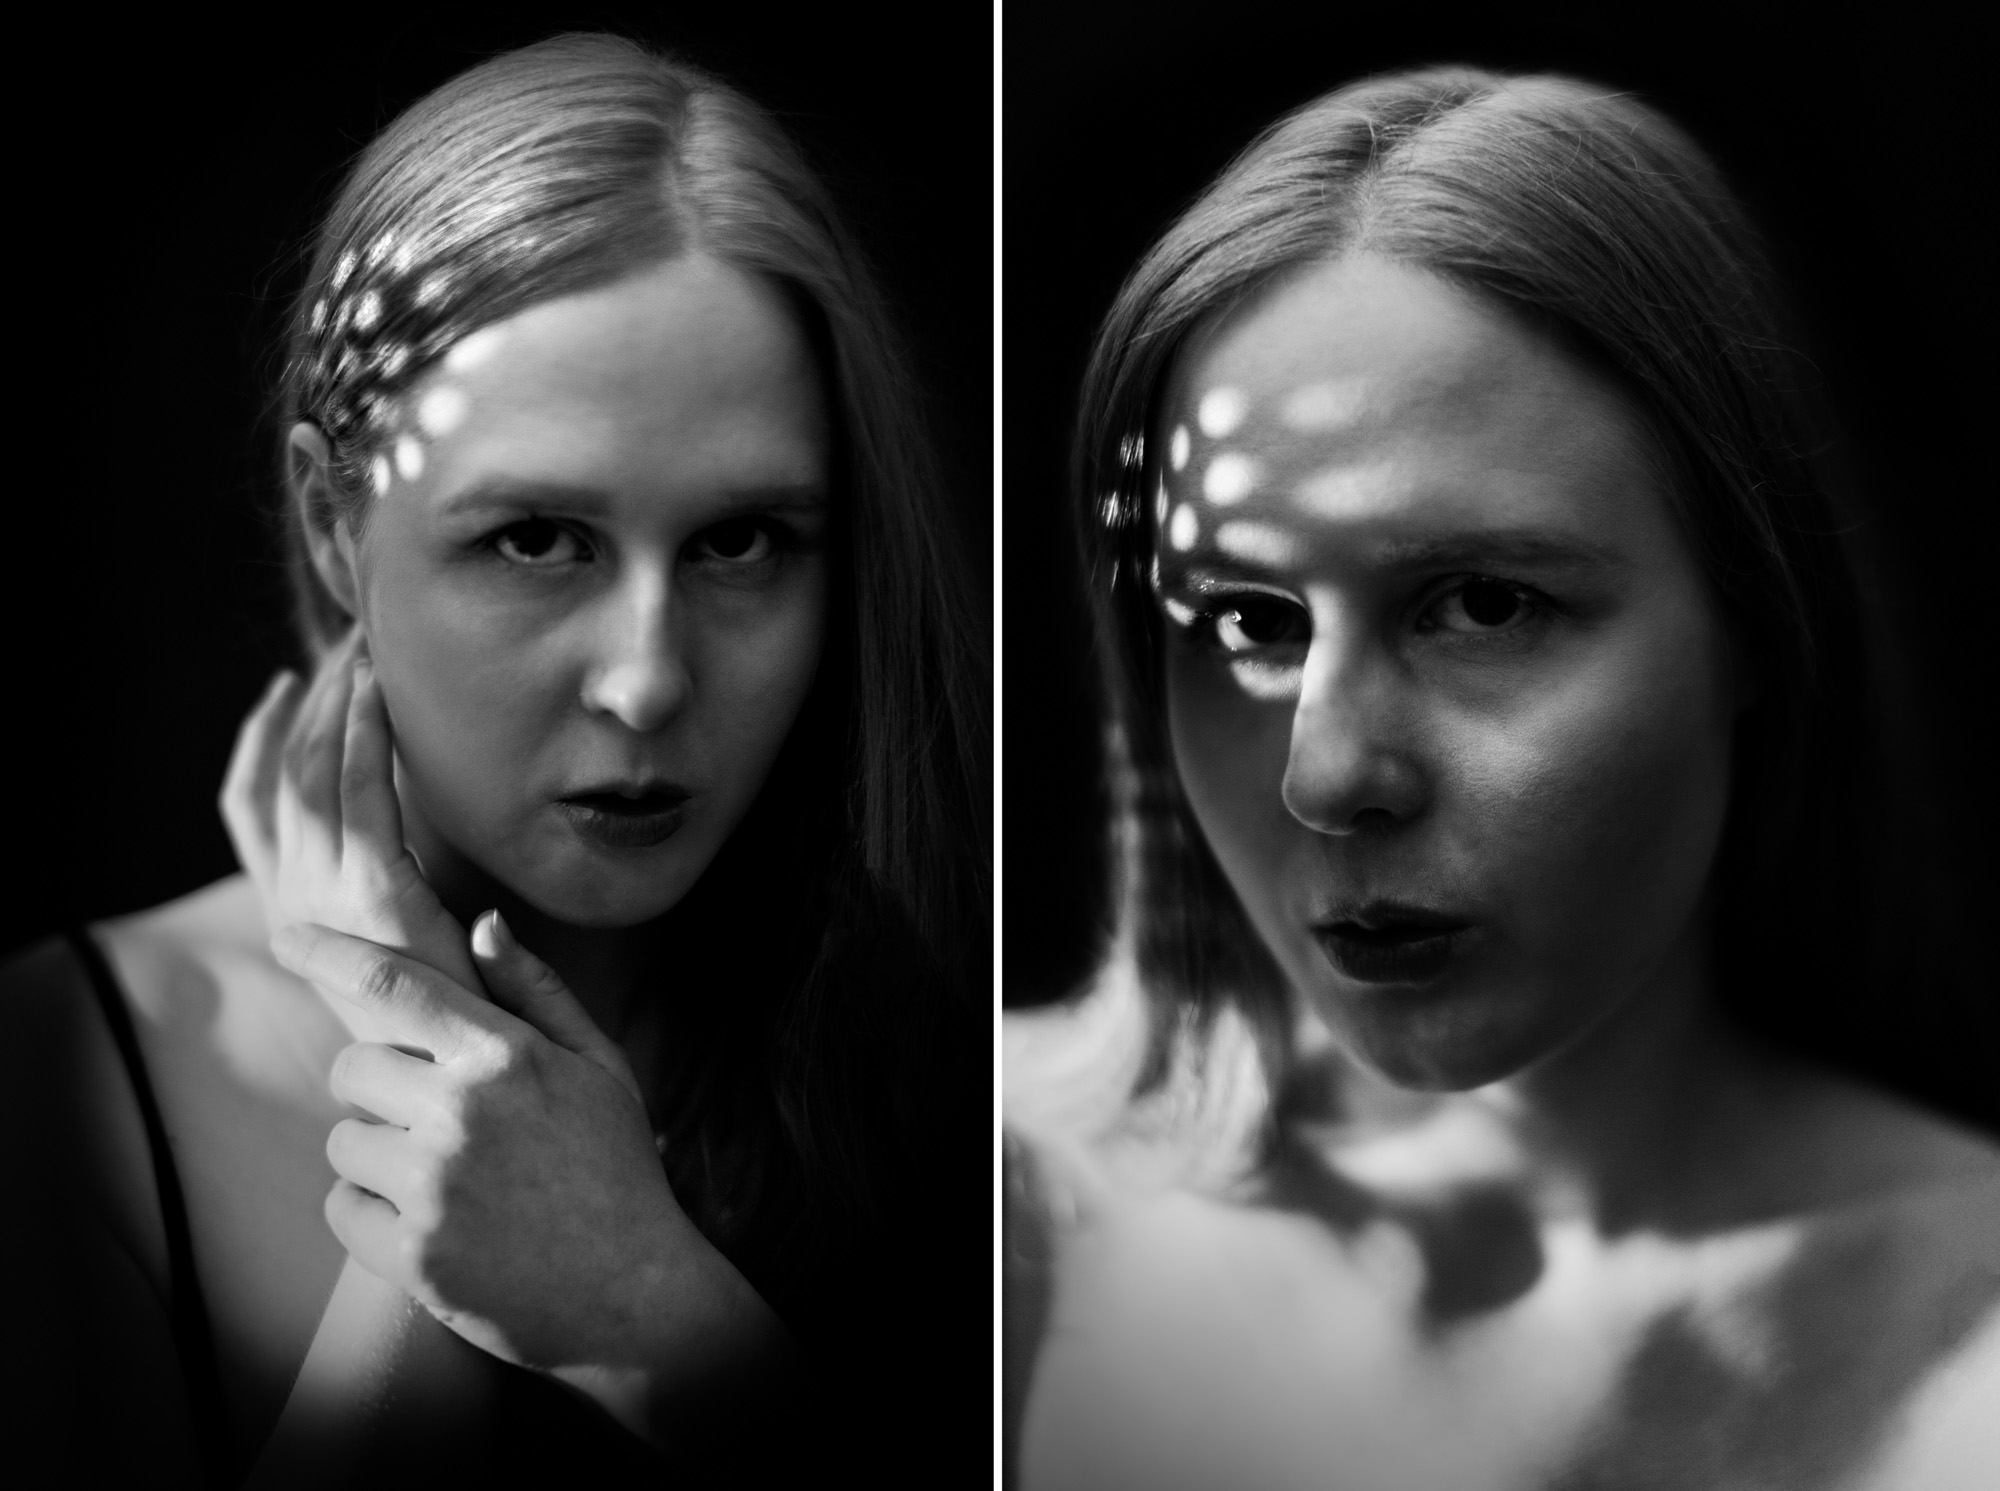
We kept our lightstands and background in place, then raided our kitchen for a colander and taped it to our curtain pole. The continuous light was positioned on the other side of the colander to cast spots of light over our model’s face. You could use flash for this if you have one, but a flash with a modelling light will make this much easier to see where the spots of light are falling on your model's face.
Using our continuous lights we were able to choose a fast drive burst mode on our Canon EOS R, which made it much easier to catch a series of shots and boost the chances of nailing one where the light fell where we needed it. Having a helper to move the colander until the shadows are in the right position would also be helpful for this technique.
You might like...
If you're serious about portrait photography, browse the best cameras for portraits, along with the best lenses for portraits.
In addition to being a freelance photographer and filmmaker, Dan is a bona fide expert on all things Canon and Adobe. Not only is he an Adobe-certified Photoshop guru, he's spent over 10 years writing for specialist magazines including stints as the Deputy Editor for PhotoPlus: The Canon Magazine, Technical Editor for Practical Photography and Photoshop Editor on Digital Photo.
- Kim BunermannNews Editor
You must confirm your public display name before commenting
Please logout and then login again, you will then be prompted to enter your display name.
