Pretty much every camera you can buy right now has an exposure compensation option. It's very simple to use and it can be useful across many situations, saving you time in post production and allowing you to get the shot you want with less hassle.
Here, we run through everything you need to know about exposure compensation.
What’s the simplest way to describe exposure compensation?
Put simply, it’s a feature on your camera that allows you to make your pictures look lighter or darker with minimum fuss.
Surely my camera already sorts out the exposure for me so why would I want to do that?
Your digital camera has a sophisticated built-in exposure metering system that will work out the brightness of the scene you’re shooting – and will generally set the aperture or shutter speed (or both) for you using this reading. However, the meter is not infallible. Being able to make small corrections to the meter allows you to adjust for slightly unusual scenes without them looking too bright or too dark. The facility can also be used for artistic reasons – deliberately making your pictures too bright, say.
• See the Digital Camera World A-Z Dictionary of photography jargon

Ignoring the arty stuff for a moment, when am I most likely to need to use the exposure compensation feature?
There are a number of common situations where your camera’s meter is most likely to assess the brightness of the scene incorrectly. A particularly bright or dark background, for instance, can mean that the subject in the foreground ends up looking too dark or washed out.
If you are photographing someone standing indoors in front of a window, the daylight in the distance may turn the figure into a dark silhouette. Exposure compensation can help you to ensure that you set the exposure for the face and not what’s on the other side of the glass.

Can you give me an example of a dark background throwing out the exposure?
At a rock gig or at the theatre, the people you want to take pictures of are often spot lit – with a dark background behind them. The mass of black in the scene can throw out the averaging calculations of your camera’s meter, making the subject look washed out. In this situation exposure compensation will save the day.

When else might exposure compensation be useful?
It’s likely that you’ll need to use exposure compensation when you’re shooting something that is predominantly black or white.
Shoot a white scene (such as a snow-covered landscape) and the camera will tend to under-expose the whole scene. This happens because the meter generally assumes that there is a full range of tones within a scene, so creates an exposure that will turn snow into an ugly greyish midtone.
Similarly, take a close-up shot of a black camera, and it will also appear too bright and grey – unless you use exposure compensation, that is.

Do all cameras have an exposure compensation feature?
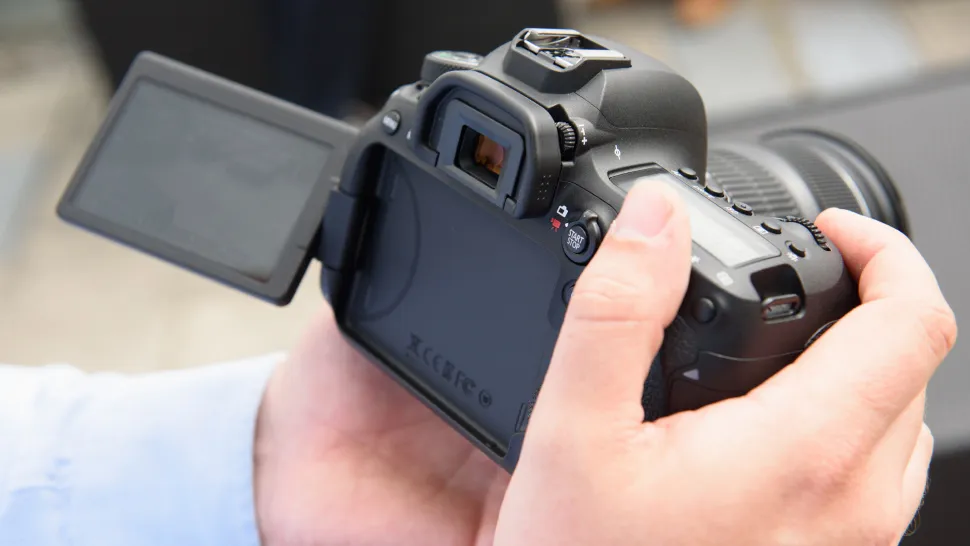
Pretty much. It’s a facility found on all D-SLRs, mirrorless cameras, and high-end compacts, certainly. Many of the best camera phones have the facility too. Good cameras provide an easy-access button to enable it – others force you to delve into a menu.
The range of exposure compensation functions available will vary from camera to camera. Many restrict the range from plus two stops to minus two stops. Top cameras have a range closer to +/-5 stops. Be warned, however, that many of the fully automatic shooting modes found on D-SLRs and mirrorless cameras (such as those marked with icons of runners or mountains) do not allow access to manual overrides such as exposure compensation.
Use one of your camera’s creative exposure modes, such as Program (P), Aperture Priority (A or Av) or Shutter Priority (S or Tv) in order to access exposure compensation (and also have the option to set a particular shutter speed or aperture).
Read more: What are the differences between the PASM exposure modes on your camera?

What is this plus, minus and stops business all about?
A plus (+) setting makes the image brighter (ideal for making snow look white). A minus (-) setting makes the image darker (great for shooting an actor spot-
lit against a dark background). Stops are units of exposure, and form the scale used in exposure compensation. A full stop change will double or halve the amount of exposure. Most cameras offer intermediate ‘half stop’ or ‘third stop’ increments for more subtle adjustment.
How much adjustment will I need?
It varies depending on your subject, and on the metering mode you’re using. For a snowy scene, a setting of +1 is about average (but +0.5 or +2 may sometimes be needed). With many subjects you can take a shot, look at the result, and then reshoot with a different amount of compensation to ensure you get the effect you want. The histogram can also be a great help when working out precise adjustment amounts.

Using the histogram with exposure compensation
Although you can judge the amount of exposure compensation necessary for a shot approximately by looking at a test picture and reshooting if necessary, your camera’s histogram display gives you a more scientific measure to use. The graph shows the brightness of each pixel in each picture. The ideal graph is one that is as far to the right of the graph area as possible without the graph bunching (or clipping) towards the right-hand side.
To make the whole graph move to the right (to give a brighter image) use a positive value of exposure compensation. To get the graph to move to the left, use a negative amount of exposure compensation. The histogram can be seen when reviewing shots on D-SLRs, but more usefully can be displayed as you shoot in Live View mode (if available).
Read more
What is ISO?
What is exposure?
Photography tips for beginners: 12 things to learn with your camera
Cheat sheet: How to understand ISO settings
Cheat sheet: How to understand f-stops
Cheat sheet: Shutter speed stops
Best online photography courses in 2020

