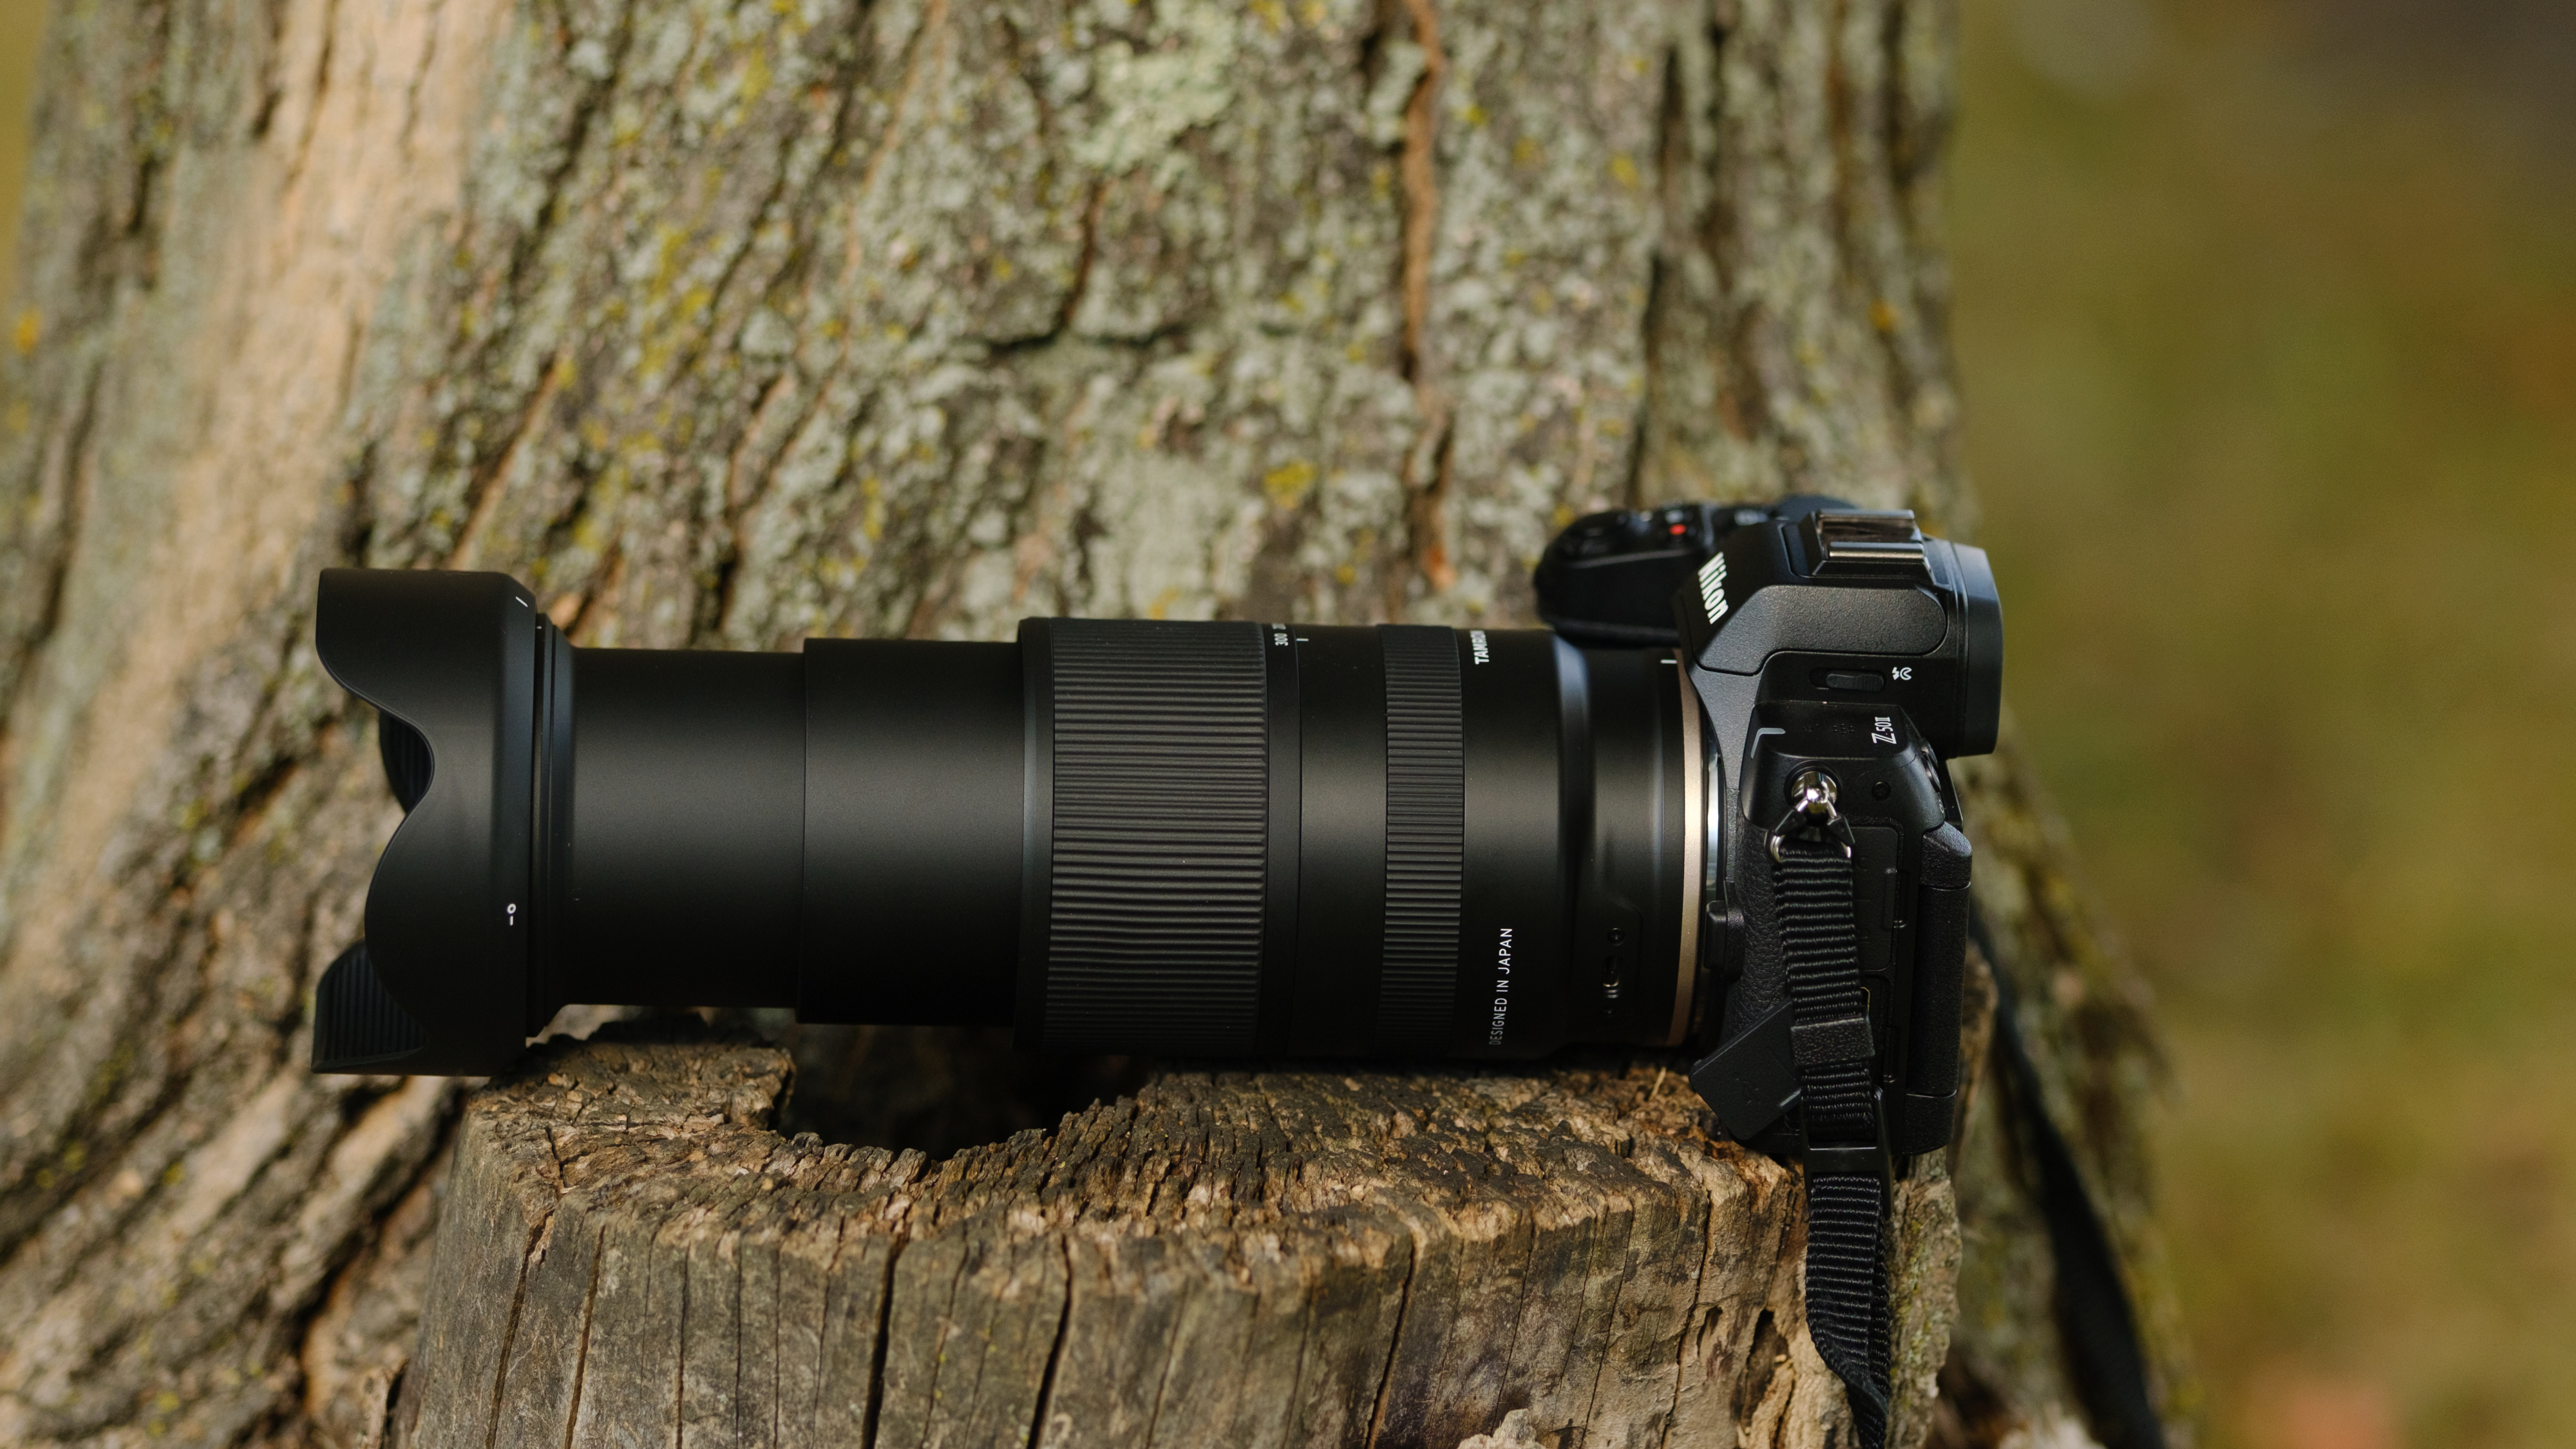
What are the differences between the PASM exposure modes on your camera?
Bored of shooting in Auto? We explain the Program, Aperture Priority, Shutter Speed and Manual exposure modes
The best camera deals, reviews, product advice, and unmissable photography news, direct to your inbox!
You are now subscribed
Your newsletter sign-up was successful
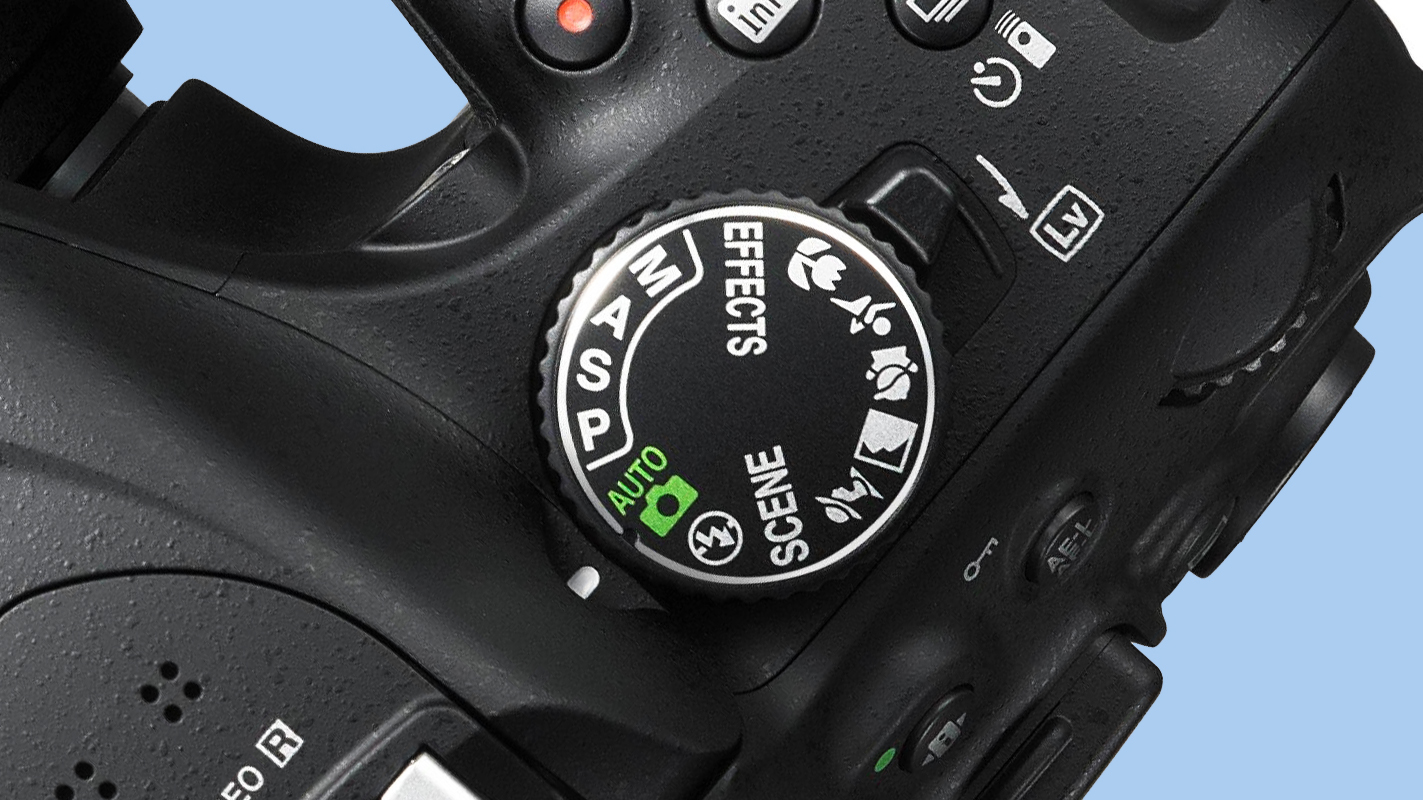
The four main exposure options that are offered on DSLR and mirrorless cameras are often referred to as the PASM modes.
• See the Digital Camera World A-Z Dictionary of photography jargon
These comprise Program, Aperture Priority, Shutter Priority and Manual options, and they're the ones you'll want to turn to when you want to stretch beyond what the Auto and Scene options offer.
But what are the differences between them? And which should you use in a given situation? Here, we explain what each one does and when you may want to use it.
P - Program
P stands for Program, or Programmed Auto, and this is essentially the next step up from the Auto option.
In some respects the two are very similar. The camera can still be relied upon to do all the work of taking a good exposure, and you don't need to worry too much about adjusting anything. You do, however, have a little more control over things.
For example, you should be able to adjust your ISO (sensitivity) setting if you need to, something that is normally not available when shooting in Auto. Similarly, you should also be able to control whether the flash pops up, which again, is something the camera will not give you any say over in Auto. Control over focus and metering is also typically on offer here.
The best camera deals, reviews, product advice, and unmissable photography news, direct to your inbox!
Some cameras offer Program modes with variations, such as Program Shift or Flexible Program, and these also give you control over shutter speed or aperture.
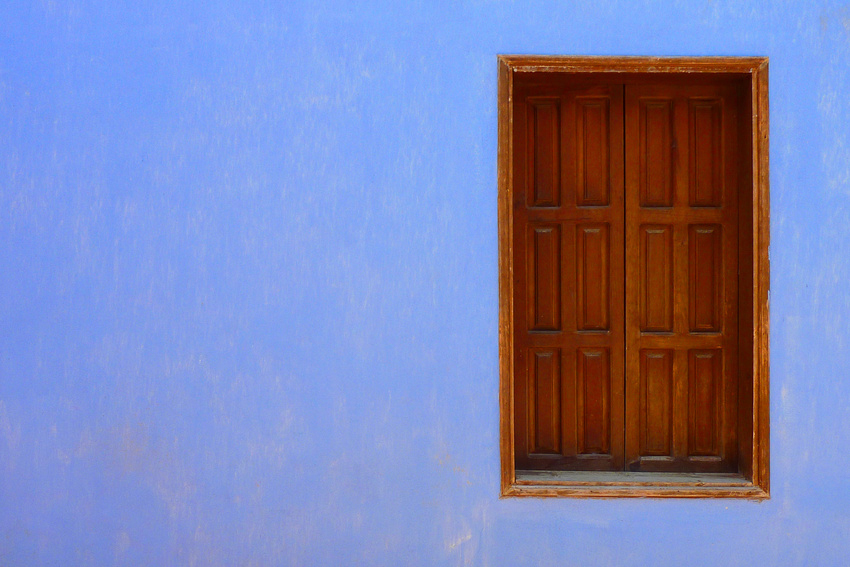
When should you use Program? Program is great for general day-to-day photography, particularly when there are no moving subjects or when control over depth of field isn't important.
A (or Av) - Aperture Priority

The A, or Av, option stands for Aperture Priority, and this lets you control the aperture of the lens you're using. This is the opening through which light passes, and you can make it larger or smaller to regulate how much light to let in.
In this mode, as you change the aperture, the camera will automatically adjust the shutter speed to compensate for the change you make. Using an increasingly larger aperture – so, going from f/8 to f/4 or f/2.8, for example – corresponds with a faster shutter speed.
Why's this? If your lens can let in more light, the camera is able to admit this in a shorter space of time. Think of it like an hourglass: the wider the opening between the two chambers, the faster sand can flow from one to the next.
When should you use Aperture Priority? Aperture priority is useful when you need precise control over depth of field as this changes with aperture. You may, for example, need a shallow depth of field when capturing a portrait, and a much deeper one with a landscape.
Read more: Cheat sheet - Wide vs narrow aperture
S (or Tv) - Shutter Priority
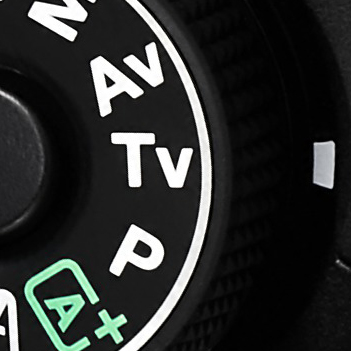
On most cameras, Shutter Priority is marked 'Tv', rather than with an S. What does this mean? Time value.
Shutter Priority lets you control the camera's shutter speed, which leaves control over the aperture to the camera.
As you use faster shutter speeds, your aperture will get larger. In other words, the camera will select a lower f-number. Again, think of the hourglass: a large opening between the two chambers means that the sand won't take as long to pass from one to the next as it would if it were smaller.
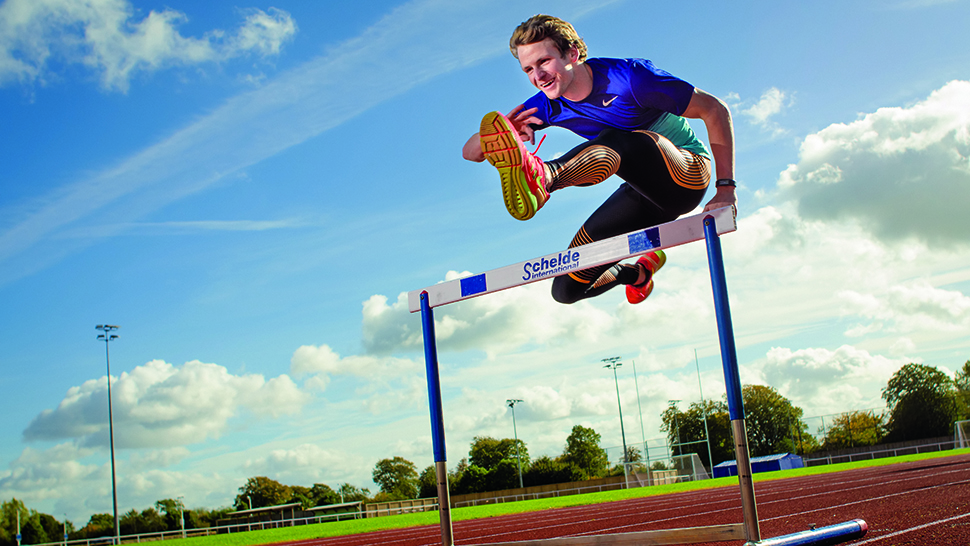
When should you use Shutter Priority? Shutter Priority is ideal when you need to freeze or blur any movement in the scene. Very fast shutter speeds such as 1/4000sec or 1/8000sec are great for sports while moderate shutter speeds are useful for capturing everyday movement, such as people walking. Very slow shutter speeds, on the other hand, are ideal for blurring motion to a smooth blur, be that flowing water, clouds in the sky or moving traffic.
Read more: Cheat Sheet - Which shutter speed should you be using?
M - Manual
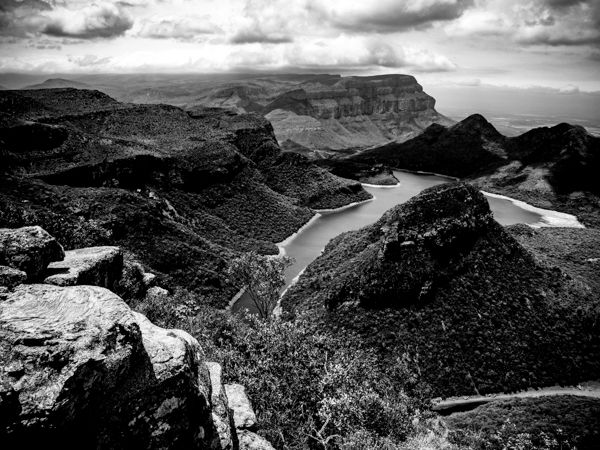
Finally we come to the Manual mode. Unlike the last two options, this gives you control over both the shutter speed and the aperture – and your goal is to use the combination that will give you the most appropriate exposure.
The way to know what this is is to aim to adjust aperture and/or shutter speed until the marker on the exposure scale at the base of the viewfinder (or on the LCD screen of your camera) is in the middle of the scale. This is what the camera deems to be correct based on the metering mode you've chosen
You may, however, feel a slight adjustment in either direction is more appropriate. In this instance, simply adjust shutter speed or aperture until you're either using the shutter speed or aperture you want to use, or until the image comes out at the exposure you require.
You can use exposure compensation with Aperture Priority and Shutter Priority modes, but it's not possible to use exposure compensation when using manual mode. If you need to apply exposure compensation, you simply adjust the aperture or shutter speed until the marker on the exposure scale is moved away from the centre of the scale one way or the other, to the extent of your choosing.
When should you use Manual? Manual exposure is great for slower types of photography, where you have enough time to set and experiment with both aperture and shutter speed, perhaps with the camera on a tripod. It's also useful when shooting in tricky lighting conditions, which may fool the camera into exposing differently from how you intend.
Read more: The 10 best entry-level DSLR, mirrorless and compact cameras
The former editor of Digital Camera World, "Matt G" has spent the bulk of his career working in or reporting on the photographic industry. For two and a half years he worked in the trade side of the business with Jessops and Wex, serving as content marketing manager for the latter.
Switching streams he also spent five years as a journalist, where he served as technical writer and technical editor for What Digital Camera before joining DCW, taking on assignments as a freelance writer and photographer in his own right. He currently works for SmartFrame, a specialist in image-streaming technology and protection.

