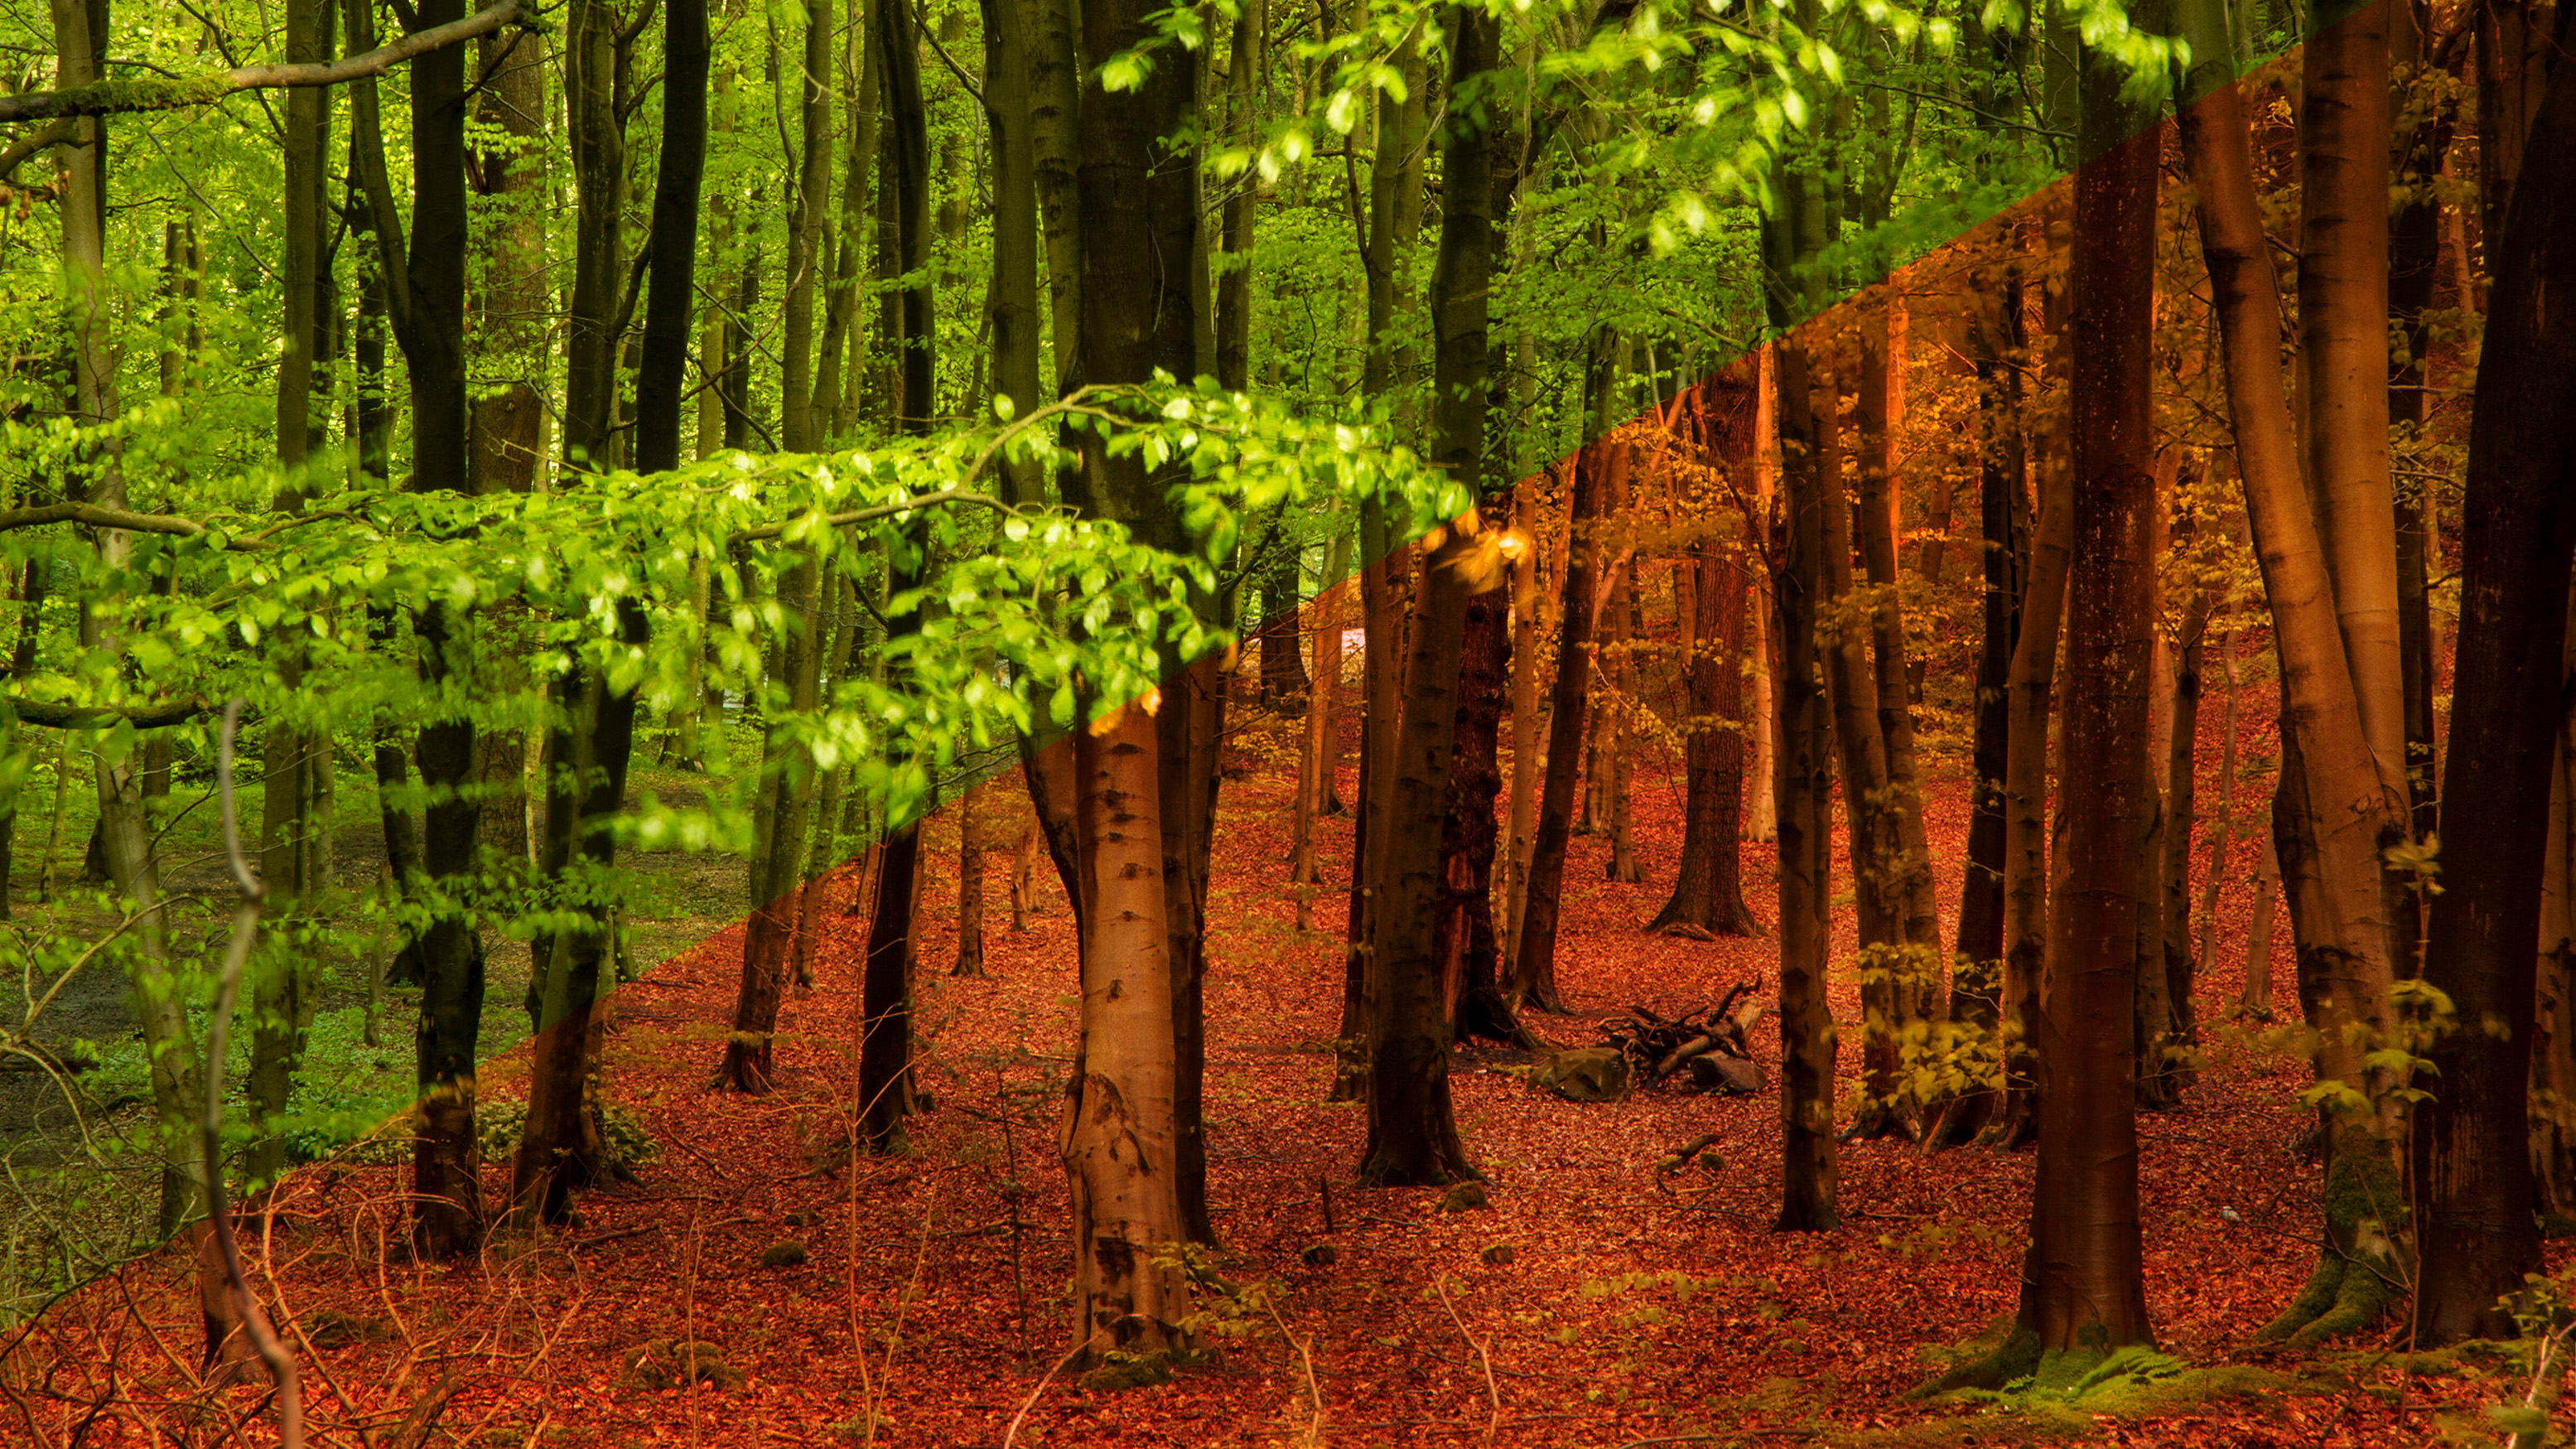
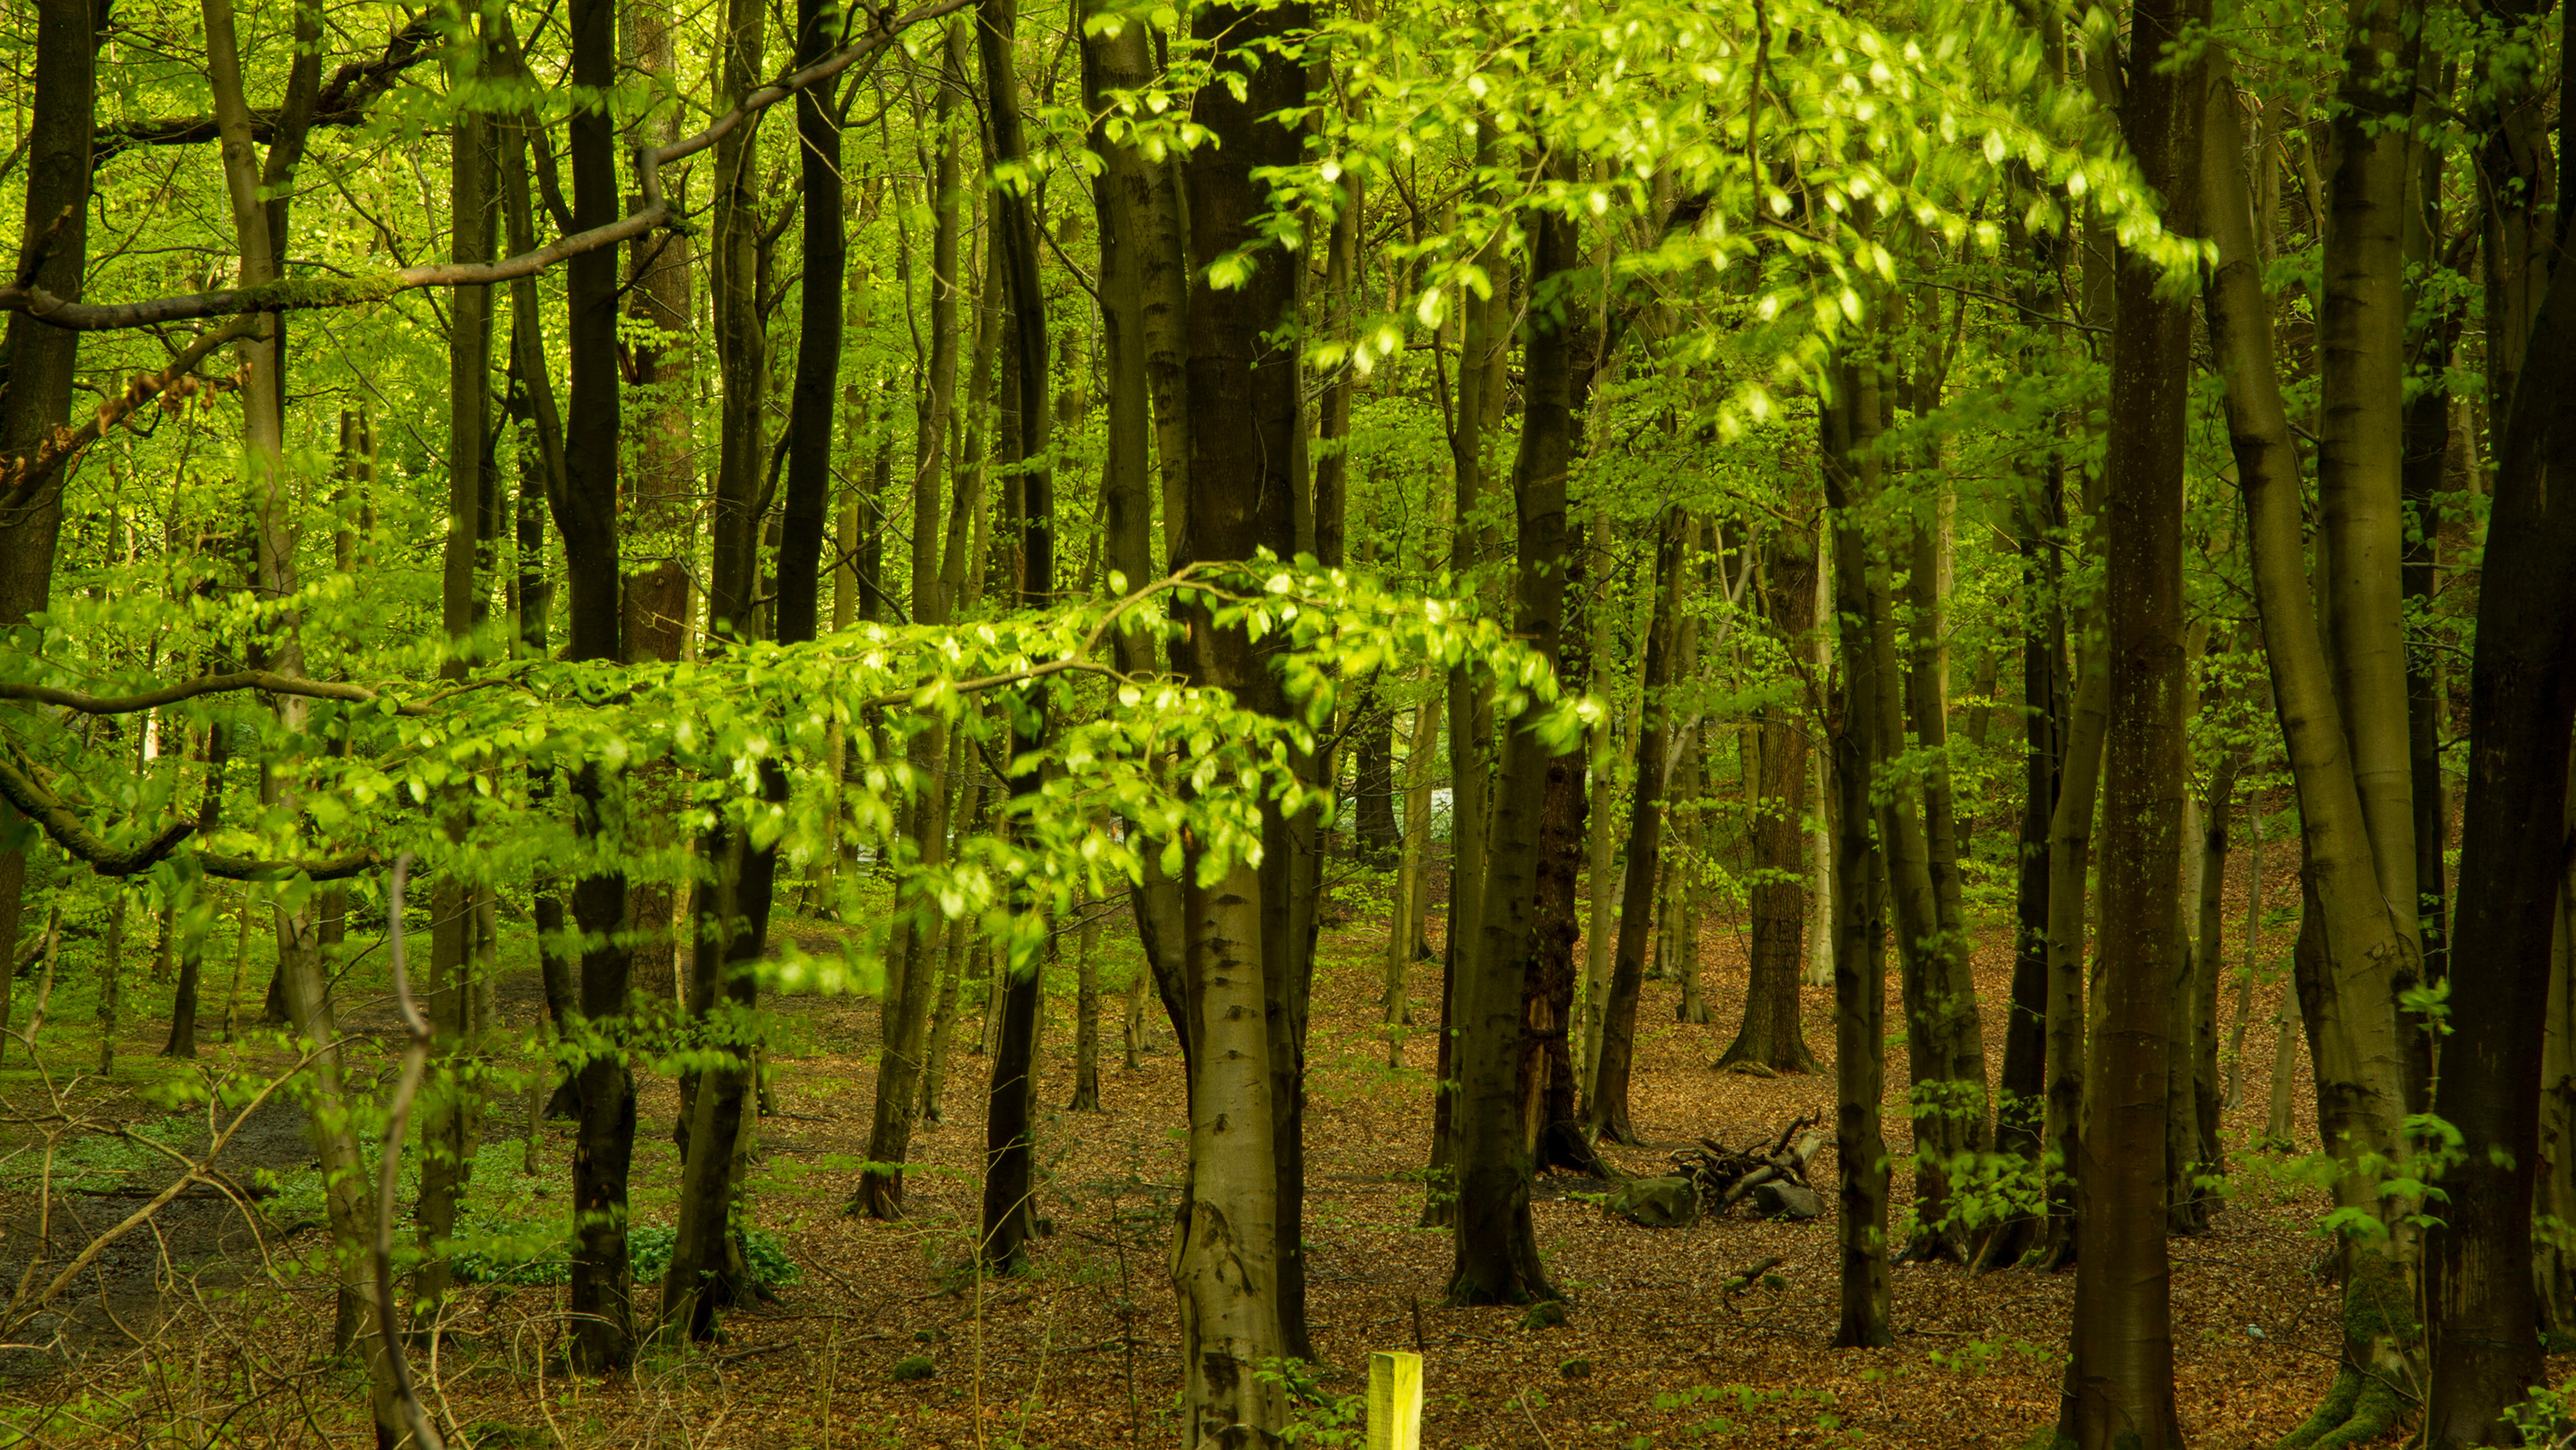
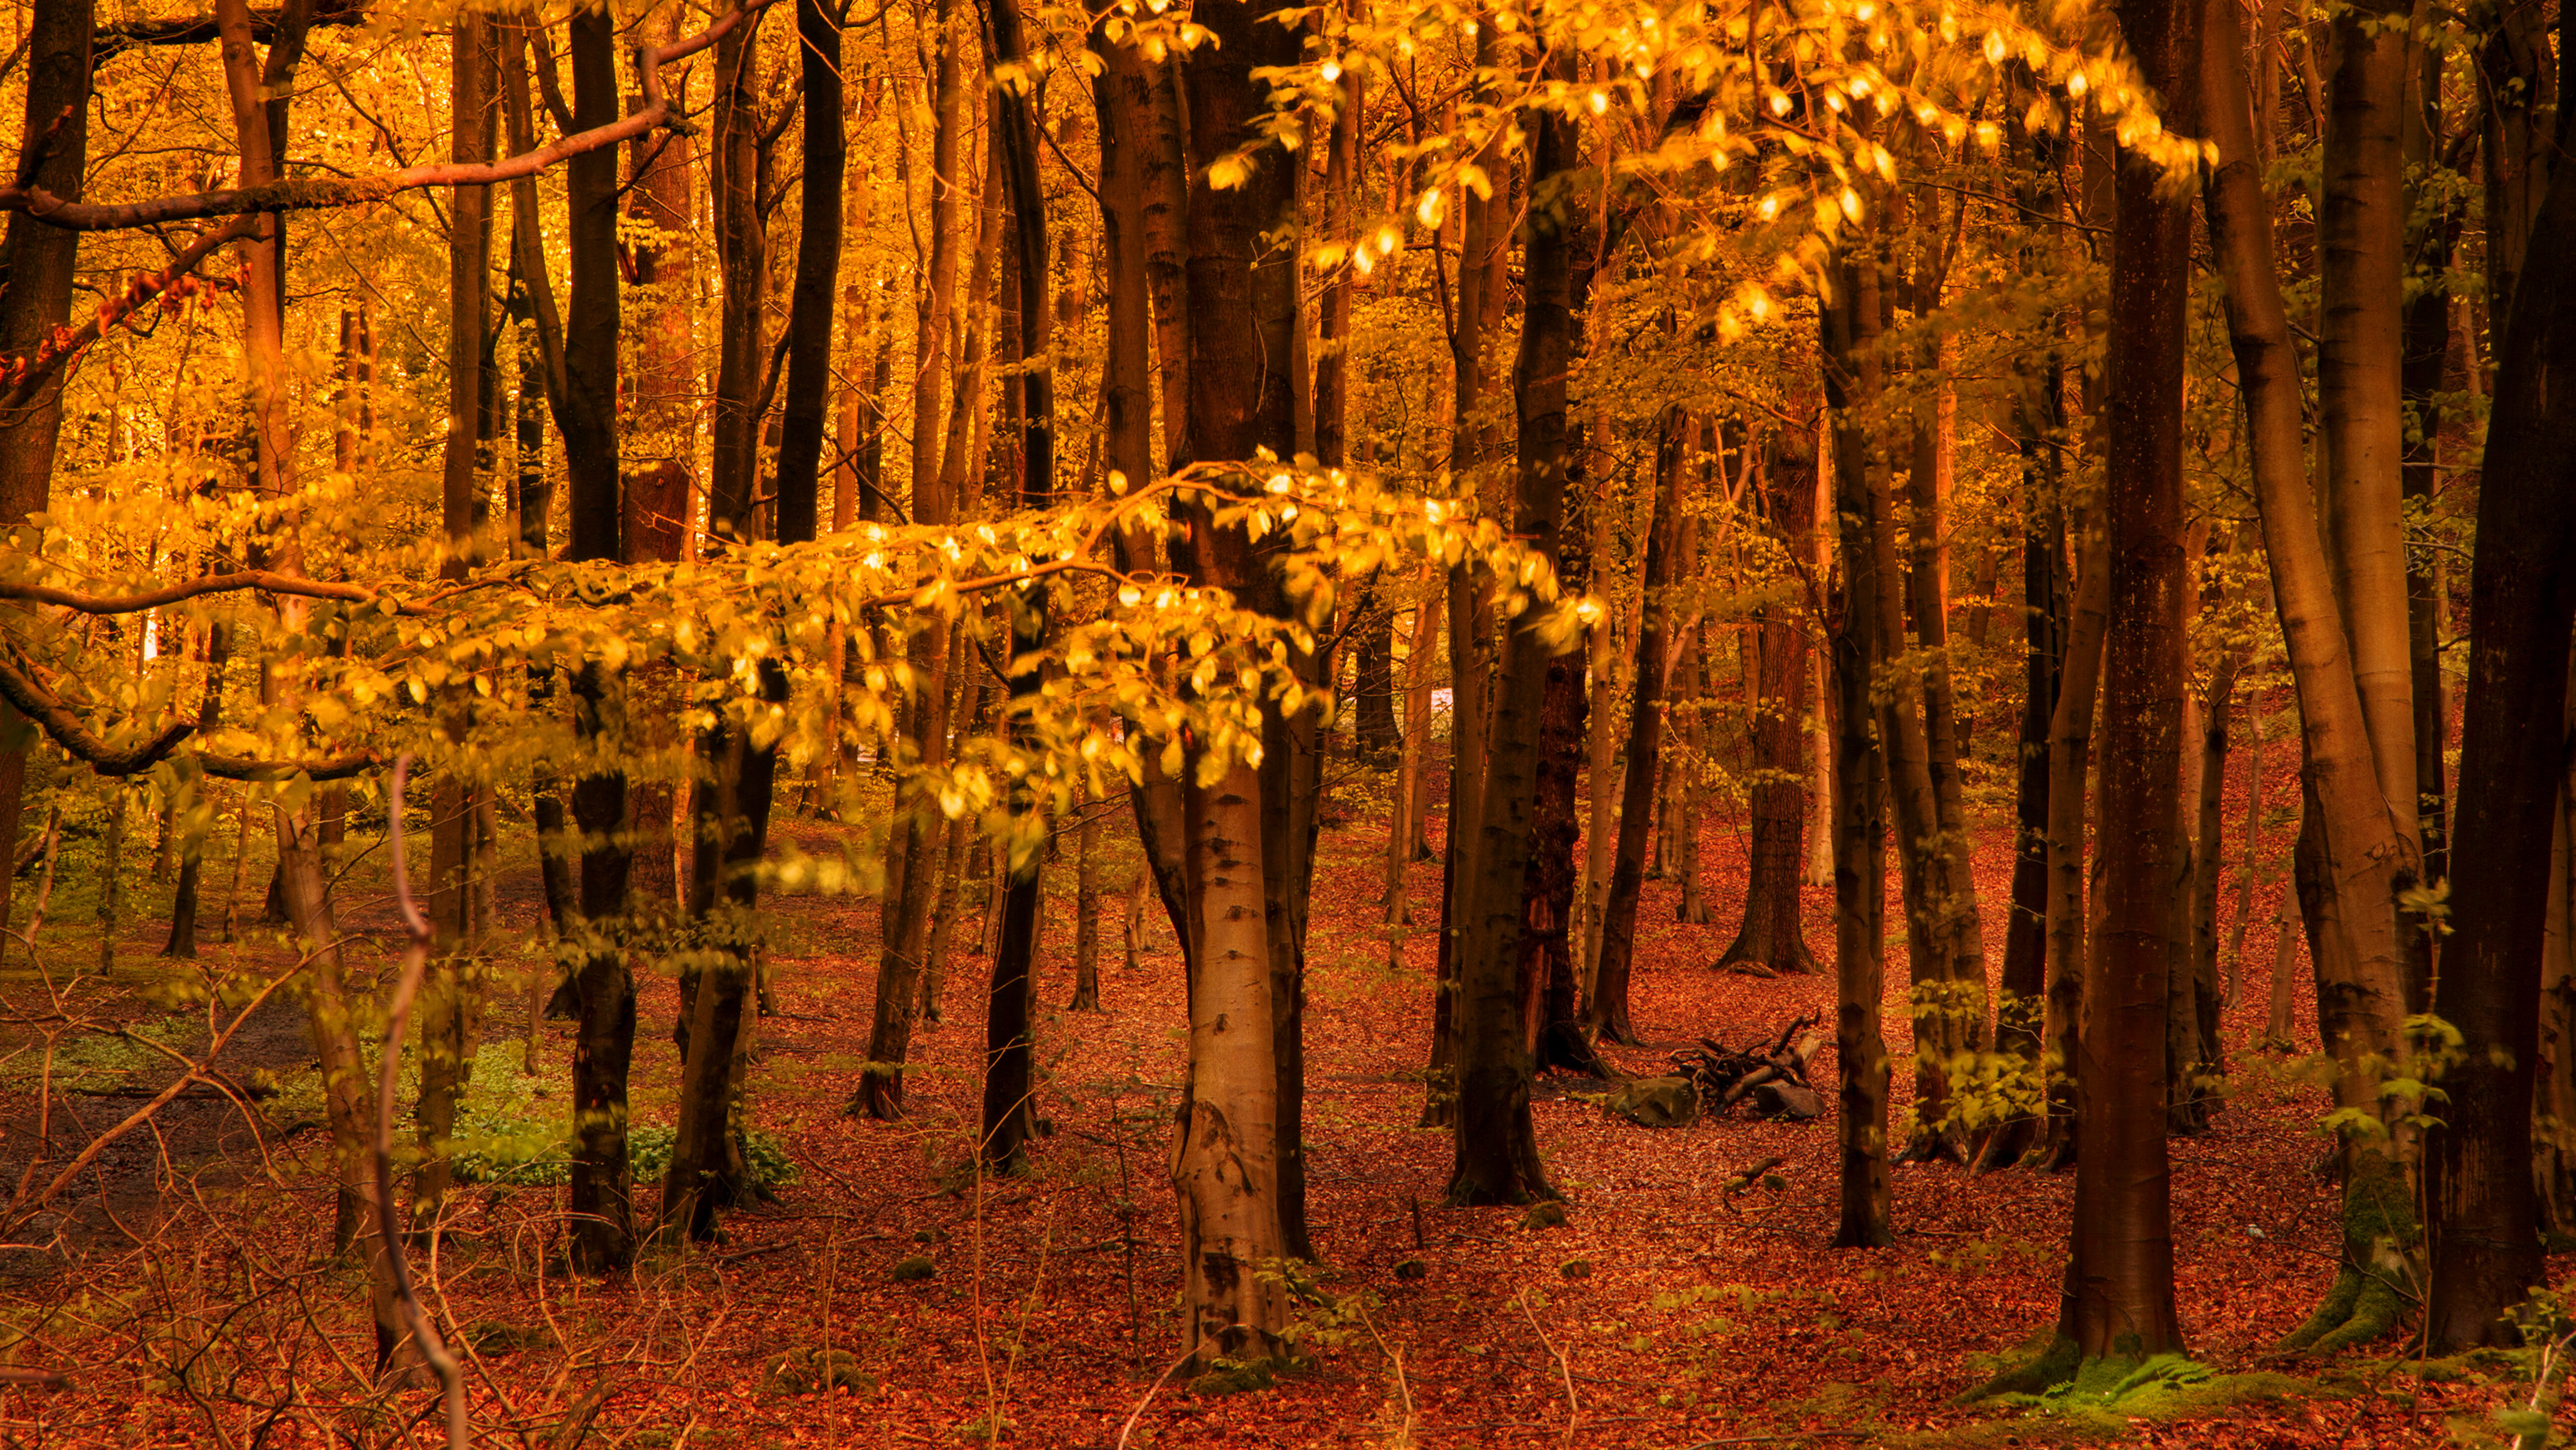
Change summer into autumn using extreme color adjustments in Photoshop
Where lighting or environmental conditions are not as expected, software can be a powerful solution
Don't have Photoshop? You can download Photoshop as part of a 7-day Adobe Creative Cloud trial. At the end of the 7 days you can either choose a Photography Plan or cancel your subscription. See the links opposite.
Step 1: Make basic temperature adjustments
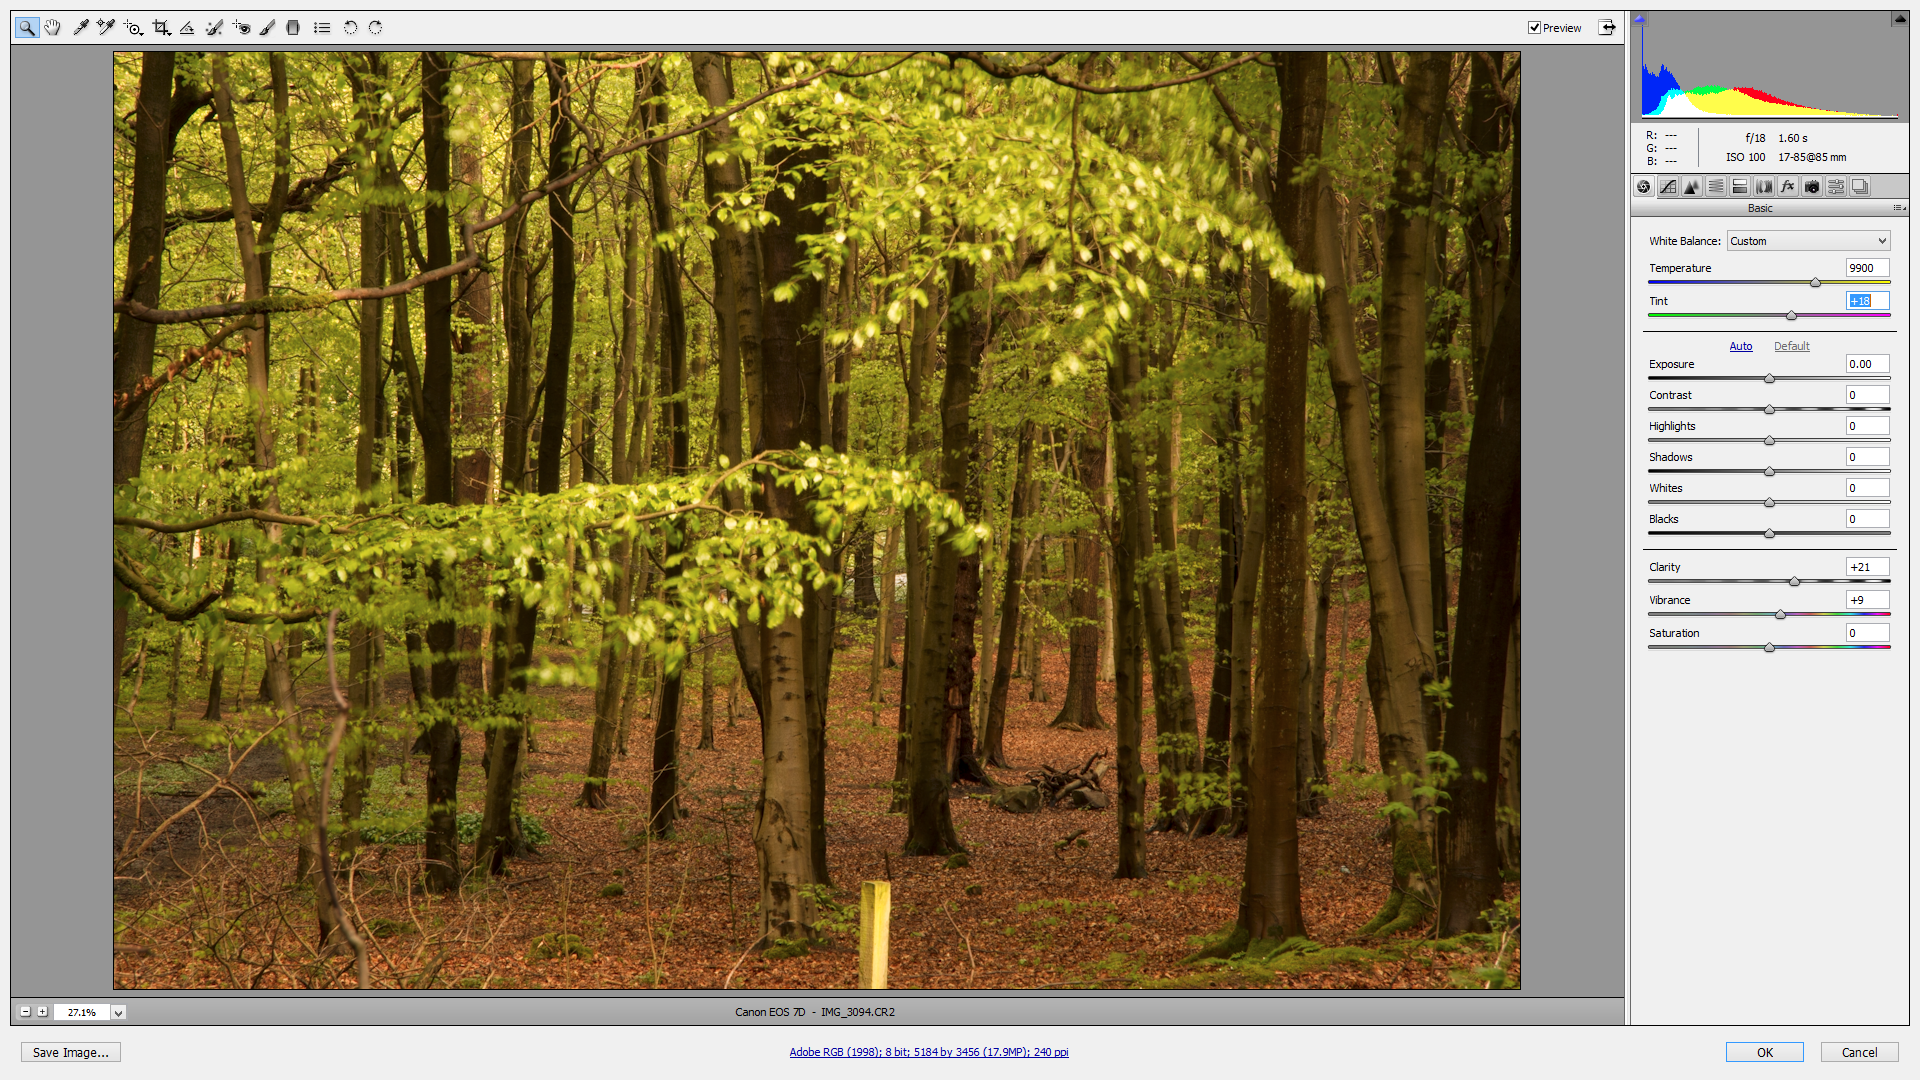
Open the RAW file in Camera RAW, Lightroom or Capture and adjust the white balance. Try selecting Shade from the Preset list and increase Temperature and Tint further, to introduce a warm cast. Increase Vibrance to improve understated colors.
Step 2: Open in Photoshop
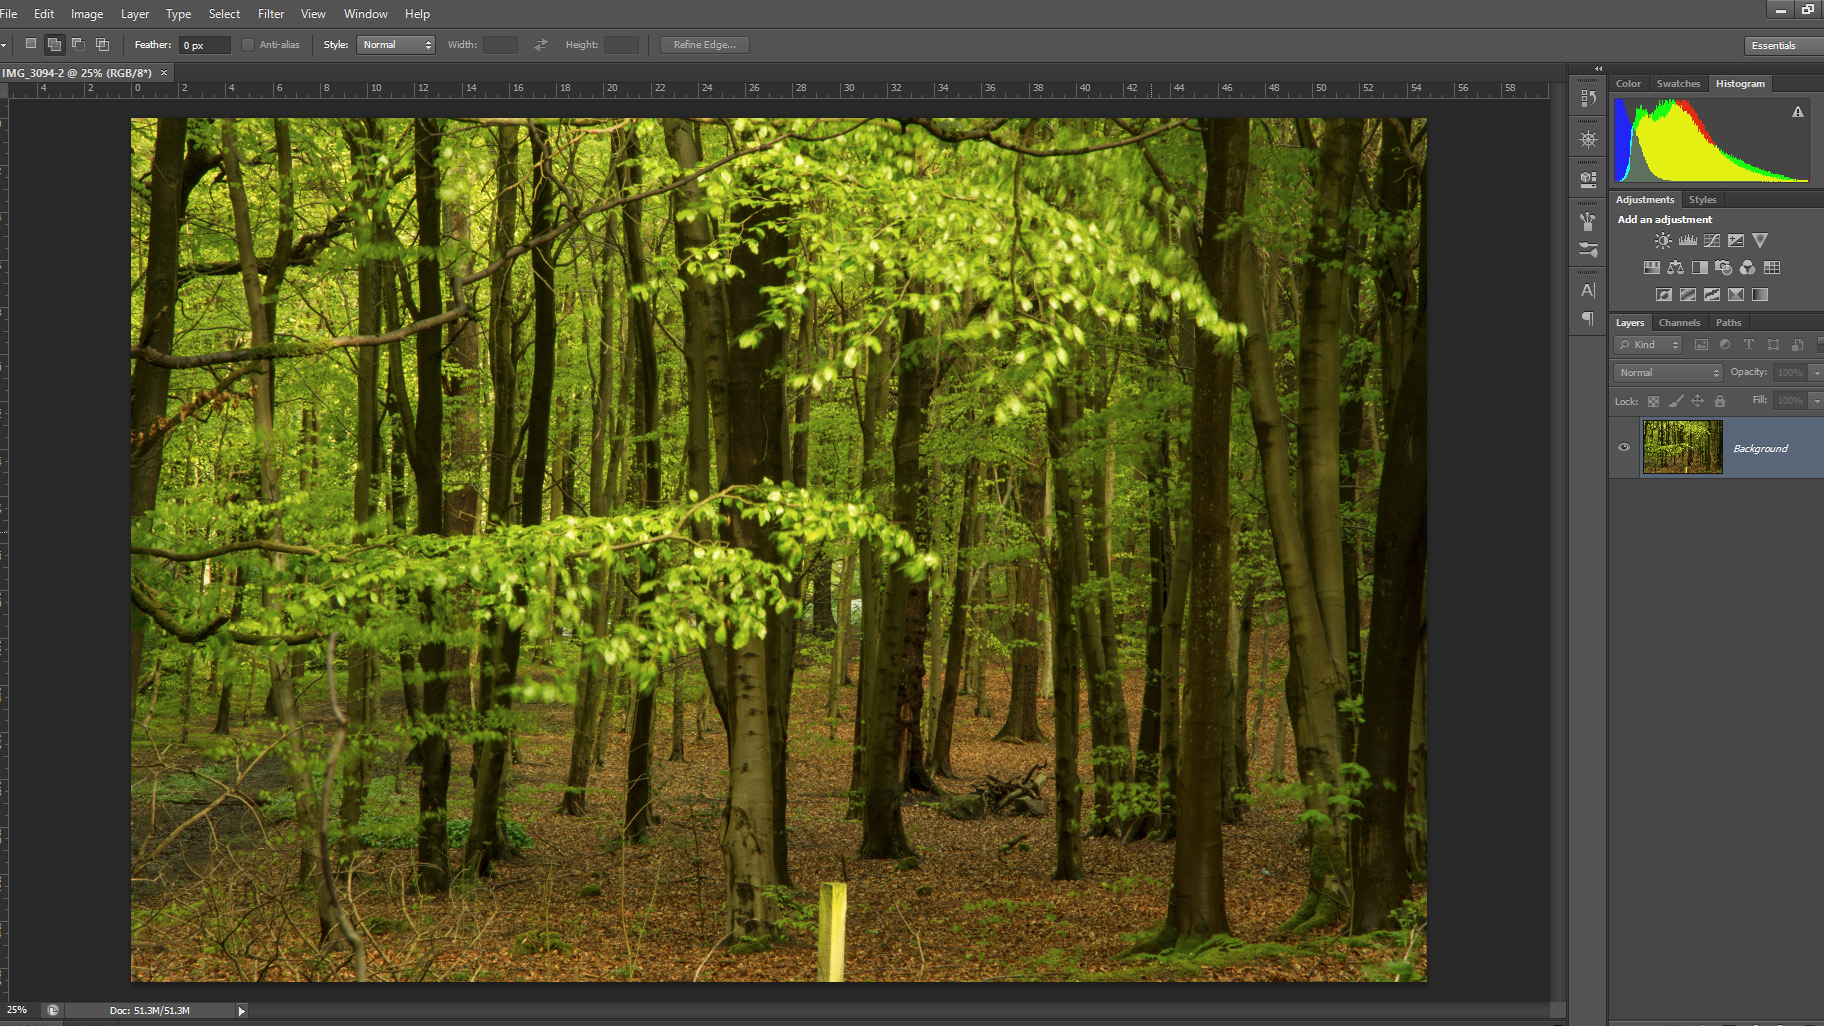
Many of the steps in this tutorial can be conducted in Camera Raw but here we will use the power of layer masks in Photoshop to achieve more interactive color control. Photoshop also offers multiple color correction features, which can easily be combined
Step 3: Hue/Saturation
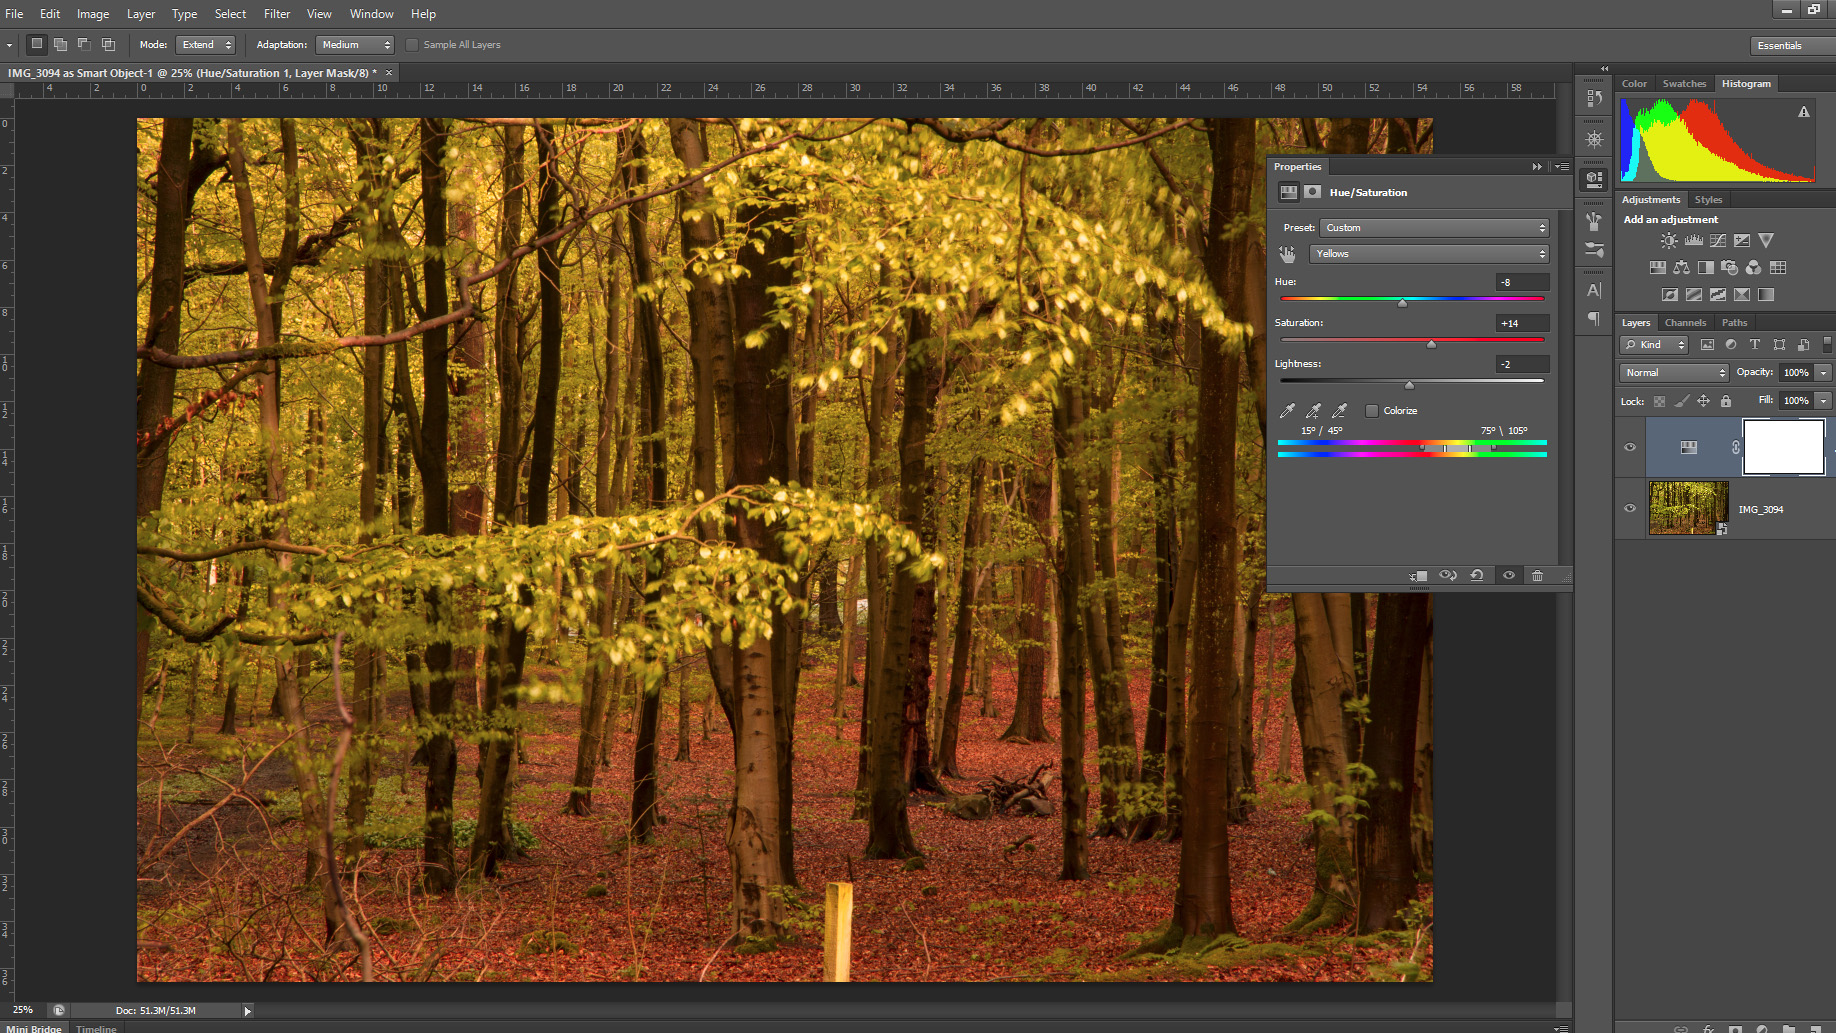
The first step is to strengthen the global warm cast. Create a Hue/Saturation Adjustment Layer and make small alterations to the Hue of the reds and yellows in the image, to emphasise the dominance of these colors. Keep any saturation changes you make subtle.
Step 4: Selective Color
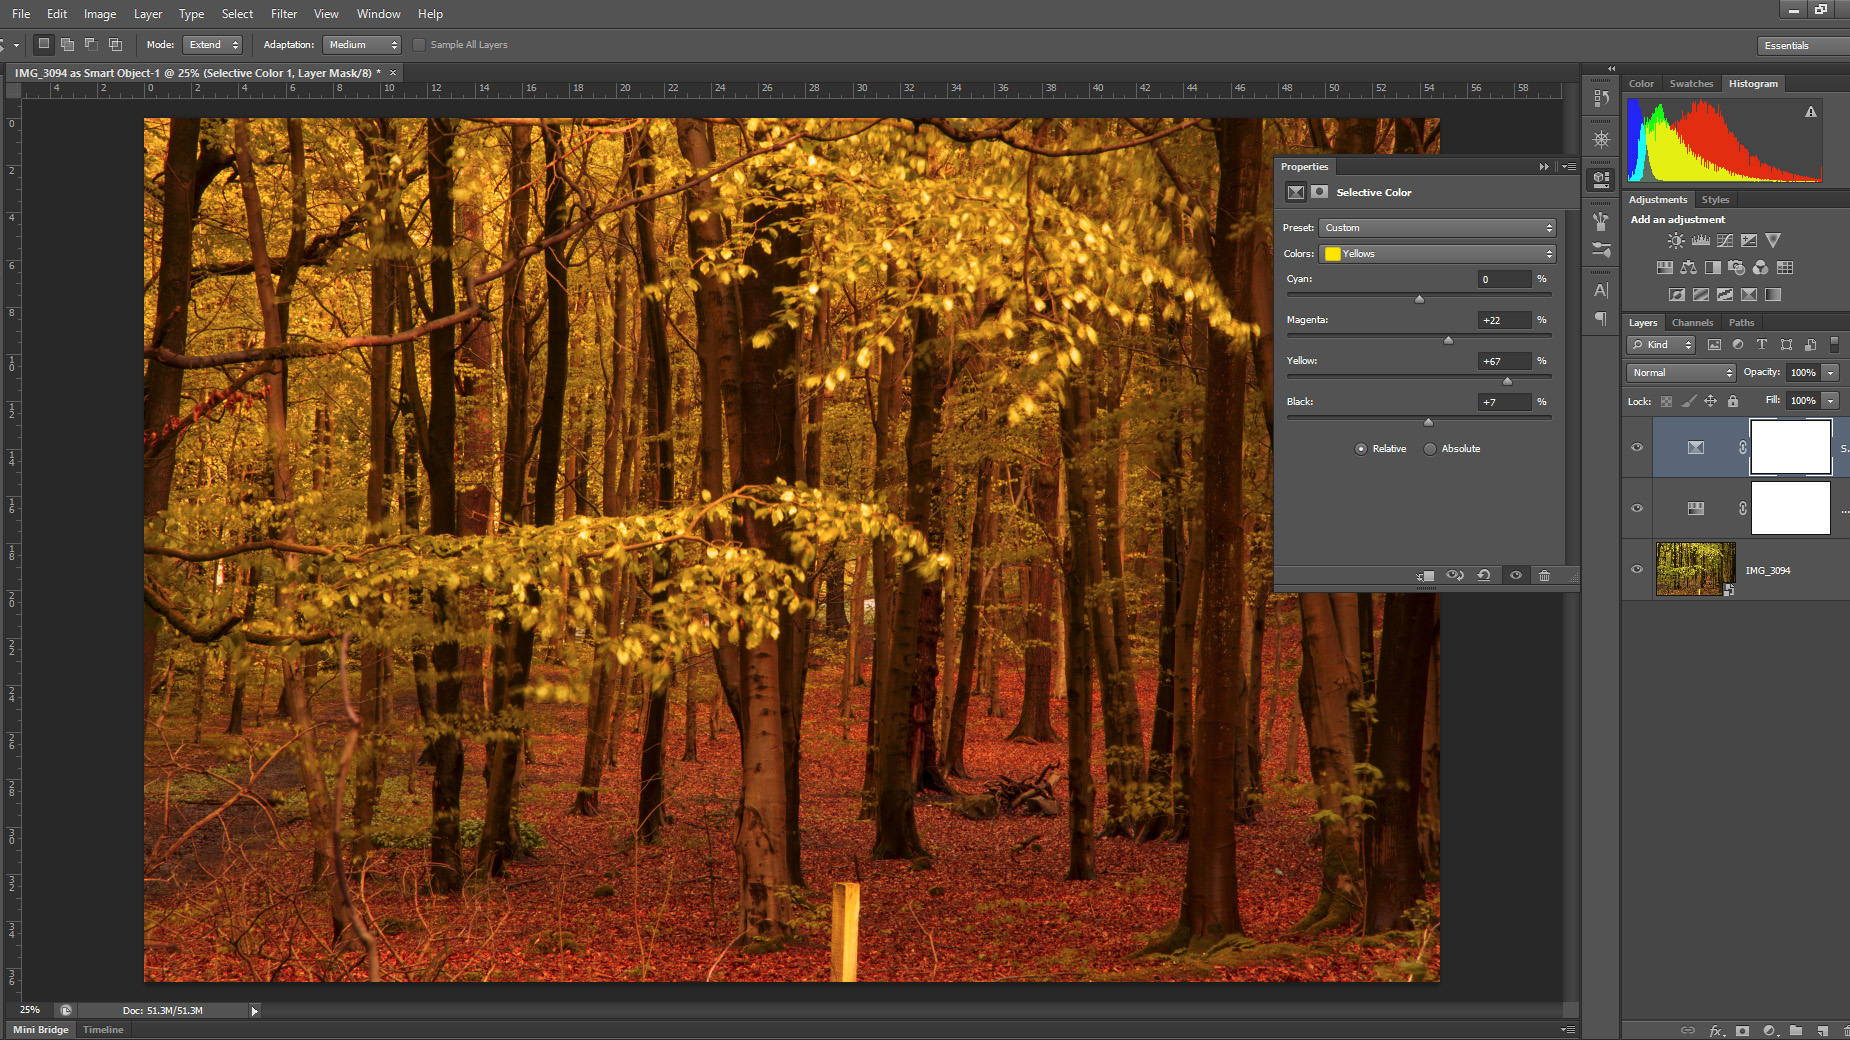
Use the Selective Color dialogue to tailor the balance of hues within each color channel. This control enables the user to blend colors for different effects, and for this image it has been used to introduce more yellow and magenta while holding slightly cooler shadows.
Step 5: Masking
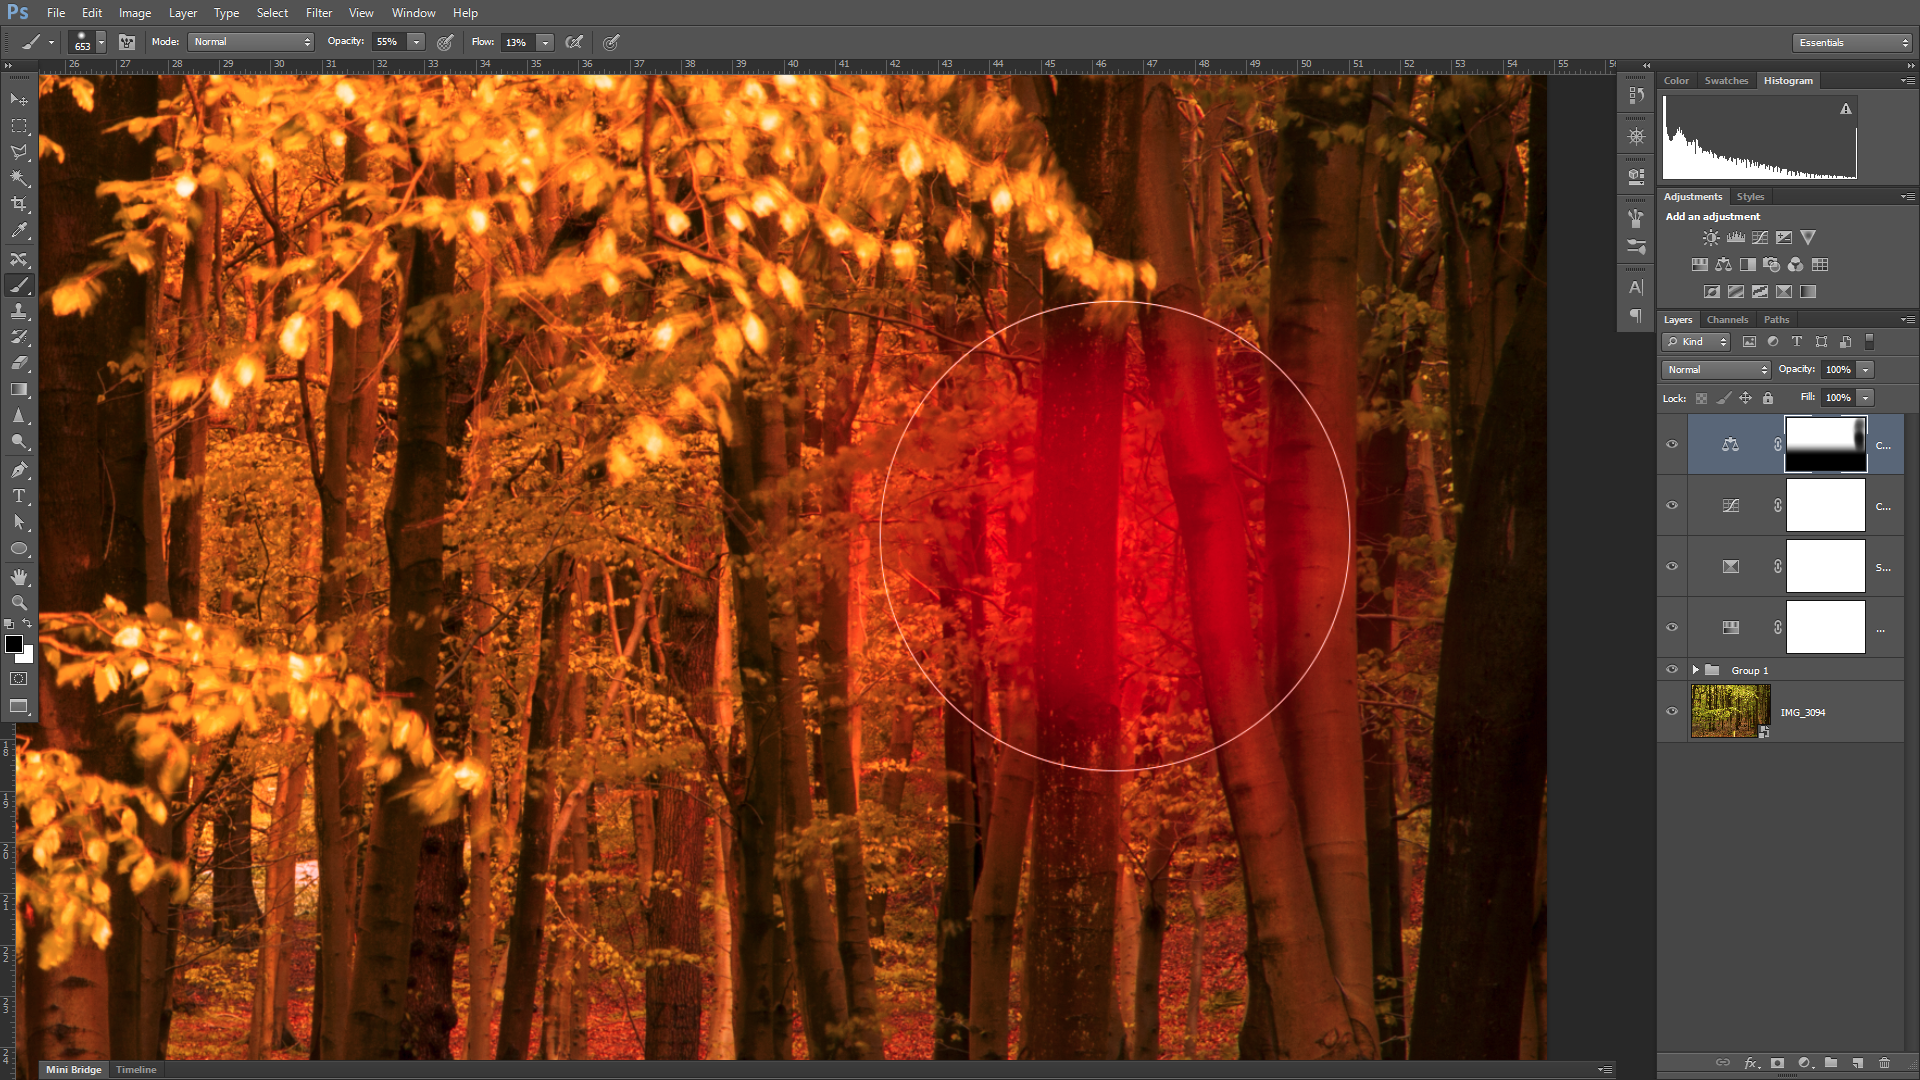
It’s easy to create an unrealistic wash of warm color just by making global changes. Adjustment layers are good as they can be removed selectively using masks. To increase color contrast the warming effects were reduced over the trunks and ground-level green moss.
Step 6: Dodge and burn
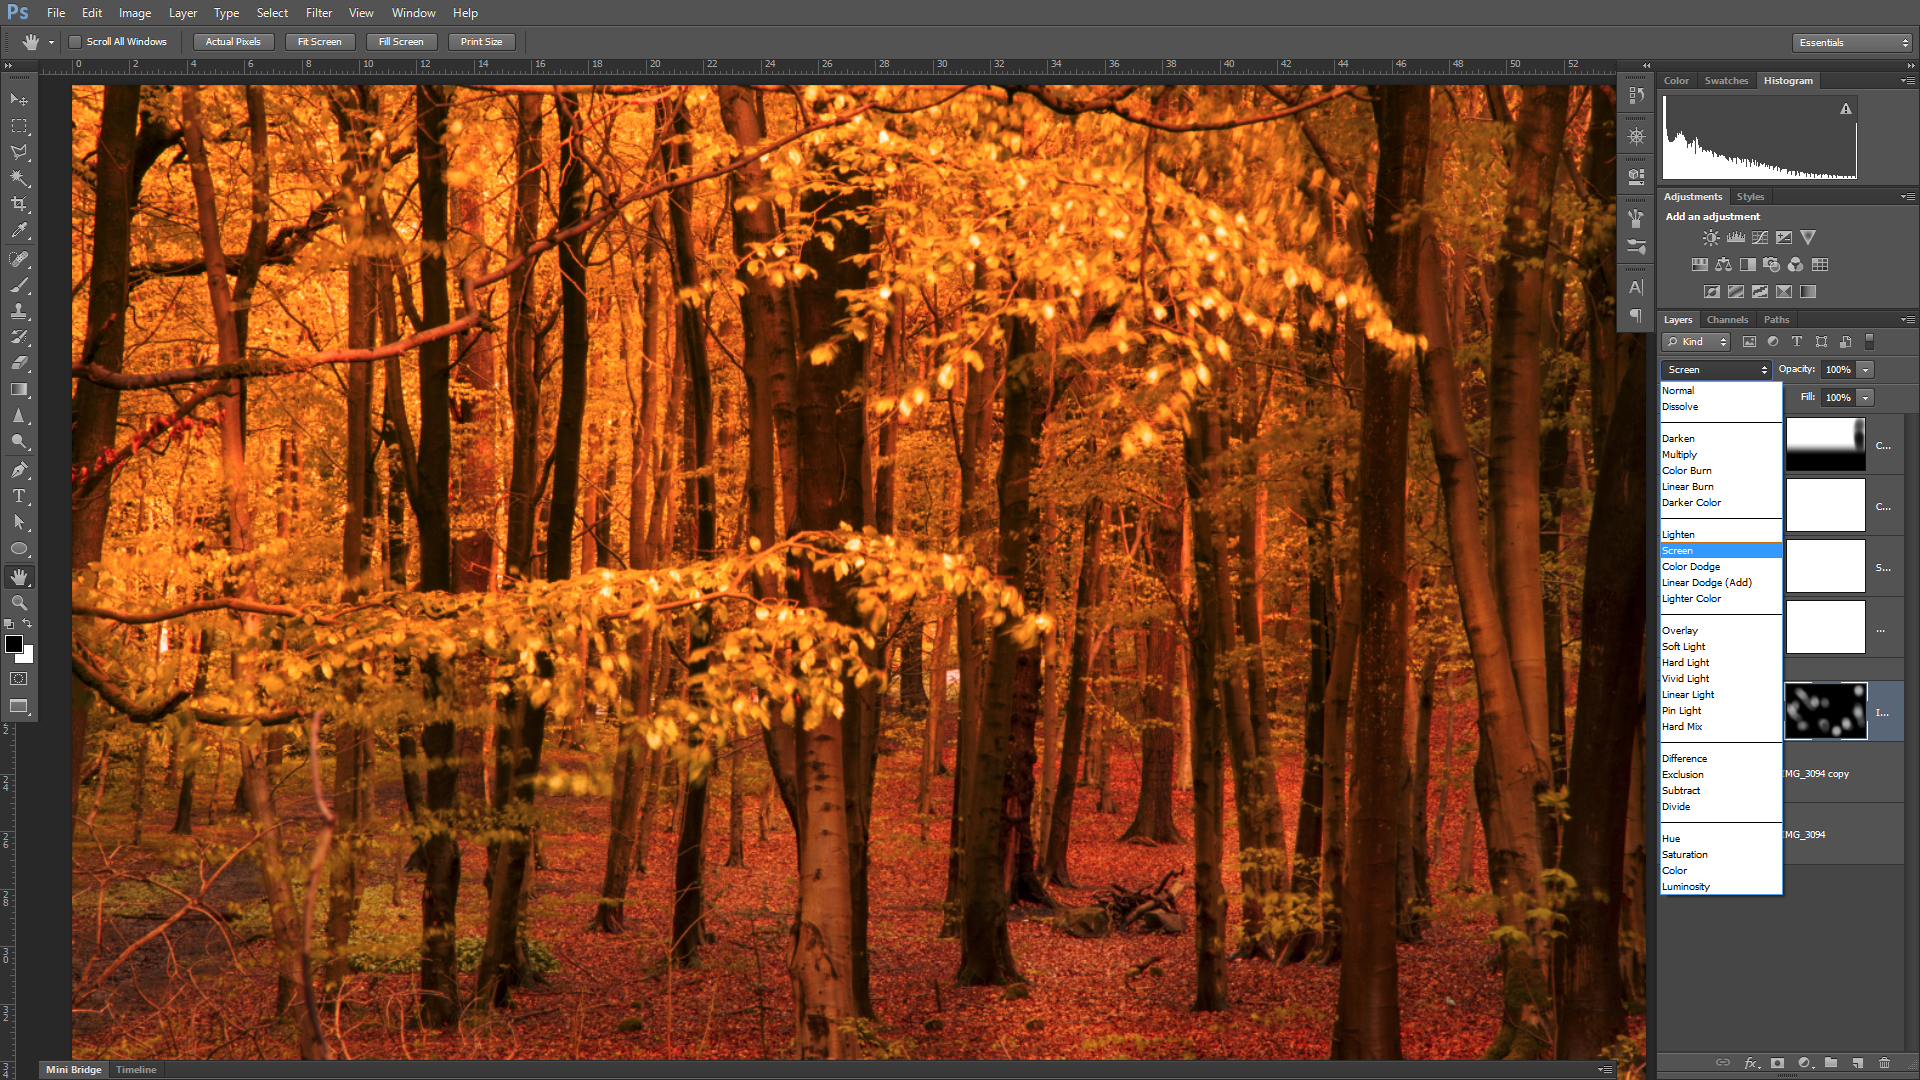
To introduce some depth create a Brightness/Contrast Adjustment Layer and change the Blend Mode to Screen. Invert the layer mask then paint in some areas of light with a white brush. Lower the opacity if necessary and build up the effect gradually.
The best camera deals, reviews, product advice, and unmissable photography news, direct to your inbox!
As the Editor for Digital Photographer magazine, Peter is a specialist in camera tutorials and creative projects to help you get the most out of your camera, lens, tripod, filters, gimbal, lighting and other imaging equipment.
After cutting his teeth working in retail for camera specialists like Jessops, he has spent 11 years as a photography journalist and freelance writer – and he is a Getty Images-registered photographer, to boot.
No matter what you want to shoot, Peter can help you sharpen your skills and elevate your ability, whether it’s taking portraits, capturing landscapes, shooting architecture, creating macro and still life, photographing action… he can help you learn and improve.
