The best camera deals, reviews, product advice, and unmissable photography news, direct to your inbox!
You are now subscribed
Your newsletter sign-up was successful
Watch video: Flower power
When it comes to a shallow depth of field, we often think about bokeh circles and blurred backgrounds. However, using a shallow depth of field to transform elements in the foreground of your portraits into a pleasing blur can be just as effective.
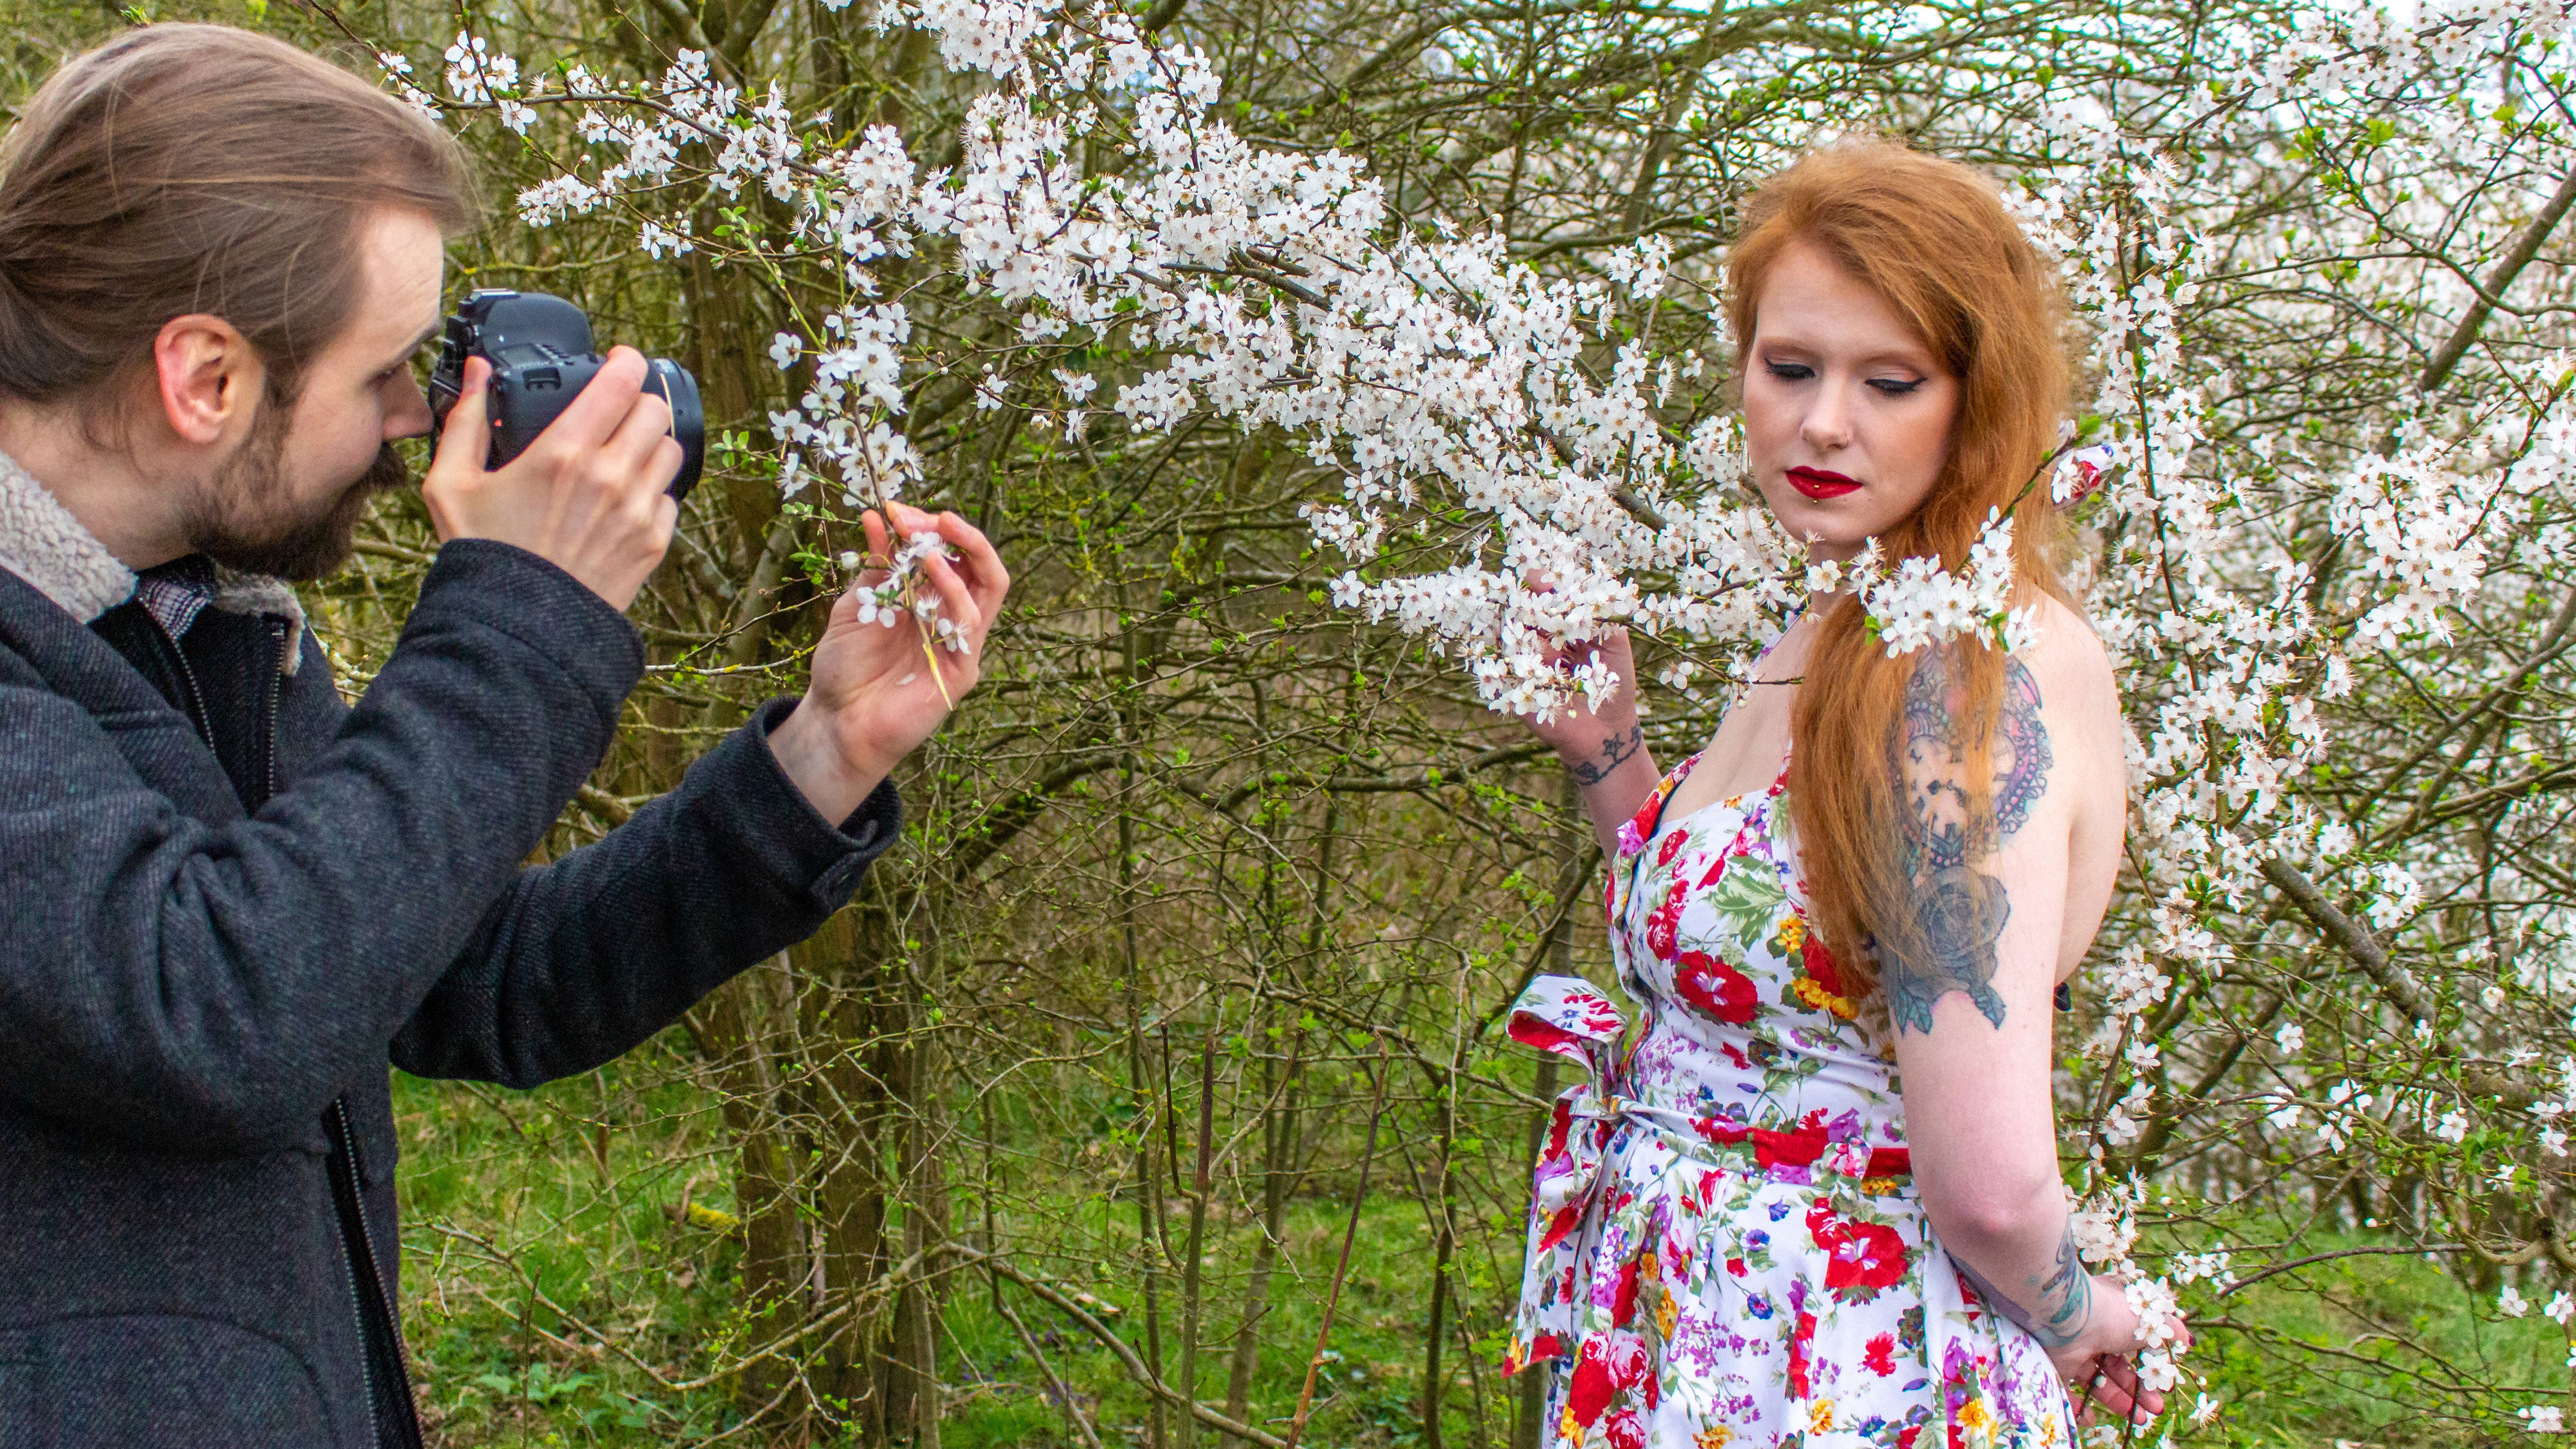
Shallow depth of field is achieved using a combination of wide aperture and a close focusing distance – the closer something is to the lens, the easier it will be to transform into a diffused blur. We’ll use this second point to our advantage here, holding some spring flowers close to the camera lens, forcing them out of focus and creating a fantastic wash of color.
Article continues belowIt would be worth using a standard 50mm lens with a wide aperture, like f/1.8 or f/1.4, to exaggerate the shallow depth of field effect further. Nifty fifty lenses like the Canon EF 50mm f/1.8 STM can be picked up for just over a hundred bucks, so it won’t break the bank.
With spring in the air, why not arrange to meet with a model, or friend, and find some new budding flowers to help you practice this technique and add some dreamy seasonal portraits to your photo portfolio.
Having your model stand near to some flowers and or wearing some floral garments, like the flowery dress we used, really helped complement the technique, too.
01 Dial in the settings
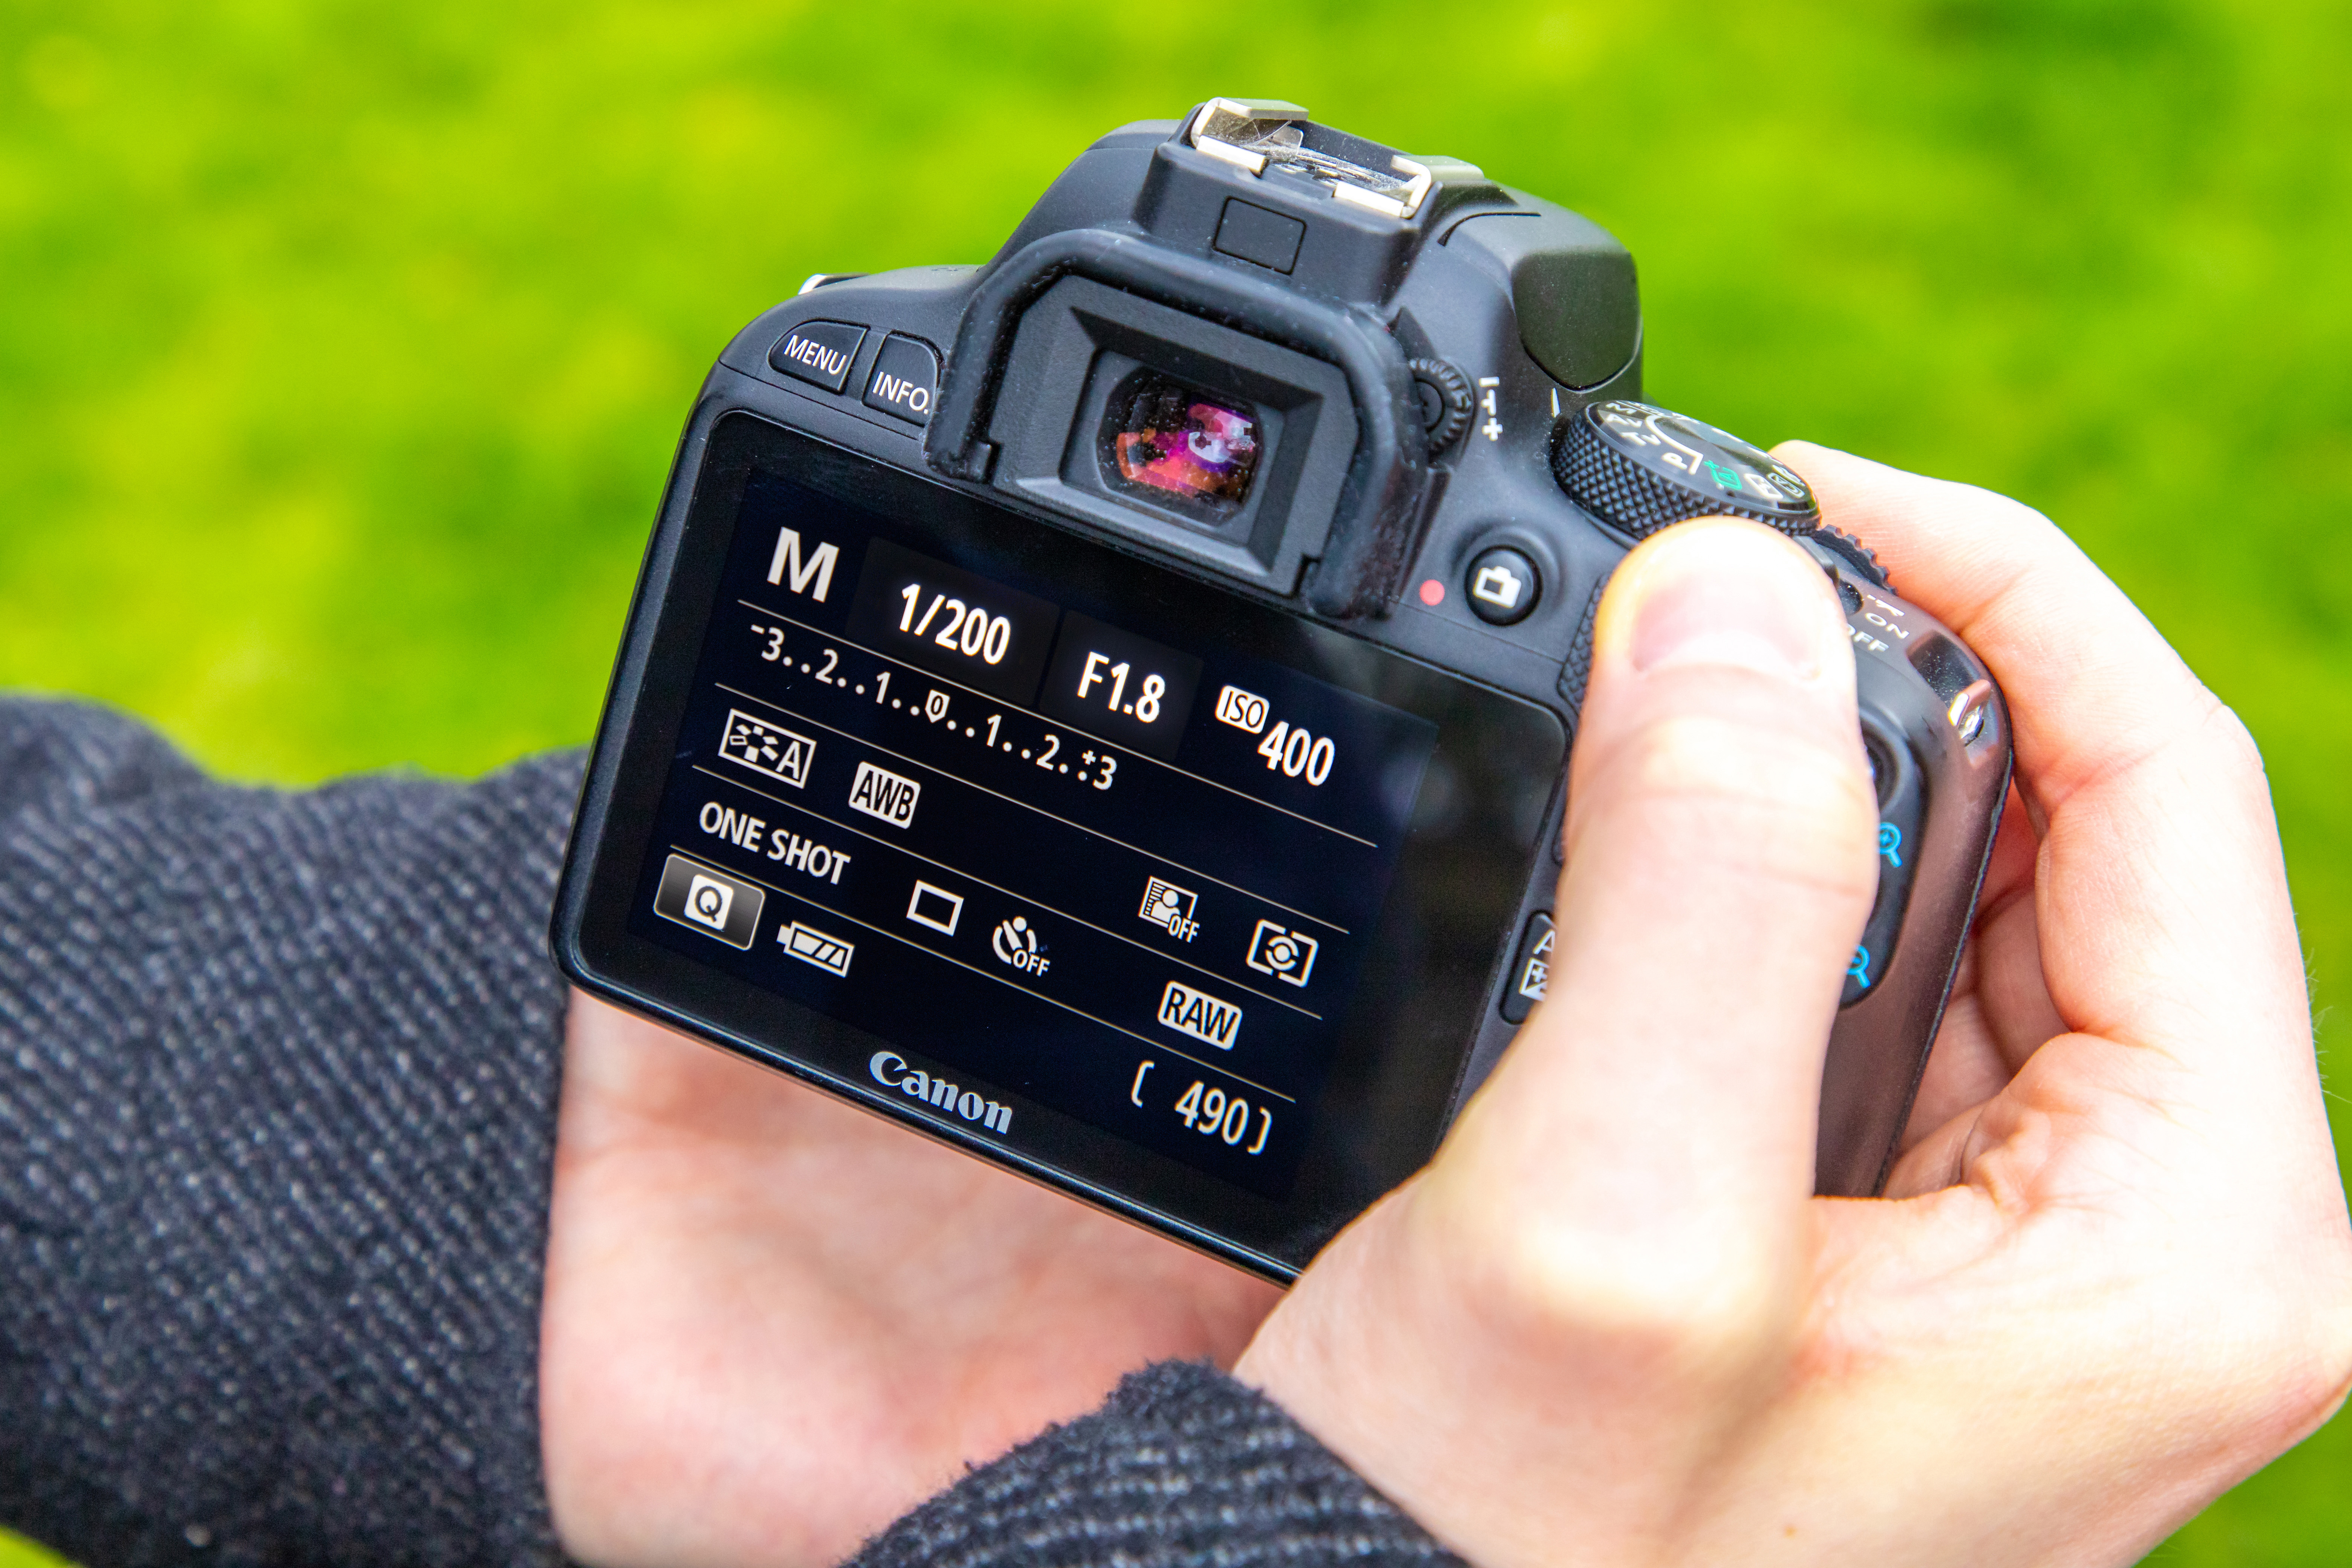
Set your camera’s aperture priority mode and dial in your widest available aperture, such as f/2.8 or f/1.8, and an ISO of 400 to begin with. If you see camera shake you may need to boost the ISO further.
The best camera deals, reviews, product advice, and unmissable photography news, direct to your inbox!
02 Pre-focus
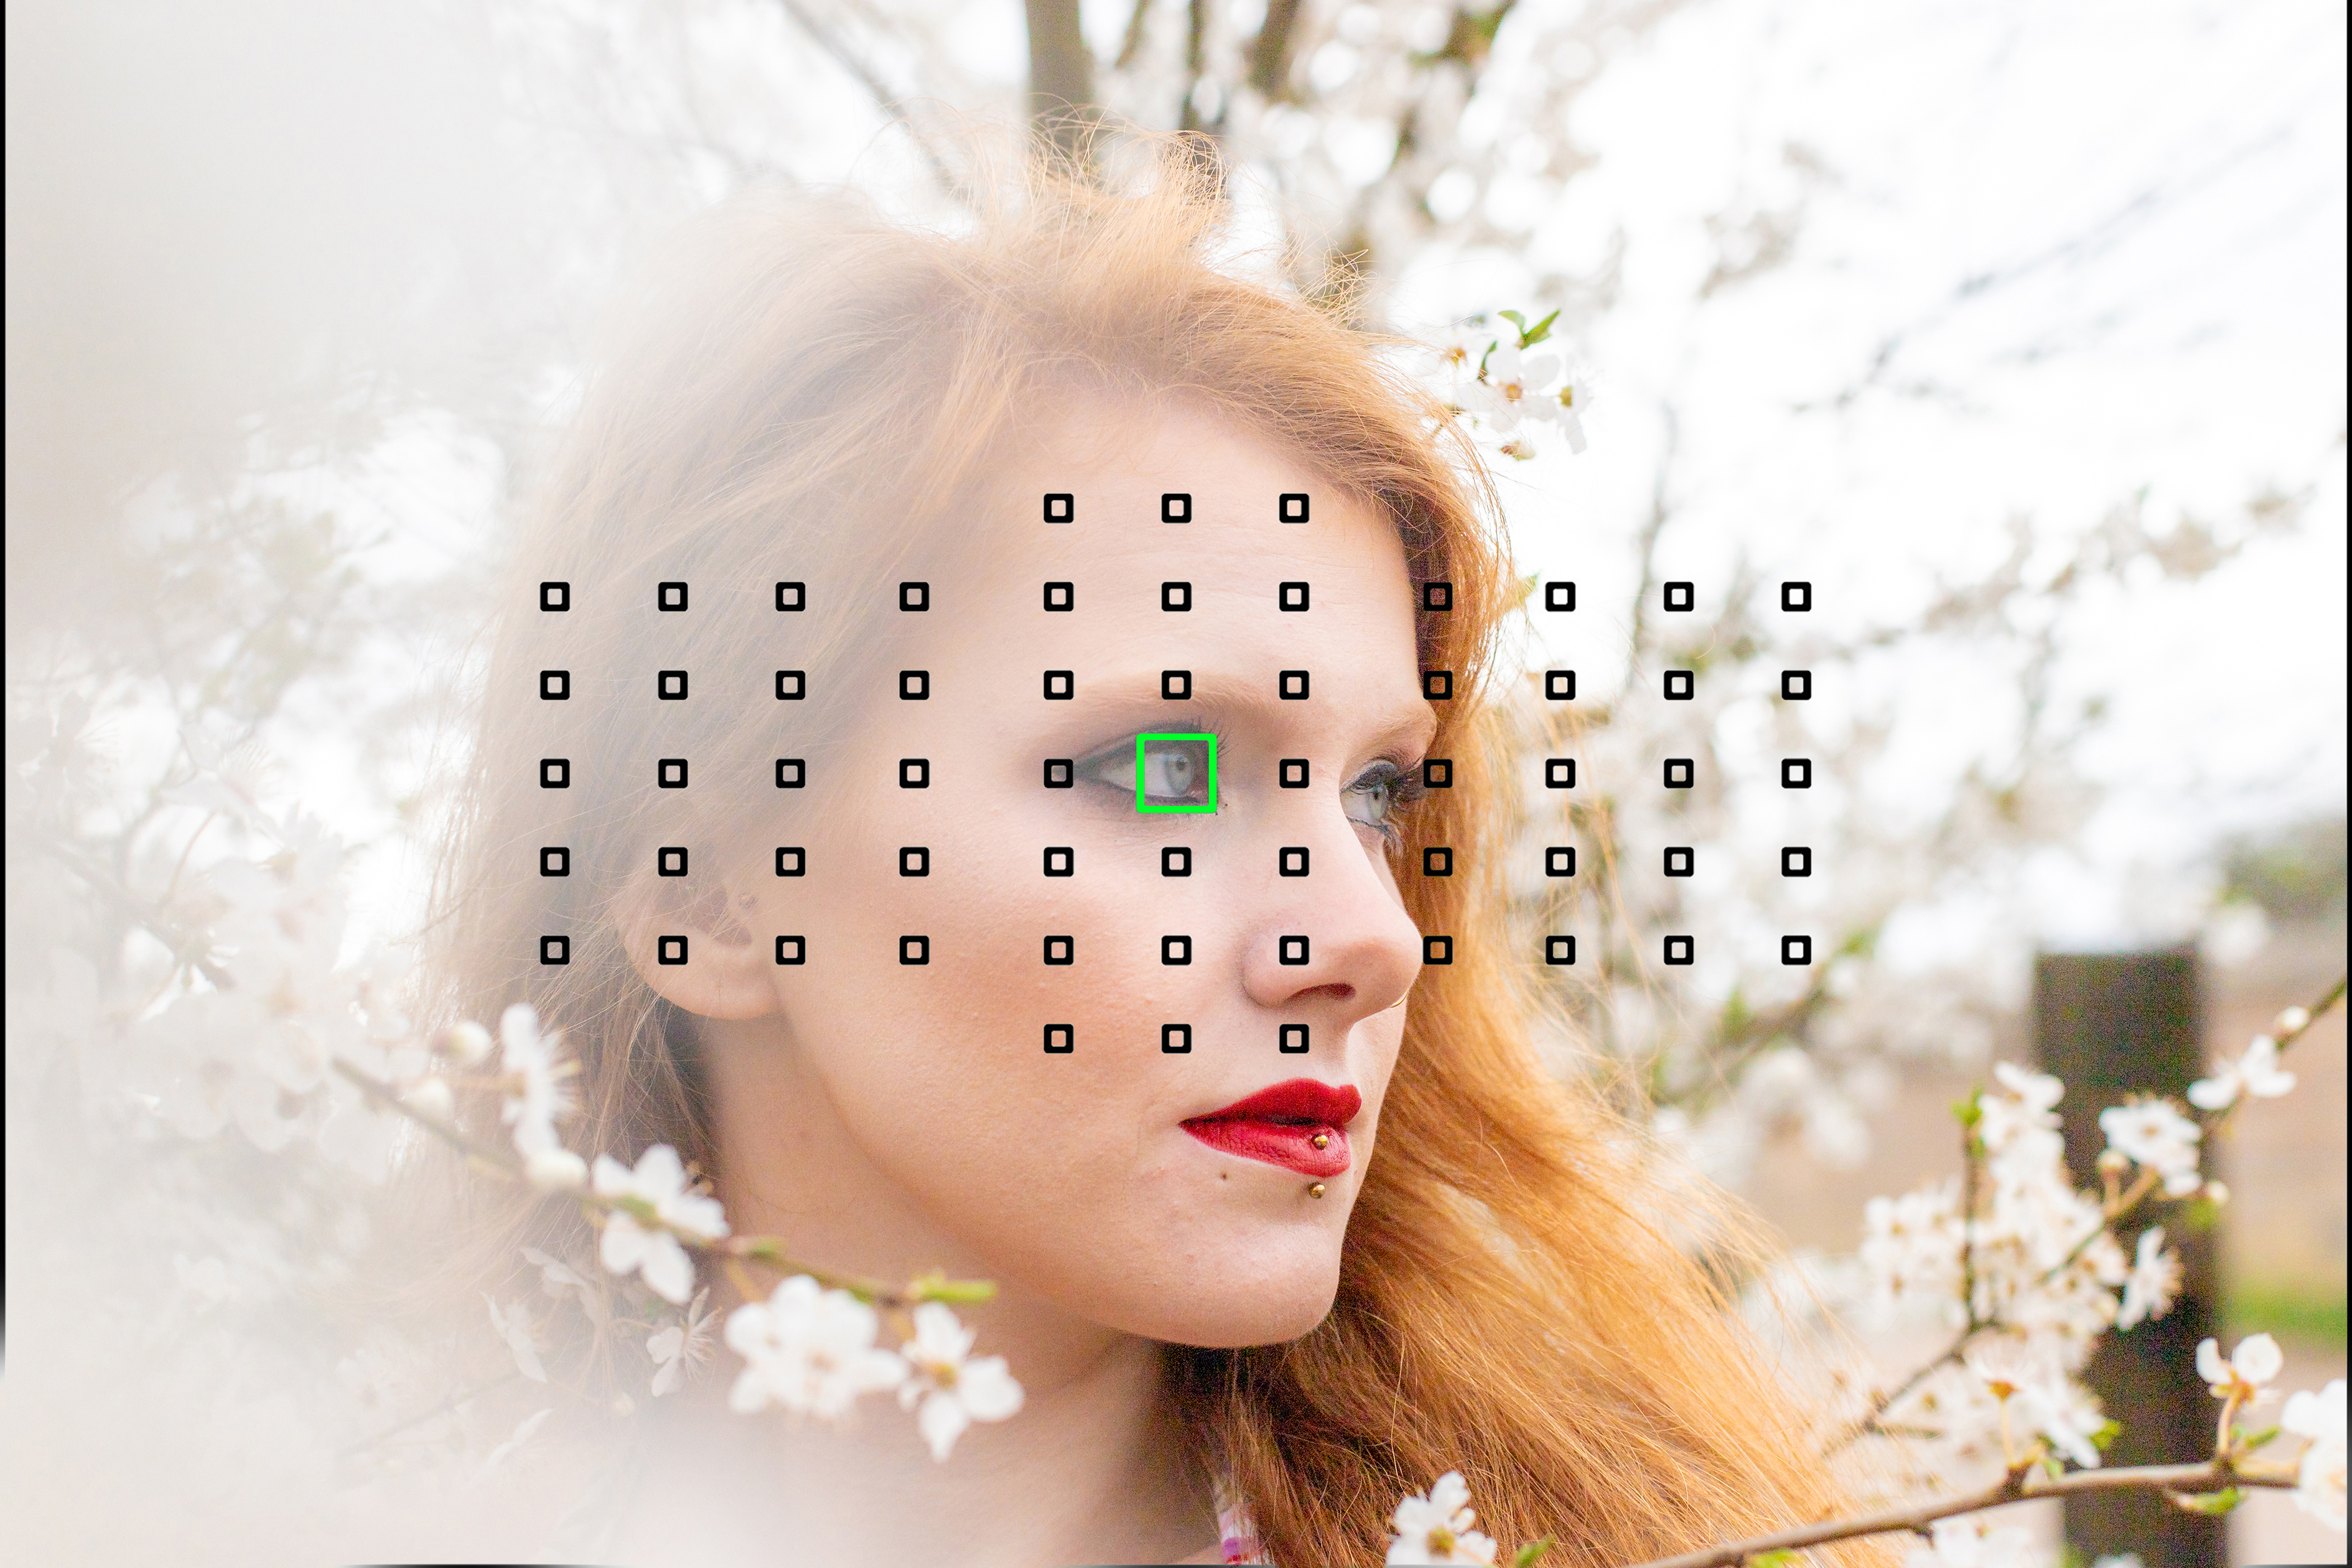
AF systems may get confused and try to focus on the flowers, so make sure that you focus on your model first before bringing them in front of the lens. Focus on your model’s nearest eye to ensure that it’s sharp.
03 Find some colorful blossom
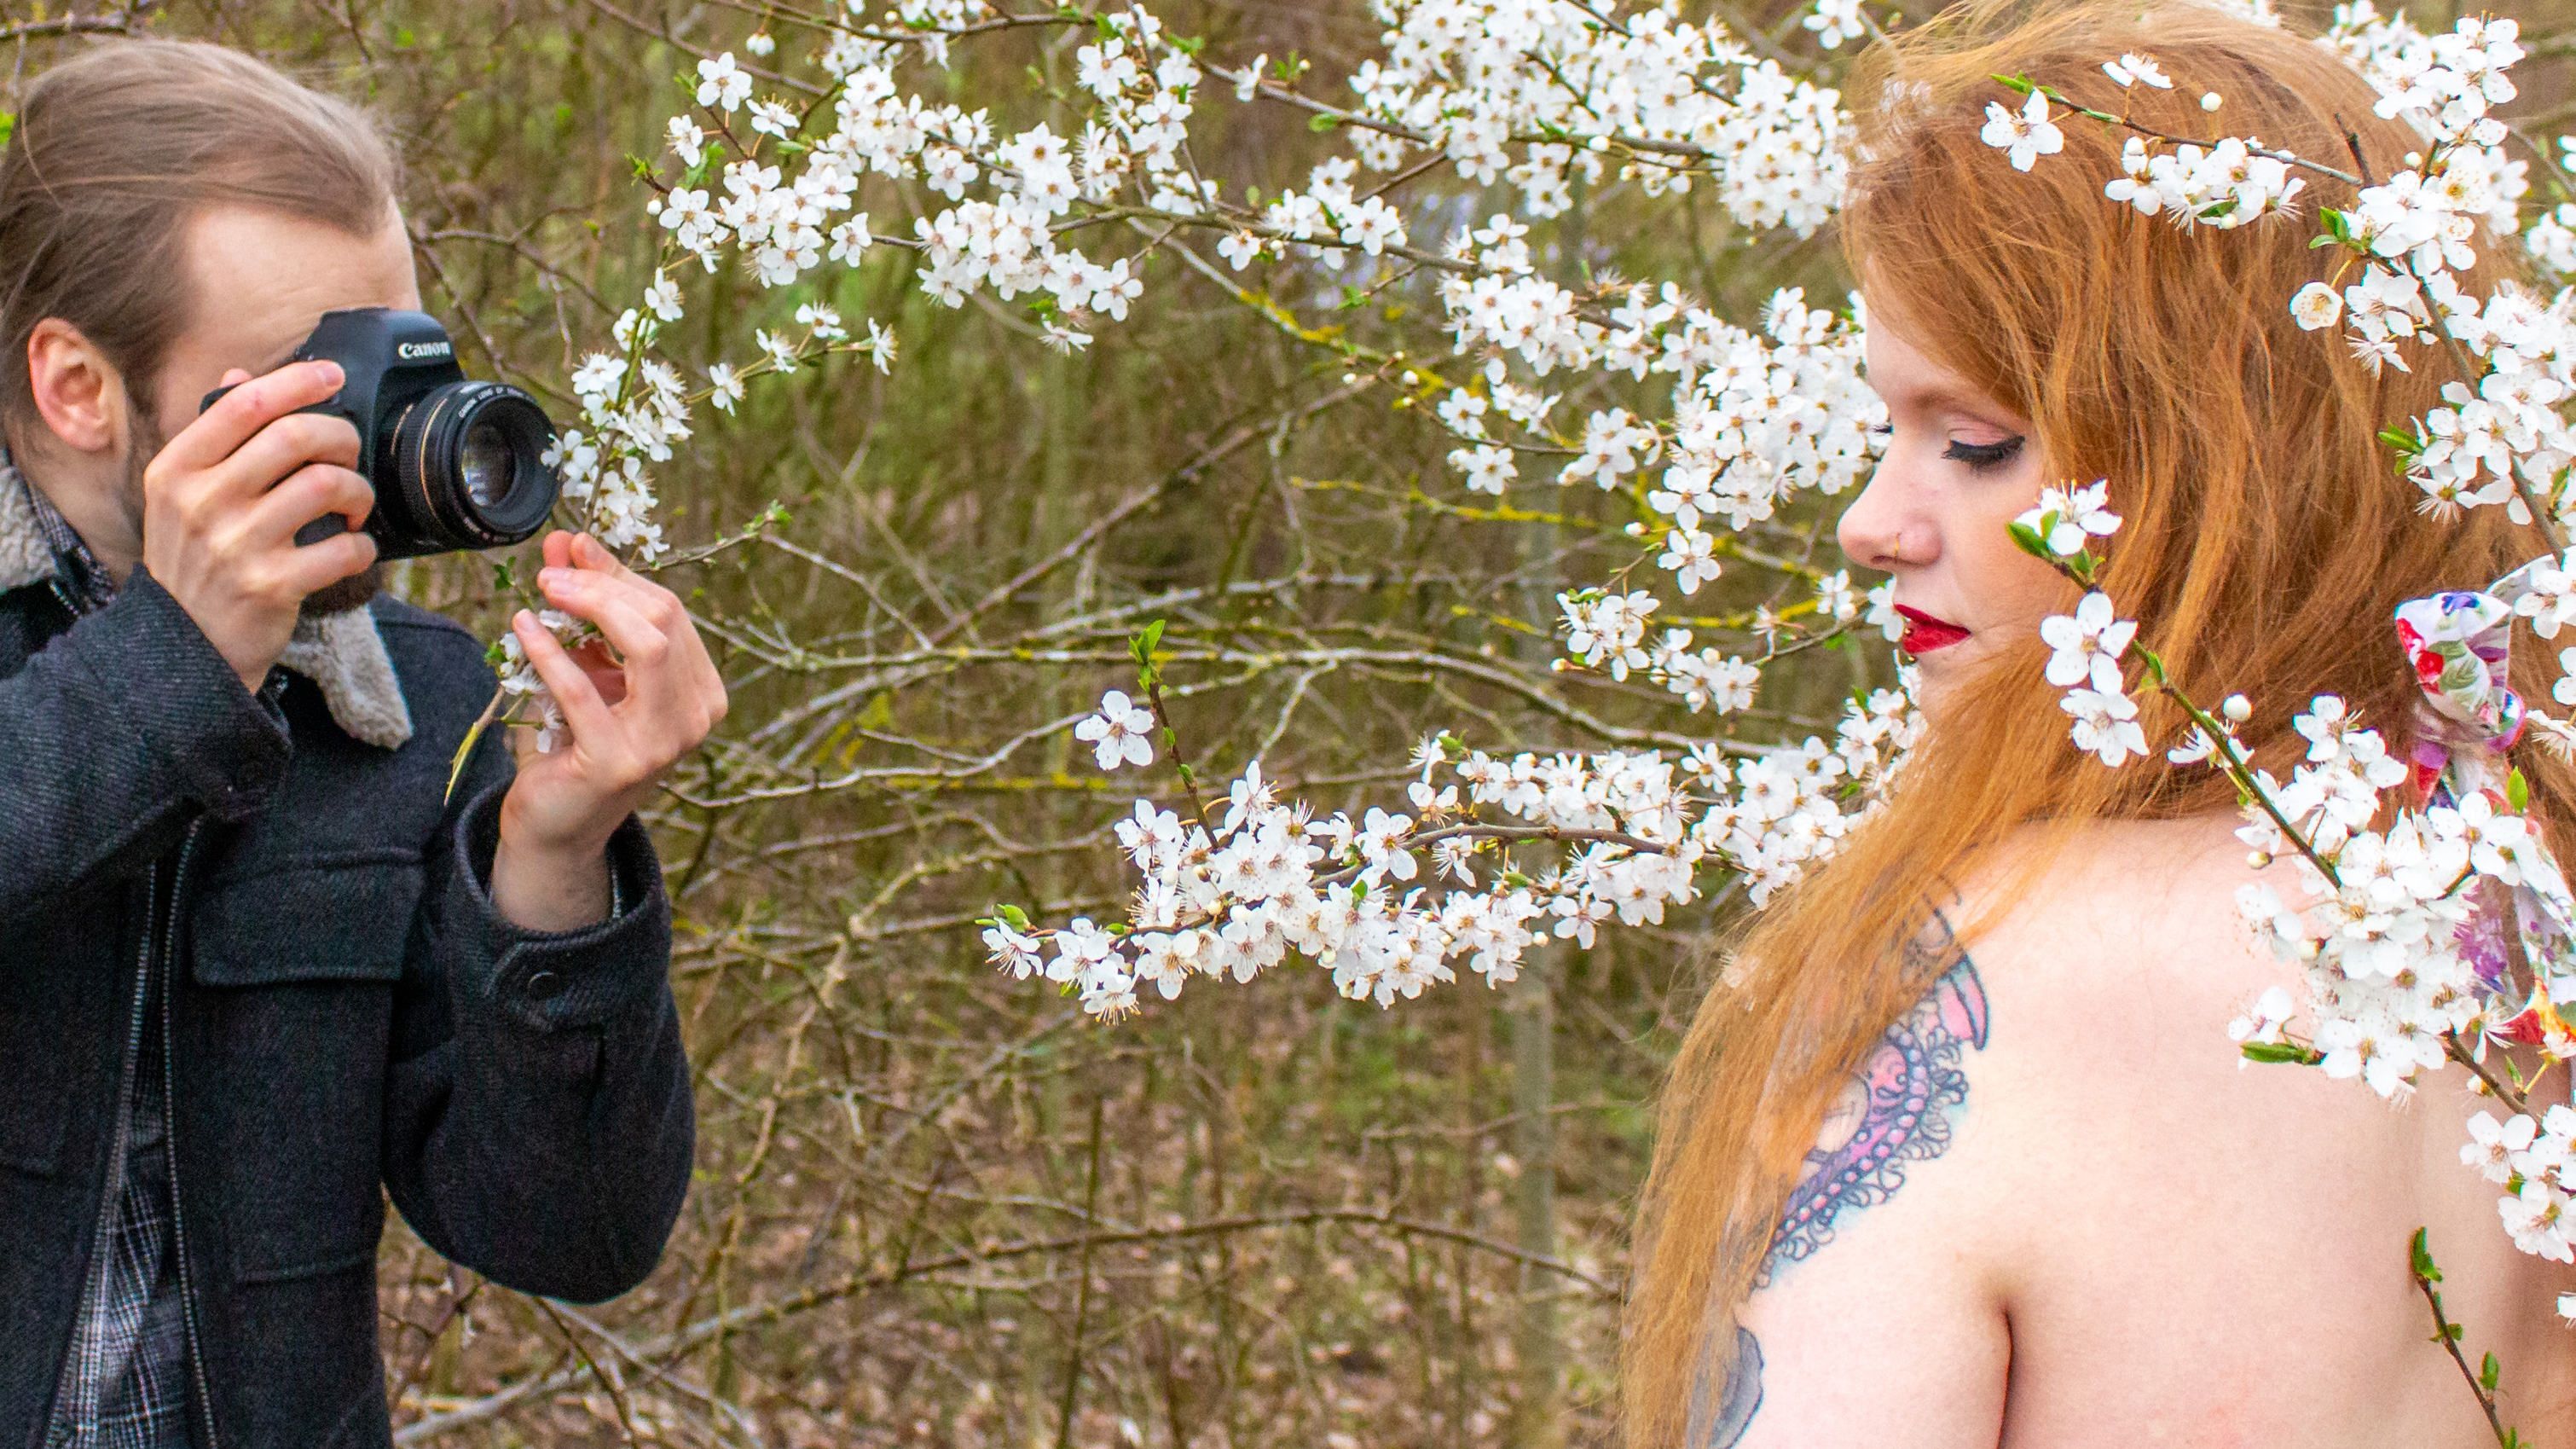
Find some green leaves or cherry blossom and hold it in front of your lens, so that it’s defocused but your model’s face is sharp. The wider your maximum aperture goes, the more it will be blurred.
04 Take the shot
Have your model pose and take a series of shots. It’s all experimental, and you won’t get two shots that look the same, so keep tweaking the pose, composition and position of the flowers to achieve different results.
05 Edit your shot
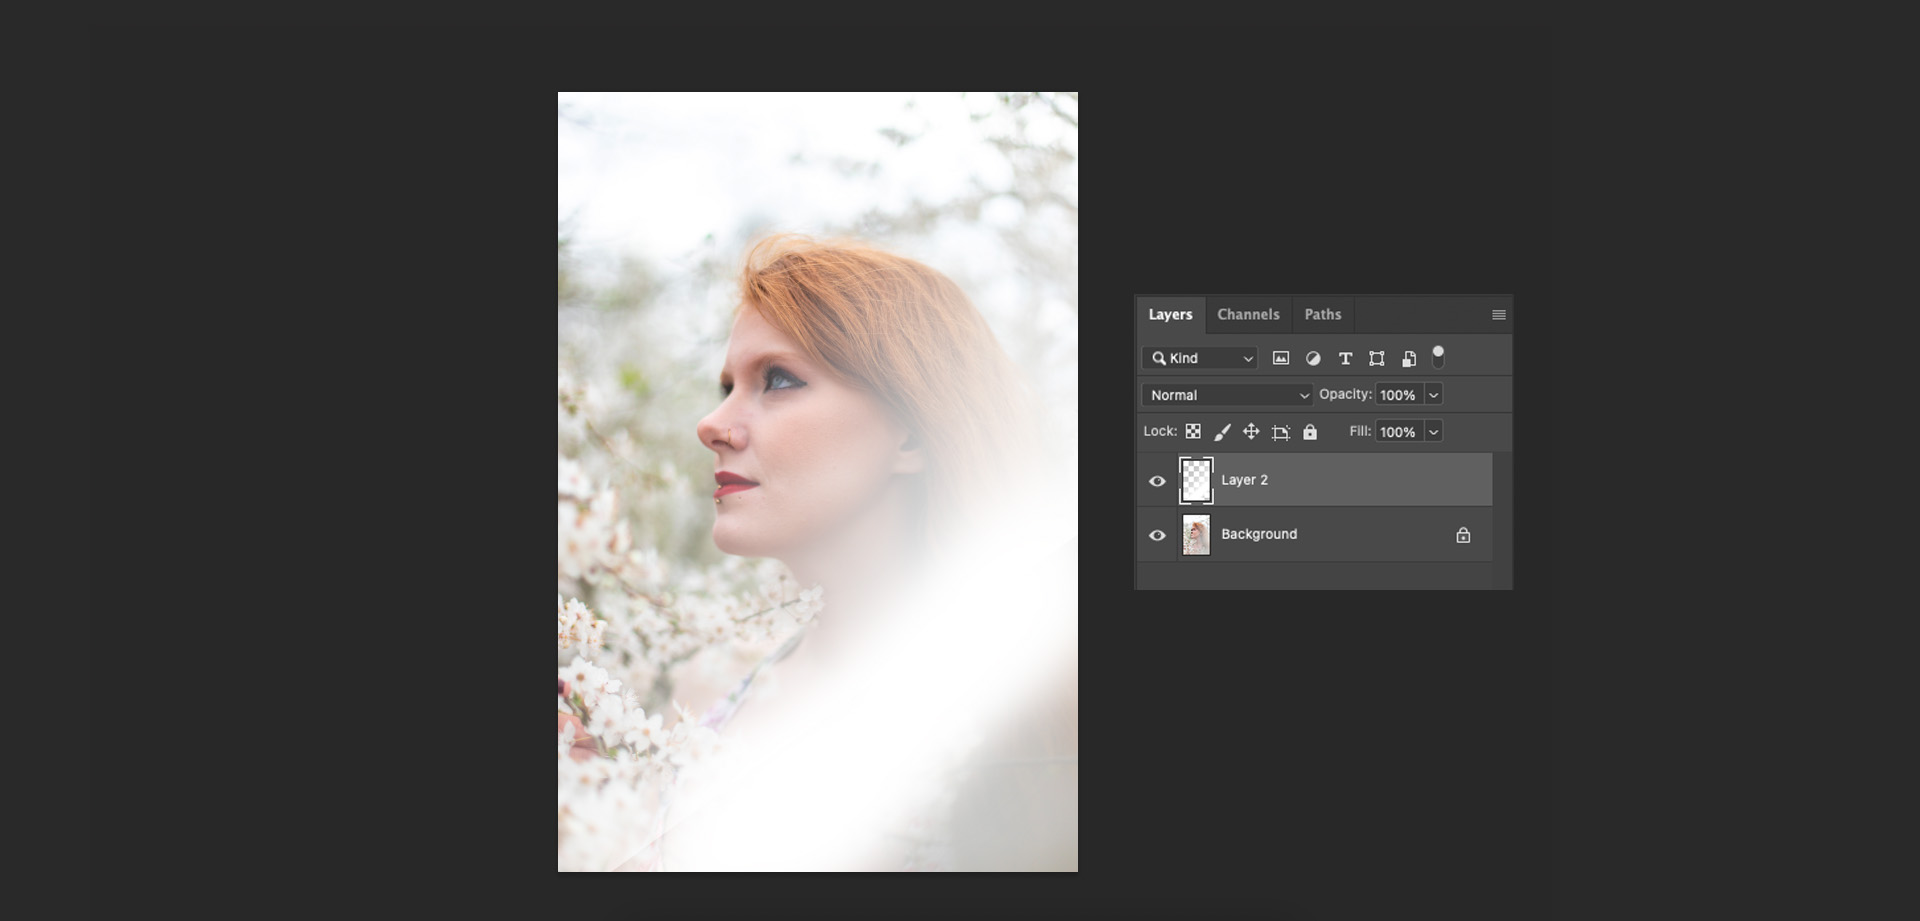
You can boost the blurry foreground look at the editing stage by painting in some additional out-of-focus areas with a soft brush in Photoshop, and / or selectively sharpening your model’s eye and facial features.
For our shot we used the out of focus blossom by adding a new blank layer and then, carefully, painting over the out of focus area with a soft white Brush tool, though you’ll need to tweak the color depending on that of your flowers. We used a low opacity brush to build up the effect and get it looking just right.
PhotoPlus: The Canon Magazine is the world's only monthly newsstand title that's 100% devoted to Canon, so you can be sure the magazine is completely relevant to your system.
Read more:
Landscape photography tips
Best cameras for landscape photography
Best lenses for landscape photography
Best wide-angle lenses
How to shoot landscapes with a telephoto lens

In addition to being a freelance photographer and filmmaker, Dan is a bona fide expert on all things Canon and Adobe. Not only is he an Adobe-certified Photoshop guru, he's spent over 10 years writing for specialist magazines including stints as the Deputy Editor for PhotoPlus: The Canon Magazine, Technical Editor for Practical Photography and Photoshop Editor on Digital Photo.
