Toys alive! Top techniques for photographing action figures
A medical condition meant that Dallian Macadam was at a greater risk from the Covid-19 virus so needed to fully isolate…which also meant no more photography. Or did it? Stuck inside, a new passion was born
The best camera deals, reviews, product advice, and unmissable photography news, direct to your inbox!
You are now subscribed
Your newsletter sign-up was successful
Growing up, I never had the chance to try photography. I had always been interested in it, but as my school didn’t have any subjects, there was no opportunity to try my hand at it.
It wasn’t until 2017, when my partner – now fiancée – convinced me to give photography a go and follow my dreams.
After consulting some friends who are photographers, I decided to buy my first entry-level DSLR, a Nikon D3400. Making that purchase changed my life forever. At the time, I was going through a rough patch with my cystic fibrosis and getting the camera allowed me to focus on something positive. It wasn’t long after getting it that I ended up living and breathing for it, pursuing it whenever and wherever I could.
Photography was my reason to get up in the morning, and it was my reason to push forward. Something about being able to tell stories through a photo resonated with my soul and I wanted nothing more than to create a grand odyssey for everyone to witness. I started with landscapes, then delved into astrophotography, street photography, and even travel photography. However, it wasn’t until 2019 that I decided to try my hand at toy photography, and I am so glad I did because it saved my passion for photography when I had fallen into a really dark place.
In essence, toy photography is the art of bringing ordinary toys to life. While the genre can seem odd at first glance, it has the potential to be a very rewarding and unforgettable experience when it comes to what you can create. The sky is truly the limit and, if you ask me, it is a genre every photographer should try at least once due to the creative freedom it gives them.
No choice but to adapt
Having been born with cystic fibrosis, I was no stranger to adapting where I needed to. I had been doing it my entire life. When Covid-19 hit, I had no real choice but to try and isolate as much as possible due to my being at incredibly high risk. I had to give up going out to take photos. For a little while I was depressed as I had lost one of my biggest outlets. I had this passion burning inside me, but there was no way to express that passion and there was no outlet for my creativity. Ultimately, I felt trapped, but I wouldn’t feel that way for long.
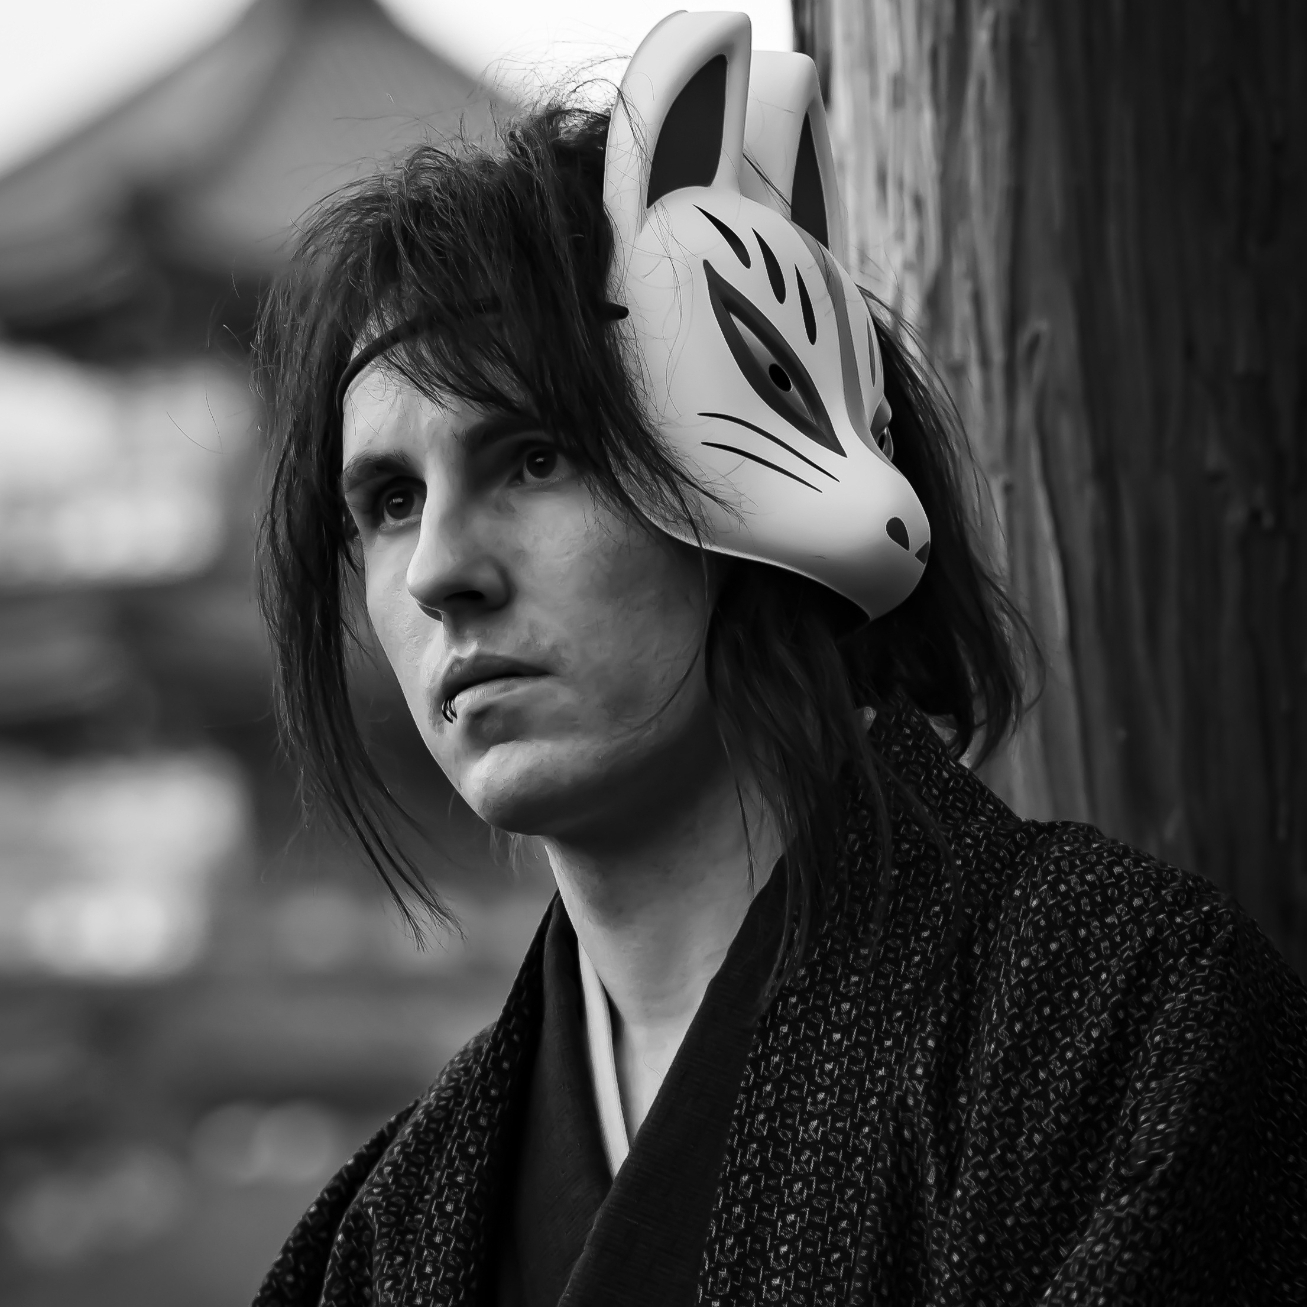
It wasn’t far into the pandemic that I discovered the genre of toy photography and was instantly hooked. As someone who grew up playing with action figures, I was amazed to see people bringing these toys to life through the art of photography. I wasted no time and went out and bought a few toys to practice with. At first the shots weren’t anything special, but I was taken away by how creative I could get. I set them up out the back in the long grass and tried to make the shots look as cinematic as possible.
The best camera deals, reviews, product advice, and unmissable photography news, direct to your inbox!
I surfed the web for ideas and that was when I found a game-changer – the use of practical effects. These effects varied from snow, rain and mist to fiery explosions and dust. I started practicing with cheap figures just in case I burned some when it came to the fire effects... and it was lucky I did because I ended up losing a few figures in the experimenting process. It took a few weeks of nonstop shooting to get the hang of it, but when I found my footing, I was over the moon.
Taking effects


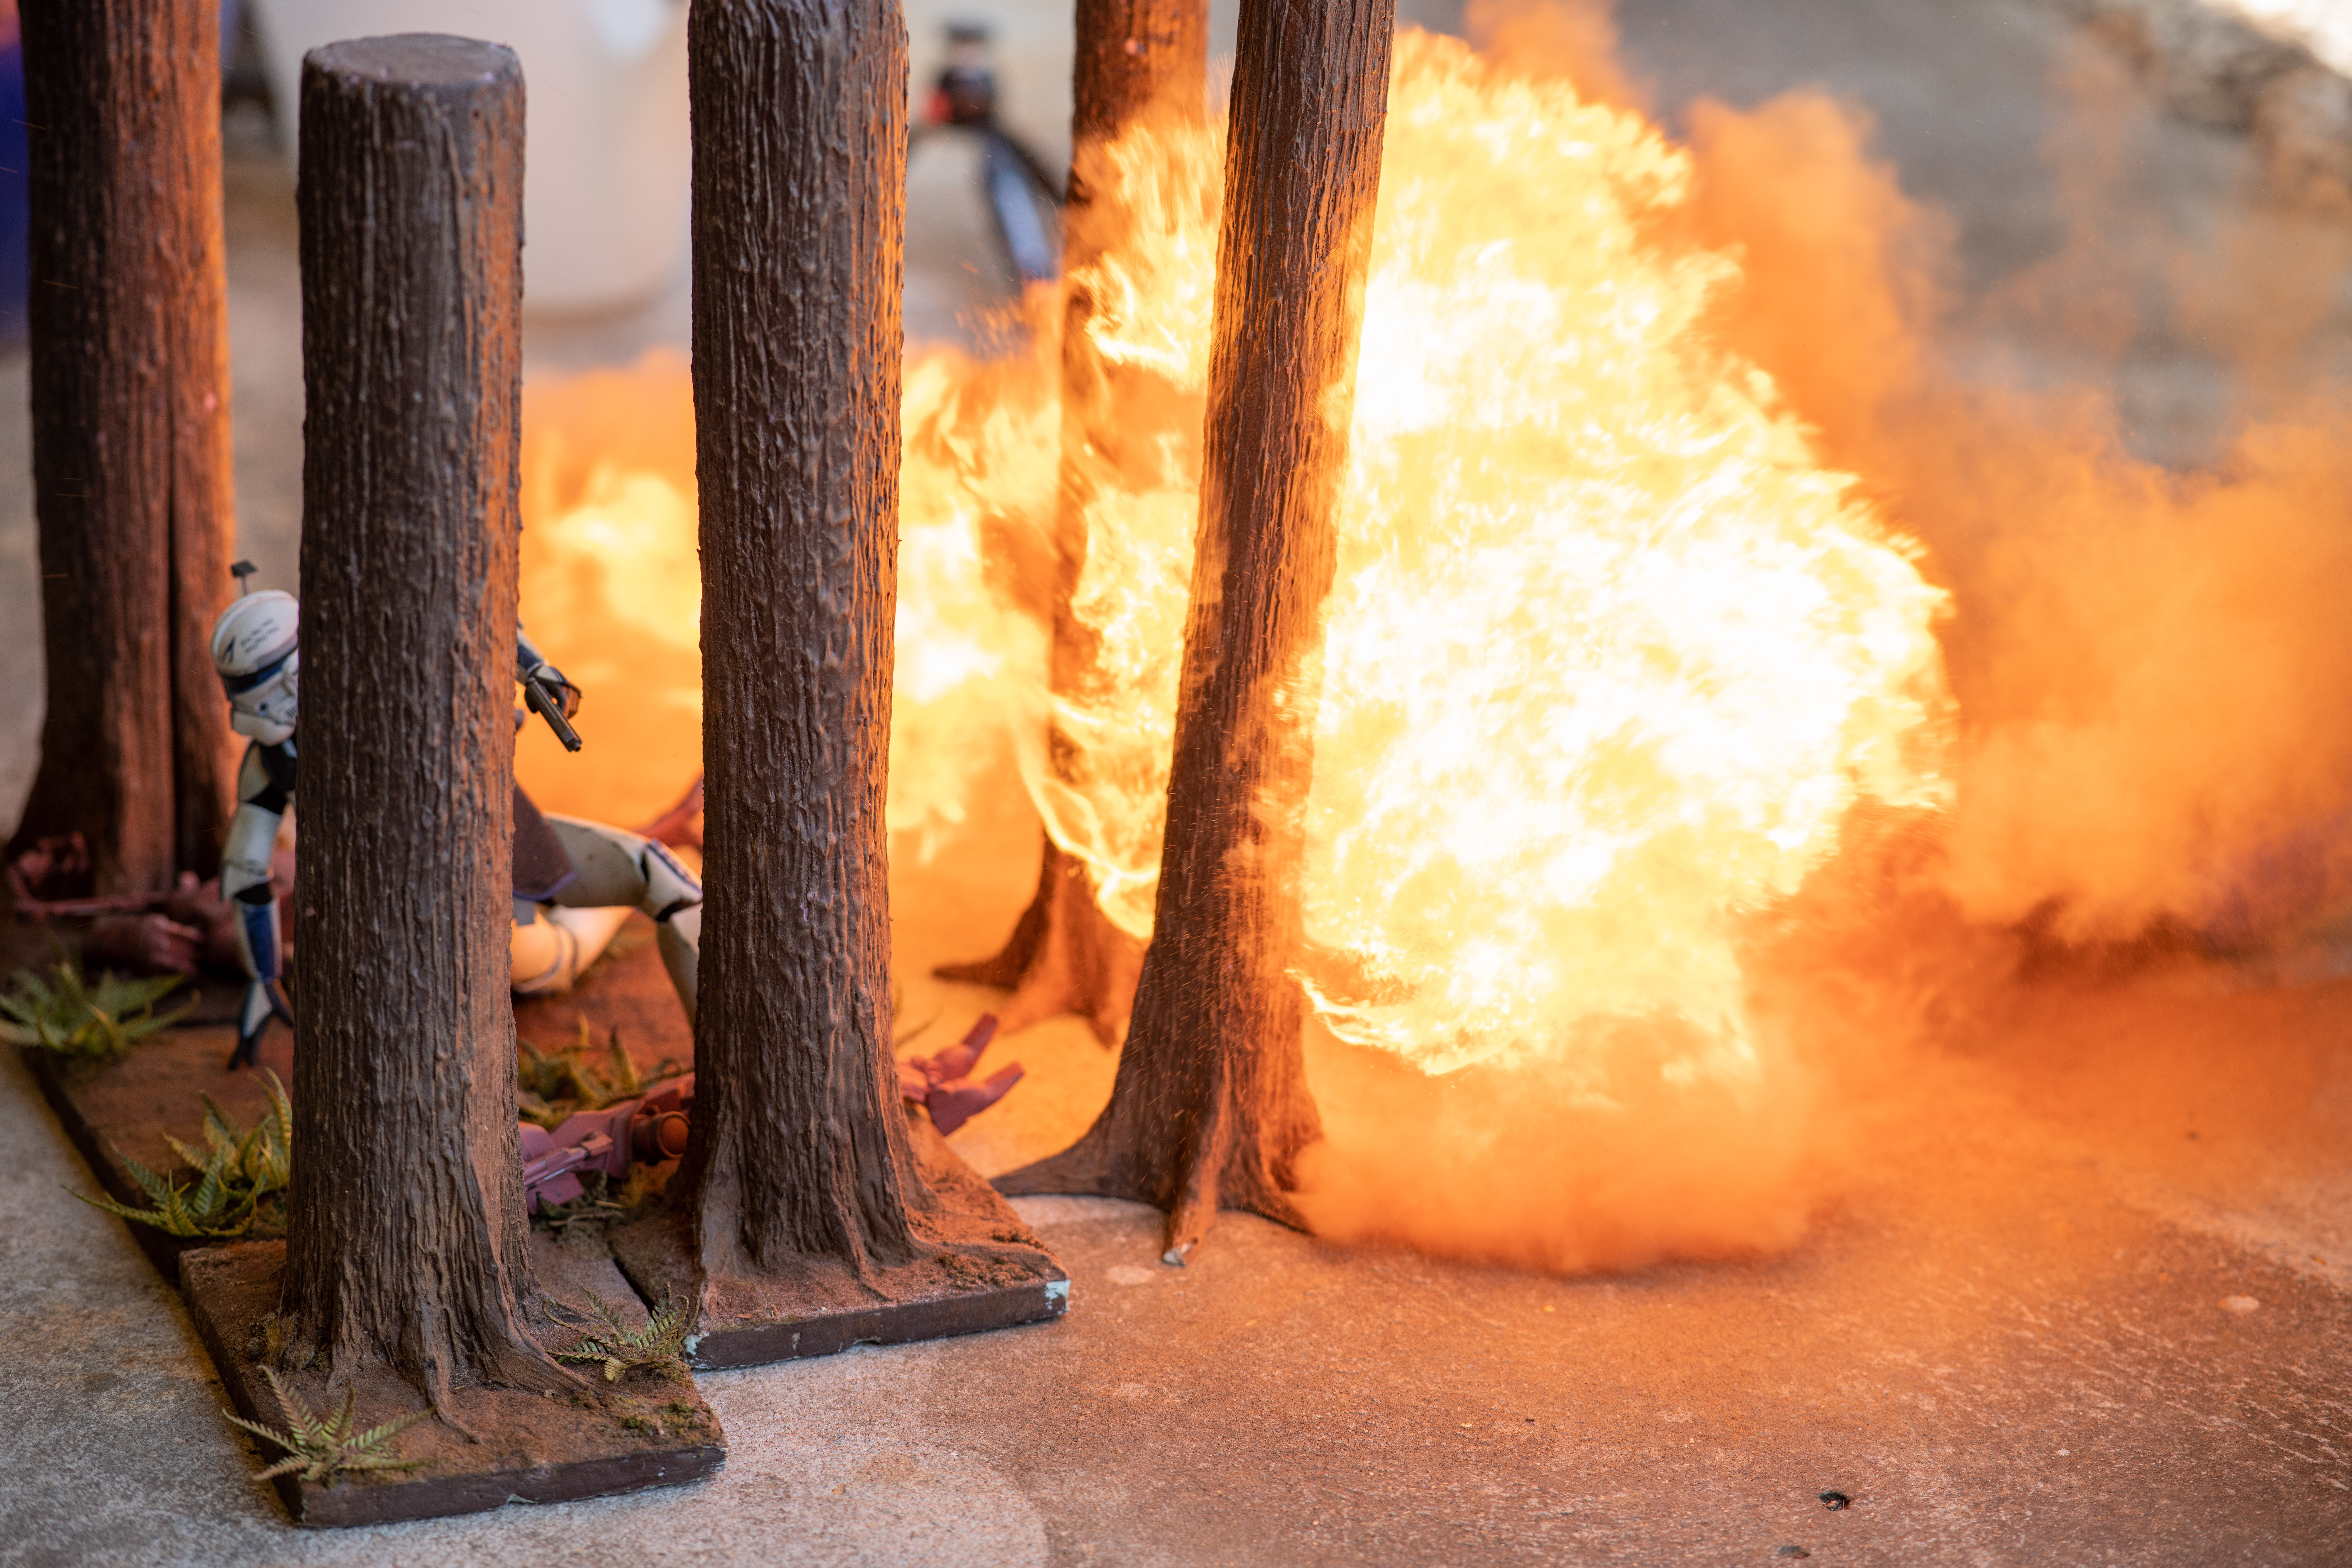
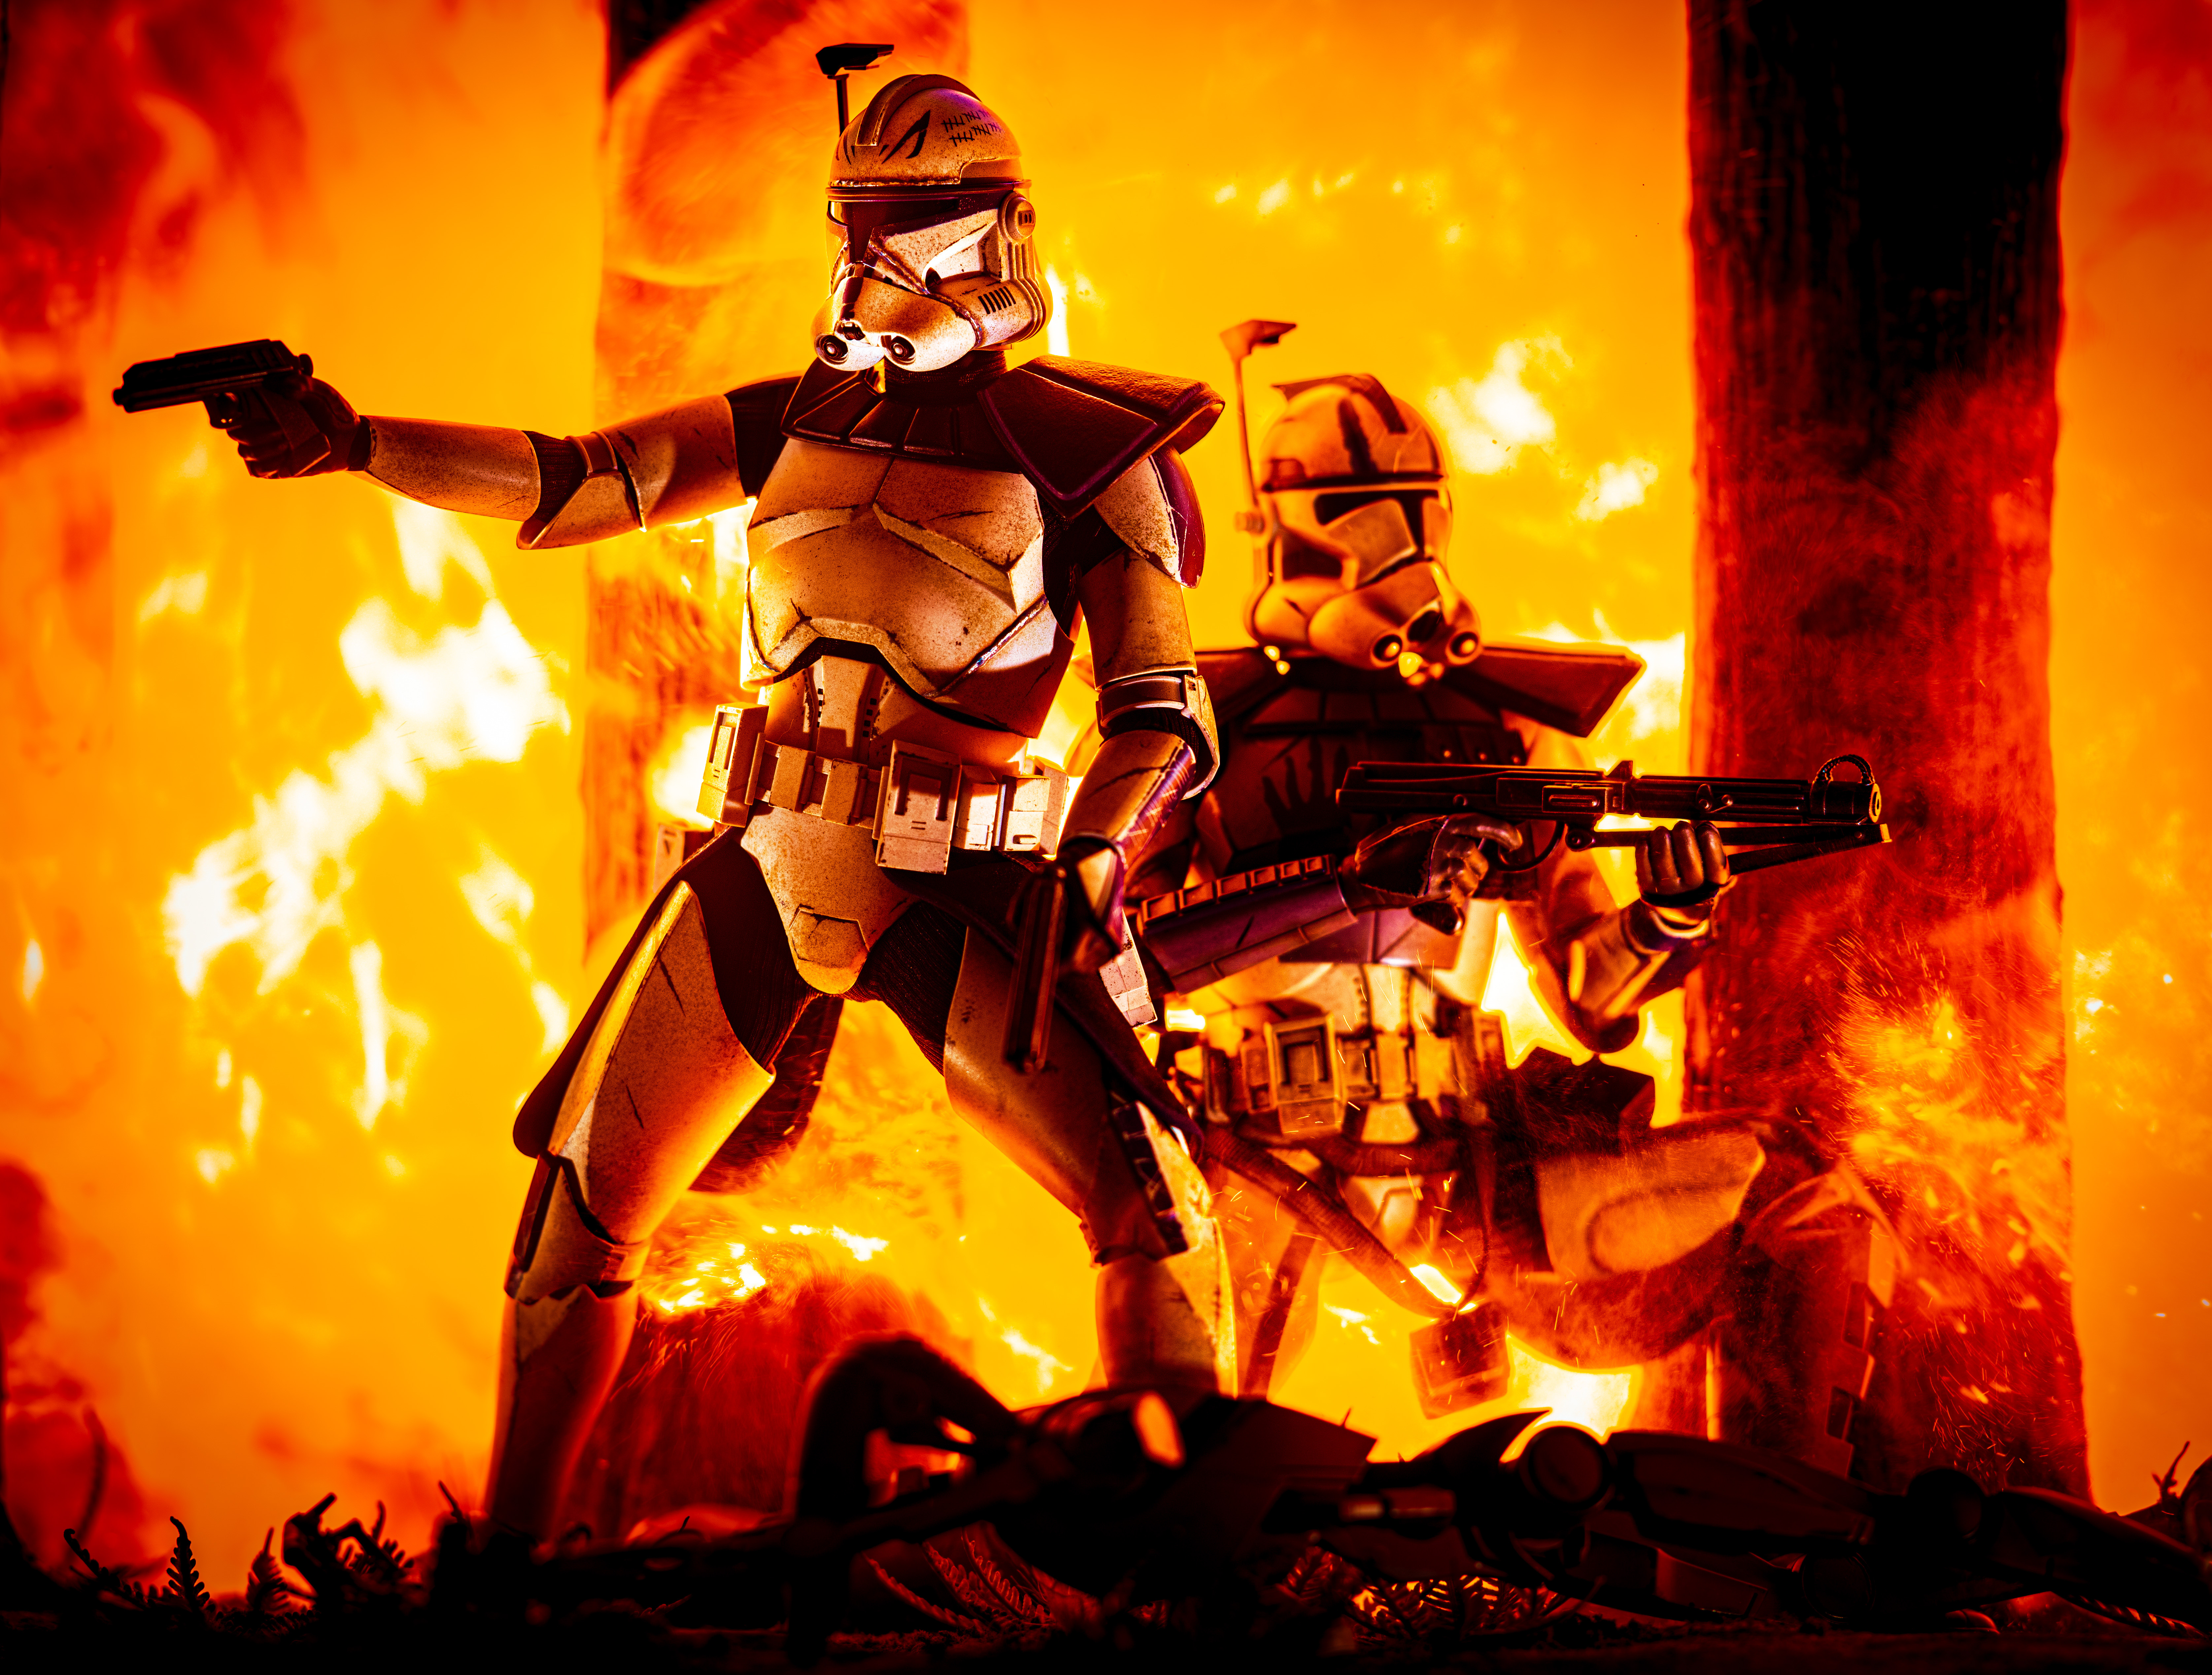
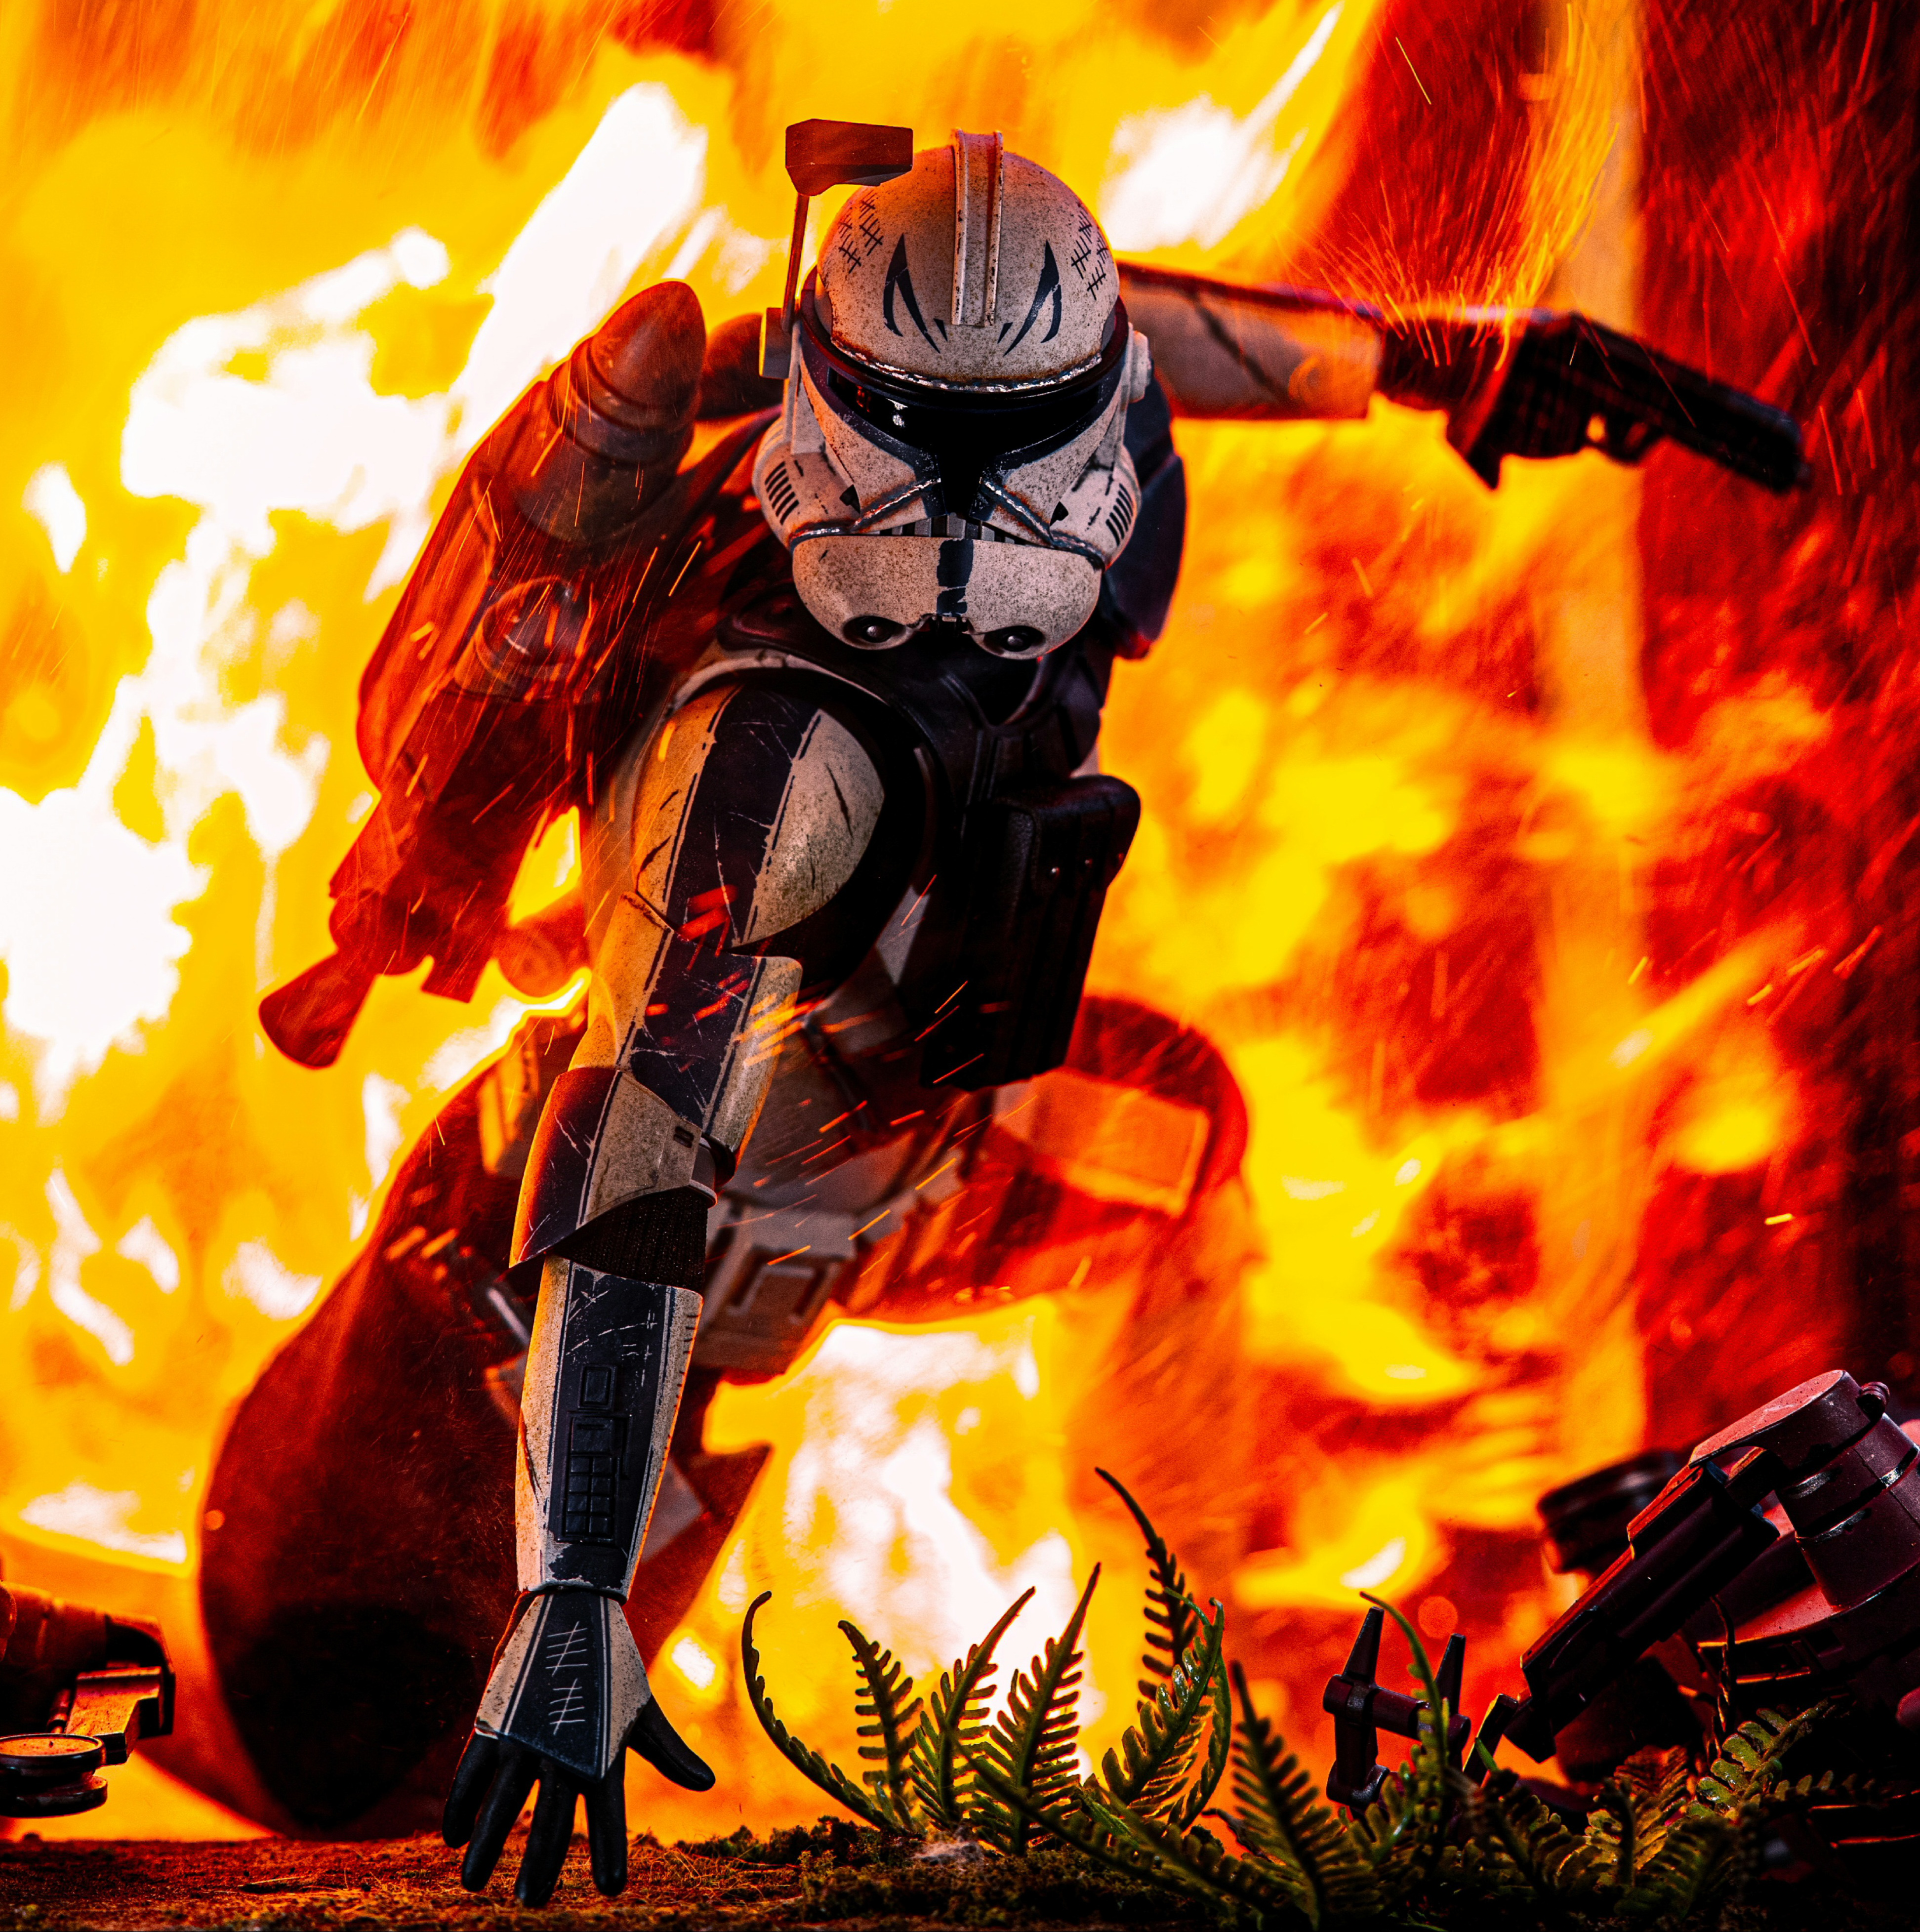
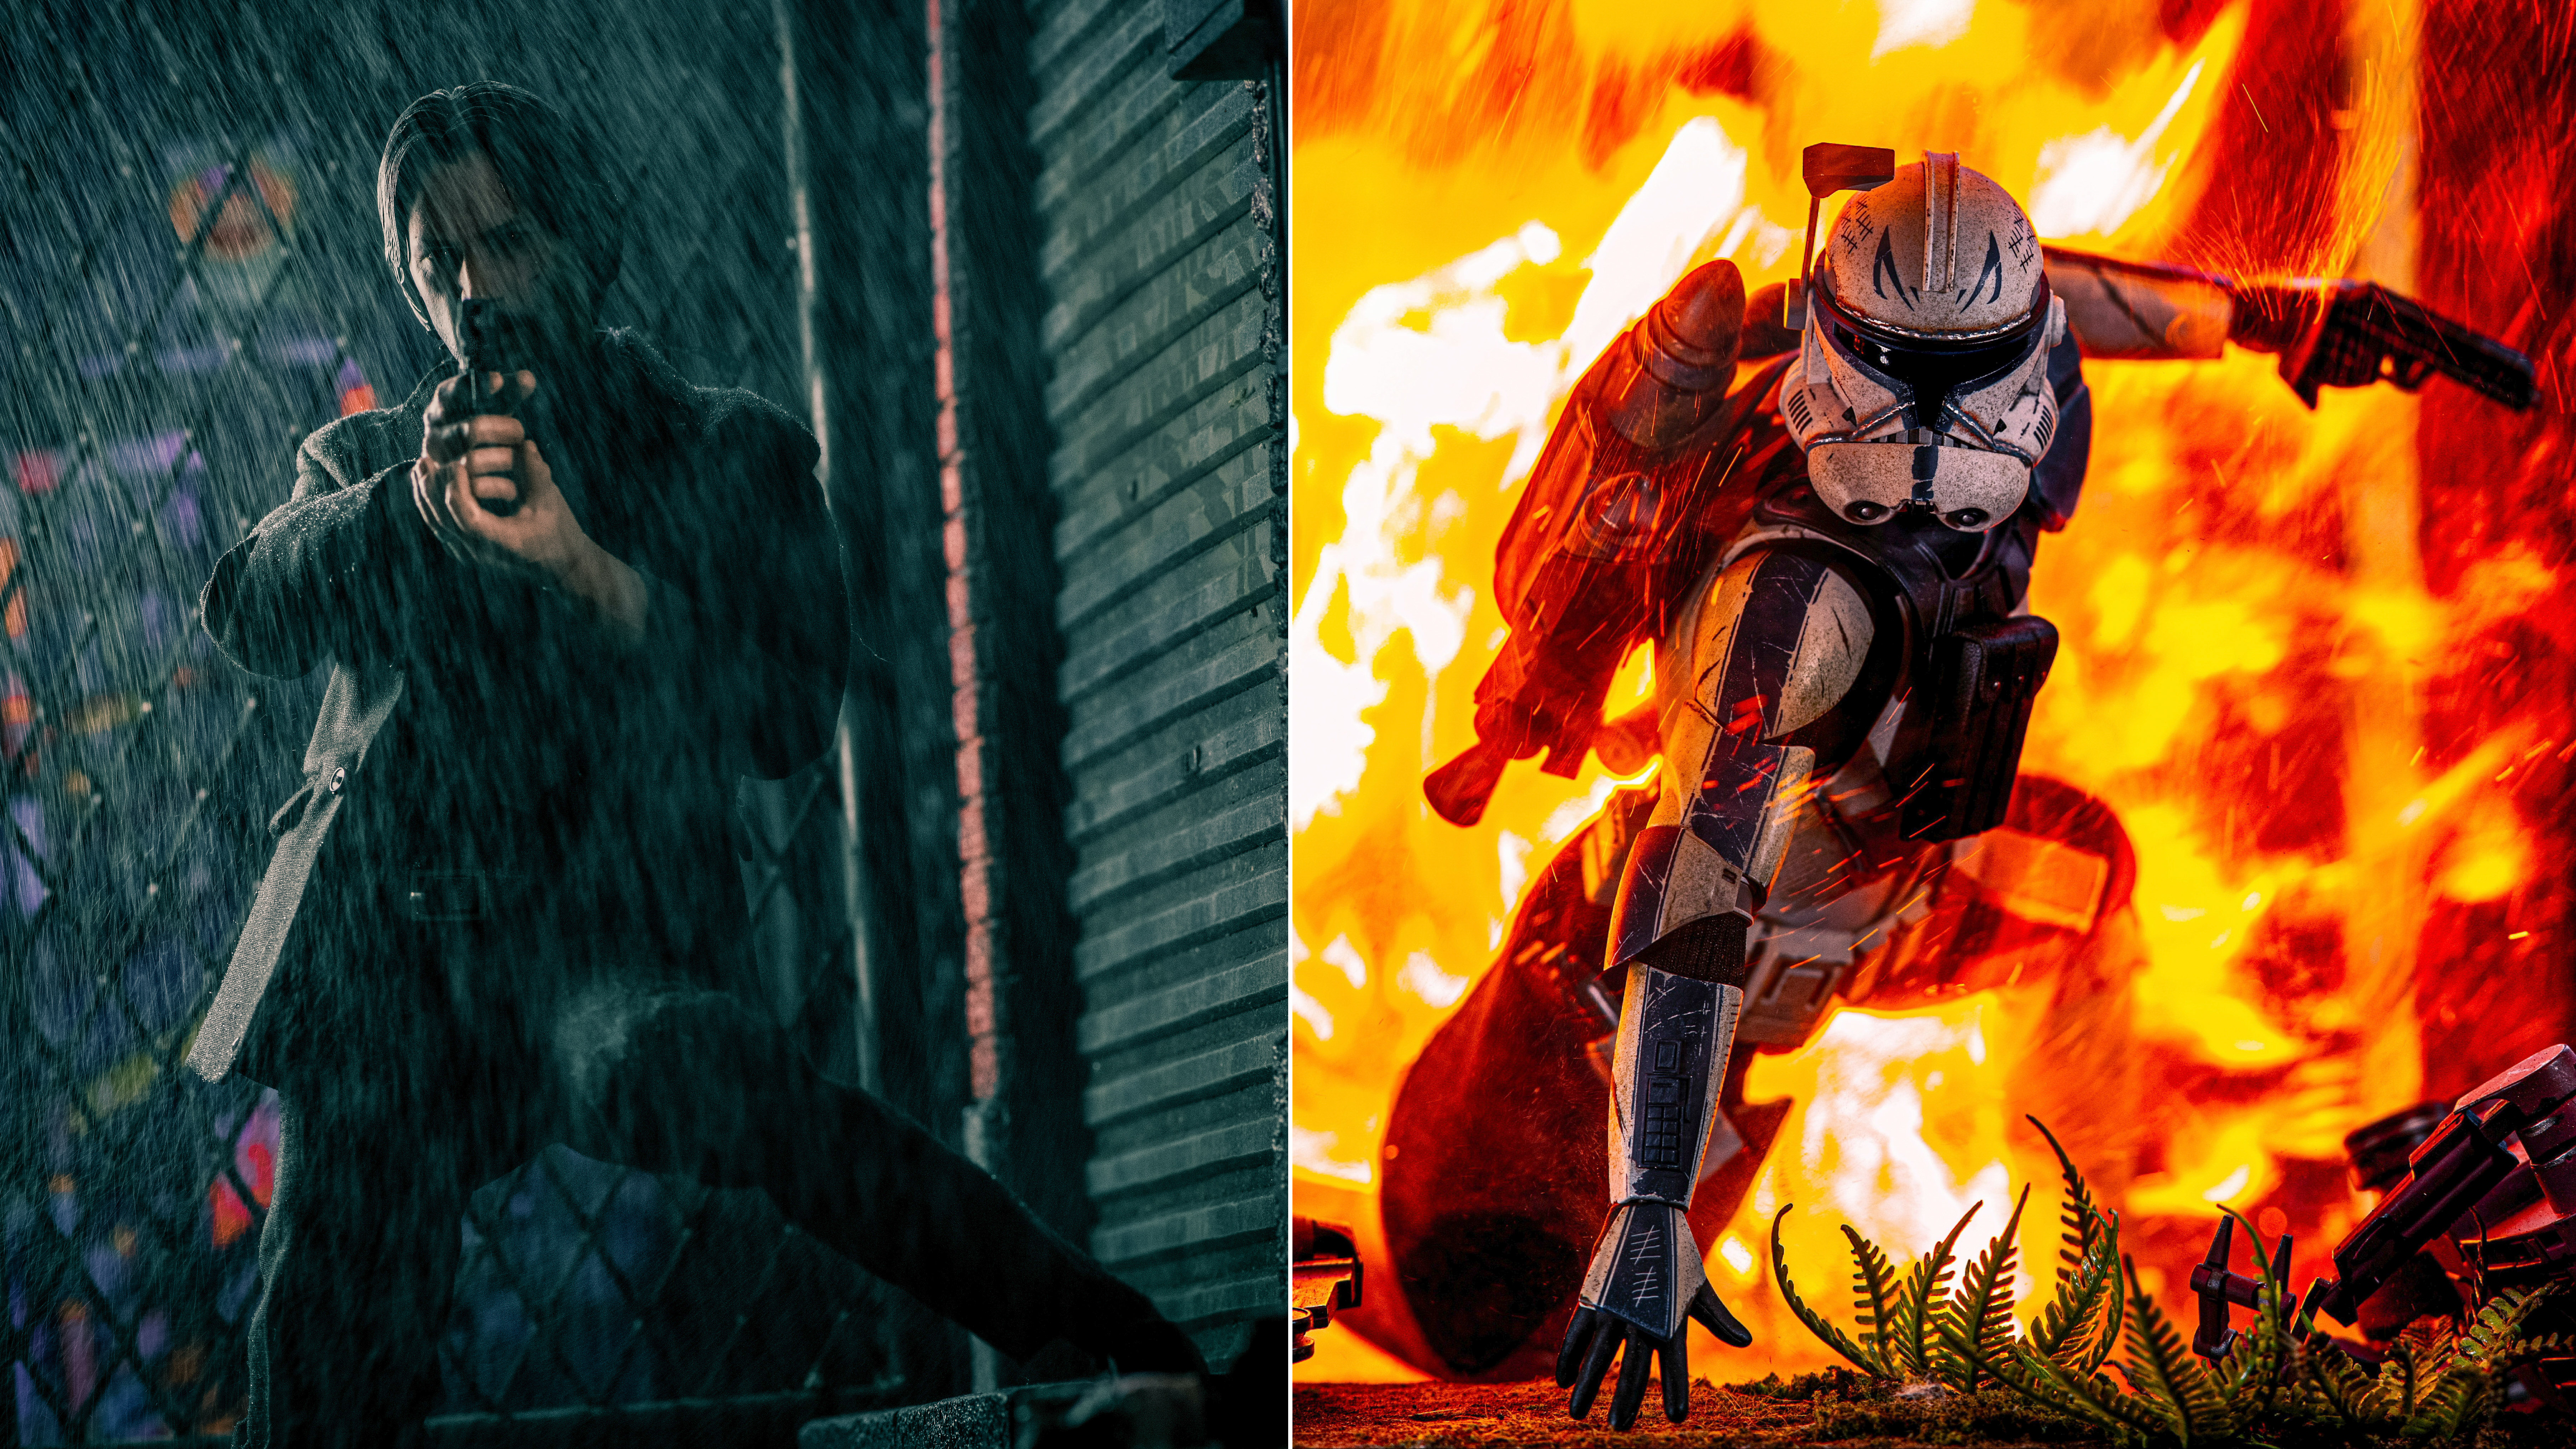
Fire effects were made using cinnamon powder, a toilet drain air gun and lighter fluid
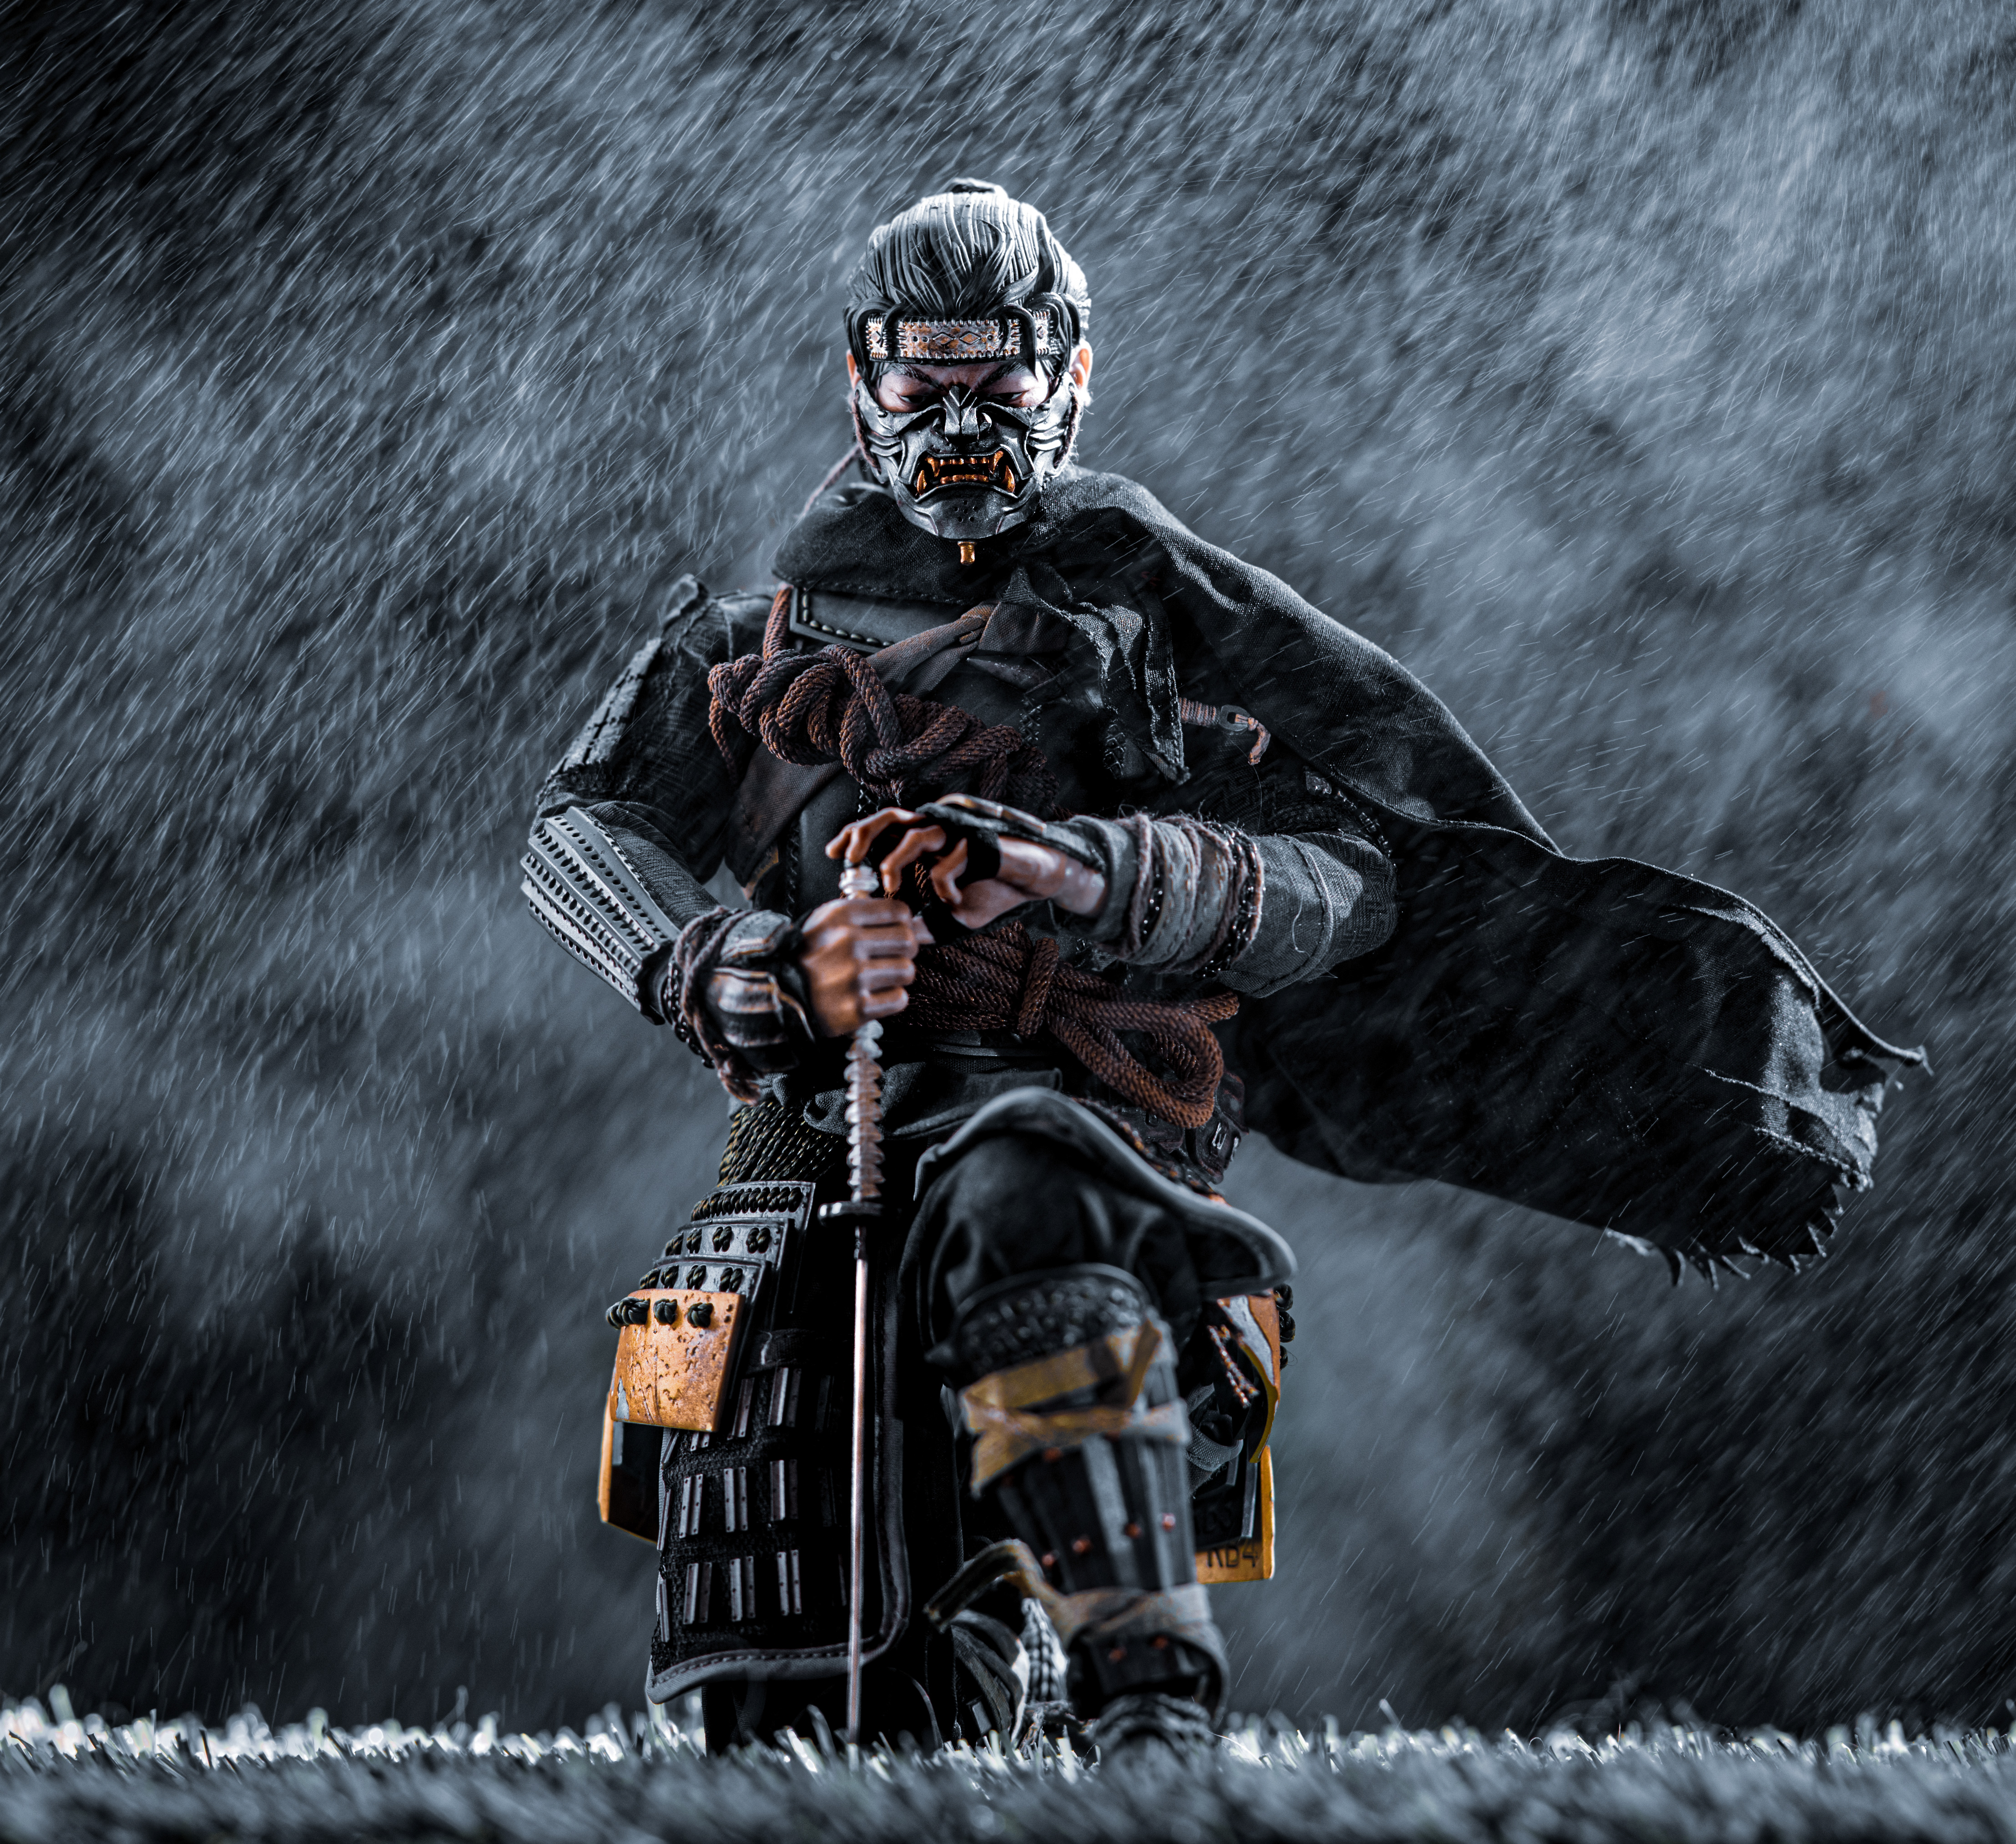
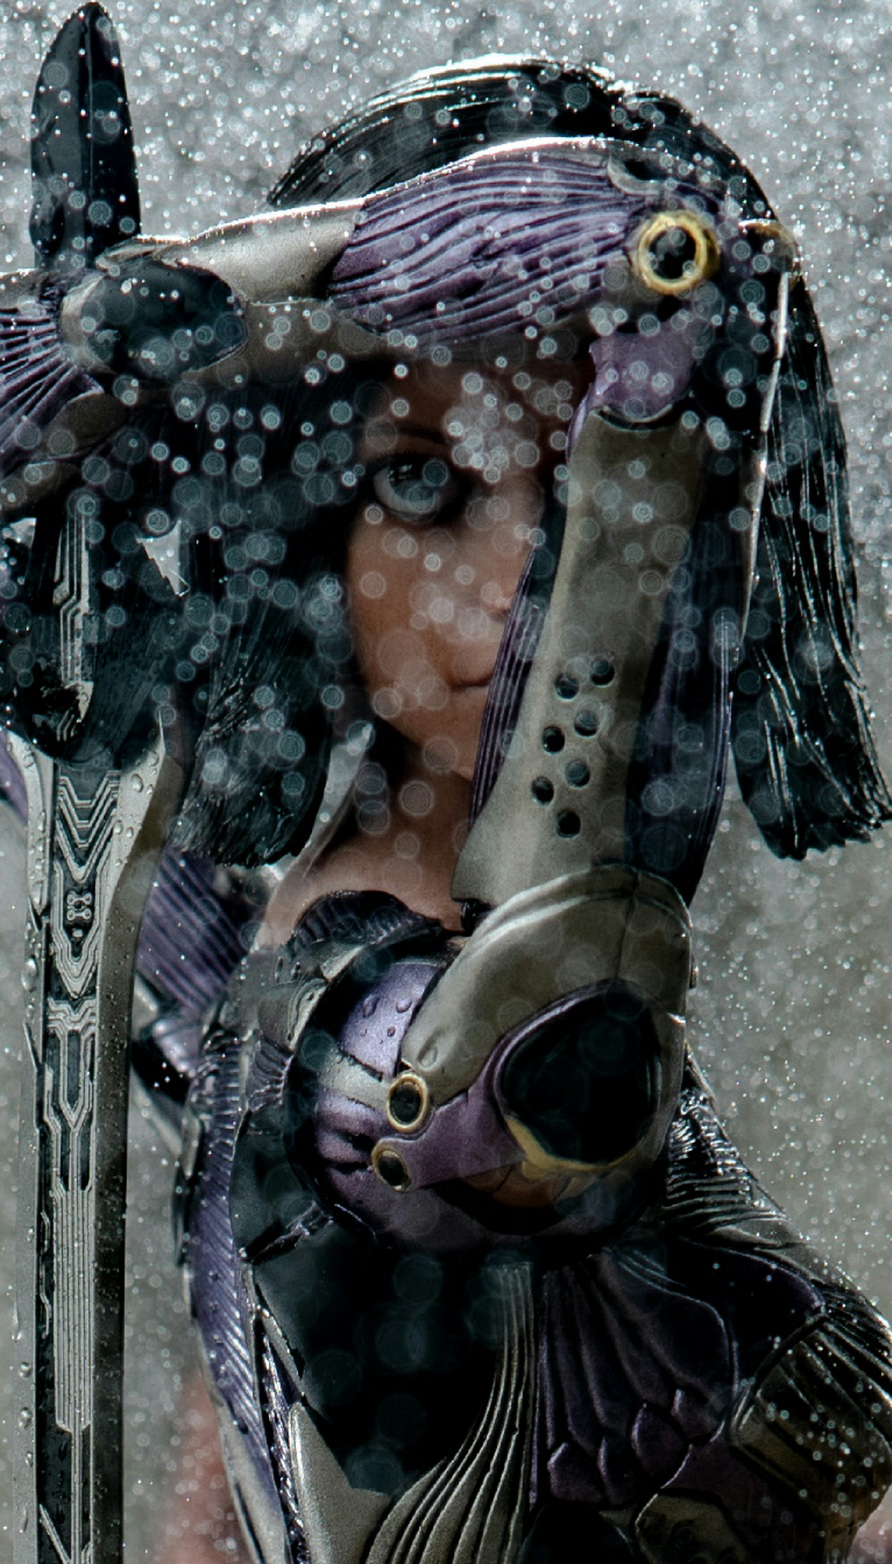
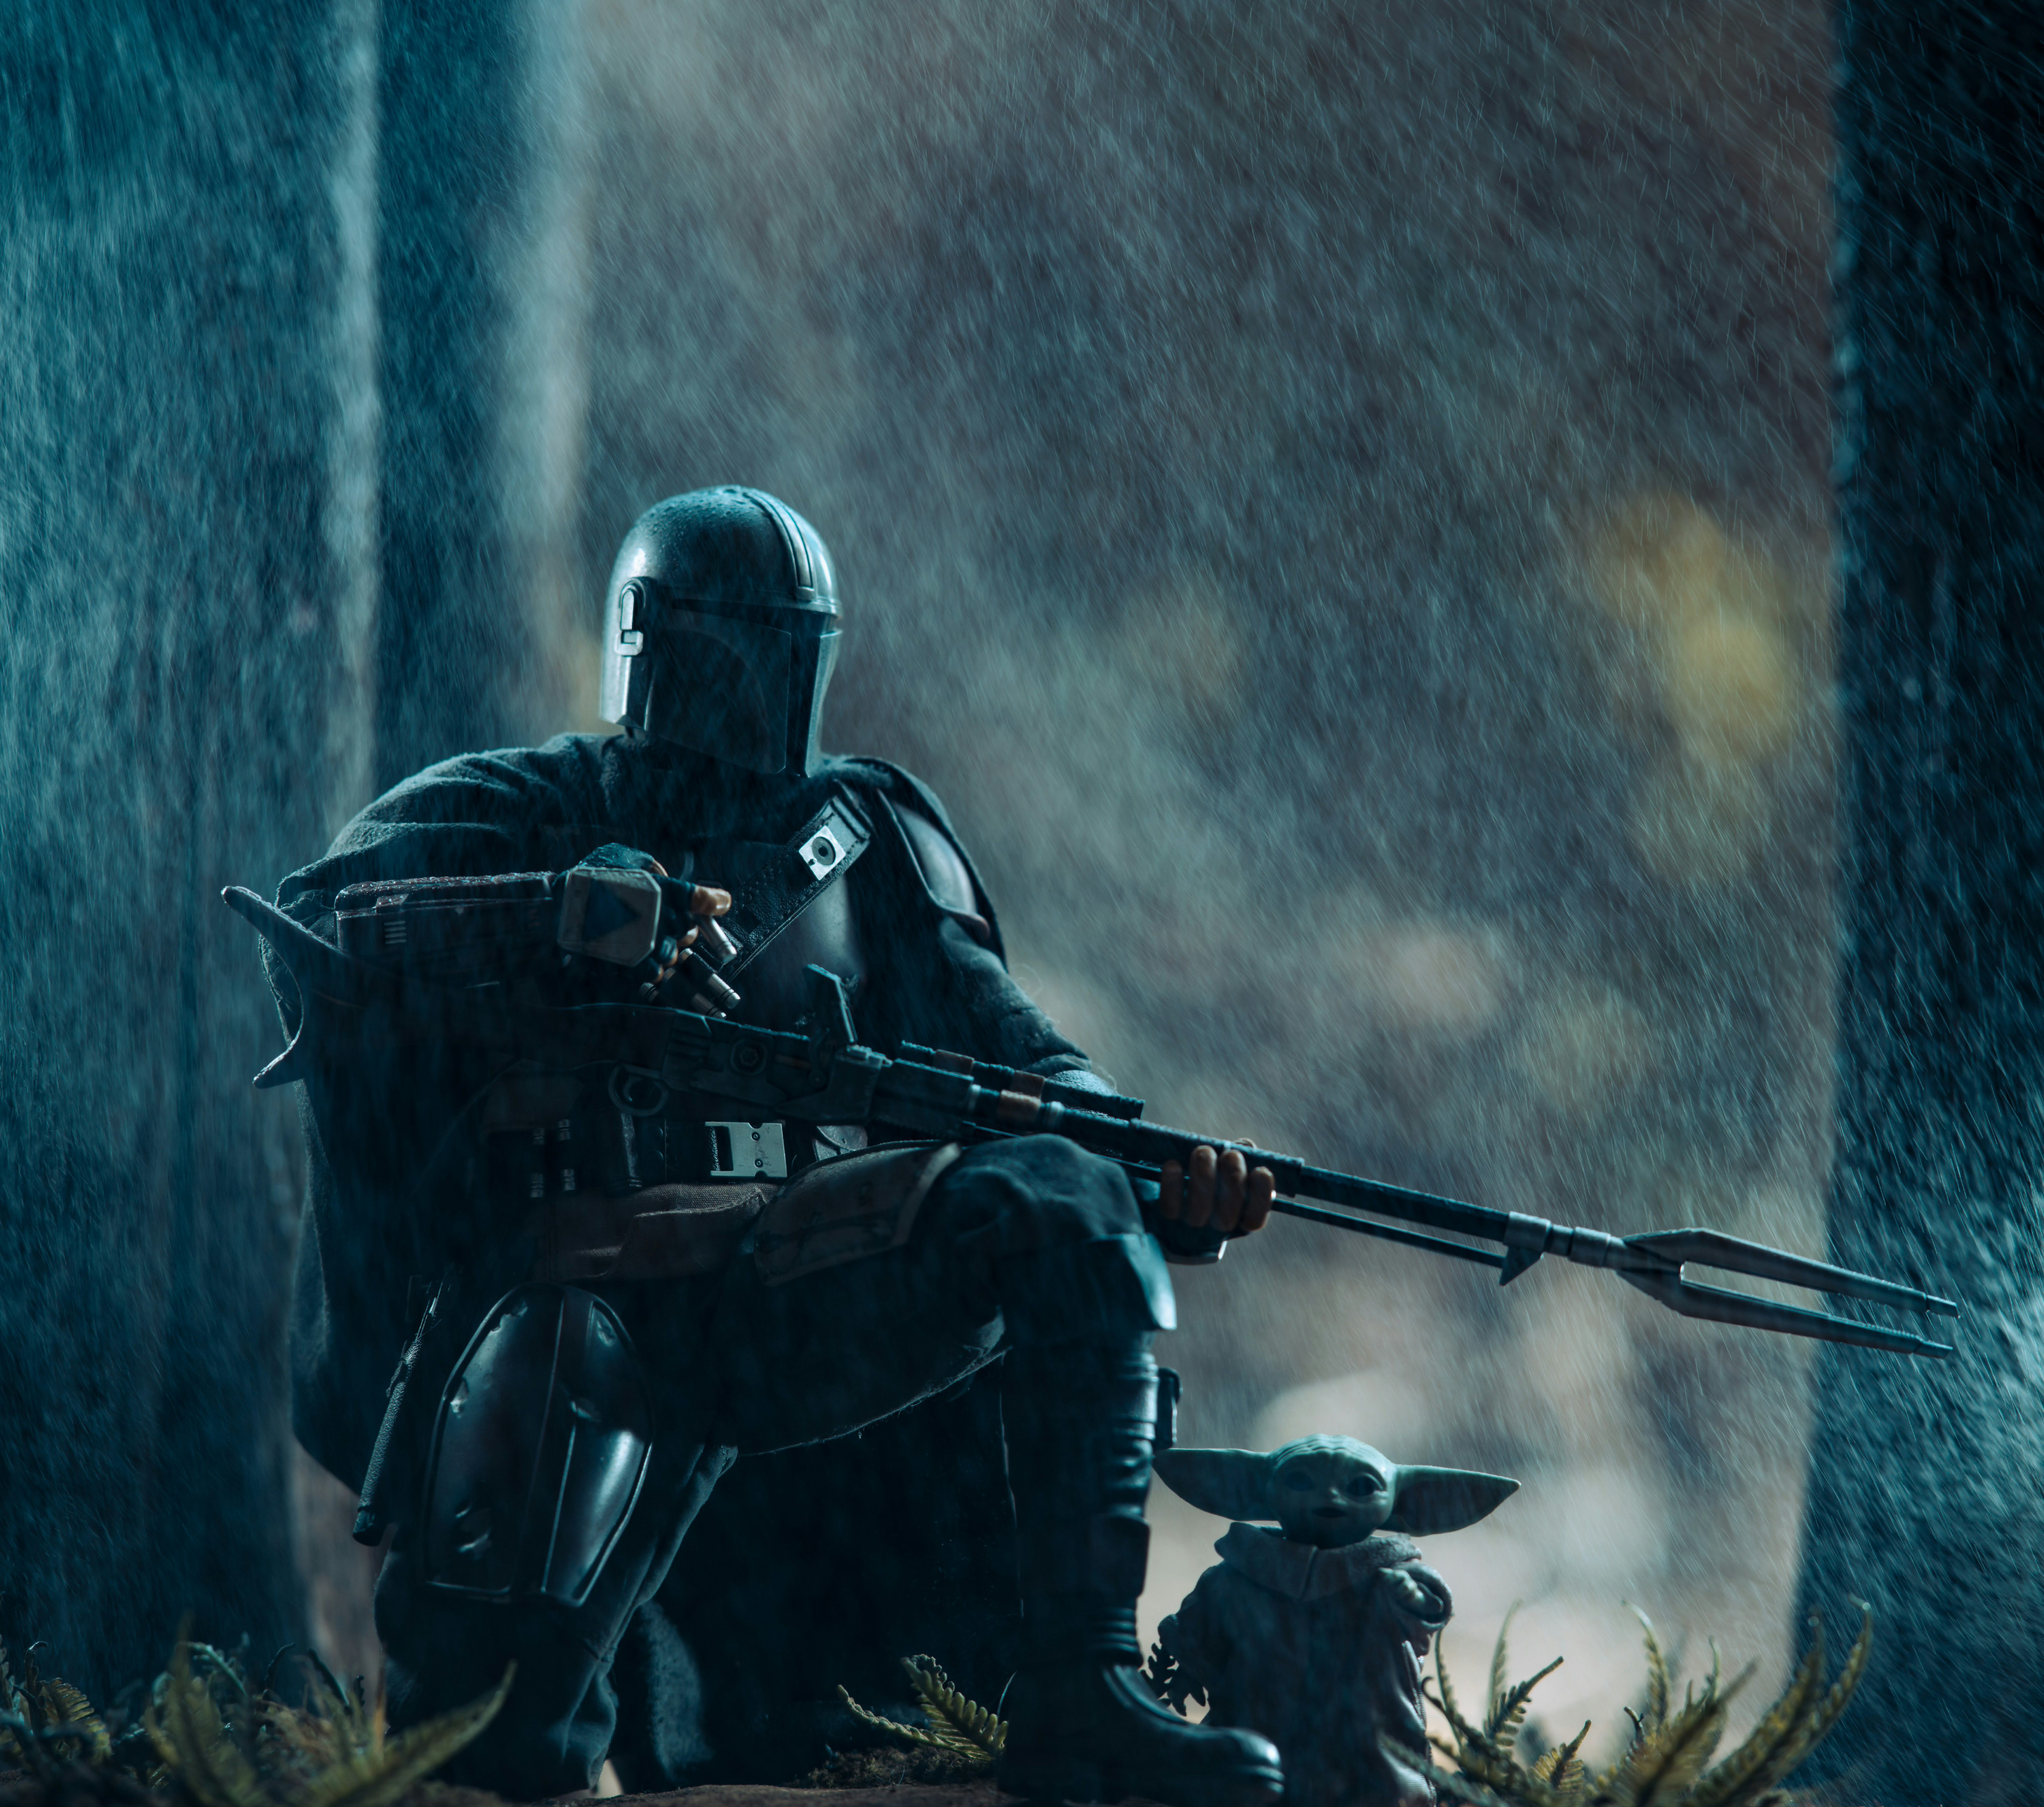
Rain effects were easily made by using a weed sprayer bottle full of water on its mist setting, while mists and fog were easily created with atmospheric aerosol.
I replicated snow by using flour through a sieve, but the hardest effect to get right by far was fire. However, I managed to perfect it by using cinnamon powder, a toilet drain air gun, and lighter fluid. I set up the scene outside and blew the cinnamon powder over an open flame which results in a small fireball. Ultimately, these practical effects were the icing on the cake when it came to the shoots and would usually serve as an addition to the shot rather than the main focus.
Setup involved me brainstorming ideas days before the shoot actually took place.
I’d work out what figure I want to use, the possible composition and the story I wanted to portray. This helped save time on the day and allowed me to focus on the effects the shot required. Of course, it goes without saying that not every shot required practical effects either. It all depended on whether I thought the shot would be enhanced by the effects or if it were integral to the story I wanted to tell.
In theory it sounds relatively easy and, for the most part, it is. However, it does require quite a lot of setting up, which usually take a few hours, depending on the shot.
Once I started really digging my heels into the genre, I decided to purchase more high-end figures and dioramas to help enhance my pictures and I also bought small portable lights. Additionally, I invested in a remote shutter release which enabled me to use practical effects while shooting.
How it is done
When it comes to adding practical effects, most are relatively easy to create, but some also require multiple steps. With the rain effects, I make sure that the subject is well-lit. I use small portable lights – Lume Cube 2.0 waterproof LEDs – to light all my scenes and then I use the weed sprayer. I gently spray over the figure while holding down the shutter release cable button, capturing the water spraying down and giving off the illusion that it is raining.
A slow shutter speed could be used to make the rain look streaky or a fast shutter speed can be used to stop droplets in the air. Both are brilliant ways to enhance a scene, but the choice of shutter speed you use will depend on what atmosphere you wish to create. It should also be noted that when it comes to using practical effects, you’ll want to set your camera to continuous shooting so that you capture as many frames as possible. Because some effects come and go very quickly, the more frames you can capture, the more chances you have of getting that perfect shot.
For snow, I use flour and sieve it gently to spread it across the subject as I hold down the shutter release cable. Again, similar to the rain effect, the shutter speed can be either fast or slow depending on what effect you want to create.
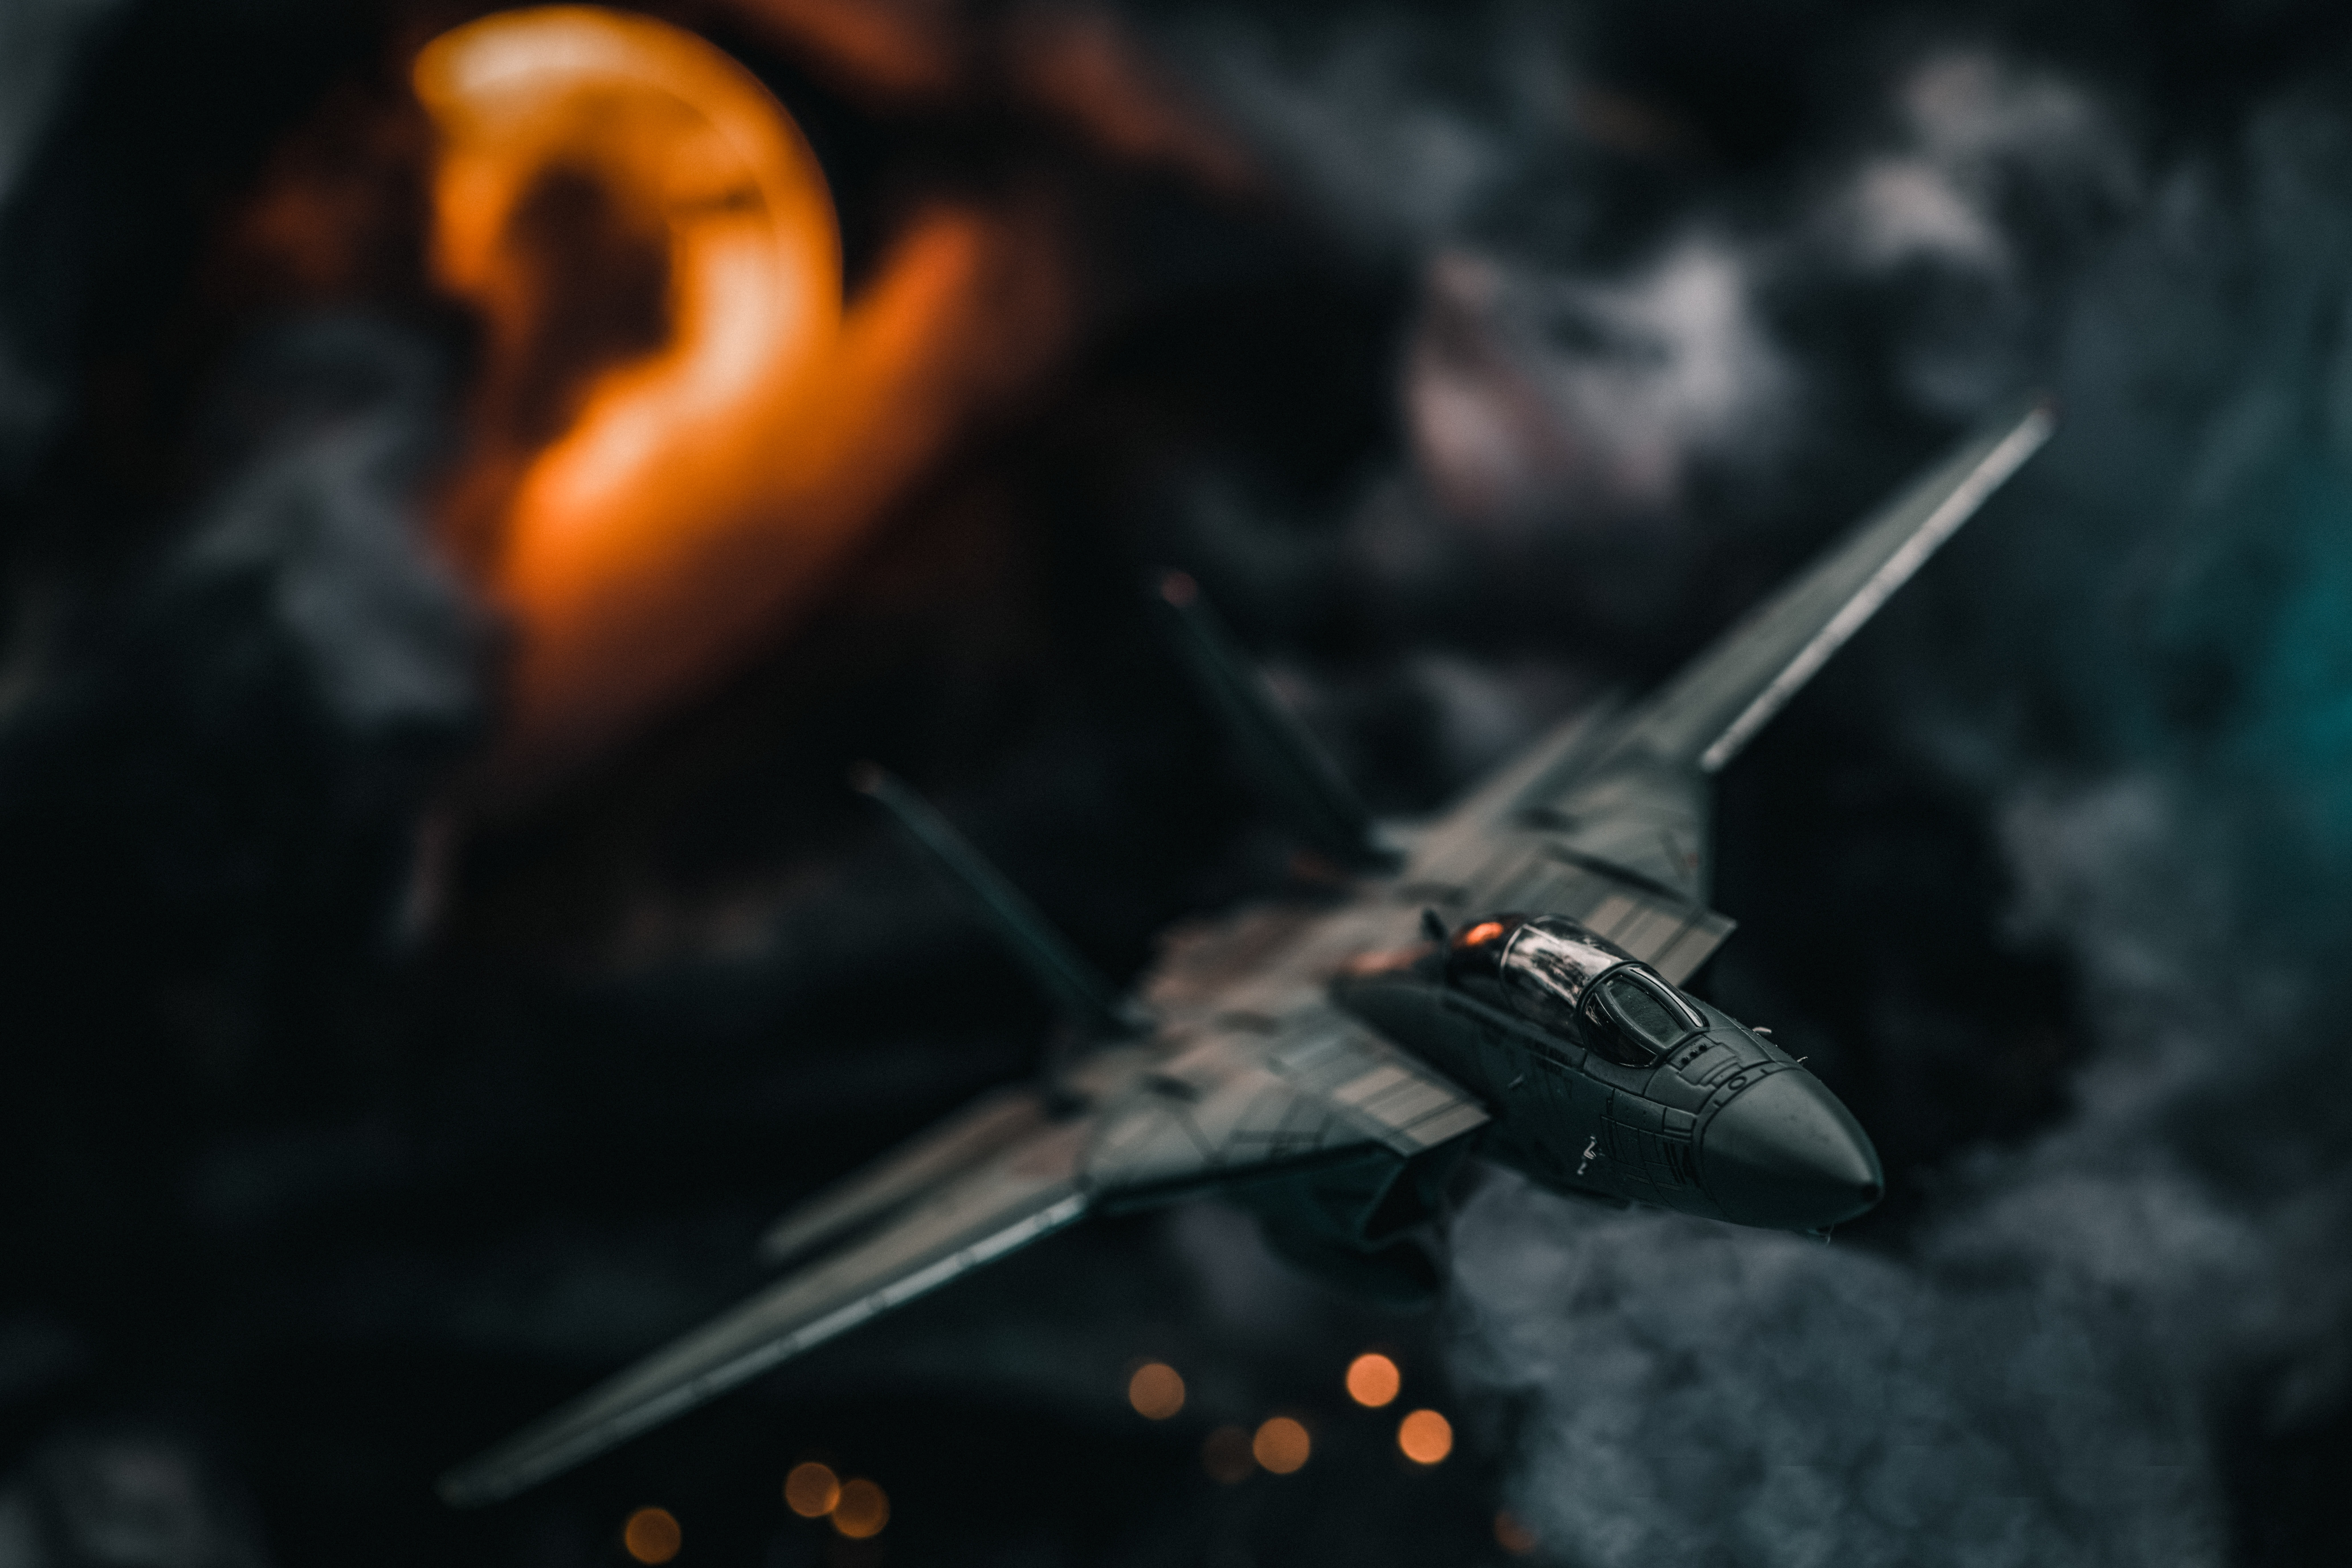
To create mist effects I use an atmospheric aerosol to spray around the subject, which produces light mist. This spray is also ideal for creating light rays in photos and can also create a dense fog. It is one of the easier effects to use, but is just as effective as the rest.
The most complex effect to create is the fireball. A fast shutter speed is needed to capture the explosion. To start with, I set up the scene accordingly, outside in a well-ventilated area away from flammable objects. I then place some aluminum foil under a piece of bark behind the subject and the scene. I get a small bucket of water or a weed sprayer full of water and have that ready to extinguish the small flame the shot makes. I coat the piece of bark with lighter fluid and place a small mound of cinnamon powder behind the piece of bark. Once I have done that, I take a loaded air pump gun. I light the piece of bark and hold down on the shutter release cable as I trigger the air gun behind the mound of cinnamon powder and I don’t let go of the button until the fire dies down.
If done correctly, the powder should blow over the lit piece of bark and create a mini explosion. Because the explosion is a flash fire, the subject should be unharmed, but
I always make a point to wet the figures before committing to fire effects just in case. Once done, use the water to put out the small flame and then dust off any remaining powder and residue.
Unparalleled creativity

It didn’t take long for me to be fully captivated by this genre of photography. I’d find myself brainstorming ideas each night and working out what could be achieved and what couldn’t. It kept my passion for photography alive during a time when that flame was threatened with suffocating. It helped make the forced isolation bearable at a time where everything was looking bleak.
Even though I now no longer need to isolate, I still find myself deep in toy photography as there is something incredibly fun about bringing the figures to life. Once the height of the pandemic was over, I even found myself taking figures
to the local beach to photograph as this location helped enhance certain shots. To me, toy photography is unlike any
other genre due to the unparalleled creativity that comes with the territory. You can recreate your favorite scenes from movies, or create your own. You can choose the poses your subjects make and what they wear, which can enhance the story you want to tell. You can set the scene and use any kind of practical effect to enhance it.
Ultimately, you have complete control of whatever scene you choose to create and
I can’t help but feel like both a director and cinematographer of a movie when setting up and taking the photos.
The creativity is unrivaled when it comes to toy photography and, while I still very much shoot other genres, toy photography will always remain a favorite of mine.
One of the best things about the genre though is how easily accessible it is to all photographers as all you really need to get started is a camera and a toy that you can photograph.
I started off using a Nikon AF-S 105mm f/1.4 short telephoto lens as I didn’t have a macro and then, further down the line, I invested in one to help get closer to the subjects. Obviously, a macro lens is ideal for toy photography as it gives more control over depth of field, but you can use most lenses which is handy for anybody wanting to give it a try, but who doesn’t have a dedicated macro lens.
While not entirely necessary, I also recommend using a cable release or a remote trigger as you’ll then be able to do more with your shots’ practical effects. Overall, I highly recommend giving toy photography a try just to see what it is like because, as I’ve previously stated, the creative freedom is truly addictive.
I am a 30-year-old living with Cystic Fibrosis in Adelaide, Australia and I have a passion for travel and travel photography. I want each photo I take to tell a story and stand out. Every photo has the potential to be unique and essentially, I want to tell a story through each shot that eventually comes together to tell one big odyssey that everyone can experience.
- Paul BurrowsEditor
