I used my camera to recreate the action and drama of the D-Day battlefront – but in miniature
Pay tribute to the bravery of those who served while exploring miniature photography
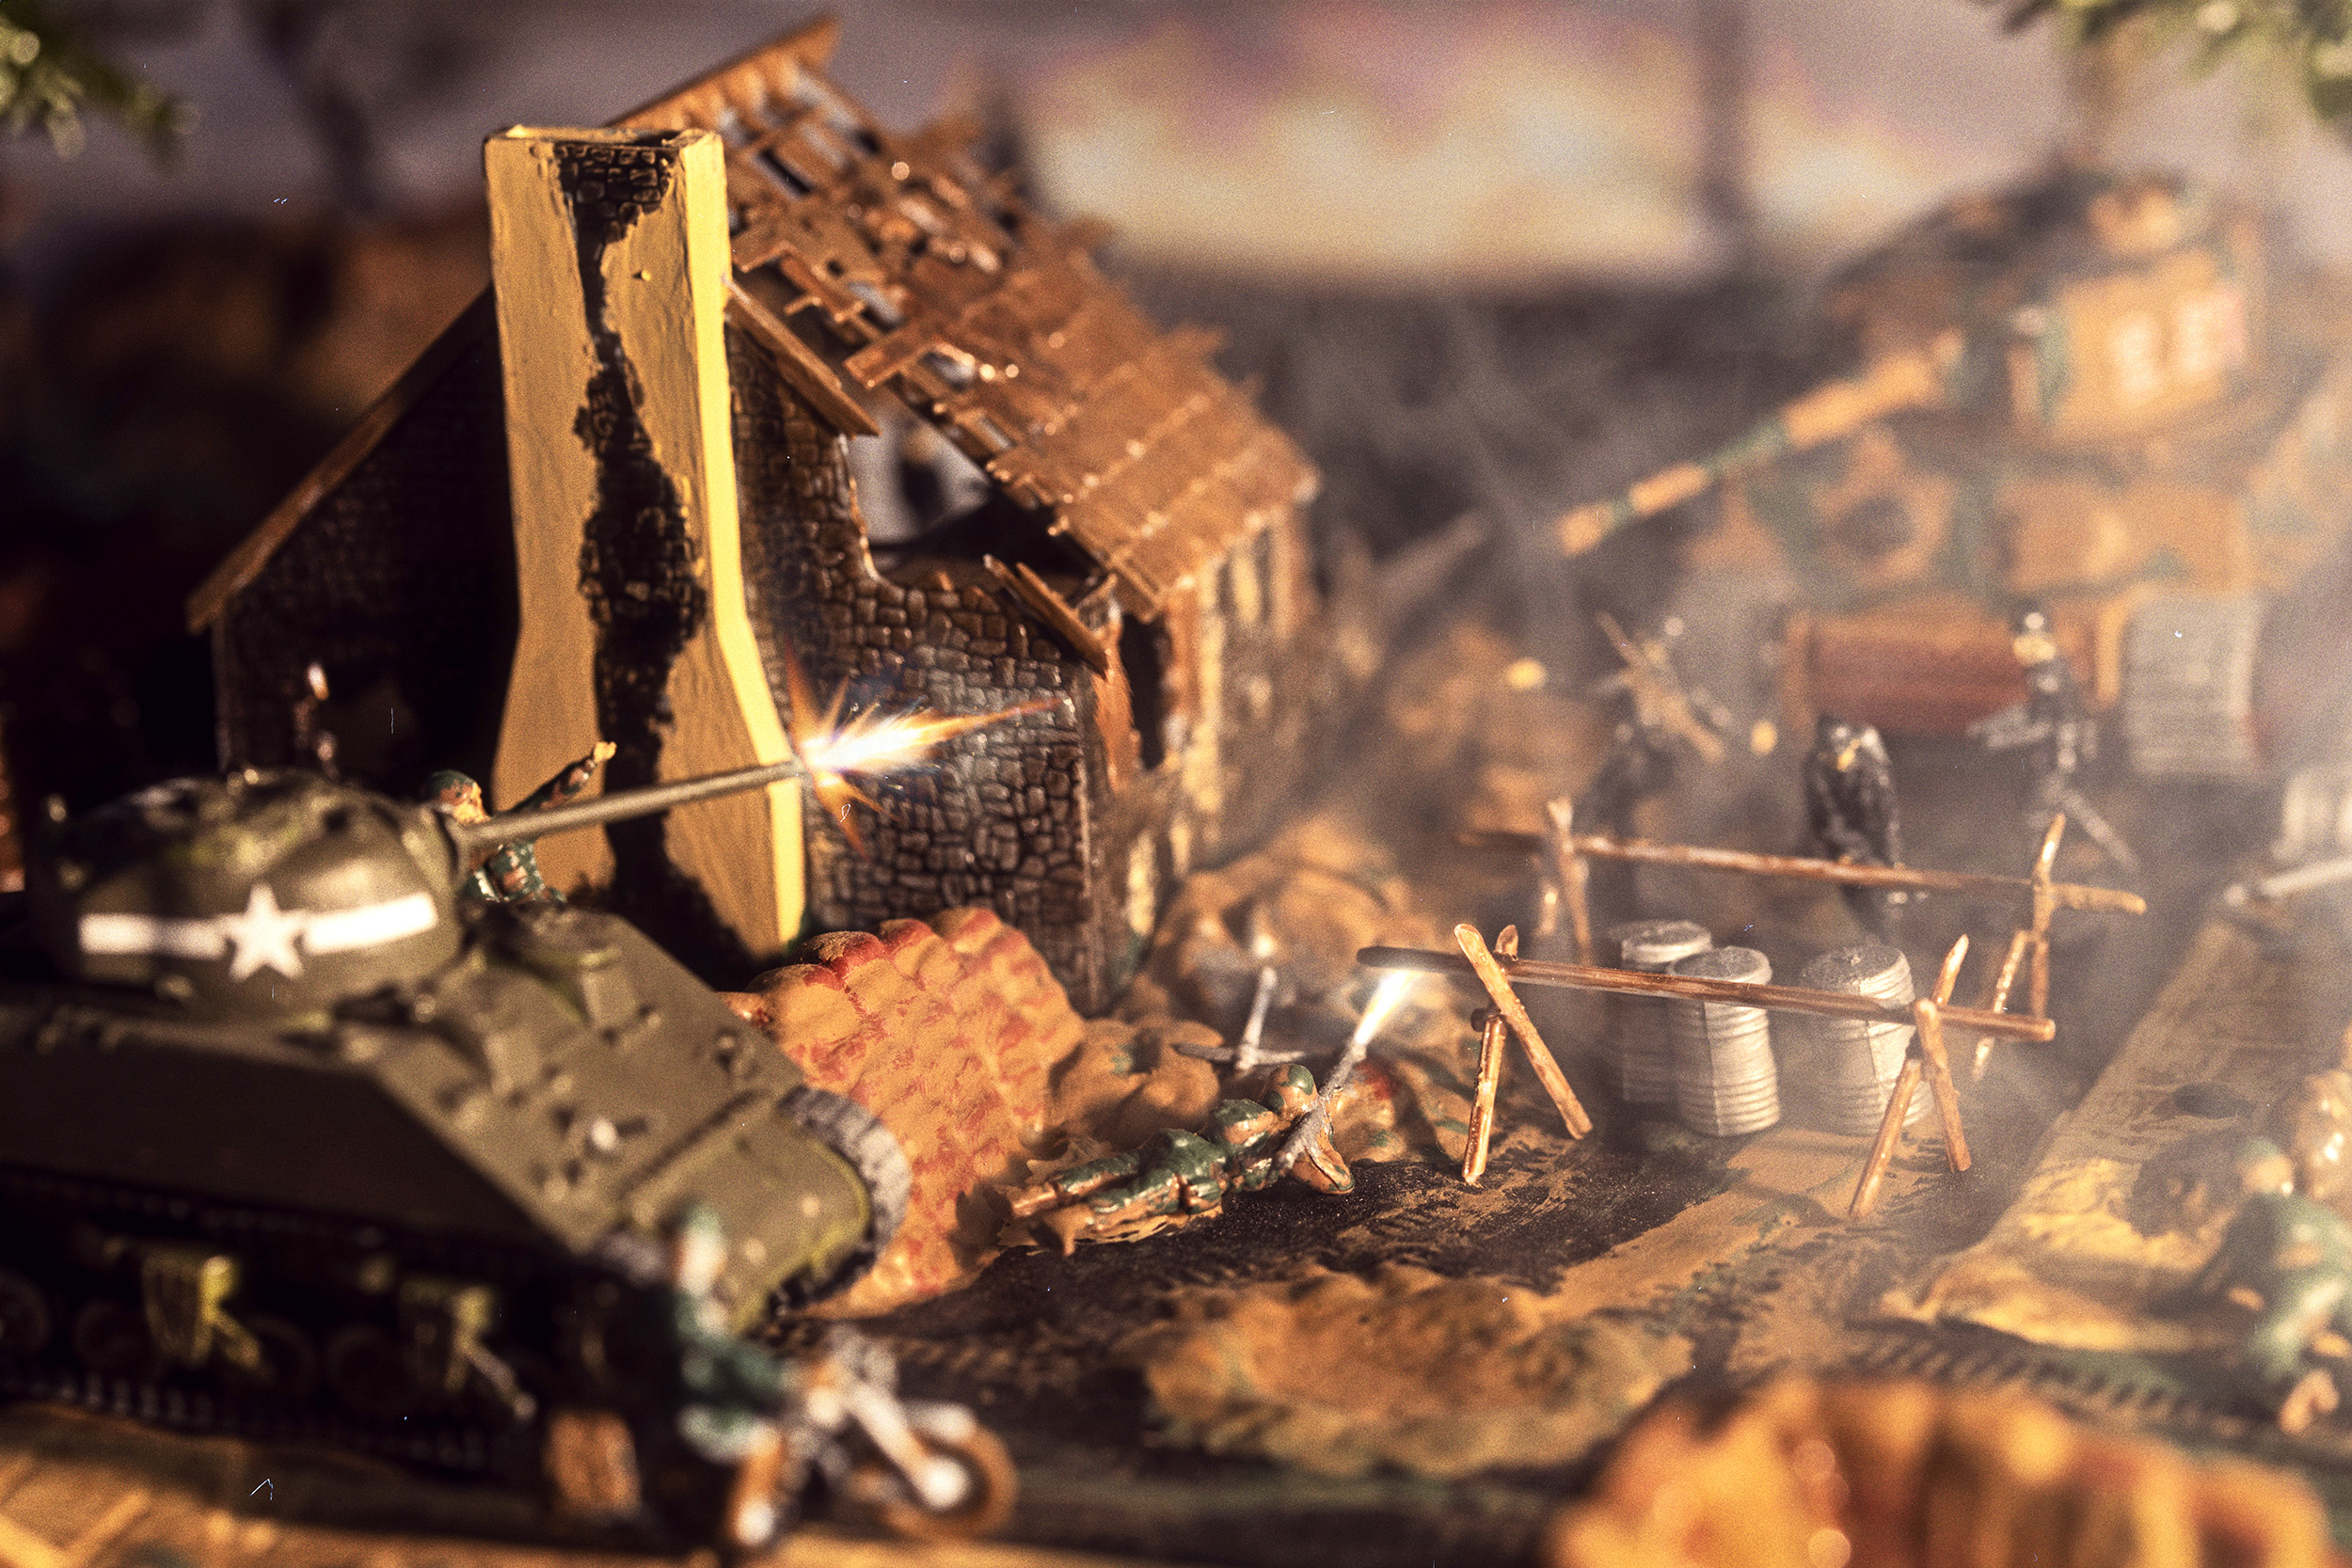
While the D-Day battlefront is now a significant part of history, you can honor its legacy by recreating it at home. You'll need a camera with a macro lens, such as the Sigma 105mm f/2.8. Next to a model set and diorama, a handheld smoke machine like the Smoke Ninja will add an extra element of realism to your recreation.
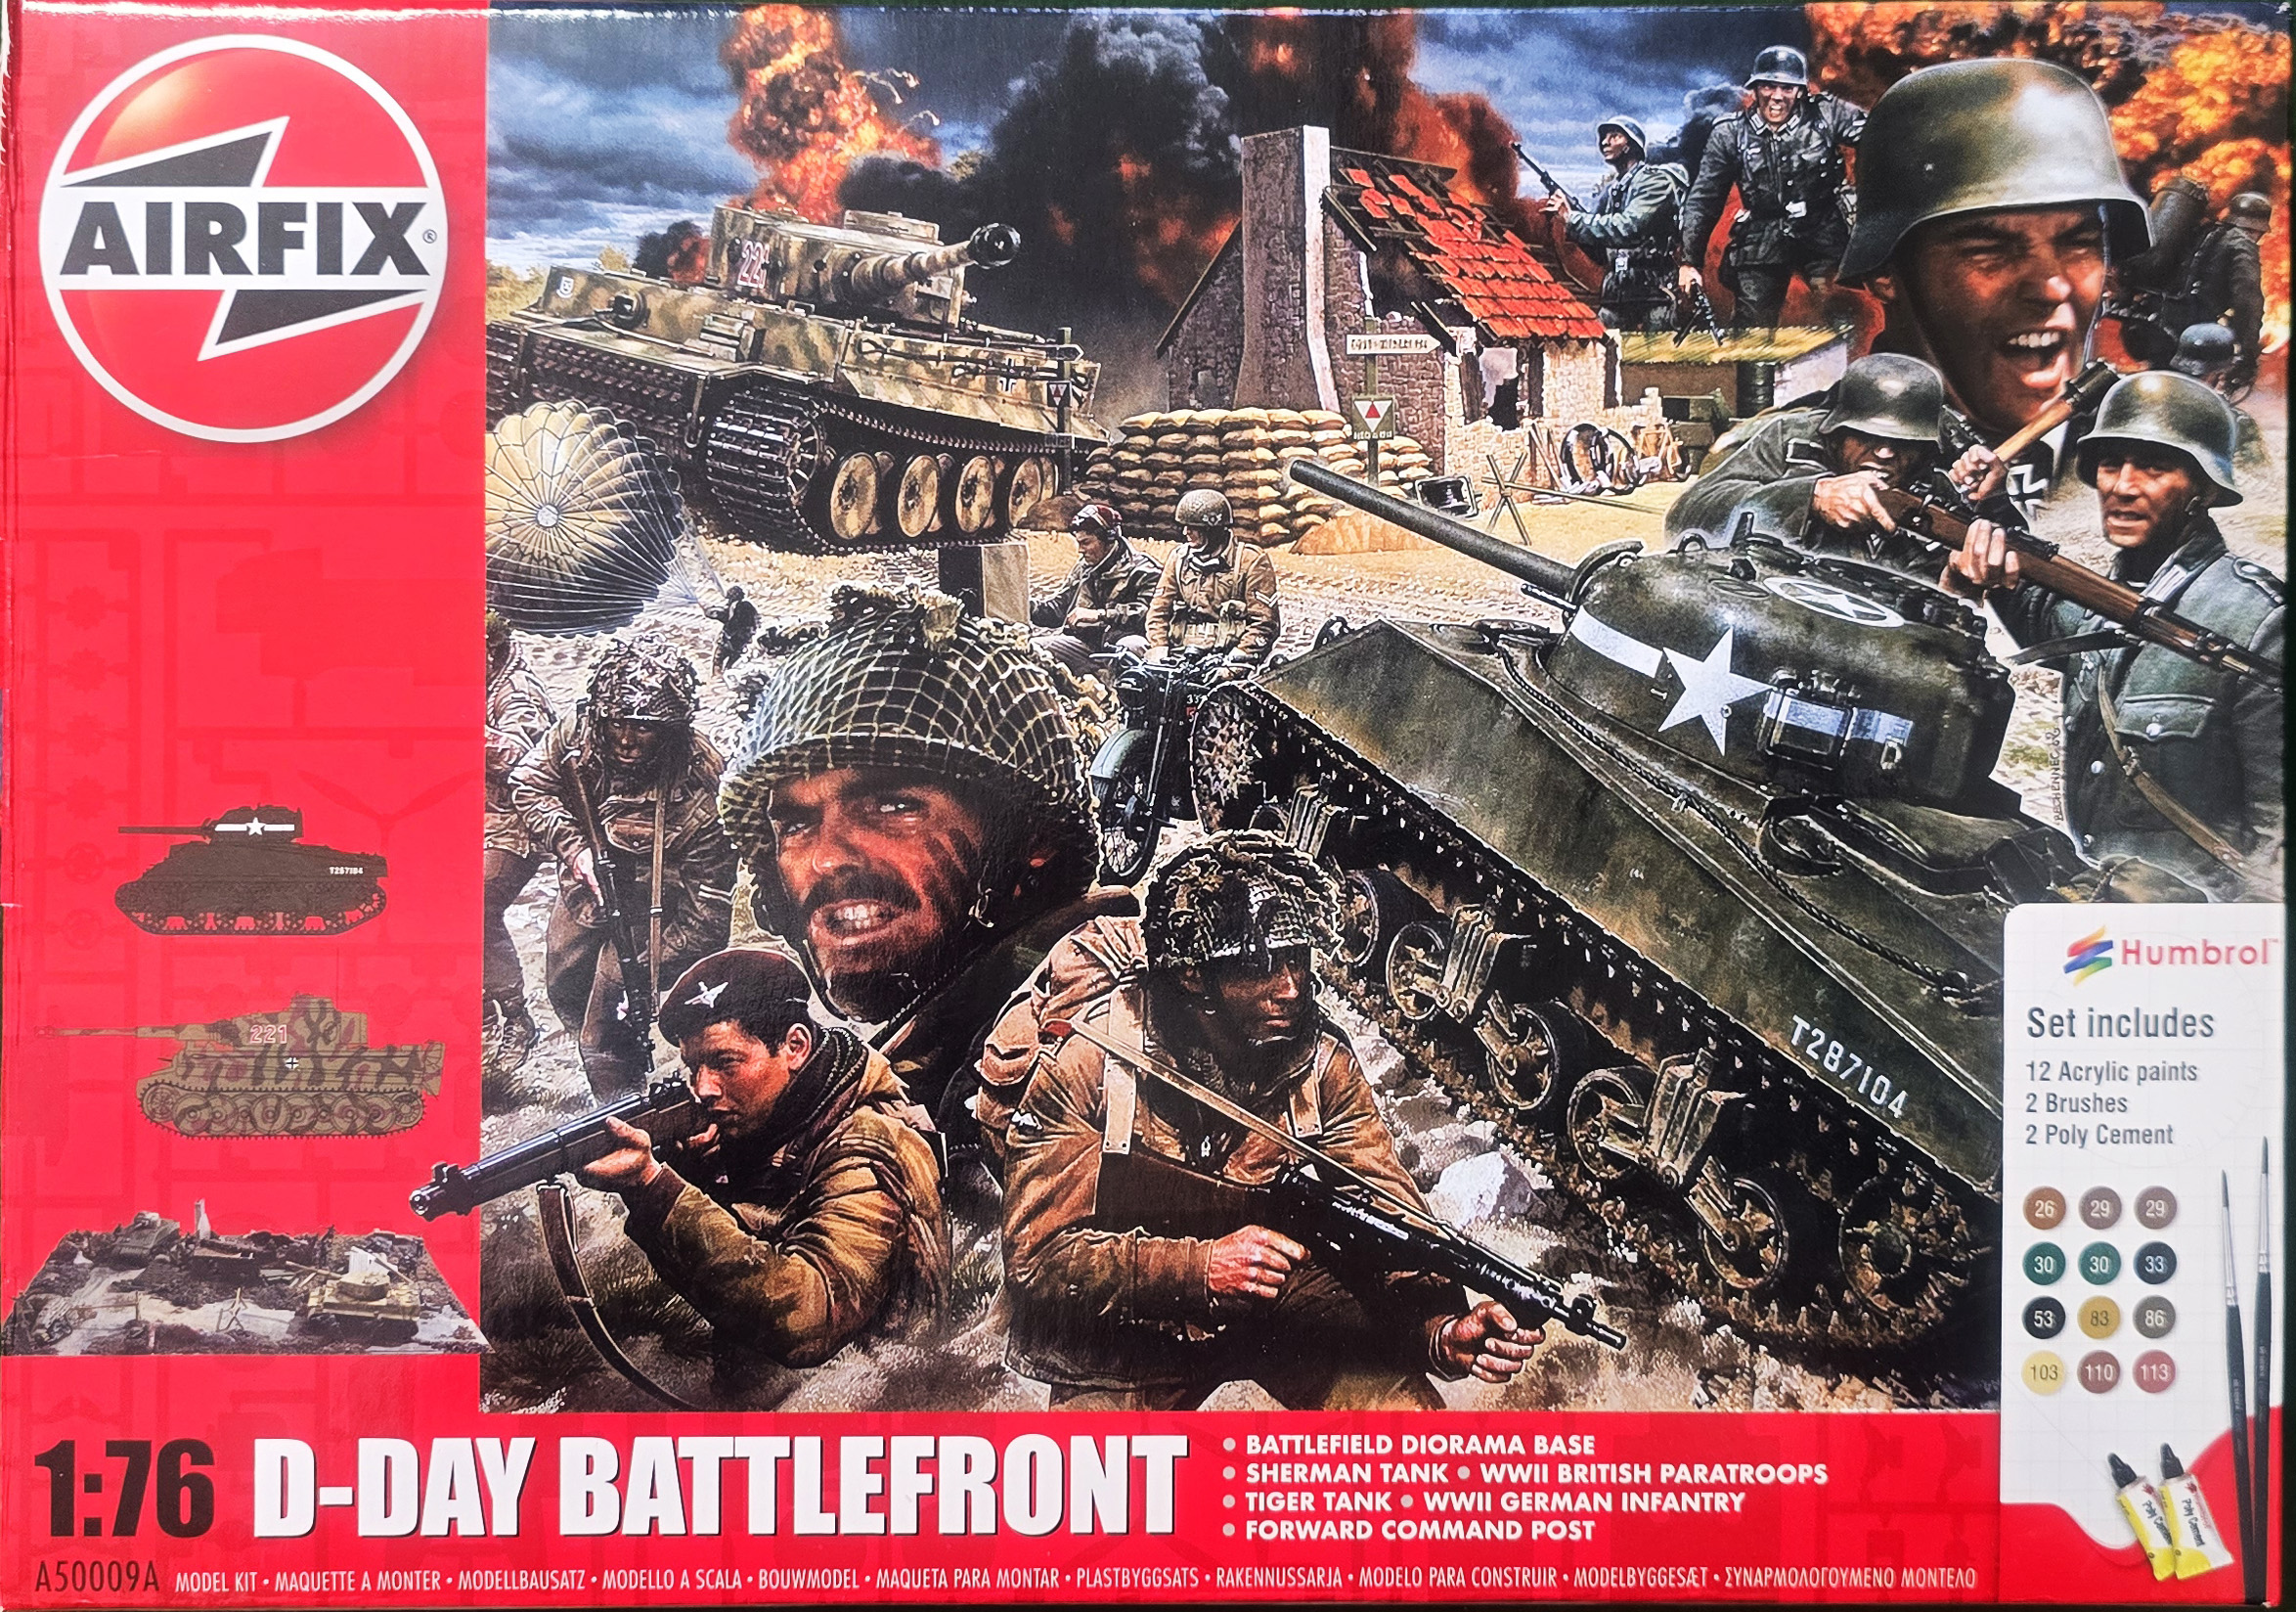
This D-Day Battlefront set comes with a diorama base, Sherman tank, Tiger tank, British paratroopers, German infantry, and a forward command base (a ruined French cottage). This means that you can create a variety of different scenarios, as there are far more troops than shown in the final shot.
This year is the 80th anniversary of VE (Victory in Europe) and VJ (Victory over Japan) days and the end of World War II. But it was last year that saw the 80th anniversary of D-Day – the Normandy Landings, the largest amphibious invasion in history. It formed the landing part of Operation Overlord, the invasion of northern France, in the summer of 1944.
My project aimed to recreate a scene from the fighting after the initial landings, when German Waffen-SS tank divisions were hastily dispatched to try to prevent the Allies from breaking out from the beachheads.
To this end, I've made use of the D-Day Battlefront set, which was kindly supplied by Airfix/Hornby and retails at around £39.99 / $39.99 / AU$74.99. This box is on a 1:76 scale and has everything you need, including paints and glue, to create a variety of scenarios.
Let's dive into the preparations and the shooting process, followed by essential steps in post-processing.
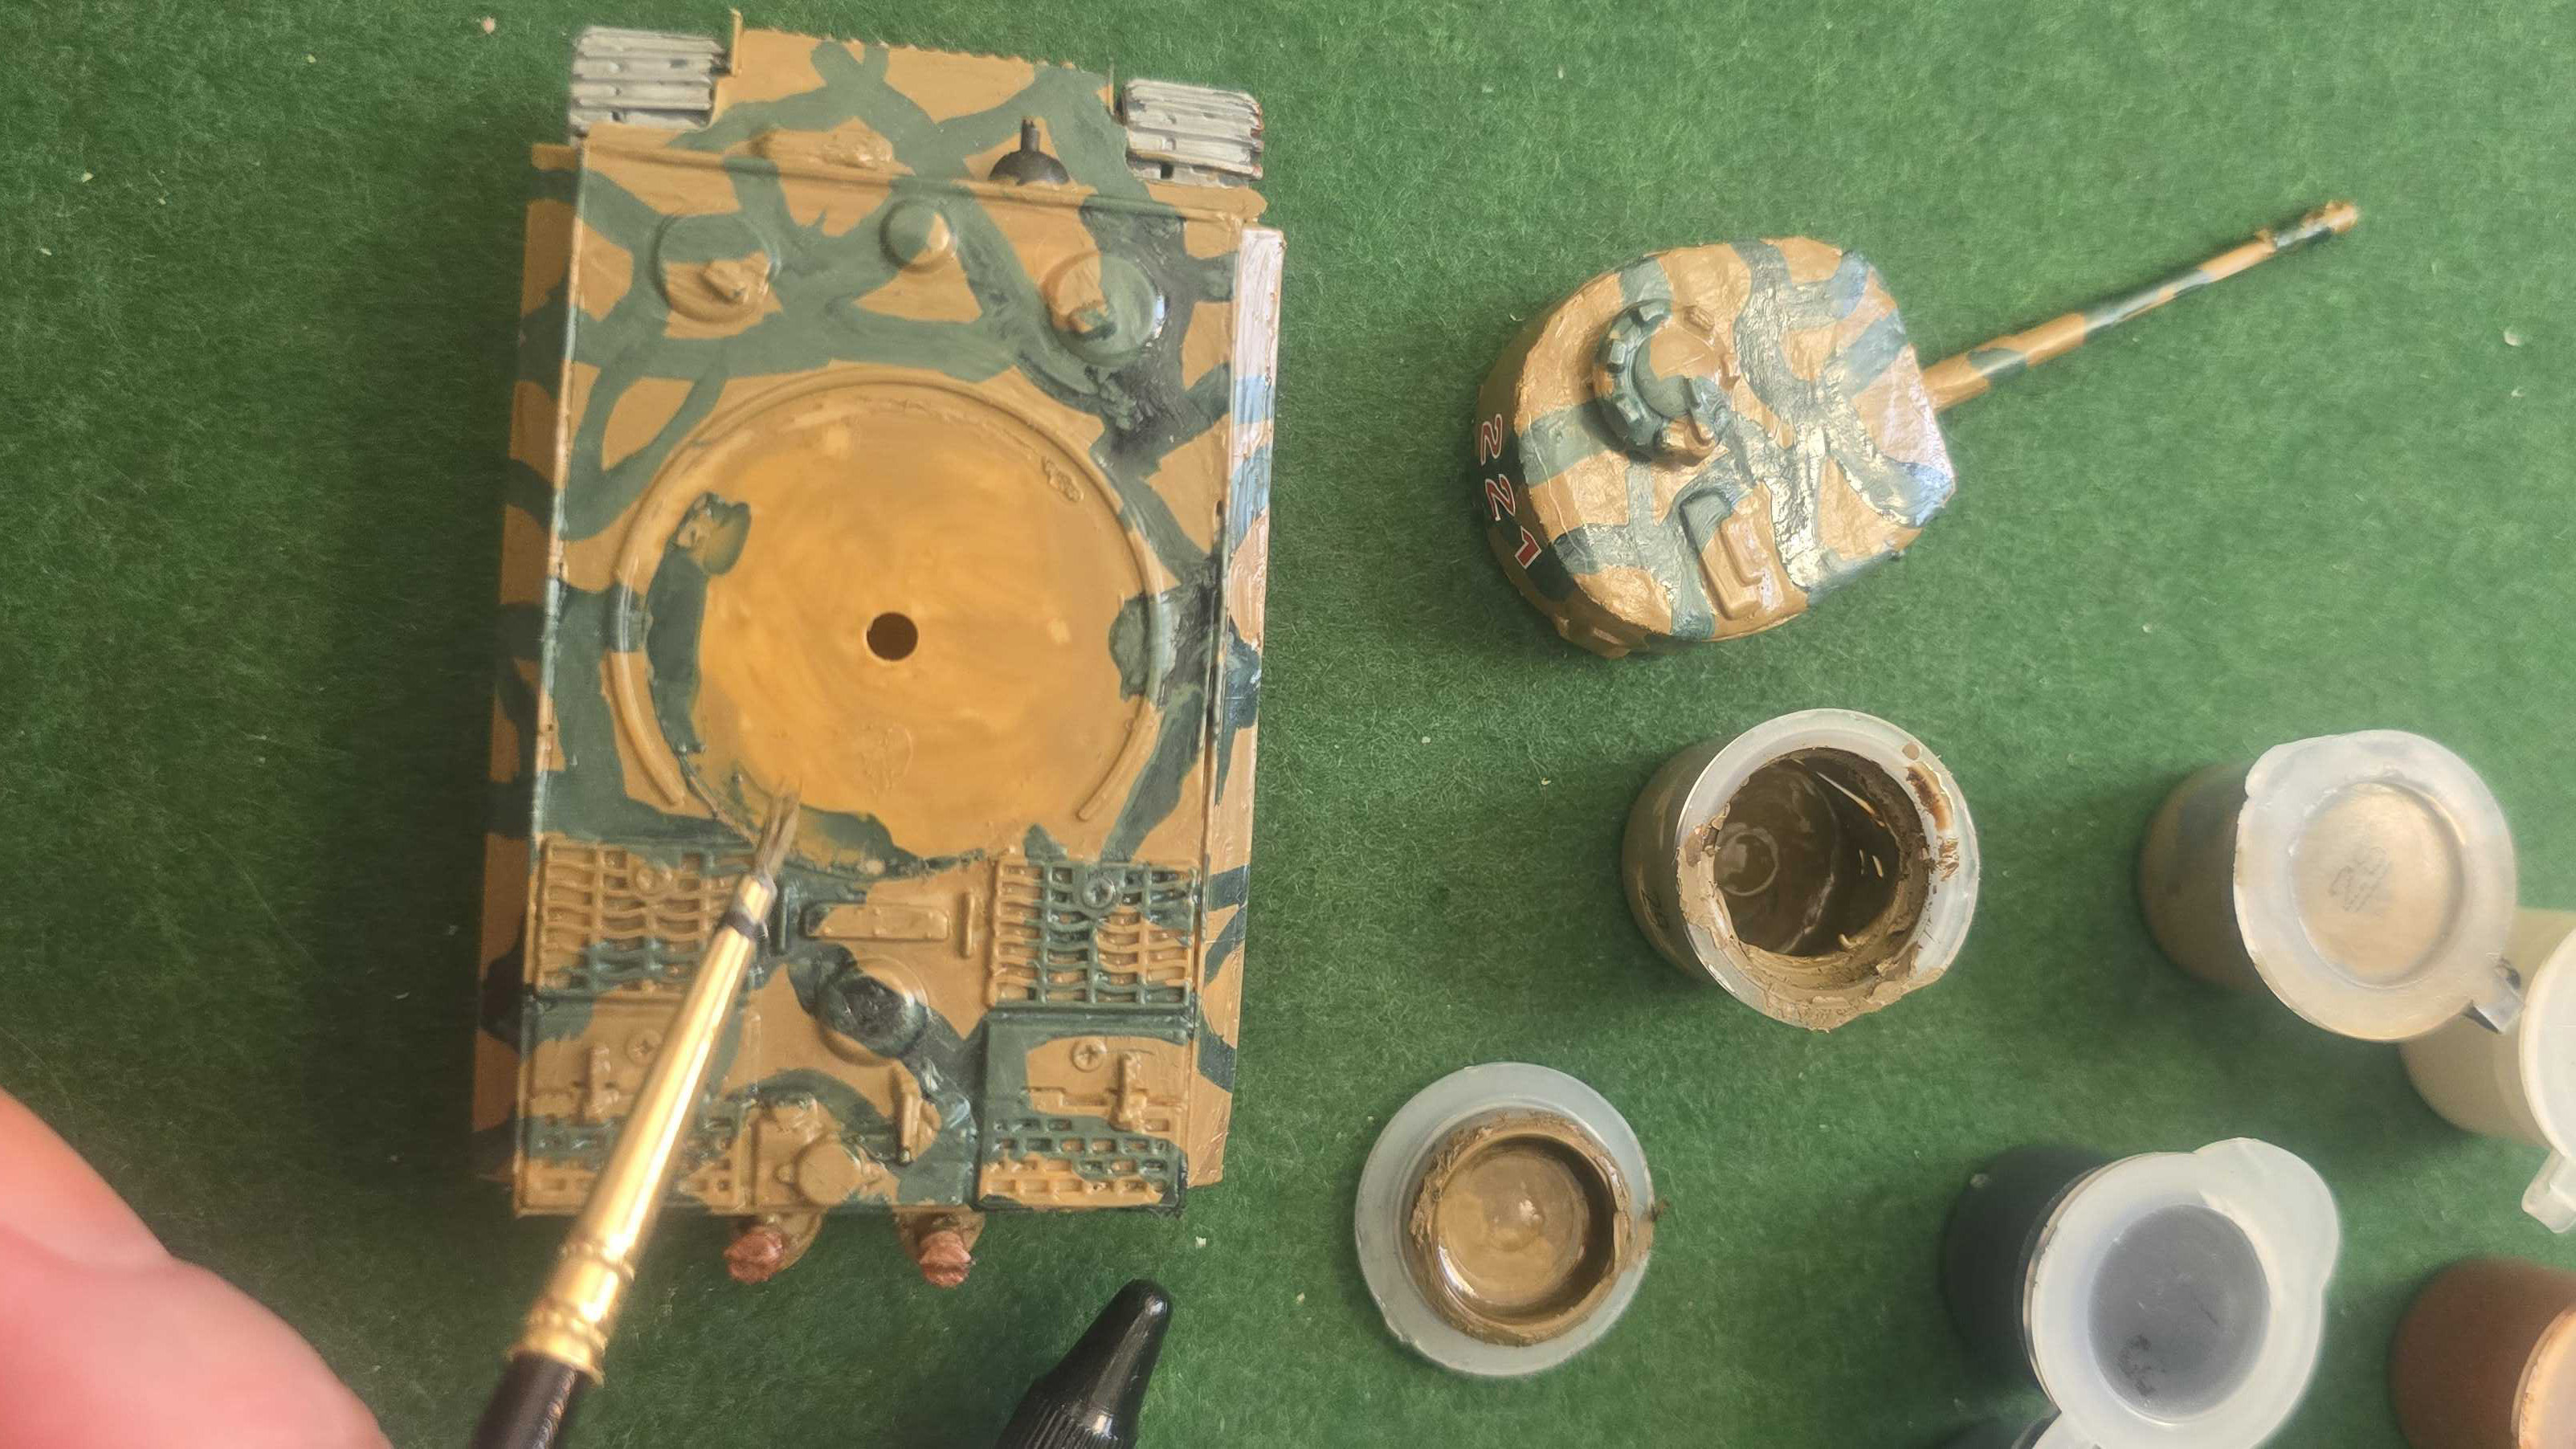
Assembling and painting
The set comes with everything you need, except for some kind of heat gun to weld the tank tracks together, however, you can get around that.
Use a sharp knife to remove excess plastic when you take each piece out from the holder. It's easier to assemble things like the wheels all in one go before attempting to fit them to the tank. It's also easier if you paint them once assembled, before fitting them to the tank.
The best camera deals, reviews, product advice, and unmissable photography news, direct to your inbox!
Small, fiddly parts should also be painted before gluing into position. To apply the decals, soak them in a small dish of water and use any thin, flat implement to lift and apply them.
Shooting the scene
1. Avengers assemble!
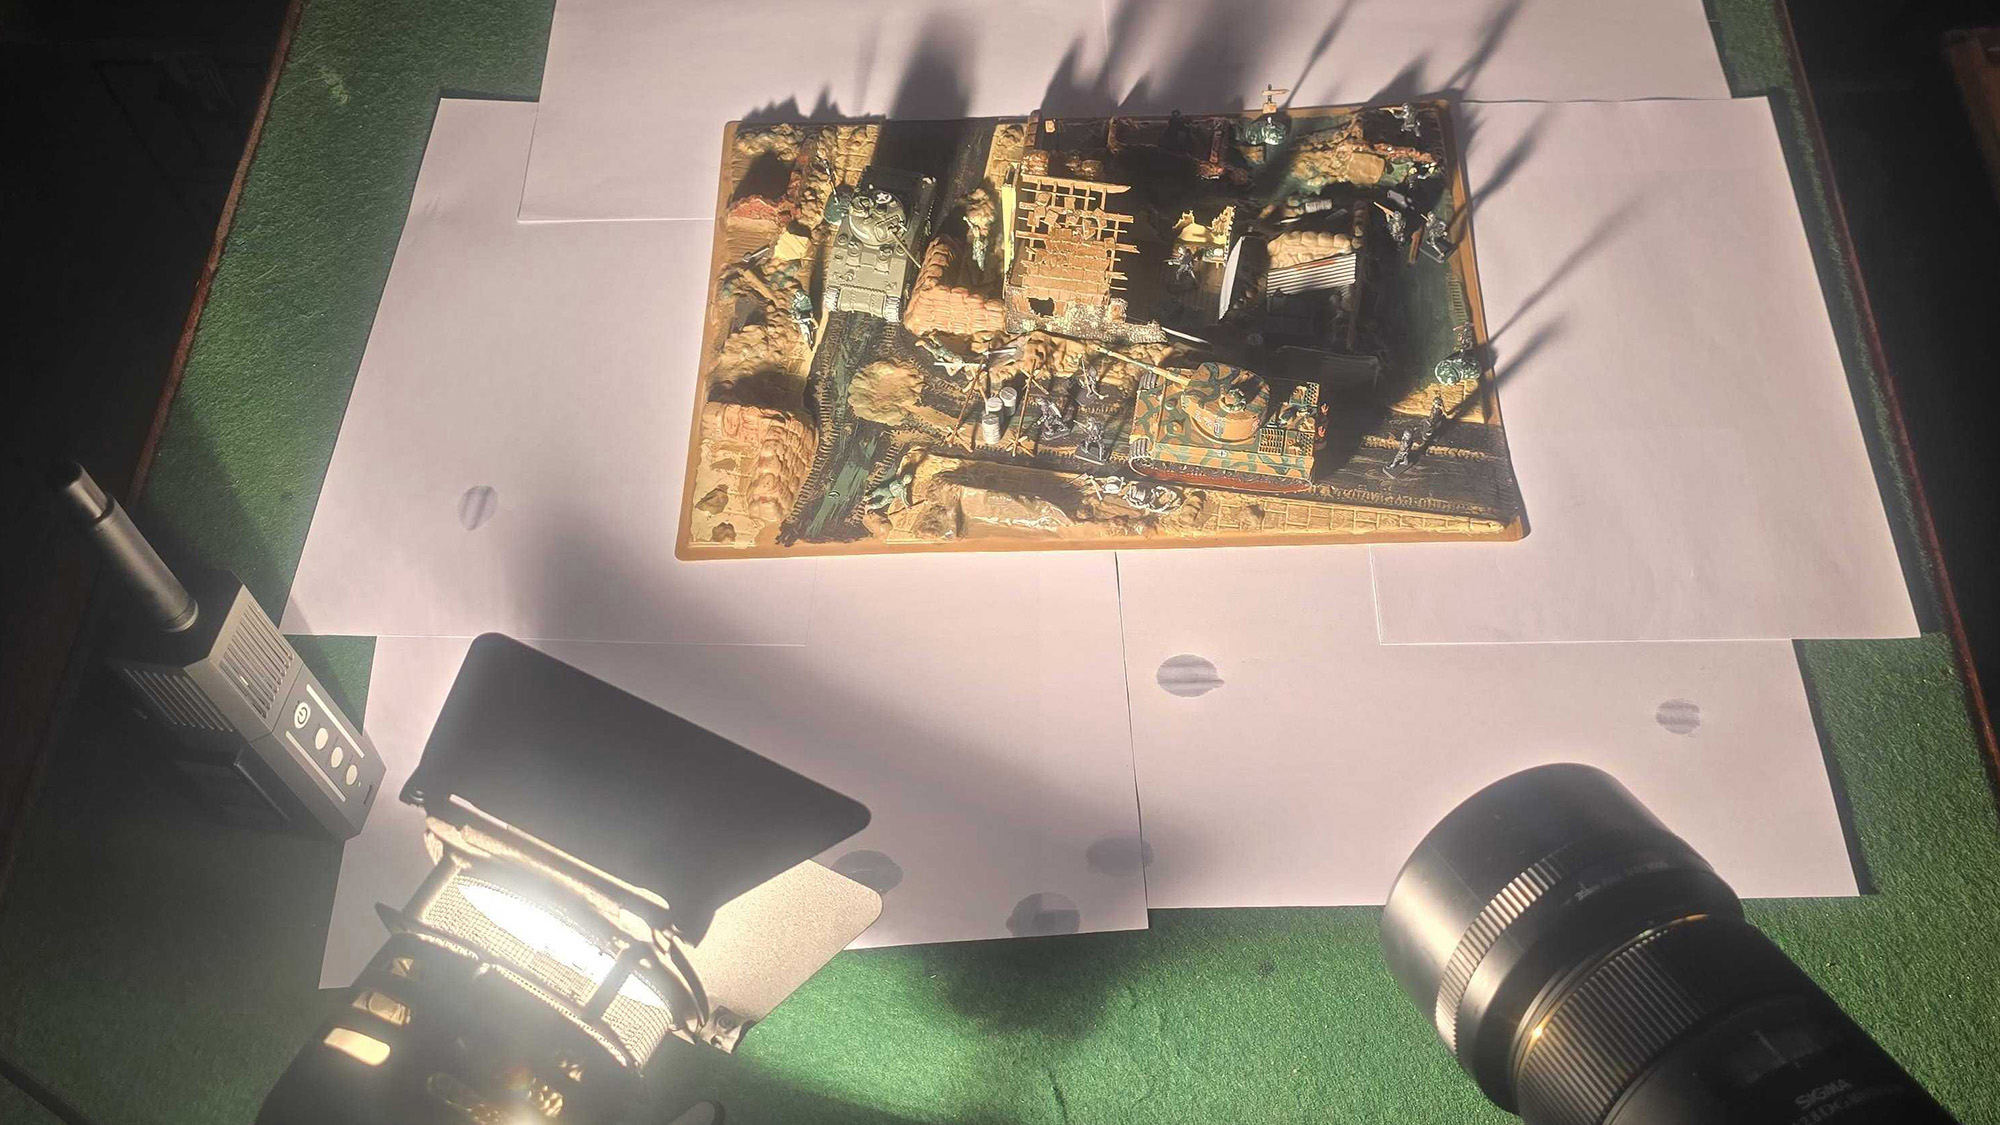
Once the diorama is complete, it's time to organize how to shoot it. It's important not to have too much empty space at the back of the photo where the diorama ends. I set the camera up so that the Sherman was at one end and the Tiger at the other.
2. Dial in the settings
Using a Sigma 105mm macro lens, I focused on the paratrooper at the corner of the house. An aperture of f/22 put everything else into focus, whereas f/3.5 made everything else too diffuse. F/8 meant that the paratrooper was sharp and the tanks were just out of focus.
3. Lighting and smoke
What I wanted to get was the fog and chaos of war, so I didn't want everything in focus. The lighting was placed to shine down the street, providing shadows and contrast. Then it was time to fire up a Smoke Ninja to provide smoke effects and take the actual shots.
Post-production work
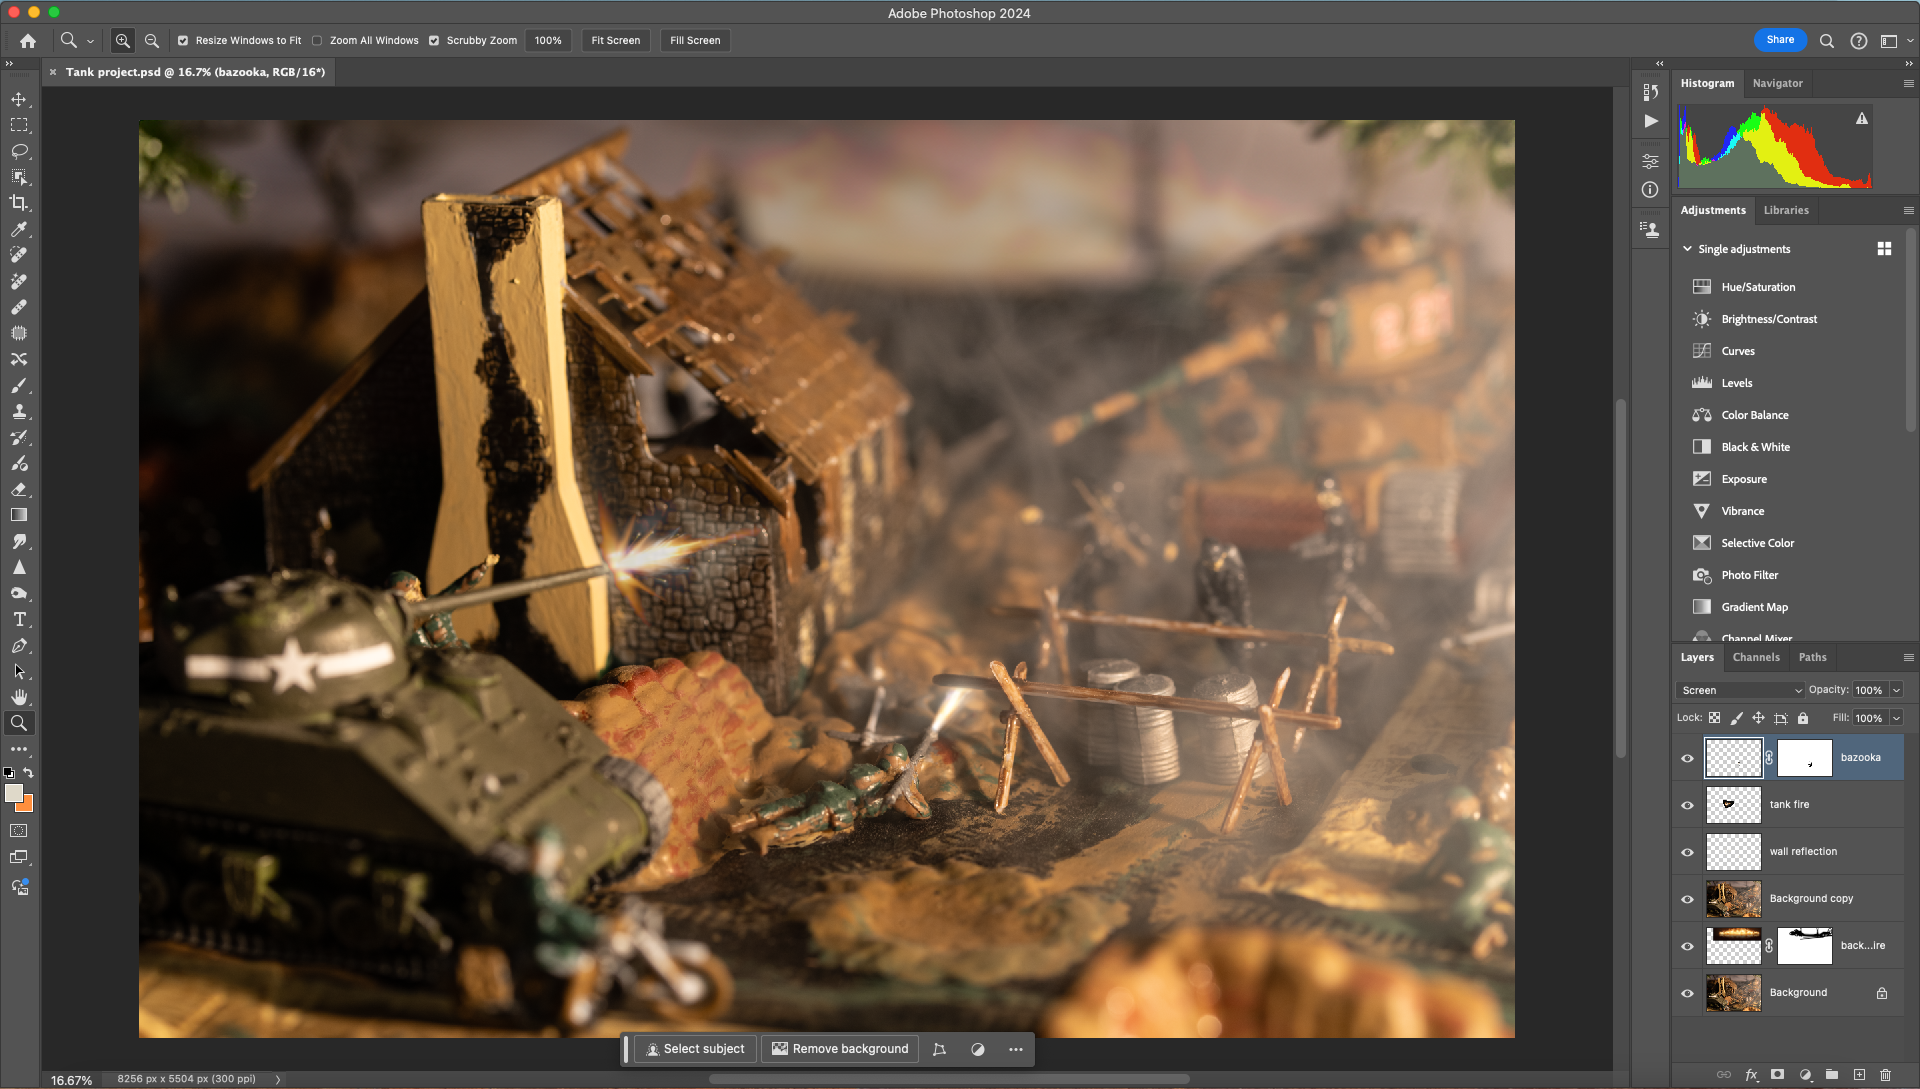
I used Generative Fill to add some tree cover at the back, then I added a flame image to fill the horizon. This was blurred to match the depth of field. Tank and bazooka fire were added and scaled to match the direction of the shots. Finally, a retro filter was used to tone the image.
Digital Camera World is the world’s favorite photography magazine and is packed with the latest news, reviews, tutorials, expert buying advice, tips and inspiring images. Plus, every issue comes with a selection of bonus gifts of interest to photographers of all abilities.
You may also be interested in...
Don't struggle with your kit lens – make sure you're using one of the best macro lenses to shoot miniatures, and combine it with one of the best tripods to keep it all rock solid.

Wendy was the Editor of Digital Photo User for nearly five years, charting the rise of digital cameras and photography from expensive fad to mass market technology. She is a member of the Royal Photographic Society (LRPS) and while originally a Canon film user in the '80s and '90s, went over to the dark side and Nikon with the digital revolution. A second stint in the photography market was at ePHOTOzine, the online photography magazine, and now she's back again as Technique Editor of Digital Camera magazine, the UK's best-selling photography title. She is the author of 13 photography/CGI/Photoshop books, across a range of genres.
- Kim BunermannStaff Writer
You must confirm your public display name before commenting
Please logout and then login again, you will then be prompted to enter your display name.
