The best camera deals, reviews, product advice, and unmissable photography news, direct to your inbox!
You are now subscribed
Your newsletter sign-up was successful
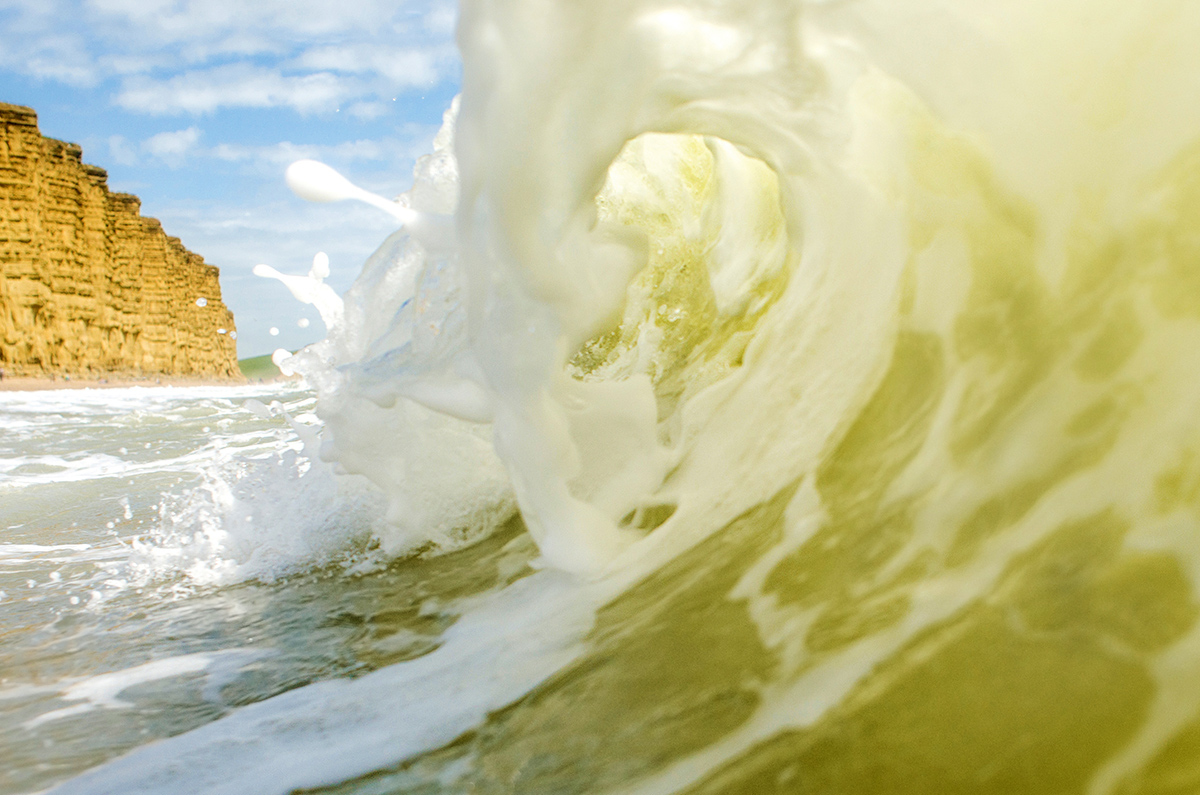
We’ve all sat on the beach with a long lens shooting the waves as they lap against the shore. But have you ever run into the sea with your camera in your hands?
To capture the curl of a wave
Time: 30 minutes
Skill level: Intermediate
Kit needed: DSLR/mirrorless camera, wide-angle lens, waterproof bag or housing, towel
That’s not as crazy as it sounds. With a waterproof bag for your DSLR or mirrorless camera, you can keep your pride and joy dry while hopping in the water and photographing inside a wave.
You’ll need to use a wide-angle lens and pop your camera inside a waterproof bag (or housing). Remember to bring a towel as well so you can dry off afterwards.
Checking the tidal swell online and punching in a couple of settings beforehand is really important, too. As long as you prepare for this shoot properly, you can come away with some sharp images of the water in no time. So let’s take a dip and get our toes wet…
Step-by-step guide: Sea for yourself
1. Feeling swell
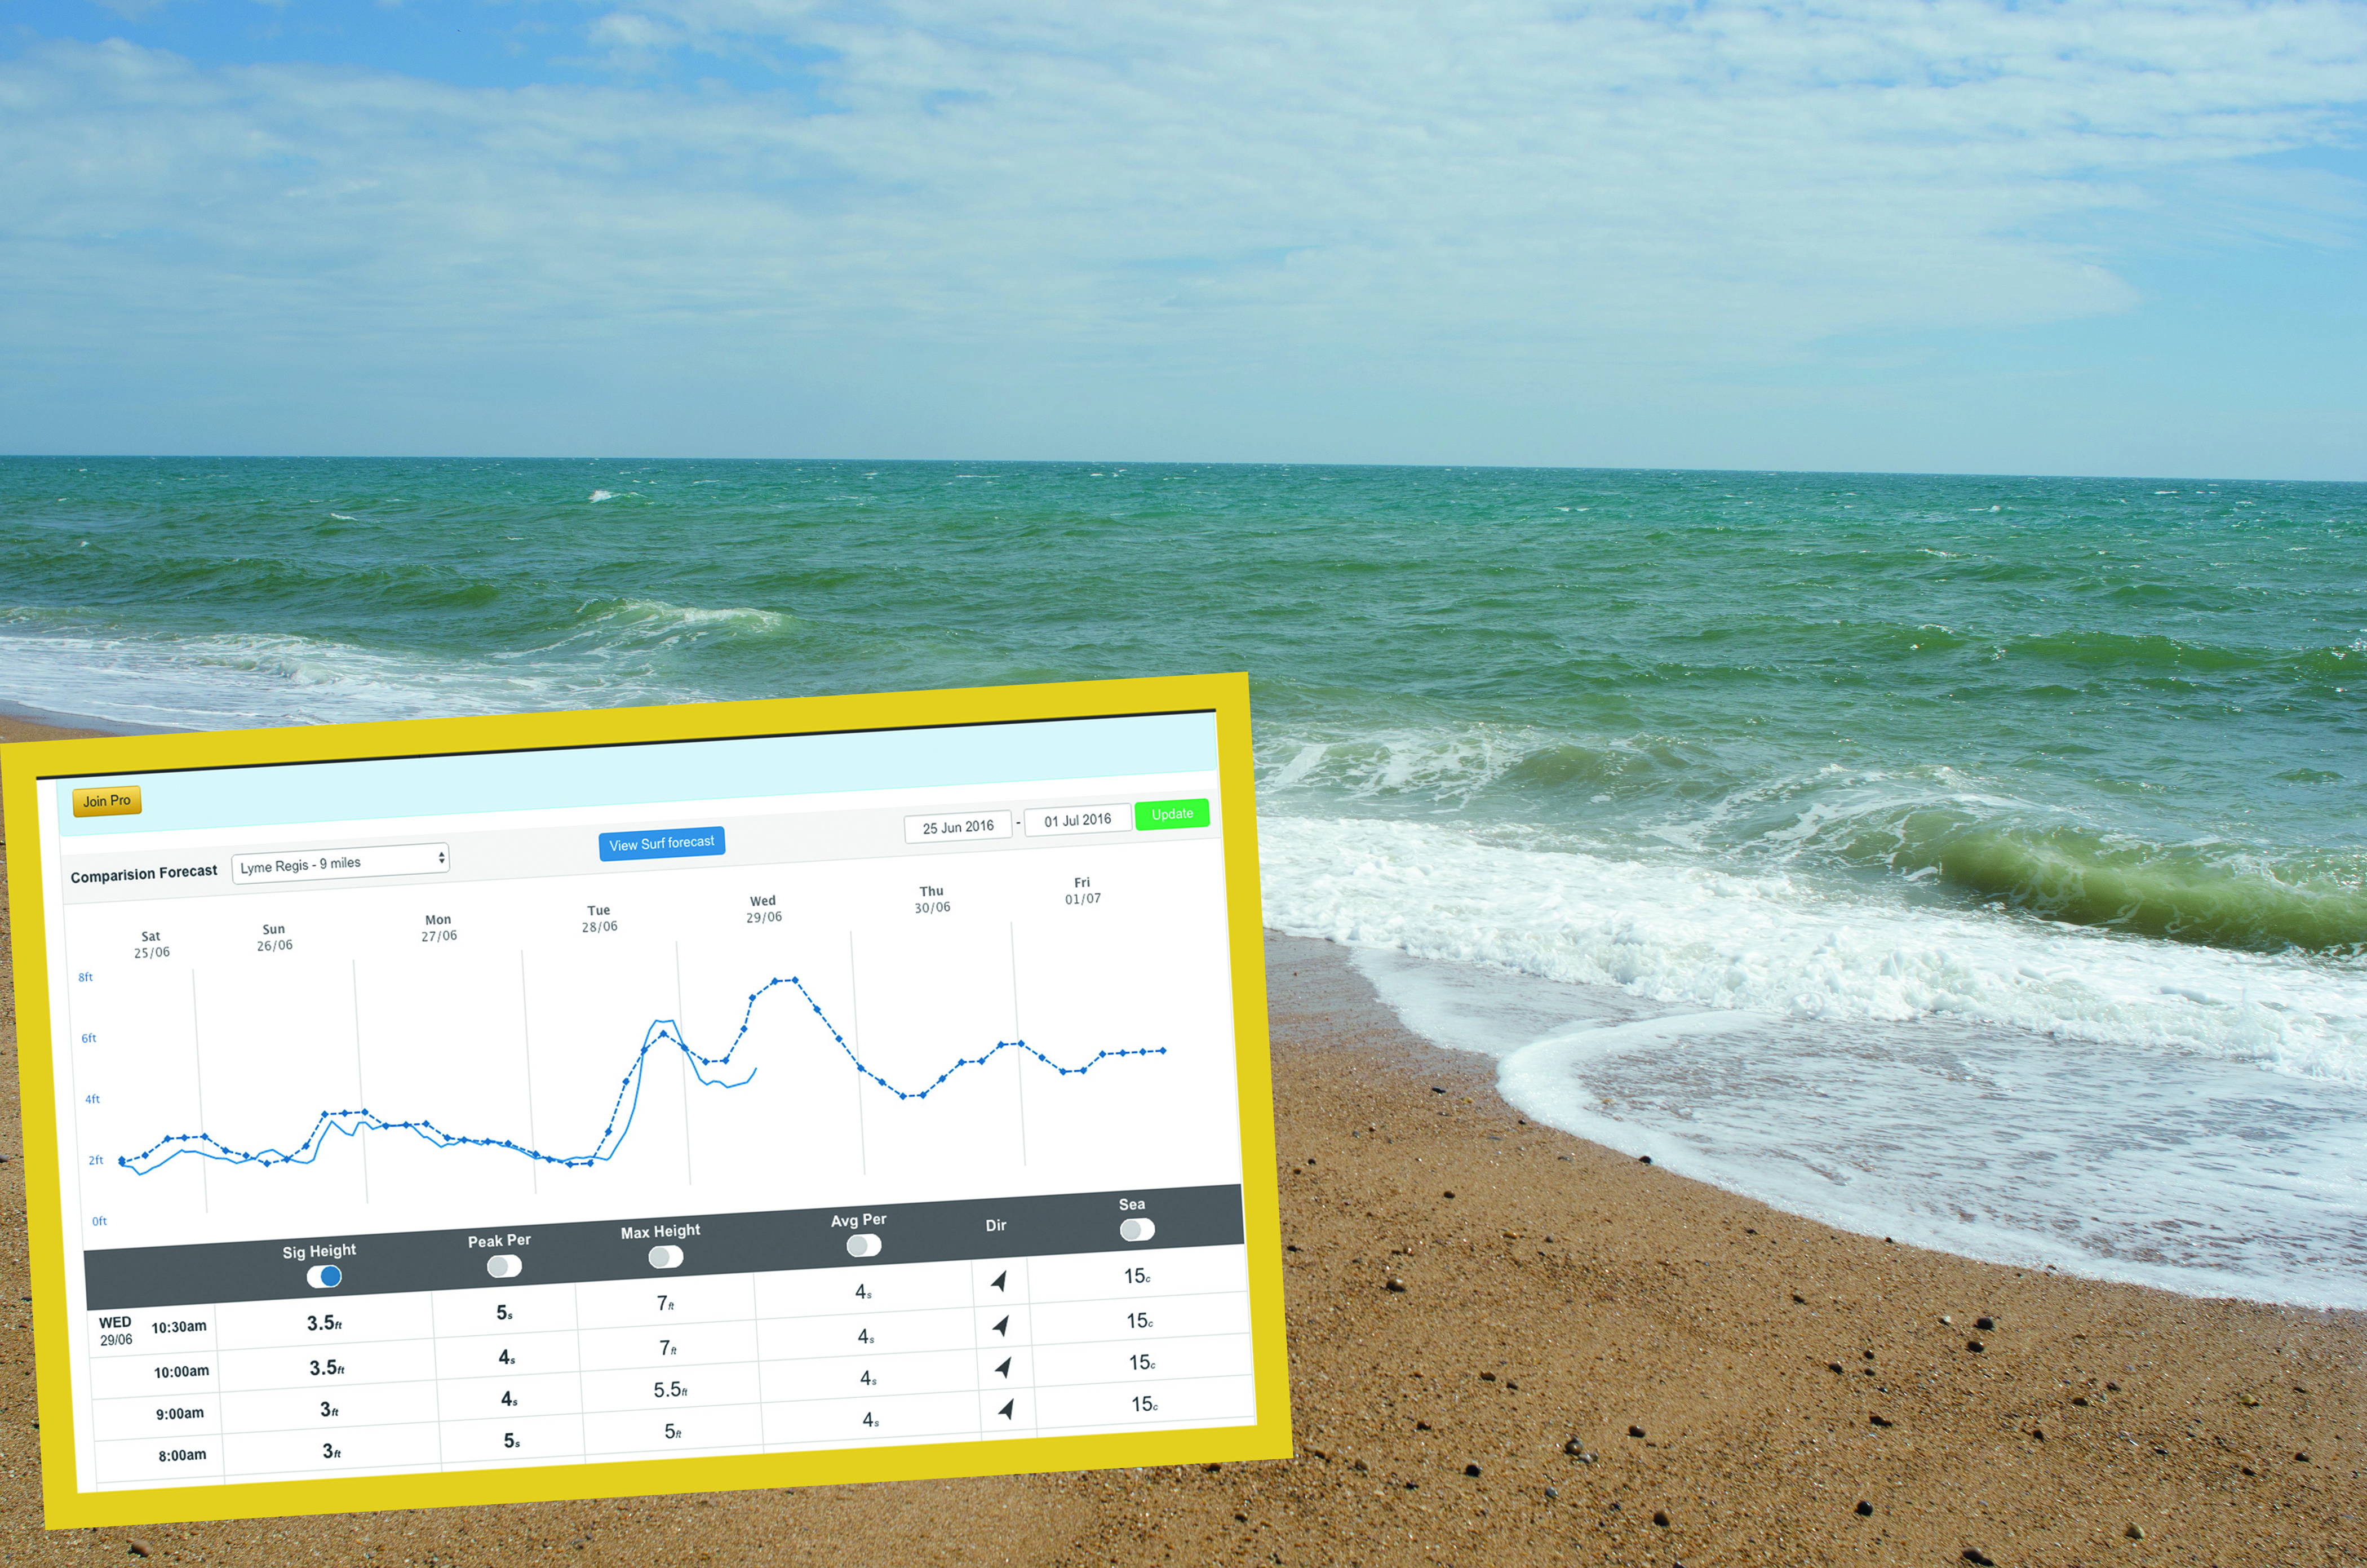
On a shoot like this, weather isn’t as important as tidal swell and wind speed/direction. To find out the size of the surf in your location use the website magicseaweed.com (or the MSW smartphone app) – it’ll tell you the size of waves you can expect over the next week or so.

2. Suits you
The best camera deals, reviews, product advice, and unmissable photography news, direct to your inbox!
If the weather is good and you just want to have a play with your camera, pop some old shorts and a T-shirt on, but if the weather is bad, or you’re taking things a bit more seriously, you’ll be much more comfortable in a wetsuit. Renting one costs about £10/$20 a day.
Read more: The 10 best waterproof cameras right now
It’ll be tricky to look through the viewfinder underwater, if at all, so periodically move back towards the beach and double-check your composition.
3. Bag it up
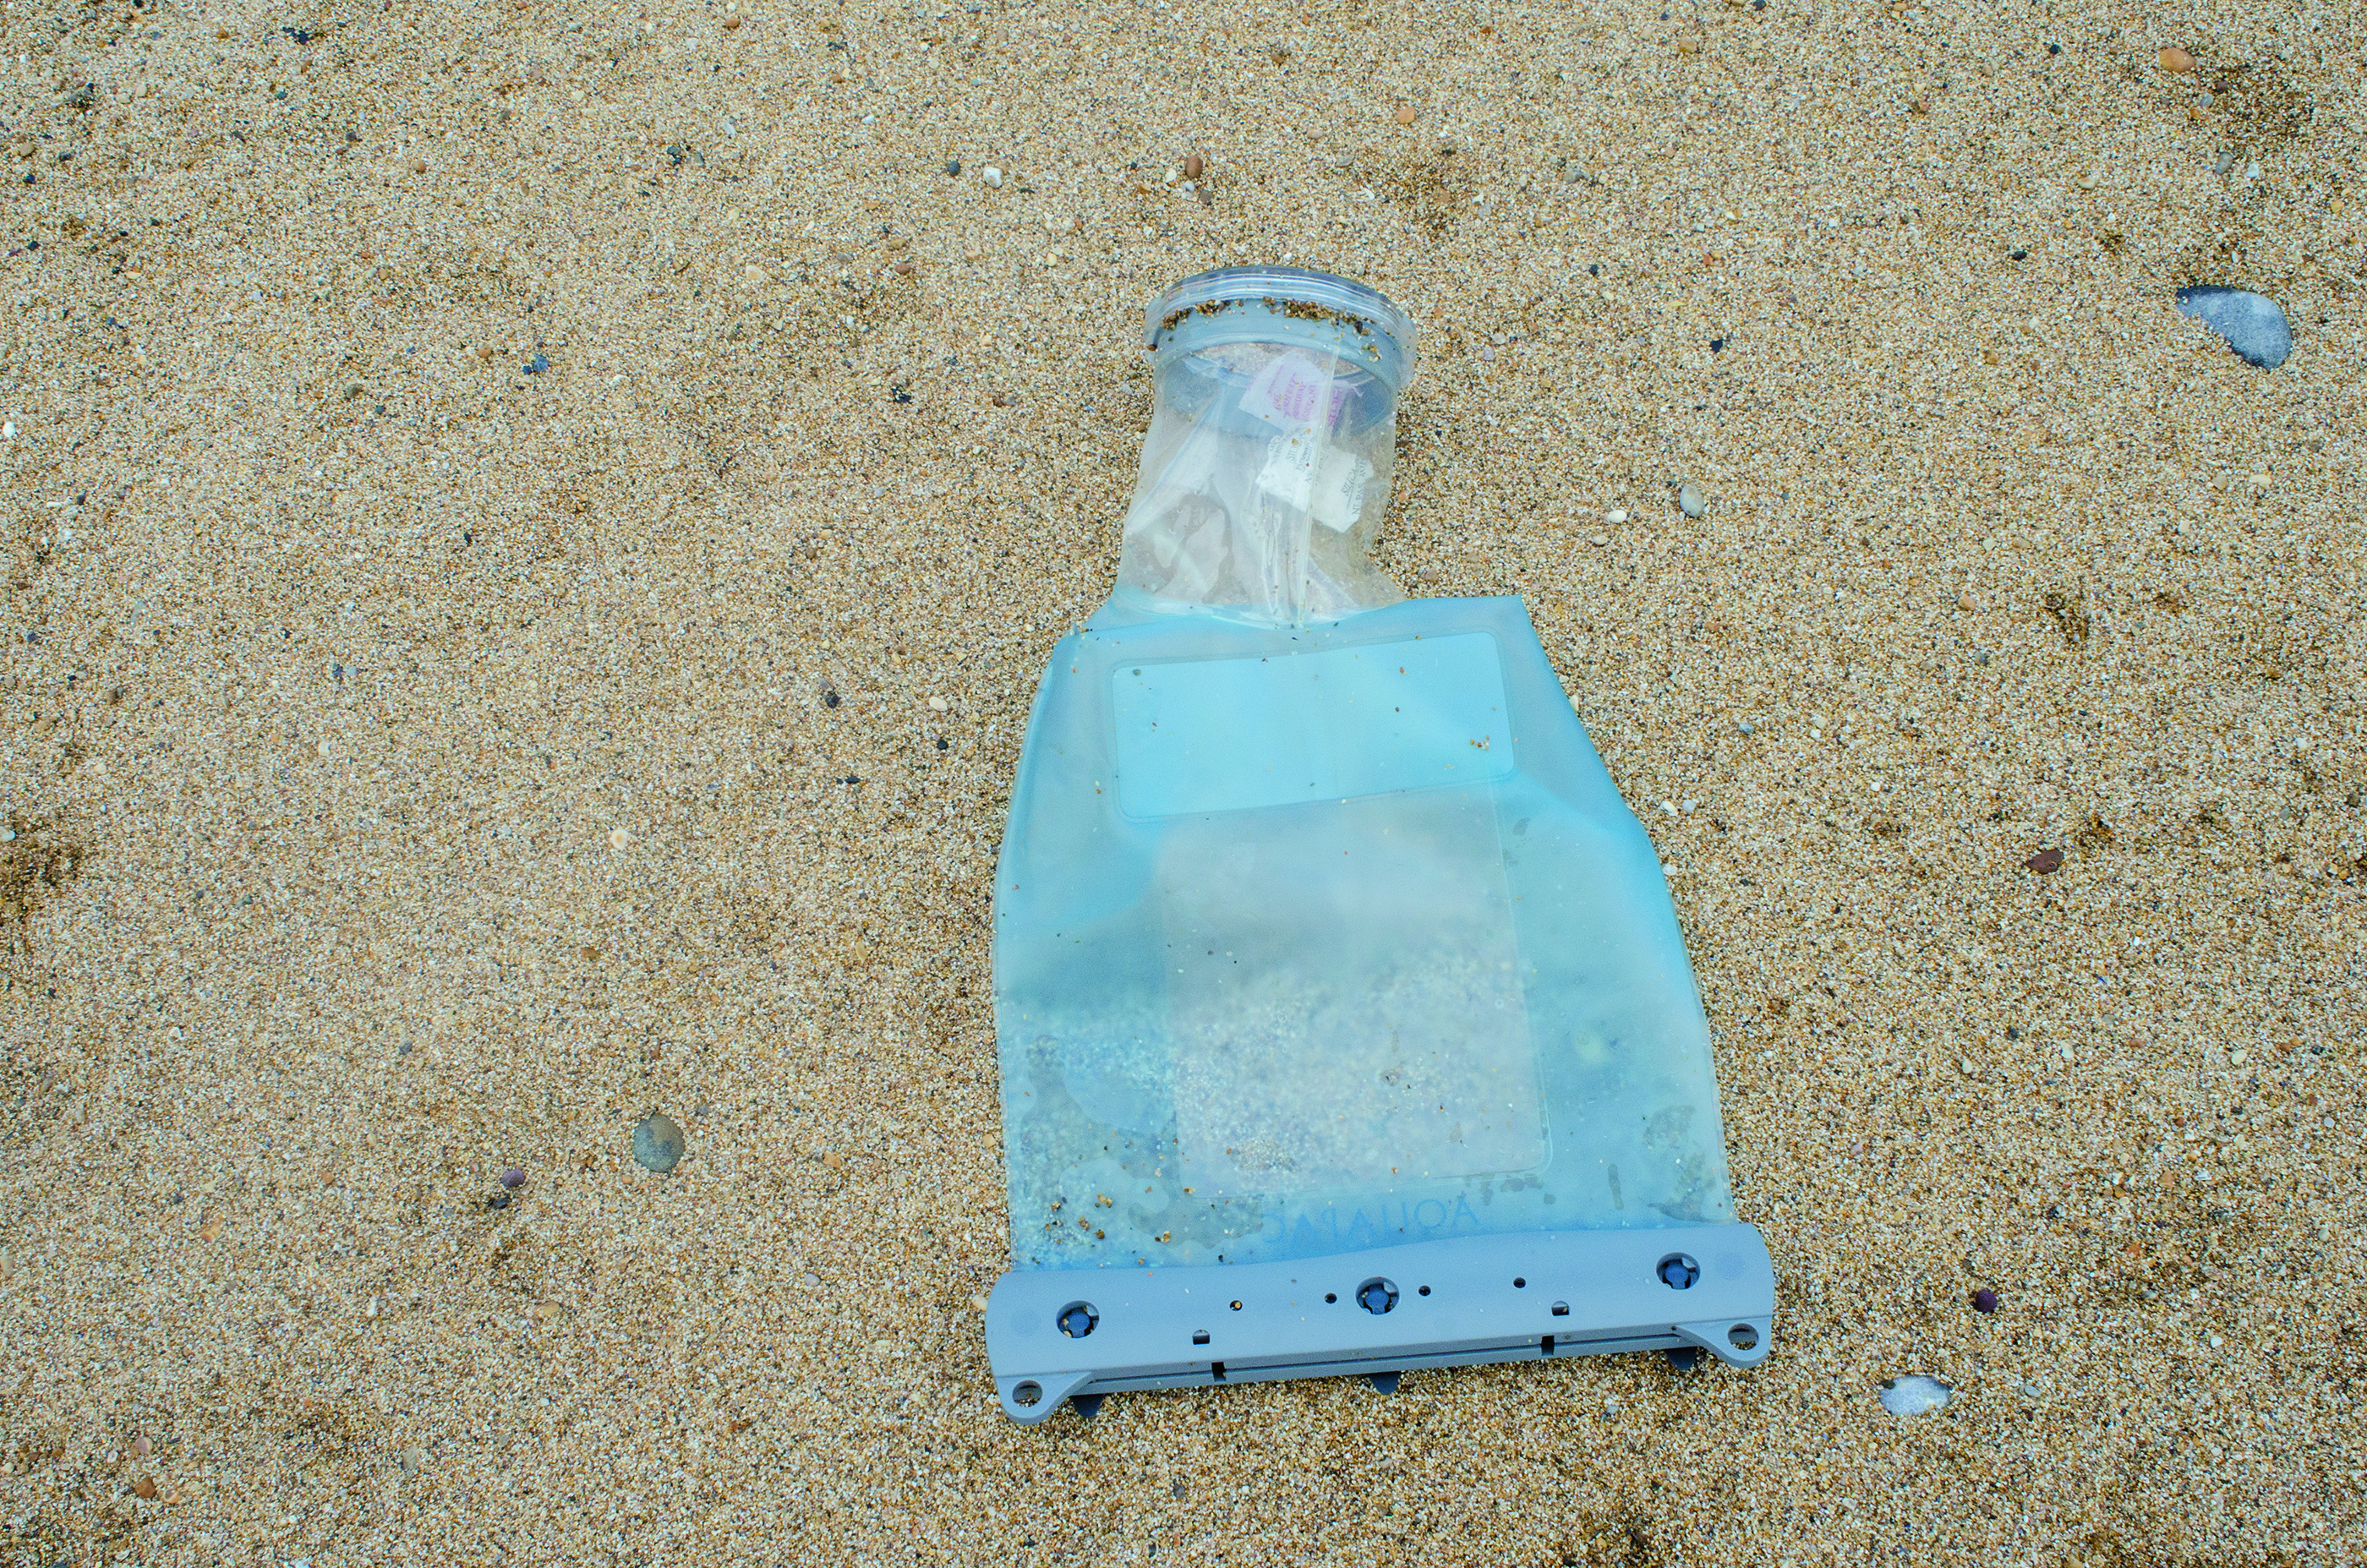
Keep your camera dry by putting it in waterproof housing. Dedicated DSLR waterproof housing can cost thousands, whereas a waterproof DSLR bag costs between £50-£100/$75-$150. We recommend testing the bag without the camera before starting out.
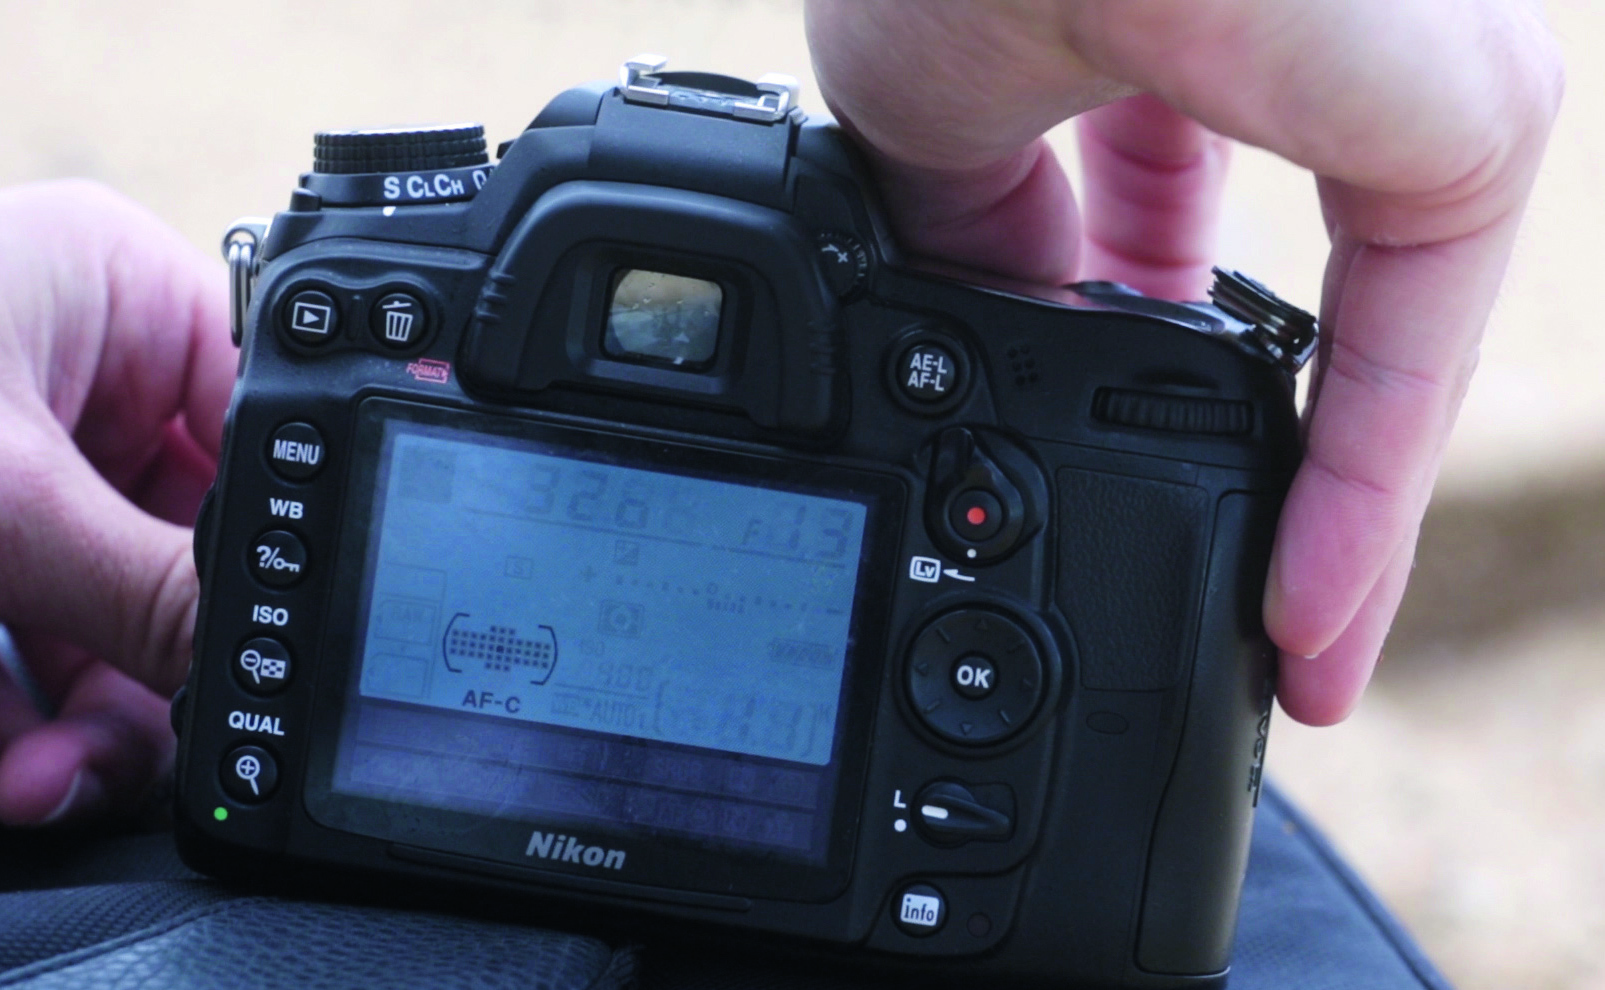
4. Sharp continuous focus
Select AF-C in the autofocusing menu or on your camera body via the relevant control. If you find that it isn’t hitting the mark, put your lens into manual focus and preset the focus to around one to two metres to get the first part of the wave nice and sharp.
Read more: The best action cameras right now
A wide-angle lens will make it easier to focus and include a lot more of your wave in the final shot – which means you don’t have to go too deep into the water to get great results
5. Freeze the seas
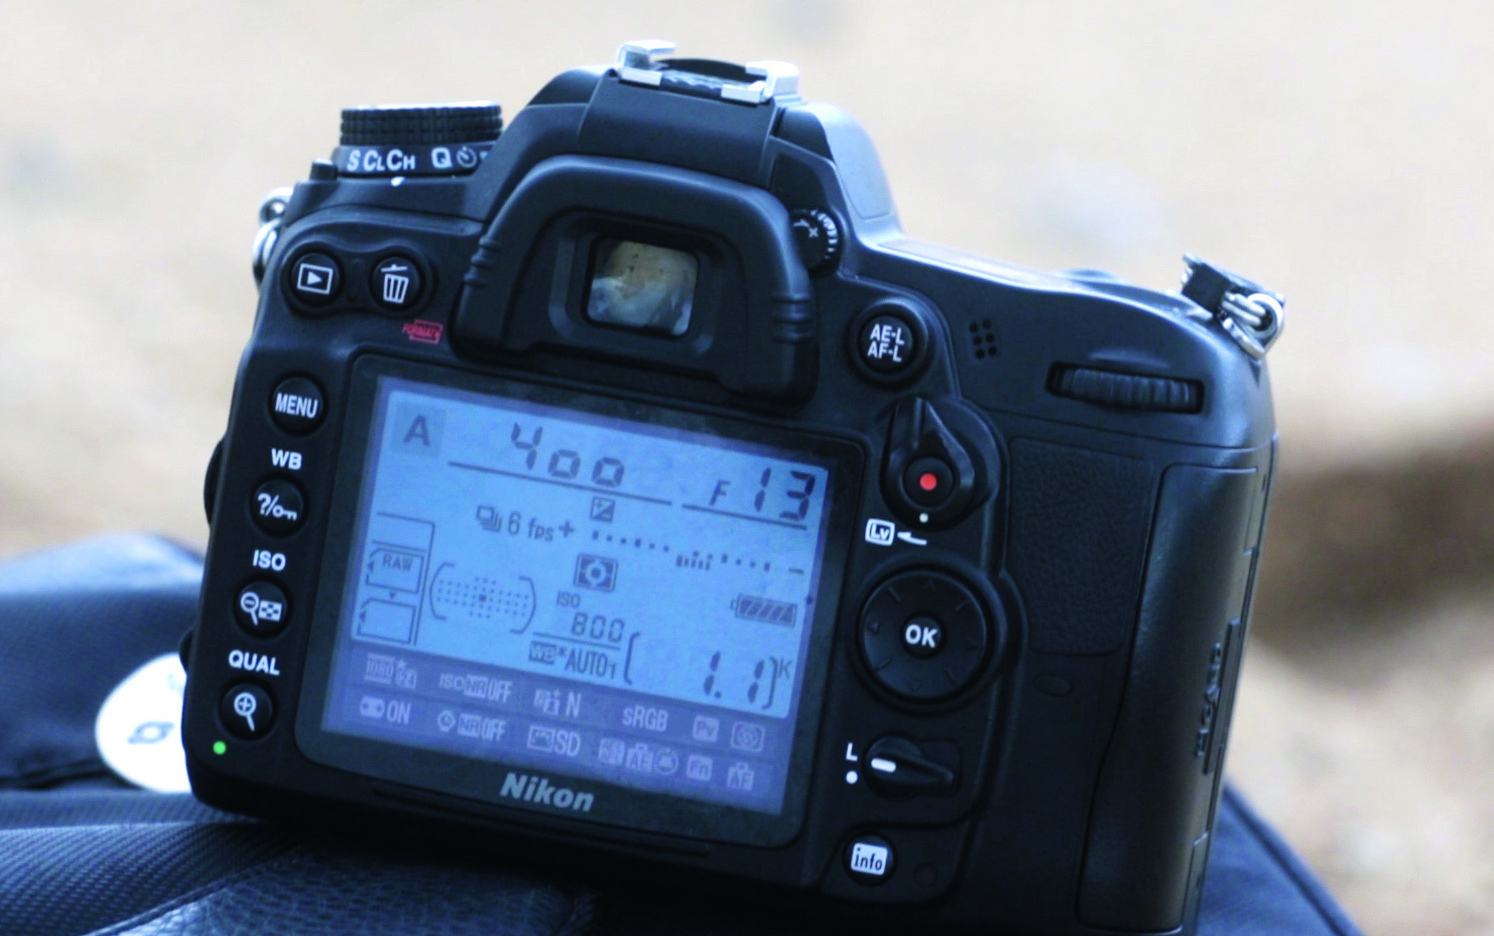
In aperture-priority mode, set an aperture of f/13 to maximise the depth of field and get as much of the scene in focus as possible. Set continuous burst drive on your camera. Choose an ISO between 400-800 to ensure the camera chooses a fast shutter speed to freeze the wave.
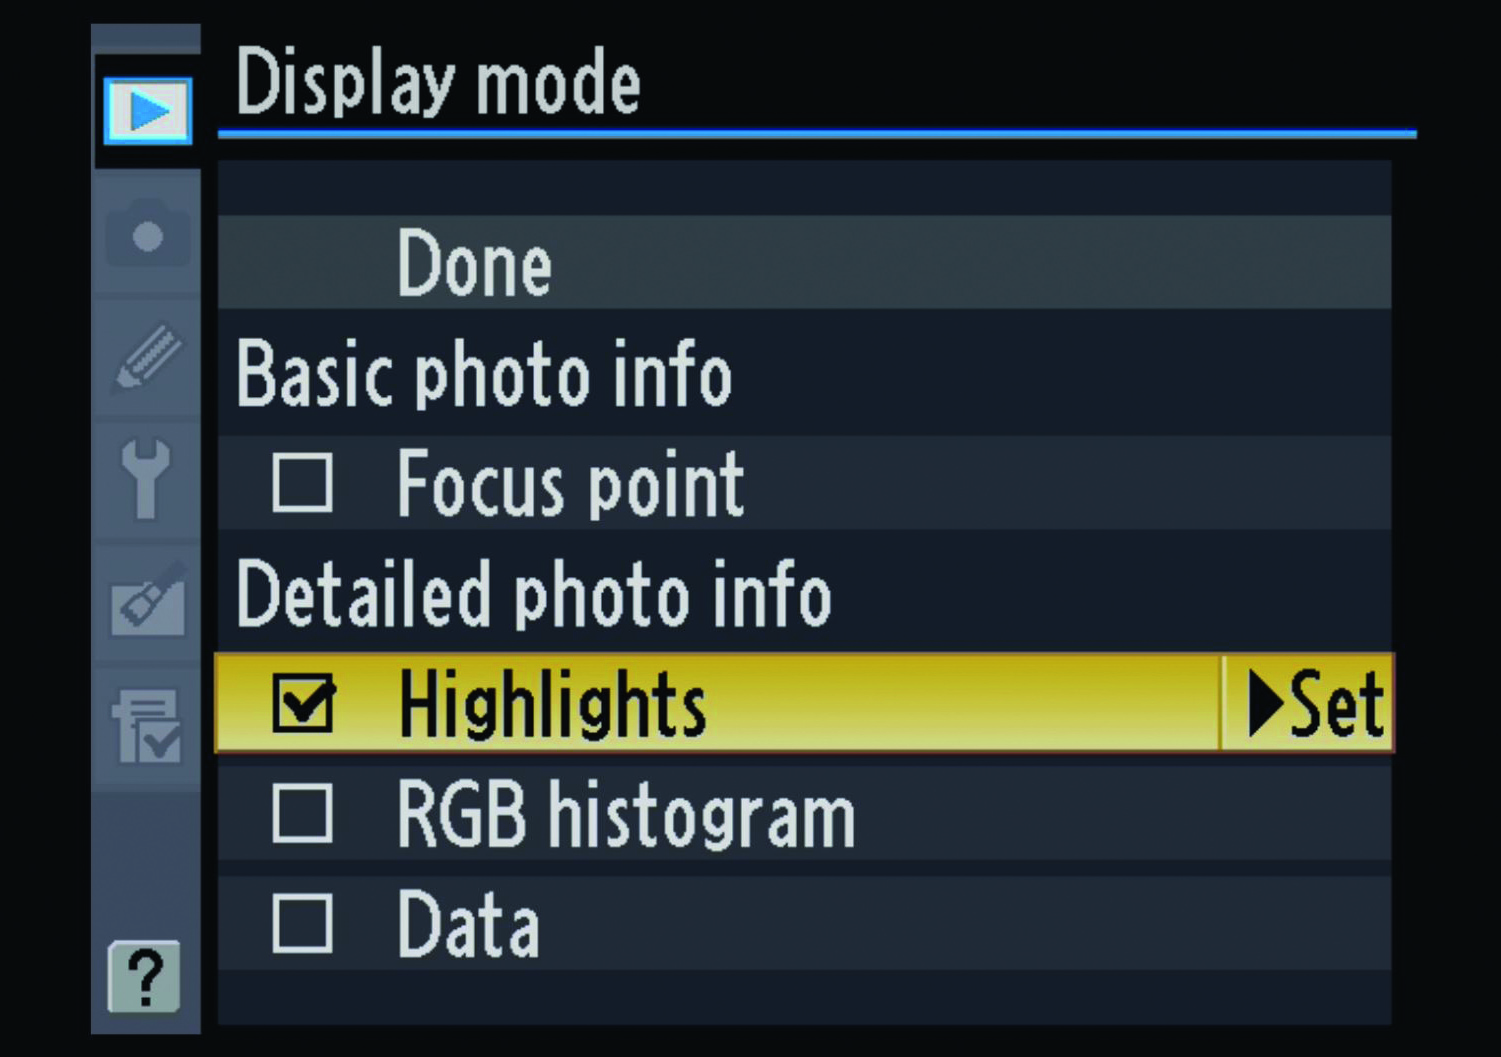
6. Check for clipping
In the Playback menu, under Playback display options make sure Highlights is ticked, then navigate to a photo and use your multi selector to check for clipped highlights – clipped areas will flash. We dialled in -0.67 stops of exposure compensation for this reason.
Read more: How to photograph coastal seascapes
N-Photo: The Nikon Magazine is a monthly publication that's entirely dedicated to Nikon users. As a 100% independent magazine, you can be assured of unbiased opinion from a trustworthy team of devoted photography experts including editor Adam Waring and Deputy Editor Mike Harris.
Aimed at all users, from camera newcomers to working pros, every issue is packed with practical, Nikon-specific advice for taking better photos, in-depth reviews of Nikon-compatible gear, and inspiring projects and exciting video lessons for mastering camera, lens and Photoshop techniques.
Written by Nikon users for Nikon users, N-Photo is your one-stop shop for everything to do with cameras, lenses, tripods, bags, tips, tricks and techniques to get the most out of your photography.

