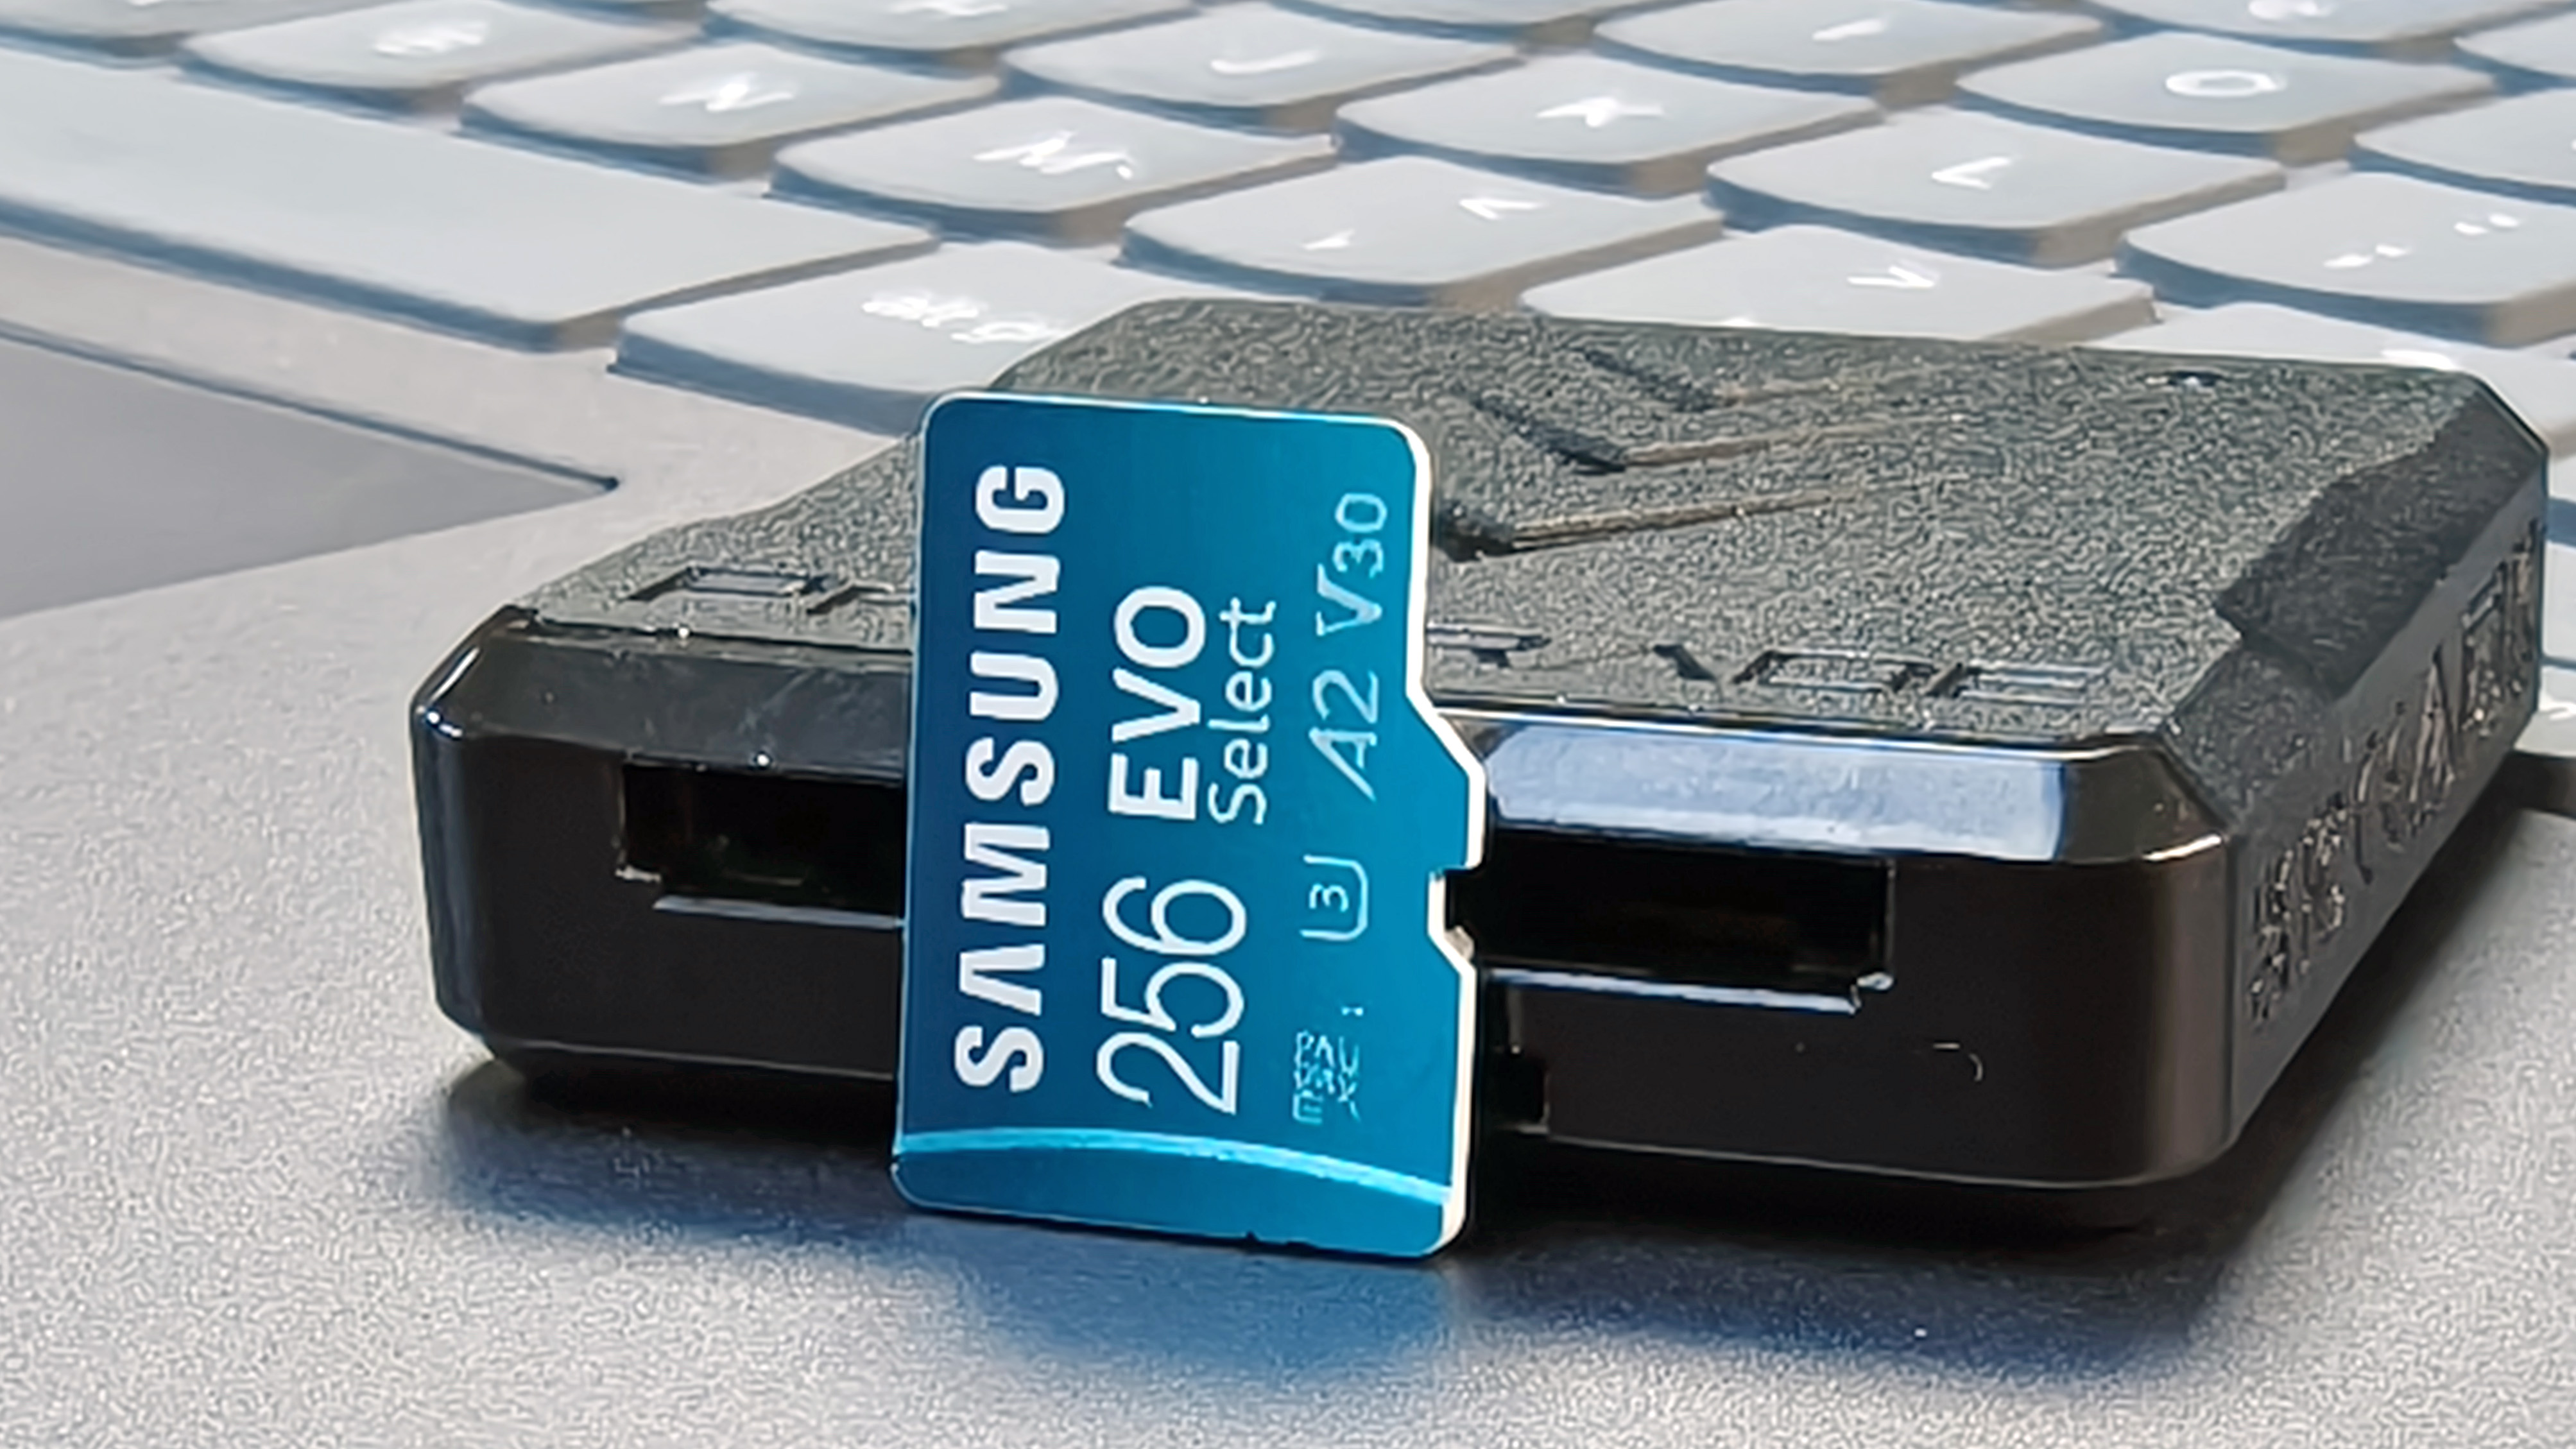
Create a jump to lightspeed effect in Photoshop on Star Wars Day
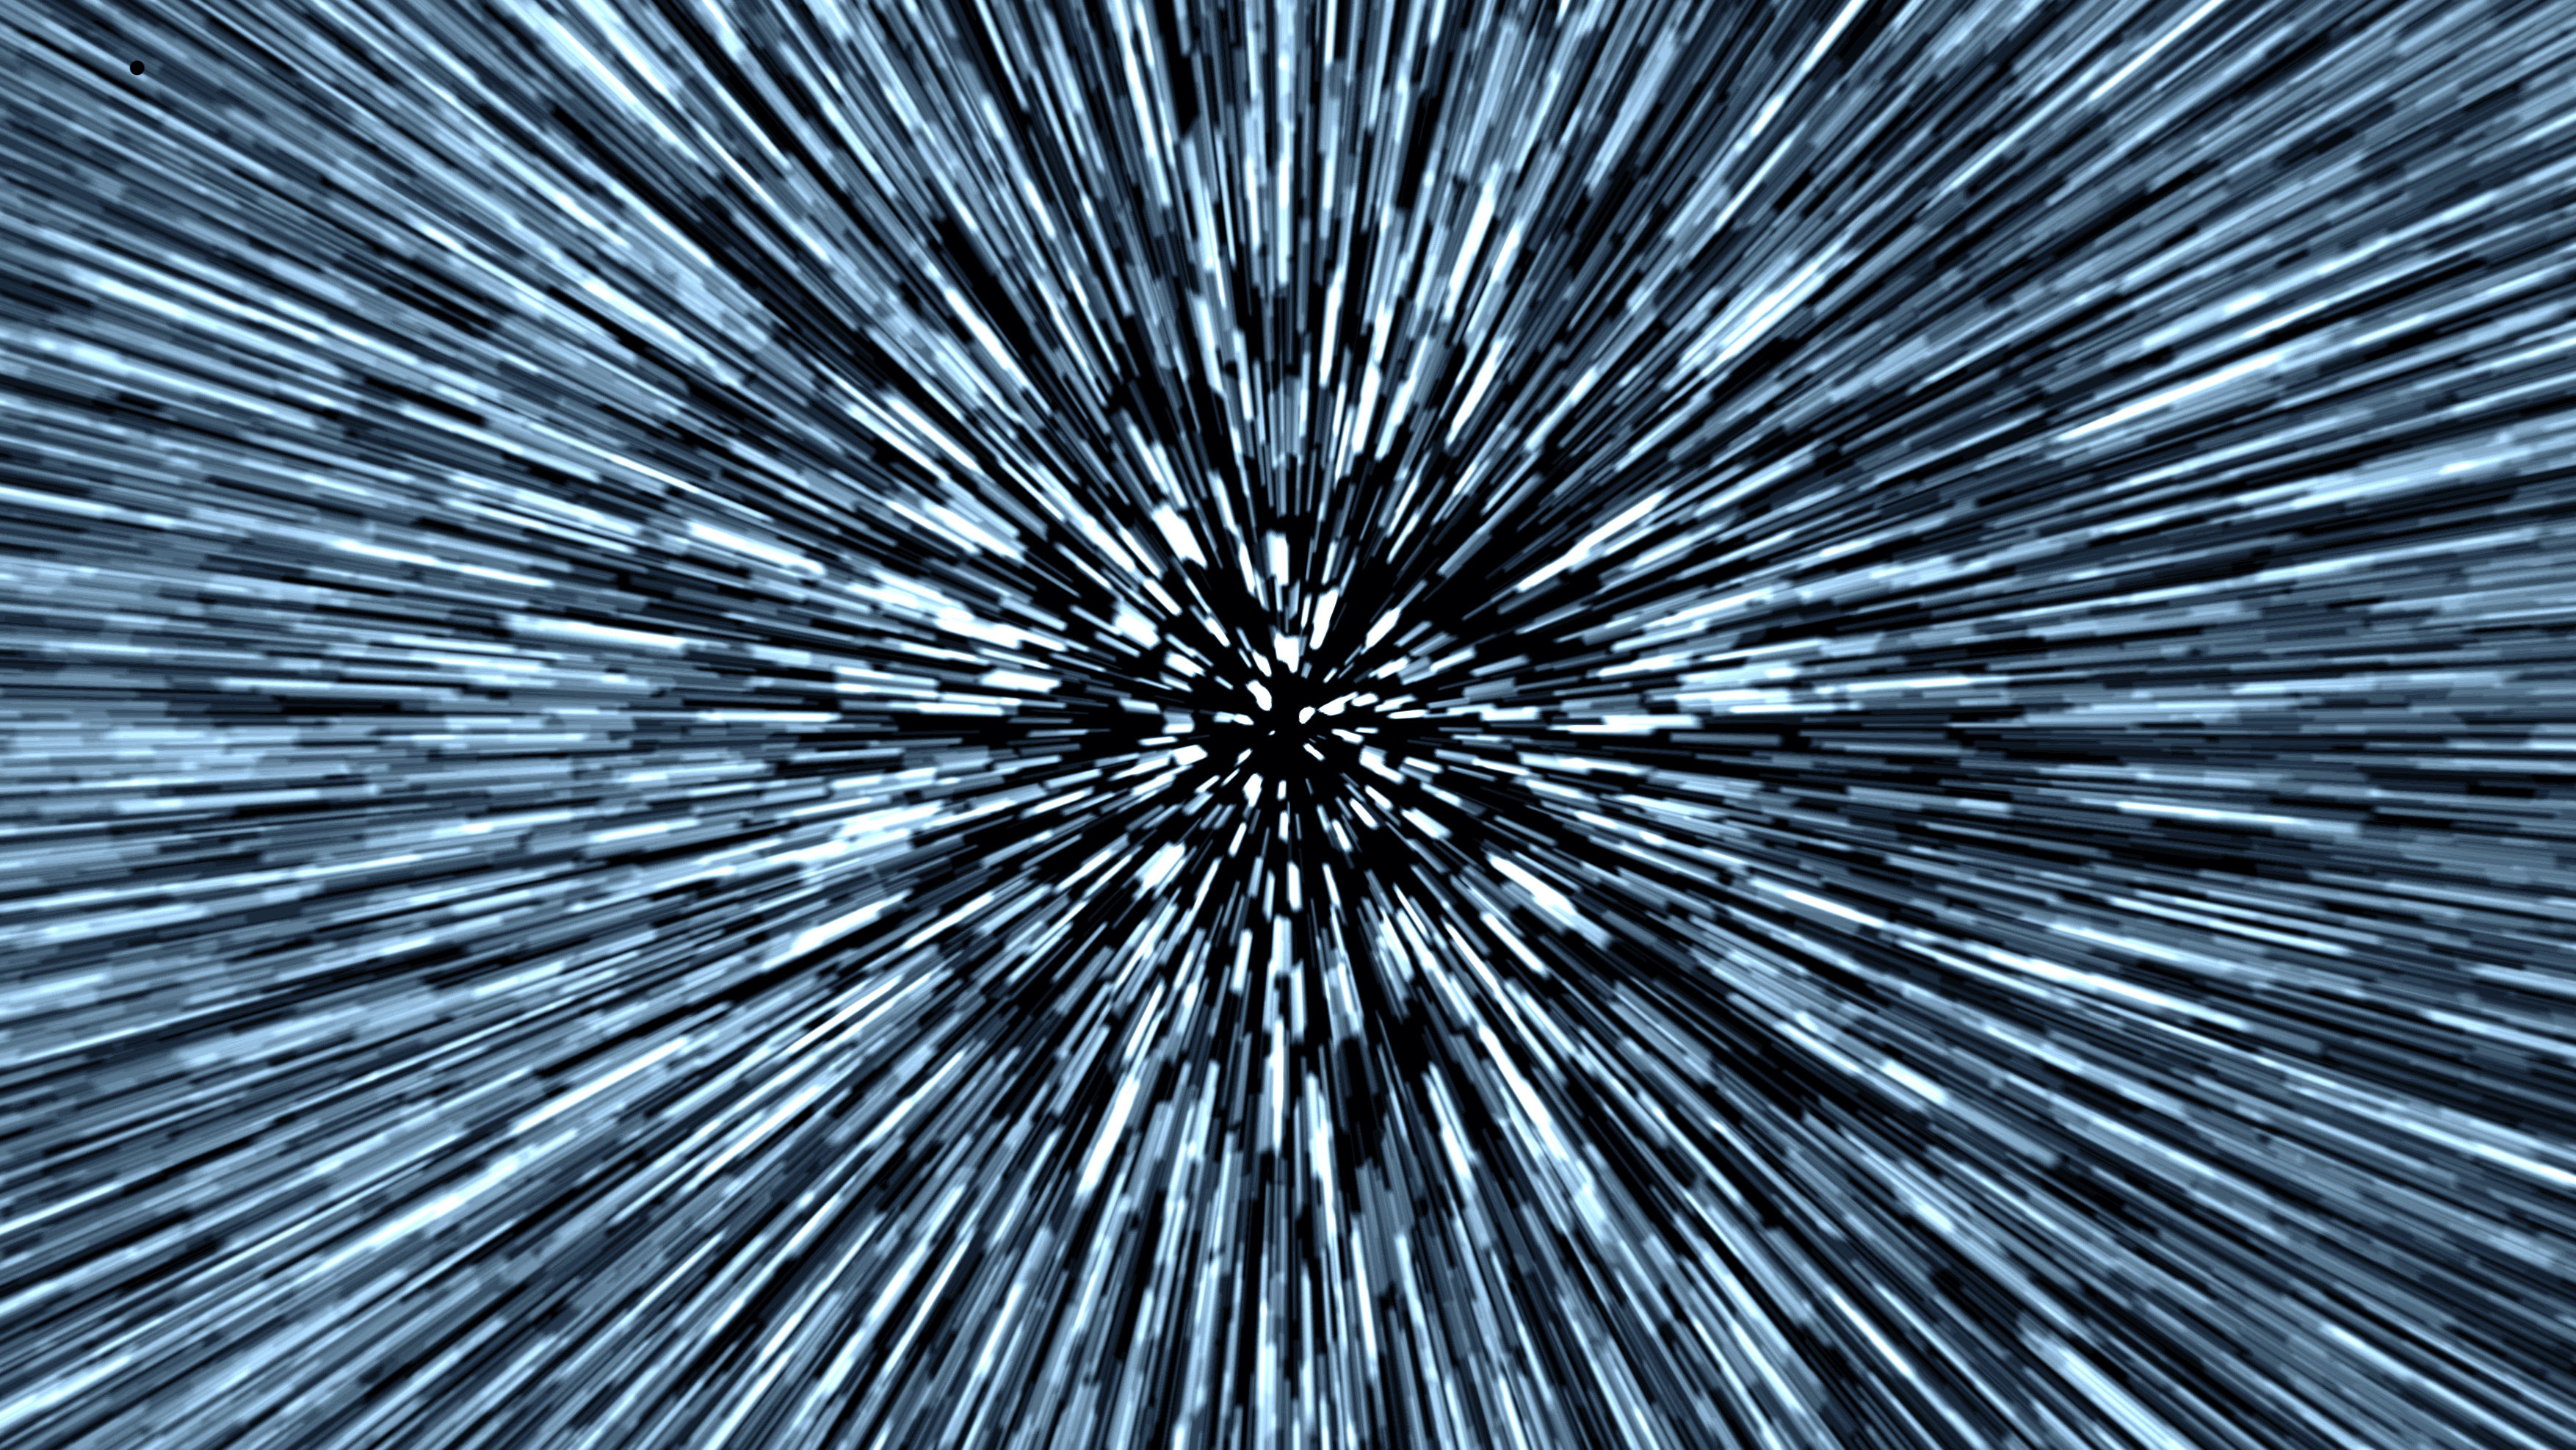
If your hyperdrive’s leaking, why not use Photoshop to create a Star Wars-themed jump to lightspeed effect?
Tips and tutorials
• How to download Photoshop
• 100 Photoshop tips!
• 15 top Photoshop fixes
• More Photoshop tutorials
• Photoshop Elements tutorials
Free Photoshop stuff
• 55 free Photoshop brushes
• 63 free Photoshop templates
• 52 free Photoshop plug ins
• 63 free Photoshop actions
• Free textures for Photoshop
• Free frames and borders
We’ve come a long way since Industrial Light & Magic changed visual effects forever, with its groundbreaking efforts in a galaxy far, far away. Today, powerful software makes it possible to create comparable effects from the comfort of your own home.
So, to celebrate Star Wars Day, we thought we’d show you how to recreate that famous jump to lightspeed effect from scratch. It’s the perfect tutorial to do with your kids, too! All you need is Adobe Photoshop CC (help from a wookie is optional). May the fourth be with you…
• See more Make your own Lightsaber in Photoshop
01 Black background
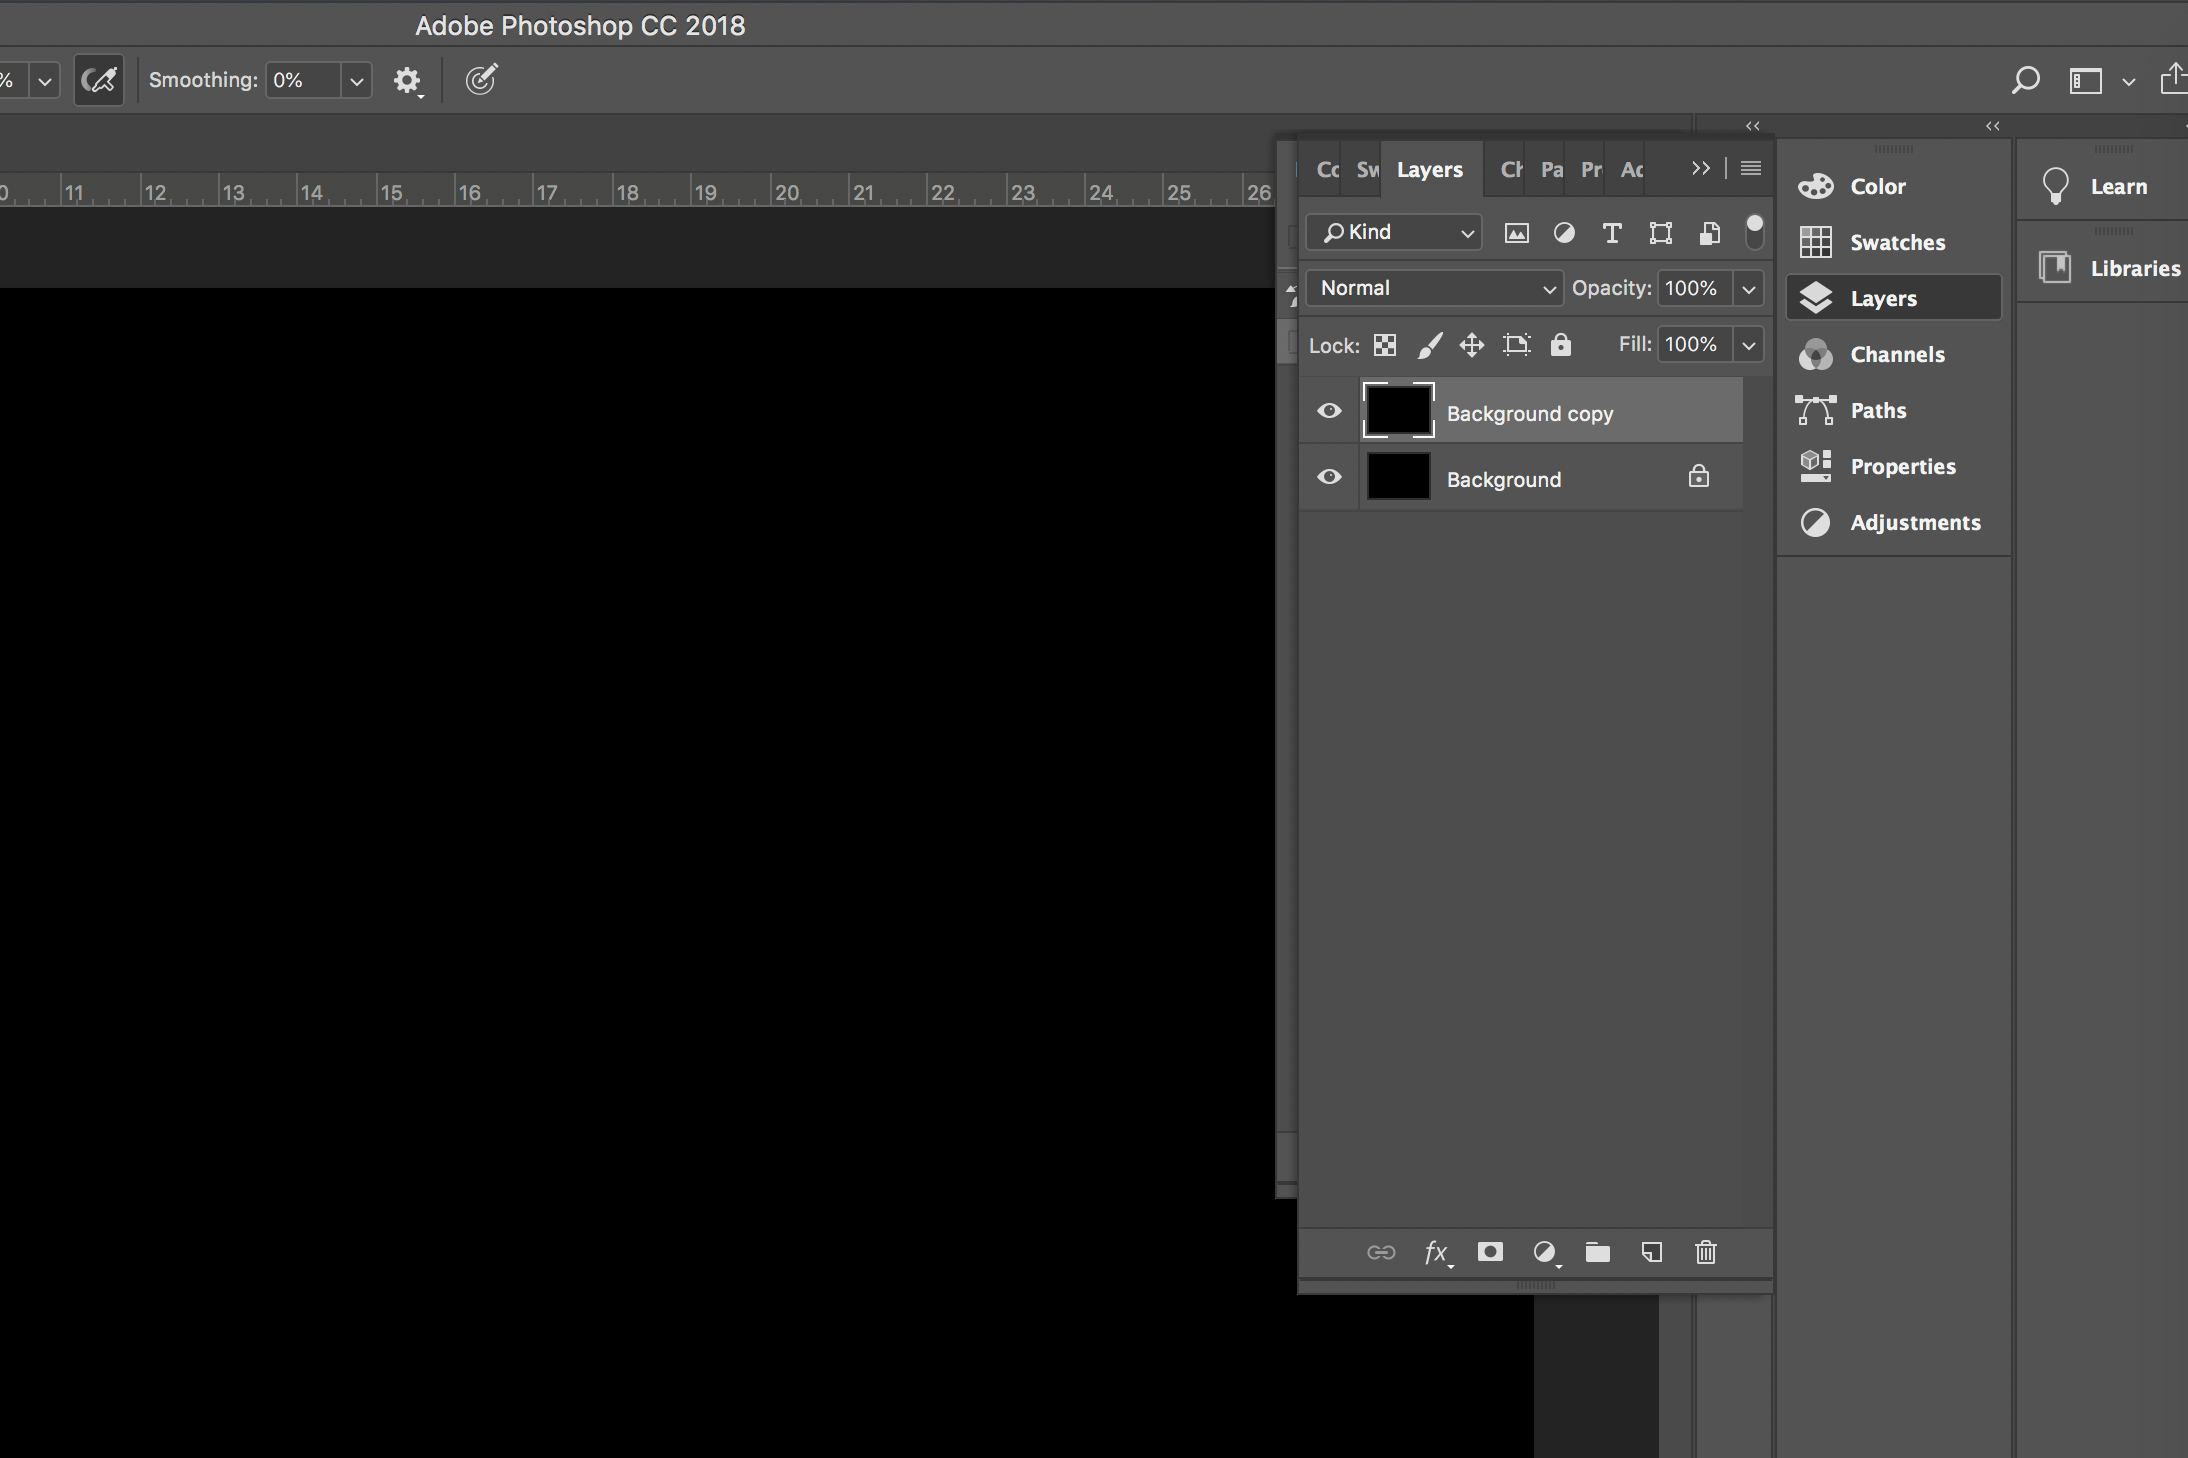
Begin by using the Paint Bucket tool to fill your entire background layer and make it black. With the background layer highlighted in the Layers panel hold Cmd+J/Ctrl+J to duplicate the layer.
02 Make some noise
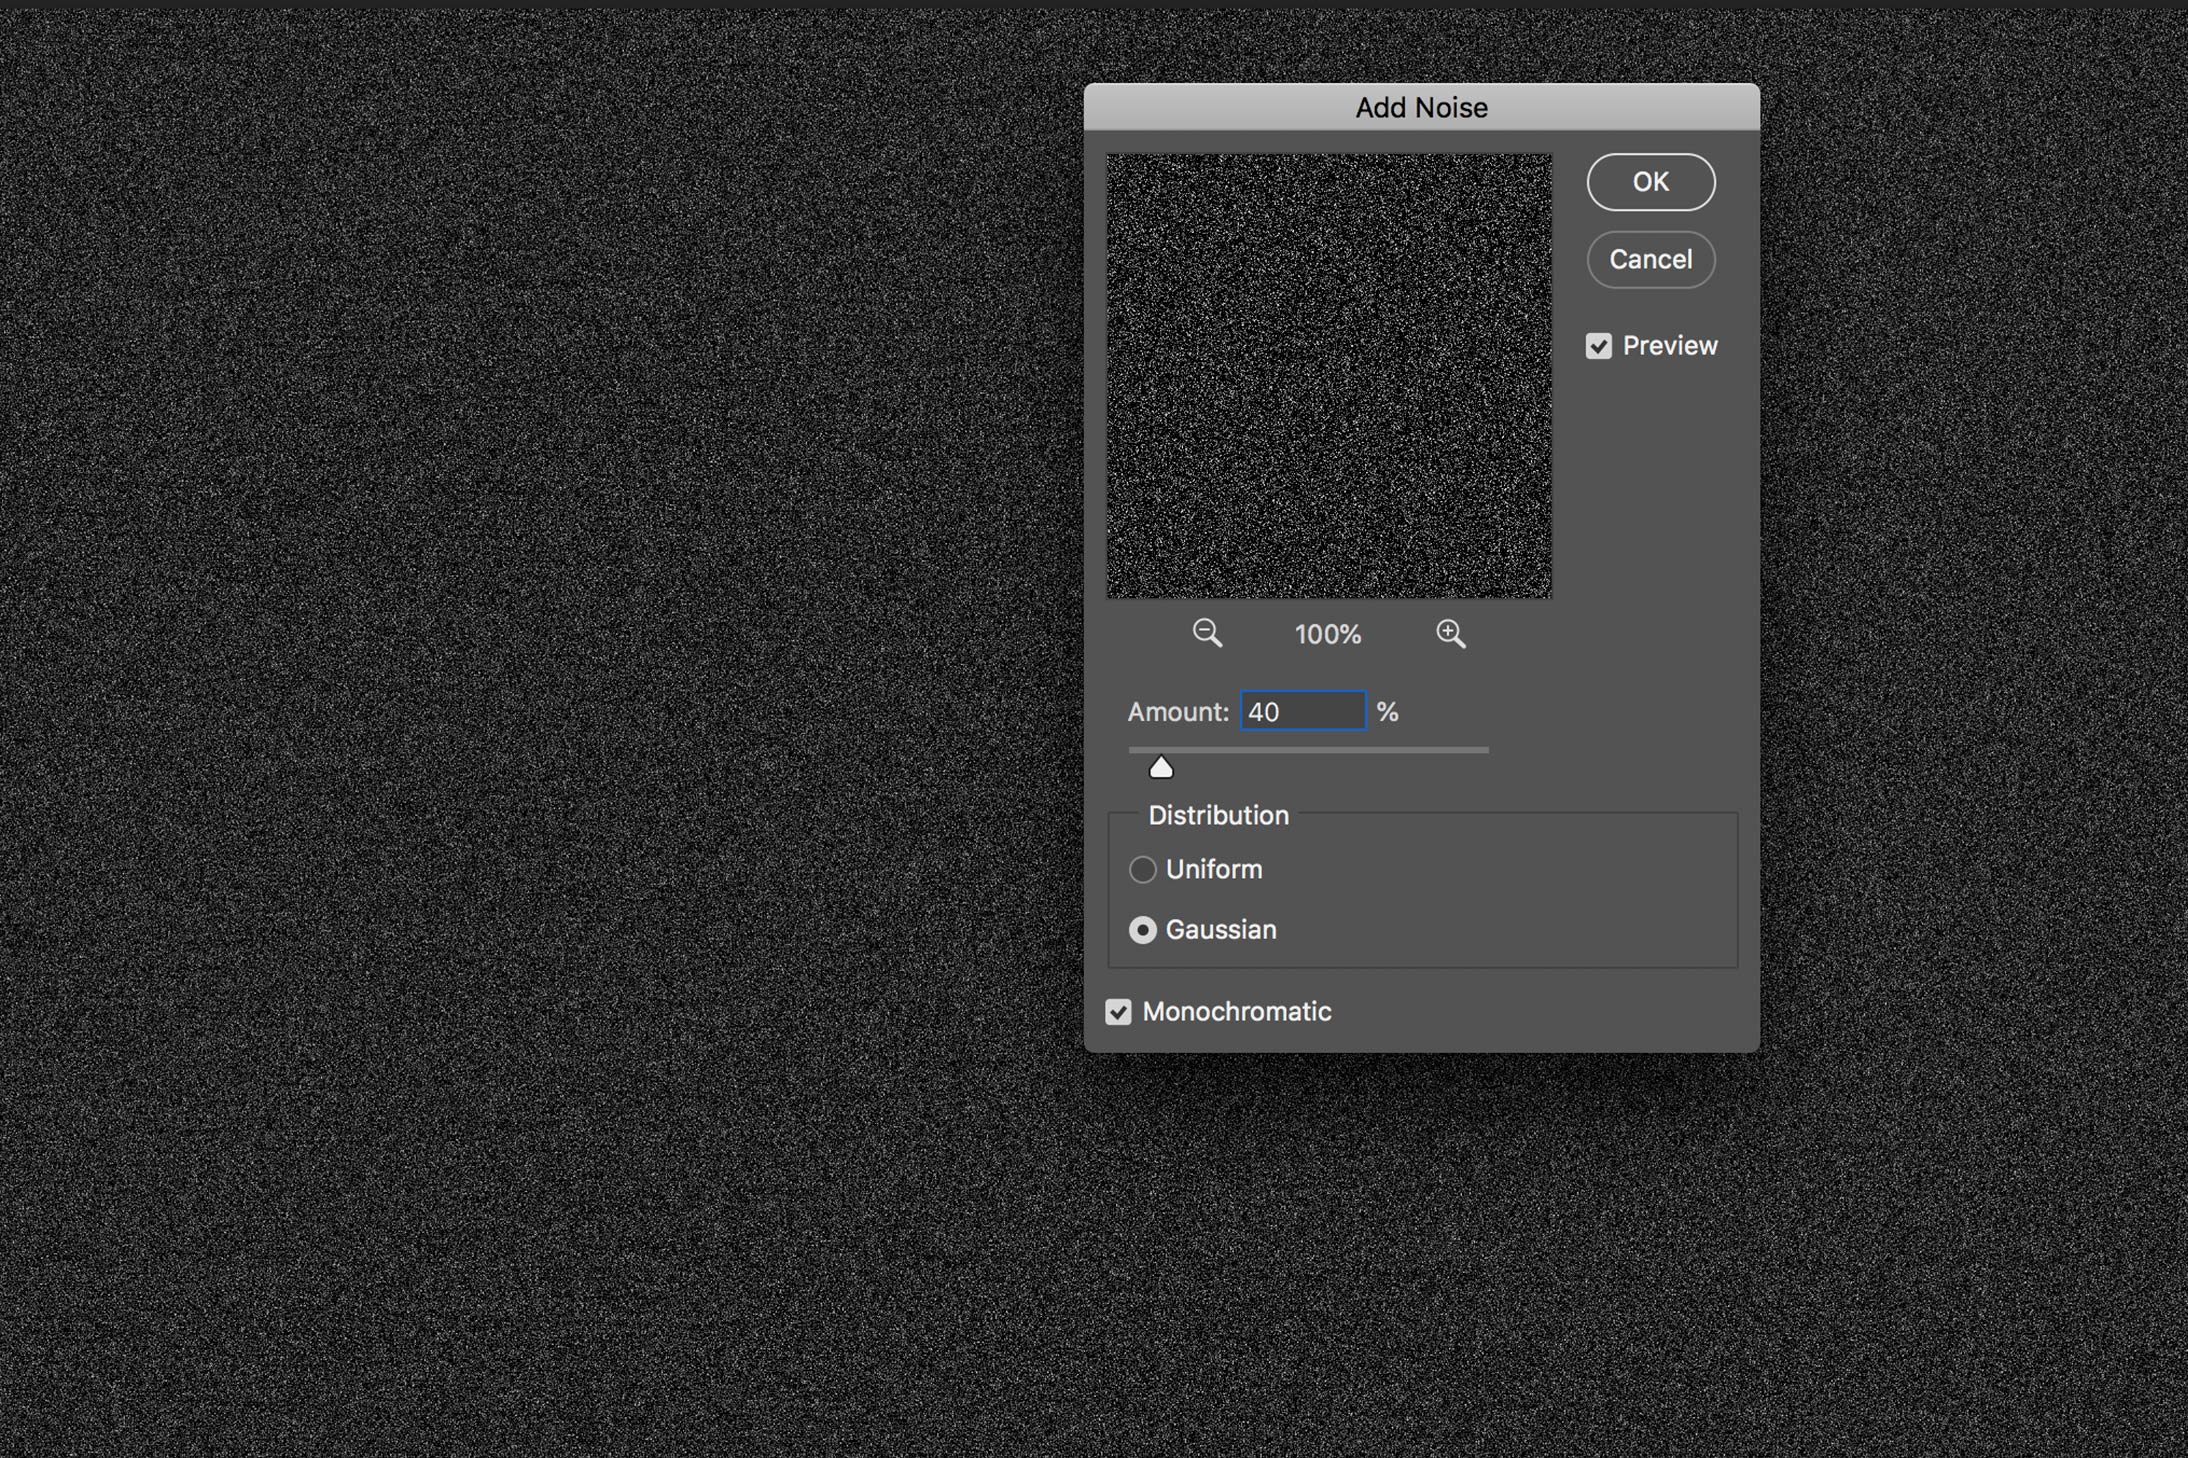
Head to the top toolbar and select Filter<Noise<Add Noise. While in the Add Noise window, set your amount to around 40%, and ensure that both Gaussian and Monochromatic are checked.
03 Set the blur radius
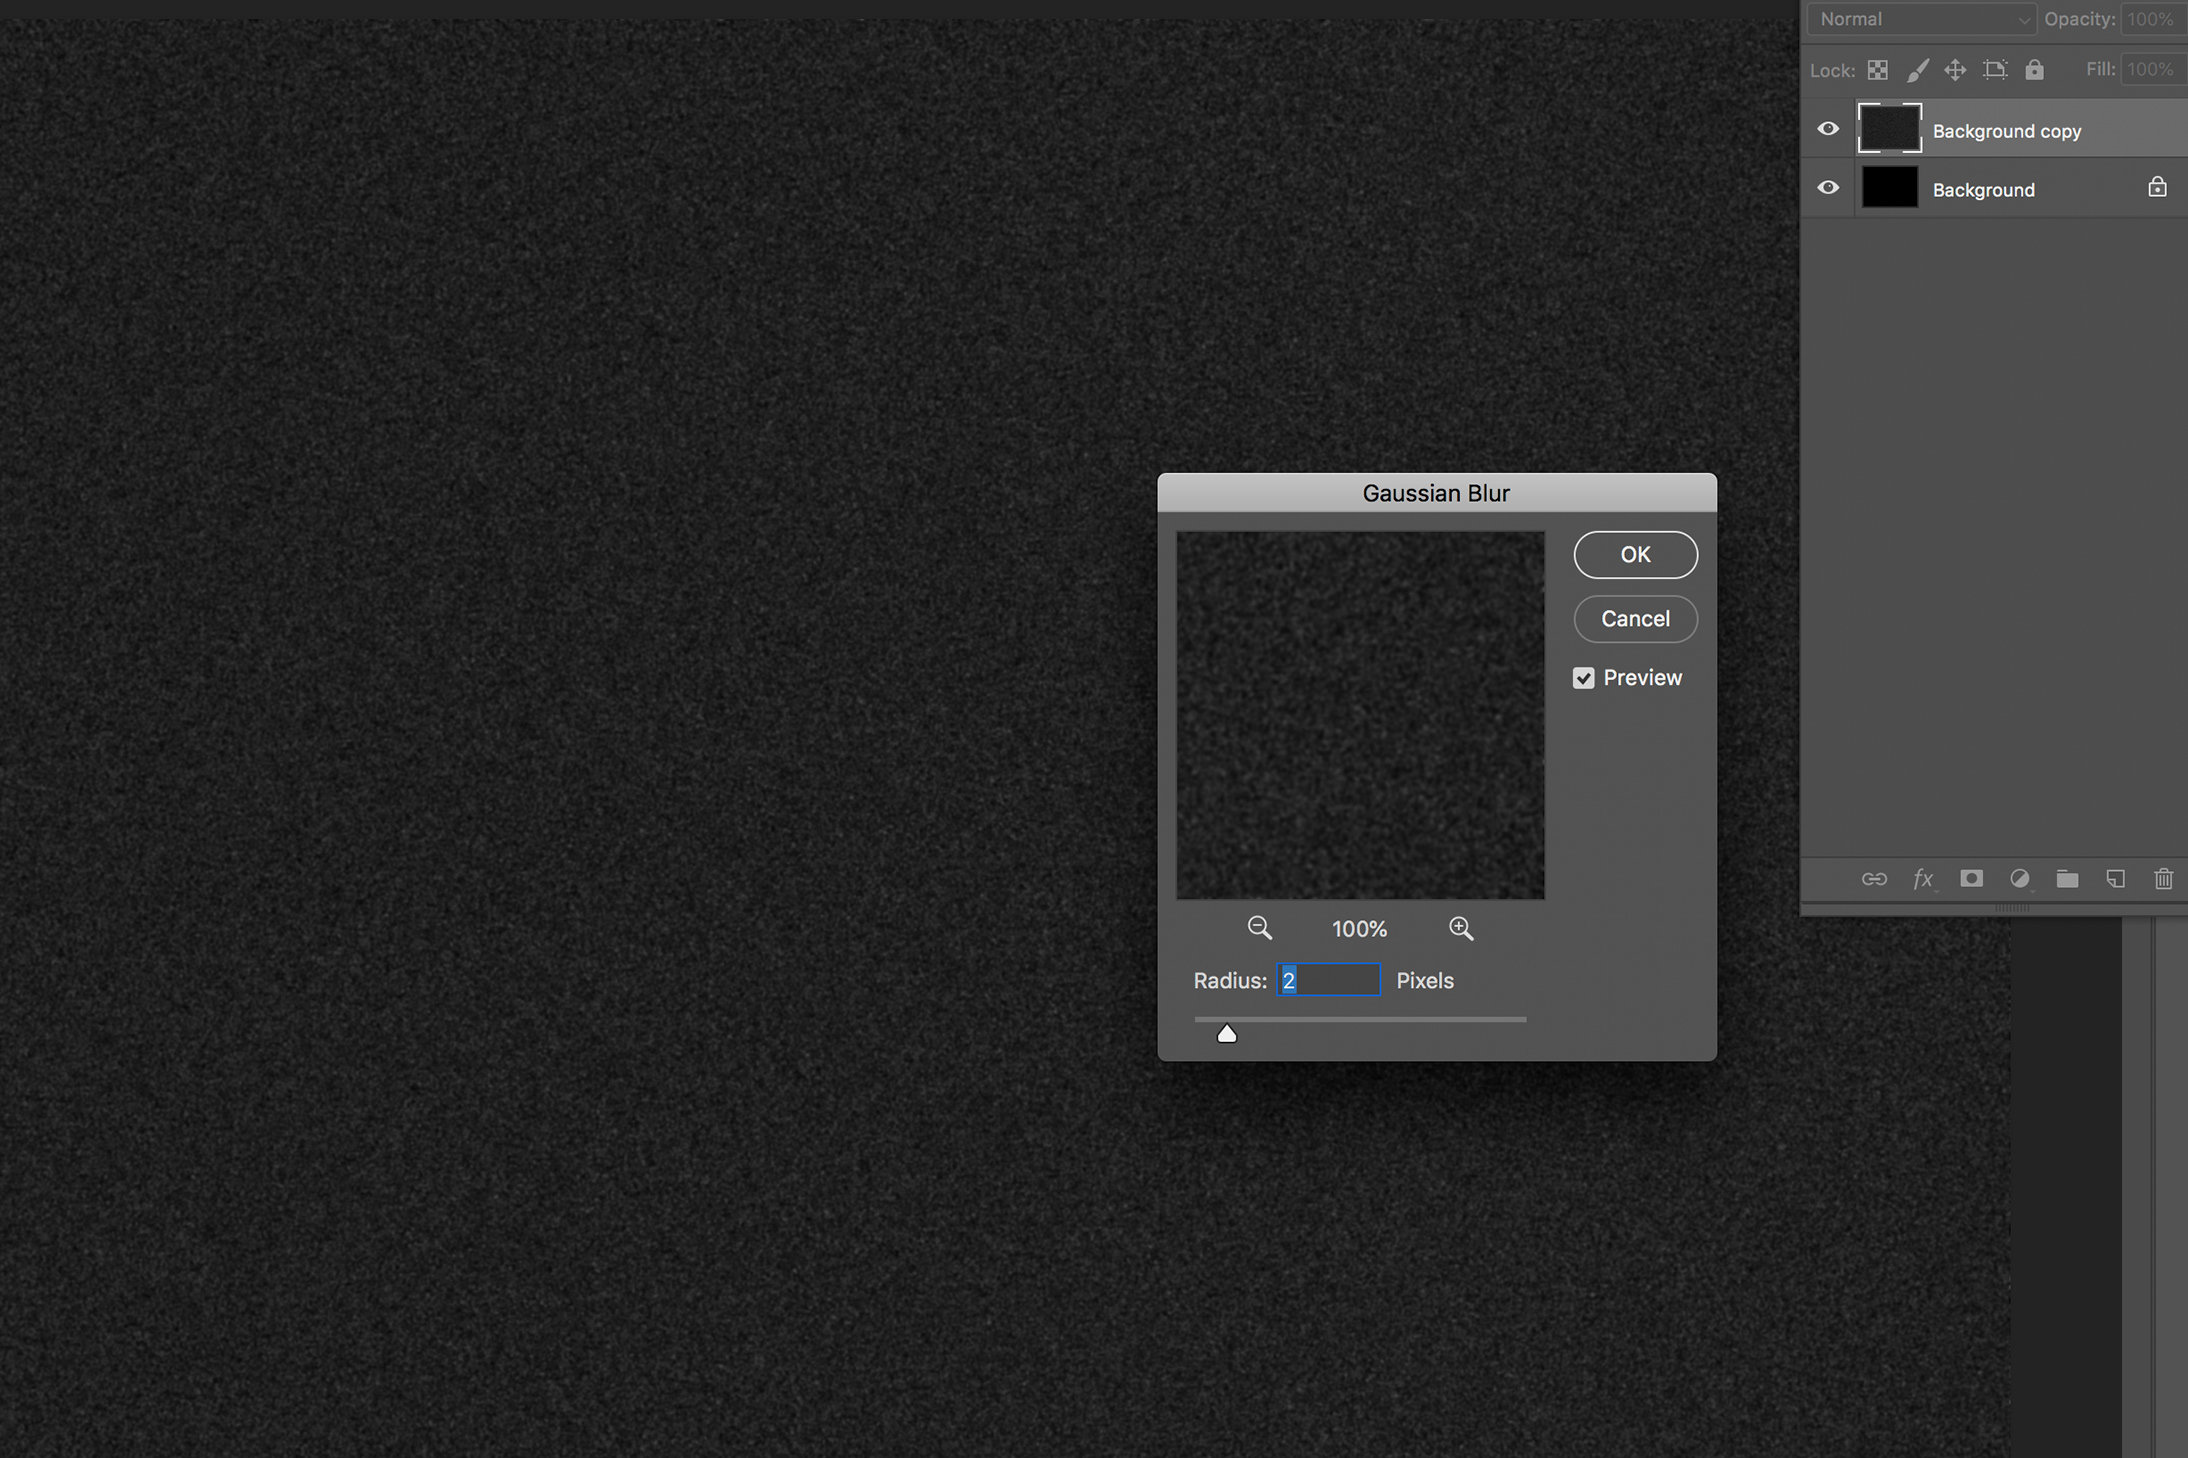
Now return to the top toolbar and select Filter<Blur<Gaussian Blur. We set our radius to 2.0 pixels, but feel free to experiment.
04 Star light, star bright
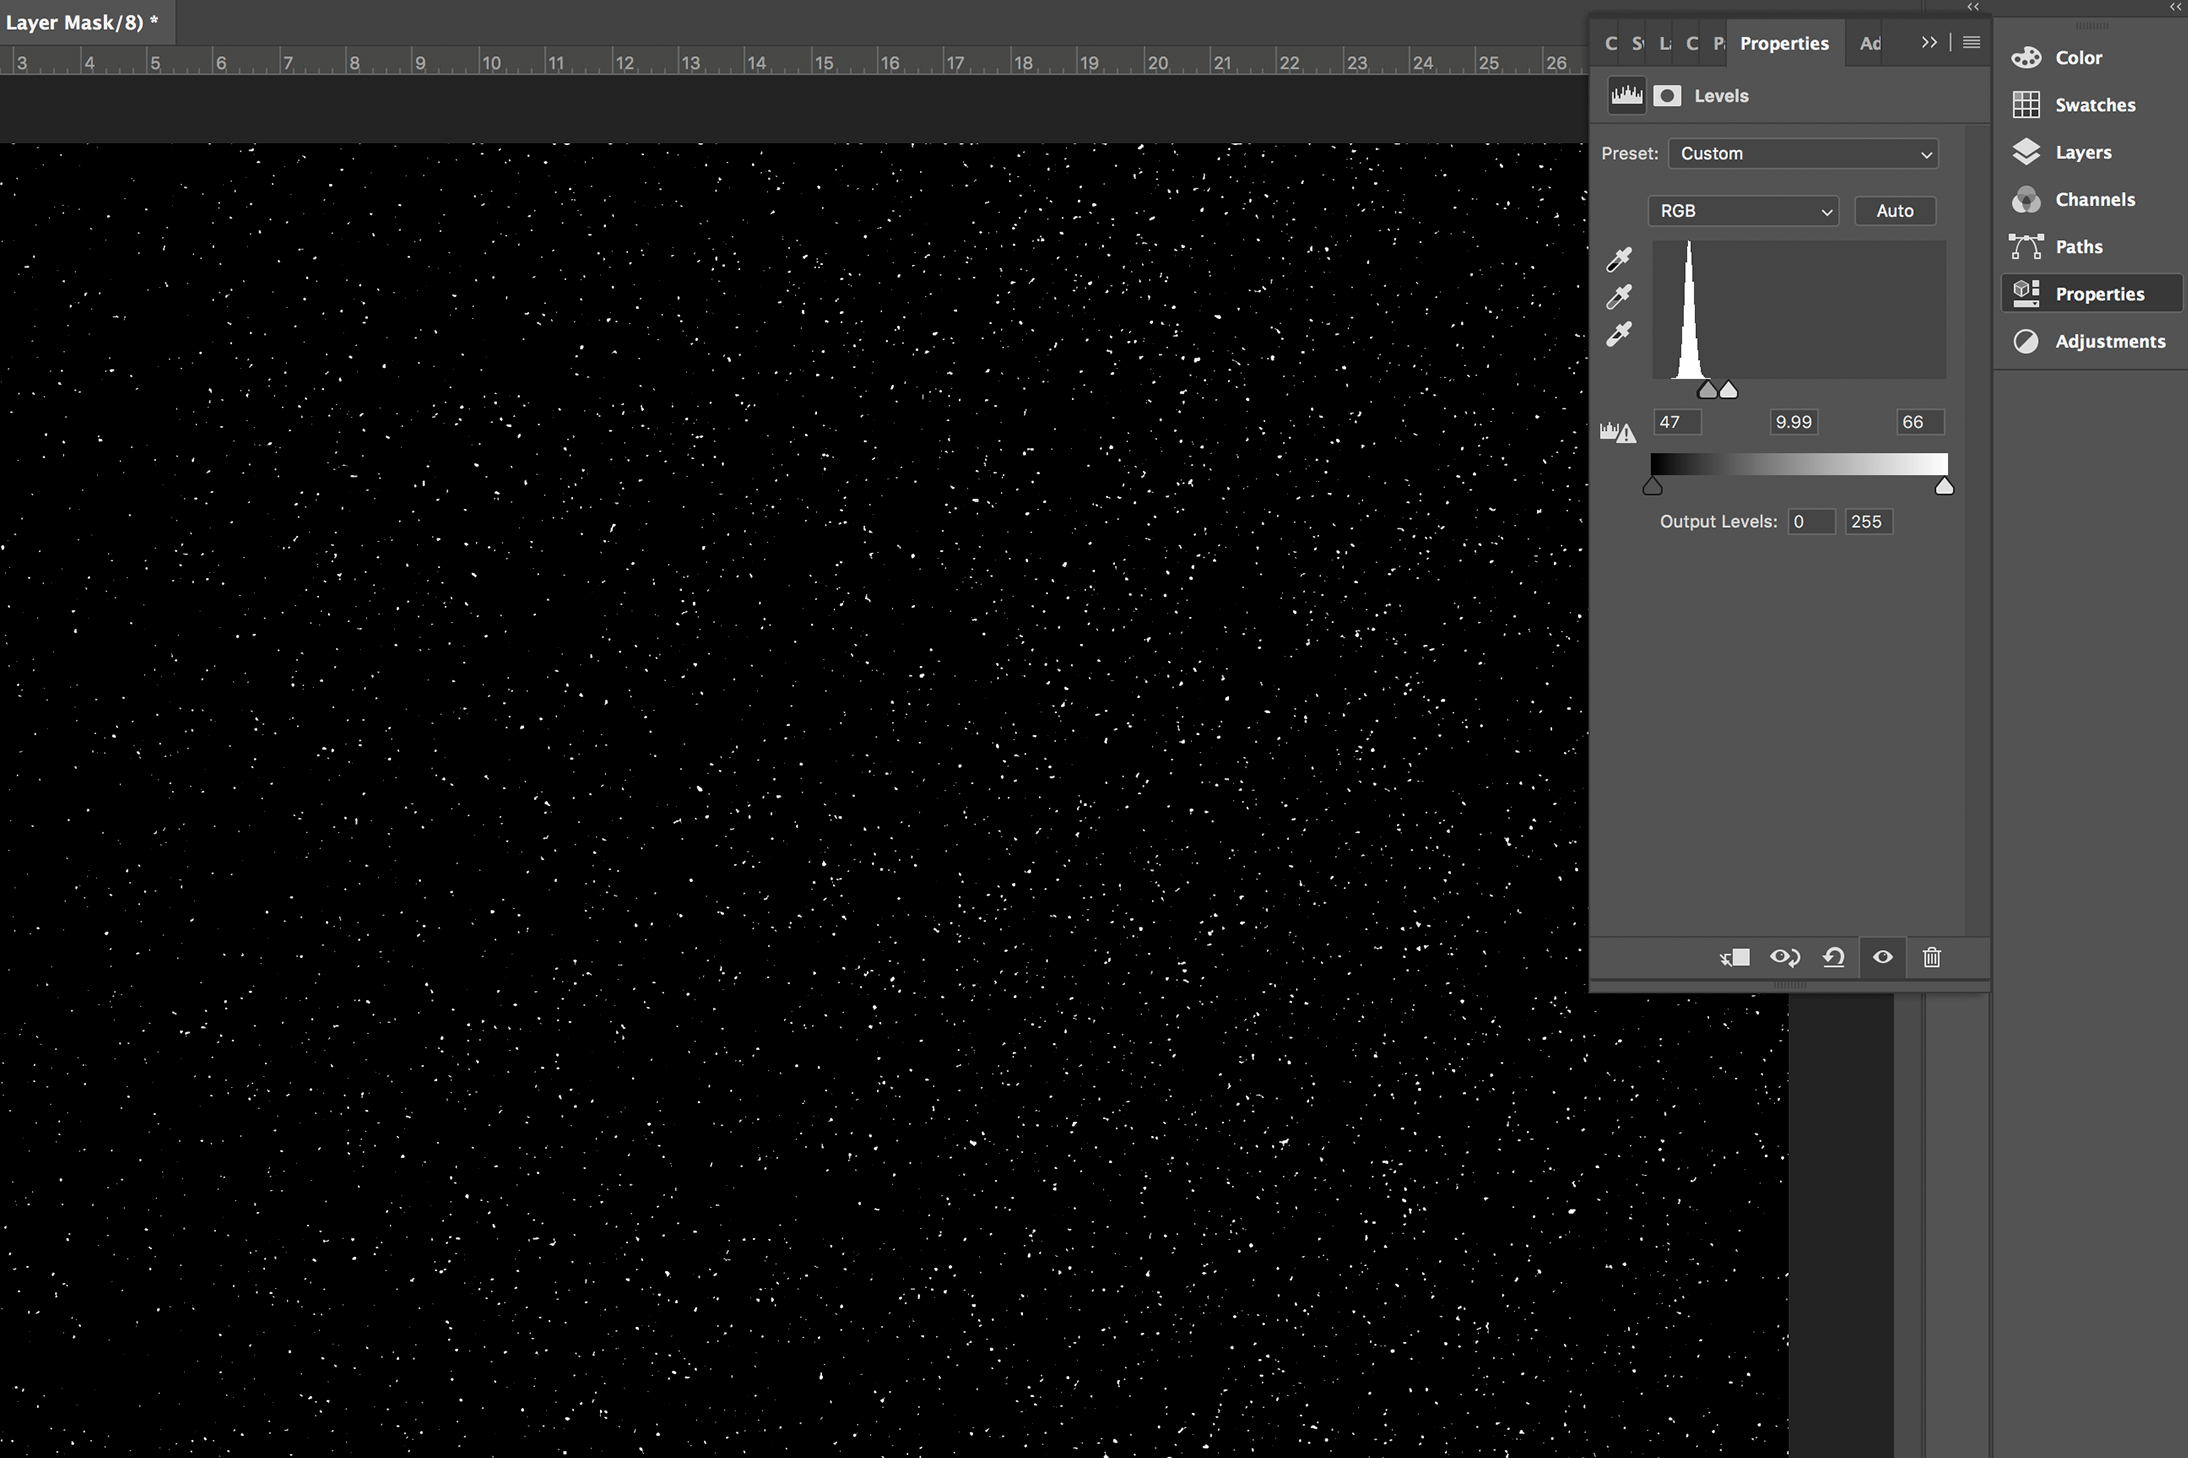
Open the Levels window via Image<Adjustments<Levels. You’ll need to drag the shadows, midtones and highlights until the stars begin to appear brighter. We found that our points sat roughly 75% to the left of the histogram.
The best camera deals, reviews, product advice, and unmissable photography news, direct to your inbox!
05 Enlarge the stars
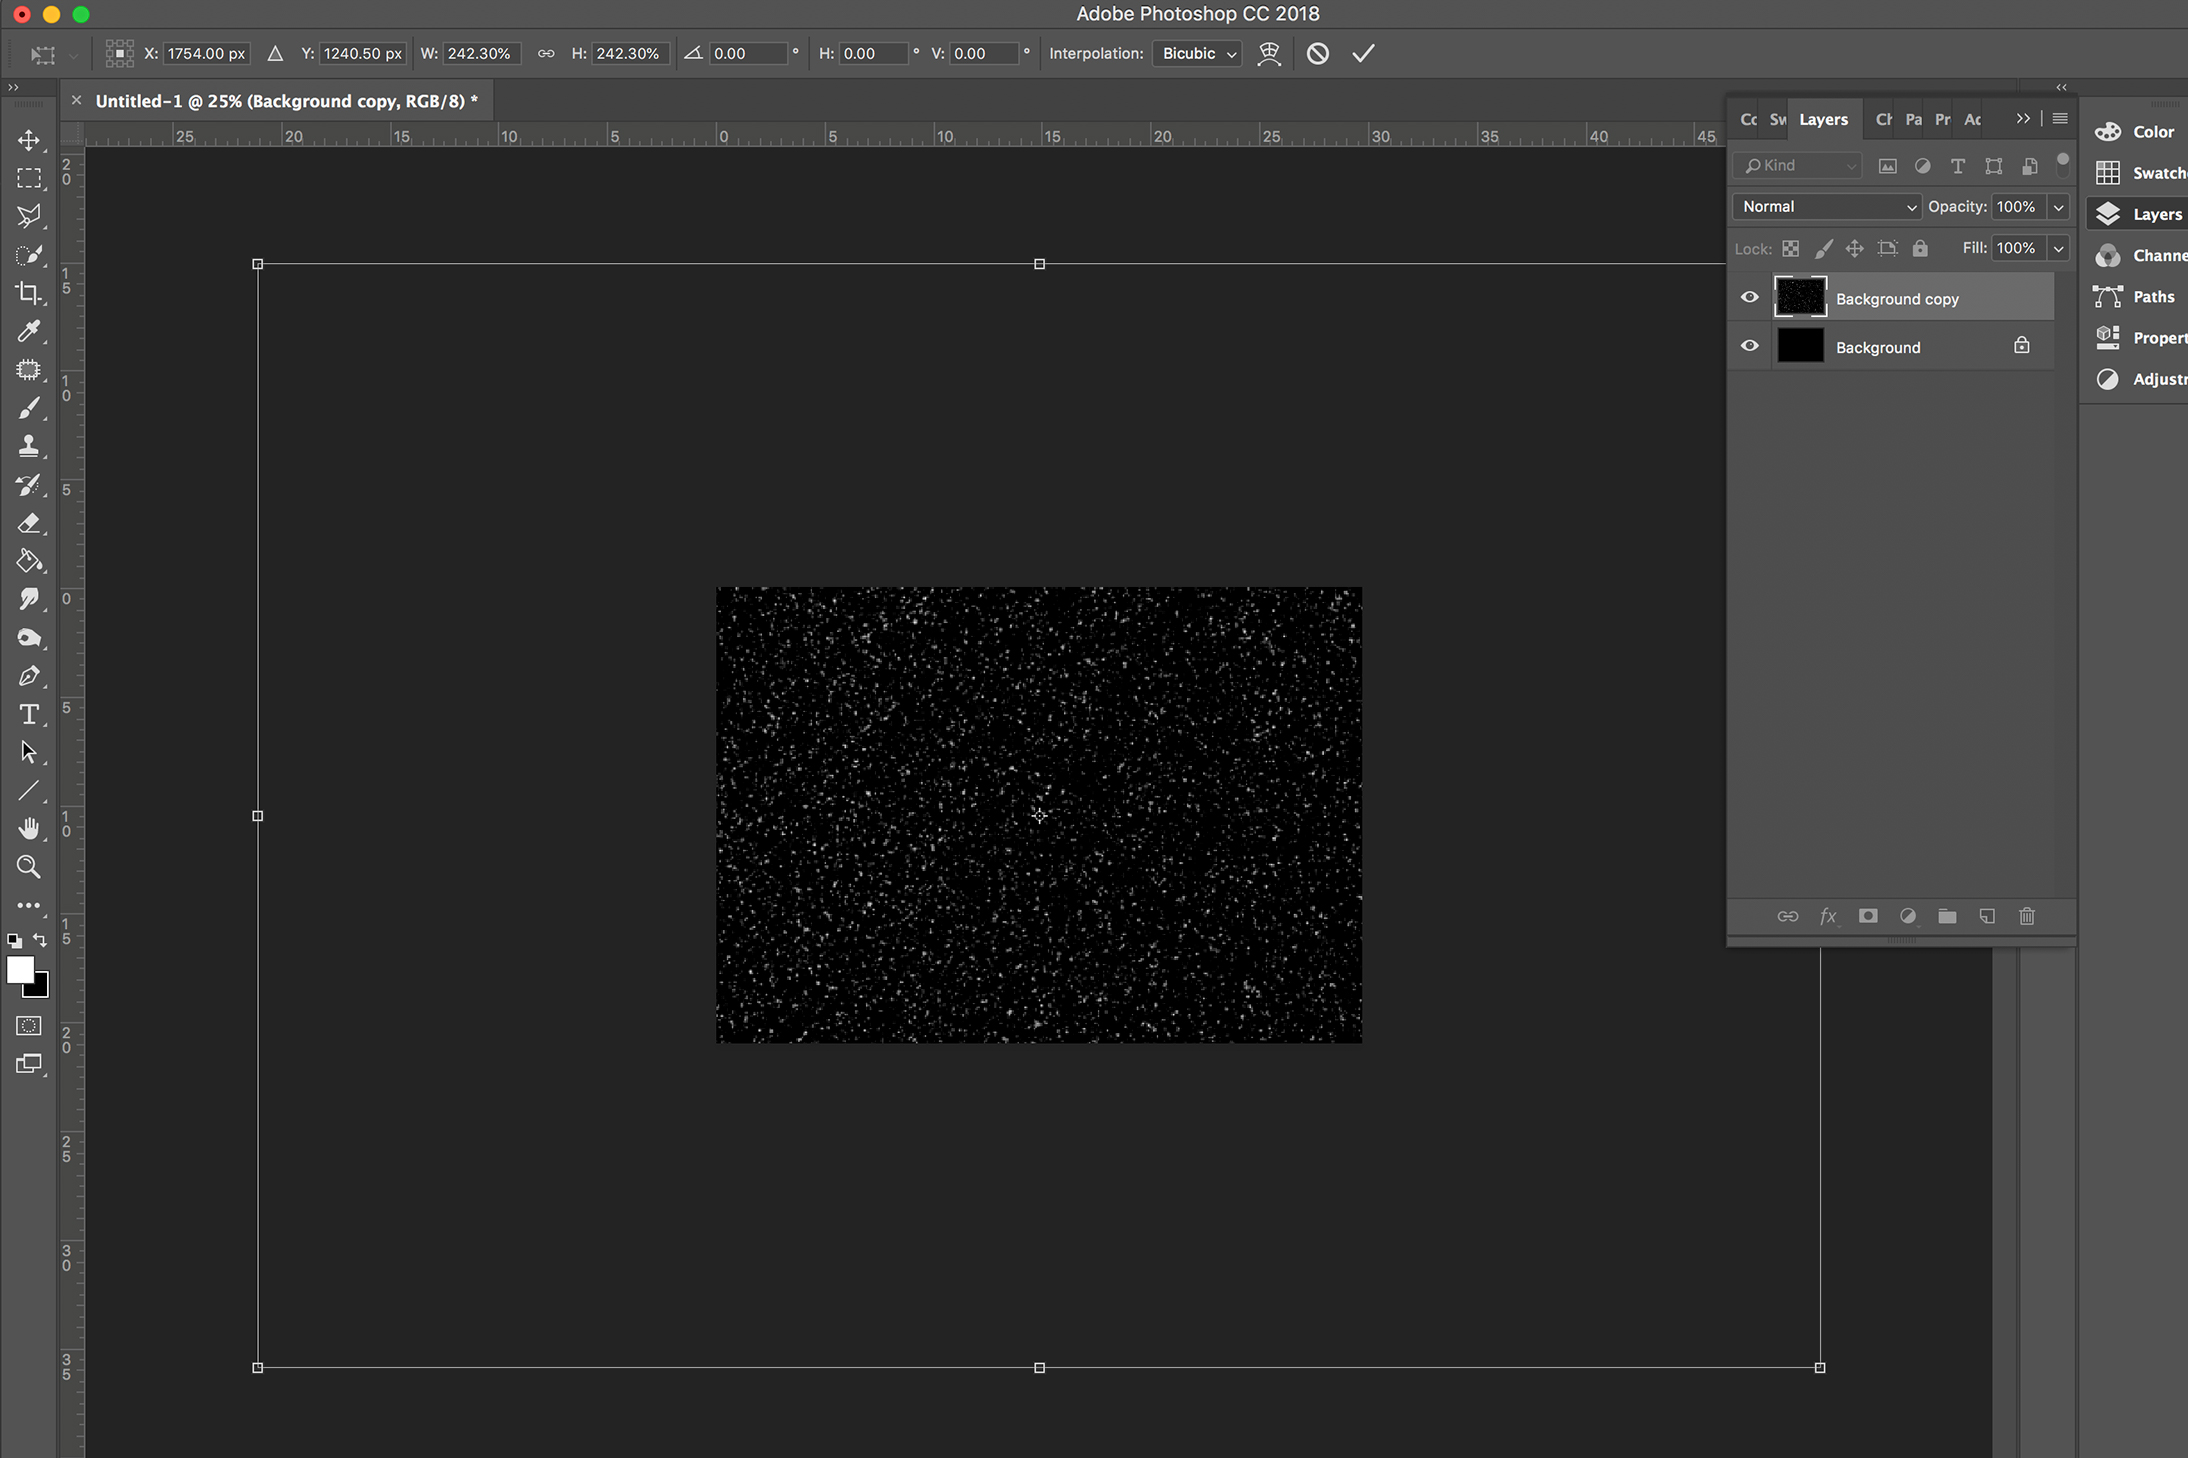
Select Edit<Transform<Scale and use the Scale tool to enlarge your stars. We enlarged our image until the largest stars were about the size of a 20-pixel brush.
06 Punch it!
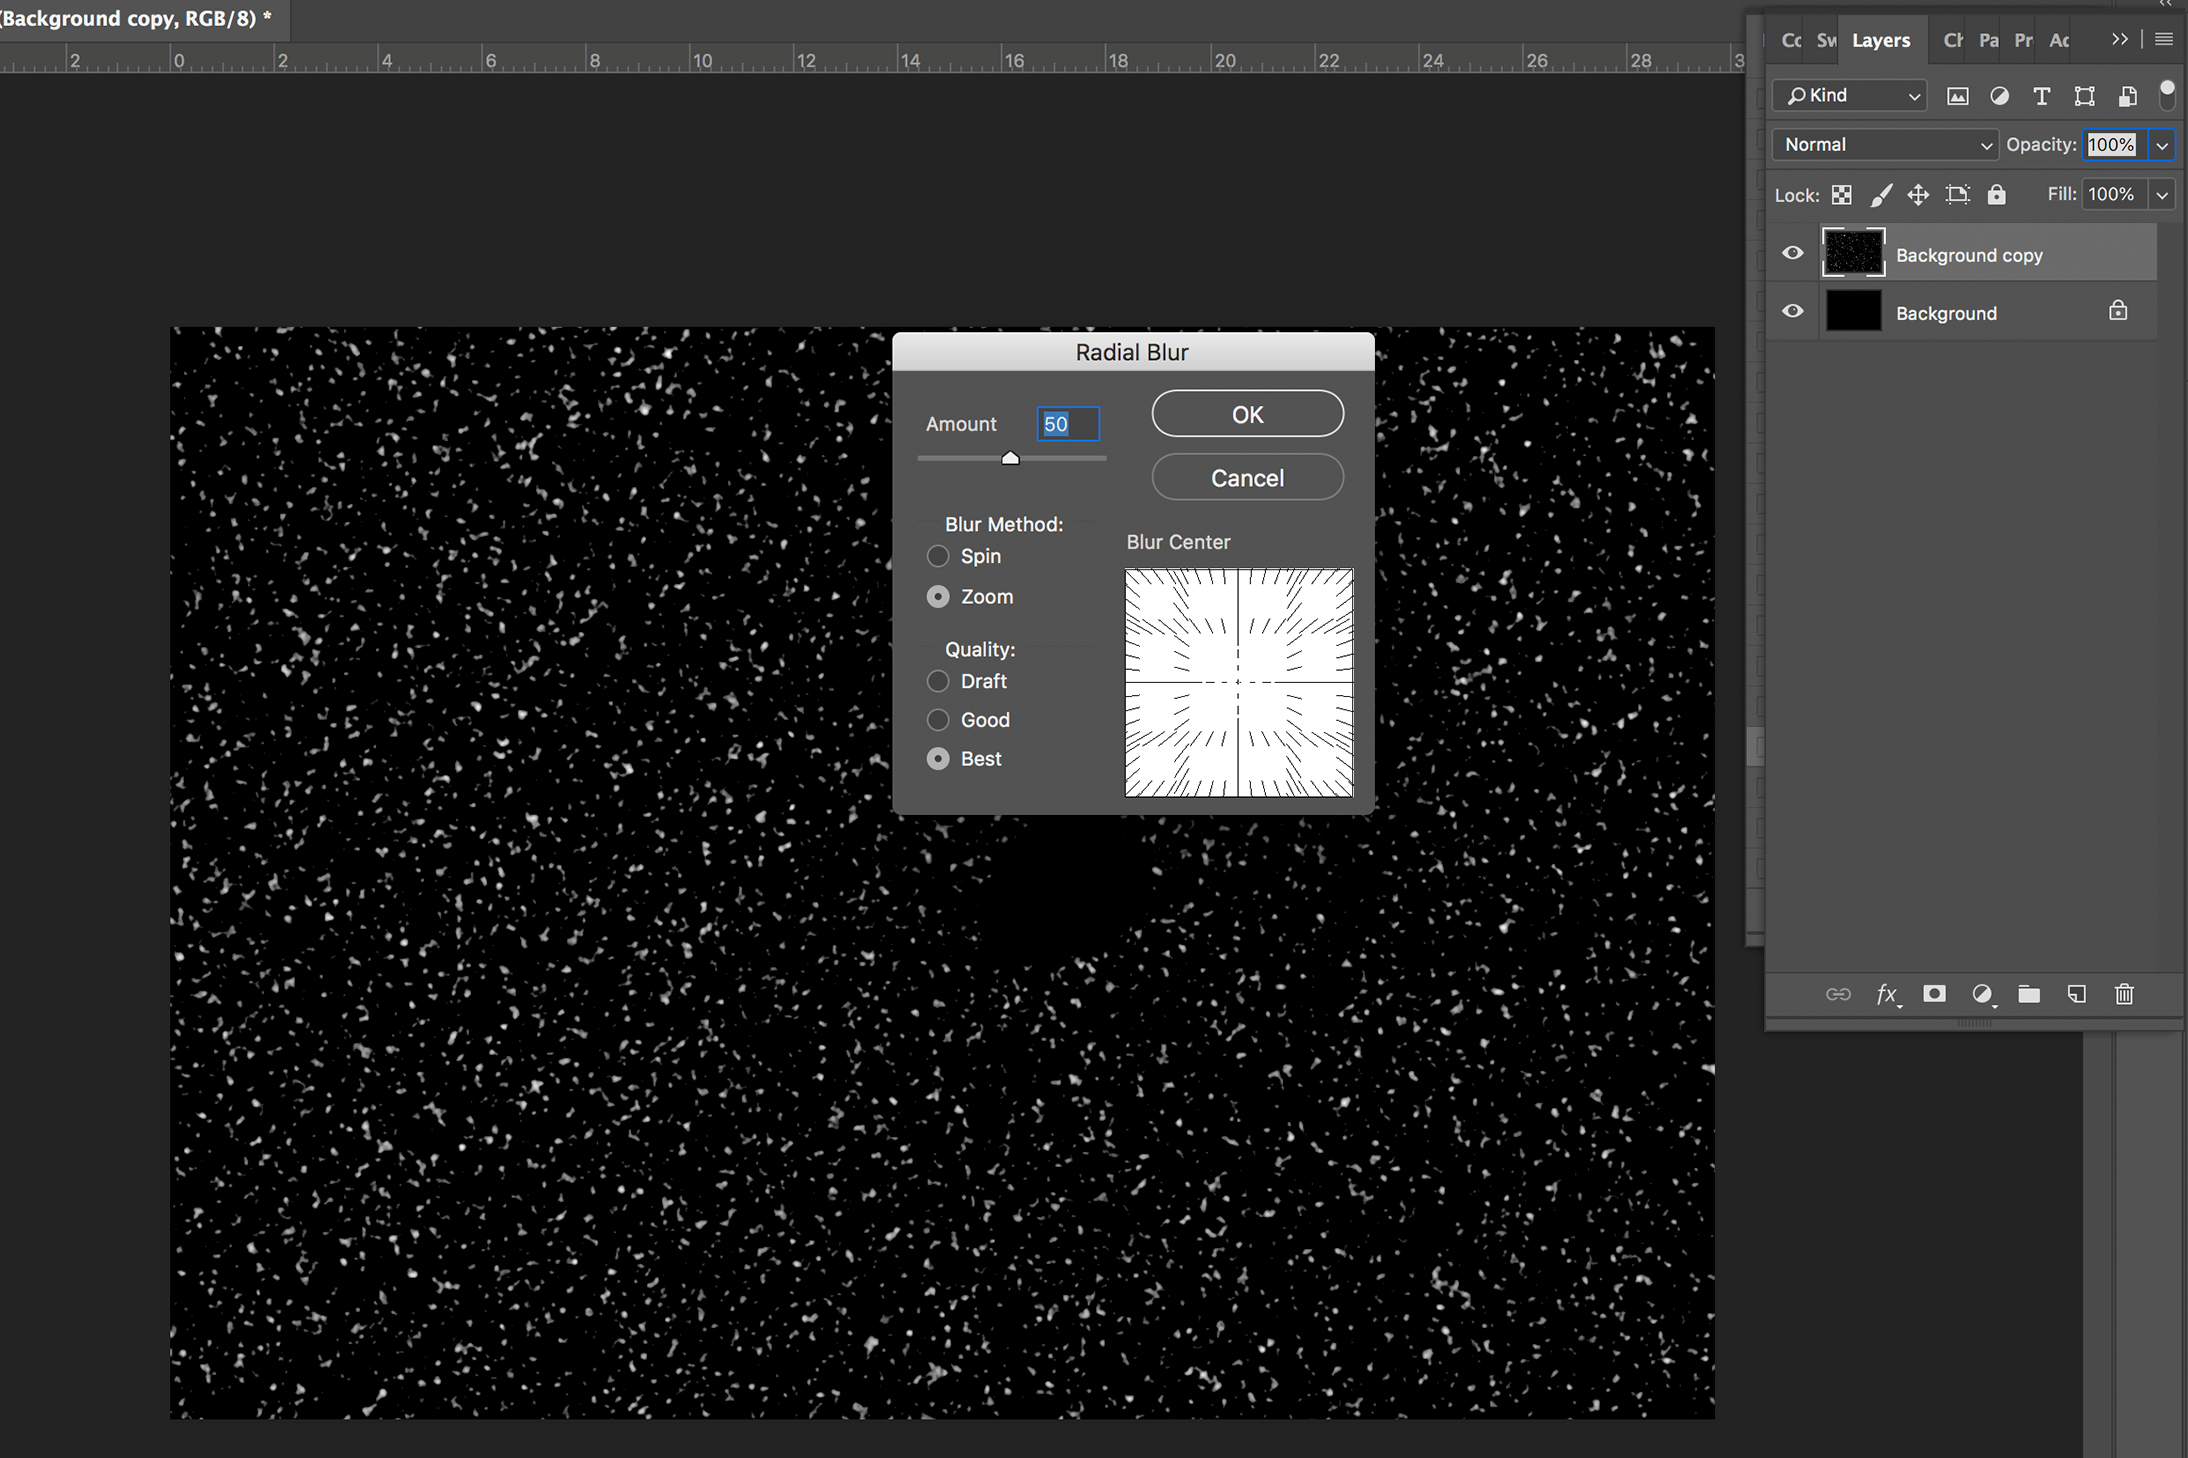
Now it's time to create the actual lightspeed effect. Select Filter<Blur<Radial Blur and set the Amount slider to 50. Set the Blur Method to Zoom and the Quality to Best.
07 Levels
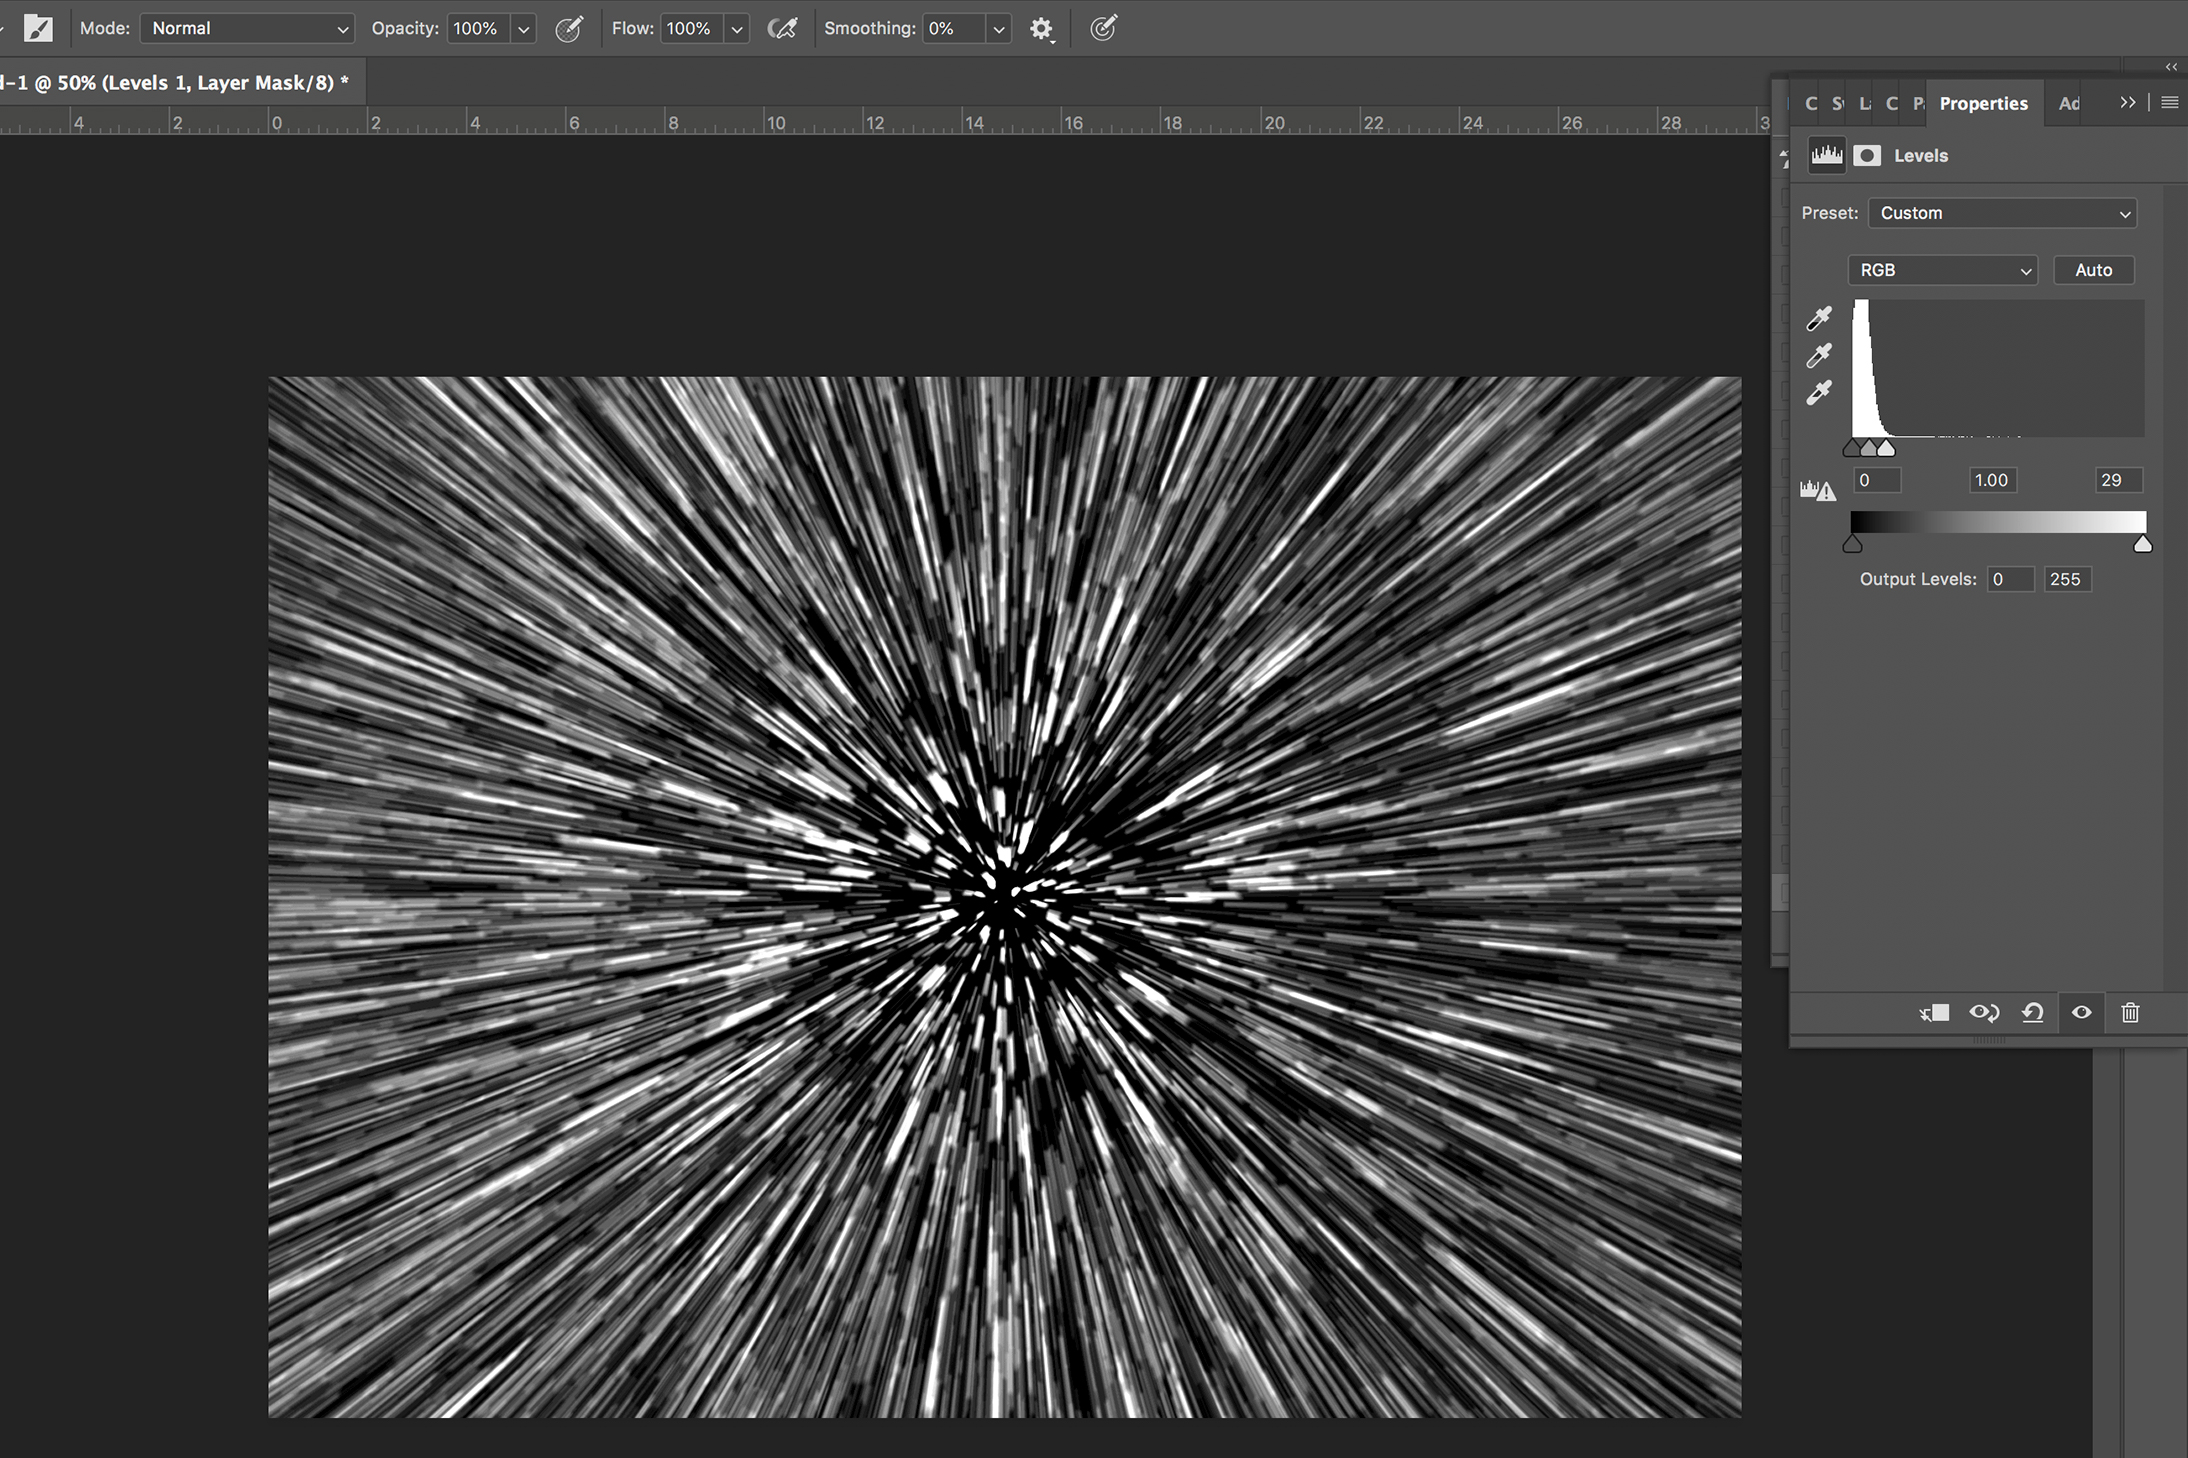
Once the image has been processed, you’ll need to adjust the Levels again to make the stars more visible by dragging the points to the far left of the histogram.
08 Add some LUTs
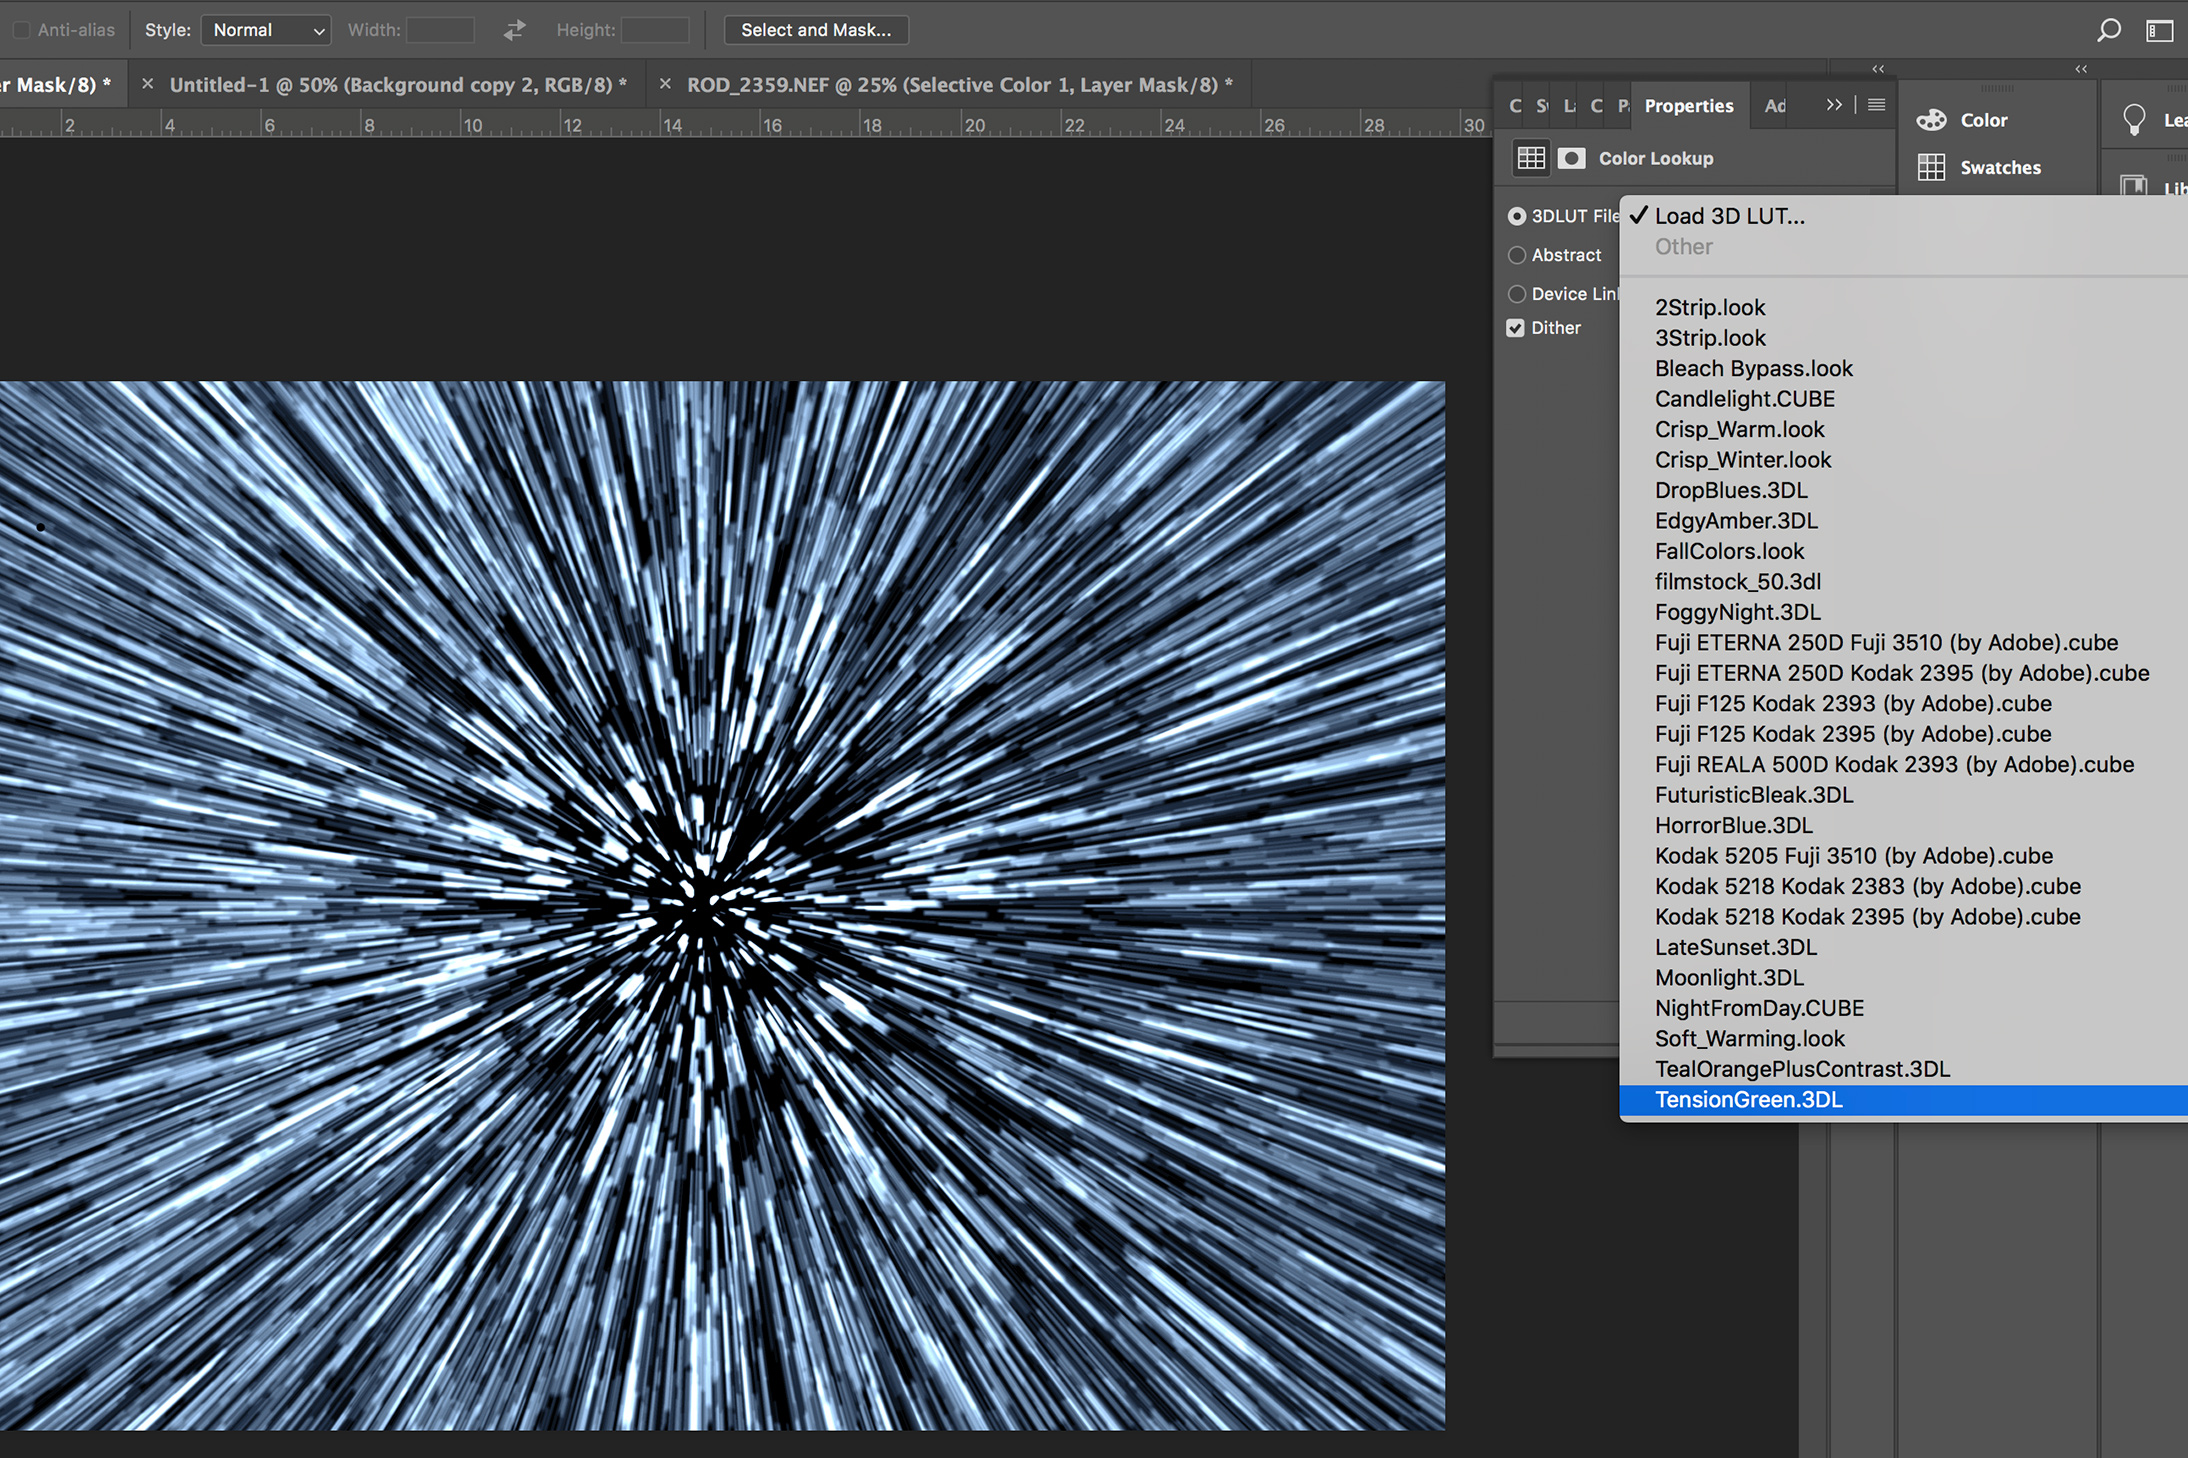
The final step is to add a couple of 3D LUTs. In the Layers panel, select the New Adjustment Layer icon and open the Color Lookup tab. Select Load 3D LUT and choose Crisp_Winter.look. Repeat this process via another adjustment layer and select TensionGreen.3DL. We set the latter at 11% opacity.
That’s all there is to it. You now have a cool-looking lightspeed effect that you can composite into other images. In the words of Han Solo himself: “Travelling through hyperspace ain’t like dusting crops,” but recreating it in Photoshop is a heck of a lot of fun!

• See our special Coronavirus crisis offer: 5 issues for $5/£5!
How to get Adobe Photoshop CC
Adobe offers three subscription based Photography Plans which you can click on below. We recommend either the regular Photography Plan, or the Photography Plan (1TB), which costs more but comes with 1TB of online storage.
For this tutorial and for anyone who likes to work on a single main computer, we recommend the regular Creative Cloud Photography Plan. This is the cheapest way to get started AND it comes with Lightroom and Lightroom Classic too.
Read more:
This is the best photo-editing software today
These are the best laptops for photographers right now
We help you choose the best desktop computers for photo editing
Mike studied photography at college, honing his Adobe Photoshop skills and learning to work in the studio and darkroom. After a few years writing for various publications, he headed to the ‘Big Smoke’ to work on Wex Photo Video’s award-winning content team, before transitioning back to print as Technique Editor (later Deputy Editor) on N-Photo: The Nikon Magazine.
With bylines in Digital Camera, PhotoPlus: The Canon Magazine, Practical Photography, Digital Photographer, iMore, and TechRadar, he’s a fountain of photography and consumer tech knowledge, making him a top tutor for techniques on cameras, lenses, tripods, filters, and more. His expertise extends to everything from portraits and landscapes to abstracts and architecture to wildlife and, yes, fast things going around race tracks...
